Welcome Guest! Be sure you know and follow the Phorum Rules before posting. Thank you and Enjoy! (January 12, 2025) x


Philco 36-650X Toner Colors
#1

Does anyone know what Toned Lacquer colors should be used on a 1936 650X radio?  From the pictures I have found, it looks like some of the trim is darker (may just be more coats).

Thanks, Bill
#2

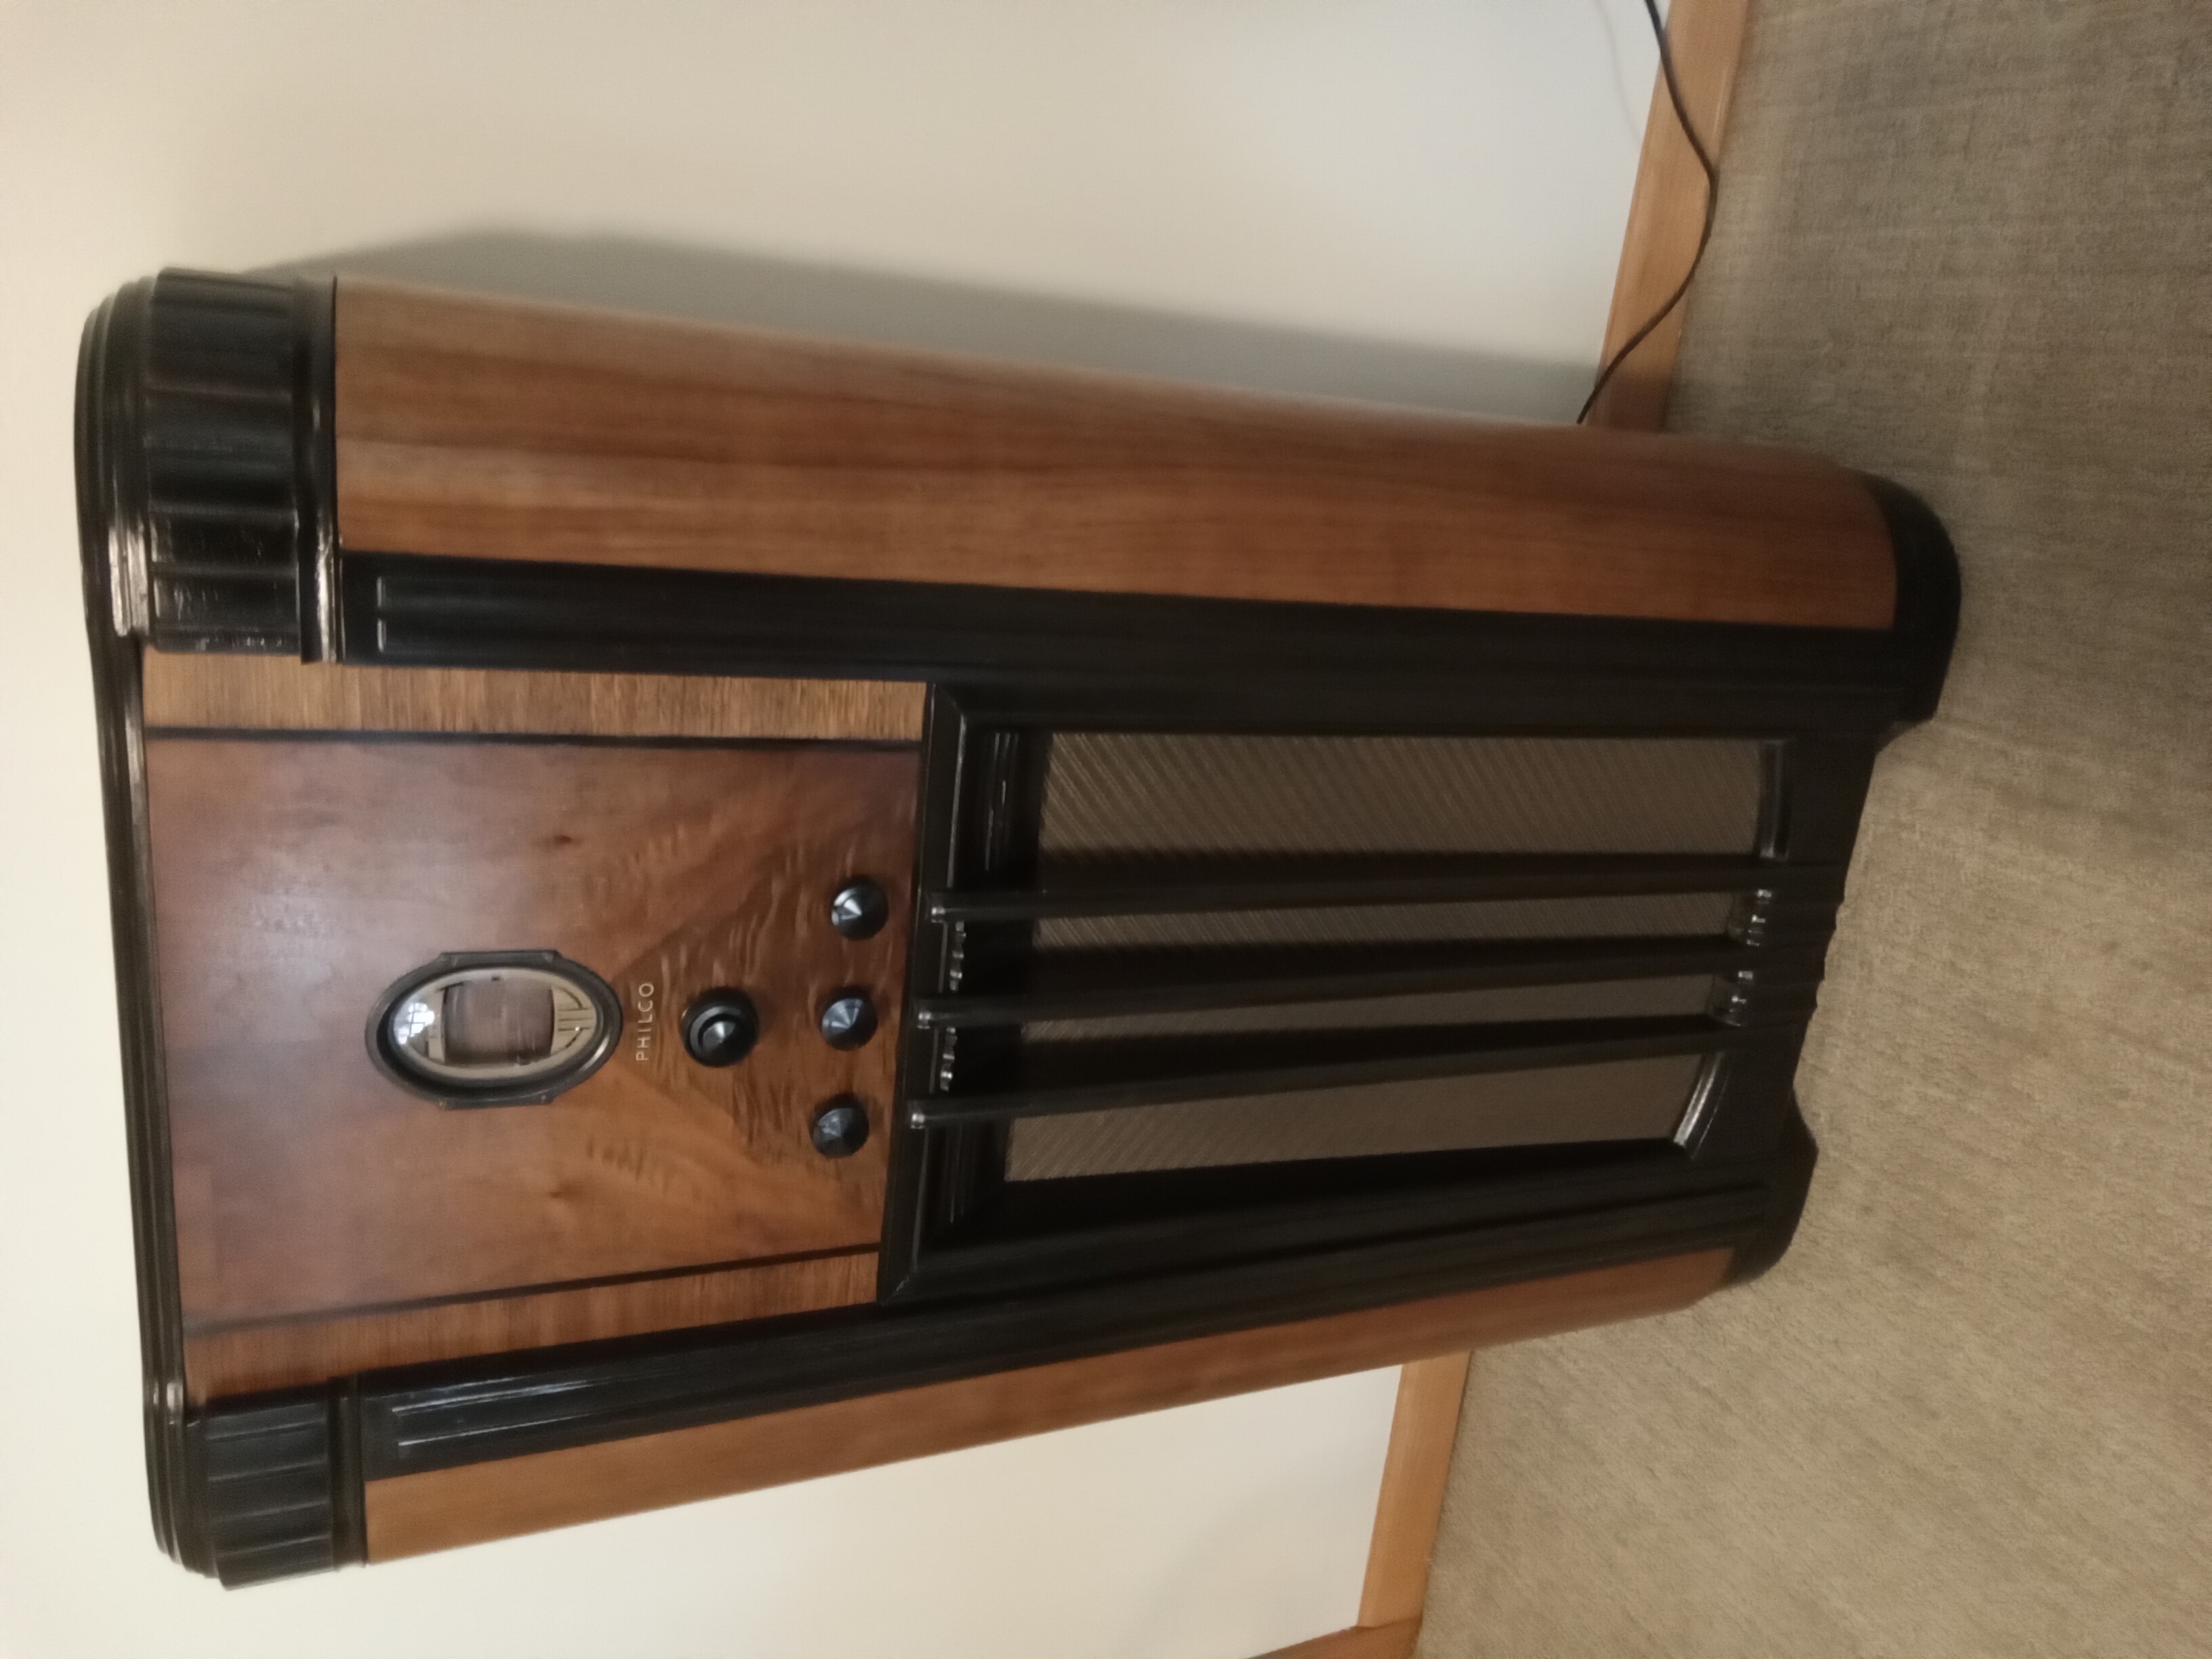
Here's a photo of my 650X. Except for the inlaid black stripes, the dark parts are Dark Walnut toner then the entire cabinet sprayed with clear lacquer. It was like this originally but I had to make repairs then strip it to bare wood. All the columns are removable.
   
#3

I have mine in multiple pieces already and pretty much stripped, so that will help with painting.
That is really dark.  Is that how it was originally?

I have found some pictures on-line and the dark parts seem a little lighter but not sure if original (links below).

I assume the top is just clear as well? 

https://philcoradio.com/gallery2/1936a/#Model_650X

https://www.radiomuseum.org/r/philco_650x65_650.html#
#4

Mine is darker than I wanted. I think I used 3 coats of toner and should have stopped at 2. You have to judge it after each coat because my coat is going to be different than yours. Let each coat dry before deciding to add another. The original before I started was lighter.
#5

Thanks Rod. Do you happen to have a picture of the top?
#6

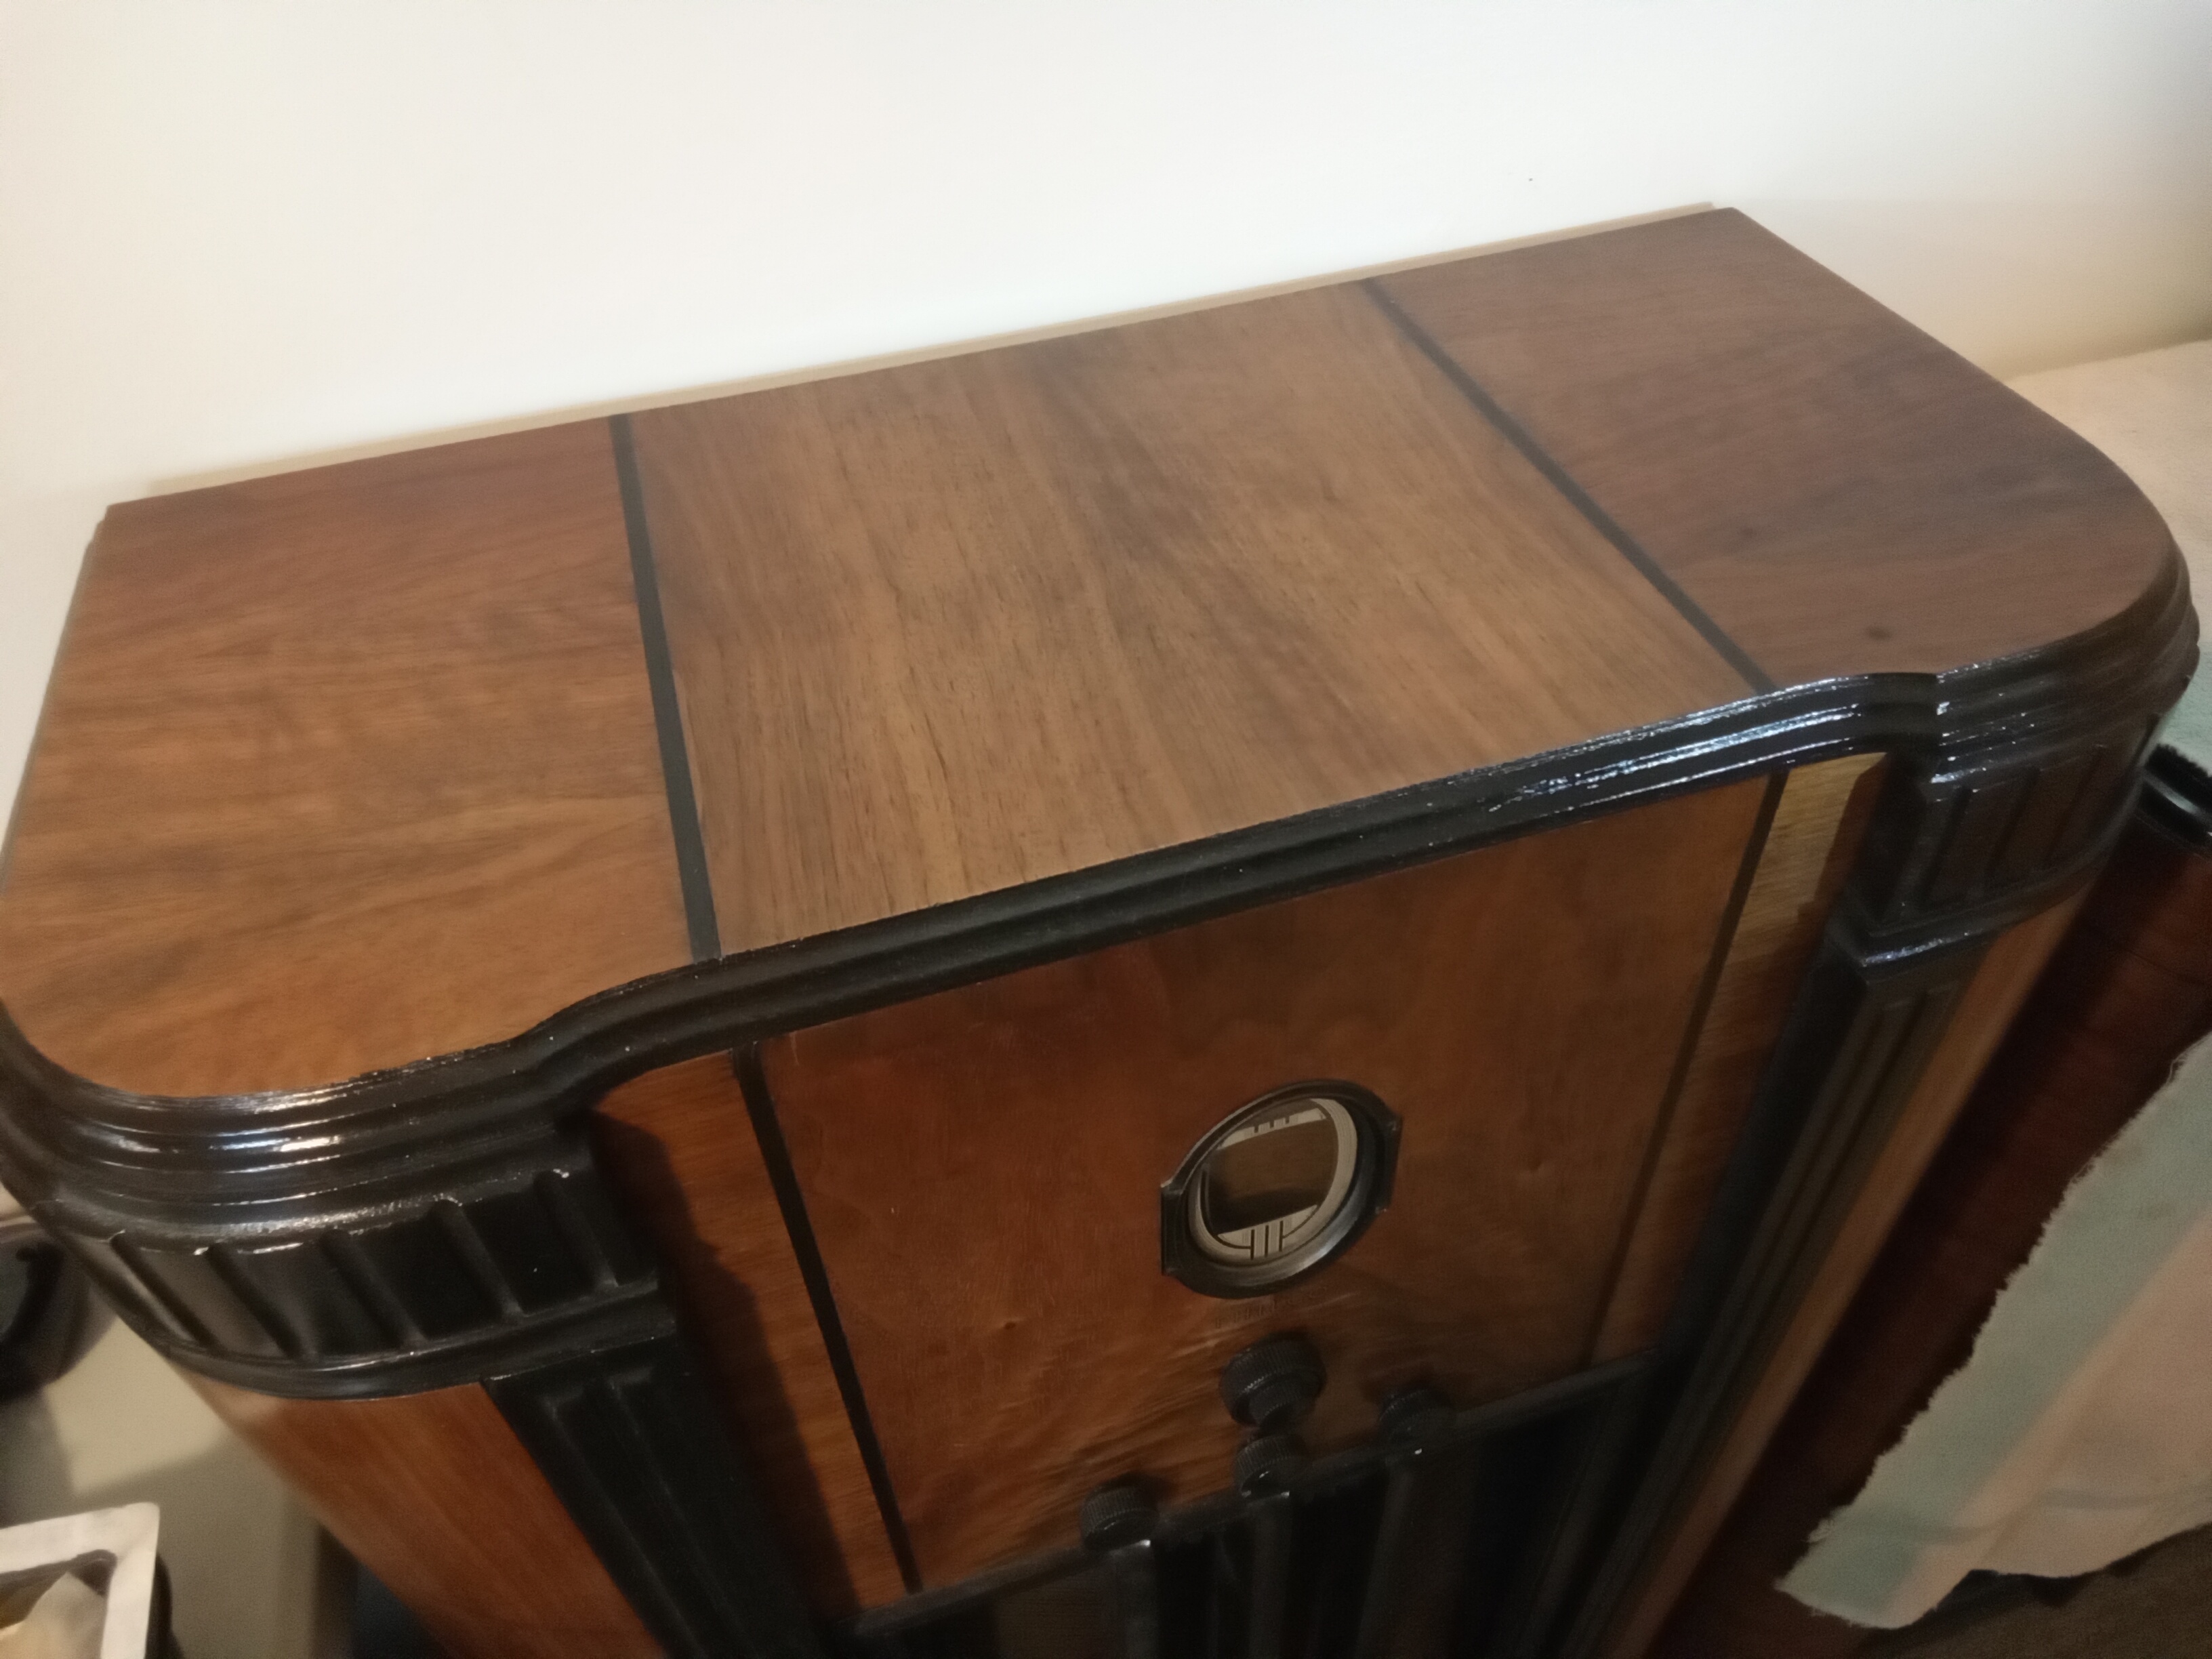
Philco 650X top.

   
#7

Thanks.
#8

Bill;
The photo in the gallery looks correct, I think I would go with more of a medium walnut spray rather then a dark walnut spray. One trick you might try, if you have a steady hand, is to use dark brown fabric dye on the solid wood parts, or a proper alcohol based wood dye if you can get some, that way you will have to use much less tone spray since you are not covering blond wood.
Regards
Arran
#9

I wanted to share some pictures of the cabinet restore and document the toners I used for my 1936 650X console.  The cabinet was in pretty bad shape when I got it.
Lots of loose and broken veneer.  The internal radio support plywood was warped badly.  After much time gluing and clamping, it came out pretty good.
Below are some before and after pictures.  The process I took was as follows:
  1. Broke the radio down into multiple parts.  Most of it is screwed together so I was able to easily separate it into multiple pieces (top, front, left side, right side, speaker grille and bottom).
  2. Reglued loose veneer and underlying plywood.  Some of it had to be gently removed before regluing.  A syringe with glue in it works great for getting in tight places.
  3. Filled a few of the really bad veneer spots with some Timbermate water-based Walnut filler.  I didn't think it was worth re-veneering.
  4. Stripped old lacquer finish off.  Initially I used a plastic scrapper to get a good bit of the dried up lacquer off.  I then used Minwax Antique Furniture Refinisher to clean the rest.
  5. The whole cabinet was then lightly sanded with some 320 grit.  Some of the grainer sections were either filled with the Timbermate Walnut filler (same as above) or some Mohawk Sanding sealer (M102-0413) and then lightly re-sanded.
  6. The lightest sections (left and right of top, left and right of front and sides) were toned using 2-3 light coats of Mohawk Medium Walnut Brown Ultra Classic Toner (M100-0207).
  7. The Top Middle and Front Middle sections were toned using 4-5 coats of the same toner (M100-0207) to make them darker.
  8. The rest of the dark sections were toned using 4-5 coats of Mohawk Dark Red Walnut Ultra Classic Toner (M100-0383).
  9. All pieces where then sprayed with 4-5 coats of Mohawk Pre-Cat Gloss Finish (M102-0410) and then the various parts reassembled.
  10. The inside was cleaned with some lacquer thinner and then sprayed with some Matte Black Lacquer.

Thanks to all of you for your input along the way.


#10

Hello bill,
What beautiful job that cabinet looks great !!
Sincerely Richard
#11

Thanks


Users browsing this thread:
[-]
Recent Posts
Philco 71 Code 125
Ok guys. Thanks for the input. As for AI this is why I ask the experts. Dandconant — 07:39 AM
Philco 71 Code 125
Technically, that's C-. B- is chassis ground. The resistor between chassis ground and the HV center tap makes the HV c...MrFixr55 — 11:24 PM
54C Cabinet Refinish
hello Roy, I’d follow Arran’s suggestion and use automotive gasket material, which I keep around for situations like th...radiorich — 10:22 PM
Philco 71 Code 125
This might be one of those cases where it's a ground to an AC voltage and B- to DC.RodB — 08:22 PM
Philco 71 Code 125
Really Rod? I know you would not steer me wrong but AI say this is a short circuit? What if I moved the 6 volt center ta...dconant — 06:40 PM
54C Cabinet Refinish
Roy; Personally I would have left the asbestos alone if it were my set, but you can find a modern substitute that som...Arran — 04:51 PM
Philco 71 Code 125
Looks like that might be the B- buss, so that would be correct.RodB — 01:32 PM
Philco 71 Code 125
I noticed on the code 121 schematic the center tap for the 6 volt winding and hv winding are tied together. Is this corr...dconant — 12:16 PM
Philco 45-6365 Universal IFT Instruction Manual
The Philco Parts Catalog for 1942 shows it as usable for 175 kHz, 260 kHz, and 465 kHz. The instructions will show how t...DaleHCook — 11:19 AM
Stromberg Carlson 1500 Squeal
Hello Rob, I agree with you—I have one here at my house that I need to check out. It’s way over-engineered just to make...radiorich — 11:05 AM

[-]
Who's Online
There are currently no members online.

>