12-08-2019, 03:29 PM
I more or less finished one of two 5-S-127 chassis, recapped, reresisotored (if that's a word)... It works on all bands pretty well but still needs to be aligned, voltages need better checking and the dial needs replacing.
But I think it's getting displaced from the "workbench" by the 37-116 I got last week. So that's it for now.
I tried some things I'd like to apply to the 37-116. I think these things helped the appearance...
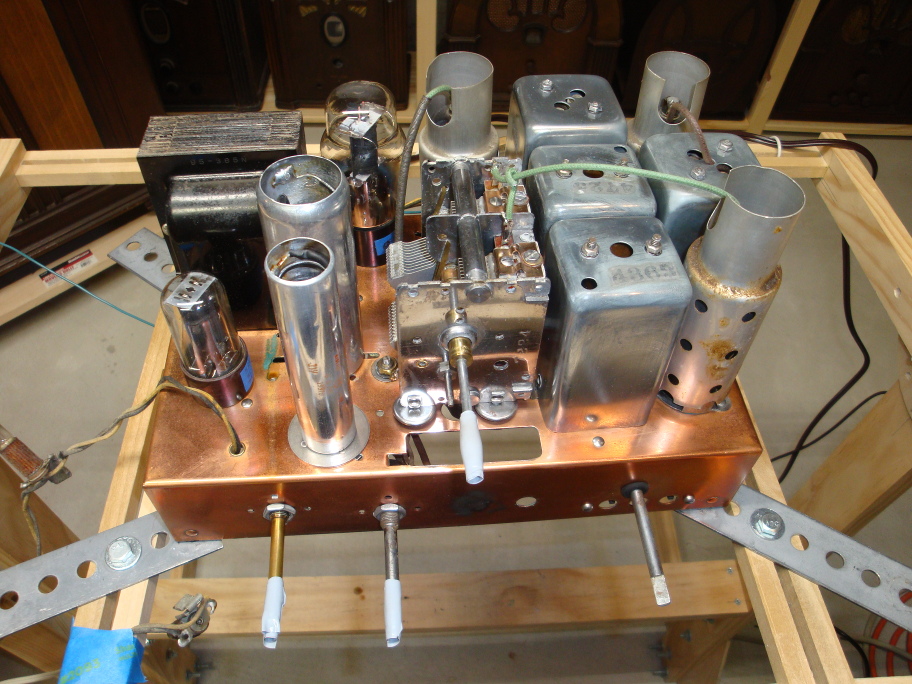
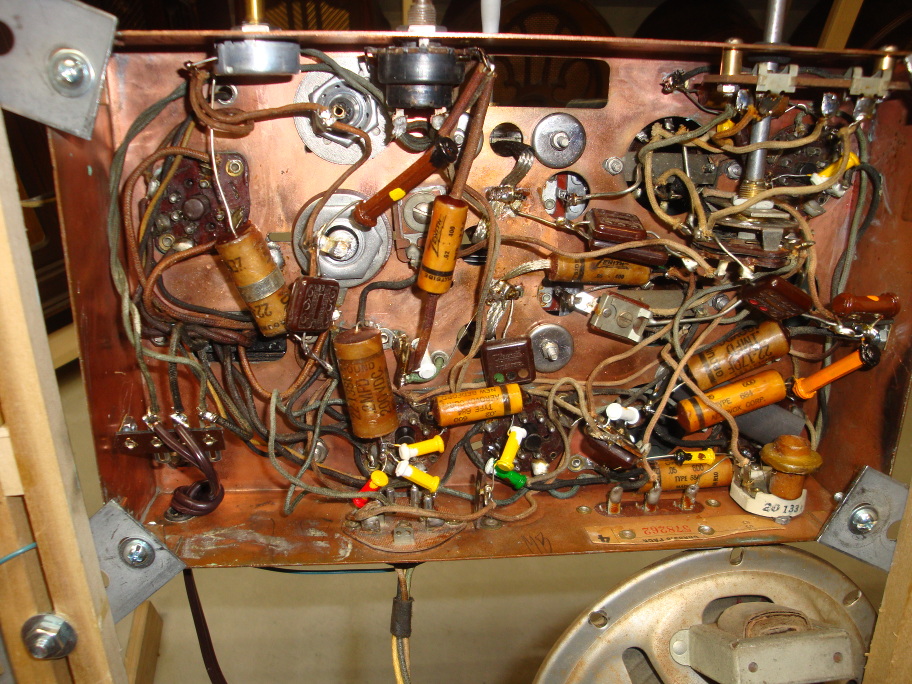
- Electrolytics restuffed and negative terminals soldered to insides of the original aluminum cans.
- Paper caps restuffed, ends capped off with beeswax and lightly coated with wax. Anybody think it's a bad idea to use beeswax? They aren't full of it, just the very end. I stuck cardboard disks into the ends before waxing. I'd like something that melted at a bit higher temp. Carnauba seems shrink and crack as it cools. I tried mix but not much better.
- Resistors replaced with new ones all encapsulated with resin to appear to be dog bones. They seem to have originally used both dog bone and non but with no rhyme or reason to which where. Probably just availability.
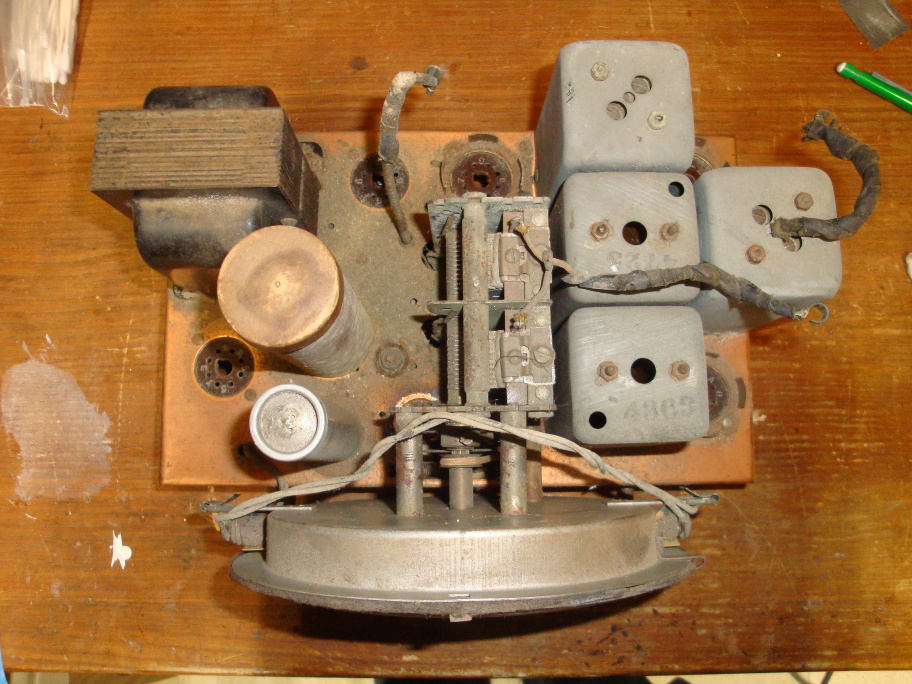
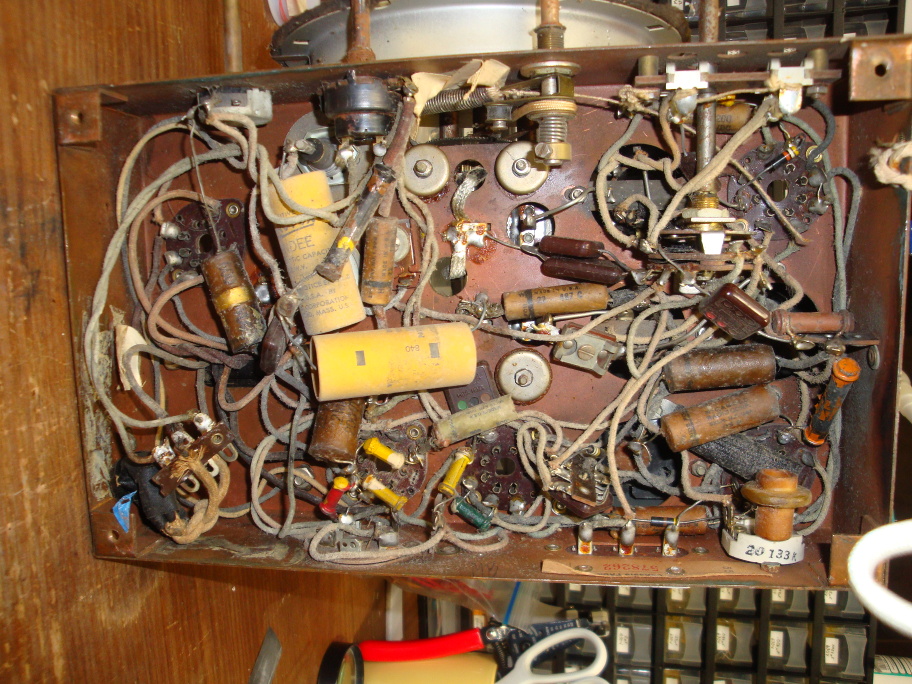
Before (Photos don't do justice to filth on it.):


After:


But I think it's getting displaced from the "workbench" by the 37-116 I got last week. So that's it for now.
I tried some things I'd like to apply to the 37-116. I think these things helped the appearance...
- Electrolytics restuffed and negative terminals soldered to insides of the original aluminum cans.
- Paper caps restuffed, ends capped off with beeswax and lightly coated with wax. Anybody think it's a bad idea to use beeswax? They aren't full of it, just the very end. I stuck cardboard disks into the ends before waxing. I'd like something that melted at a bit higher temp. Carnauba seems shrink and crack as it cools. I tried mix but not much better.
- Resistors replaced with new ones all encapsulated with resin to appear to be dog bones. They seem to have originally used both dog bone and non but with no rhyme or reason to which where. Probably just availability.
Before (Photos don't do justice to filth on it.):
After:
Can't think of anything witty.
Greg O.
Whitehall, PA


![[-] [-]](https://philcoradio.com/phorum/images/bootbb/collapse.png)


