Posts: 13,776
Threads: 580
Joined: Sep 2005
City: Ferdinand
State, Province, Country: Indiana
Tim - Congratulations! I noticed on Hayseed's website that they have a backlog due to "shortage of materials" and more orders than ever. The latter is a good problem for any company. Their website also states that they have overcome the material shortage and are working on catching up on the backlog of orders.
(02-11-2018, 01:20 PM)Phlogiston Wrote: If you are opening electrolytic caps with anything besides a Dremel tool (thin cut), I am going to report you to - - - - whoever sews fingers back on. ...Yeah, yeah, tell me none of this is true. 
Sorry to say, 'tis true. I've learned how to cut the lip off at the end of the can without risking cutting a finger or thumb, having the blade go away from my hand rather than towards it. It is much faster to cut the can open rather than using a Dremel. (Kids - do not try this at home.) 
Yes, I would rather use a Dremel, but it takes so long to remove the lip using a Dremel that I've resorted to cutting the last several cans I've restuffed.
Quote:I only use US made tubes in these amps (Stars and Stripes - Forever, playing in background) because they are so d**ned good - - or because that is all I have. 
I don't have a stock of audio tubes, only a stock of vintage radio tubes - because I did not become interested in vintage audio until a few years ago. So when I need output tubes, I have to buy them. The Russian output tubes are fine. Sure, I would prefer NOS American but...$$$
--
Ron Ramirez
Ferdinand IN
Posts: 16,533
Threads: 573
Joined: Oct 2011
City: Jackson
State, Province, Country: NJ
I use bandsaw. So far - successfully.
People who do not drink, do not smoke, do not eat red meat will one day feel really stupid lying there and dying from nothing.
Posts: 2,118
Threads: 112
Joined: Jun 2010
City: Medford OR (OR what?)
OK. For you old - OLD guys, you have your ways and the scars to prove it.
For new guys, the use of a cutting "stone" on the dremel tool is much safer. But you can still make an ouchie if you aren't careful. The "thin cut" wheels will allow you to cut the cap off of a can in less than a minute. And it is real hard to get a finger in the way. Always use safety glasses.
"I just might turn into smoke, but I feel fine"
http://www.russoldradios.com/
Posts: 13,776
Threads: 580
Joined: Sep 2005
City: Ferdinand
State, Province, Country: Indiana
No argument from me - I agree that the Dremel is safer.
--
Ron Ramirez
Ferdinand IN
Posts: 1,212
Threads: 85
Joined: Jan 2014
City: Annapolis, IL
State, Province, Country: USA
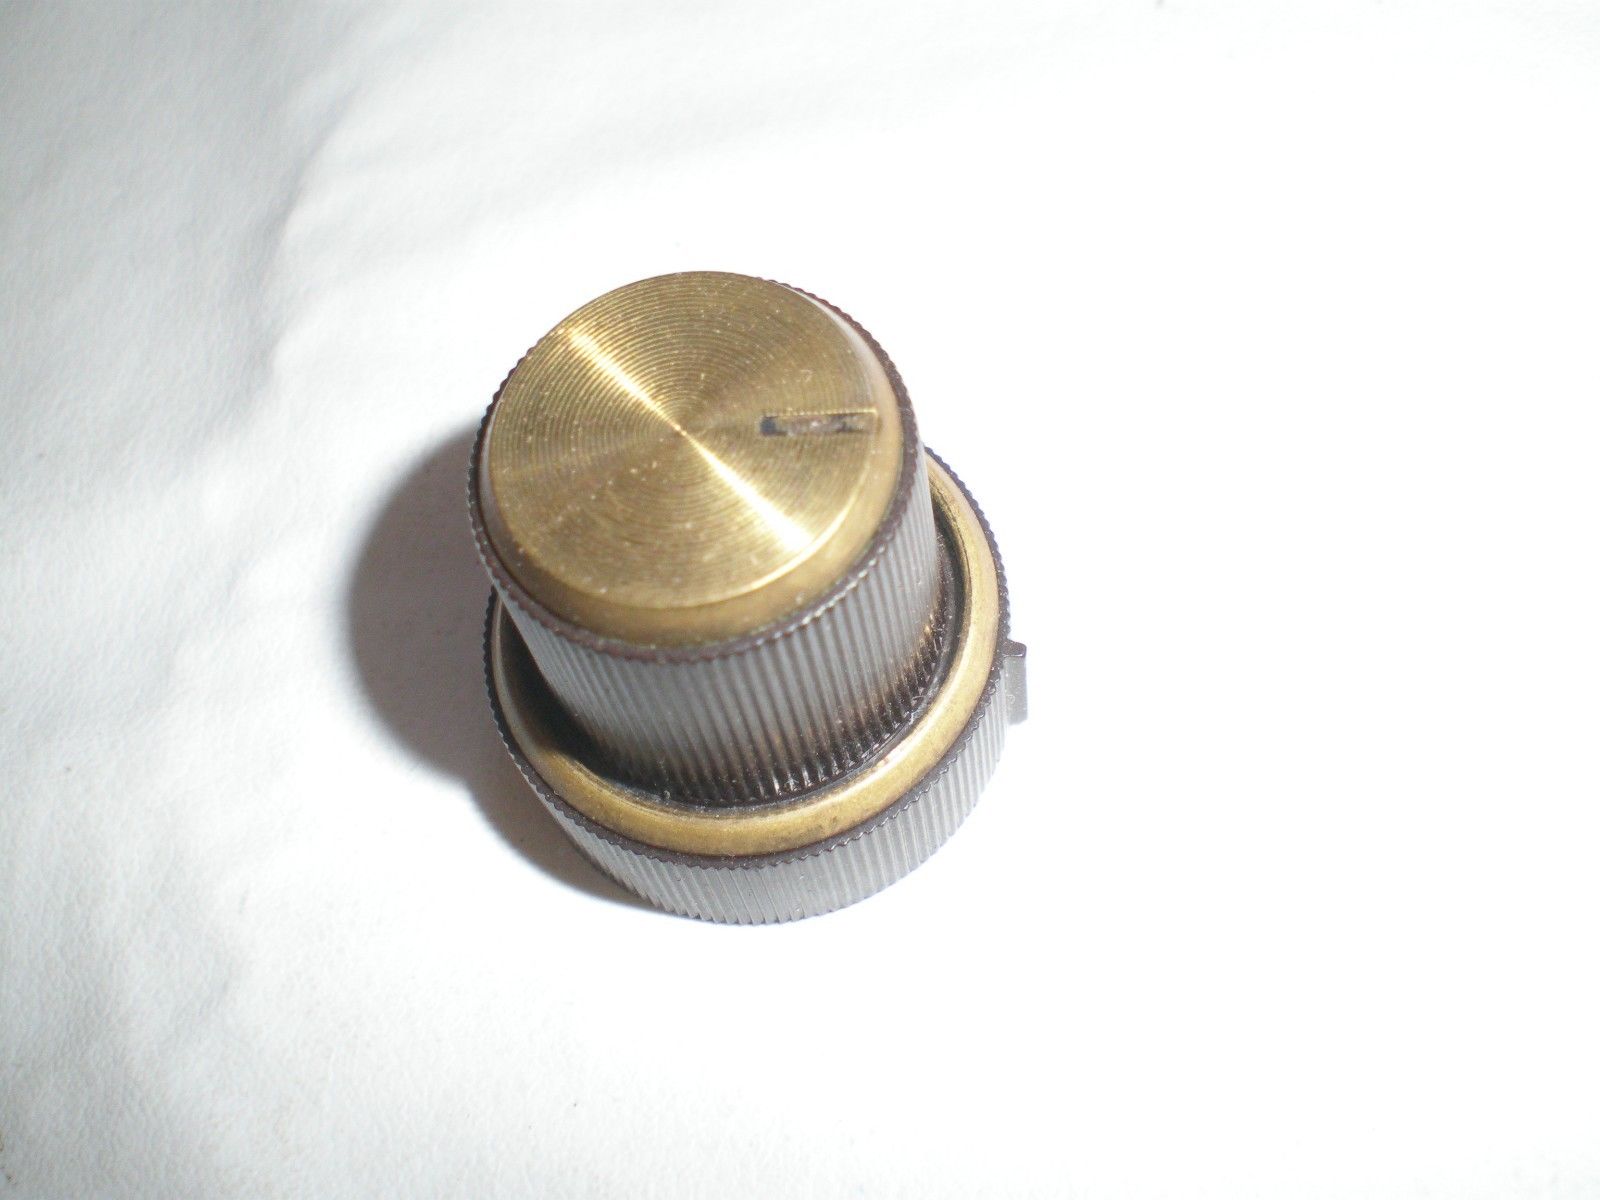
Yep Ron, you were right. I'd about be buying the receiver again with these knobs. $35 a crack plus shipping, plus the 2 part knobs are sold separate, so that's about $300 for a set of knobs for that 500. Wow!
https://www.ebay.com/itm/The-Fisher-TUBE...0005.m1851

If I could find the place called "Somewhere", I could find "Anything" 
Tim
Jesus cried out and said, "Whoever believes in me , believes not in me but in him who sent me" John 12:44
Posts: 13,776
Threads: 580
Joined: Sep 2005
City: Ferdinand
State, Province, Country: Indiana
Well, there you go. Crazy indeed. And I admit that I considered buying one of the single knobs (not the type that goes with the outer collar knob, just the single knob) for the same price but I didn't. I have a KM-60 tuner that needs a knob or two. Oh well.
Tim, do you remember posting those Fisher solid state knobs (page 1, post #7, this thread)? I suppose a cheaper (though not authentic) solution for you might be to watch for one of the earlier generation Fisher solid state receivers that has all of its knobs but is otherwise in sad shape and not working, and try to get one of those. Hey, it's better than no knobs at all. Or, try contacting some of the knob people (Mike Koste, Julie McCall, Wilbur Gilroy, etc.) and see if they carry the proper knobs and at what price.
--
Ron Ramirez
Ferdinand IN
Posts: 1,212
Threads: 85
Joined: Jan 2014
City: Annapolis, IL
State, Province, Country: USA
All together now - lets say "ouch" 

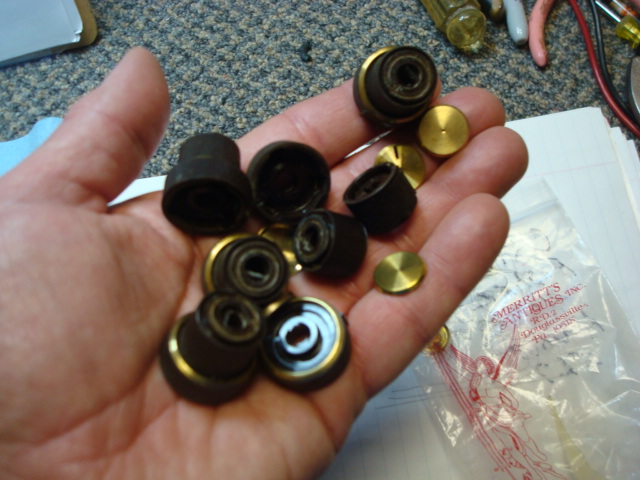
But, at least I have some knobs now ...
If I could find the place called "Somewhere", I could find "Anything" 
Tim
Jesus cried out and said, "Whoever believes in me , believes not in me but in him who sent me" John 12:44
Posts: 13,776
Threads: 580
Joined: Sep 2005
City: Ferdinand
State, Province, Country: Indiana
Ouch. 
Where did you find them, Tim, if you don't mind my asking?
--
Ron Ramirez
Ferdinand IN
Posts: 1,212
Threads: 85
Joined: Jan 2014
City: Annapolis, IL
State, Province, Country: USA
It was an Ebay find. Not cheap by any means, but seemed to the be the best deal at the time. Got a matching set of brass caps ordered. Soooo... progress noted.
If I could find the place called "Somewhere", I could find "Anything" 
Tim
Jesus cried out and said, "Whoever believes in me , believes not in me but in him who sent me" John 12:44
Posts: 1,212
Threads: 85
Joined: Jan 2014
City: Annapolis, IL
State, Province, Country: USA
I kinda went silent on this while doing some research. One thing's for sure, there is a LOT of reading and there are many different opinions on how to redo these. About 4 different "kits" available, One says this, the other says that, one source gives me the creeps, and so on. It has gotten to the point of total frustration and am about ready to shelf the project.
So - to source my own parts, and following only the major advices that are proven? The main things I see coming up over and over are:
1. Adding screen resistors on the output tubes to prevent arcing and subsequent destruction of said output tube (I understand this)
2. Adding a 10 ohm resistor on the cathode of the output tubes to be able to measure current (I understand this too)
3. Adding some type of bias adjustment to set the current of each output tube, they say the bias is set too hot originally from the factory
4. Dropping the grid resistor on the outputs from 330k to 220K and doubling the coupling caps value (long, educating explanation available)
This is in addition to a full recap of the power supply, any other E-caps and paper caps.
Here is what I see being talked about mostly: With the higher line voltages, this ups the B+, which is hard on caps and tubes. The newer caps have a lower ESR (or whatever) and can cause arcing on the output tubes - thus adding a 100 ohm screen resistor, and with the higher line voltages and B+, the tubes tend to draw more current = short life. The power switch is taxed from the charging of the caps when you hit it, so a current limiter is recommended (or a relay). The new production 7591 tubes are a little different, (lacking quality maybe) from the old production, so again, bias adjustment is needed.
And, the list goes on and on, but this is the basic problem area. I suppose once I get one figured out and working properly, the rest will come easy. If anyone has done this with a kit, has a set of instructions and is willing to share, please PM me. I do have a couple of these to experiment on 
At the moment, this is where I am.
If I could find the place called "Somewhere", I could find "Anything" 
Tim
Jesus cried out and said, "Whoever believes in me , believes not in me but in him who sent me" John 12:44
Posts: 13,776
Threads: 580
Joined: Sep 2005
City: Ferdinand
State, Province, Country: Indiana
Don't give up, Tim...
--
Ron Ramirez
Ferdinand IN
Users browsing this thread:
|
|
Recent Posts
|
|
Model 80 Antenna Issue?
|
|
I’ve replaced all the caps and resistors and the radio is working but minimal volume unless I put my hand near the re...Hamilton — 08:24 PM |
|
Looking for any info: 1977 Ford-Philco Console Hi-Fi Turntable and Radio
|
| Hi there! this is my first time posting. I recently picked up this Ford-Philco Console record player and radio at a yard...PittsburghToast — 07:28 PM |
|
philco predicta
|
| I found that where I have the 140v B+ there is 50v and the tuner receives 235v through the orange cablecgl18 — 04:14 PM |
|
Philco 91 code 221
|
| Chassis grounds thru rivets is another good place to look. Oh and the stator screws on the tuning cap where the leads at...Radioroslyn — 08:11 AM |
|
Philco 91 code 221
|
| Dirty tube pins and socket, cold solder joint, stray tiny strand of wire, clean the entire area around the oscillator tu...RodB — 08:43 PM |
|
Philco 91 code 221
|
| I have been restoring one of these sets and switched it on yesterday. It didn't exactly spring into life, but after a co...Philconut — 08:26 PM |
|
Philco 50-925 antenna connections
|
| That's super. Glad to hear you figured it out. Paul.Paul Philco322 — 11:11 AM |
|
Philco 50-925 antenna connections
|
| Hello Keith,
great news !!
Sincerely Richardradiorich — 02:14 AM |
|
Philco 50-925 antenna connections
|
| Finally, got the antenna fixed (repaired some broken wires) and have the radio playing. I've got four different schemat...keith49vj3 — 09:38 PM |
|
1949 Motorola 5A9M
|
| Bob, Nice radio. I’ve not seen one before. Keep us updated!Joe Rossi — 07:56 PM |
|
Who's Online
|
There are currently 1337 online users. [Complete List]
» 2 Member(s) | 1335 Guest(s)
|
|
|

|
 
|


![[-] [-]](https://philcoradio.com/phorum/images/bootbb/collapse.png)


