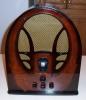
Green eye tube won't turn green!
Posts: 1,544
Threads: 243
Joined: Sep 2012
City: West Bend, Wisconsin
Here's a new one I never encountered before. Working on the Zenith model 8S463 I picked up last weekend. It's been recapped / (most) new resistors, all carefully installed. Checked and double checked. The radio plays, albeit a bit garbled. However when I plug in known good, bright green 6U5 / 6G5 eye tubes, they don't light up green at all! I can see the filament lit bright orange, and the voltages are there on the eye tube socket plug, but no green. It's like a dead eye tube. I take it out, test it in the tube tester, and it shows bright green. Any ideas what would cause this? I have a new 1 meg resistor across pins two and 4.
Here's a link to the schematic:
http://www.nostalgiaair.org/pagesbymodel...025455.pdf
Greg V.
West Bend, WI
Member WARCI.org
Posts: 3,231
Threads: 59
Joined: Apr 2011
City: Lexington, KY
I'd double check all the voltages while the tube is plugged in. If you don't have a tube manual the 6U5 is p. 141 in the following manual:
http://www.tubebooks.org/tubedata/RC15.pdf
It sounds like your plate voltage might be missing or low. That 1 meg resistor (if open) will keep the eye from closing.
John KK4ZLF
Lexington, KY
"illegitimis non carborundum"
Posts: 7,323
Threads: 270
Joined: Dec 2009
City: Roslyn Pa
Have a look at R-18 to be sure all of it's sections are ok. The 52 ohm section is the ground return for the I tube among other things.
When my pals were reading comic books
I was down in the basement in my dad's
workshop. Perusing his Sam's Photofoacts
Vol 1-50 admiring the old set and trying to
figure out what all those squiggly meant.
Circa 1966
Now I think I've got it!
Terry
(This post was last modified: 08-25-2017, 08:50 AM by Radioroslyn.)
Posts: 18,427
Threads: 622
Joined: Oct 2011
City: Jackson
State, Province, Country: NJ
On Zeniths the 1M resistor that is usually located inside the socket often is open.
One way of replacing it without opening the socket (which is backelite and appears to already have cracks so opening it almost guarantees it won't survive it) is the way I did it for my Zenith 9S262.
You could find the topic, from, I think, year 2012.
In essence, I took a surface mount 0603 resistor, which is small and flat, soldered two thin strands of wire to each end, threaded them in the appropriate pins, laying resistor flat on the surface and re-insert the tube. The power dissipation is negligible so this works just fine.
Found it, here it is.
http://philcoradio.com/phorum/showthread...th+9-s-262
The photos are on the last page of the thread.
People who do not drink, do not smoke, do not eat red meat will one day feel really stupid lying there and dying from nothing.
Posts: 1,544
Threads: 243
Joined: Sep 2012
City: West Bend, Wisconsin
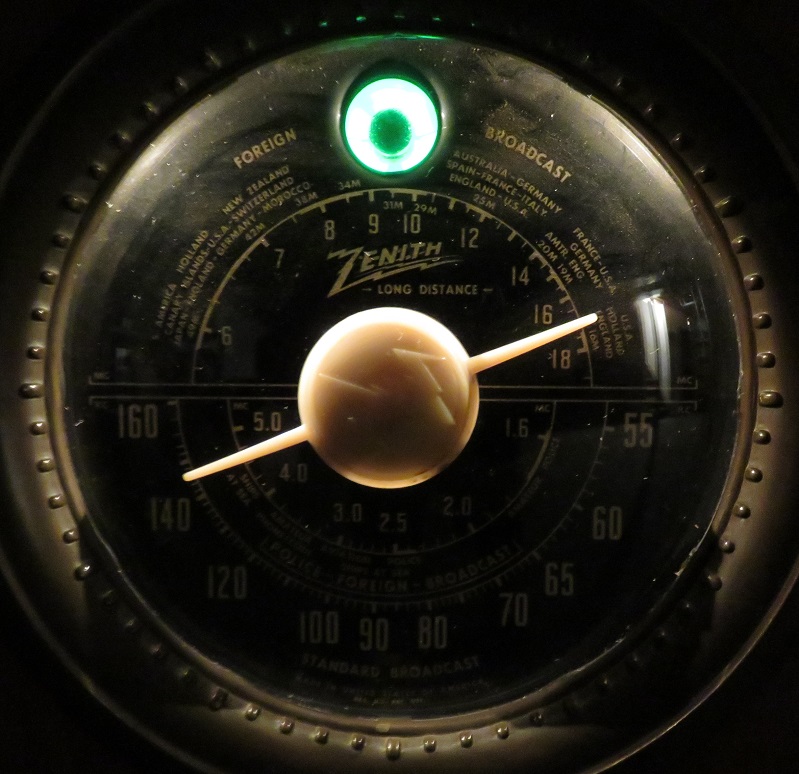
All is well...once I got my head on straight I realized I counted the pins counter clockwise instead of clockwise. It's shining green once again 
Greg V.
West Bend, WI
Member WARCI.org
Posts: 18,427
Threads: 622
Joined: Oct 2011
City: Jackson
State, Province, Country: NJ
Yeah that stuff will get you dizzy 
People who do not drink, do not smoke, do not eat red meat will one day feel really stupid lying there and dying from nothing.
Posts: 481
Threads: 18
Joined: Jan 2013
City: Mesa, AZ
I restored an 8s463 about 8 years ago. Very nice sounding radio! Glad you got the eyeball working, as I had to replace the meg ohm in the socket on mine. Tedious, but do-able! 
Posts: 4
Threads: 1
Joined: Dec 2017
City: Indianapolis Indiana
Most definetly check the resistor at the tube socked base. takes a little work to get to it but take he cover off of the socket to the tube , read the resistance with tube removed from socket.
Posts: 18,427
Threads: 622
Joined: Oct 2011
City: Jackson
State, Province, Country: NJ
Oldswab,
He said the tube is working now
People who do not drink, do not smoke, do not eat red meat will one day feel really stupid lying there and dying from nothing.
Posts: 1,544
Threads: 243
Joined: Sep 2012
City: West Bend, Wisconsin
+1
Greg V.
West Bend, WI
Member WARCI.org
Users browsing this thread: 1 Guest(s)
|
|
Recent Posts
|
|
HiFi (Chifi) tube amp build - but my own design.
|
| It's the other forum. I'm also in DIY, but mostly read there. Honestly, I kinda jumped into this without much thought to...TV MAN — 10:43 AM |
|
Philco 71 Code 125
|
| Hello,
I am in need of a schematic for this radio. Mine has the three separate circular tube shields and a shadow me...dconant — 08:06 AM |
|
Stromberg Carlson 1500 Squeal
|
| And life just keeps getting more complicated.dconant — 07:57 AM |
|
54C Complete Teardown/Rebuild
|
| Hello Roy,
here is this one
sincerely Richardradiorich — 12:45 AM |
|
54C Complete Teardown/Rebuild
|
| Richard,
Had grabbed it already but thank you just the same. I find myself wanting to find some way to block out the...glyphmon — 12:03 AM |
|
54C Complete Teardown/Rebuild
|
| Hello roy,
here is a link to the schematic .
Sincerely Richardradiorich — 11:54 PM |
|
54C Complete Teardown/Rebuild
|
| Richard,
The Silvertone 2014 also is a transformerless set, so I am incorporating a 1:1 600 ohm audio isolation transfo...glyphmon — 11:37 PM |
|
Preliminary work on wife's Silvertone 2014
|
| Did an alignment today which was interesting. IF alignment went great, almost all was already spot-on. Adjusting on th...glyphmon — 11:35 PM |
|
54C Complete Teardown/Rebuild
|
| The main problem with adding a Bluetooth input is that this set lacks a traditional power transformer to isolate it from...radiorich — 11:19 PM |
|
54C Cabinet Refinish
|
|
I started stripping this cabinet before it got super chilly out because I knew I wasn't going to be able to work on ...glyphmon — 11:18 PM |
|
Who's Online
|
There are currently 1658 online users. [Complete List]
» 1 Member(s) | 1657 Guest(s)
|
|
|

|
 
|