Posts: 1,199
Threads: 49
Joined: Oct 2017
City: Allendale, MI
All the good radio shows are late at night. Like Ziggy's Midnight Blue, conspiracy theory shows, etc. I like working at night as it's quiet in the house with no phone interruptions. Once I focus in on a project, I tend to loose track of time. Before I know it, it's 2 or 3 am. The problem is, I have a hard time sleeping in in the morning. Eventually I have to play catch-up.
Posts: 1,388
Threads: 46
Joined: Nov 2017
City: Menlo Park
State, Province, Country: CA
That looks fabulous Rob. I'm glad the coil was helpful - was it tricky to reconnect the fine wires from the internal bobbin?
Even without an RF stage, these radios impress me. In fact, one of my favourite modern communications receiver brands chose to go straight in to the mixer stage (via bandpass selection) and still achieved microvolt sensitivity. If you can hear the atmospheric noise jump when the antenna is connected, generally you have enough sensitivity.
I don't hold with furniture that talks.
Posts: 1,199
Threads: 49
Joined: Oct 2017
City: Allendale, MI
Not really difficult. I had to extend one of the wires from the coil by about an inch. I used 35 AWG magnet wire. The hardest part is stripping the old enamel off from the original wire. It doesn't strip with just the heat of the solder iron like the new wire does. None the less, it wasn't difficult and it works great. I'm surprised at its sensitivity without an RF amp, as you seem to be. I was also surprised at how close bands 4 and 5 turned out to be without separate compensators for heach band. All and all, very pleased and have been listening to it in the shop for the last couple of days as I change out 100's of tiny pots on some Allen Organ tone boards from a large custom organ. I slowly go insane with the tedium!
I may tackle the cabinet before I do some of the others that are waiting. The radio sounds so much better with the speaker in the cabinet and I kind of like this radio!
Posts: 1,199
Threads: 49
Joined: Oct 2017
City: Allendale, MI
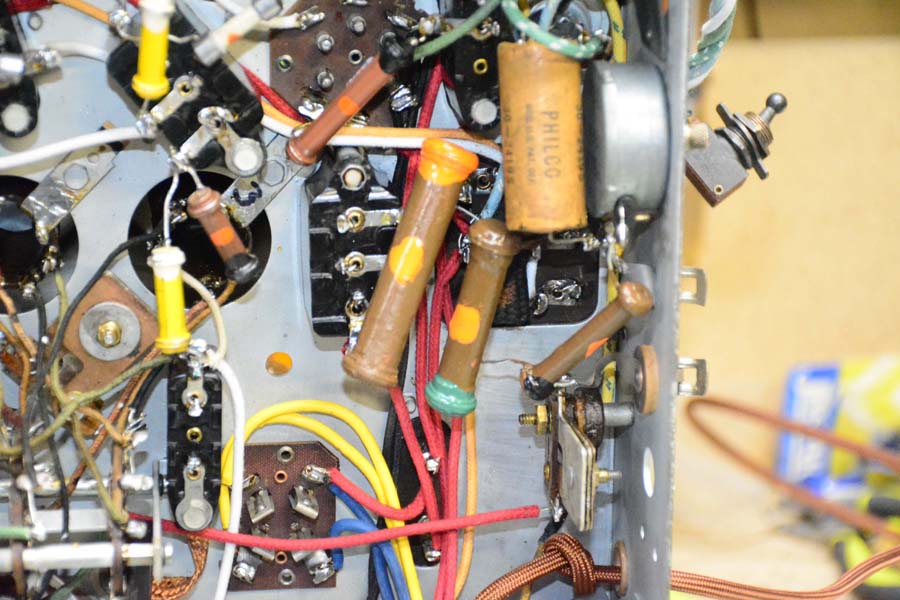
Decided to try my hand at molding resistors. They kind of look original...if you don't look to closely.
Posts: 16,521
Threads: 572
Joined: Oct 2011
City: Jackson
State, Province, Country: NJ
Unless one is an expert and uses a magnifying glass......great job! Looks as original as ever. (Well, Russ or Steve might notice something  but not me )
Have you used plastic or epoxy/filler mold?
People who do not drink, do not smoke, do not eat red meat will one day feel really stupid lying there and dying from nothing.
Posts: 13,776
Threads: 580
Joined: Sep 2005
City: Ferdinand
State, Province, Country: Indiana
Fine job, Rob. Fine job. 
--
Ron Ramirez
Ferdinand IN
Posts: 1,199
Threads: 49
Joined: Oct 2017
City: Allendale, MI
I made the mold in epoxy resin and the resistors are epoxy putty. I won't do it that way again. The epoxy mold makes it too difficult to get the original parts out even with a lot of mold release. I'll buy some of the silicone rubber molding compound that Russ uses and recommends. A tiny bit of flexibility would help greatly in removing parts.
Only the 3 larger ones are redone. The rest are original with a hidden, parallel resistor underneath.
(This post was last modified: 10-01-2019, 10:56 AM by rfeenstra.)
Posts: 16,521
Threads: 572
Joined: Oct 2011
City: Jackson
State, Province, Country: NJ
That's what I recently started doing: hide a smaller resistor to parallel the original to bring the resistance within tolerance limits.
People who do not drink, do not smoke, do not eat red meat will one day feel really stupid lying there and dying from nothing.
Posts: 1,199
Threads: 49
Joined: Oct 2017
City: Allendale, MI
That works for the smaller dogbones. They all seem to go up in value. As you mentioned before, the large ones seem to go down in value. Replacement is the only reasonable way to get it into spec. I have tried to hide a series resistor but it doesn't work well as far as the installation is concerned. I did do that on my 45C. Probably won't again now that I know I can do this.
Posts: 16,521
Threads: 572
Joined: Oct 2011
City: Jackson
State, Province, Country: NJ
ON my recently finished 45C I did both. Yes, with the large resistors I had to use the modern types as they went down quite a bit. I could serialize of course but then serialization does not lend itself to hiding as well as paralleling does.
People who do not drink, do not smoke, do not eat red meat will one day feel really stupid lying there and dying from nothing.
Posts: 1,199
Threads: 49
Joined: Oct 2017
City: Allendale, MI
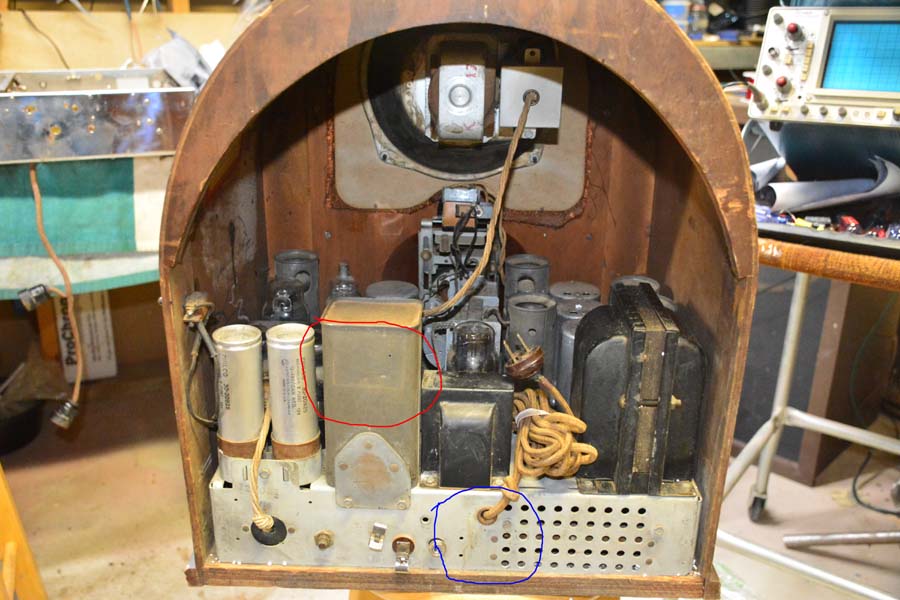
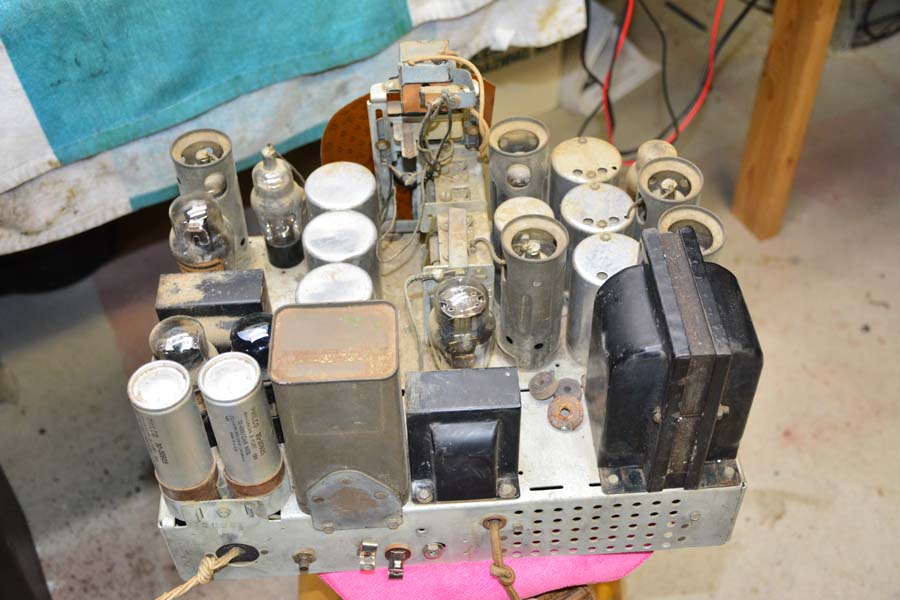
I'm looking to finish this electronic restoration up. There were 2 labels on the back of the radio that were gone when I got the radio. I presume the area circled in blue is where the gold, model label was located. What might have been on the capacitor can? Did Philco put something there, or was it, perhaps, another sticker from the repair company in maine? Also, there was something on the top of the capacitor can. It looked like it may have been another sticker. Perhaps a part number sticker? Thanks!
(This post was last modified: 10-02-2019, 12:16 PM by rfeenstra.)
Posts: 178
Threads: 19
Joined: Feb 2014
City: The Motor City,Detroit MI
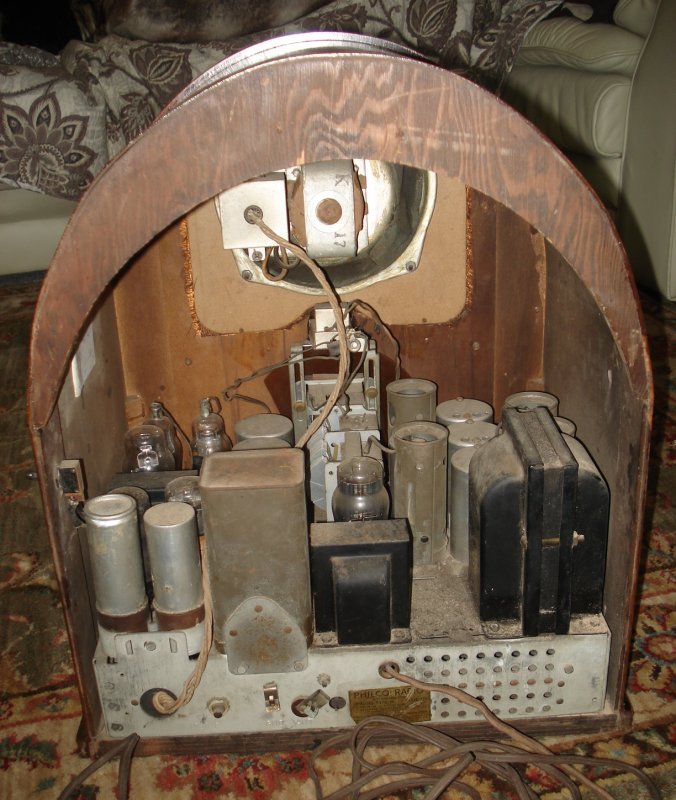
Mine has no sticker, maybe there is a ghost of a sticker.
(This post was last modified: 10-02-2019, 12:18 PM by Kestas.)
Posts: 1,199
Threads: 49
Joined: Oct 2017
City: Allendale, MI
Thank you. I suspect it was from the repair shop.
Posts: 1,199
Threads: 49
Joined: Oct 2017
City: Allendale, MI
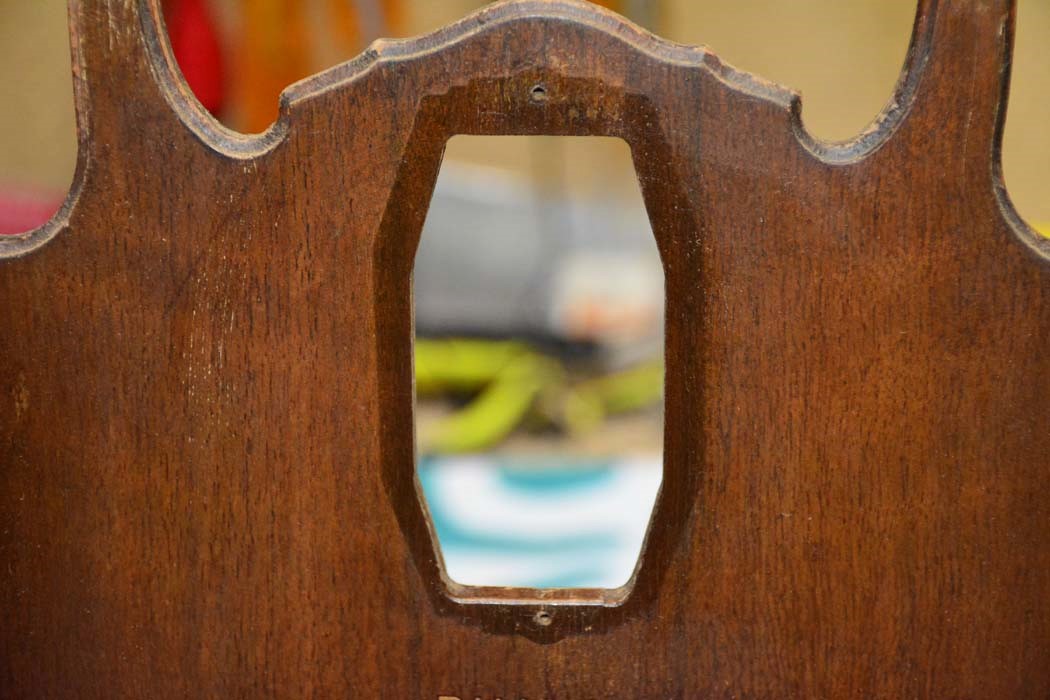
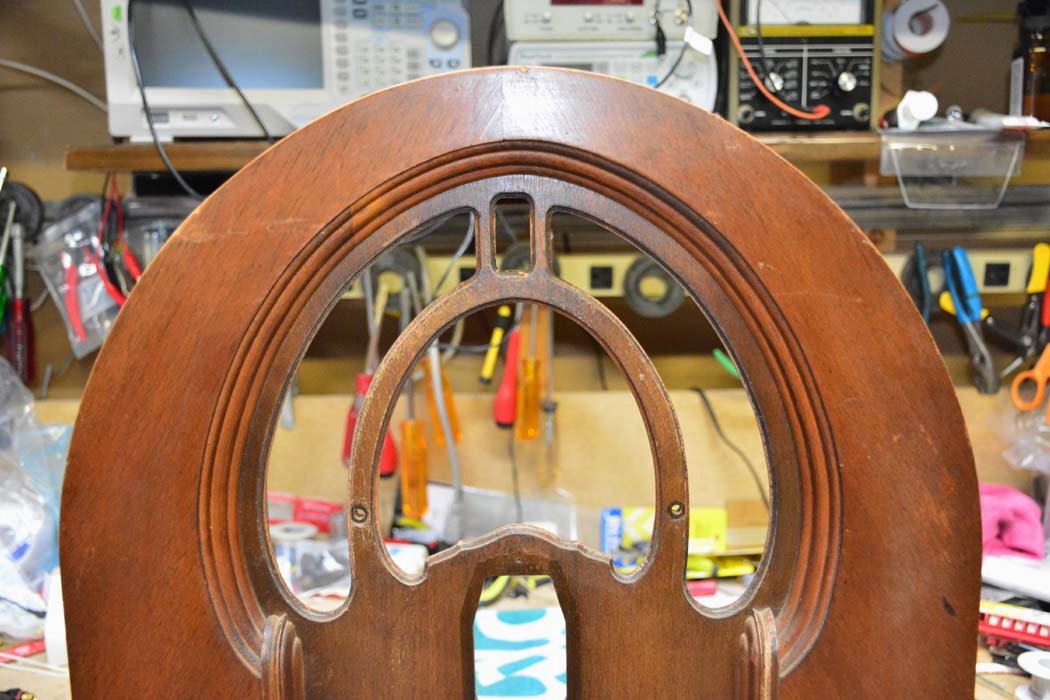
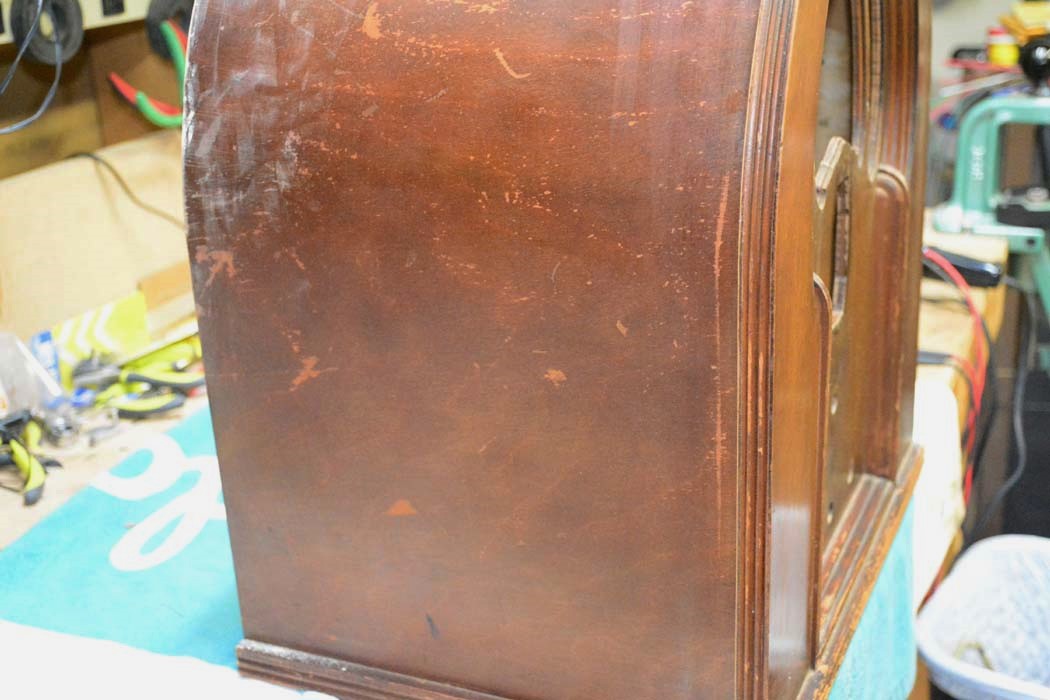
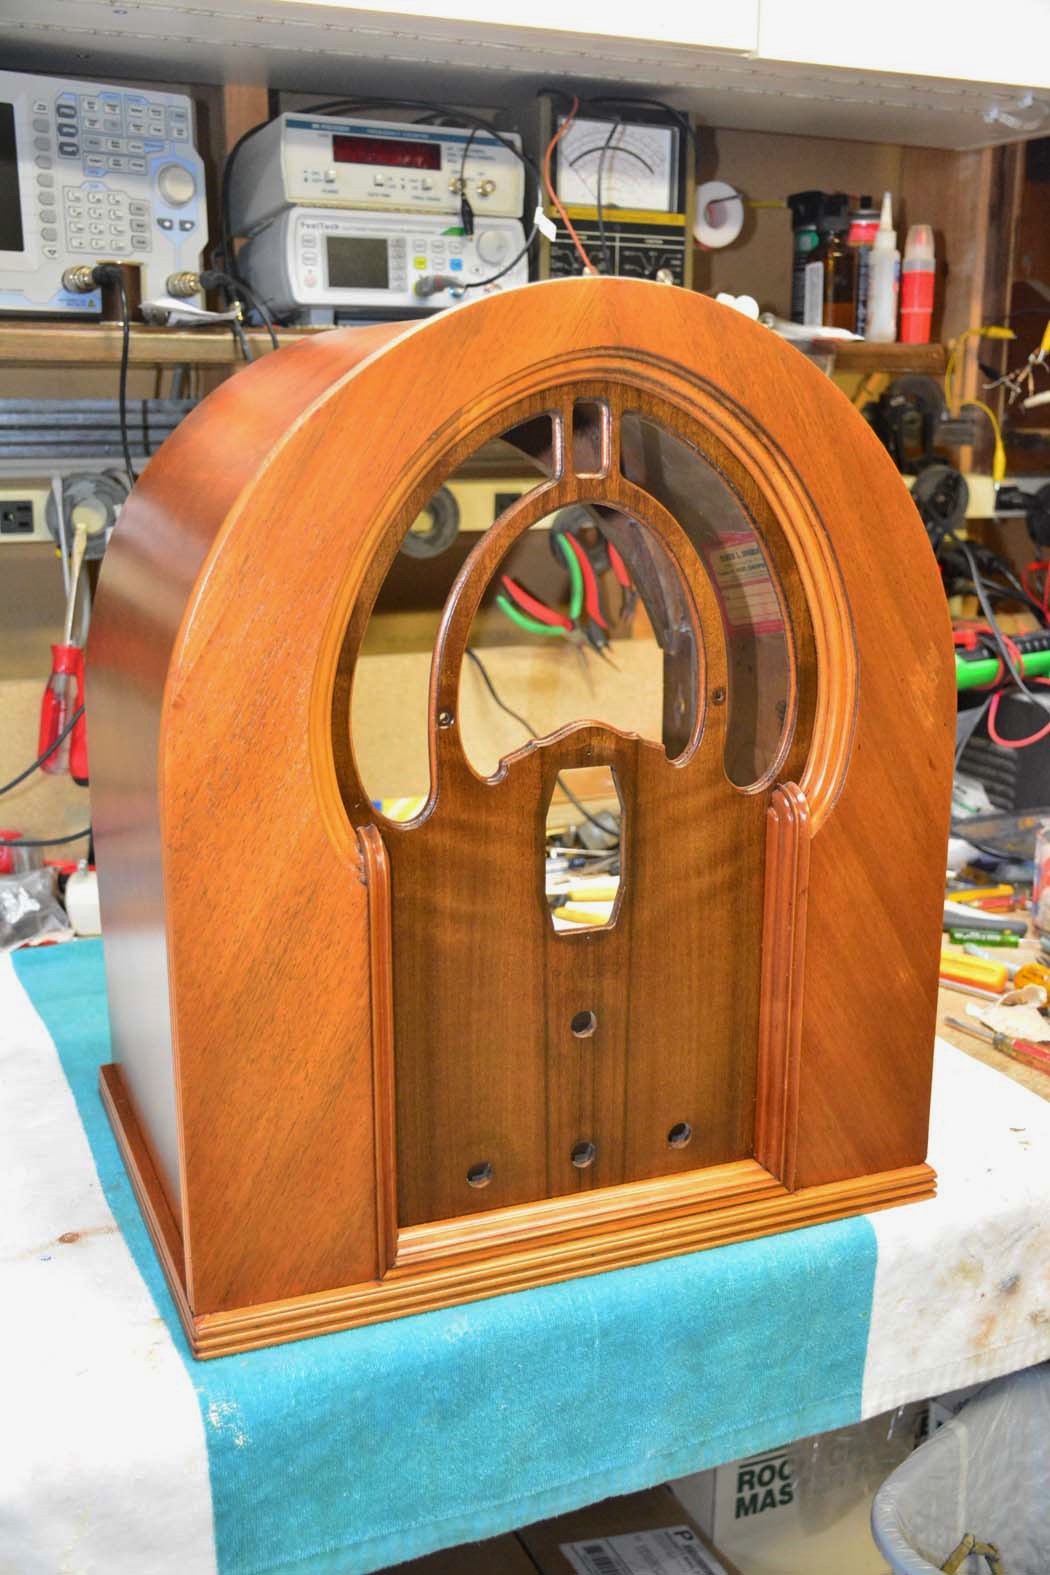
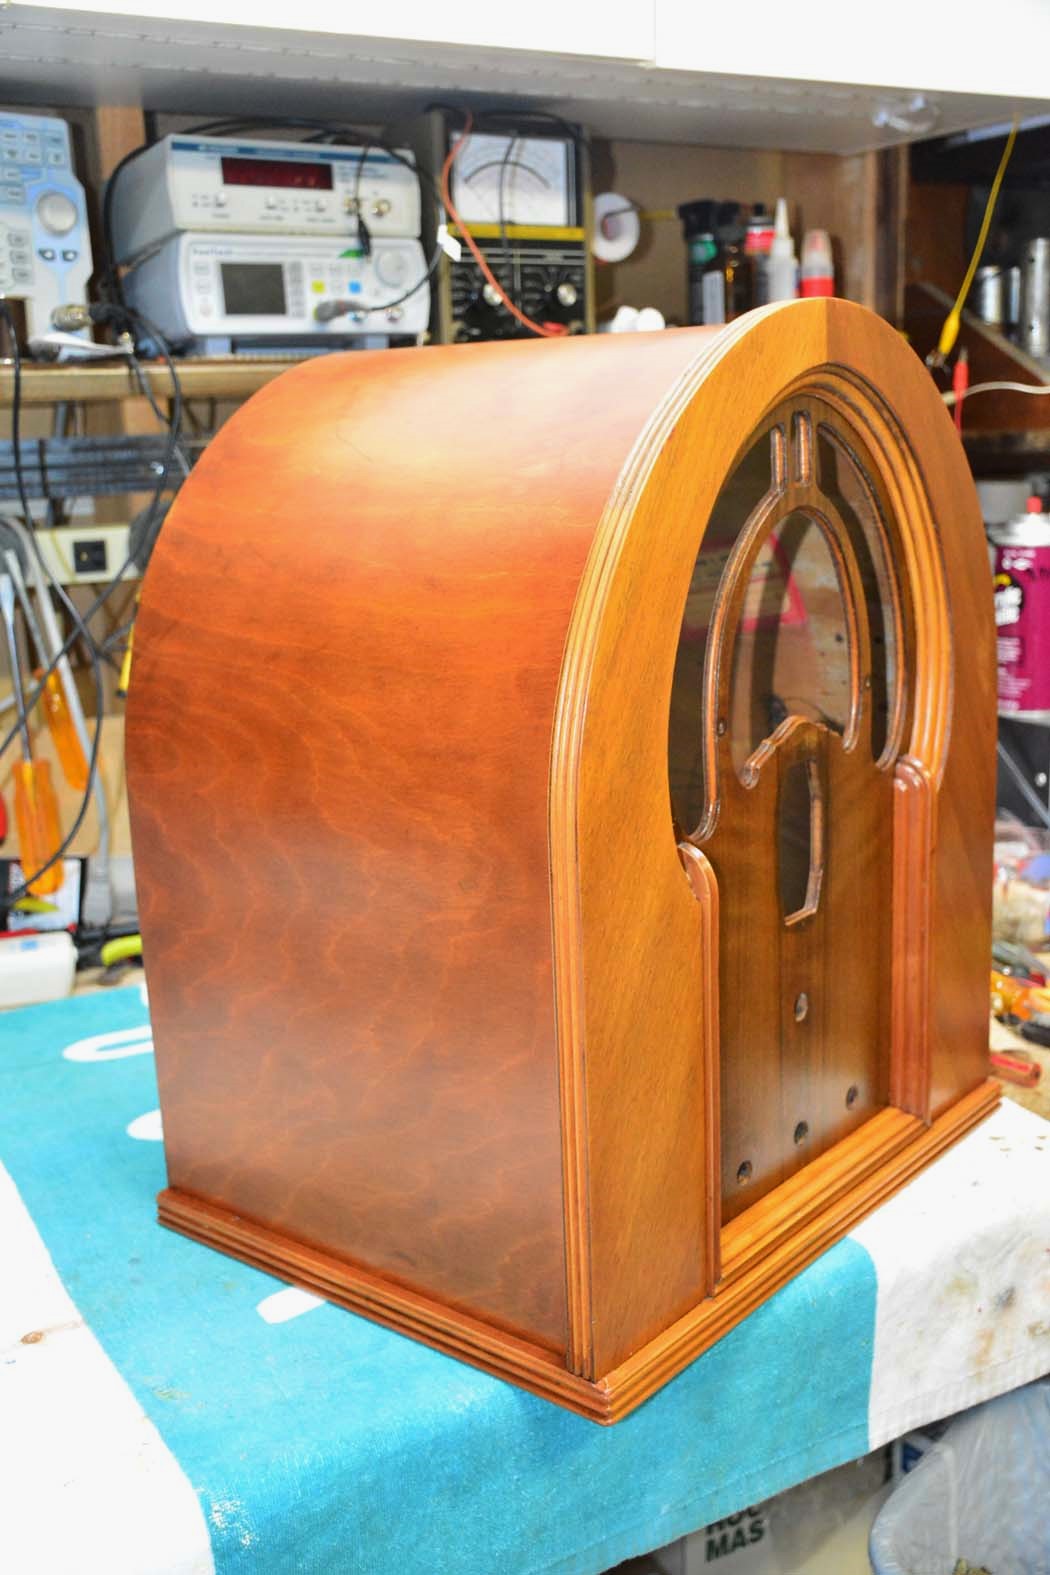
I decided to complete this radio so I started the refinishing process. I could start a thread in the finish section but it made sense to me to keep it all together.
The cabinet has been stripped and now has 2 coats of Mohawk EZ Vinyl sealer. Next will be filler, than sanding sealer and finally, semi gloss lacquer.
Questions on toner colors. I'll use walnut brown grain filler even though the wood is, I believe, some form of mahogany. You can see how dark the finish was under the escutcheon. What toner would you recommend for the inset?
The surrounding wood was fairly red. Toner recommendation? The trim pieces were not a lot darker than the surrounding wood. I may darken it ever so slightly more than the surrounding wood to help hide the end grain at the top and the joint.
The sides were quite dark and red. A suggestion for toner?
Thank you in advance for your recommendations!
Posts: 7,301
Threads: 269
Joined: Dec 2009
City: Roslyn Pa
I tend to stay away from the mahogany to me it too red and you loose the yellow quickly. If you like it just a little on the caramel side of things I stick w/ the walnut and sometimes I add a little yellow by using pine ( I think look @ the color chart ).
ymmv
When my pals were reading comic books
I was down in the basement in my dad's
workshop. Perusing his Sam's Photofoacts
Vol 1-50 admiring the old set and trying to
figure out what all those squiggly meant.
Circa 1966
Now I think I've got!
Terry
Users browsing this thread: 4 Guest(s)
|
|
Recent Posts
|
|
1949 Motorola 5A9M
|
| This is a nice little Motorola set that appears to be in relatively good shape. None of the external plastic case is br...klondike98 — 01:36 AM |
|
My collection presentation
|
| Nice collection :thumbup:klondike98 — 11:09 PM |
|
Philco 39-7C Restore
|
| I've melted off much of the wax on the antenna transformer and had a good look at the two ends of the secondary winding ...klondike98 — 09:56 PM |
|
Philco newbie with P-1891-WA console questions
|
| We don't have information on a radio that "new" in the digital library but Sam's Photofacts has the schematic ...klondike98 — 09:41 PM |
|
1934 American Bosch 440T restore on YouTube
|
| Hello :angel:
I have a new project on YouTube,
a 1934 American Bosch Model 440 T
Part 1 now uploaded
link below to ...Buzz — 07:55 PM |
|
Philco newbie with P-1891-WA console questions
|
| Thank you! My little pea brain has been getting overwhelmed with TMI so I’m looking for some hand holding before I consi...Jeffcon — 06:59 PM |
|
Philco newbie with P-1891-WA console questions
|
| Welcome to the Phorum, Jeffcon! Replacement of the caps is a priority. Several threads are here with information on re...GarySP — 06:20 PM |
|
Philco newbie with P-1891-WA console questions
|
| I’m very new to vintage solid state repair and have many questions but will stick to some broad descriptions of what’s g...Jeffcon — 04:54 PM |
|
Philco 48-1201 cartridge
|
| I need to give them a shout I suppose. I'm completely green when it comes to phonographs and cartridges. I re-capped the...KI5OMM — 08:43 PM |
|
Philco 48-1201 cartridge
|
| Does have any?
Kirk Luffman (OldRestorer) used to make replacements, but I am not sure he eiteyr makes them or have s...morzh — 05:54 PM |
|
Who's Online
|
| There are currently no members online. |

|
 
|


![[-] [-]](https://philcoradio.com/phorum/images/bootbb/collapse.png)


