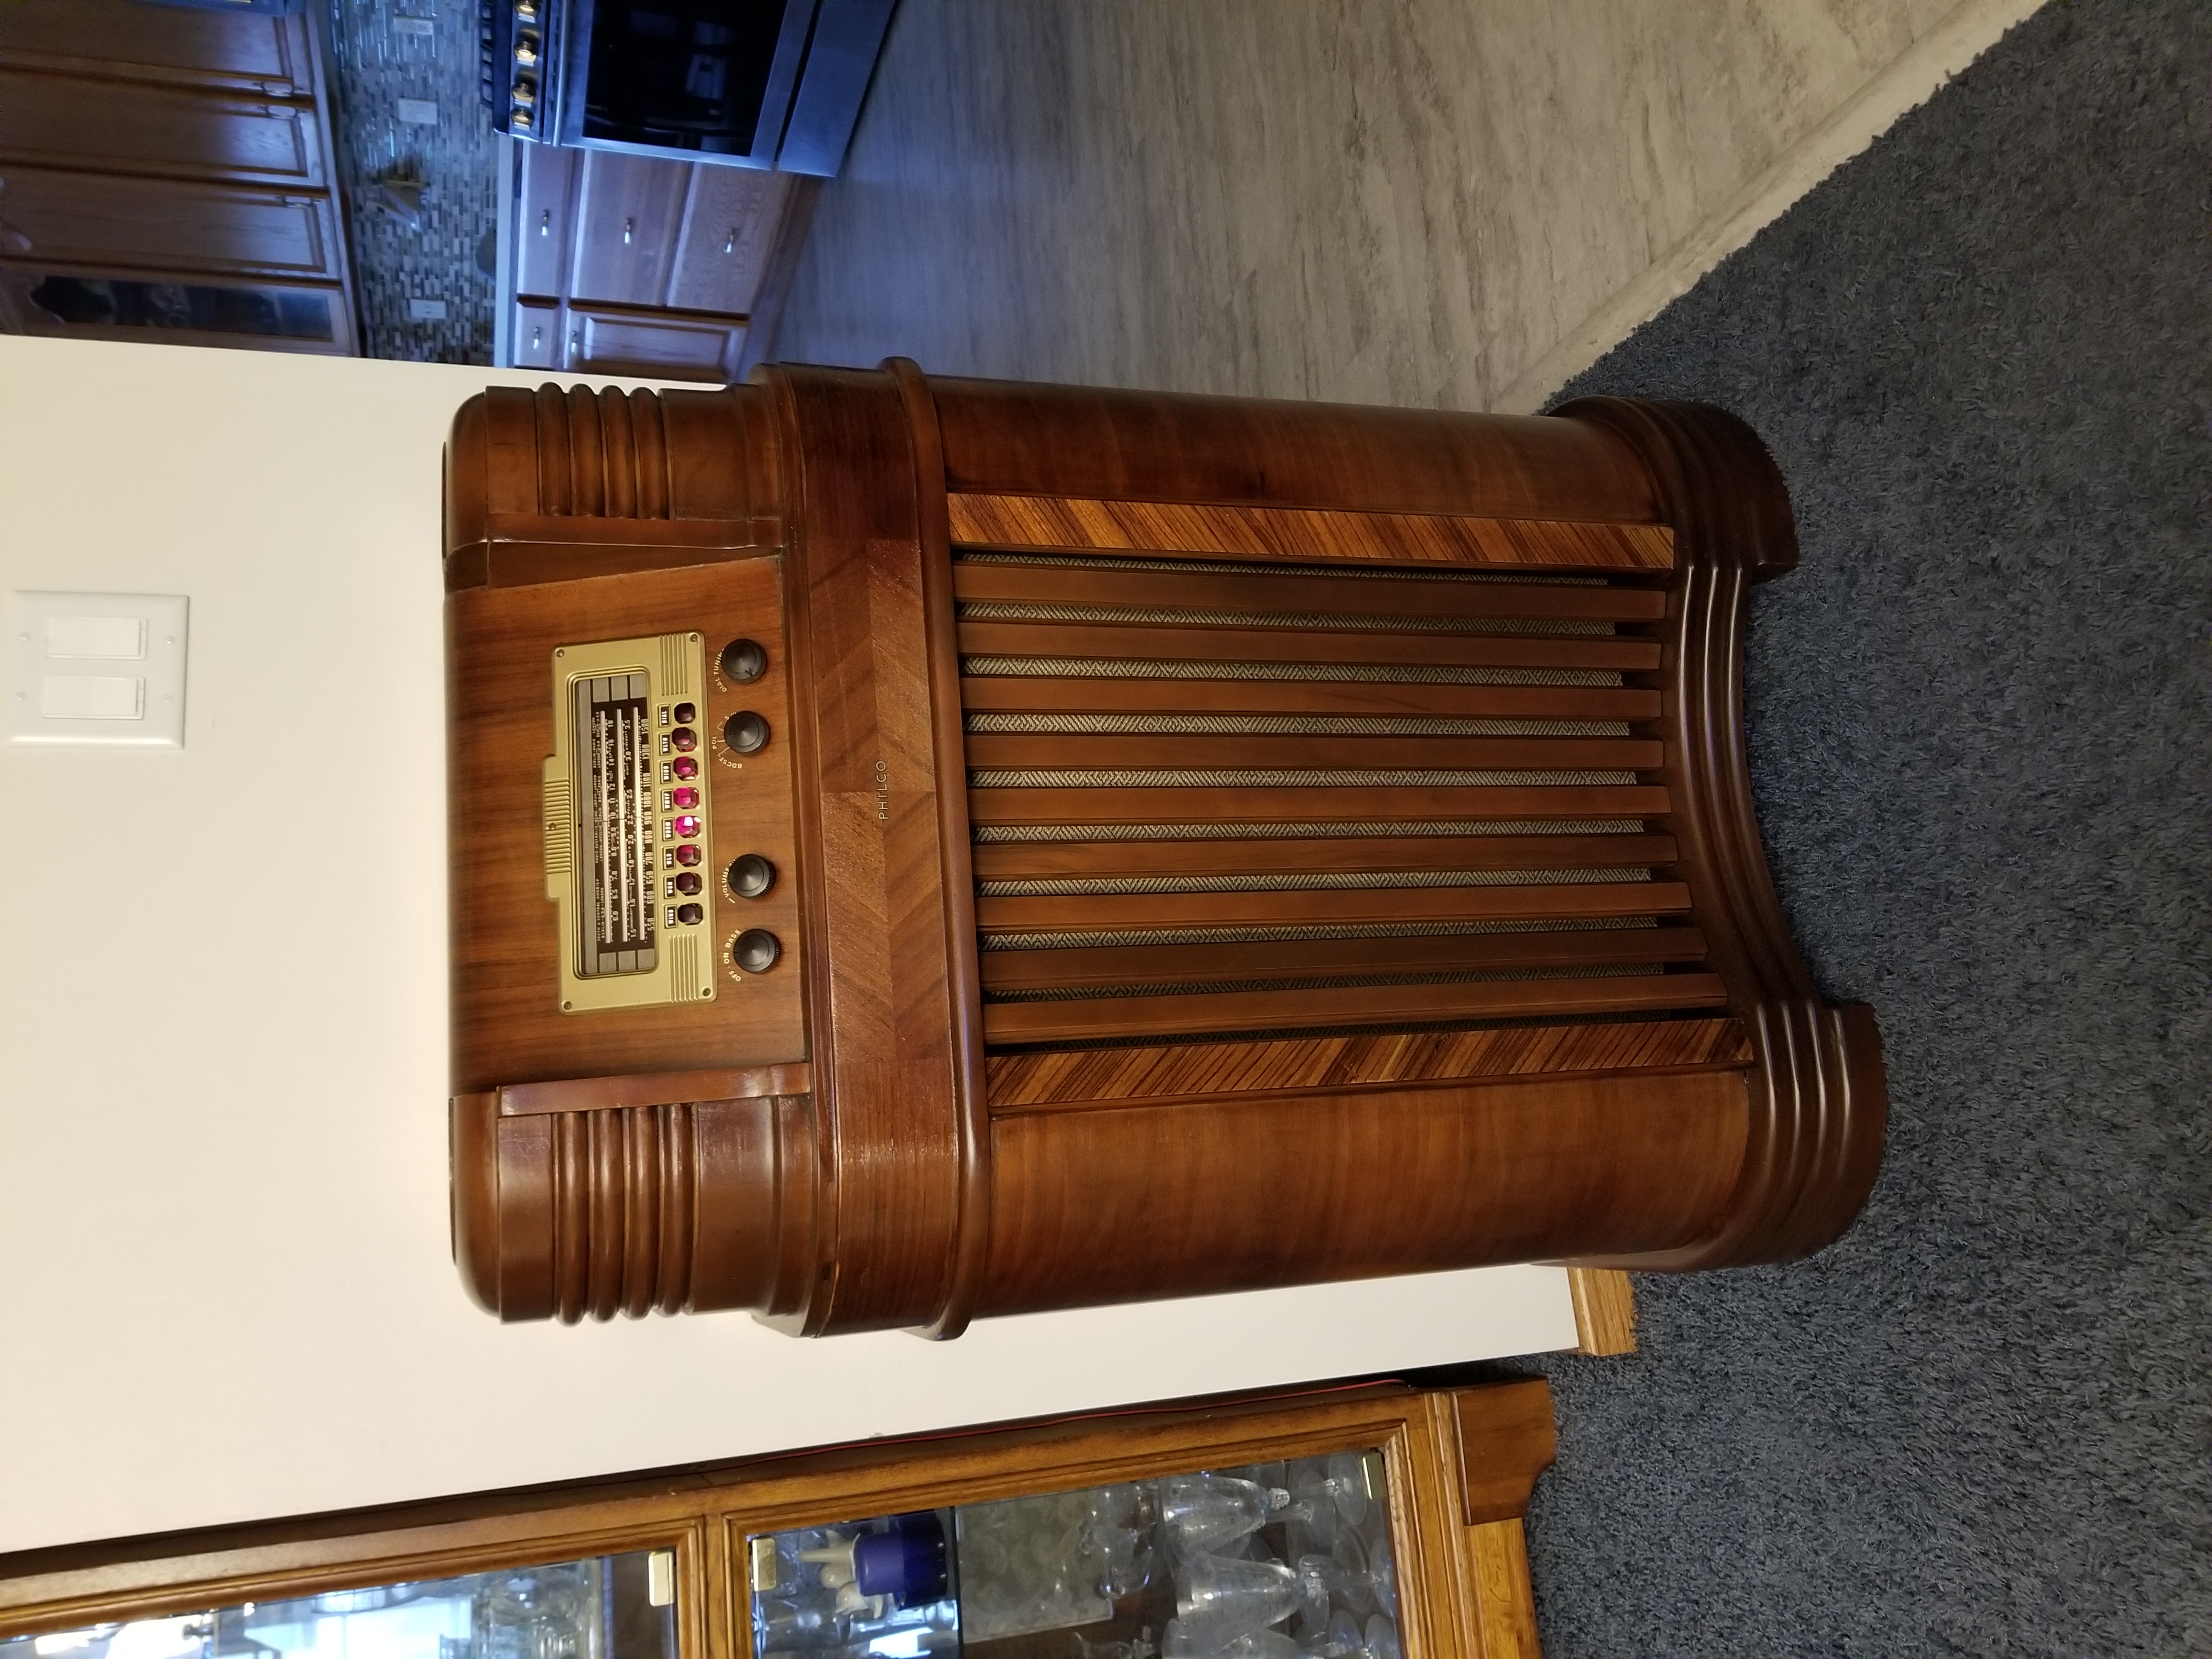
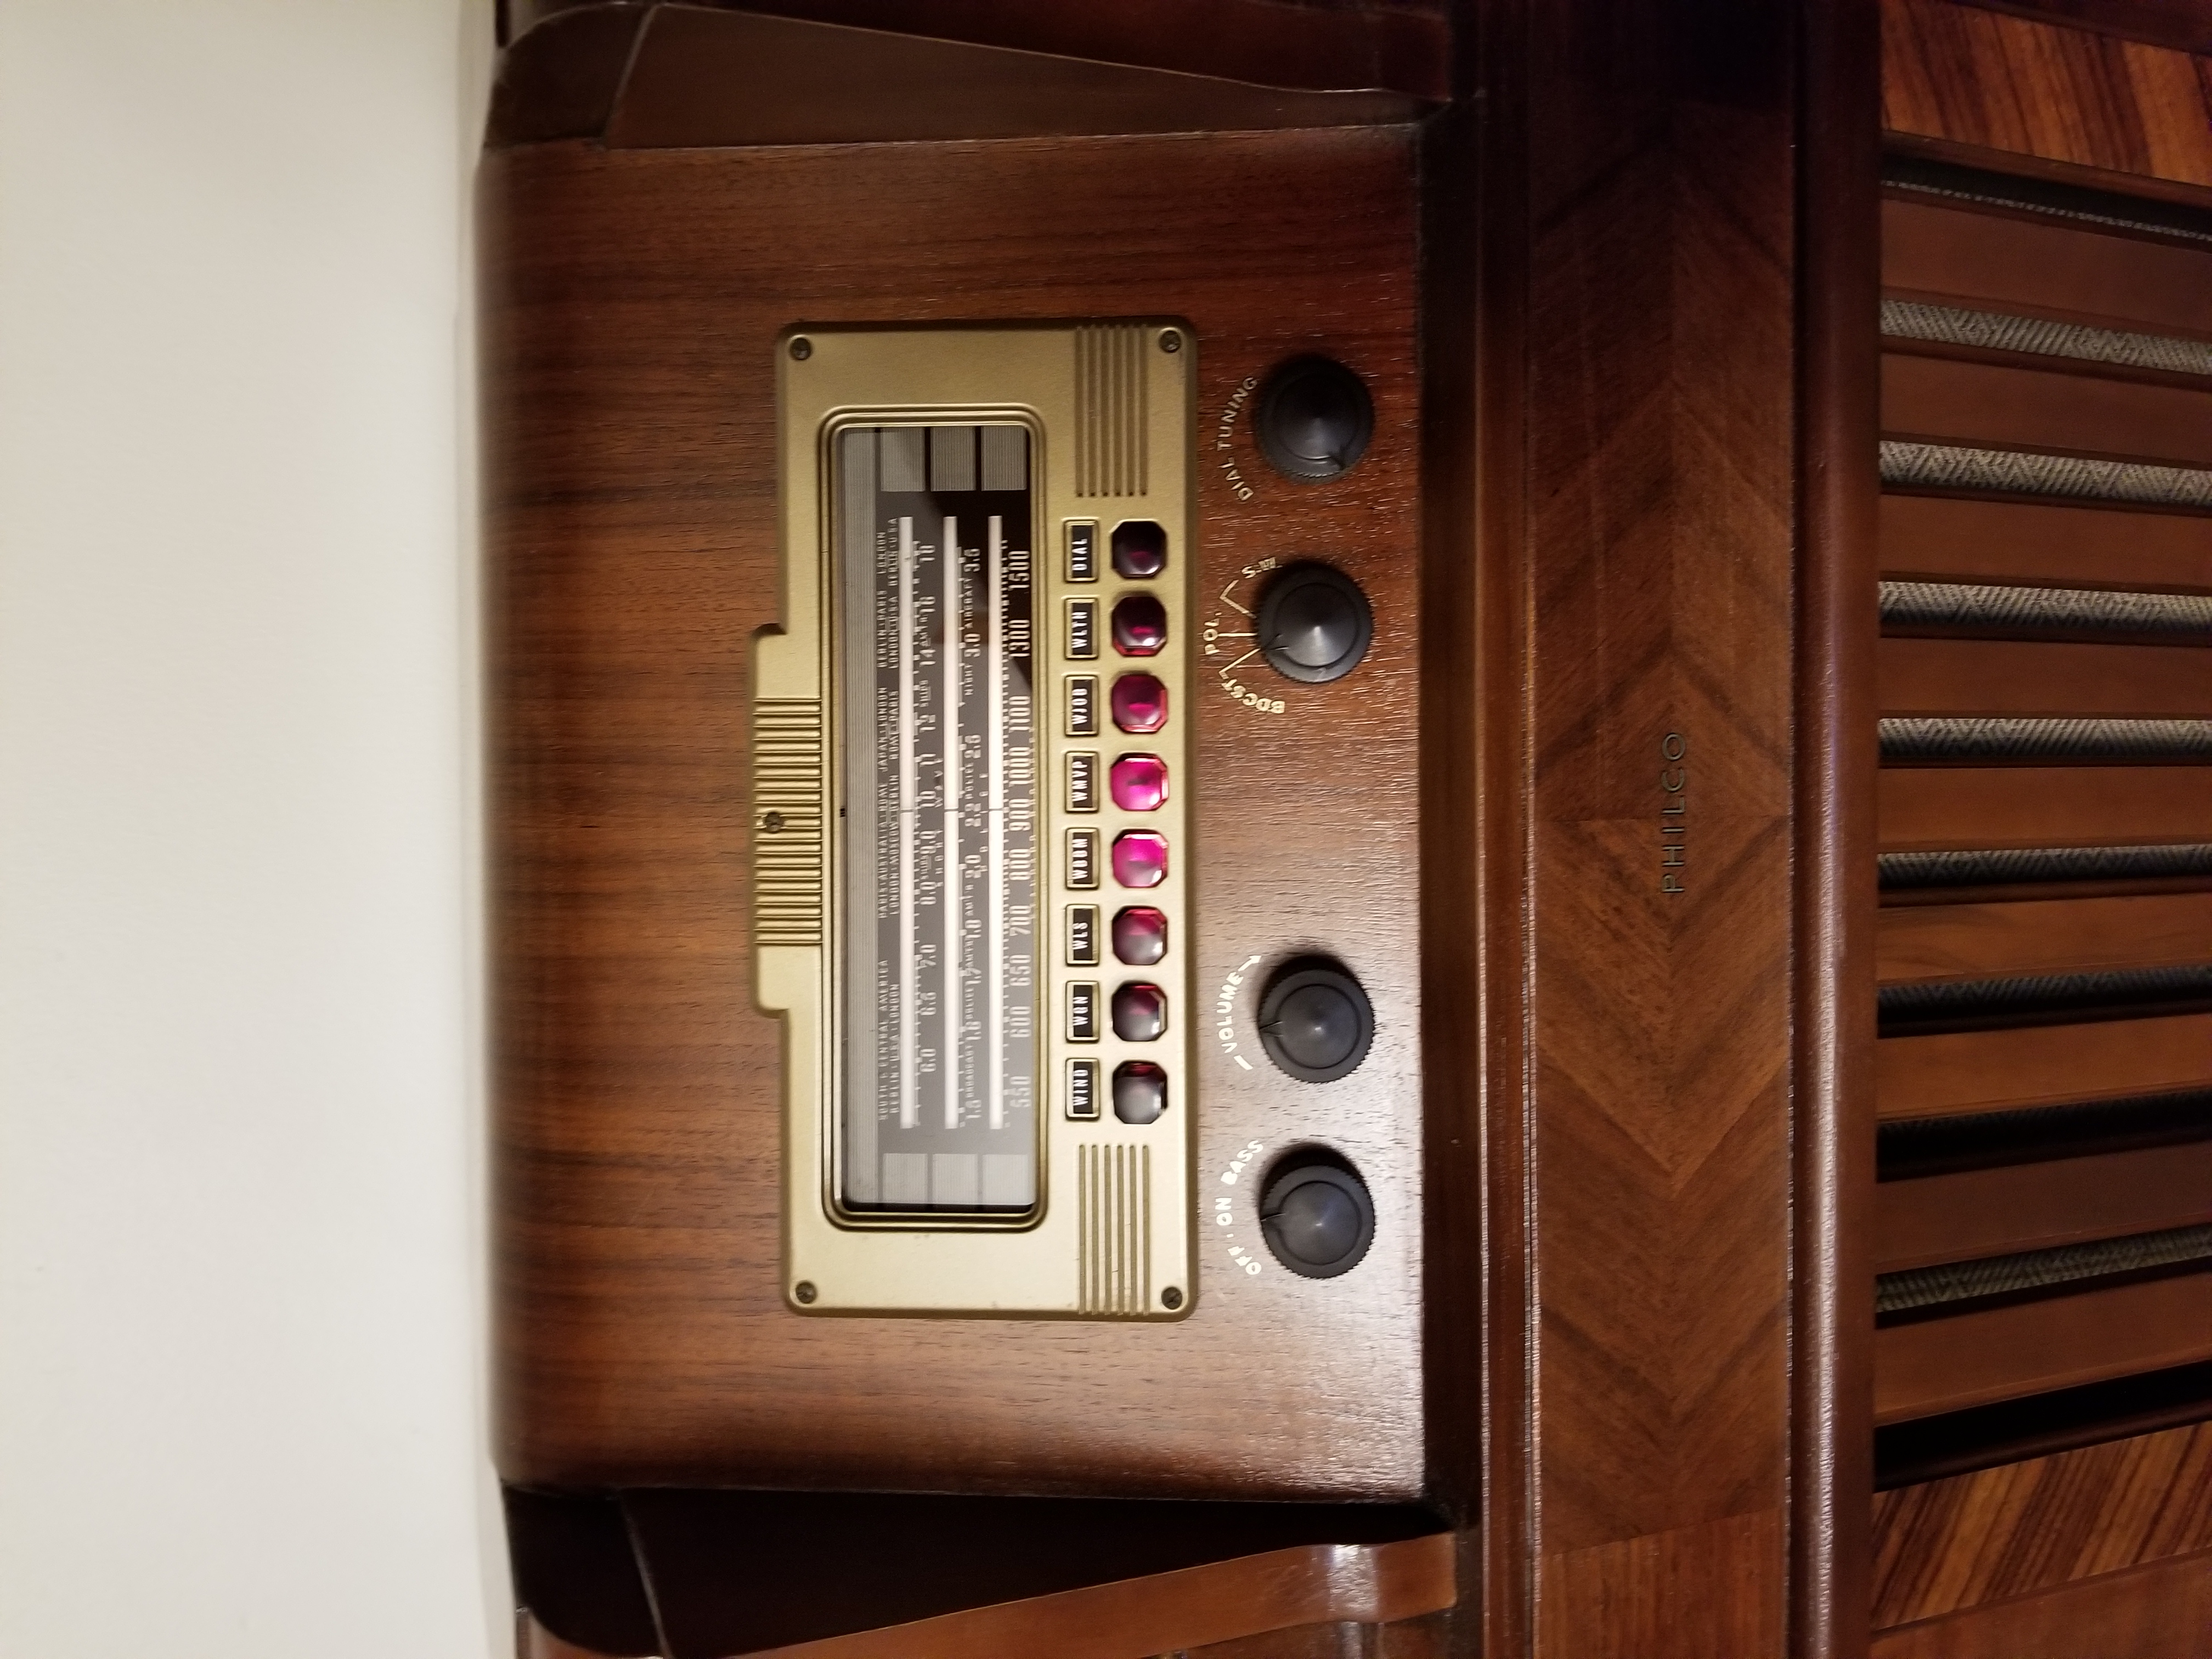
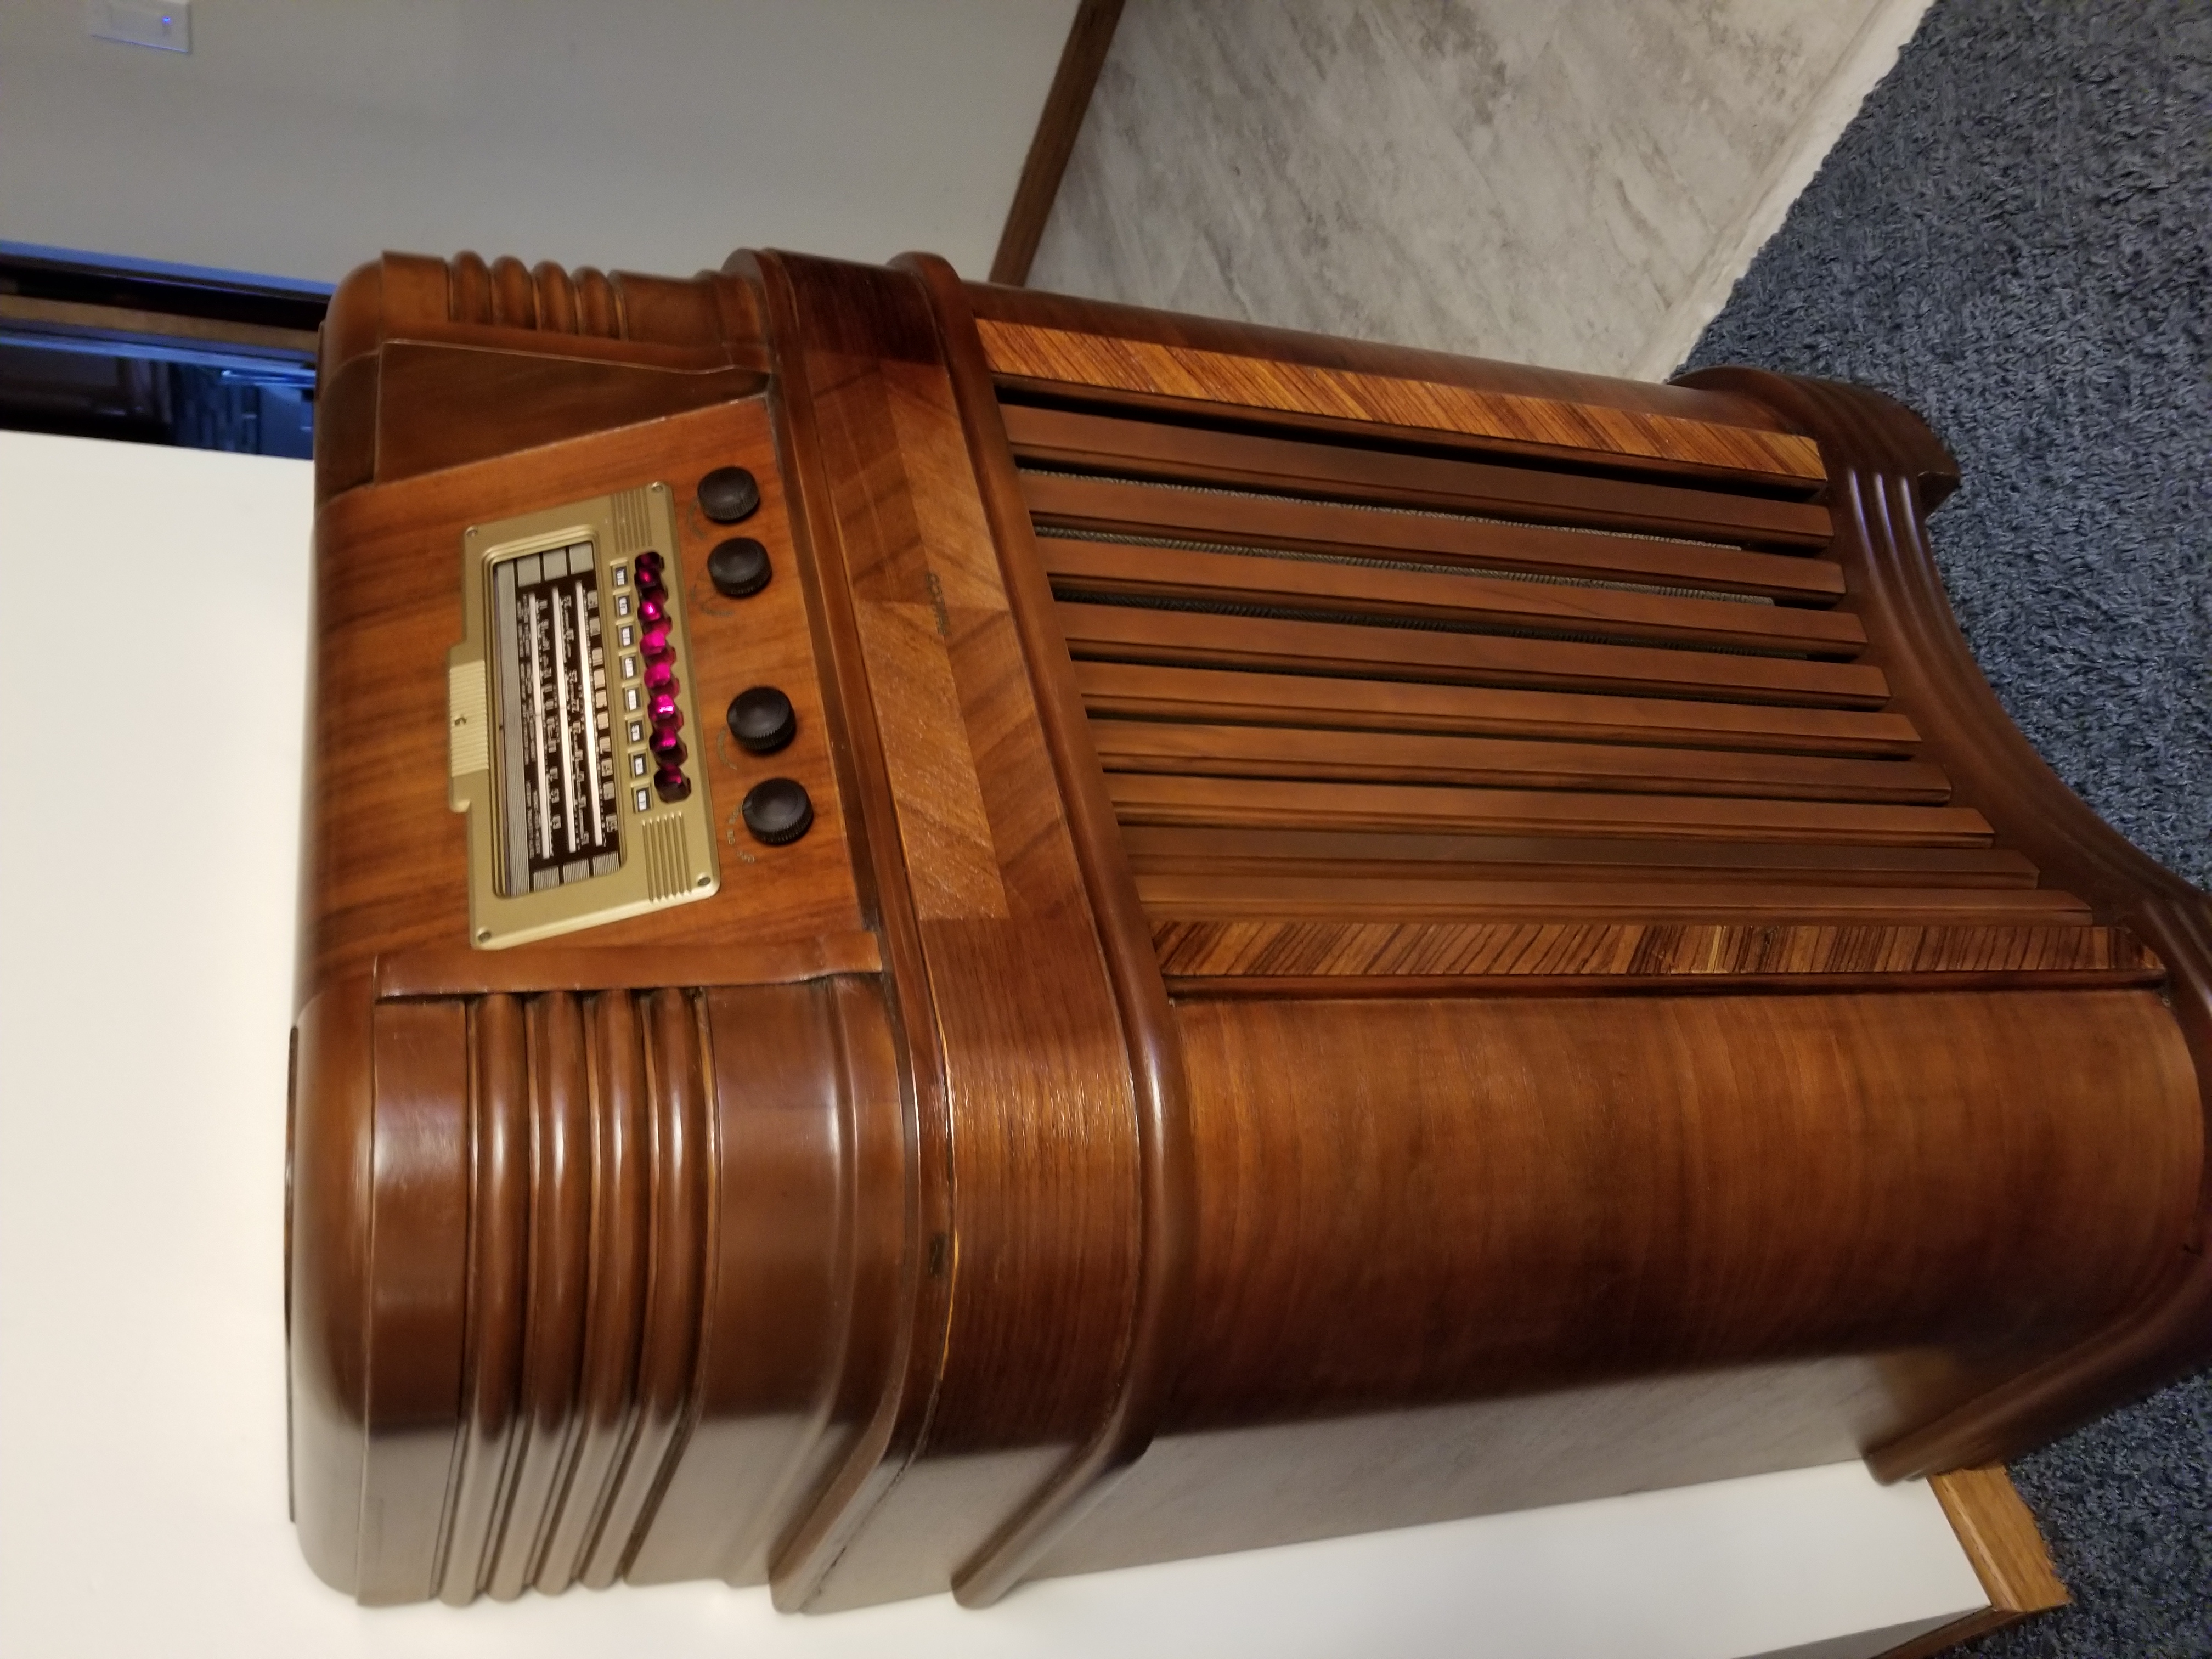
Refinishing my 40-180 cabinet
Posts: 24
Threads: 6
Joined: Dec 2019
City: Schererville
State, Province, Country: Indiana
I am refinishing my cabinet and have sanded it down to bare wood. I'm going to be using Mohawk toner lacquer medium walnut. My question is
what prep work I should be using. Should I use a sanding sealer or wood filler? Or should I just use thinned down shellac instead before I apply
the toner lacquer? Also should I be using a dye based lacquer or pigment based lacquer? Or both? I've been trying to research this stuff, especially
the wood filler, sanding sealer or thinned down clear shellac. I'm still confused.  I could really use some tips and suggestions from someone that
is knowledgeable in woodworking and refinishing. Some might say that I should have left the old finish on and just clean it, but it's too late for that
now, and I want it to really look nice like new. I just finished restoring the radio chassis and added an Alexa interface to listen to the old music and
it sounds wonderful.
Thanks, Fred Martin
Posts: 7,297
Threads: 268
Joined: Dec 2009
City: Roslyn Pa
When sanding to remove the old finish you have to be very careful not to sand thru the veneer as it is very thin. Can also change the contour of the wood if sanded too much. Most prefer using a chemical stripper.
Personally I like using sanding sealer it gives you a good idea of what it's going to look like as you go along. Wood filler is for filling in small dings, dents, and small chips of missing veneer. You may have it mixed up w/ grain filler which used to fill in the grain in wood that has porous grain like mahogany or walnut.
Toned lacquers are the the easiest as they are available in aerosol cans. Mohawk is a popular supplier for all of these refinishing supplies
When my pals were reading comic books
I was down in the basement in my dad's
workshop. Perusing his Sam's Photofoacts
Vol 1-50 admiring the old set and trying to
figure out what all those squiggly meant.
Circa 1966
Now I think I've got!
Terry
Posts: 24
Threads: 6
Joined: Dec 2019
City: Schererville
State, Province, Country: Indiana
I did have it mixed up with grain filler,that is what I was talking about. I am only sanding enough to remove the old finish . My confusion was whether to
apply grain filler, or sanding sealer, or just shellac mixed 50-50 with DN alcohol. I also have Mohawk dye based lacquer and pigment based lacquer. I want the
beautiful grain lines to really show especially on the zebra wood strips.
Thanks for your input.
Fred
Posts: 7,297
Threads: 268
Joined: Dec 2009
City: Roslyn Pa
Don't know anybody that uses shellac. I prefer to apply the sanding sealer first and then the grain filler. Just so you know sanding sealer doesn't fill the grain so you will need to do both. Grain filling is my least favorite task to do. W/oil base your need some time for it to dry before removing the excess maybe a day or two don't try to rush it.
When my pals were reading comic books
I was down in the basement in my dad's
workshop. Perusing his Sam's Photofoacts
Vol 1-50 admiring the old set and trying to
figure out what all those squiggly meant.
Circa 1966
Now I think I've got!
Terry
Posts: 13,776
Threads: 580
Joined: Sep 2005
City: Ferdinand
State, Province, Country: Indiana
What Terry said.
I used to use shellac until I read that that was not such a good idea; I've used lacquer-based sanding sealer ever since. Grain filler is applied after sanding sealer. Again, as Terry said, take your time. Patience is a virtue. 
--
Ron Ramirez
Ferdinand IN
Posts: 7,297
Threads: 268
Joined: Dec 2009
City: Roslyn Pa
Realistically you can do it either way filler first and then sanding sealer or the other way round but my thinking is this. The filler is very dark and stains the wood if there is no sealer on the wood. That's ok but if the use the sealer first it blocks the filler from staining the wood and just fills the pores (after you wipe it down). This will give you much more contrast between the pours and the areas that are not porous.
When my pals were reading comic books
I was down in the basement in my dad's
workshop. Perusing his Sam's Photofoacts
Vol 1-50 admiring the old set and trying to
figure out what all those squiggly meant.
Circa 1966
Now I think I've got!
Terry
Posts: 13,776
Threads: 580
Joined: Sep 2005
City: Ferdinand
State, Province, Country: Indiana
...exactly why I will not apply filler without applying sealer first...the staining aspect of grain filler is not desirable...
--
Ron Ramirez
Ferdinand IN
Posts: 24
Threads: 6
Joined: Dec 2019
City: Schererville
State, Province, Country: Indiana
Thanks for all the information. It's starting to make sense now.
Fred
Posts: 24
Threads: 6
Joined: Dec 2019
City: Schererville
State, Province, Country: Indiana
Just a follow up on my radio restoration, I just finished it up and it proudly sits in my liveng room. My wife just loves it.
A big thanks to fellow member for their advice and info. The radio sounds awesome and I wired in an aux input that I
use to connect to an Amazon Echo Input with a DPDT swich on the back. I can now tell Alexa to play 40s big band music.
Now I need to find another project...
Fred Martin


Posts: 2,137
Threads: 158
Joined: Jan 2013
City: Westland, MI
That looks showroom new, Fred! I've got one of those 40-180's waiting in the wings. Hope it ends up looking like yours in the end. Take care and BE HEALTHY! Gary
"Don't pity the dead, pity the living, above all, those living without love."
Professor Albus Dumbledore
Gary - Westland Michigan
Posts: 24
Threads: 6
Joined: Dec 2019
City: Schererville
State, Province, Country: Indiana
Posts: 5,163
Threads: 273
Joined: Nov 2012
City: Wilsonville
State, Province, Country: OR
Lookin’ good!
 
Posts: 1,468
Threads: 97
Joined: Jul 2012
City: Poughkeepsie, N.Y.
Posts: 24
Threads: 6
Joined: Dec 2019
City: Schererville
State, Province, Country: Indiana
Thank you, 
Posts: 1,475
Threads: 69
Joined: Nov 2012
City: Kansas city, MO.
Very nice indeed. 
Users browsing this thread: 1 Guest(s)
|
|
Recent Posts
|
|
Refinishing Ideas
|
| Thanks. I will look into.
Billpoulsbobill — 11:23 AM |
|
My Philco 37-116 Restore
|
| Why do the flood lights have 2 wires running to the shell of each light when the inner conductor only has one to each?
...dconant — 10:54 AM |
|
Philco 46-480 Electronic Restoration
|
| OOPS!!
if there is a "flag" running up the side of the tube that touches the shield, then yes, a shield belon...MrFixr55 — 10:03 AM |
|
Philco 46-480 Electronic Restoration
|
| Thanks for pointing out that shield! I will try to find out where else it may belong. I simply installed it back where i...jrblasde — 10:02 AM |
|
Philco 46-480 Electronic Restoration
|
| Very nice job. A real contrast between how easy the main chassis is to work on, vs how tightly the RF chassis is packed...MrFixr55 — 09:31 AM |
|
Philco 46-480 Electronic Restoration
|
| After sleeping on it, I believe the issue is that I may have forgotten to install a ground connection between the RF cha...jrblasde — 09:21 AM |
|
Refinishing Ideas
|
| Hi Poulsbobl,
I think that you could get away with it. In the Philco Library, there is a parts listand specs for sp...MrFixr55 — 11:54 PM |
|
Philco 46-480 Electronic Restoration
|
| The sleeving for the transformer arrived early, so I went ahead and finished reassembling. The chassis looks far better ...jrblasde — 10:15 PM |
|
Philco 610B oscillator wiring
|
| I don't know what you are referring to when you say "tube cathode ground". Ground is a connection to the chass...RodB — 05:56 PM |
|
Zenith H725
|
| Good points, Arran. I haven't encountered this problem with any other radio (all earlier vintages), so am learning here....EdHolland — 05:32 PM |
|
Who's Online
|
There are currently 845 online users. [Complete List]
» 3 Member(s) | 842 Guest(s)
|
|
|

|
 
|
 I could really use some tips and suggestions from someone that


![[-] [-]](https://philcoradio.com/phorum/images/bootbb/collapse.png)


