Posts: 1,199
Threads: 49
Joined: Oct 2017
City: Allendale, MI
Posts: 16,579
Threads: 574
Joined: Oct 2011
City: Jackson
State, Province, Country: NJ
Fairly clean.
With the sole exception of the filter block cleaning out, 20 is a walk in the park.
People who do not drink, do not smoke, do not eat red meat will one day feel really stupid lying there and dying from nothing.
Posts: 1,199
Threads: 49
Joined: Oct 2017
City: Allendale, MI
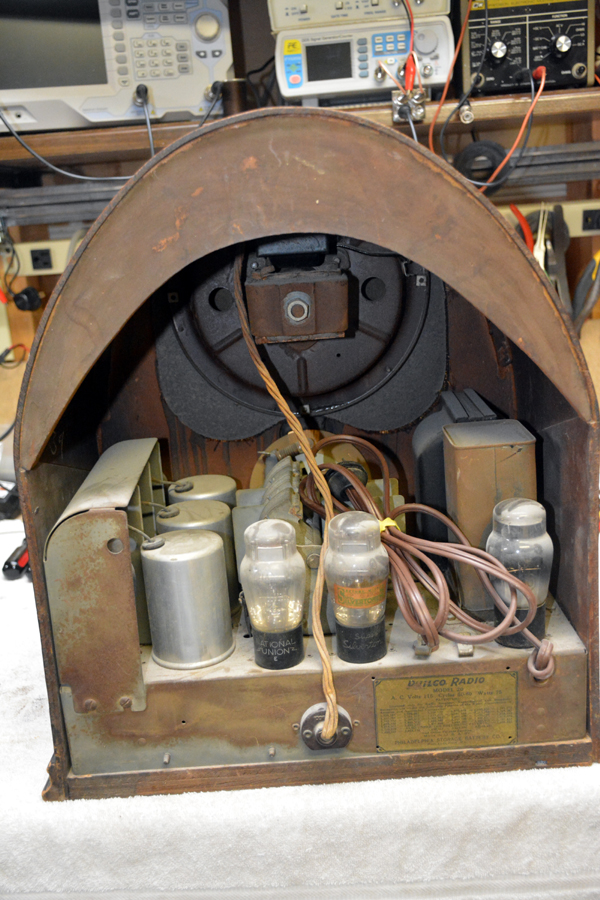
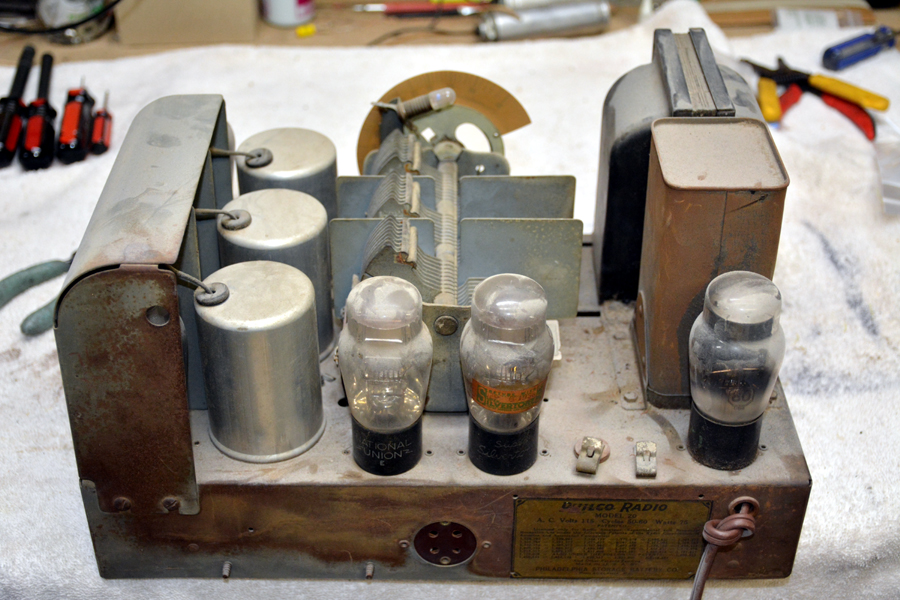
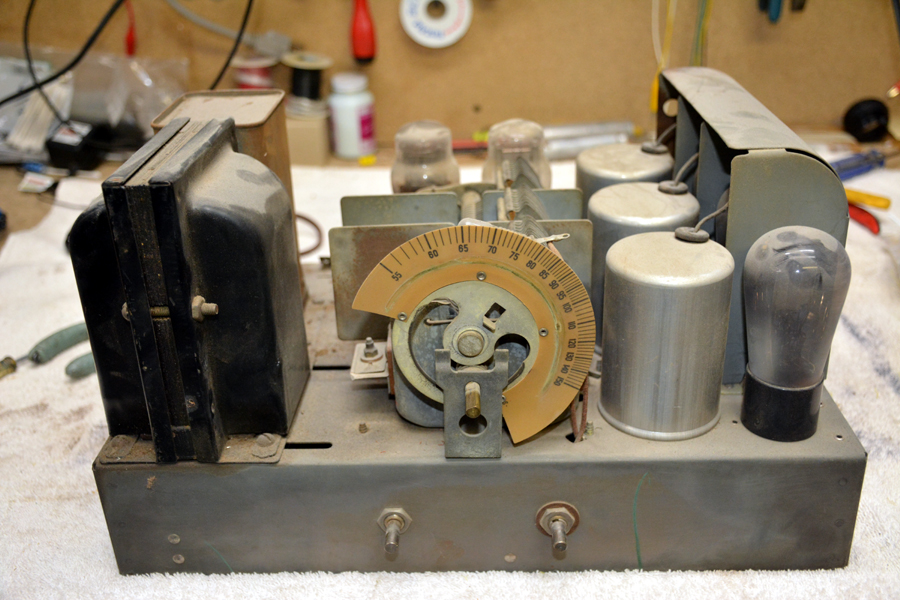
Yes, a simple TRF radio. I've cleaned out those filter blocks before and not a horribly difficult job. I like the fact that the PT uses a terminal block on the PT. I don't have to disturb the wires going into the PT. Some of the other wires connected to the PT are quite crispy. The rest of the wire in the radio appears to be "push back" wire without rubber inside. I may just leave it all. I typically like to replace all wire, but maybe not this time.
(This post was last modified: 12-14-2020, 11:06 PM by rfeenstra.)
Posts: 1,199
Threads: 49
Joined: Oct 2017
City: Allendale, MI
Oops! Bumped the dial while handling the chassis. It shattered! Very brittle. I'll have to order a new one from Radio Daze.
Posts: 4,950
Threads: 54
Joined: Sep 2008
City: Sandwick, BC, CA
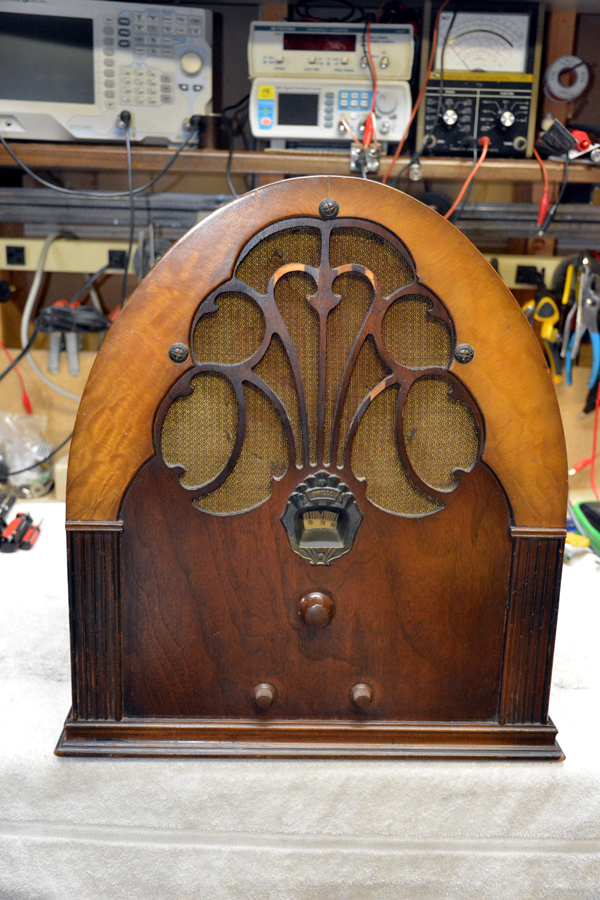
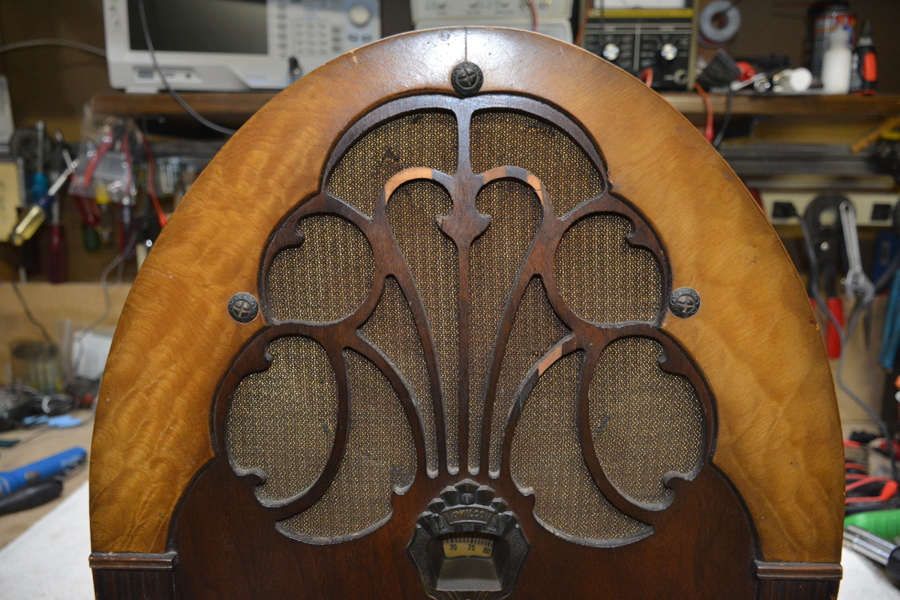
The grille in that set is not in bad shape compared to many of those 20s, repairing the veneer should be fairly easy as it's chipped out parallel to the grain. So a straight sided patch, followed by gluing, clamping, and then careful filing, and sanding around the openings, and the patches should be almost invisible, as long as you pick veneer with similar grain, and colour. I'm not sure what species of walnut was used in the front panels of these sets, I think it was French walnut, but Steve could tell you.
Regards
Arran
Posts: 16,579
Threads: 574
Joined: Oct 2011
City: Jackson
State, Province, Country: NJ
Yikers.
People who do not drink, do not smoke, do not eat red meat will one day feel really stupid lying there and dying from nothing.
Posts: 2,200
Threads: 159
Joined: Jan 2013
City: Westland, MI
I've not found the wiring in my model 20 to be an issue, not that it can't be. Maybe I'm just lucky. Take care and BE HEALTHY! Gary
"Don't pity the dead, pity the living, above all, those living without love."
Professor Albus Dumbledore
Gary - Westland Michigan
Posts: 1,199
Threads: 49
Joined: Oct 2017
City: Allendale, MI
I think I'll work on the grille a bit tonight. The are a couple of pieces of the "core" wood that are cracked and loose. Should be easy to glue up. I'm thinking I'll use hide glue as it is easy to remove from places where I don't want it such as where I need to glue veneer later.
It looks like they used glazing to color the edges of the grill. Looks like they slopped it on as it ran down the back side of the grille. Anyone know what they used?
(This post was last modified: 12-15-2020, 08:03 PM by rfeenstra.)
Posts: 1,199
Threads: 49
Joined: Oct 2017
City: Allendale, MI
did a lot of gluing on the grille. Everything seems pretty sturdy now. Next is to find some matching veneer. The quality of the wood that Philco used in the front panel leaves a bit to be desired. A couple of more laminations in the ply would have helped.
Also started disassembly of Chassis. I had to accomplish something positive rather than just disassembly so I redid the tuning cap.
Before:
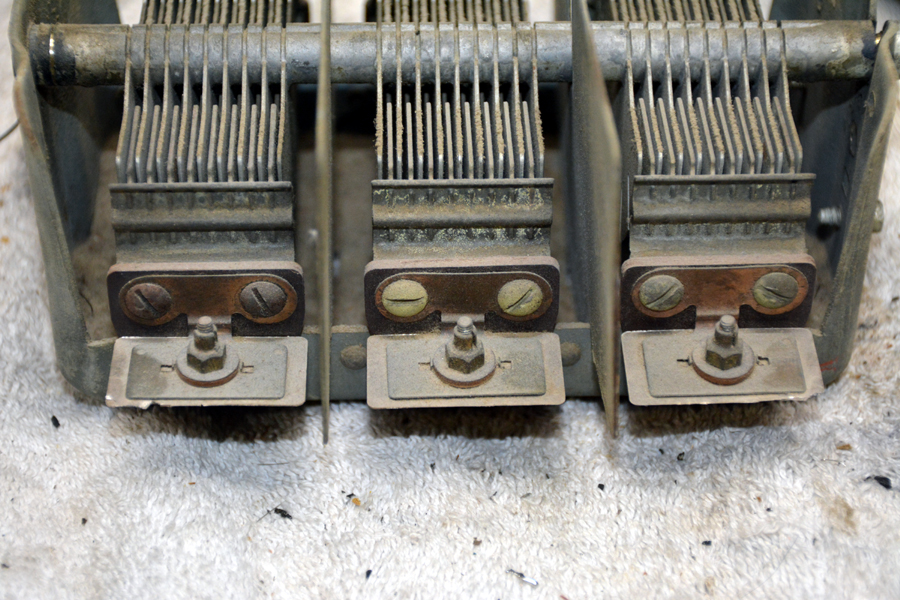
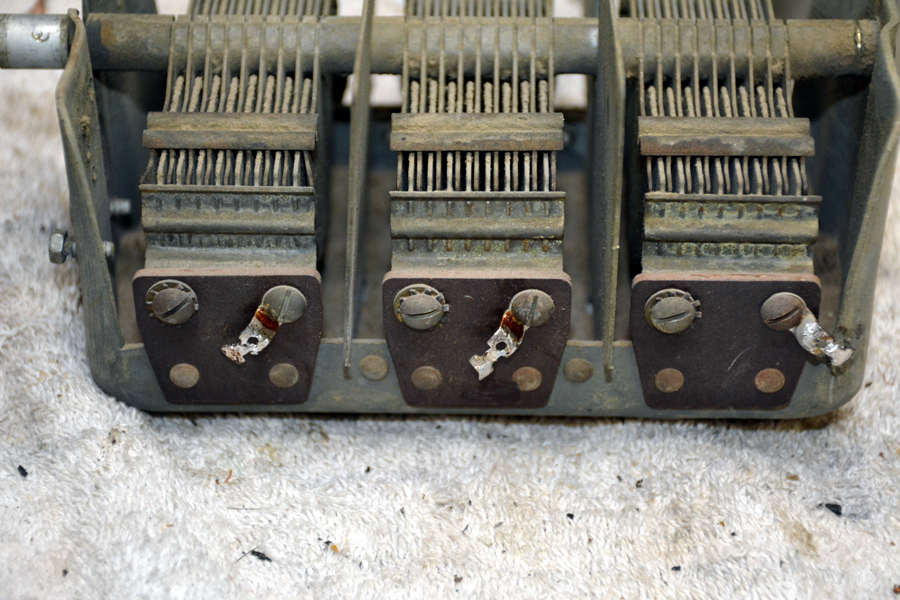
After:
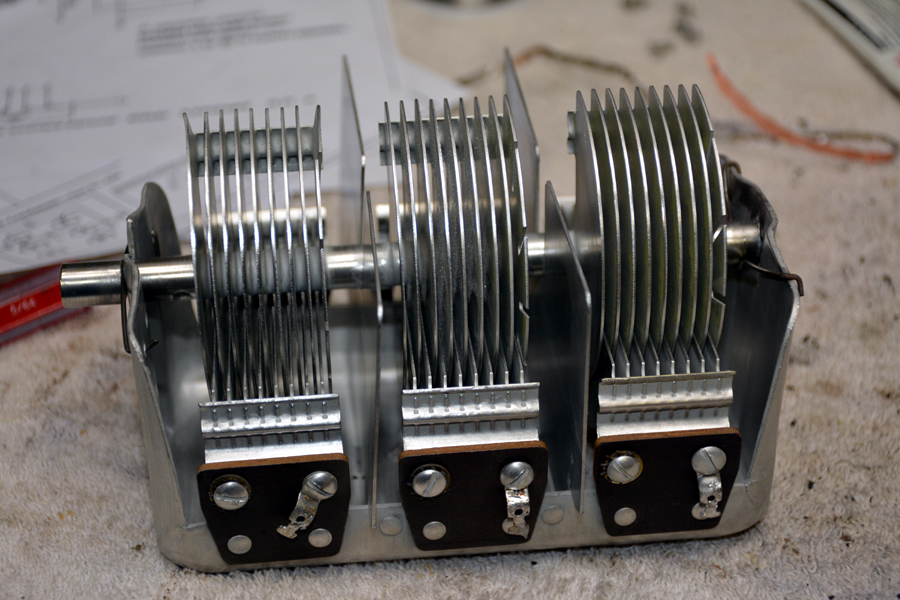
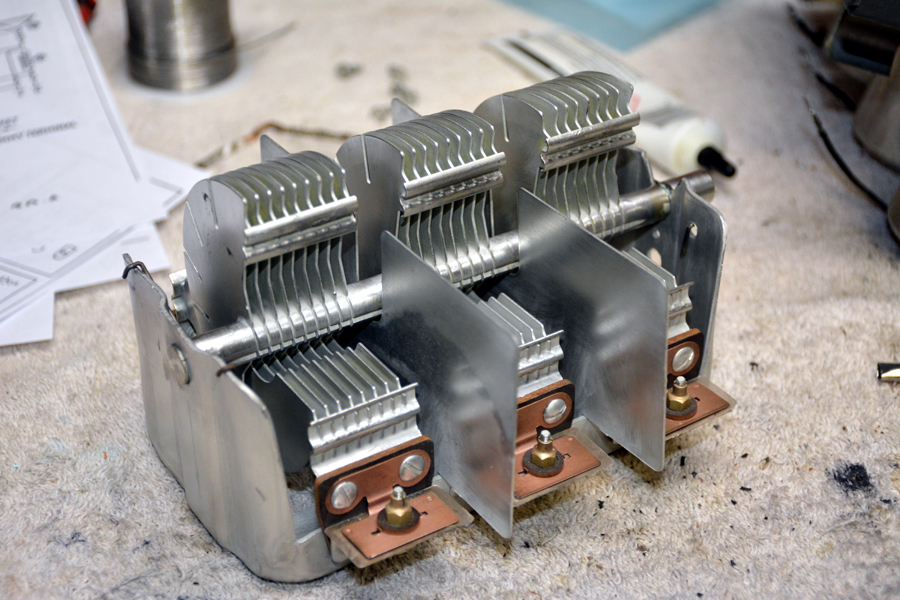
Posts: 1,889
Threads: 214
Joined: May 2015
City: Seattle
State, Province, Country: WA
Beautiful- as good as new now!
Any tips for how you clean them up so well?
Posts: 2,118
Threads: 112
Joined: Jun 2010
City: Medford OR (OR what?)
Be carful polishing the metal. If you remove all of the plating it will look good - for a while.
Fun with chemicals and electricity:
https://www.russoldradios.com/blog/back-...th-5-f-134
"I just might turn into smoke, but I feel fine"
http://www.russoldradios.com/
Posts: 1,199
Threads: 49
Joined: Oct 2017
City: Allendale, MI
Russ, plating was put back on!
Posts: 16,579
Threads: 574
Joined: Oct 2011
City: Jackson
State, Province, Country: NJ
I did not do any chemical treatment.
I washed it in a dishwasher, dried it......does not shine. But does not require any chemistry.
Though of course, if this look you achieved is going to hold, it does look great.
People who do not drink, do not smoke, do not eat red meat will one day feel really stupid lying there and dying from nothing.
Posts: 2,118
Threads: 112
Joined: Jun 2010
City: Medford OR (OR what?)
Very good!
"I just might turn into smoke, but I feel fine"
http://www.russoldradios.com/
Posts: 1,199
Threads: 49
Joined: Oct 2017
City: Allendale, MI
Unfortunately, I can't do the whole chassis so it will look foreign sitting on top!
Users browsing this thread: 1 Guest(s)
|
|
Recent Posts
|
|
Philco Model 38-7: what caps & resistors do fail typically?
|
| Hello Martin,
Welcome aboard our little community what great Model 38-7
Sincerely Richardradiorich — 12:30 AM |
|
Philco Model 38-7: what caps & resistors do fail typically?
|
| Welcome to the Phorum Martin.
I count about 9 paper caps, the 3 electrolytic caps and 2-Y2 safety caps to replace th...RodB — 09:44 PM |
|
Part numbers to model cross
|
| Jim,
We have this index put together by Dale Cook but I don't think that is quite what you are looking for.
The Parts...klondike98 — 09:37 PM |
|
Philco Model 38-7: what caps & resistors do fail typically?
|
| Yep the dim bulb test is OK but I'd definitely replace all those electrolytics before I did it. Since those #47 conden...klondike98 — 09:18 PM |
|
Philco 42-345 Restoration/Repair
|
| The resistor is a 2.2 Meg, it was the last one I hadn't replaced. The broadcast is coming in after replacing it.osanders0311 — 09:09 PM |
|
Philco 42-345 Restoration/Repair
|
| What does the resistor measure? I think it should be 3.3 Meg.
If the oscillator coil has continuity and the resistanc...RodB — 09:03 PM |
|
Philco Model 38-7: what caps & resistors do fail typically?
|
| Good idea to check the coils... then I'll get hold of an incadescent light bulb and see what happens when the unit is sw...Musaeum — 08:49 PM |
|
Philco 42-345 Restoration/Repair
|
| I have that same set, ain't too much shortwave I like anyway.....it is a good AM DX set. PaulPaul Philco322 — 08:32 PM |
|
Philco Model 38-7: what caps & resistors do fail typically?
|
| Welcome to the Phorum, Martin! Open a new thread in Philco Electronic Restoration when you begin working on your 38-7. ...GarySP — 08:28 PM |
|
Philco Model 38-7: what caps & resistors do fail typically?
|
| Welcome to the Phorum!
:wave:
Here's the schematic for that radio from our digital library:
Something to do bef...klondike98 — 08:05 PM |
|
Who's Online
|
| There are currently no members online. |

|
 
|


![[-] [-]](https://philcoradio.com/phorum/images/bootbb/collapse.png)


