08-31-2021, 07:34 AM
All,
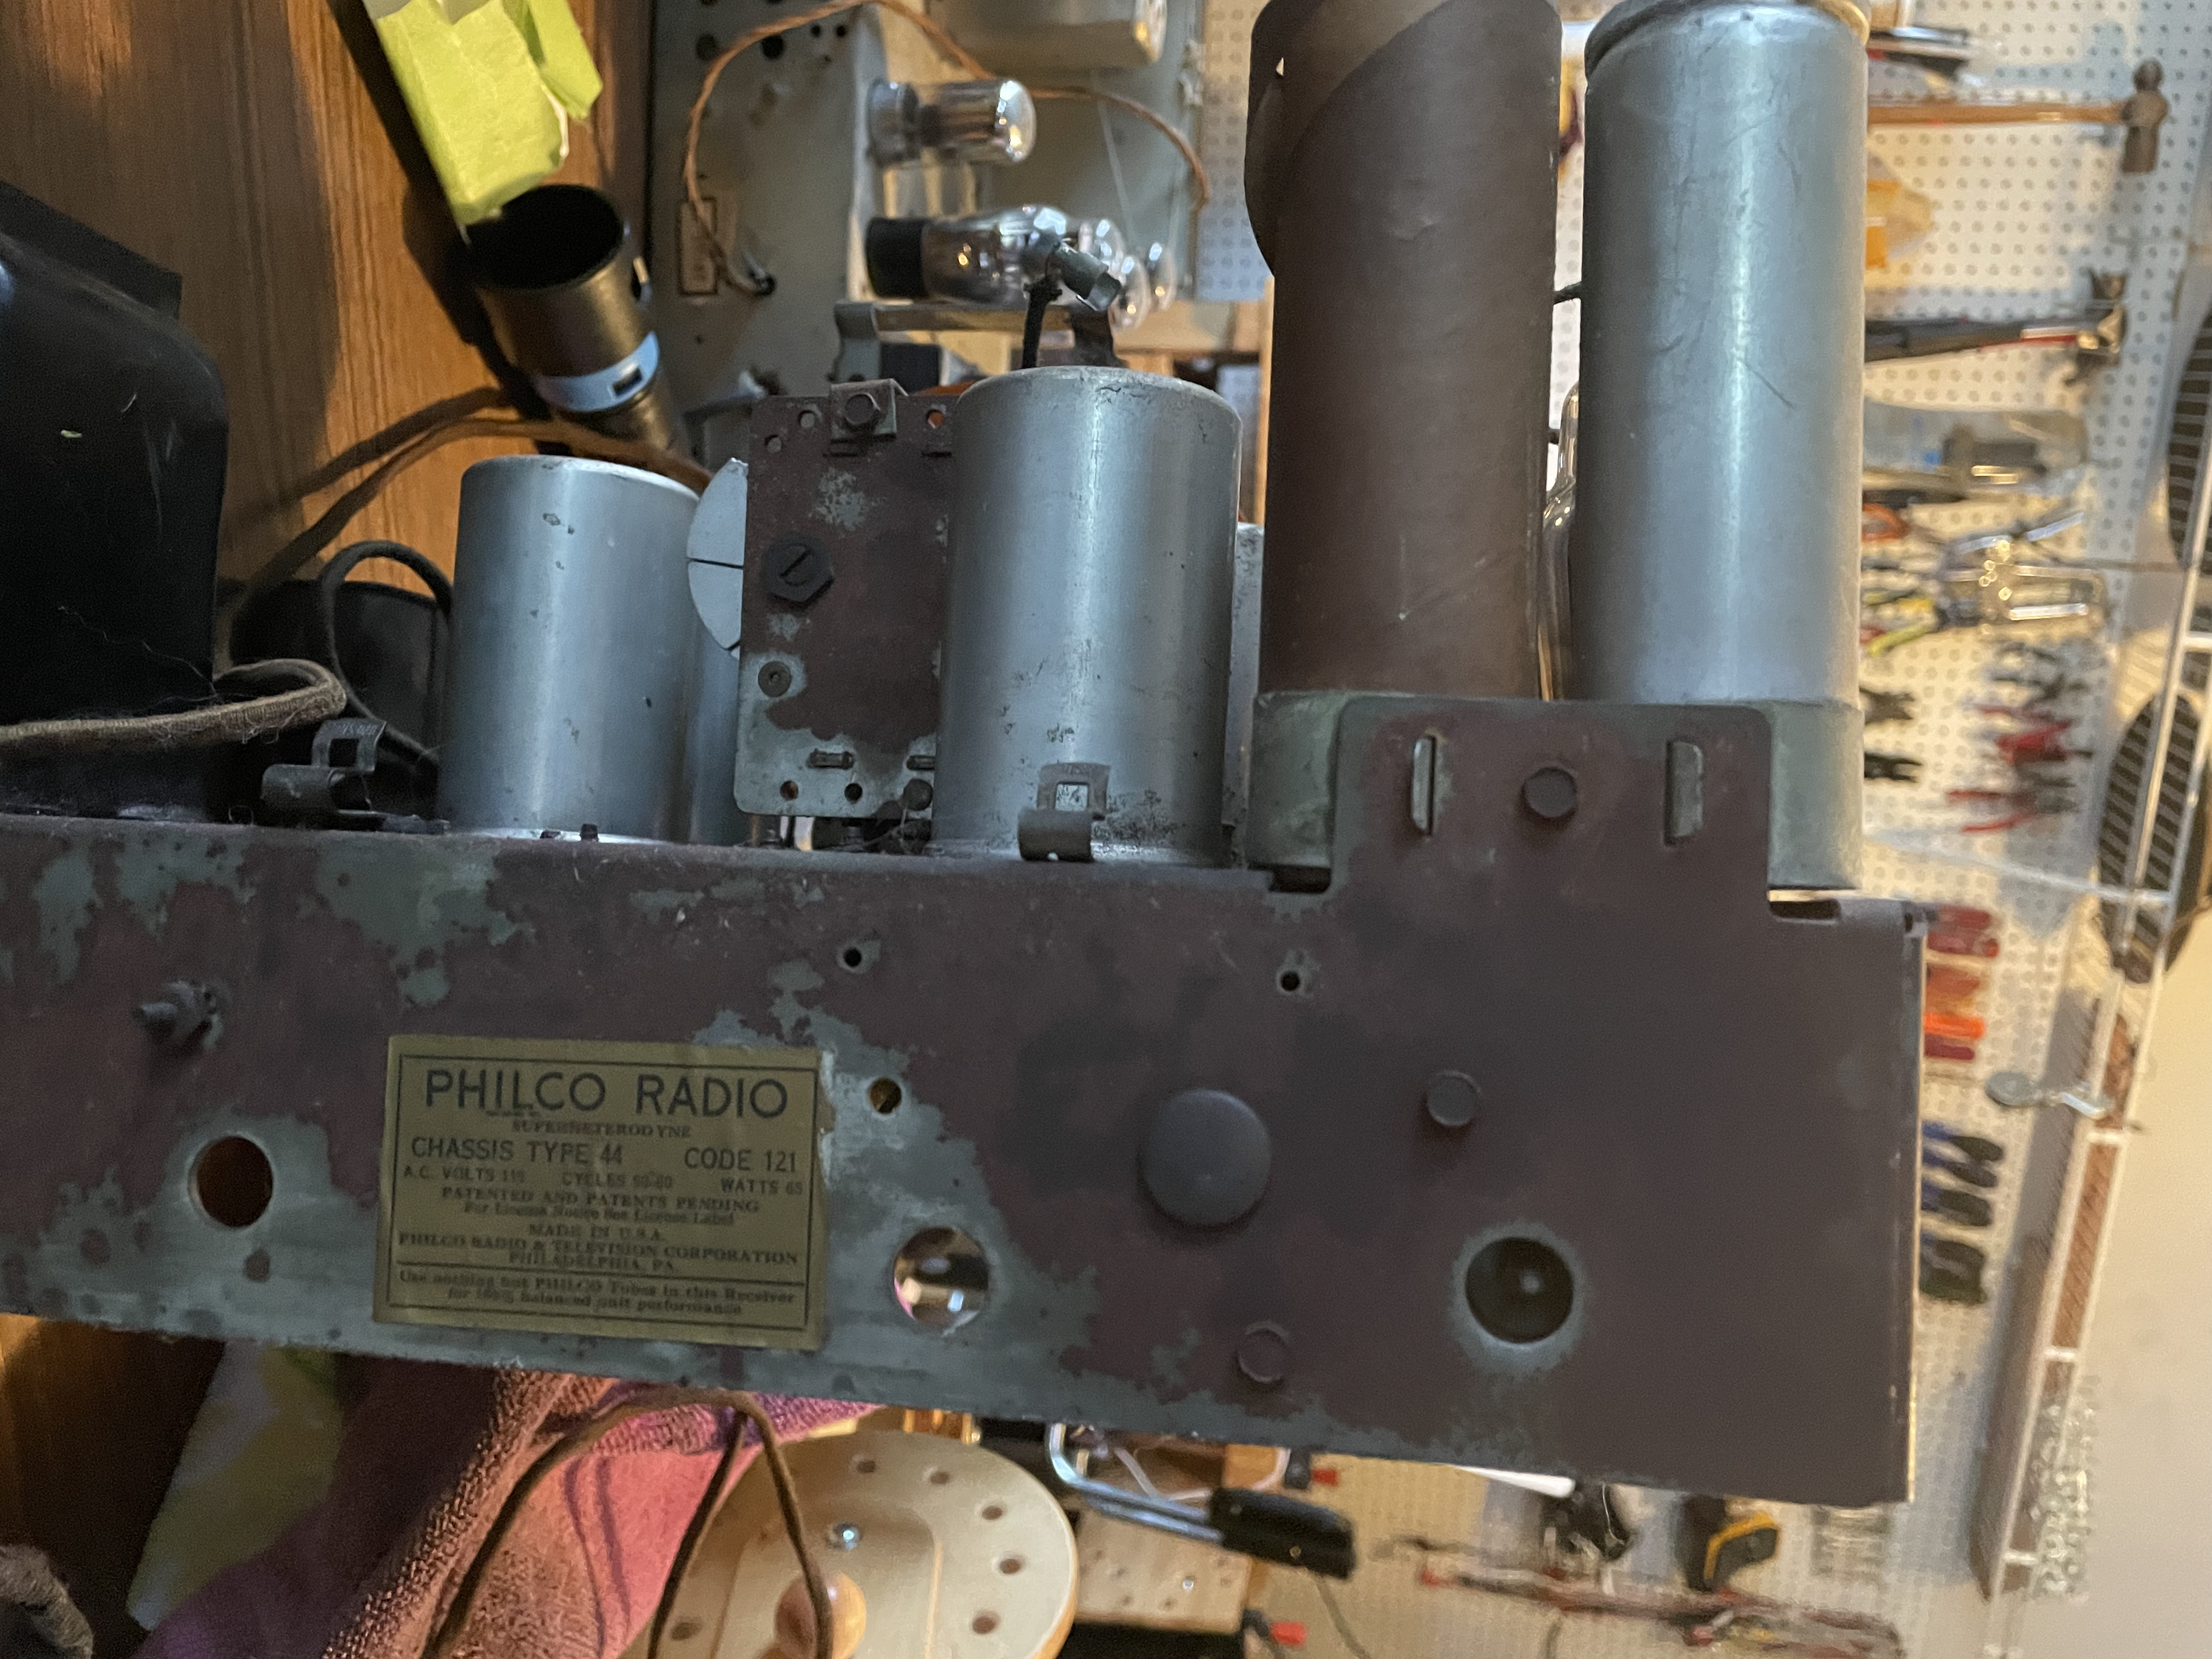
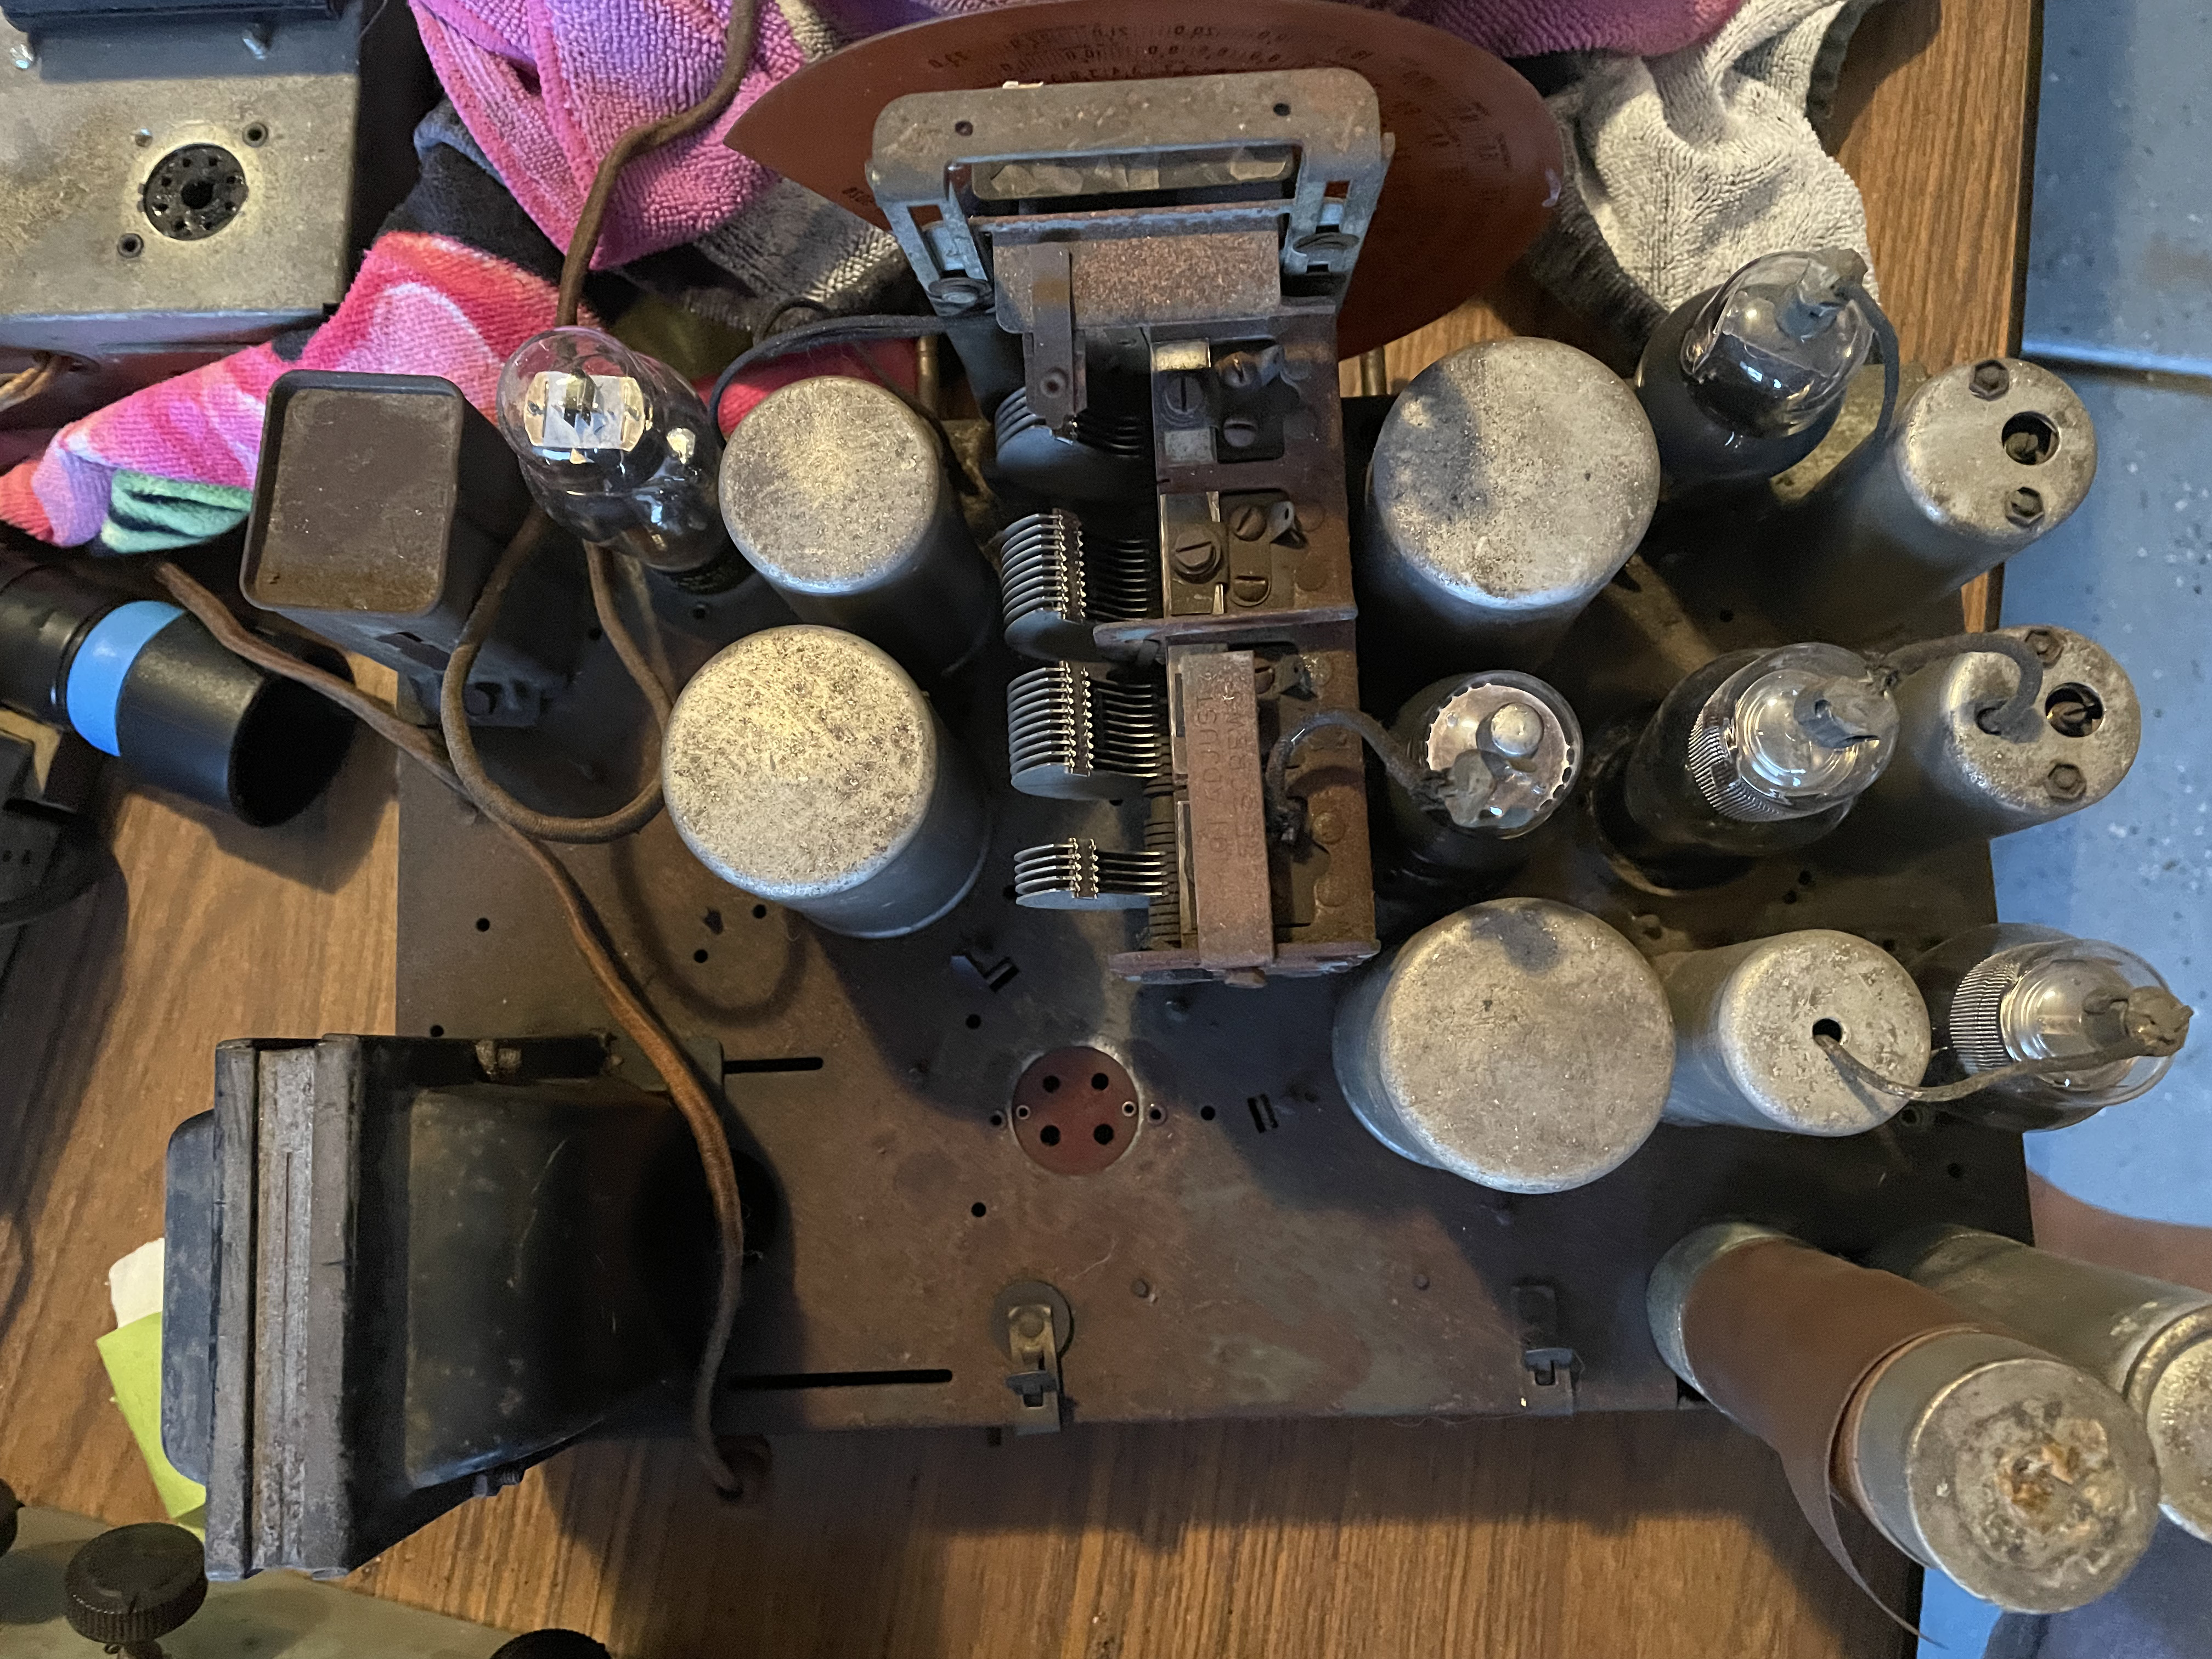
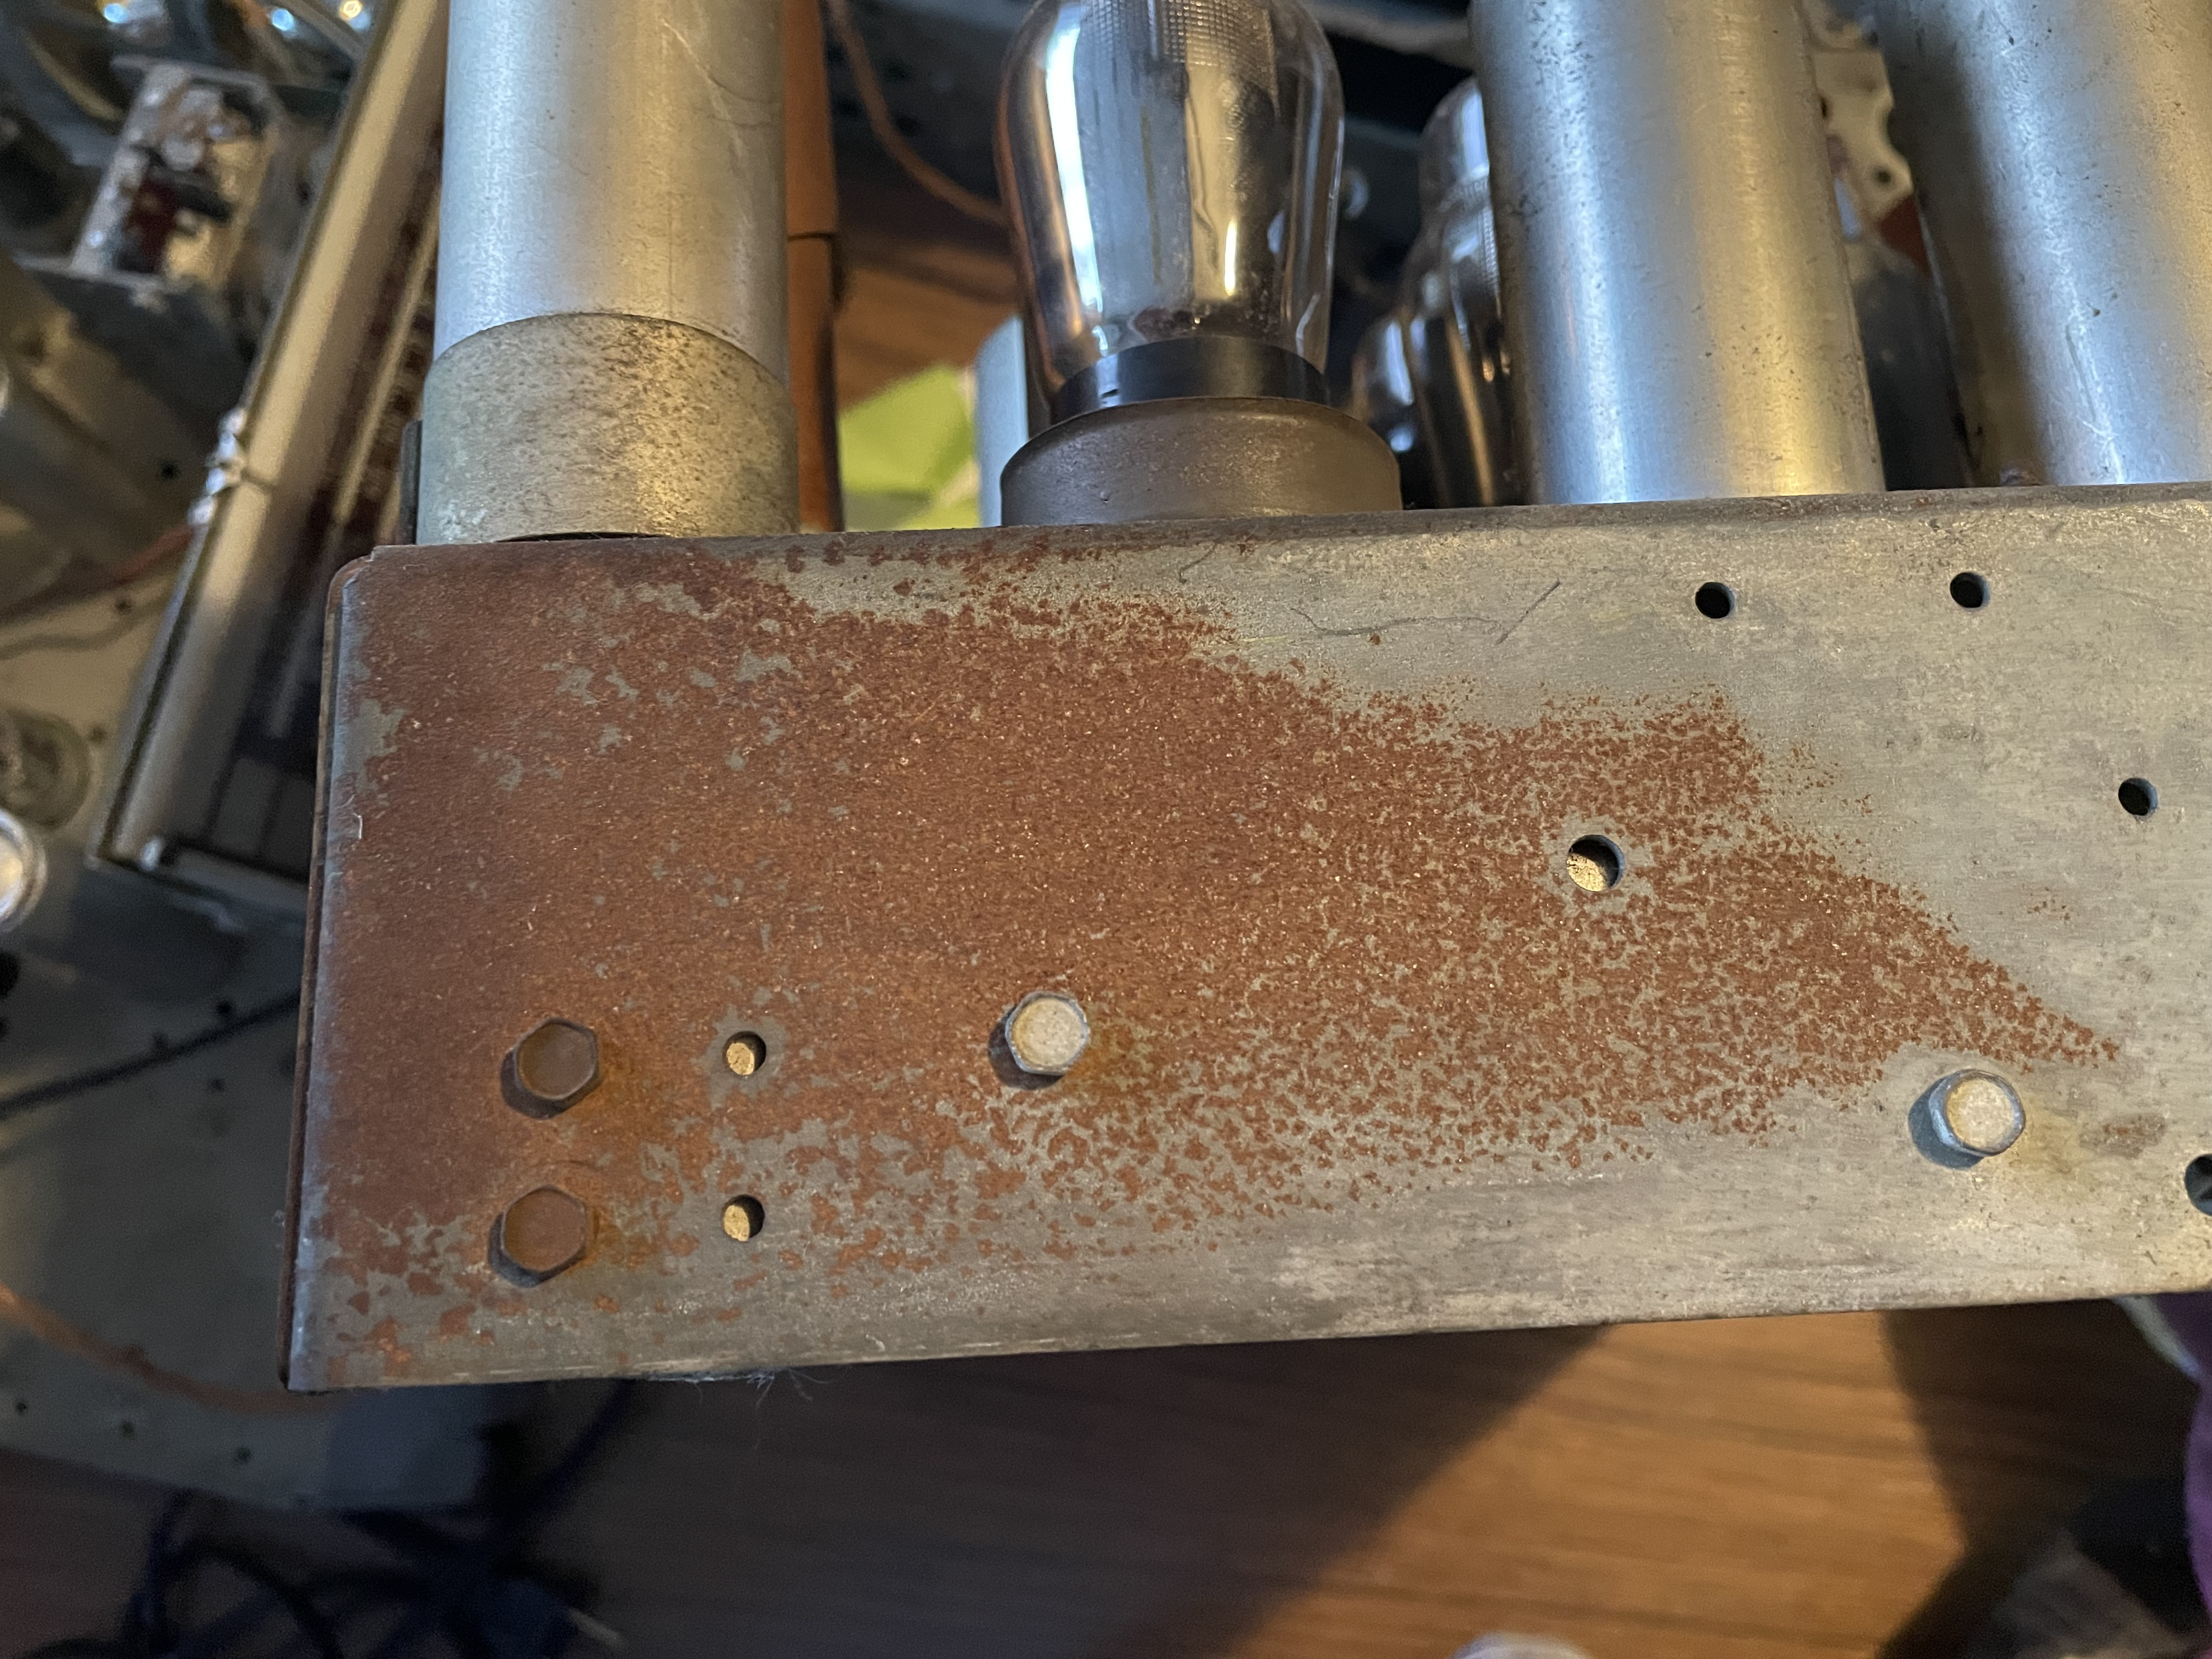
The chassis is rusty on the outside. See pictures.


The chassis is rusty on the outside. See pictures.
|
RUSTY!! Chassis. What's the best way to remove rust from chassis?
08-31-2021, 08:37 AM
I use a product called Dominion Sure Seal Gelled Rust Remover. It is like a naval jelly, but thinner. It clings well to vertical surfaces. I use a tooth brush to apply it. It leaves behind an invisible anti-rust coating, that seems to work long term. I've cleaned rust from several chassis with it, and they still look good years later. I cannot say the same for other rust removers I've tried.
08-31-2021, 10:32 AM
See the de-rusting tank here:
https://www.russoldradios.com/blog/back-...th-5-f-134 What ever method you use, the chassis must be protected otherwise it will rust more quickly - again.
08-31-2021, 03:05 PM
Here's one I de-rusted.
https://philcoradio.com/phorum/showthread.php?tid=10465 !!!!!!!!!!!!!!!!!!!RESISTANCE IS FUTILE!!!!!!!!!!!!!!!!!!!!!! /\/\/\/\/\/\/\/\/\ [Image: http://philcoradio.com/phorum/images/smi...on_eek.gif] Chris
08-31-2021, 07:48 PM
These chassis become rusty from being stored in a place where they are exposed to unusual damp, someone's cellar or attic, or barn. Some localized rust spots can be from rodent urine. Unless you will be exposing them to continued damp conditions, a little surface rust is really not the big deal some here make it seem. These are radio chassis, not automobiles, and they should never have been subjected to that kind of damp in the first place. If they are not in the future, the rust will not become much worse, it will merely remain as is. A good dusting and cleaning of the urine spots should be enough, followed by a thorough drying. If you remove it, you WILL have to treat the exposed areas because they will begin to rust again. Best would be to completely strip the chassis and re-plate it with zinc. Short of that, automobile primer and then silver paint will do, but be warned, once you paint, or use some similar coating, you will not be able to solder to the metal without sanding away the paint for a clean surface, and the paint on the other side from the soldering will be damaged from the heat. Personally, I don't do any more than the cleaning I mentioned, and guess what ! My chassis are all still there, and have not rotted away to nothing, and the radios I restored work just fine. True, they don't look like new, but they AREN'T NEW. They are antiques.
10-31-2021, 09:34 PM
Mike....I totally agree with the minimalist approach. I'll clean them up, but never paint a chassis.
11-01-2021, 12:03 AM
Hello Phlogiston ,
I enjoy your sight it really goes in detail about the plating and I have never plated any radios just a few tools and I used a old battery charger . Sincerely Richard
11-01-2021, 11:31 AM
The pictures remind me to ask again if anyone knows how to remove (and save) labels like the one on the back of the chassis.
11-01-2021, 03:44 PM
I think most of us are taking high res close up photos, do a touch up with software, then printing the label on a laser. Getting the old label off is usually a tough job.
11-01-2021, 05:47 PM
There's also a collection of labels somewhere in the Phorum library.
11-01-2021, 10:42 PM
Hello Rod,
Yes the Labels are one the big issues with our old sets and I did not know that about Phorum library that is good news . Sincerely Richard
11-02-2021, 05:45 PM
Library labels section is here: https://philcoradio.com/library/index.ph...cs/labels/
It doesn't look like we specifically have the model 44 label you would need to reproduce it but perhaps you could remove the old label with Goo Gone and reapply it after removing the rust. Alternatively, you could modify the very similar looking model 16 logo using Photoshop or a similar app: https://philcoradio.com/library/index.ph...sis-label/
« Next Oldest | Next Newest »
Users browsing this thread: 1 Guest(s) |
|

|