Restoring Philco 38-12 in a white wood cabinet
Posts: 16,533
Threads: 573
Joined: Oct 2011
City: Jackson
State, Province, Country: NJ
Today, after having finished alignment of the previous 38-12 in a veneered wood cabinet, I proceeded to the next 38-12 in a painted white wood cabinet.
These are the initial photos of the cabinet.
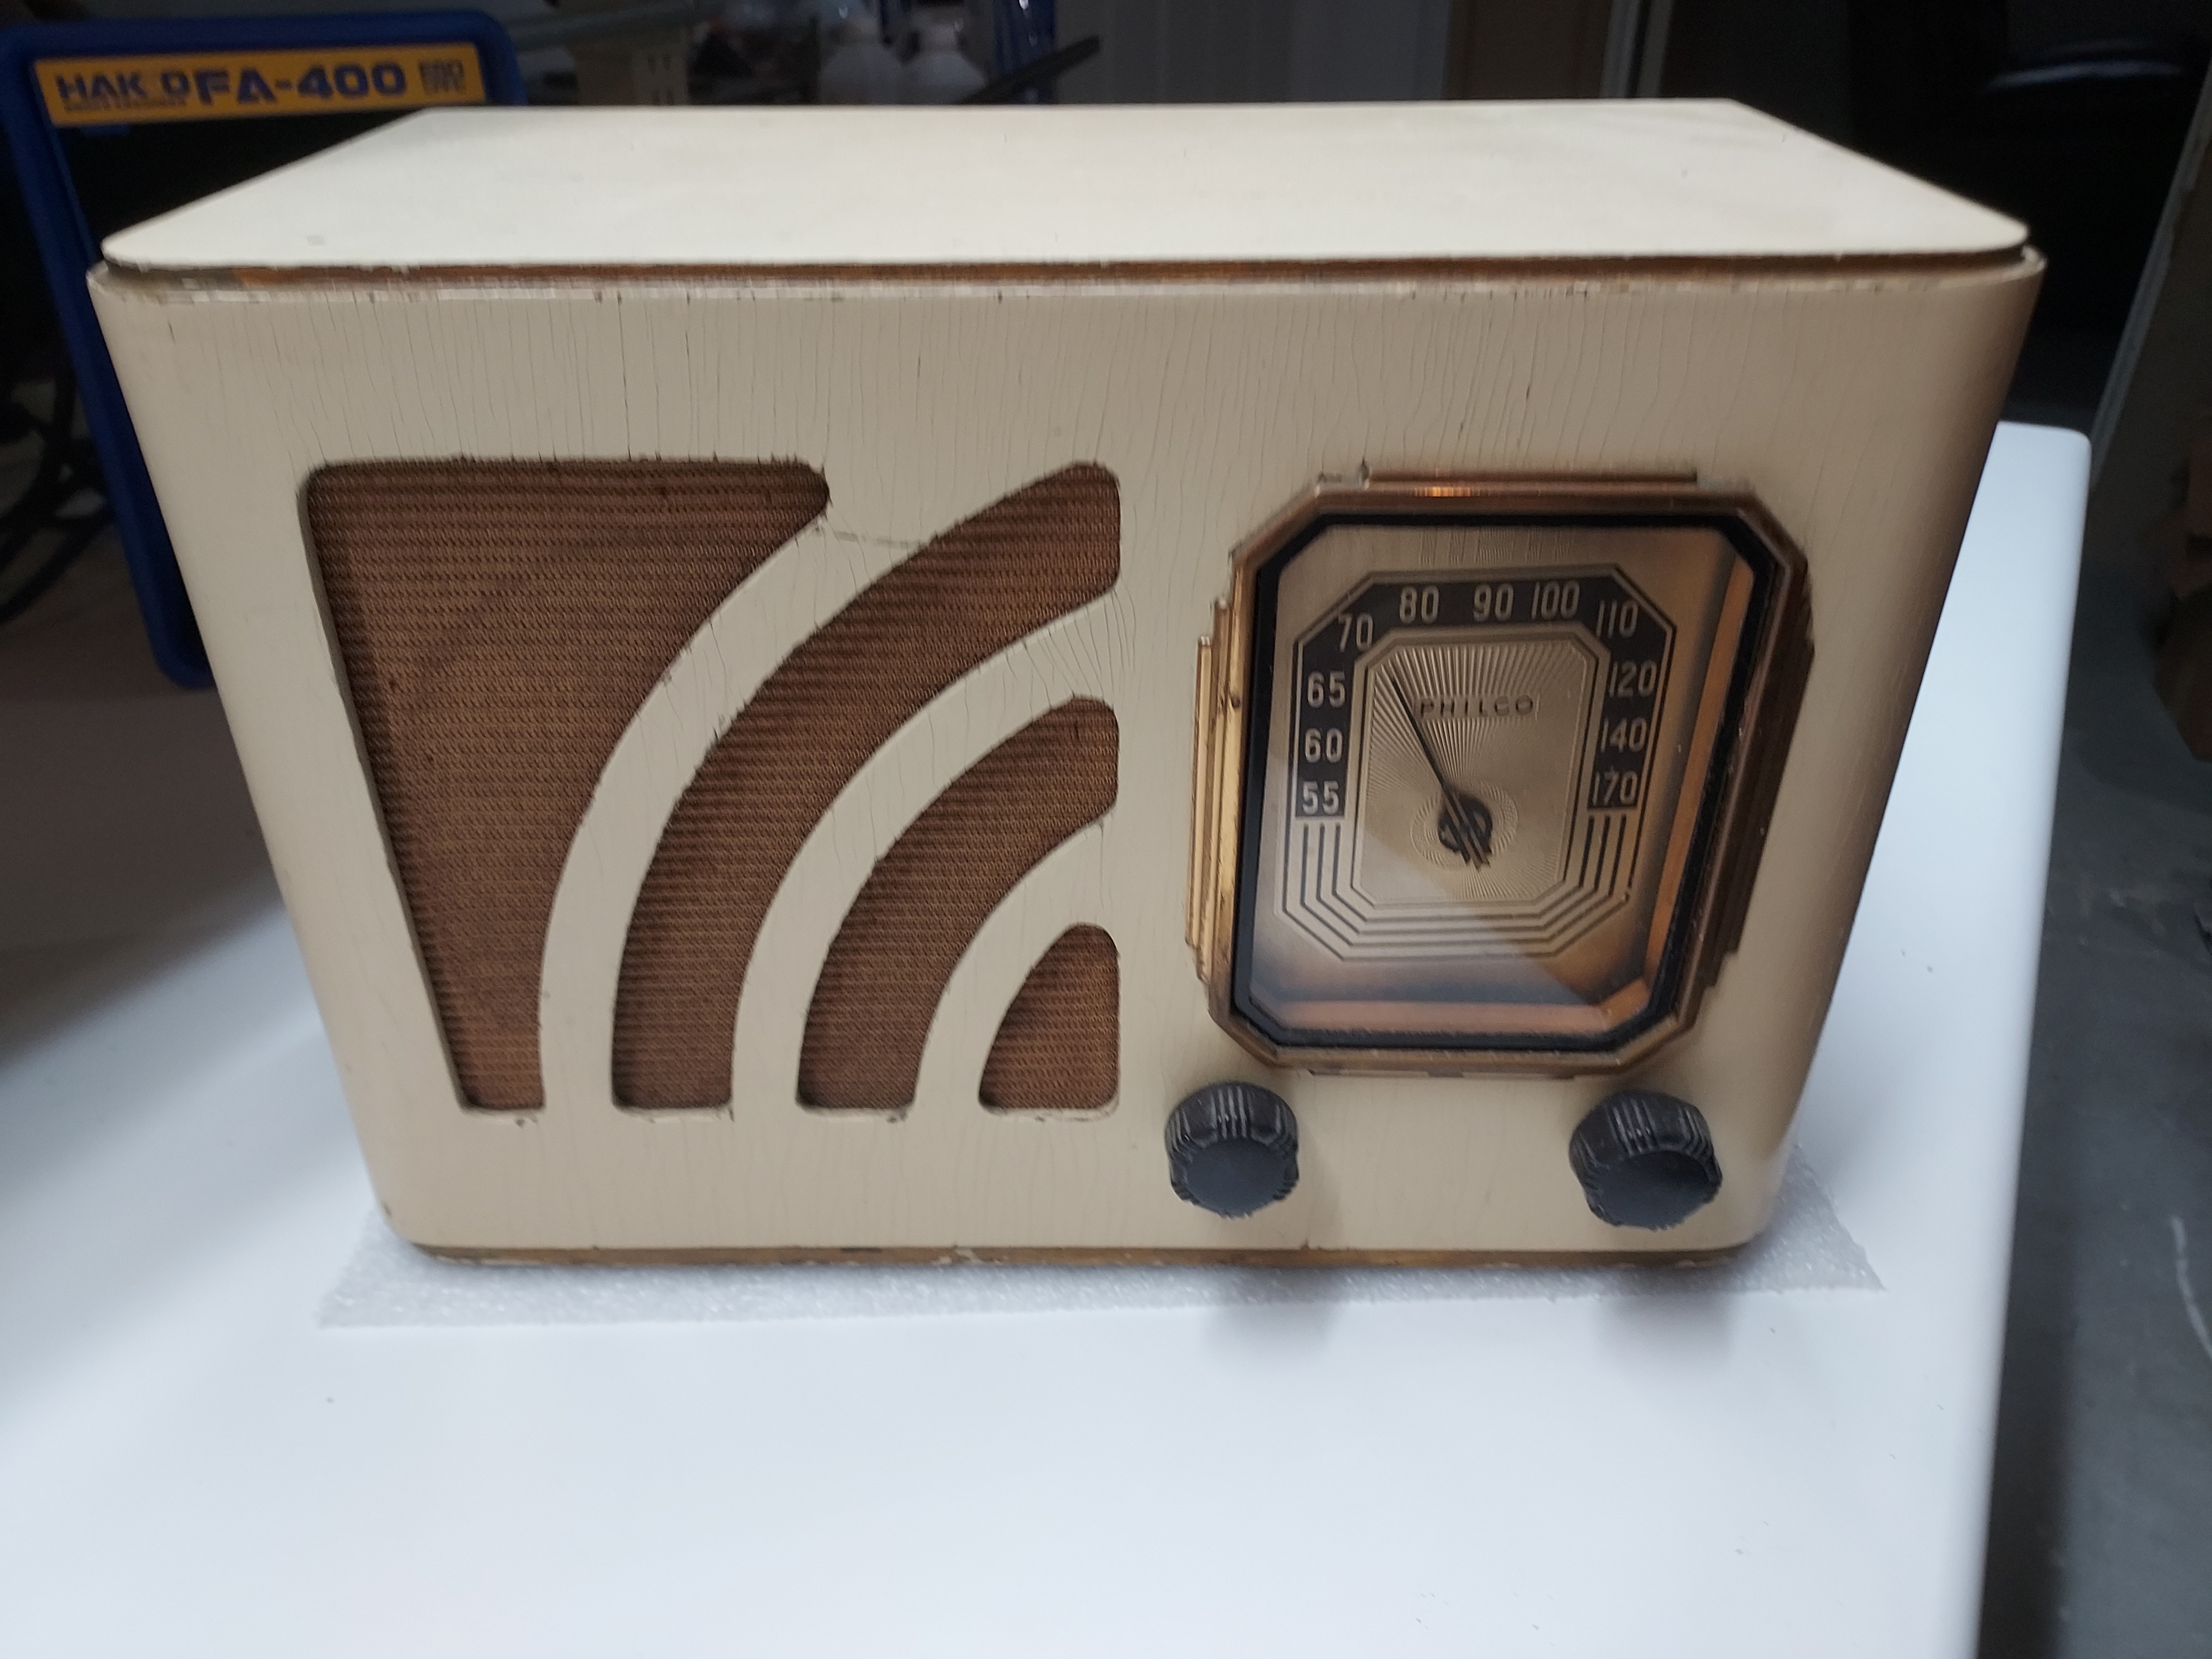
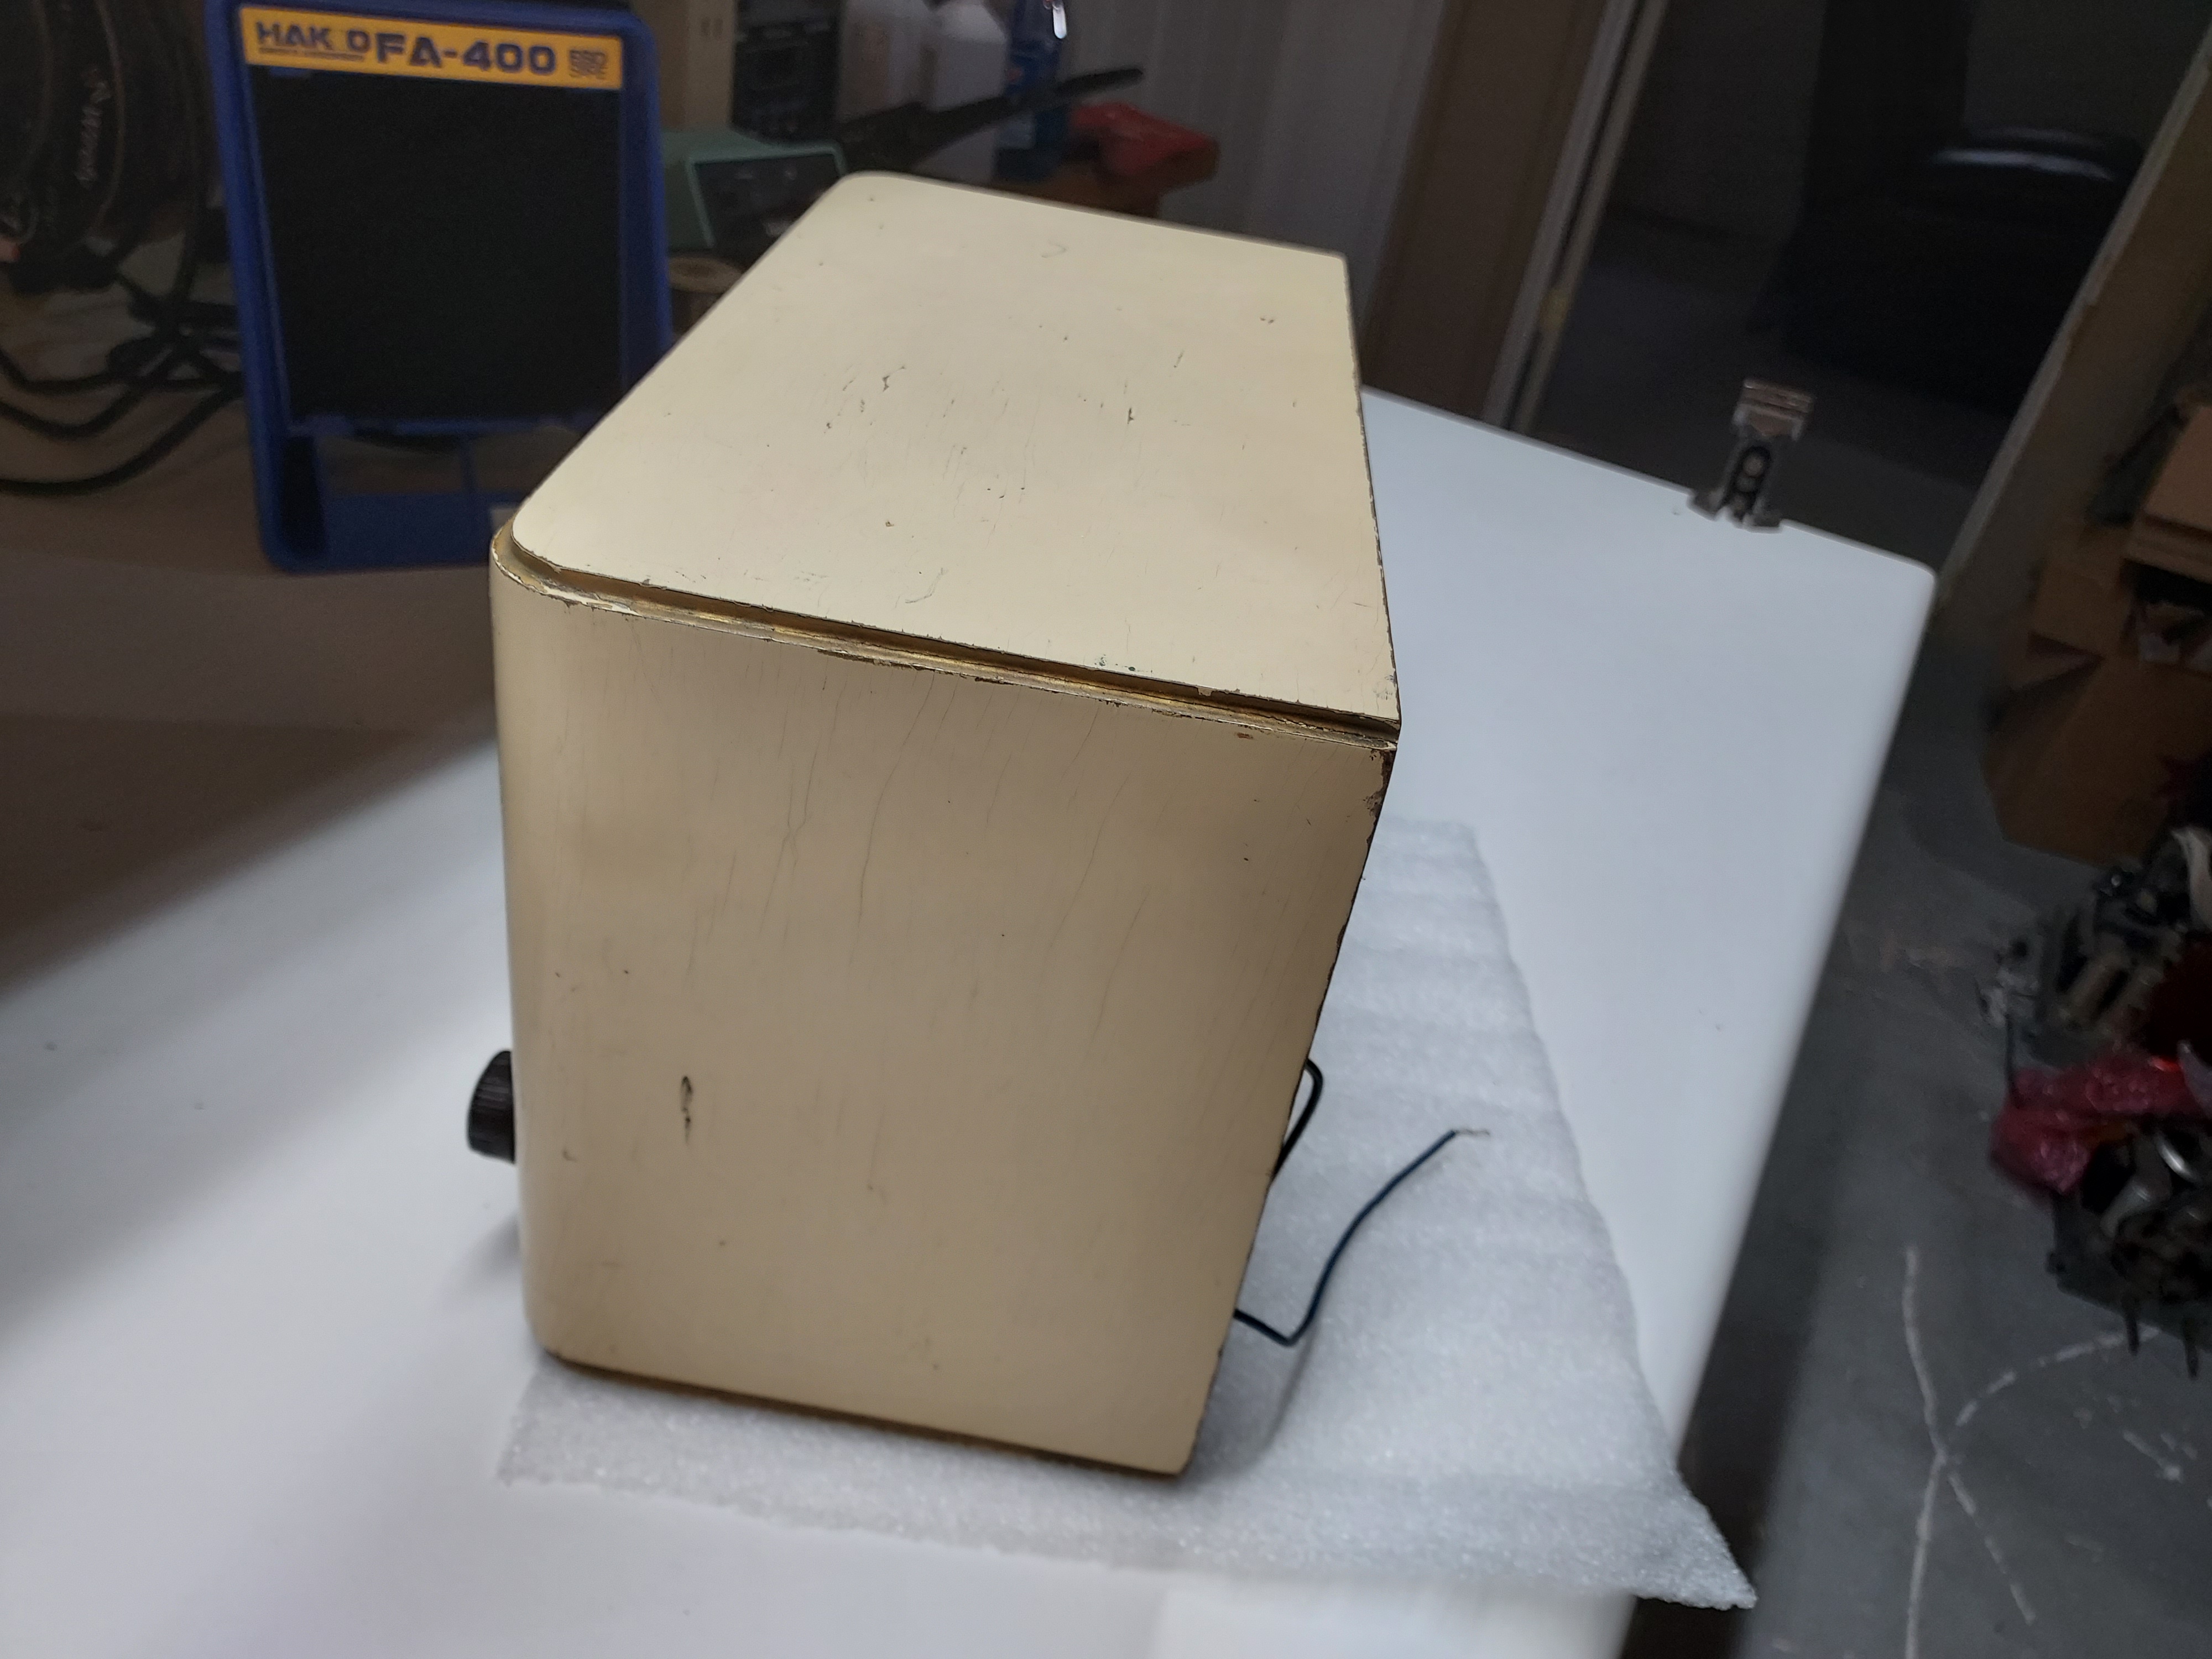
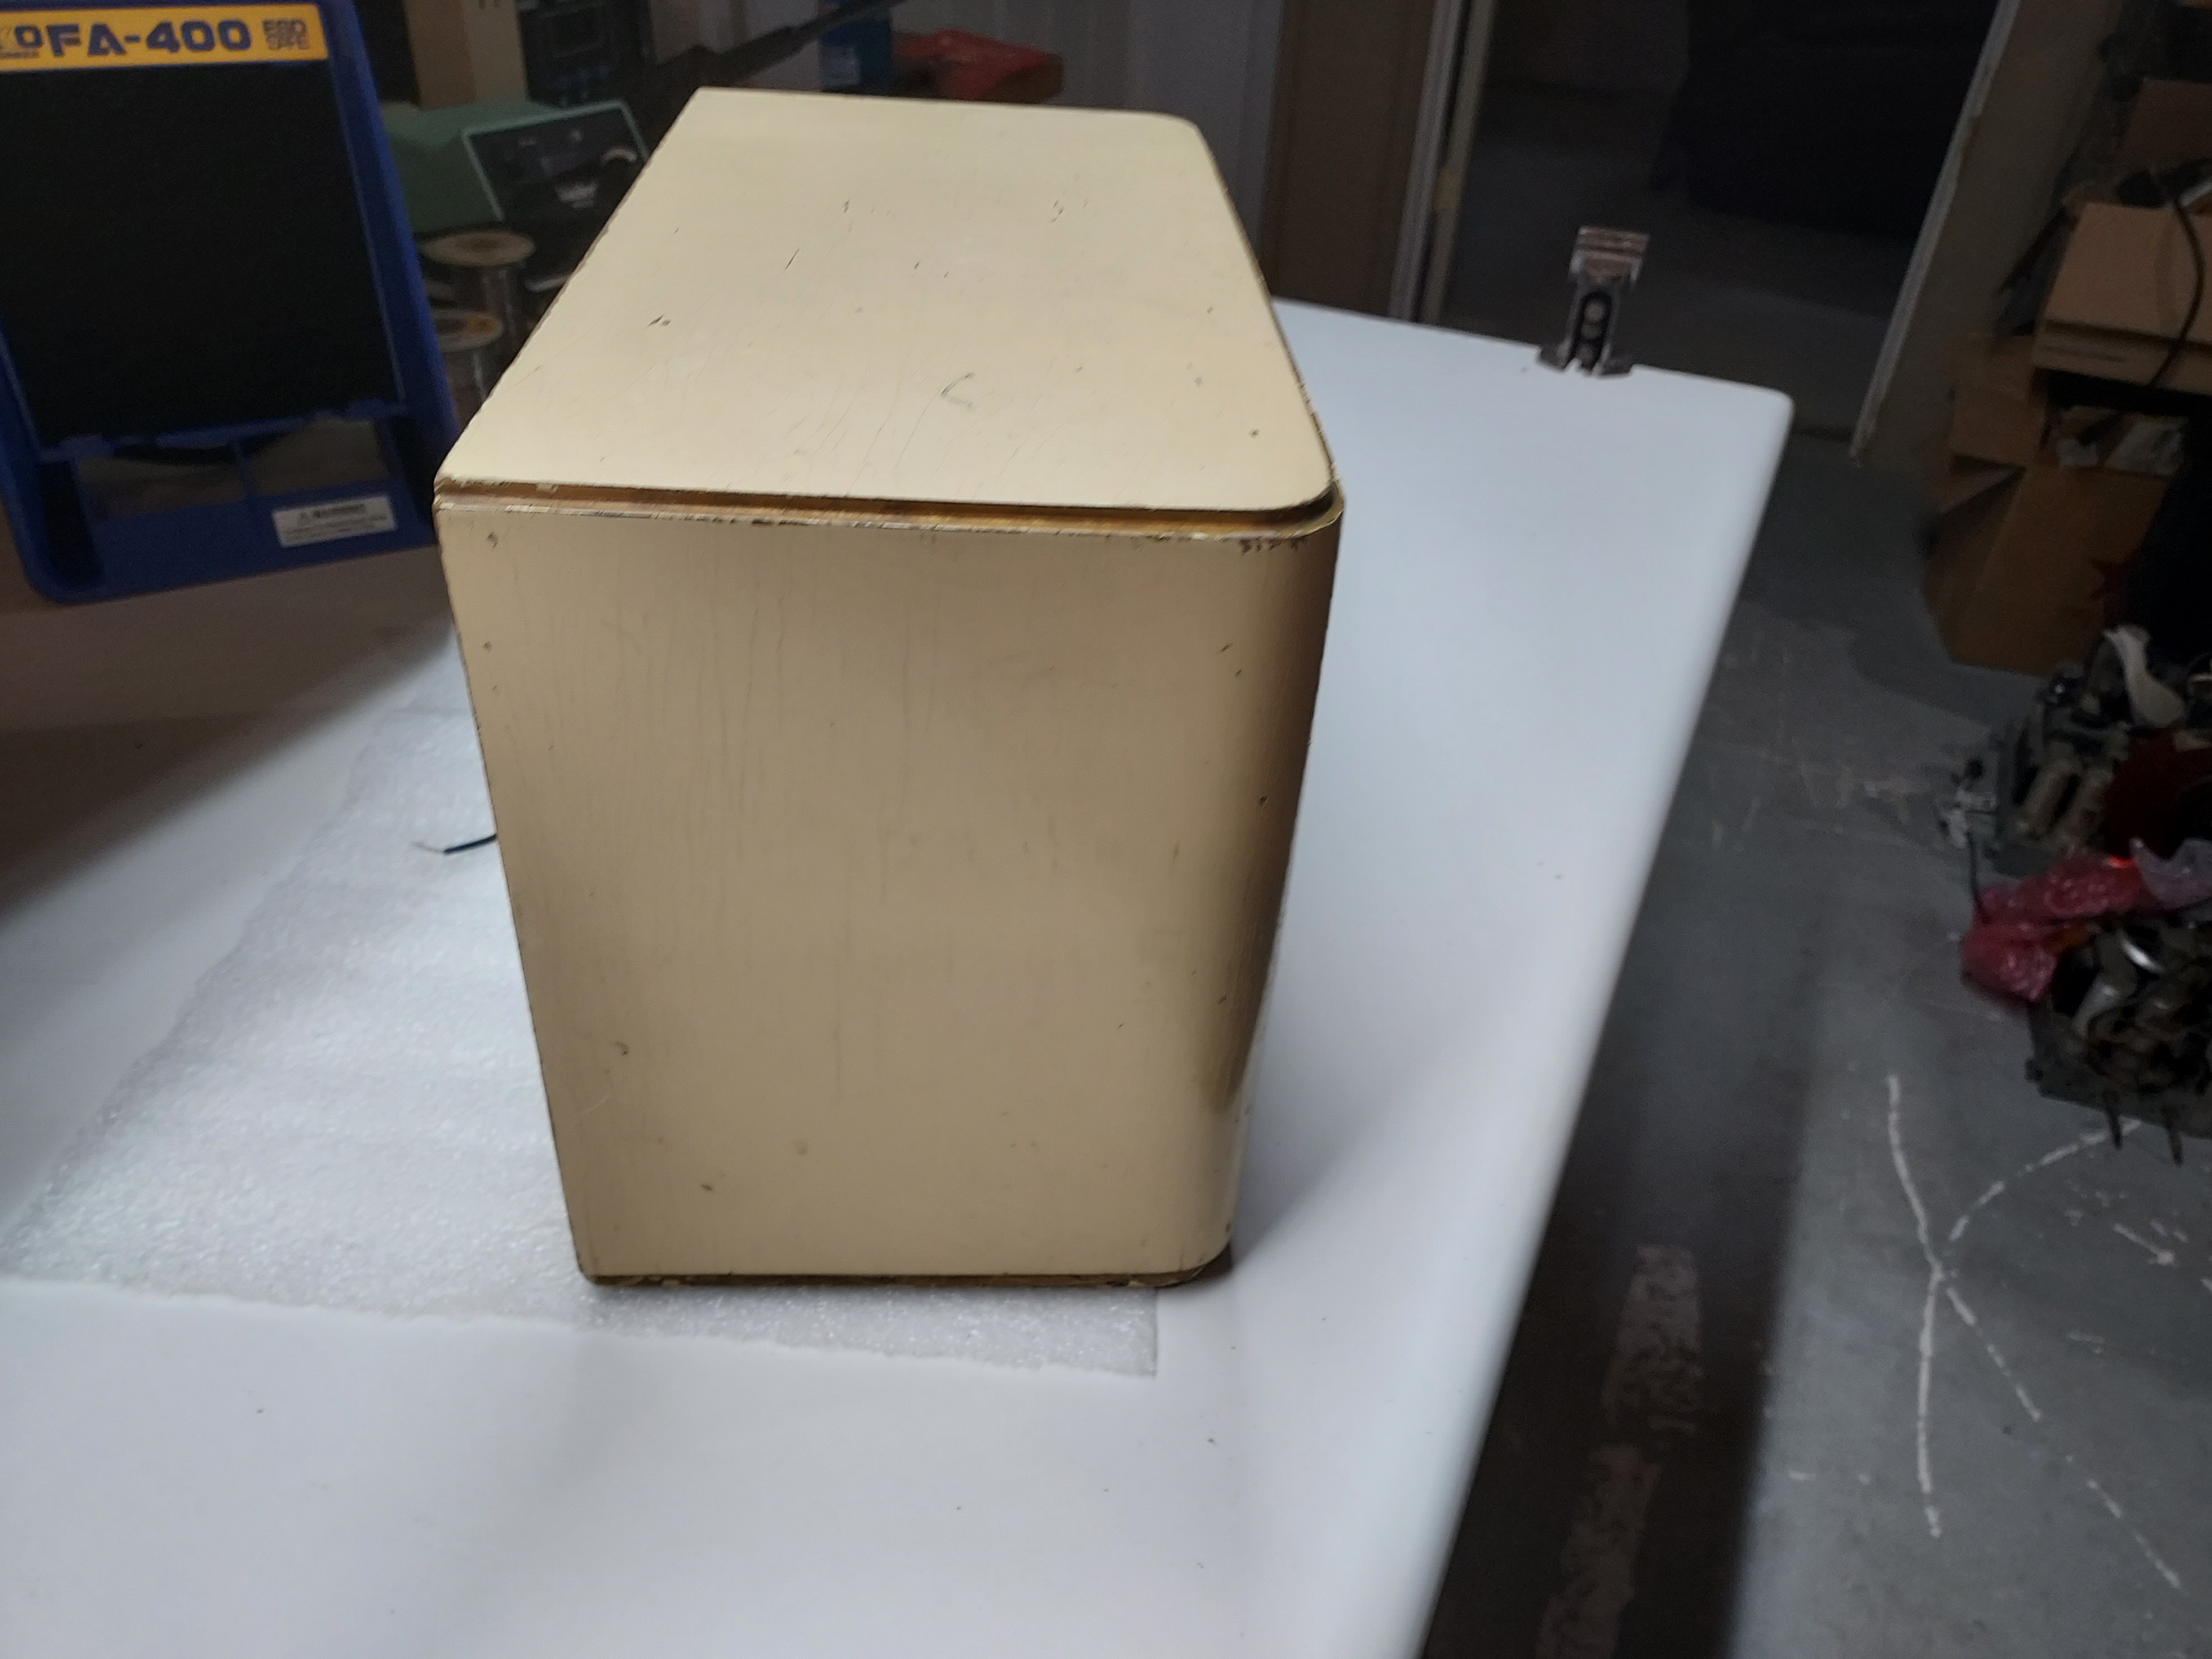
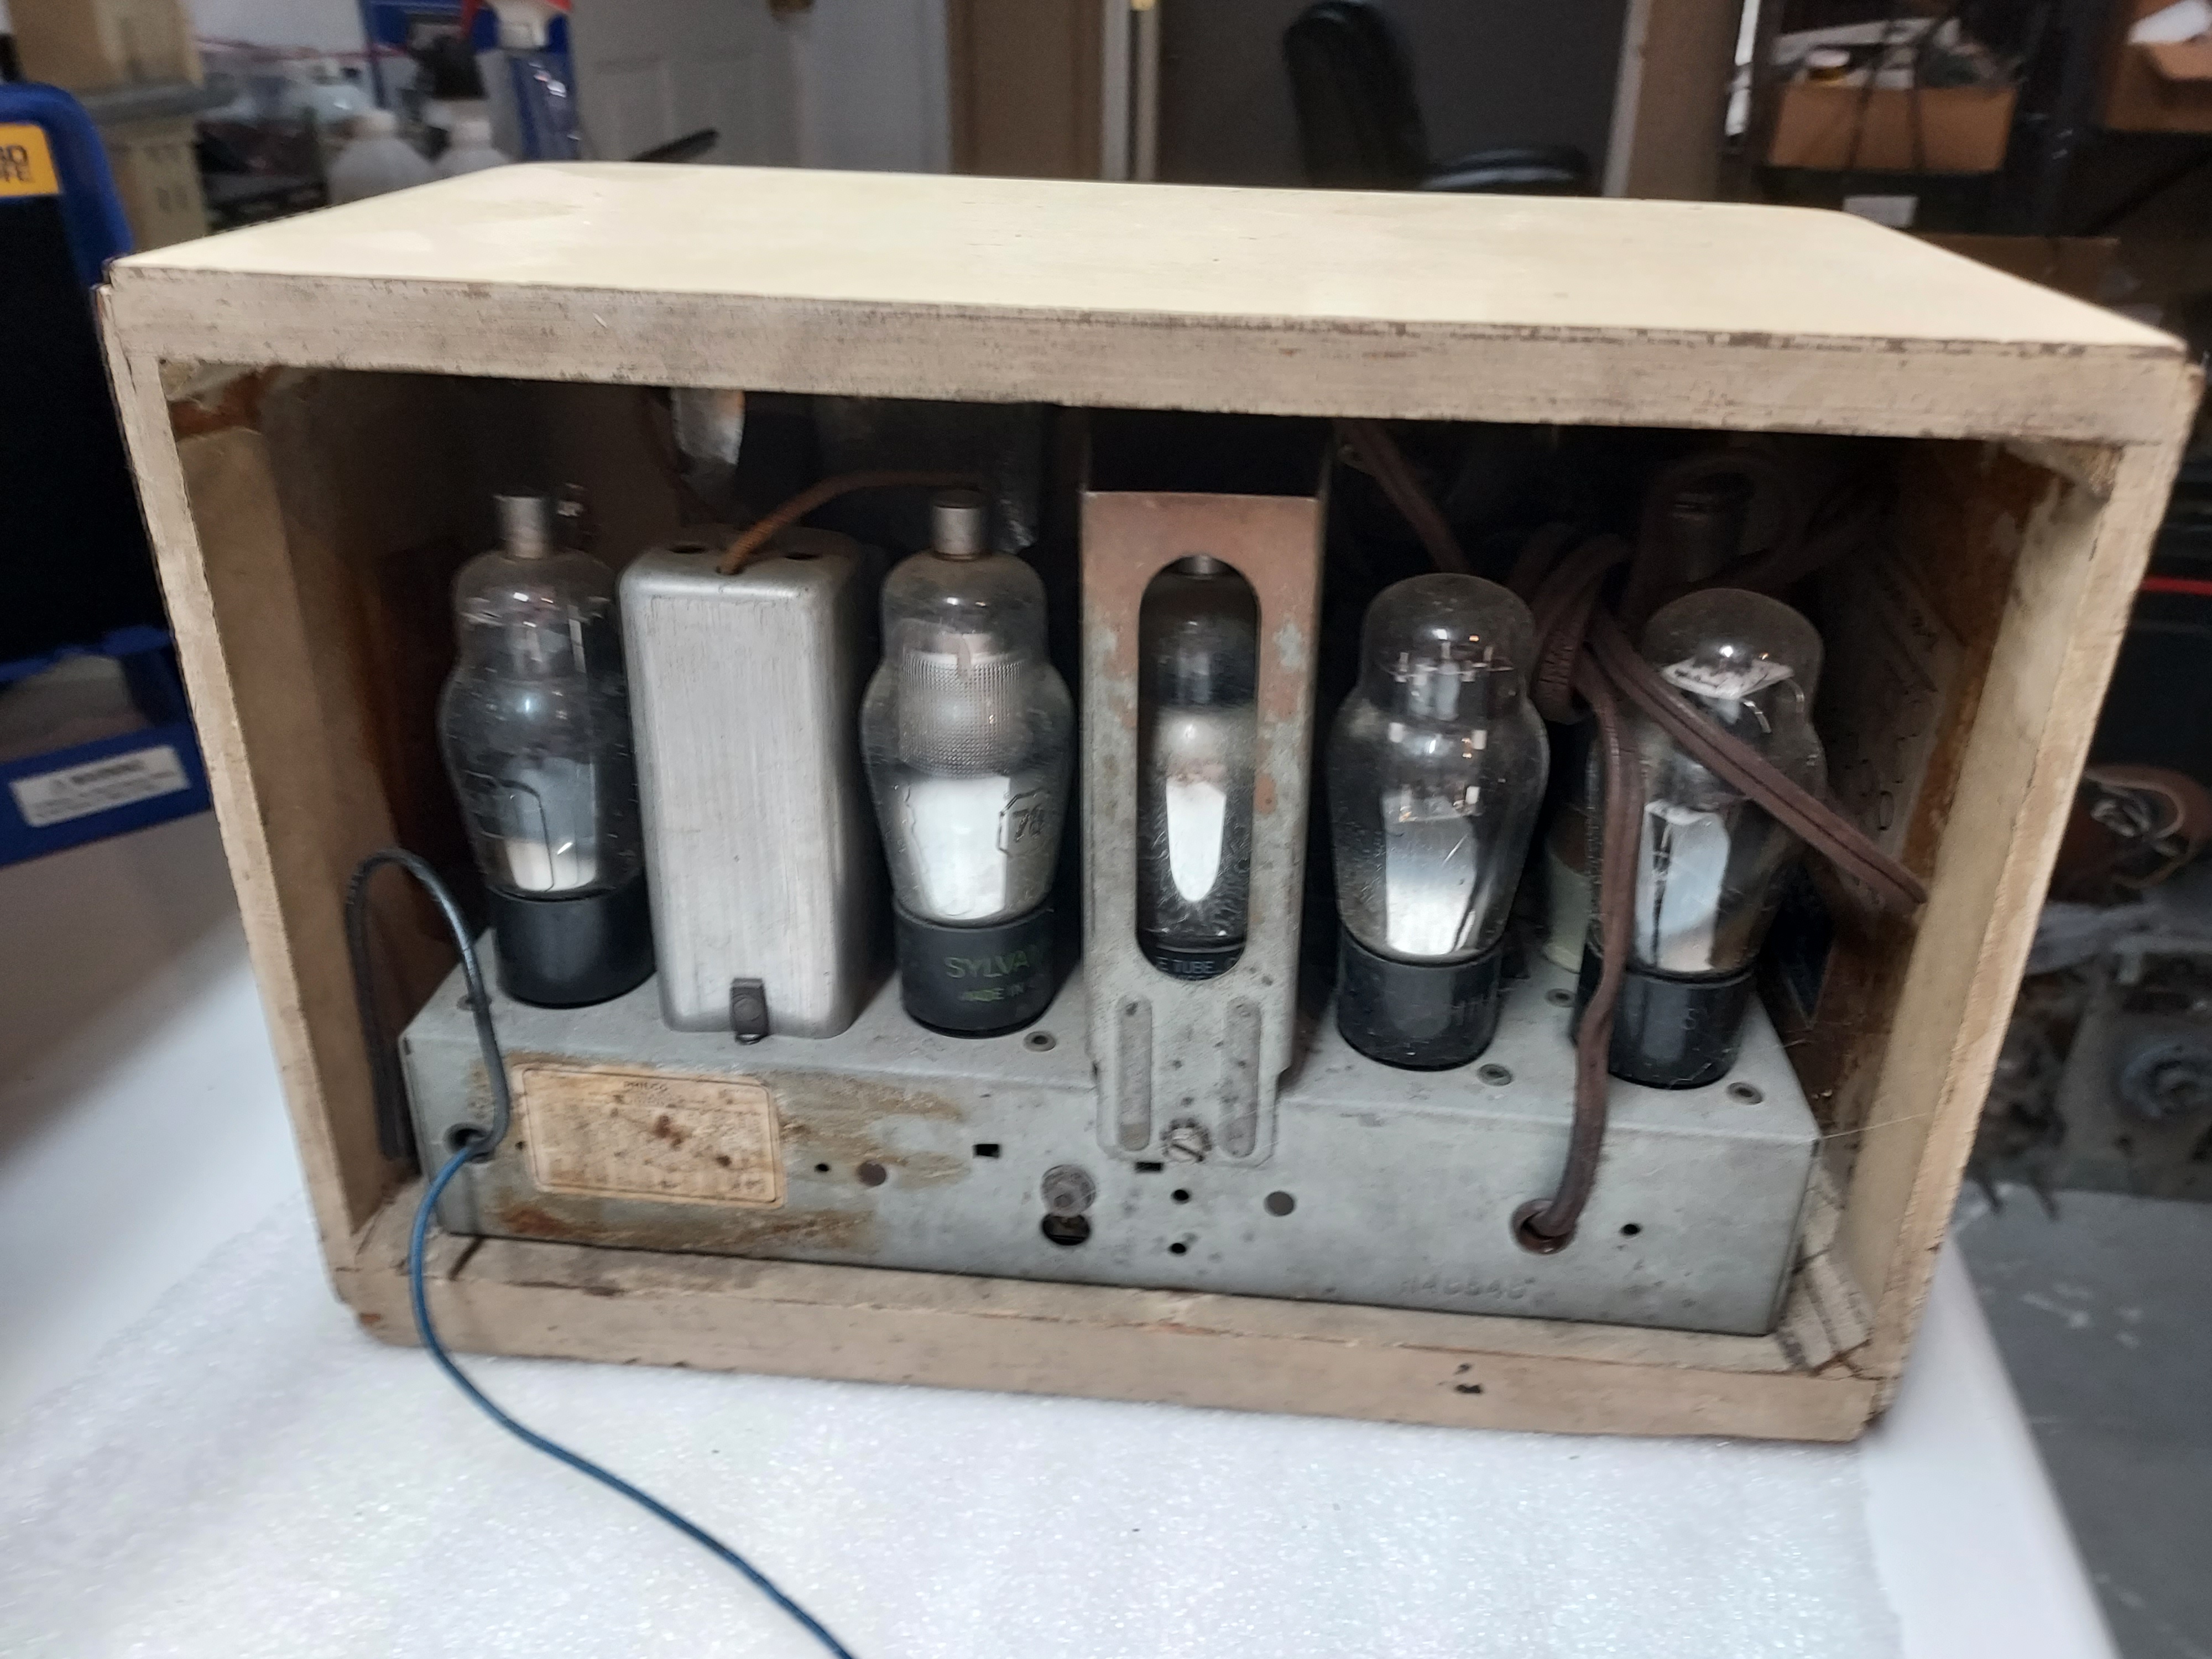
The chassis is a bit dustier than the previous one.
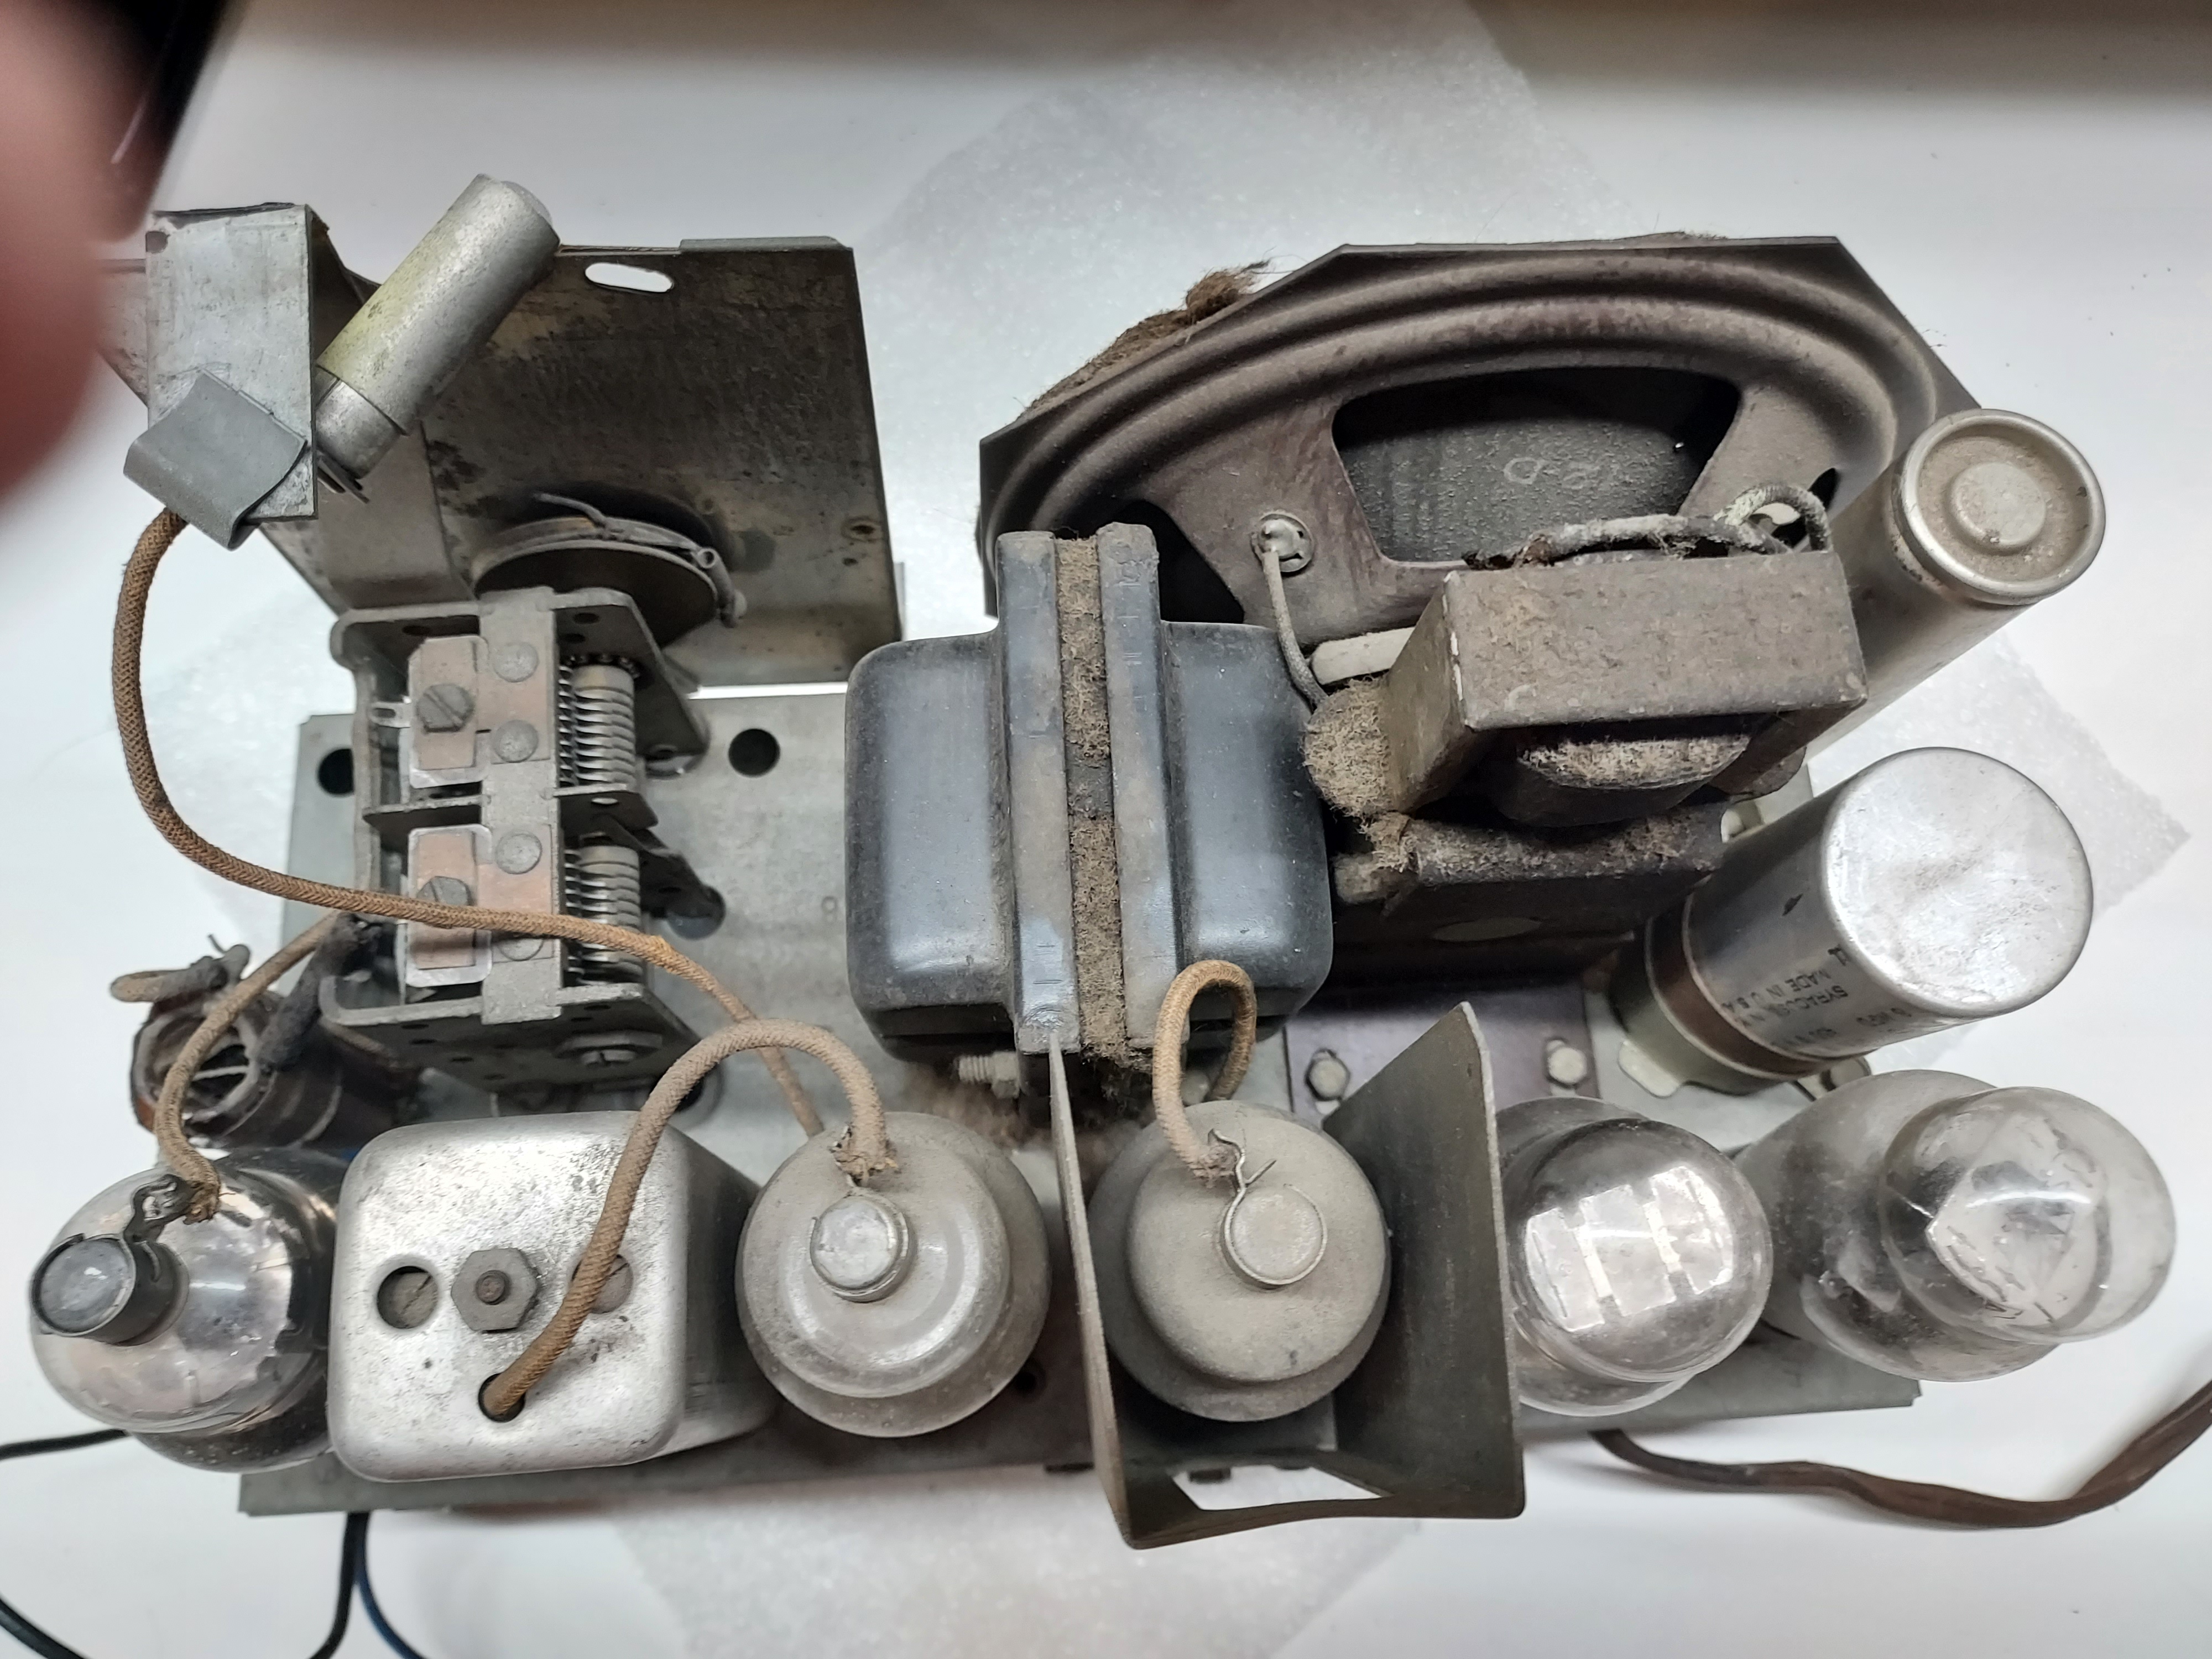
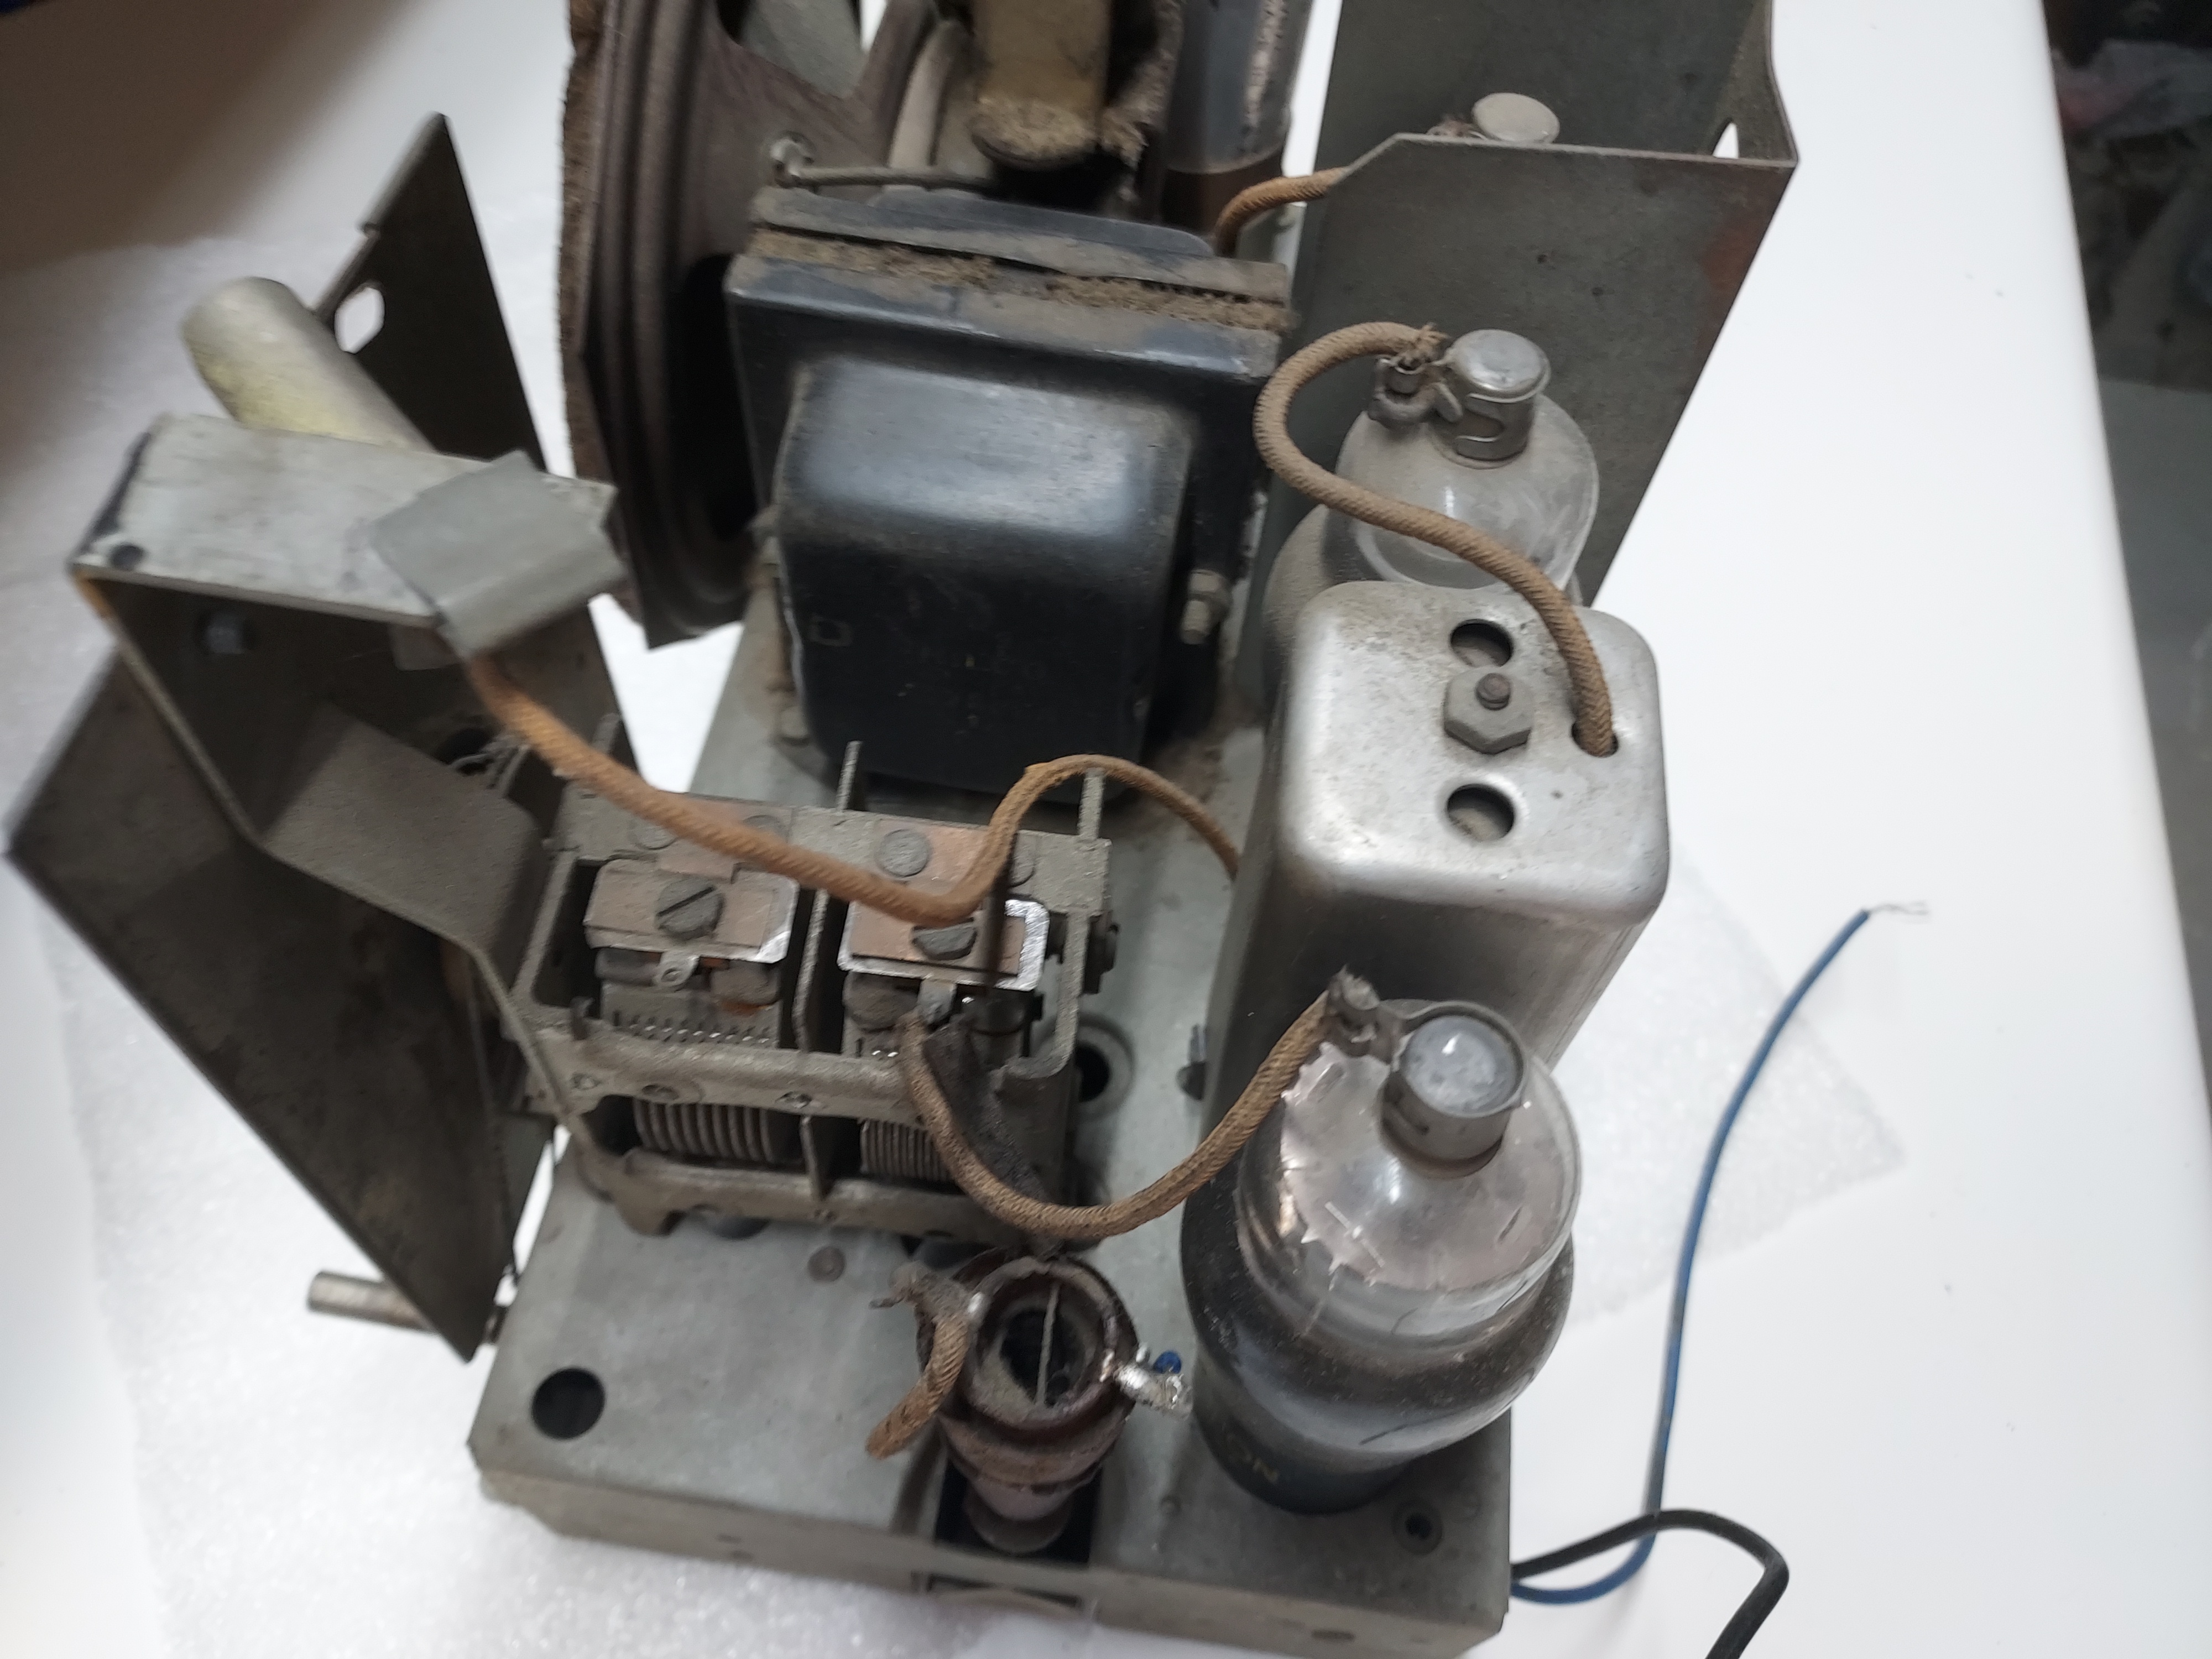
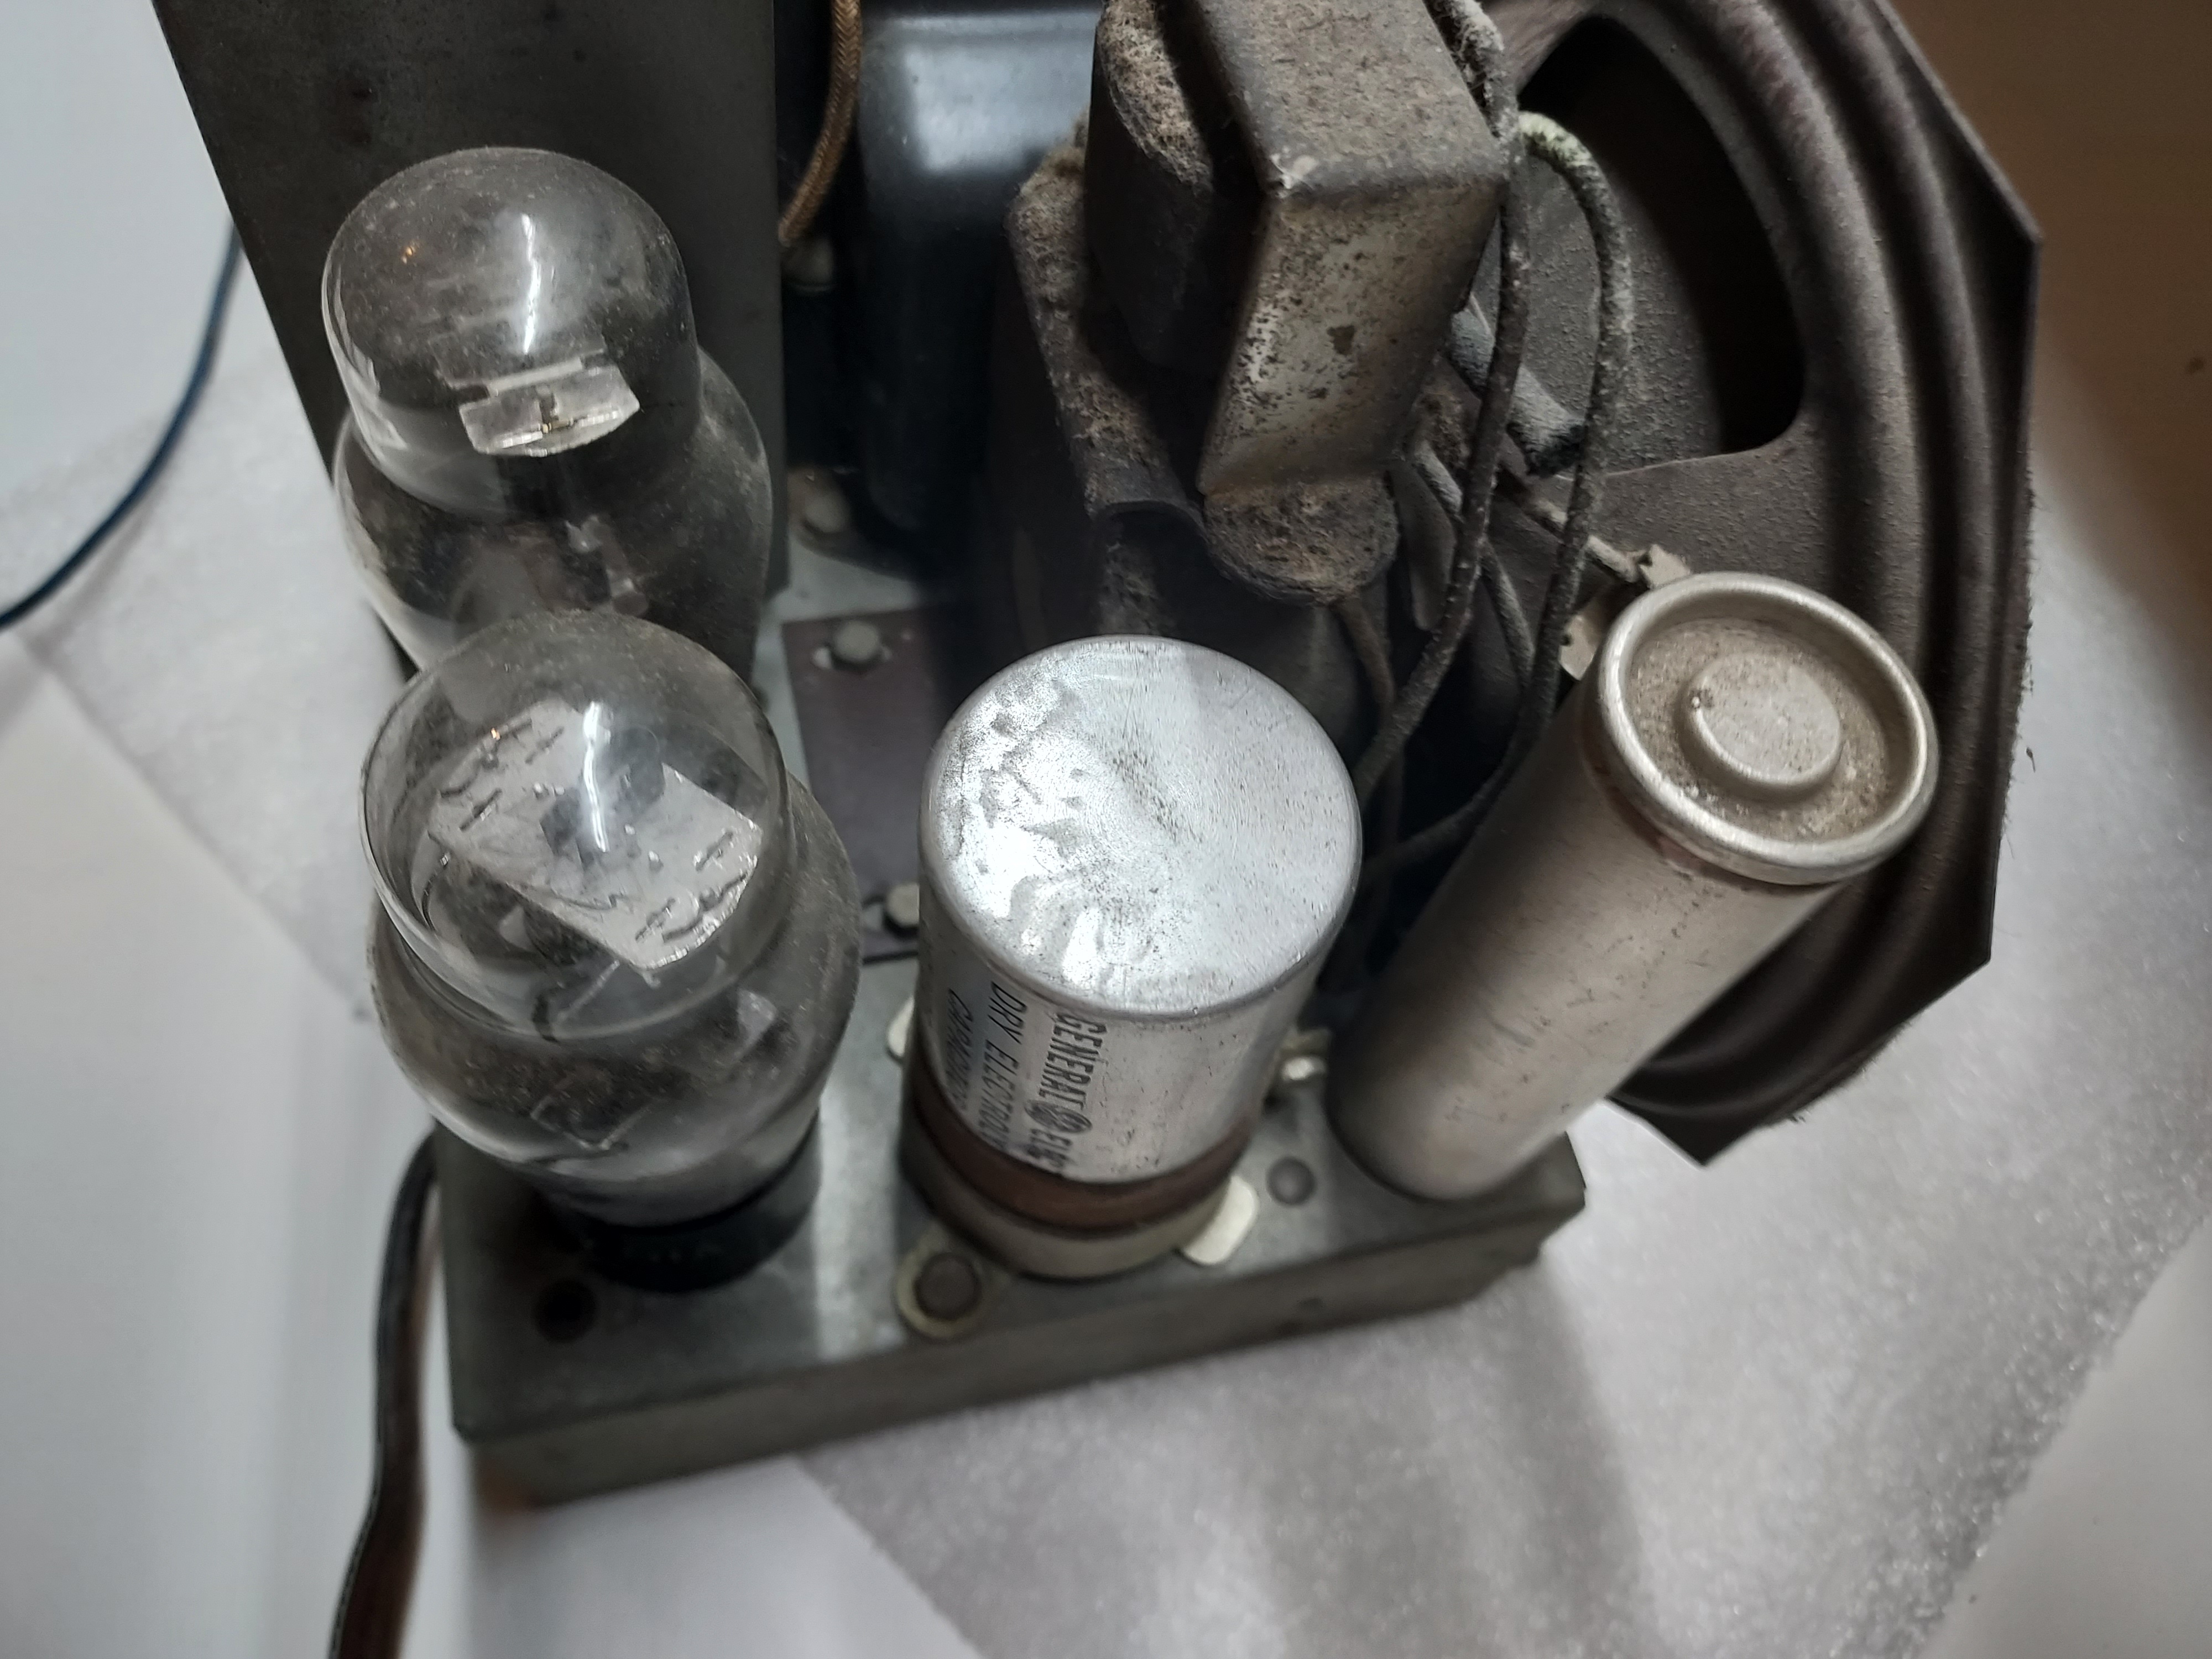
Under the chassis there are some mediocre quality repairs.
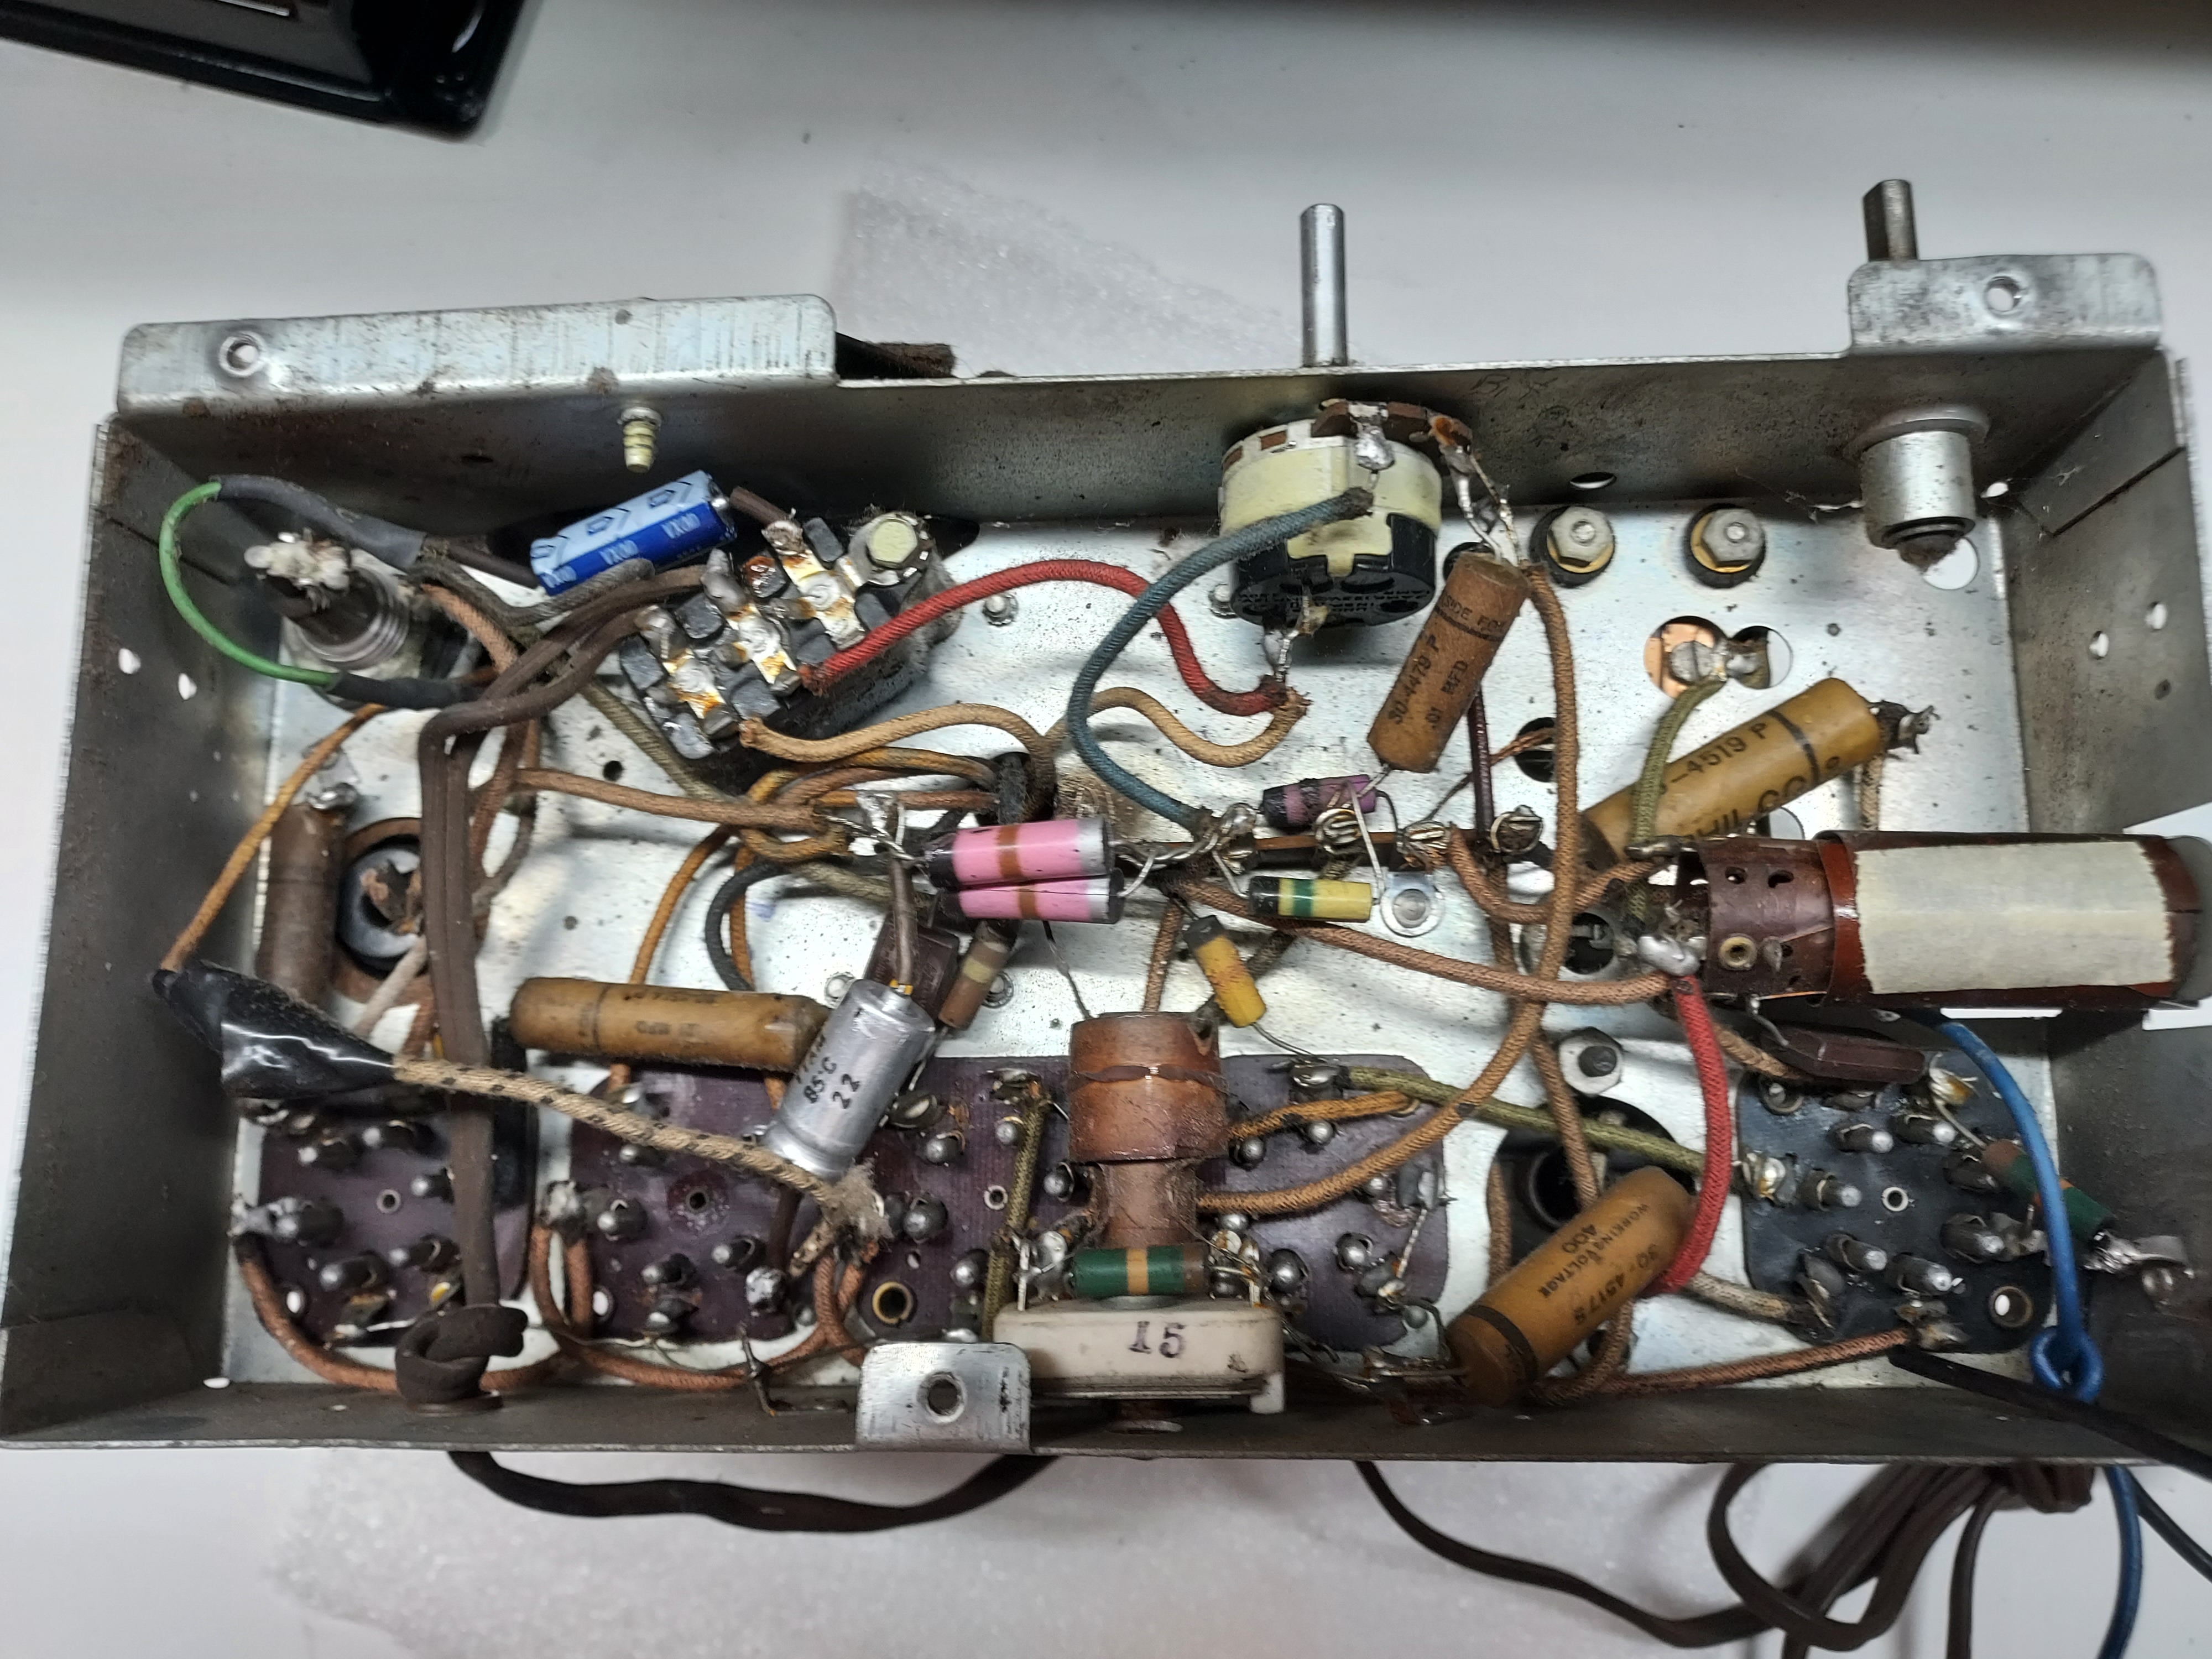
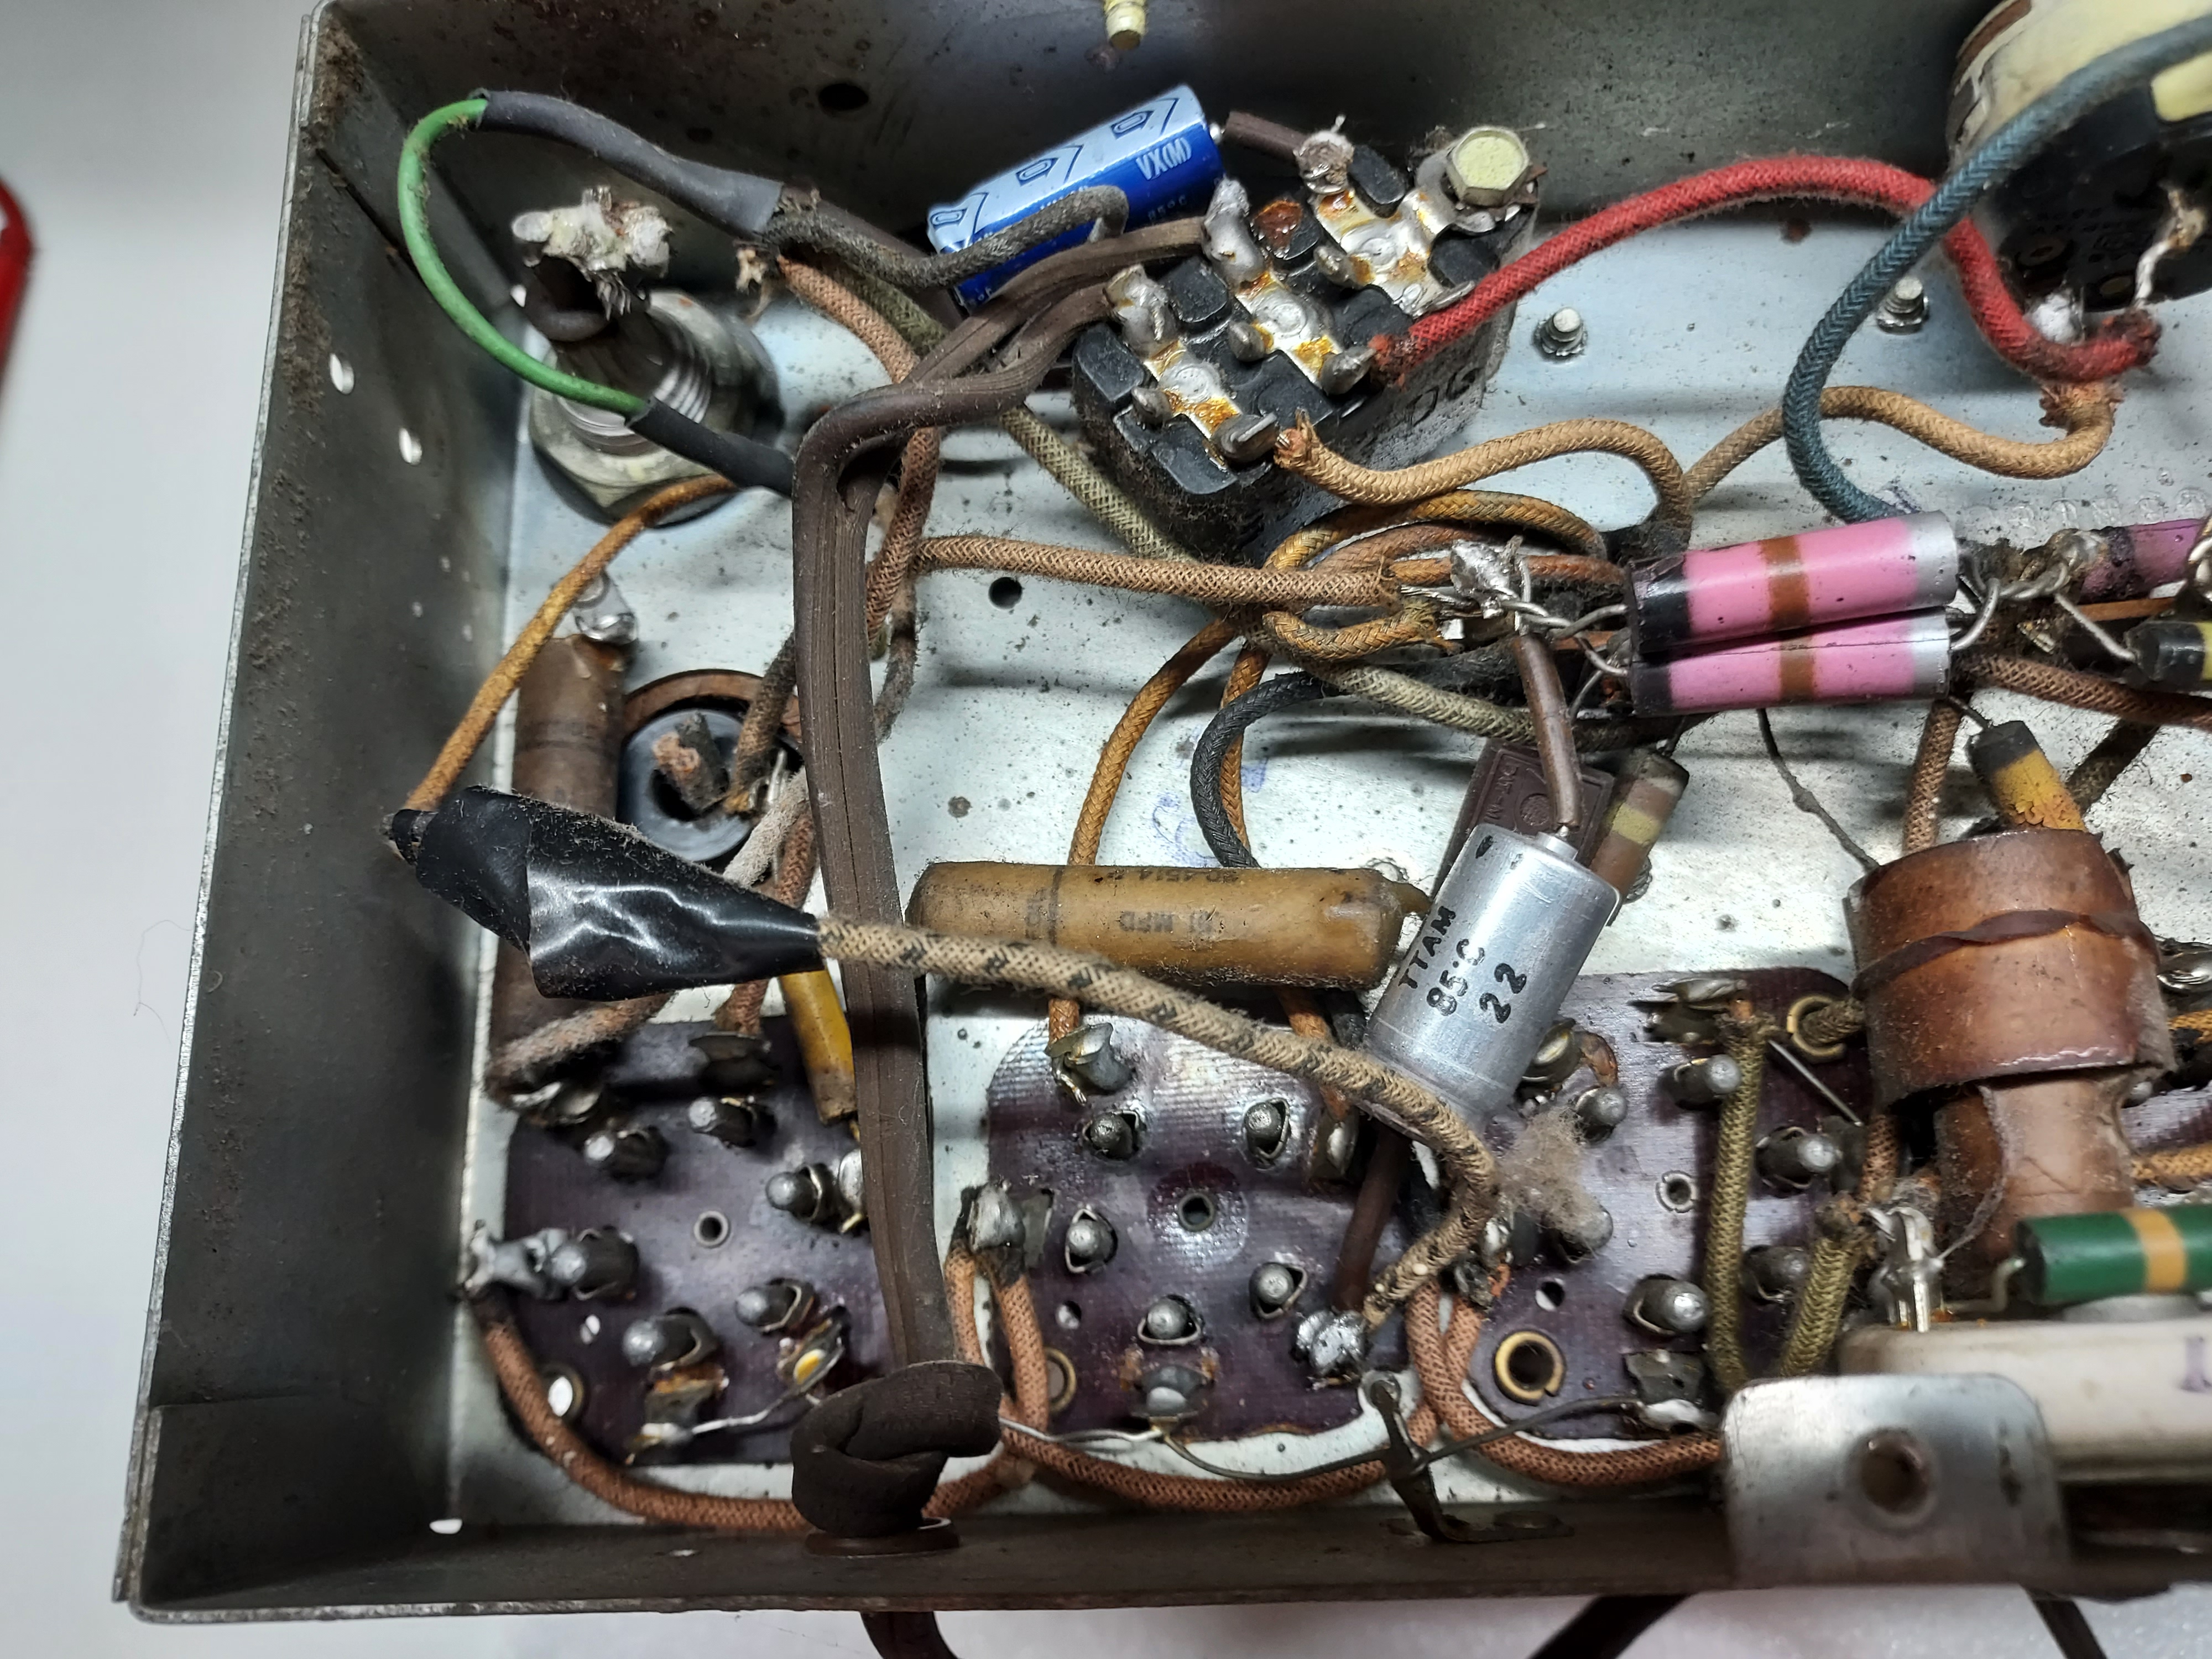
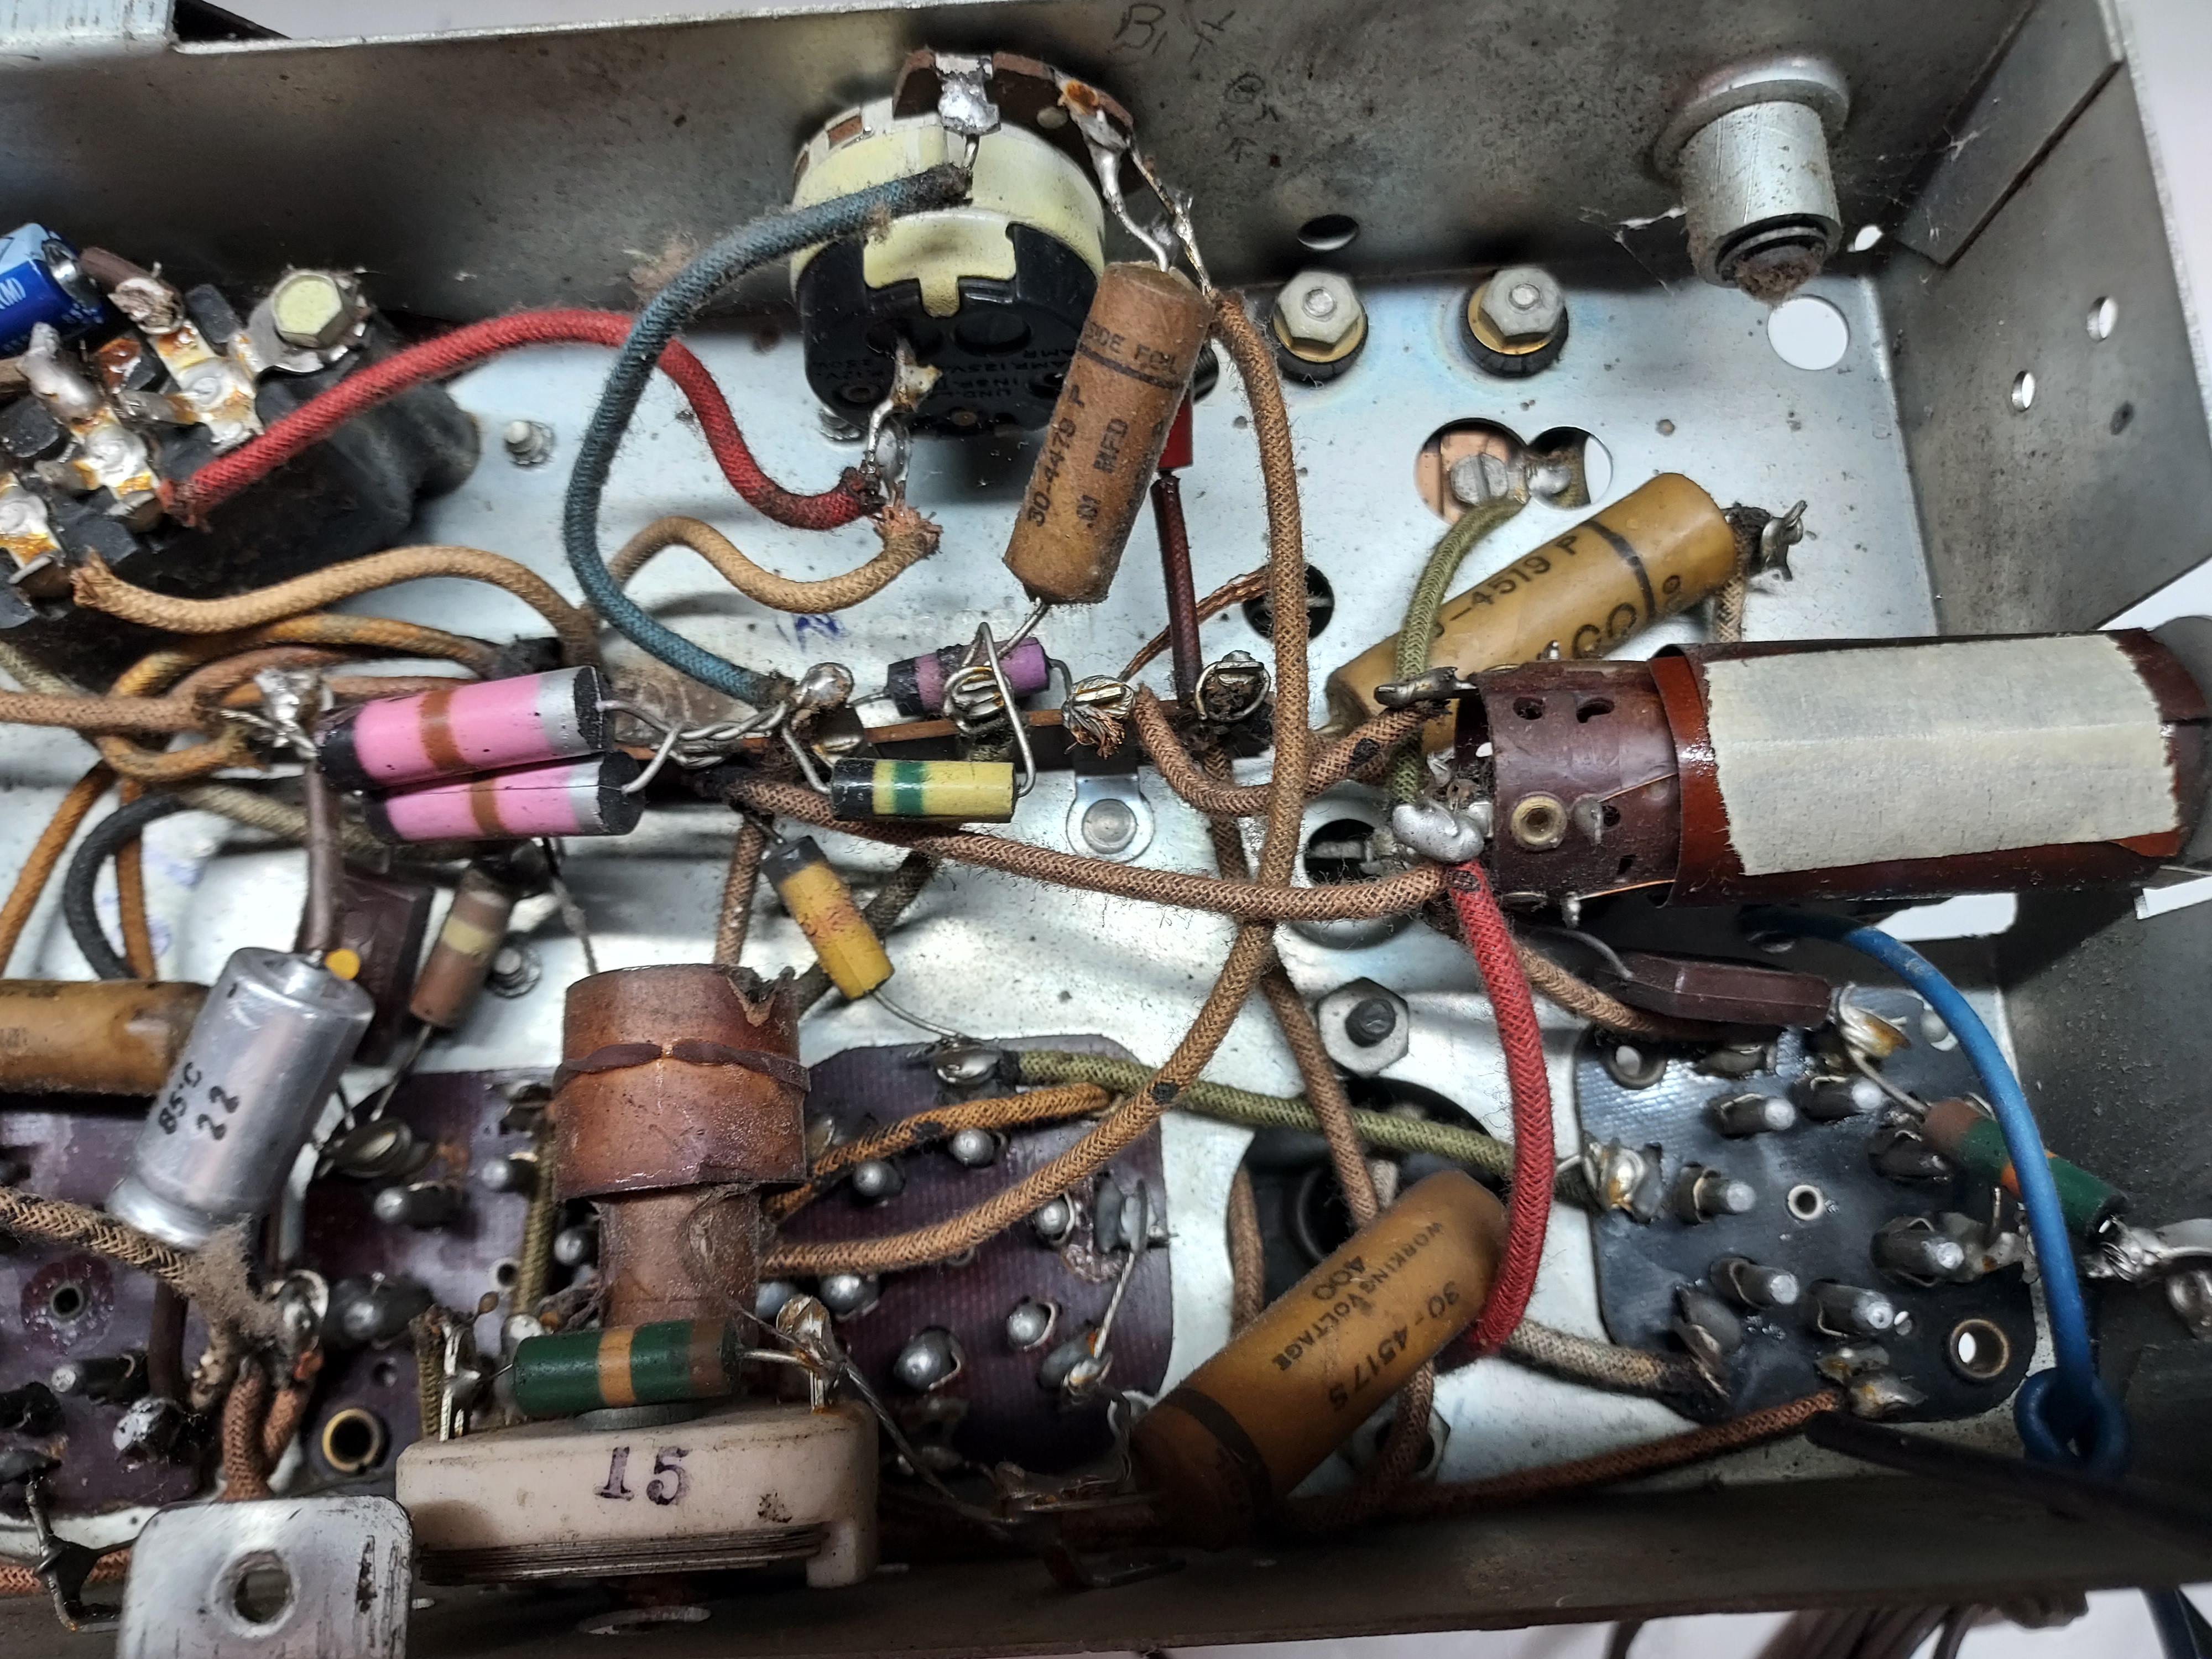
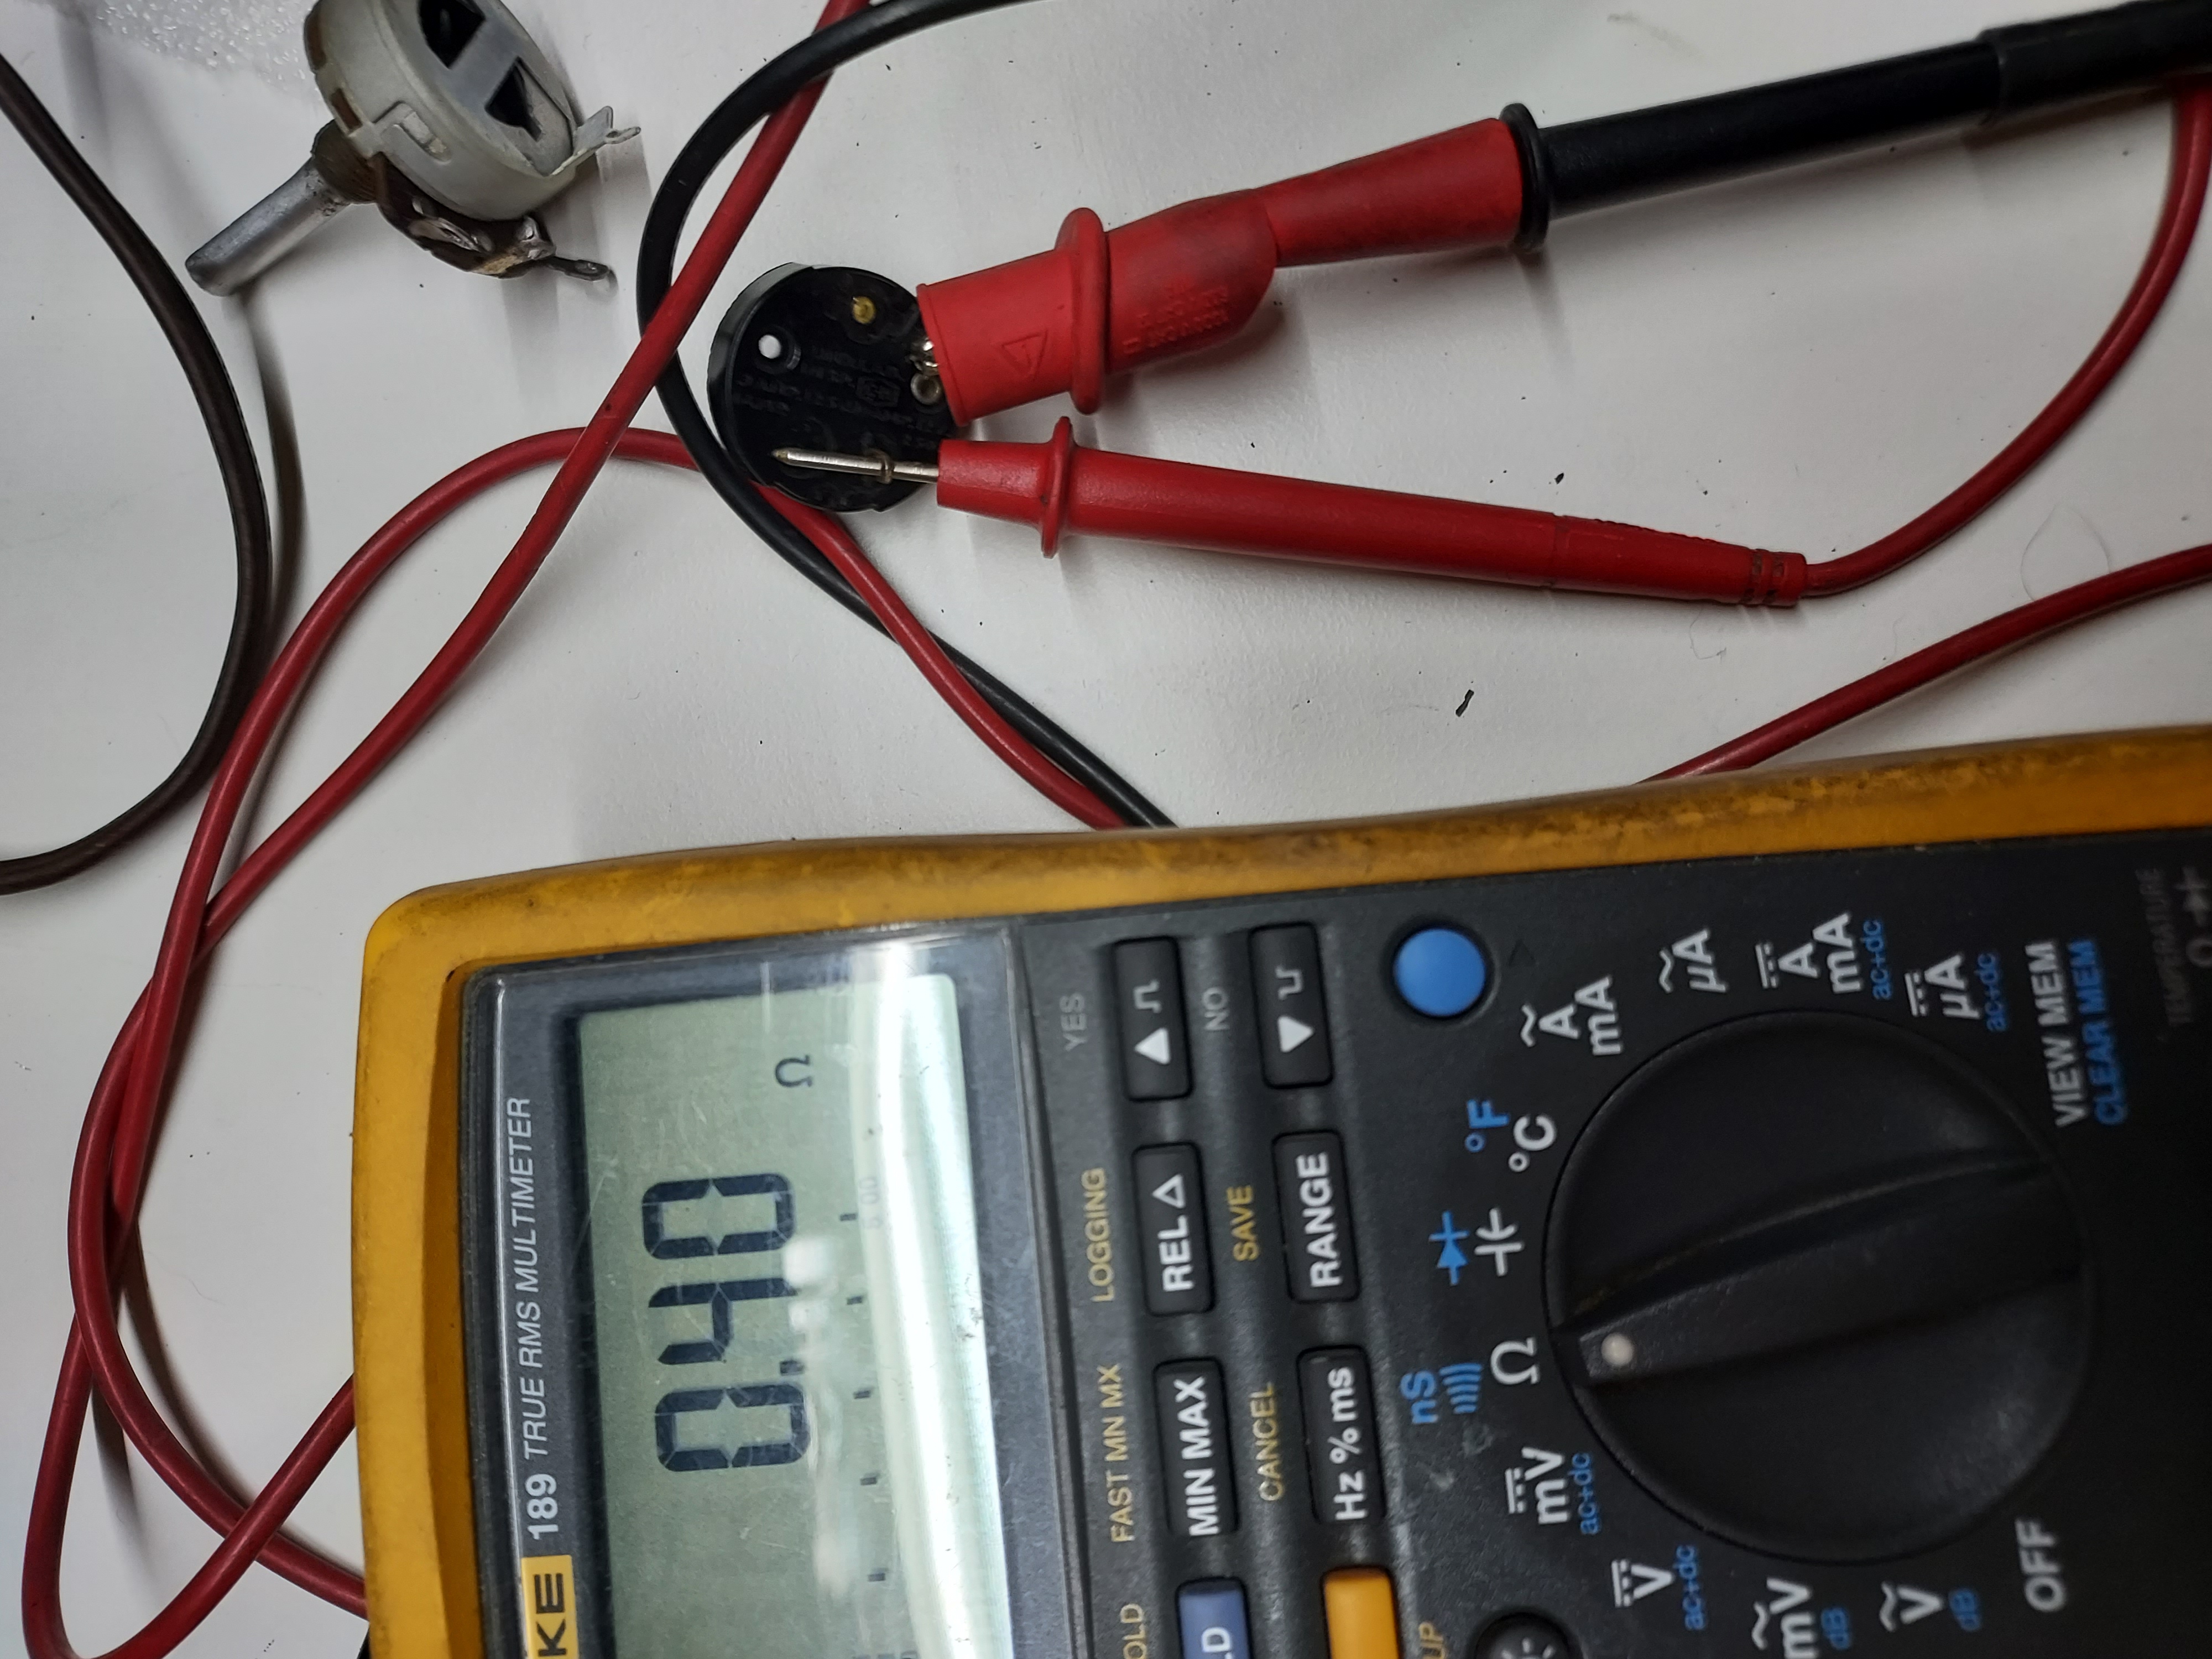
I checked the AC input, and it looked like it was open. The switch on the pot (which is a replacement pot) was not making any contact at all.
When opened, it was fully oxidized.
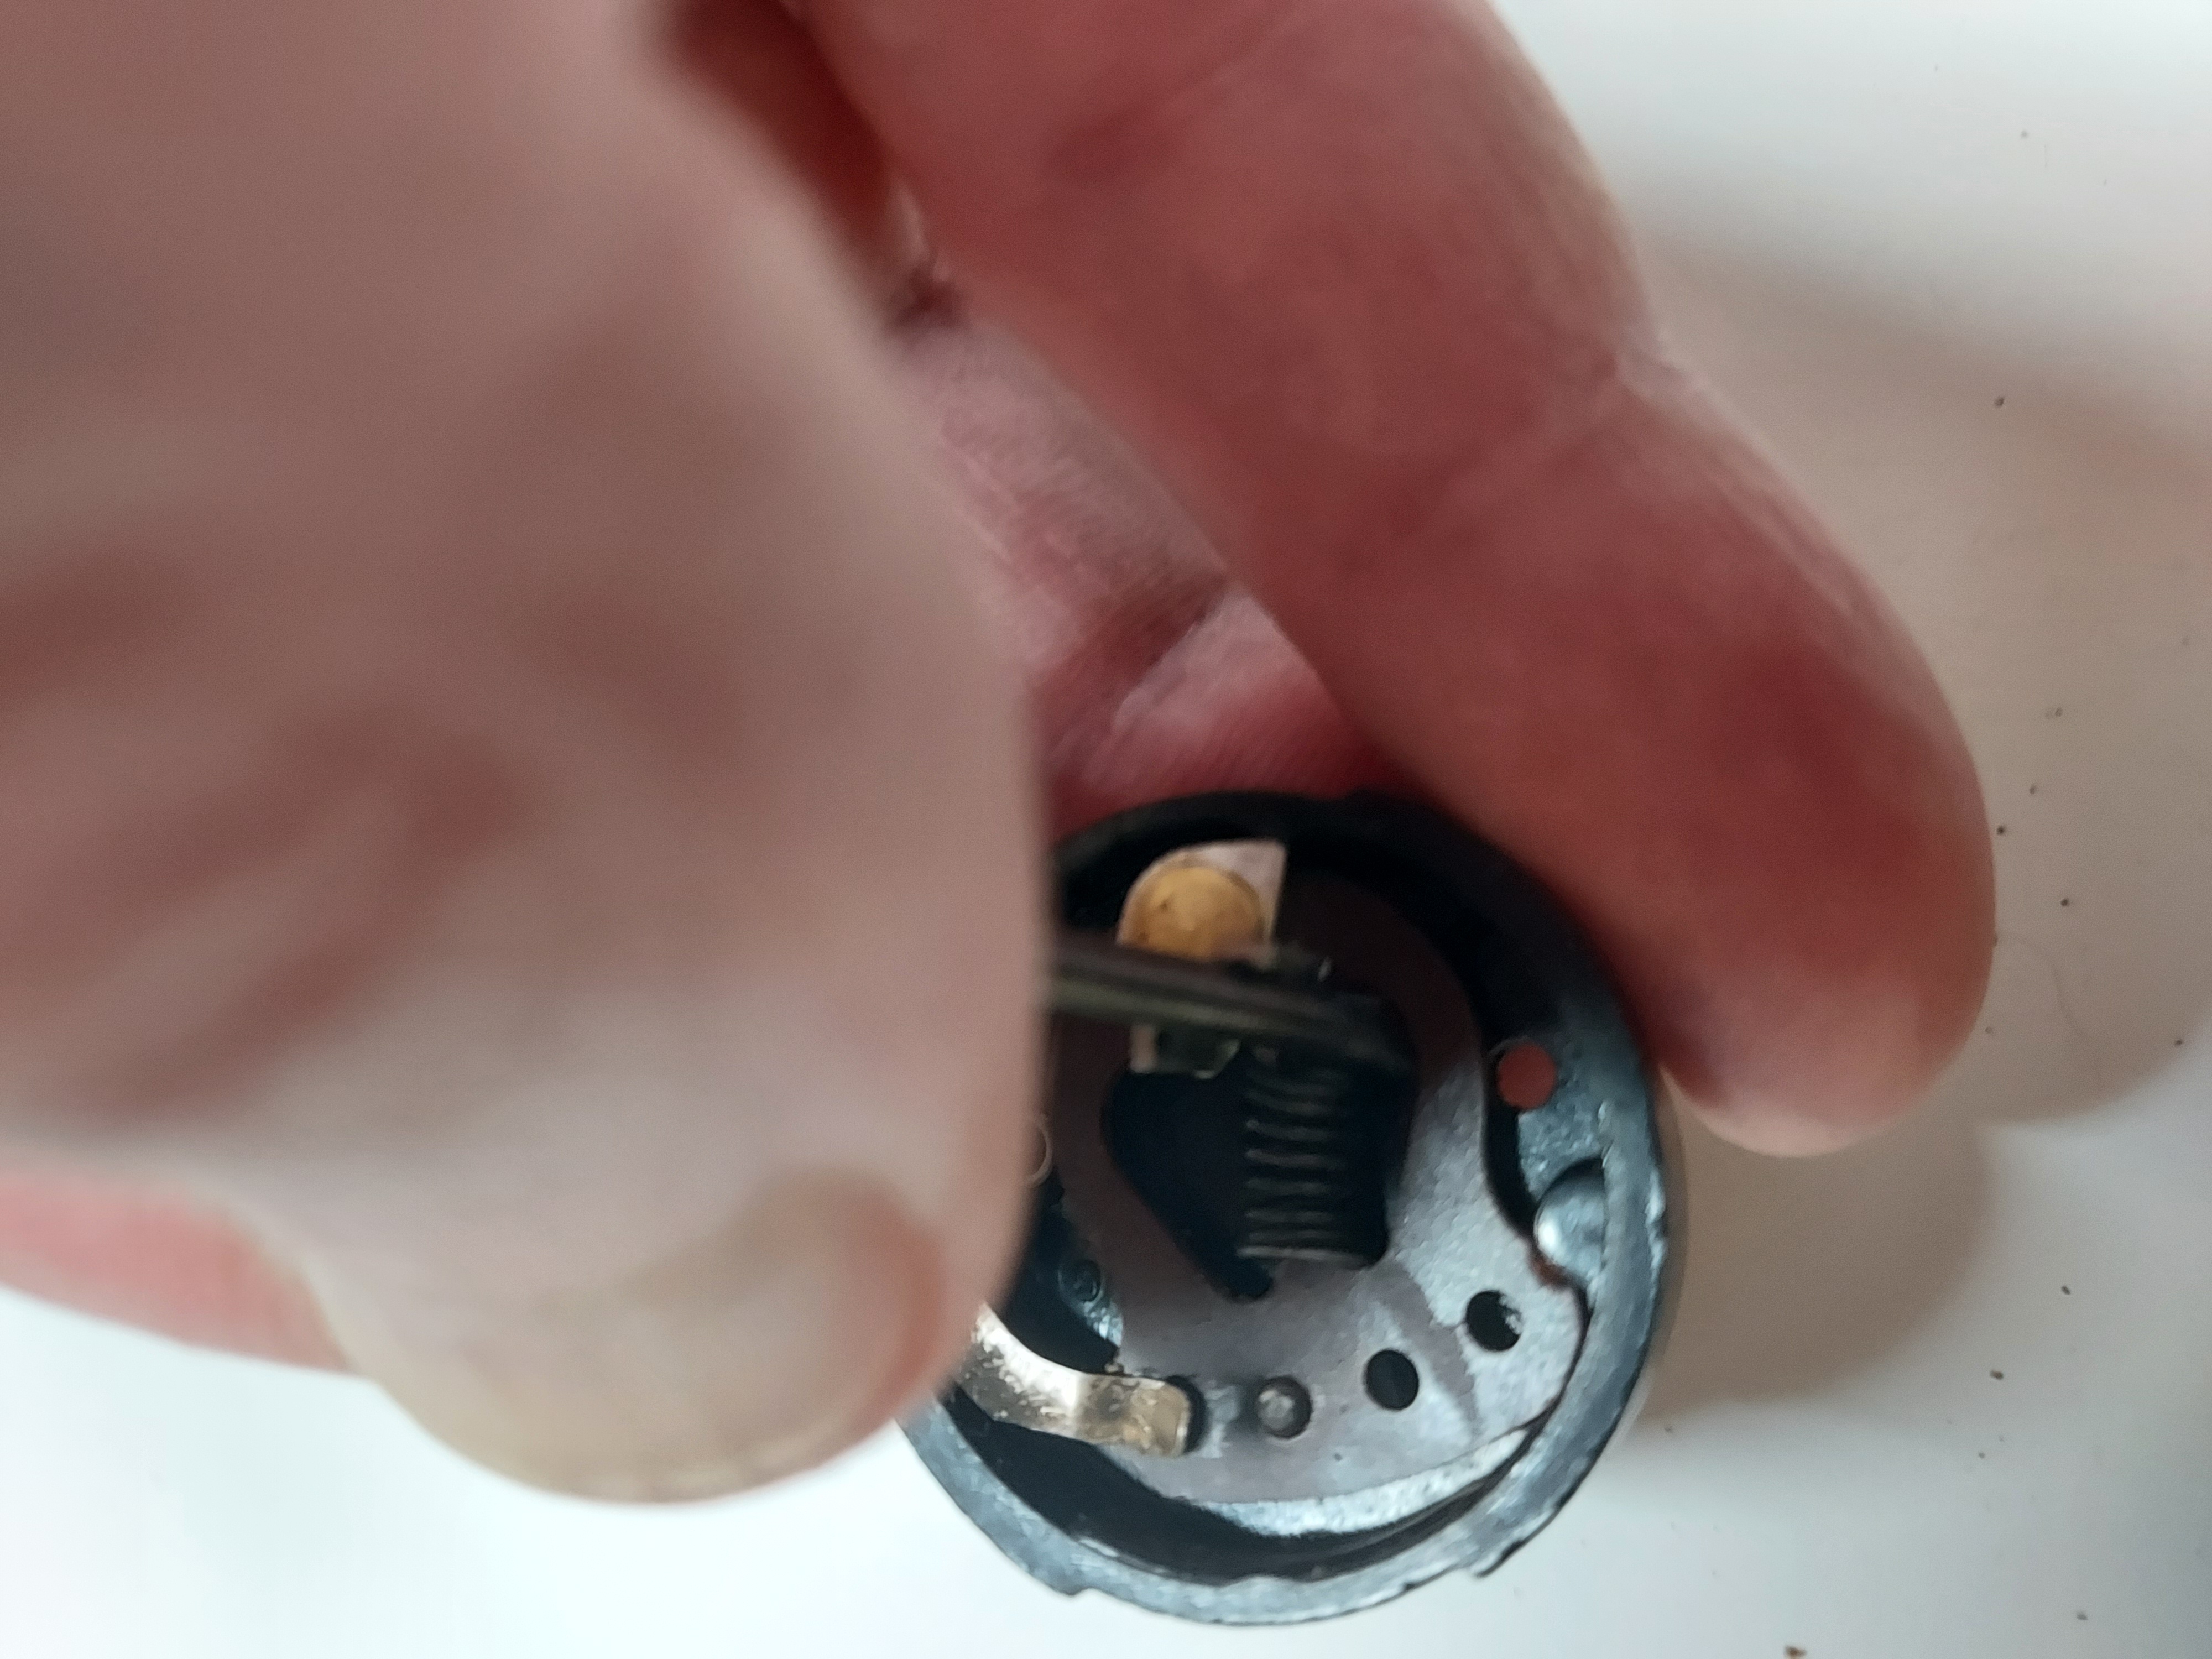
After using alcohol and then some Deoxit D5, the contact was restored.
I thought of trying to put it on Variac, but then thought I needed to check the tubes. The 75 tube was barely alive. Judging by both the triode and the diodes were super-weak, it is emission. I have a good tube. The rest of the tube are OK.
I will start with the recap tomorrow.
People who do not drink, do not smoke, do not eat red meat will one day feel really stupid lying there and dying from nothing.
Posts: 330
Threads: 30
Joined: Aug 2017
City: Hay Lakes, Alberta,Canada
It's interesting how many manufacturers offered the painted wood cabinets in the later 1930's and into the 40's, when one would have expected the "cheap" cabinets to have been offered in the depths of the depression, say 1933-34.
Posts: 16,533
Threads: 573
Joined: Oct 2011
City: Jackson
State, Province, Country: NJ
Finished restuffing caps other than the electrolytics, and fixing the resistors.
The bias network 250 / 70 ohm had to go.
The rest was good enough to either be left alone, or have a parallel small resistor tacked to bring the resistance within specs.
I will probably rebuild the elctrolytics this week. The first one is not original, but fits the size, so I will let it stay.
People who do not drink, do not smoke, do not eat red meat will one day feel really stupid lying there and dying from nothing.
Posts: 1,883
Threads: 120
Joined: May 2008
City: Omak
State, Province, Country: WA
Hello morzh,
Nice Job I also have that radio in my collection except mine is original wood finish !
Sincerely Richard
Posts: 16,533
Threads: 573
Joined: Oct 2011
City: Jackson
State, Province, Country: NJ
Rich
This is also original.
If you mean the "original" veneer with the lacquer finish, then that is the previous one I have just completed the last week.
People who do not drink, do not smoke, do not eat red meat will one day feel really stupid lying there and dying from nothing.
Posts: 1,883
Threads: 120
Joined: May 2008
City: Omak
State, Province, Country: WA
Hello morzh,
Yes , that is the one I am talking about I never knew they made one in that color as a factory color .
Sincerely Richard
Posts: 16,533
Threads: 573
Joined: Oct 2011
City: Jackson
State, Province, Country: NJ
Rich
I think there were 5 Versions:
Backelite brown and white Plaskon (2), natural wood with 2 different grillworks (another 2), and the white painted one, I only saw one grillwork.
People who do not drink, do not smoke, do not eat red meat will one day feel really stupid lying there and dying from nothing.
Posts: 1,883
Threads: 120
Joined: May 2008
City: Omak
State, Province, Country: WA
Hello morzh ,
Yes I have both the wooden one and the bakelite one !
Sincerely Richard
Posts: 16,533
Threads: 573
Joined: Oct 2011
City: Jackson
State, Province, Country: NJ
A snag I hit....
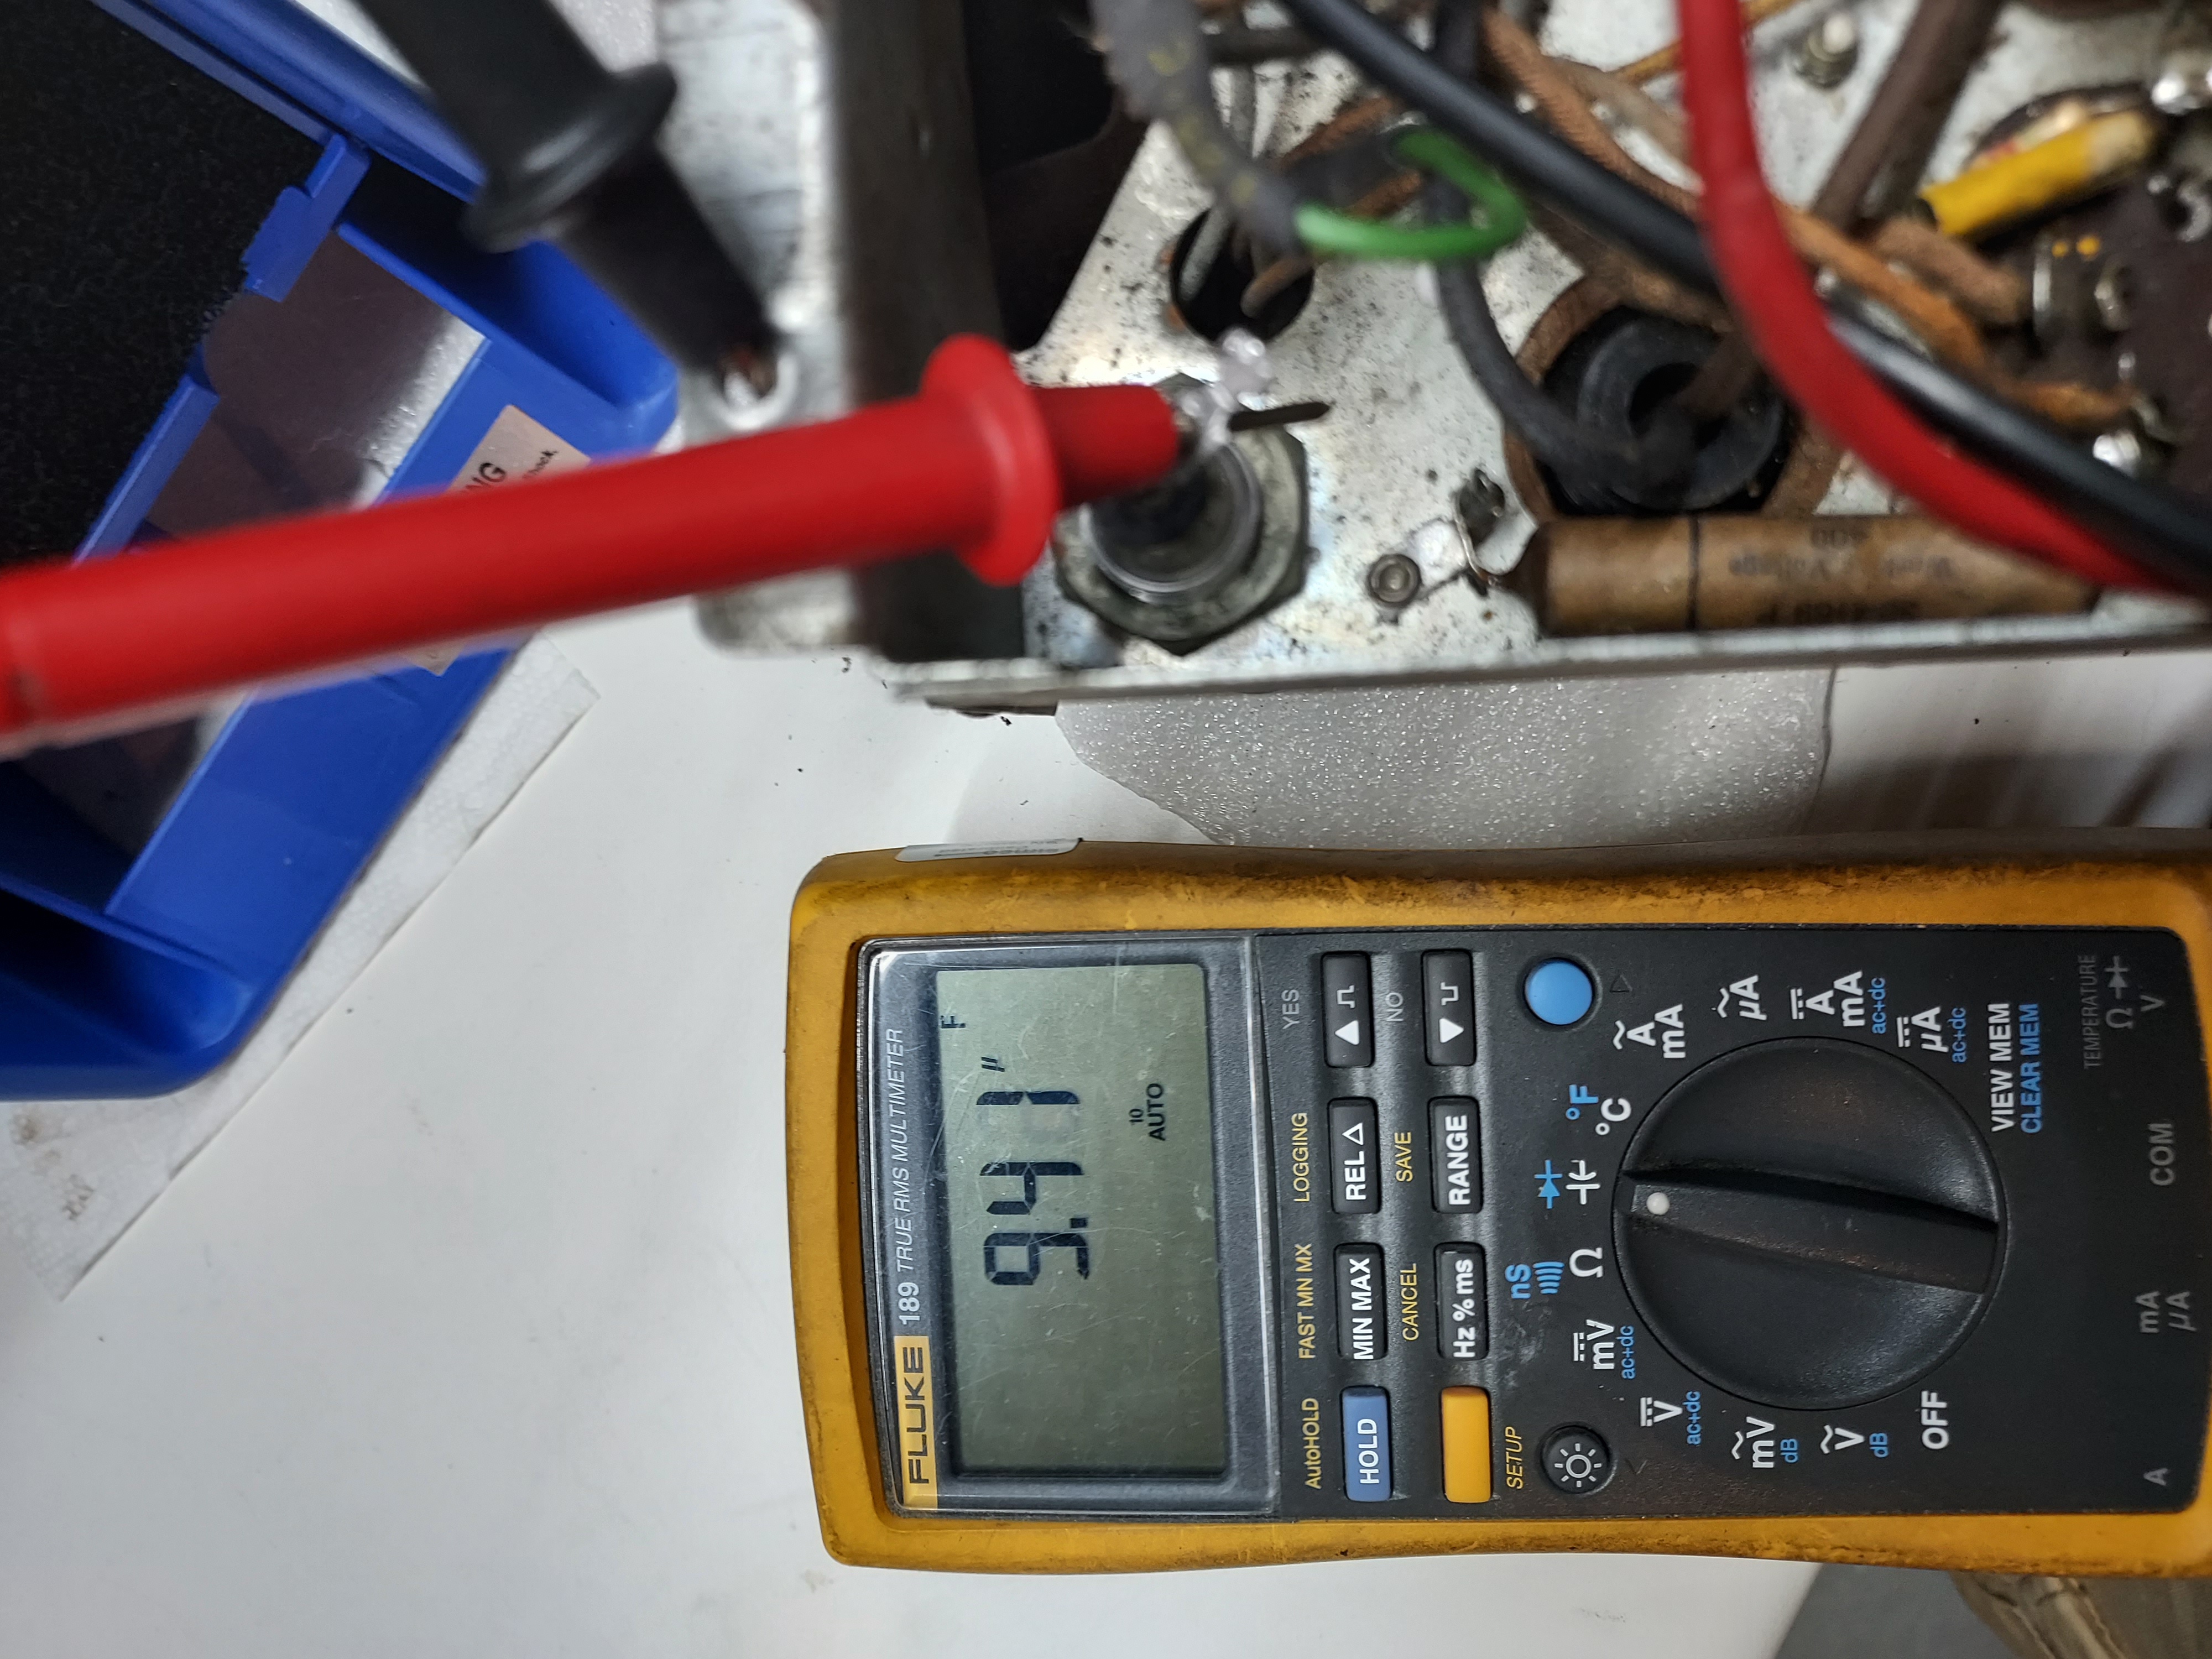
I was about to plug it in and measure the voltages, when I thought to check the field coil just in case.
"What if",- thought I, "the coil is open. Then the cap will charge and stay charged, and I will touch it after the turn off, and get zapped, and...."....and I measured the resistance, and it was open.
I am sure, it is doing that out of spite.
I went to my two donor chassis....one has a replacement speaker with different mount, for which there were two holes drilled, and the FC is 700 Ohms, and the other is 39-6, and the speaker has a different mount and no transformer.
Removing the transformer (which is good) was a drag: the tabs are either soldered, or something, but I had to grind one off.
All that work...
This is the cap after restuffing: this time I avoided direct contact of aluminum and copper, by putting the star washer in between, and then putting the copper pad under it.
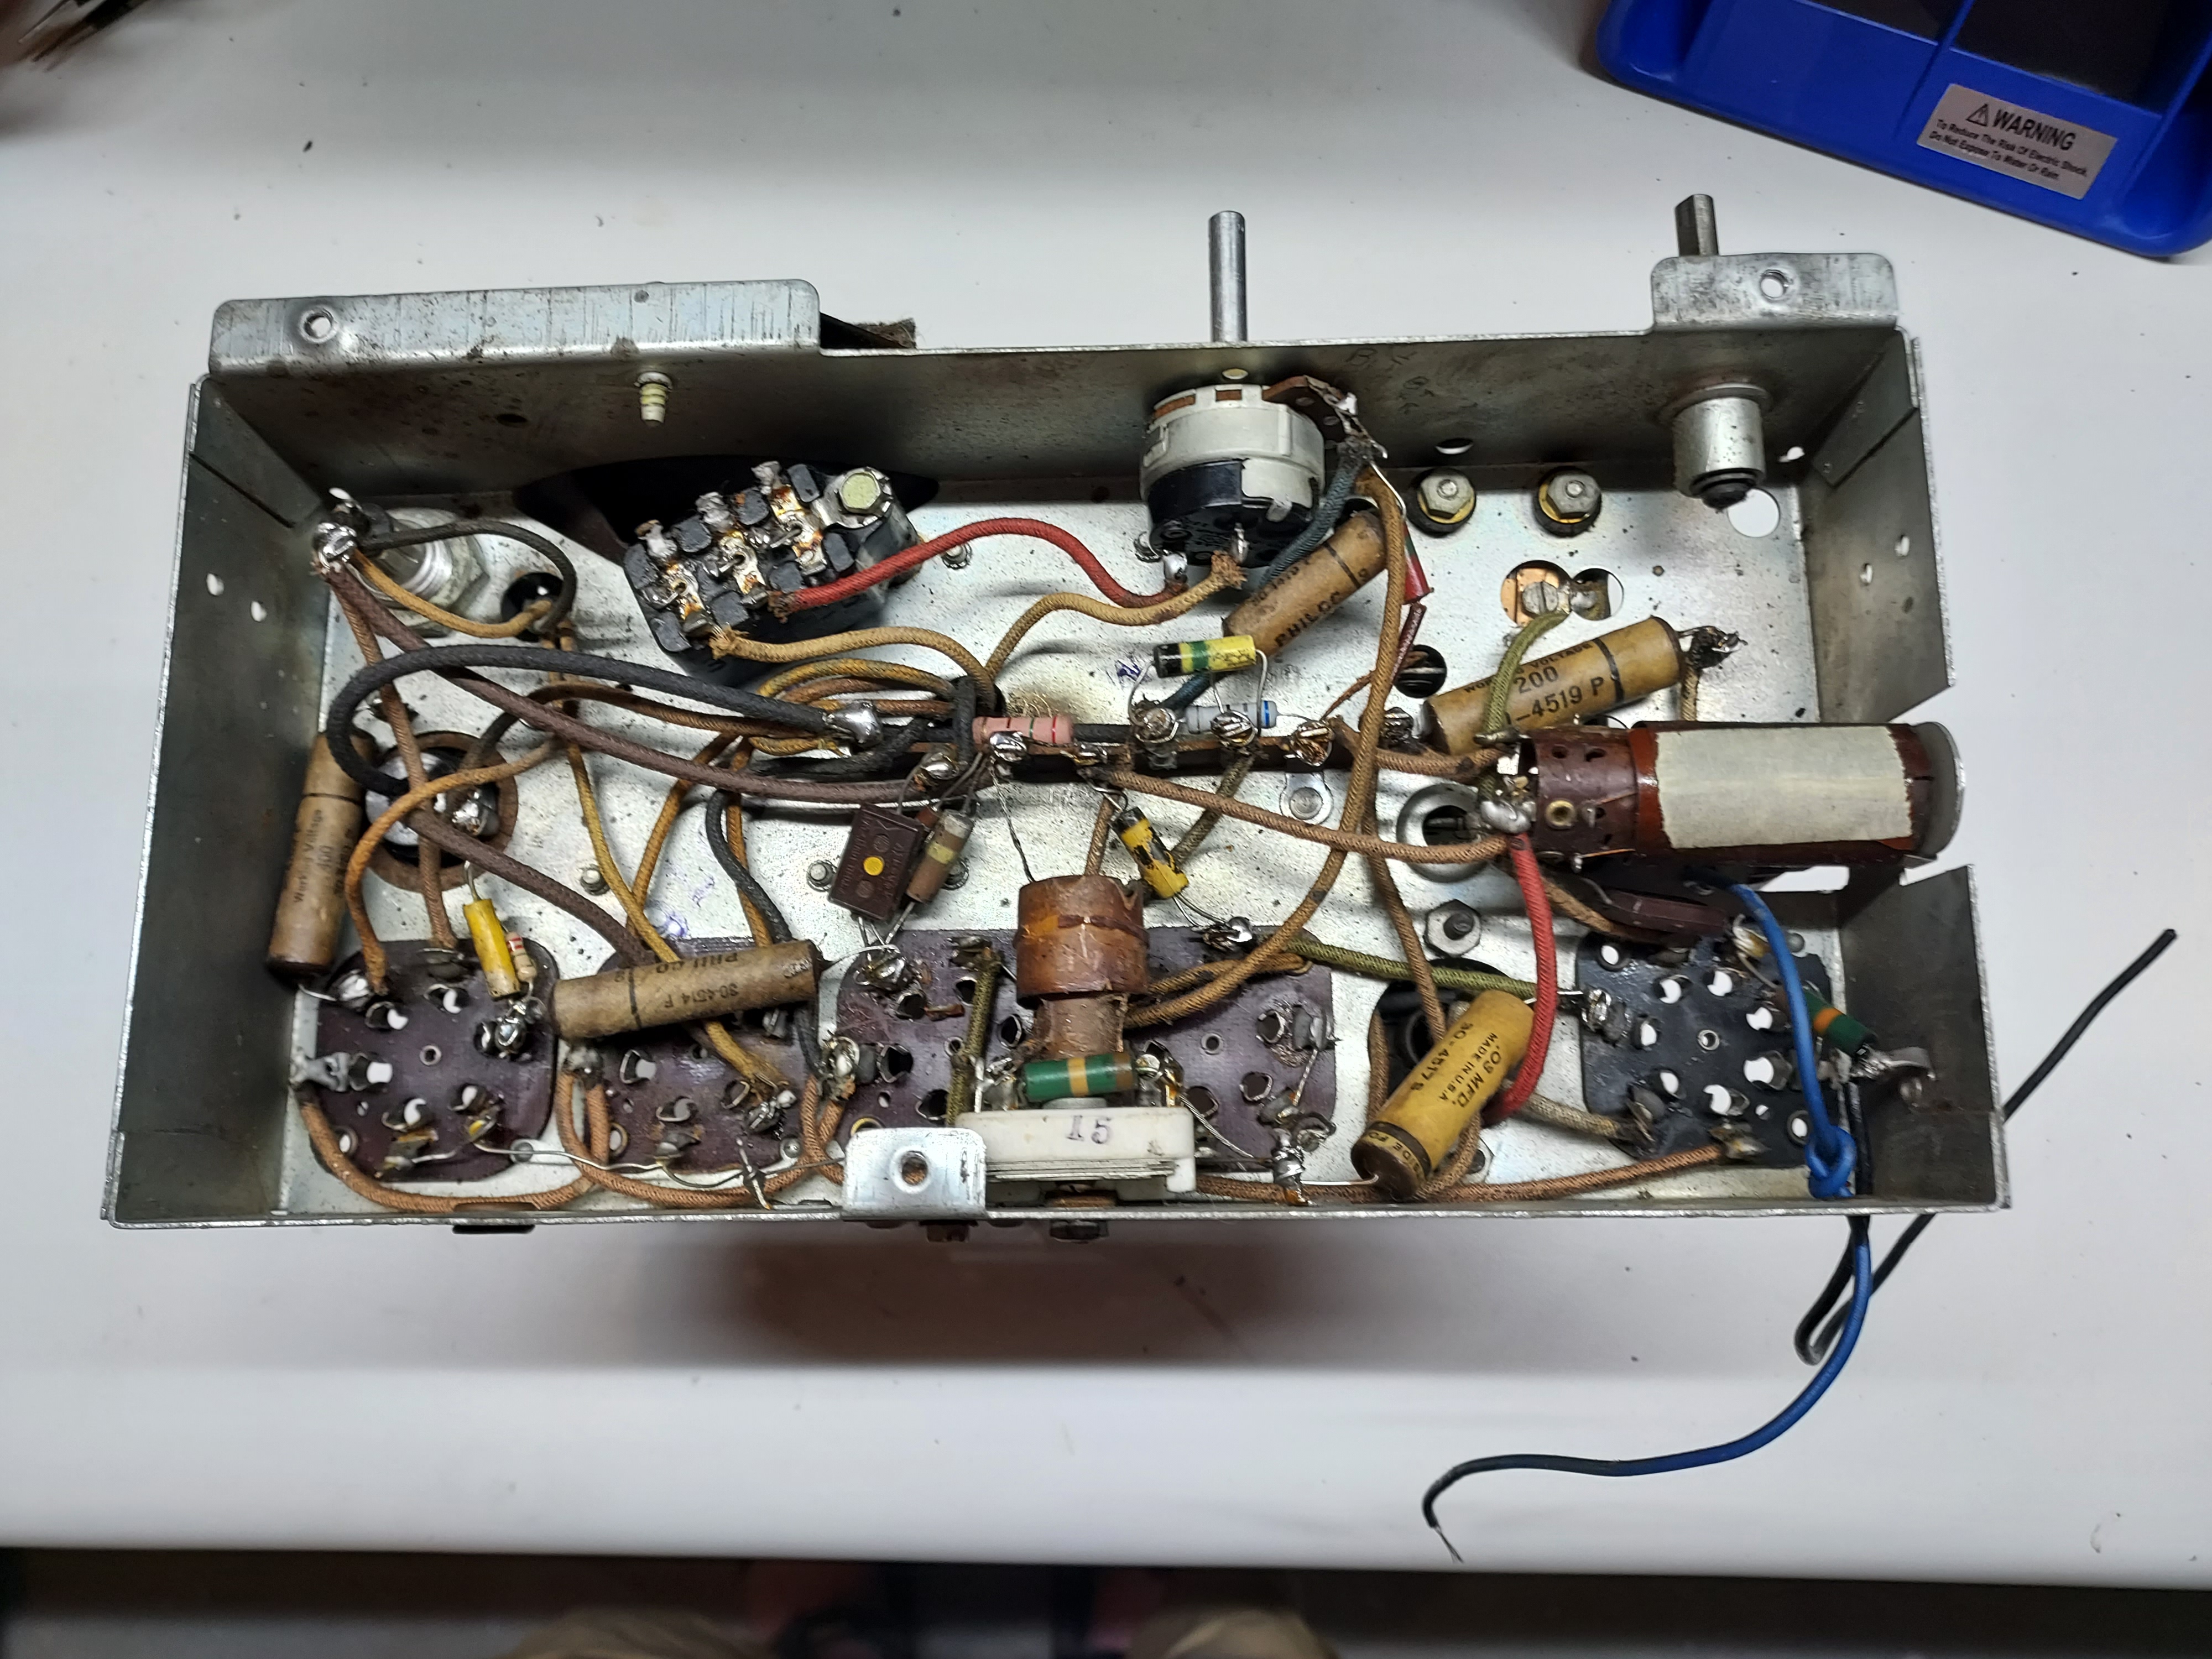
And this is the chassis after the recap/recarb
Now I am off to the supermarket to buy some lamb and some carrots: my daughter (my wife is away for 2 weeks) asked for lamb pilaf, and her wish is my command...at least sometimes.
Will continue...
People who do not drink, do not smoke, do not eat red meat will one day feel really stupid lying there and dying from nothing.
Posts: 16,533
Threads: 573
Joined: Oct 2011
City: Jackson
State, Province, Country: NJ
People who do not drink, do not smoke, do not eat red meat will one day feel really stupid lying there and dying from nothing.
Posts: 1,151
Threads: 47
Joined: Feb 2015
City: Roseville, MN
That's a hefty field coil, Mike.
Posts: 16,533
Threads: 573
Joined: Oct 2011
City: Jackson
State, Province, Country: NJ
Yeah, this is the 38-12 and family's speakers.
People who do not drink, do not smoke, do not eat red meat will one day feel really stupid lying there and dying from nothing.
Posts: 16,533
Threads: 573
Joined: Oct 2011
City: Jackson
State, Province, Country: NJ
Turned it on, got reception, then aligned.
Unlike the previous one 2 weeks ago, this one was quite a bit out of alignment, though I got the beep at 470kHz. But all three padders added to the strength quite a bit.
I also adjusted the pointer position and realigned the tuning cap's padders.
Unlike on the previous radio, the dial of this one does not have the lines denoting the missing numbers, so I used the photo of the previous dial and made the alignment using the same position of the pointer at 1500kHz.
It receives well, all across the dial.
I also made a video, similar to the previous one, to show reception in the basement with short wire for the antenna.
This is the link to the video.
https://youtu.be/1b5fTfGY5vs
This concludes this radio's restoration, unless I get my hands on an original 38-12 speaker in full working order.
Now I have a 38-15 in brown backelite case to deal with.
People who do not drink, do not smoke, do not eat red meat will one day feel really stupid lying there and dying from nothing.
Posts: 4
Threads: 2
Joined: Dec 2024
City: Goldsboro
State, Province, Country: North Carolina
Wow looks nice. For some reason mine didn't have the bakelite block for the AC input so I installed some safety caps instead. I may get with you for some tips as mine currently doesn't pick up anything.
Posts: 287
Threads: 16
Joined: Jan 2024
City: Tulsa
State, Province, Country: Oklahoma
A very well done job. I never realized the volume of radios you’ve restored until I read through this discussion. Do you keep them all (I must admit that I would be guilty of this), or do you repair radios for others?
I agree that it is unexpected to see a factory painted wooden cabinet, but this model does look nice. The ivory colored paint compliments the brass trim of the dial.
Joseph
Philco 46-480
Philco 49-906
Users browsing this thread: 1 Guest(s)
|
|
Recent Posts
|
|
Model 80 Antenna Issue?
|
| Thanks Gary and Rod.
I also found an article in the Philco Repair Bench under Service Hints and Tips, about installi...Hamilton — 12:32 PM |
|
Model 80 Antenna Issue?
|
| Hello Hamilton, here is a little information found in our Philco Radio Library at the bottom of the Home page. Hope it ...GarySP — 11:28 AM |
|
Model 80 Antenna Issue?
|
| I did as you suggested and touching the middle of the volume control did nothing so the coil has to be rewound. Any idea...Hamilton — 10:19 AM |
|
1949 Motorola 5A9M
|
| This would be the second portable in the "other radios" forum where I have a similar one in my collection. I h...Arran — 12:41 AM |
|
Looking for any info: 1977 Ford-Philco Console Hi-Fi Turntable and Radio
|
| Hi PittsburgTost.
The record changer looks like a Garrard or BSR (Likely Garrard). The spindles just pull out and pu...MrFixr55 — 11:57 PM |
|
Looking for any info: 1977 Ford-Philco Console Hi-Fi Turntable and Radio
|
| Hello PittsburghToast ,
Welcome aboard and it looks like gary may have something for you !
now if I dig through my se...radiorich — 11:35 PM |
|
Model 80 Antenna Issue?
|
| You are kind of on the right path. You can touch the grid cap of the Detector/Oscillator 36 tube. I'm expecting a respon...RodB — 08:48 PM |
|
Looking for any info: 1977 Ford-Philco Console Hi-Fi Turntable and Radio
|
| Welcome to the Phorum, PittsburghToast! I found an old thread that my interest you regarding the quality and worth of P...GarySP — 08:48 PM |
|
Looking for any info: 1977 Ford-Philco Console Hi-Fi Turntable and Radio
|
| Welcome to the Phorum!
:wave:
We do not have anything on that unit in our digital library. There is a Sam's Photof...klondike98 — 08:47 PM |
|
Model 80 Antenna Issue?
|
|
I’ve replaced all the caps and resistors and the radio is working but minimal volume unless I put my hand near the re...Hamilton — 08:24 PM |
|
Who's Online
|
| There are currently no members online. |

|
 
|


![[-] [-]](https://philcoradio.com/phorum/images/bootbb/collapse.png)


