06-25-2026, 02:56 AM
I wasn't planning on starting this thread this morning, but since I'm still awake and will hate myself the same when I wake up later, why not get it started?
While I'm waiting for some equipment to hopefully finalize the electrical work on the 6K3, I decided to start stripping the cabinet and make plans for refinishing it.
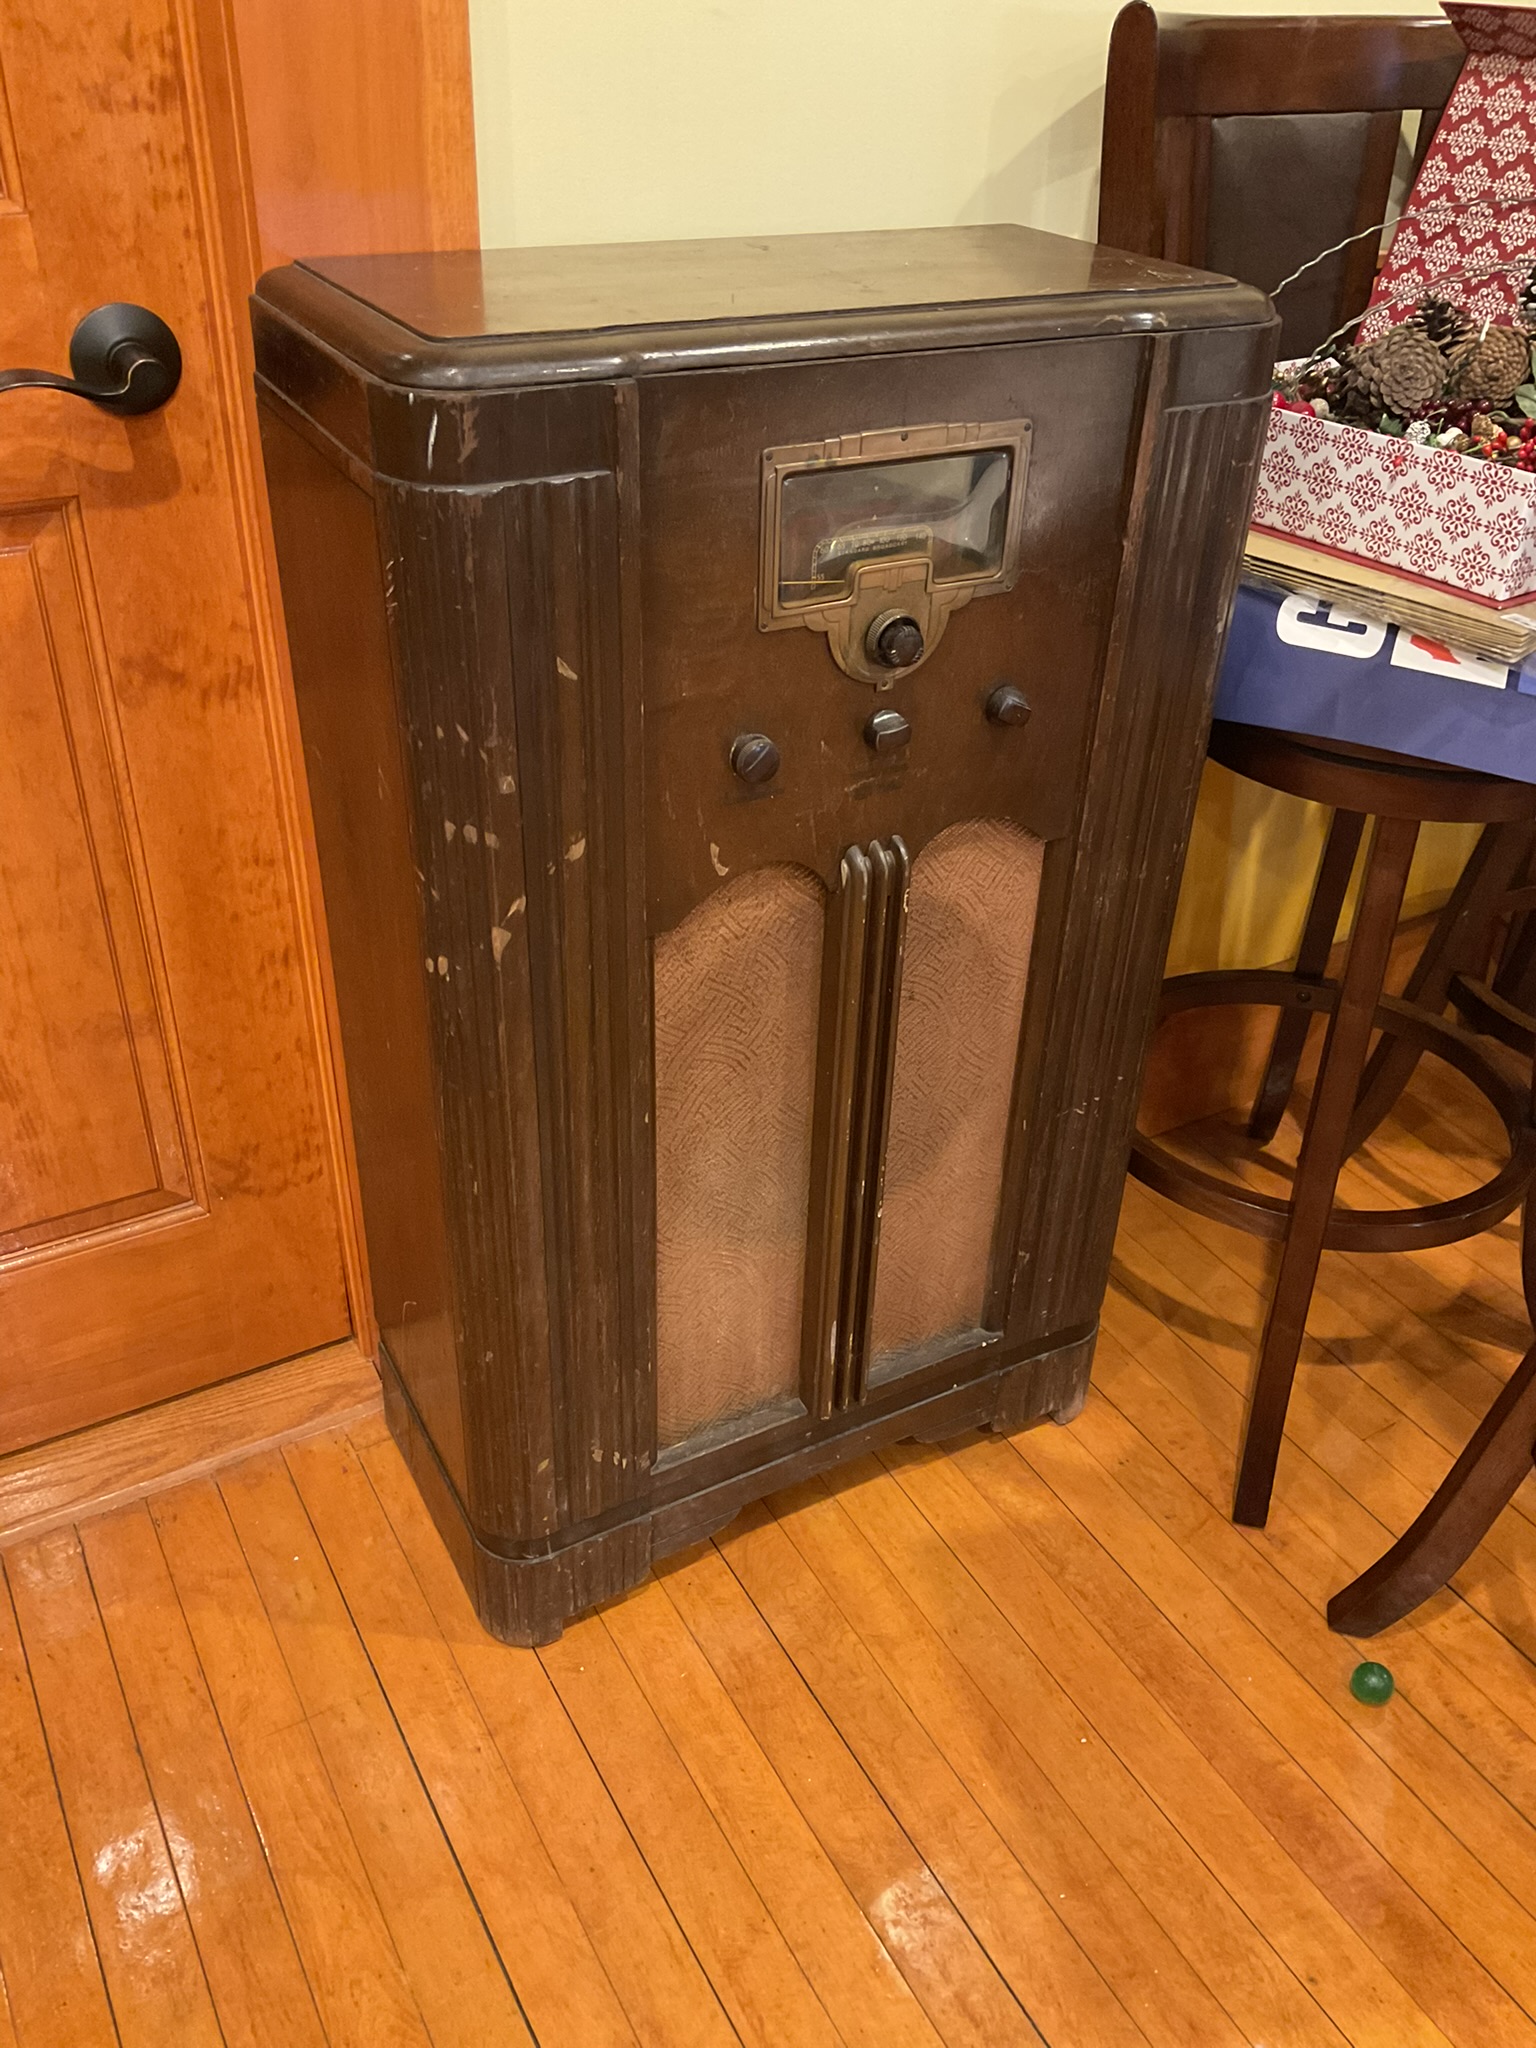
The gouges are deep enough that Restor-a-Finish doesn't seem to cut it. Also, it seems to me from the color behind the escutcheon and the center vertical trim piece that someone at a more recent time in this cabinet's life than the factory floor had applied some second coat over the top which doesn't seem to have done much to make it a nice, smooth finish.
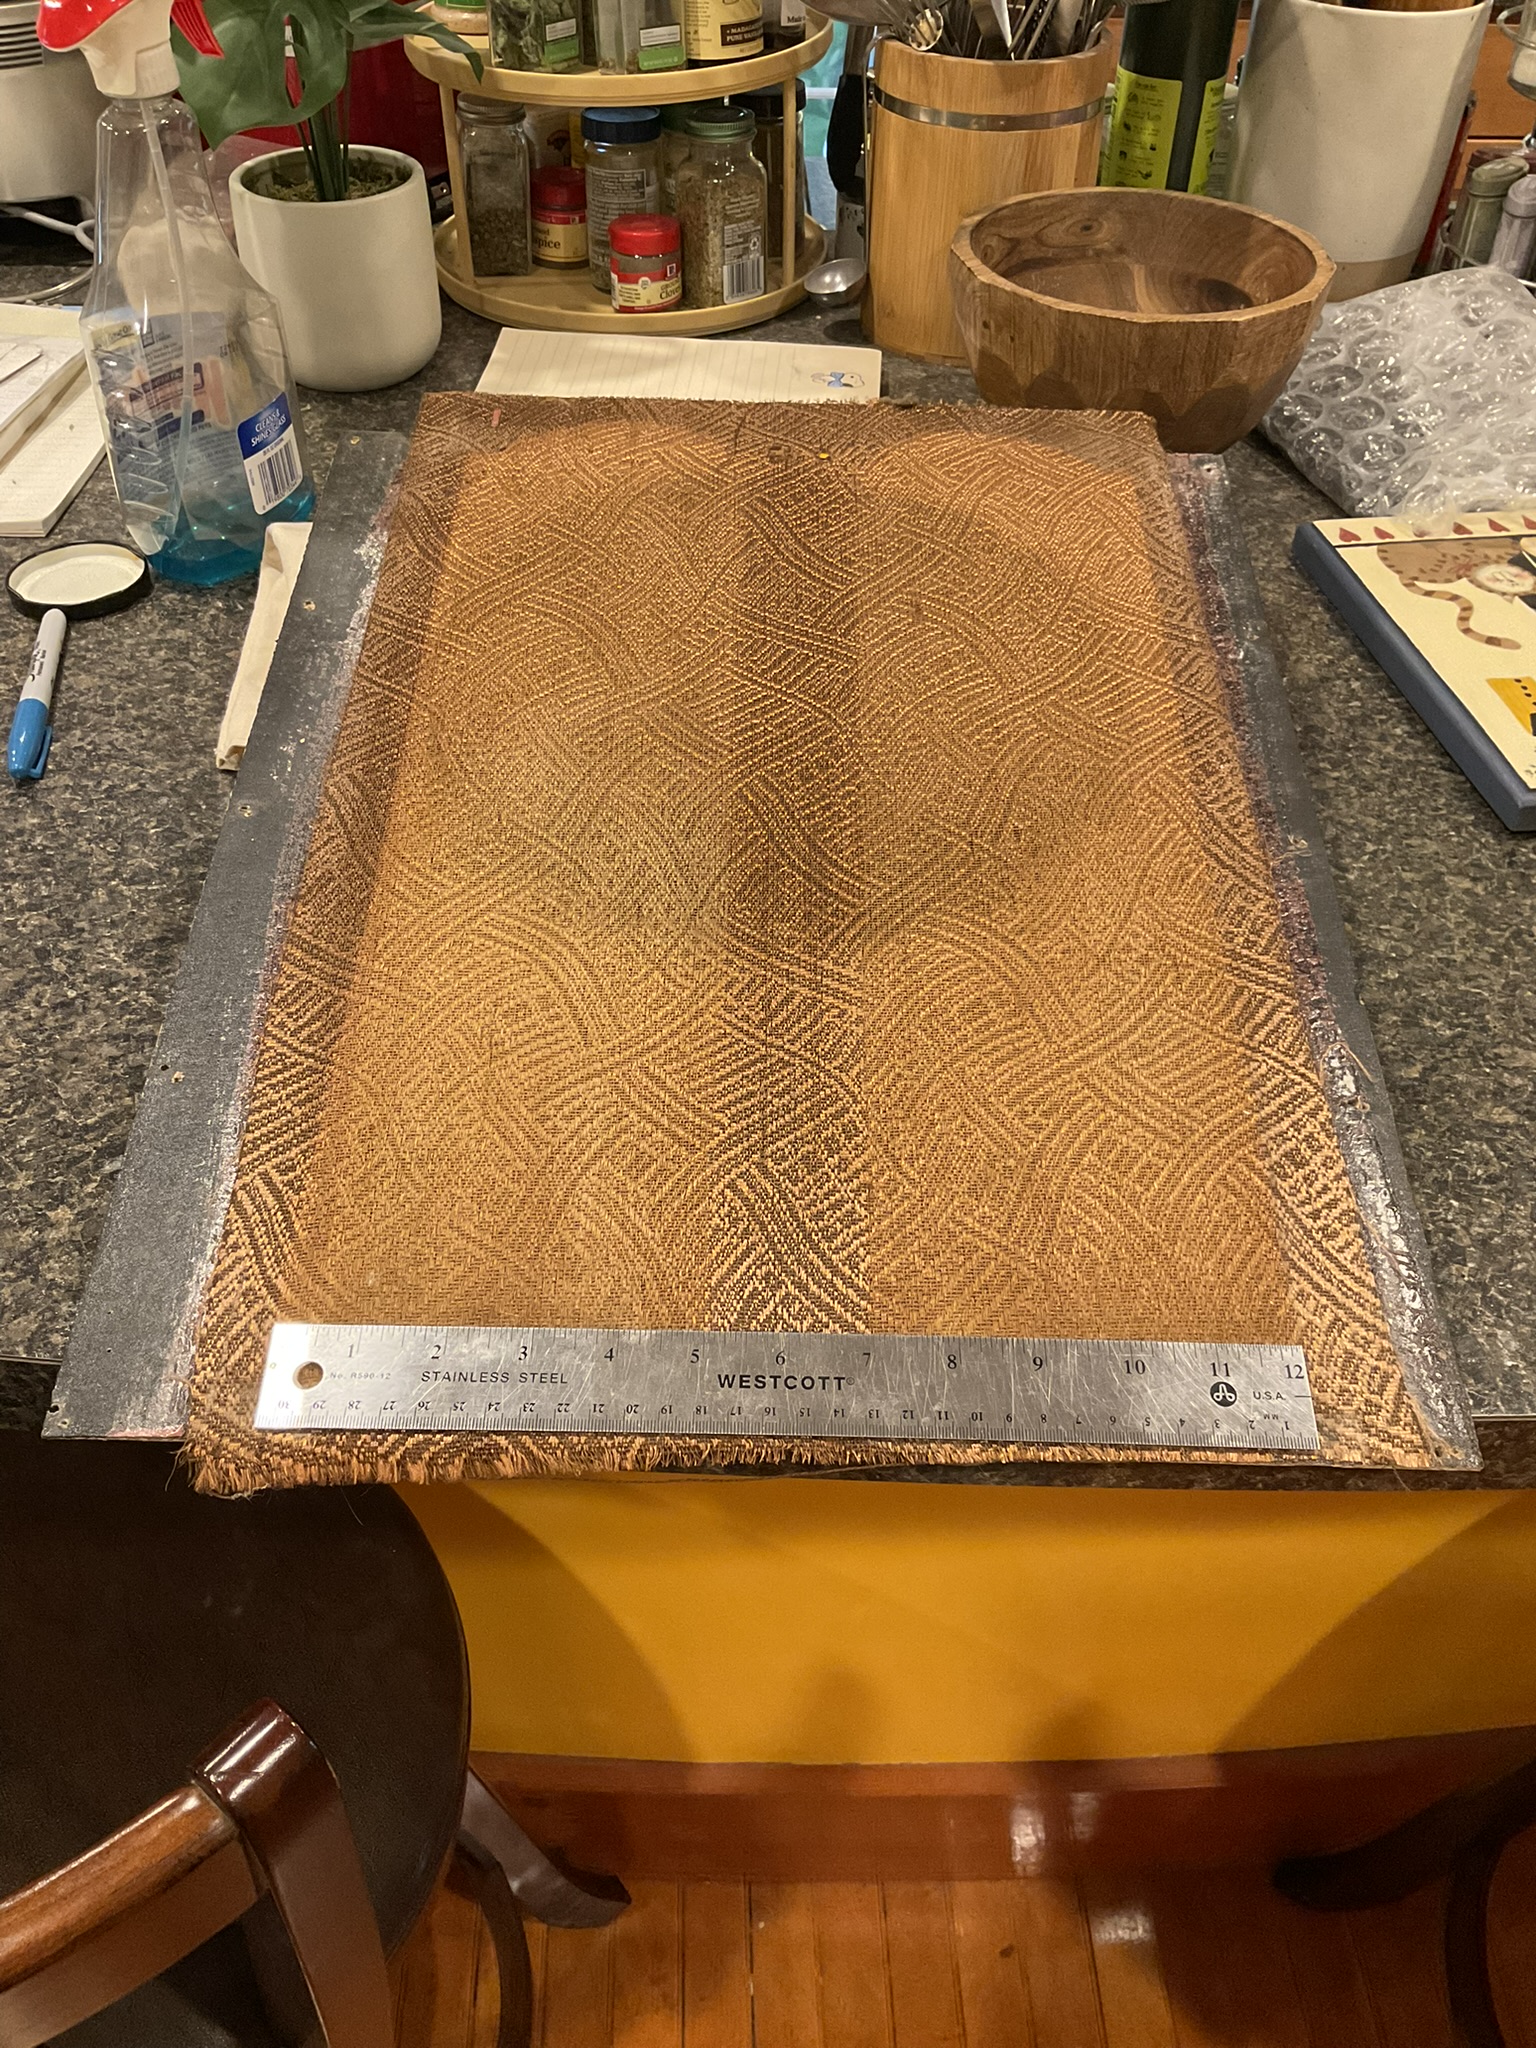
While the grille cloth wasn't in absolutely terrible shape, there were some thin spots and it was reasonably faded. I have since sent it off to Michael Katz at radiogrillecloth.com as he was interested in getting the pattern and potentially having it reproduced. I can't say that I've seen this wavy weave in reproduction form and it's unique enough I think it would be nice to have in original-like condition. Will definitely be a bit of a wait on that if he does move forward with it.
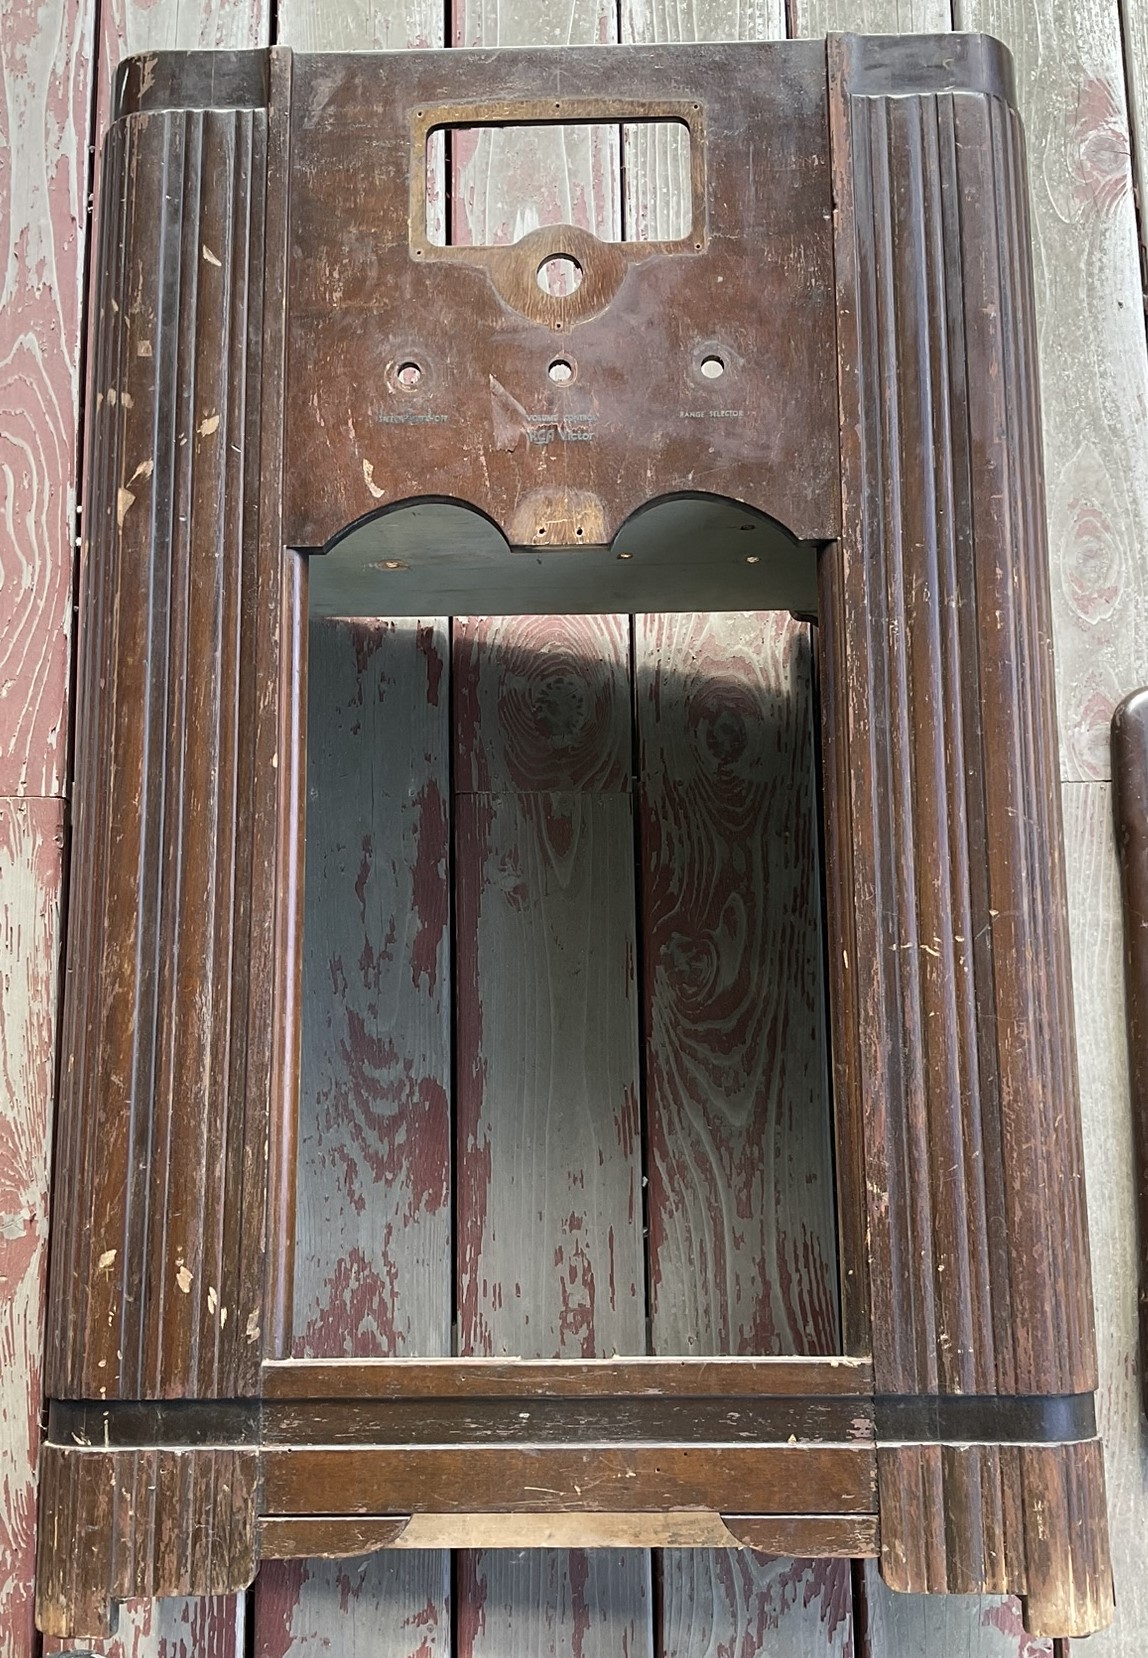
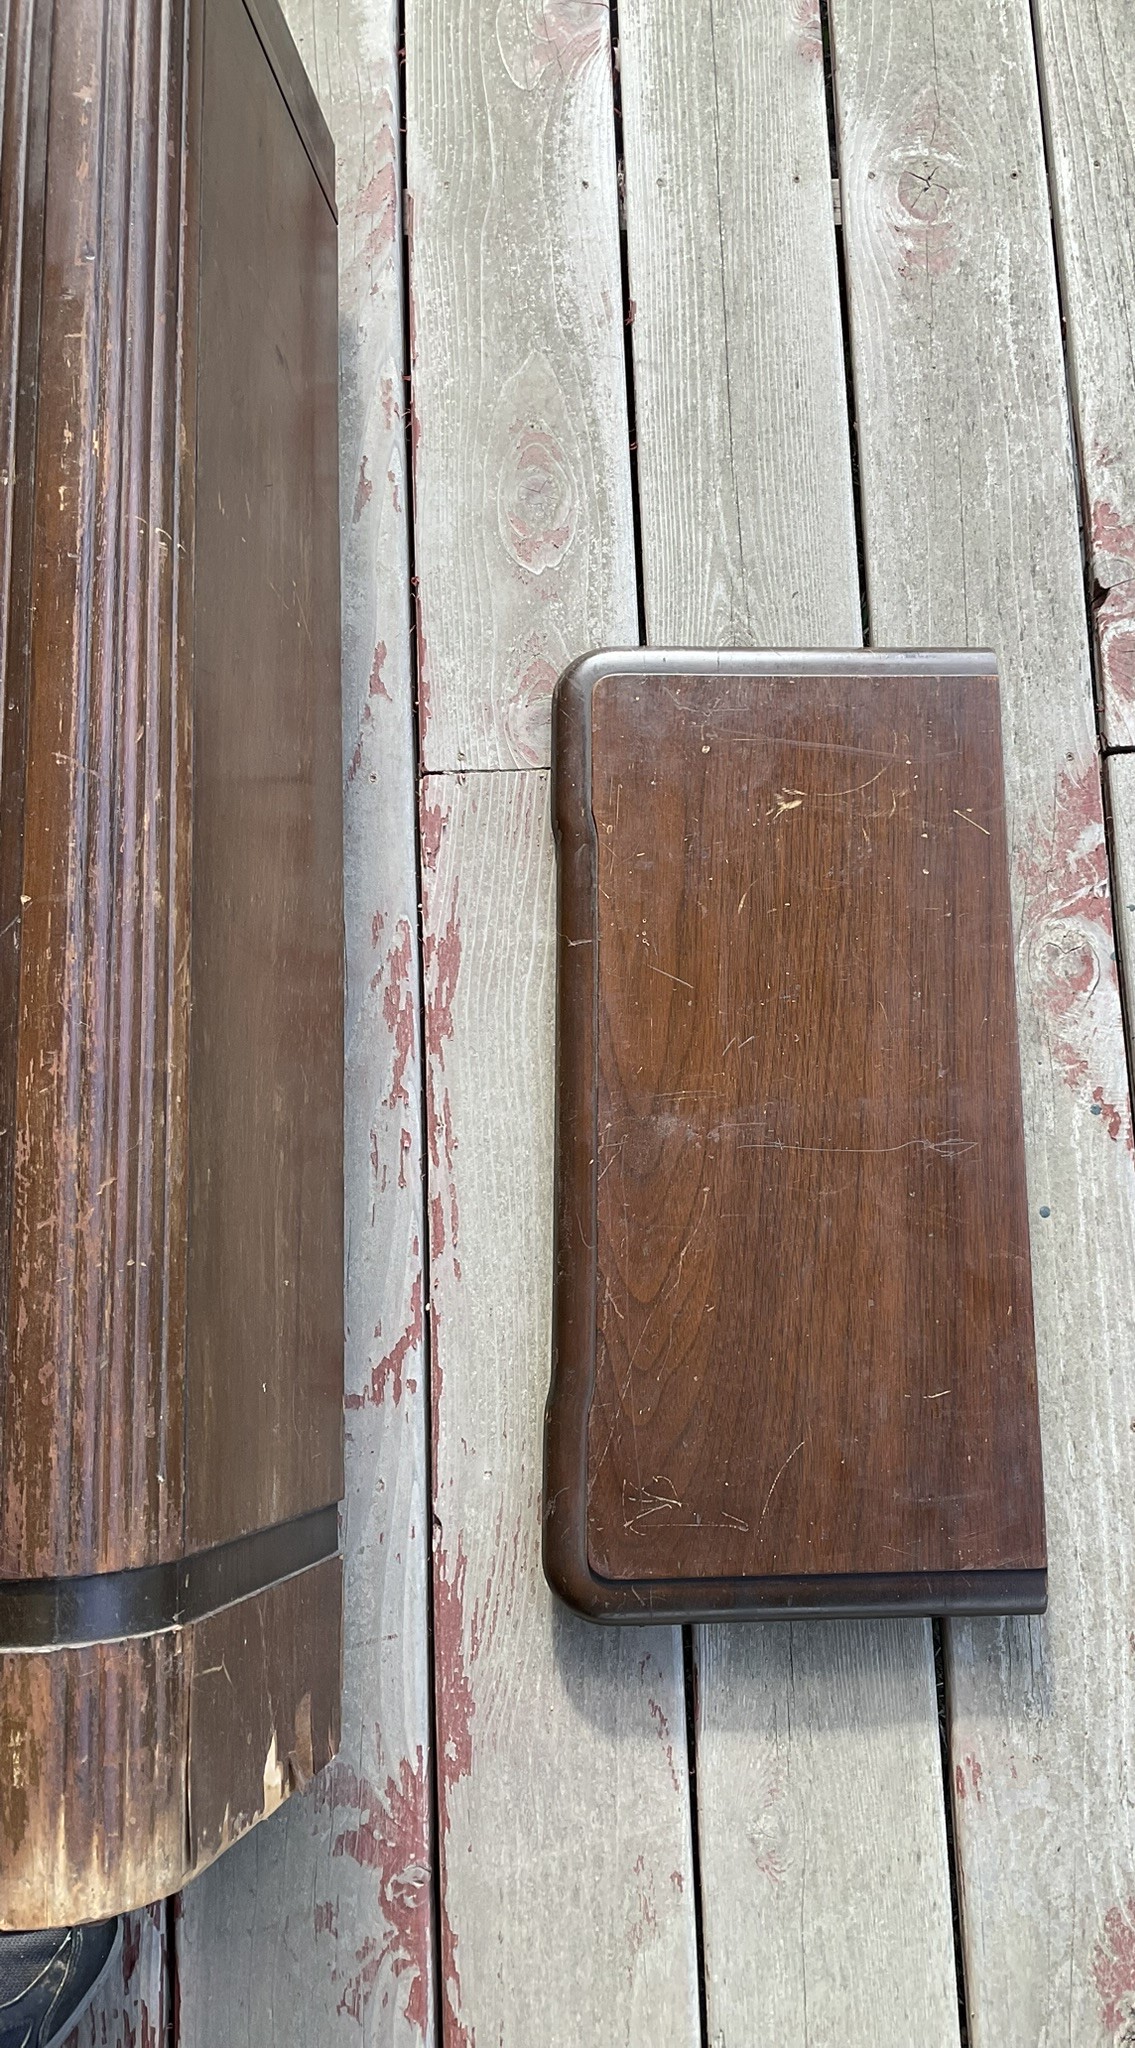
The top panel inadvertently separated recently, and I discovered that it probably wasn't the first time. A gummy adhesive had been applied to try to hold it together. One more thing to try to clean off. While the veneer on the left side (facing the cabinet) is reasonably good with probably just a couple spots for some repair to be done, on the right side as you can see, there's a lot more separation and missing, so that might be a good candidate for some replacement veneer. These will be my first forays into veneer repair.
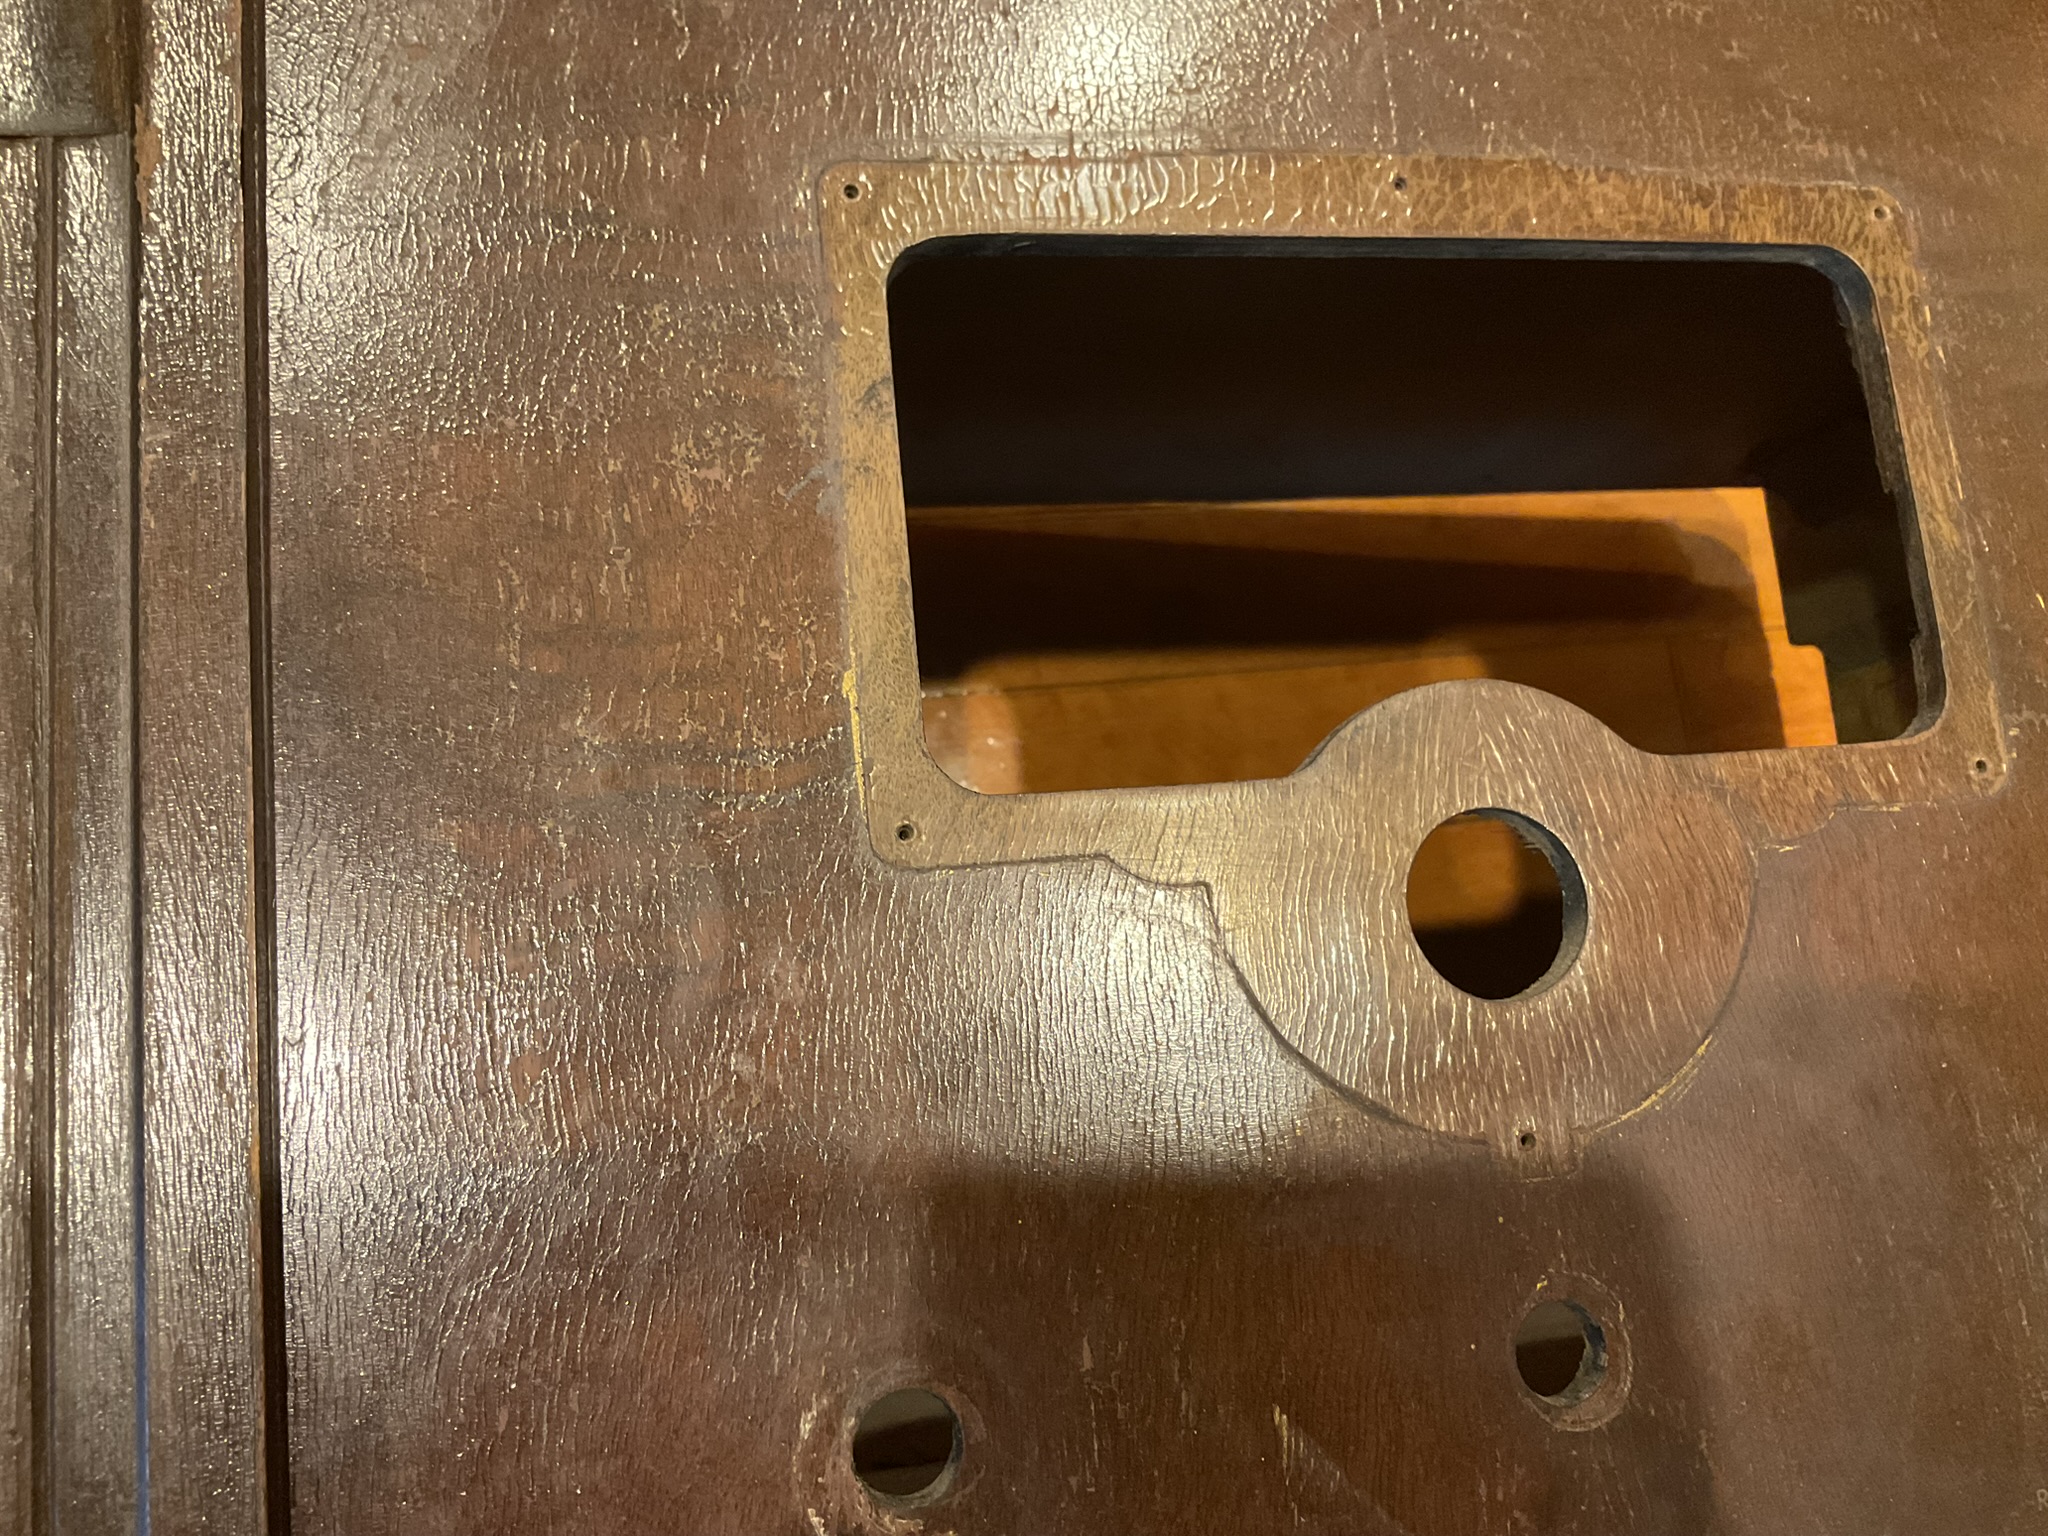
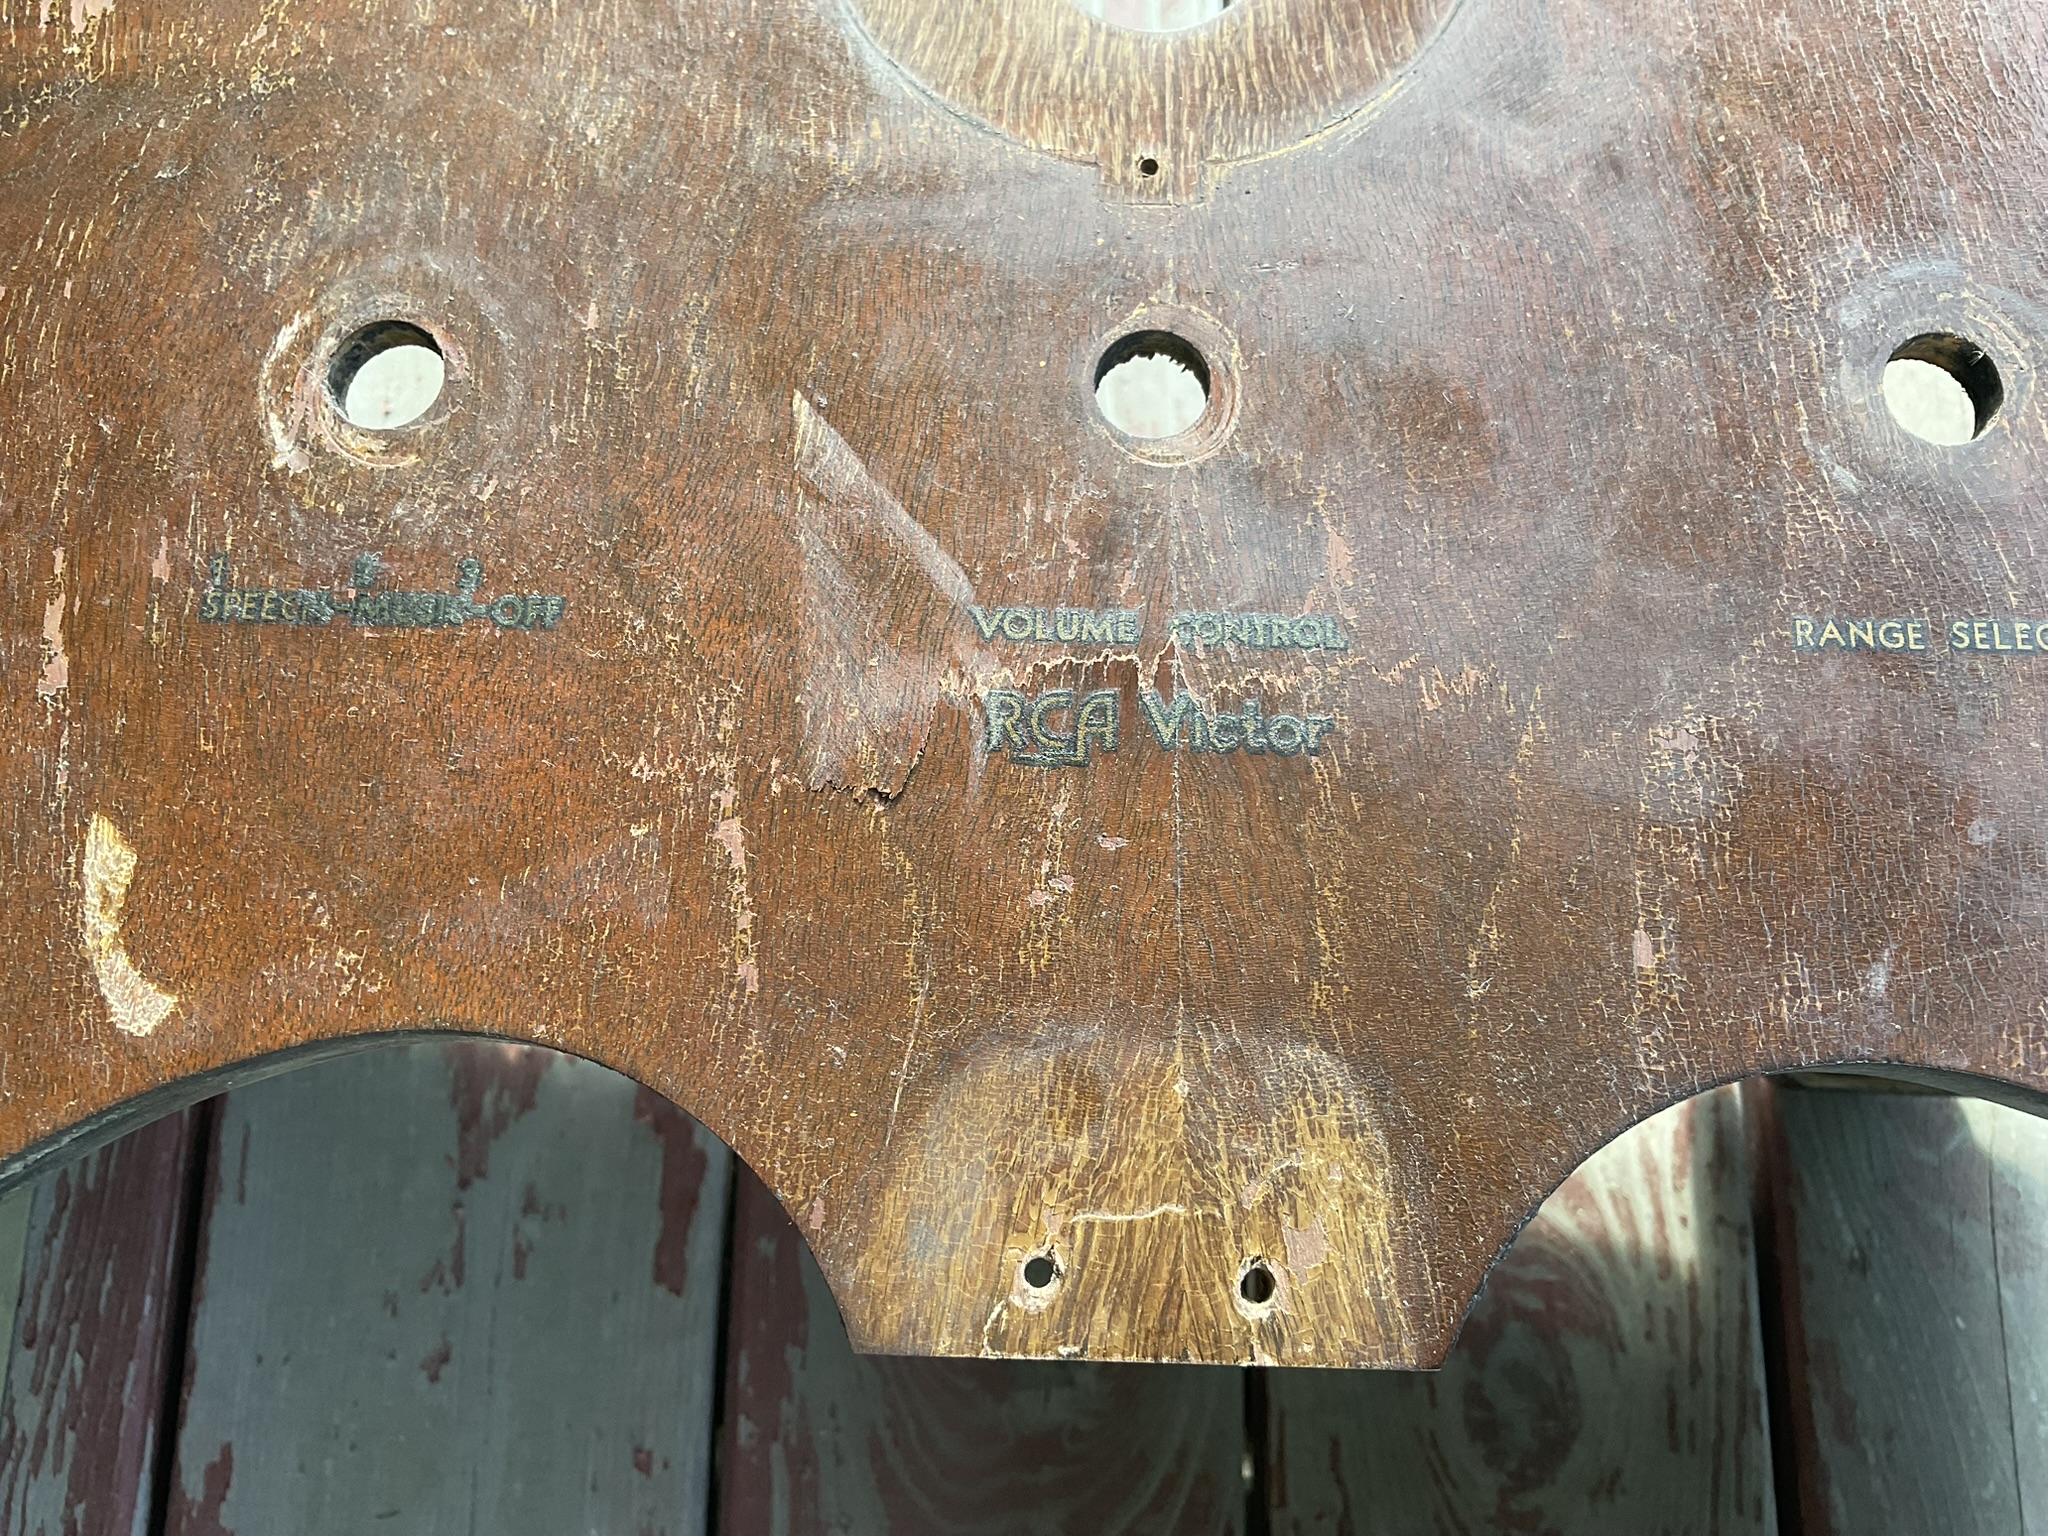
And lastly for tonight, there is some damage to the veneer by the controls, almost as if the front face tried to bend around the shelf inside. I'll be as delicate as I can with this area, but it probably won't be perfect when it comes out. Having already stripped most of the finish off, I can say the wood grain underneath here is really beautiful, though you can't see it yet in this photo. Once I finish the stripping process I will post a couple updated looks. I did have hopes briefly that the labels would be salvageable, but enough of it came off in the stripping process that I decided to remove the in their entirety, again, not picture here yet.
My observations on color are that the "shoulder" bands, the edges of the top board, and the stripe around the base above the "feet" were all a darker finish than the rest of the cabinet. Certainly, I could go with that look, but I was also considering making the vertical stripes that start as part of that top shoulder band, running to the stripe at the bottom dark as well; same for the center vertical trim piece. I was thinking this would make for a nice contrast, with the rest of the cabinet being more of the medium brown. Maybe not completely faithful to the original, but I think in the spirit, and I'm not trying to keep this radio exactly factory faithful after all.
I have some toner on order to try to even up the color of the main part of the cabinet and will pick something up for the darker sections as well. I think the fancy veneer by the controls/escutcheon will be left its natural color as it is already very nice when the stripping mixture is applied - sanding sealer will probably tell how plausible that idea is. Hopefully, someone could identify it once I get the next round of pictures up.
So yes, that's it for tonight. Like I said, additional photos when I finish getting the rest of the original finish off.
Best wishes,
Roy
While I'm waiting for some equipment to hopefully finalize the electrical work on the 6K3, I decided to start stripping the cabinet and make plans for refinishing it.
The gouges are deep enough that Restor-a-Finish doesn't seem to cut it. Also, it seems to me from the color behind the escutcheon and the center vertical trim piece that someone at a more recent time in this cabinet's life than the factory floor had applied some second coat over the top which doesn't seem to have done much to make it a nice, smooth finish.
While the grille cloth wasn't in absolutely terrible shape, there were some thin spots and it was reasonably faded. I have since sent it off to Michael Katz at radiogrillecloth.com as he was interested in getting the pattern and potentially having it reproduced. I can't say that I've seen this wavy weave in reproduction form and it's unique enough I think it would be nice to have in original-like condition. Will definitely be a bit of a wait on that if he does move forward with it.
The top panel inadvertently separated recently, and I discovered that it probably wasn't the first time. A gummy adhesive had been applied to try to hold it together. One more thing to try to clean off. While the veneer on the left side (facing the cabinet) is reasonably good with probably just a couple spots for some repair to be done, on the right side as you can see, there's a lot more separation and missing, so that might be a good candidate for some replacement veneer. These will be my first forays into veneer repair.
And lastly for tonight, there is some damage to the veneer by the controls, almost as if the front face tried to bend around the shelf inside. I'll be as delicate as I can with this area, but it probably won't be perfect when it comes out. Having already stripped most of the finish off, I can say the wood grain underneath here is really beautiful, though you can't see it yet in this photo. Once I finish the stripping process I will post a couple updated looks. I did have hopes briefly that the labels would be salvageable, but enough of it came off in the stripping process that I decided to remove the in their entirety, again, not picture here yet.
My observations on color are that the "shoulder" bands, the edges of the top board, and the stripe around the base above the "feet" were all a darker finish than the rest of the cabinet. Certainly, I could go with that look, but I was also considering making the vertical stripes that start as part of that top shoulder band, running to the stripe at the bottom dark as well; same for the center vertical trim piece. I was thinking this would make for a nice contrast, with the rest of the cabinet being more of the medium brown. Maybe not completely faithful to the original, but I think in the spirit, and I'm not trying to keep this radio exactly factory faithful after all.
I have some toner on order to try to even up the color of the main part of the cabinet and will pick something up for the darker sections as well. I think the fancy veneer by the controls/escutcheon will be left its natural color as it is already very nice when the stripping mixture is applied - sanding sealer will probably tell how plausible that idea is. Hopefully, someone could identify it once I get the next round of pictures up.
So yes, that's it for tonight. Like I said, additional photos when I finish getting the rest of the original finish off.
Best wishes,
Roy