Posts: 76
Threads: 20
Joined: Oct 2010
City: Oskaloosa
State, Province, Country: KANSAS
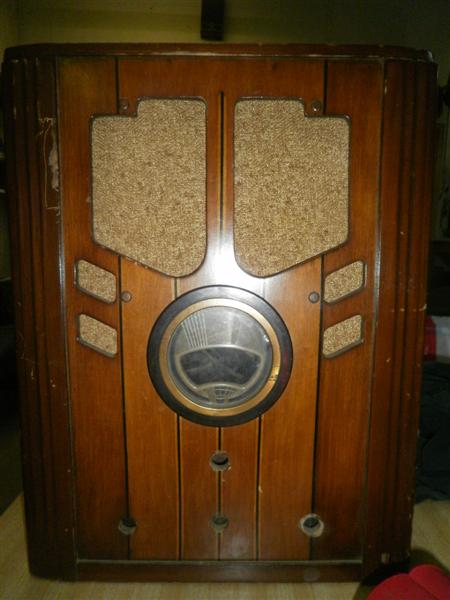
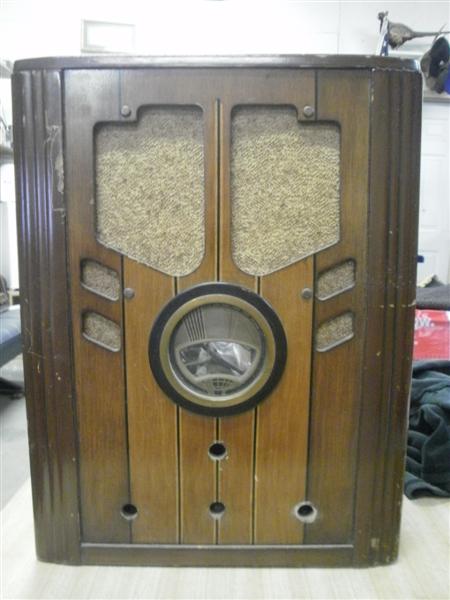
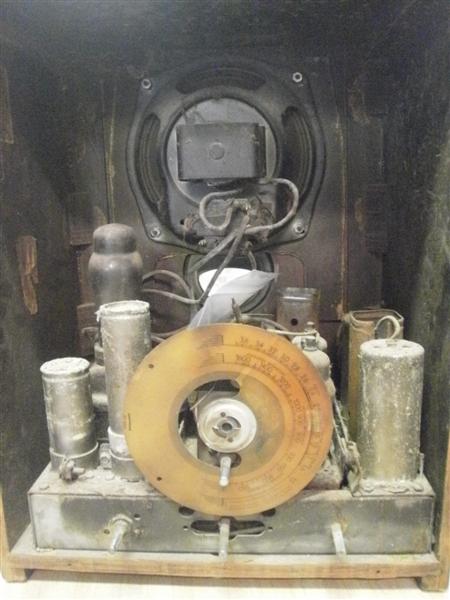
I just picked this up at a local club auction. Yes, the chassis is a bit rough but I think I can make this work again. Just want to be sure this is not a Frankenradio, the eschetchen looks to be 1938 but the label clearly is 1937. The photo finish looks to be in good shape and this model does not look like it ever had the “Philco” decal at the top. Anything specific about this model to look out for in the chassis?
Thanks
Skip

Posts: 13,776
Threads: 580
Joined: Sep 2005
City: Ferdinand
State, Province, Country: Indiana
This cabinet style was released by Philco in January 1937 (mid-season) and continued into the 1938 model year.
http://www.philcoradio.com/gallery/1937b.htm#r
A good photo of your set, once you're finished with it, would be most appreciated to replace the awful illustration I am currently using. You'll see when you click on the link above.
As to the lack of a PHILCO decal...interesting...your cabinet's front panel has the stripes, but does not have the faux woodgrain. It should have faux burl in the dark areas of the front panel and faux horizontal walnut grain in the light areas. It looks as if it was stripped and redone many years ago, with only stripes and toning put back in place of the original photofinish. A passable way to deal with a stripped cabinet of this type, and it works OK on this model, but would not look right at all on the earlier cathedral cabinets.
Compare your set to the late version 37-60B:
http://www.philcoradio.com/gallery/1937b.htm#j
and a 38-89B:
http://www.philcoradio.com/gallery/1938a.htm#au
--
Ron Ramirez
Ferdinand IN
Posts: 76
Threads: 20
Joined: Oct 2010
City: Oskaloosa
State, Province, Country: KANSAS
Ron,
Thanks for the conformation. I was looking at the same photos, that is why I asked. As for the front been refinished, other then the faux Burl in the dark areas, whom ever did the refinish did a good job. I would like to know how they did it. It looks all the world like a photo phinish up close and I can not detect the stripes at all. I will have to clean the front up and look closer.
Posts: 7,323
Threads: 270
Joined: Dec 2009
City: Roslyn Pa
Looks like a fun little project!
GL
Terry







