Posts: 761
Threads: 56
Joined: Jul 2013
City: Kentucky

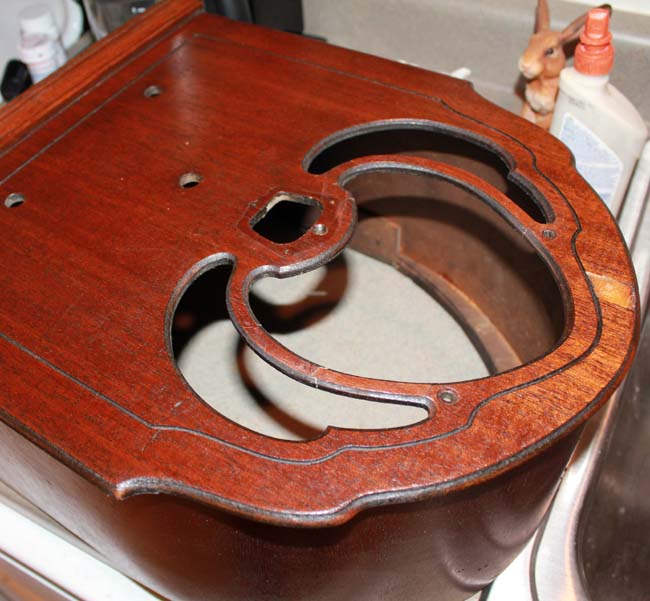
I was headed out the door to strip a cabinet today, when I noticed that it had some pretty severe damage to the scrollwork around the speaker area. I decided that I better get that fixed up before I try to strip the cabinet. I found it difficult to photograph this, so you'll have to overlook that. Plus, I've never repaired scrollwork before.. anyhow, I thought you guys might like to ride along and see how it goes..
The artist formerly known as Puhpow! 8)
Posts: 761
Threads: 56
Joined: Jul 2013
City: Kentucky
The artist formerly known as Puhpow! 8)
Posts: 761
Threads: 56
Joined: Jul 2013
City: Kentucky

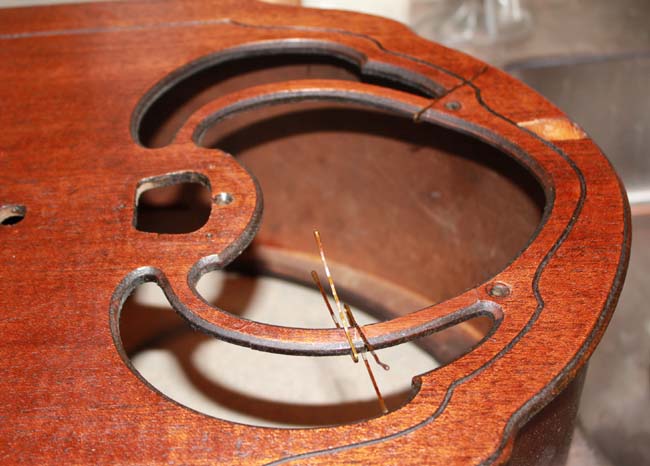
The main problem I faced was that the scrollwork bowed outward about 1/4". It would really be noticeable with grill cloth behind it. It needs to be as flat as possible. I tried pressing it down and gluing it, but that wasn't going to work. It kept popping back up. I decided to, very gently, re-break all the pieces. I then removed a sliver from each piece by lightly running it across 220 sandpaper . I couldn't photograph while doing this. The idea was to just remove the tiniest bit of wood. Too much removed, and the grill would not fit back together. It involved, sanding, test fitting, sanding, and fitting some more.
Once happy with the fit, I used wood glue and bent bobby pins to clamp it all together. Sometimes you gotta get creative, the entire thing is like a house of cards.. and a regular clamp won't work.
The artist formerly known as Puhpow! 8)
(This post was last modified: 10-21-2013, 06:56 PM by
Jamie.)
Posts: 761
Threads: 56
Joined: Jul 2013
City: Kentucky

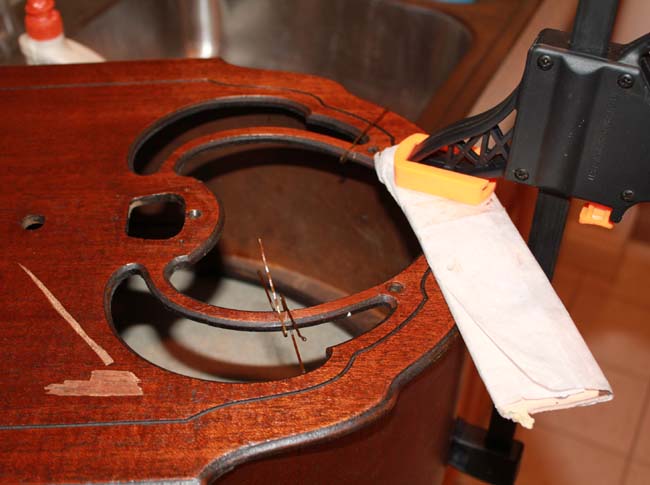
While I was fixing the scrollwork, I noticed that the top of the front face of the cabinet had become detached from the arch of the cabinet body. We also have a big chunk of veneer that's missing. Time to kill two birds with one stone. I cut a piece of veneer and glued it in place.. then I used a syringe to inject wood glue into the joint where the face of cabinet meets the arch. One big clamp holds it all together. There is also a piece of wood covered with wax paper that keeps the clamp from sticking to the cabinet.
The artist formerly known as Puhpow! 8)
(This post was last modified: 10-21-2013, 06:54 PM by
Jamie.)
Posts: 2,575
Threads: 337
Joined: Jun 2013
City: lawrenceville nj
D**n you would make a great Frankenstein doctor

Posts: 761
Threads: 56
Joined: Jul 2013
City: Kentucky
It may need a lightning bolt to get it playing again

...
Actually, I got very lucky here. Whoever did the previous repair, they did an excellent job. All of the parts are there and they all fit well. They used the right amount of glue too, which is important. I think the cabinet sustained additional damage in shipping. Shippers always destroy the grills because of the weight of the speaker. If you ever ship a radio, be sure to support the speaker.
I've been gluing additional pieces to the inside of the cabinet. I should have an update later. Hopefully, this cabinet will be stripped later today.
The artist formerly known as Puhpow! 8)
Posts: 761
Threads: 56
Joined: Jul 2013
City: Kentucky
The artist formerly known as Puhpow! 8)
Posts: 2,575
Threads: 337
Joined: Jun 2013
City: lawrenceville nj
looks great ,another fine job


![[-] [-]](https://philcoradio.com/phorum/images/bootbb/collapse.png)


