12-29-2013, 12:20 PM
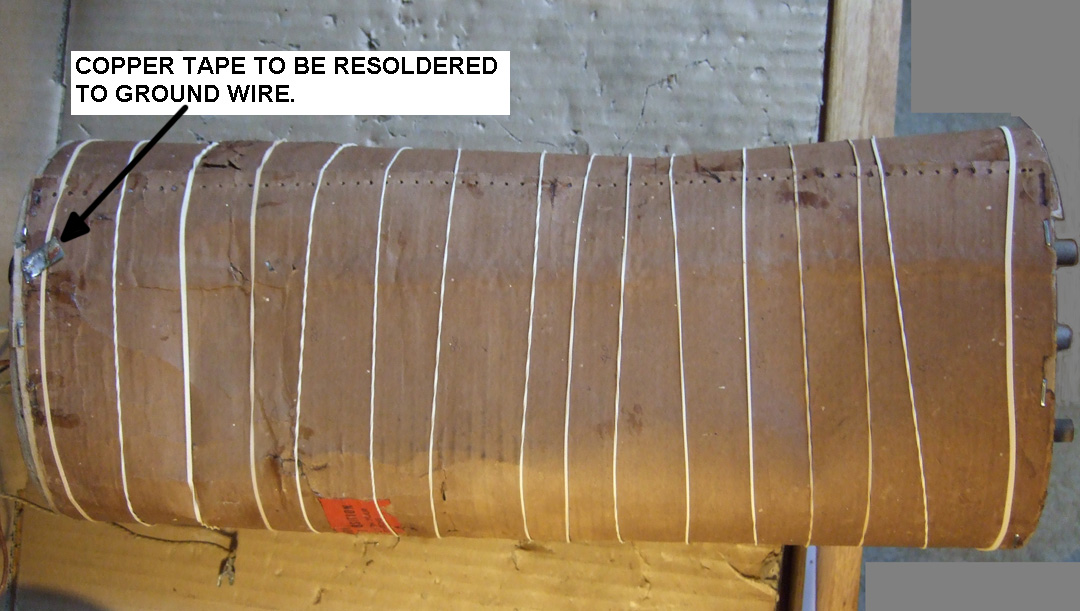
I had originally thought about removing the antenna electrostatic shield for my 40-201 model and had materials rounded up to dip it into a 5 gallon container of water to make the paper come apart. I looked at the piece and realized that it was stitched together with thread along the edge where the shield came together. I decided upon a far easier solution. It will not be very pretty, but is far easier. I had already strengthened the inside of the shield using paper grocery sack material and Elmer's glue. It had turned out to be too brittle to slide back over the oval wooden ends.
With the stitching thread removed, I could easily open it just enough to slide over the oval wooden ends without damaging the shield any more than I already had. I slid it over the oval forms and carefully stapled it to the wooden oval pieces one end at a time. Then I laid a bead of Elmer's glue between the ends that overlap and took a series of rubber bands to hold the ends in proper overlap so the glue would set properly. Here is a picture of the assembly curing on my bench.
Later I willl put a new label on it to complete the repair. This way, it will be functional with less work and still retain the original elements as manufactured.
Joe


![[-] [-]](https://philcoradio.com/phorum/images/bootbb/collapse.png)


