12-09-2016, 01:06 PM
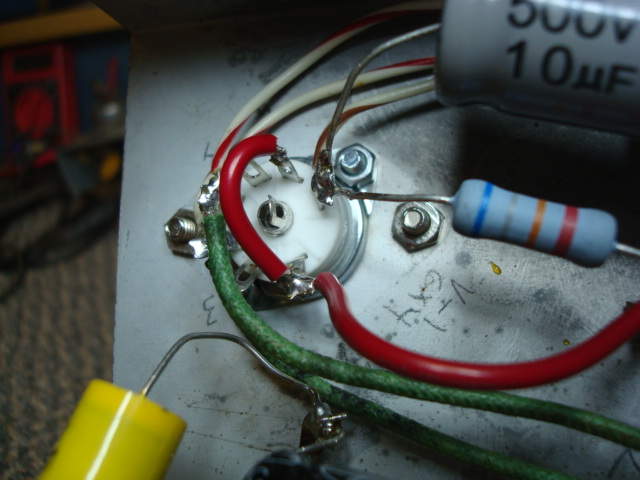
After some searching for a same size tube socket for the 6X4, I gave up and ordered some ceramic sockets from China. Had to drill new holes to mount, but I already hacked this when I was a youth. So, better hacked and in use than sitting in a box somewhere waiting for the junk pile. I have used this every chance I had, and let it 'idle' while sitting at the bench working on other items. So far, so good.

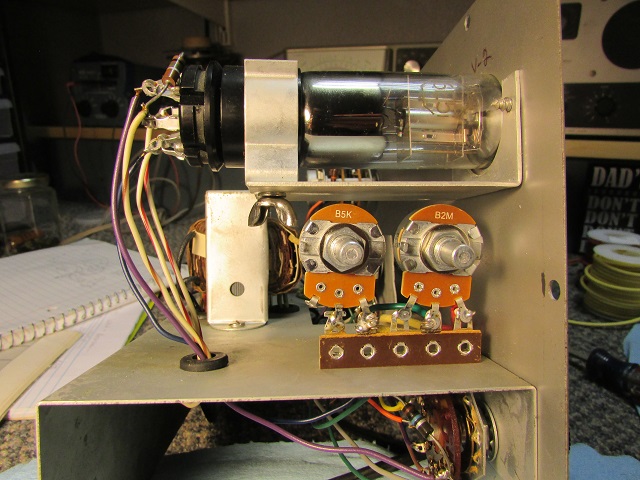
Below are the controls I added to adjust the sensitivity of the eye tube for leakage measurements. I could have used smaller controls, but I had room for these and I can turn these with my fingers. I put them on a terminal strip, and used an existing screw to attach it. No new holes. Can be removed without scars later if needed.

Notes: I did some trial and error, and finally settled on making R3 68k, left the R17 alone, and put a 10k resistor in series with the divider string. (15k dropped the current too much) This gave me right around 200v on the eye tube, -525 on the 6X4 plates, and 470v on the test terminals. It set my current right at 4.5 - 4.7 ma. I set with the line voltage at 120v. This combination made the voltages more stable. The leakage voltage is a little higher than I would like, but better than original. The cap pulls the voltage down during the leakage test anyway, so I don't see any problem.
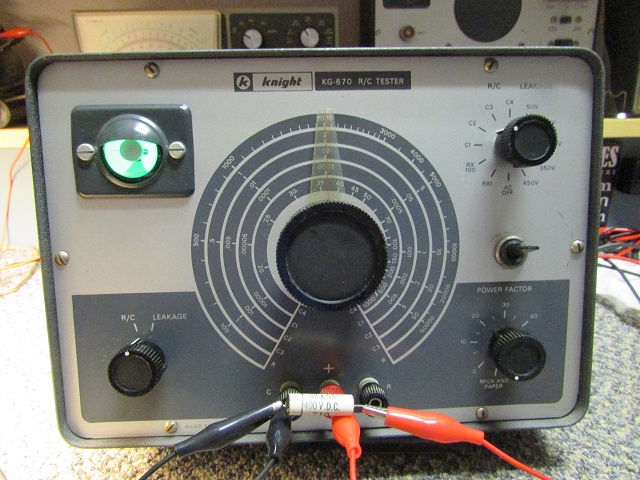
The Knight in action. It seems pretty accurate, and I like to be able to test new caps with voltage. It does take a little longer to charge the cap on the 450v setting. Since the leakage sensitivity is more sensitive than original, it takes a little longer for the eye to open. I find that if I check initially on a lower setting, then switch up, it takes less time (seconds). The bigger the cap, the longer the charge time. So, I pronounce it fixed.

Below are the controls I added to adjust the sensitivity of the eye tube for leakage measurements. I could have used smaller controls, but I had room for these and I can turn these with my fingers. I put them on a terminal strip, and used an existing screw to attach it. No new holes. Can be removed without scars later if needed.
Notes: I did some trial and error, and finally settled on making R3 68k, left the R17 alone, and put a 10k resistor in series with the divider string. (15k dropped the current too much) This gave me right around 200v on the eye tube, -525 on the 6X4 plates, and 470v on the test terminals. It set my current right at 4.5 - 4.7 ma. I set with the line voltage at 120v. This combination made the voltages more stable. The leakage voltage is a little higher than I would like, but better than original. The cap pulls the voltage down during the leakage test anyway, so I don't see any problem.
The Knight in action. It seems pretty accurate, and I like to be able to test new caps with voltage. It does take a little longer to charge the cap on the 450v setting. Since the leakage sensitivity is more sensitive than original, it takes a little longer for the eye to open. I find that if I check initially on a lower setting, then switch up, it takes less time (seconds). The bigger the cap, the longer the charge time. So, I pronounce it fixed.
If I could find the place called "Somewhere", I could find "Anything"
Tim
Jesus cried out and said, "Whoever believes in me , believes not in me but in him who sent me" John 12:44


![[-] [-]](https://philcoradio.com/phorum/images/bootbb/collapse.png)


