12-14-2019, 11:47 PM
Thanks Steve.
So this afternoon after returning home from running some errands, I grabbed the metal can with three capacitors and three resistors inside encased in tar, two pairs of pliers, some cardboard, and my heat gun and took all to our detached garage.
It only took five minutes or so until I had the insides softened up enough to remove the old components from the metal can.
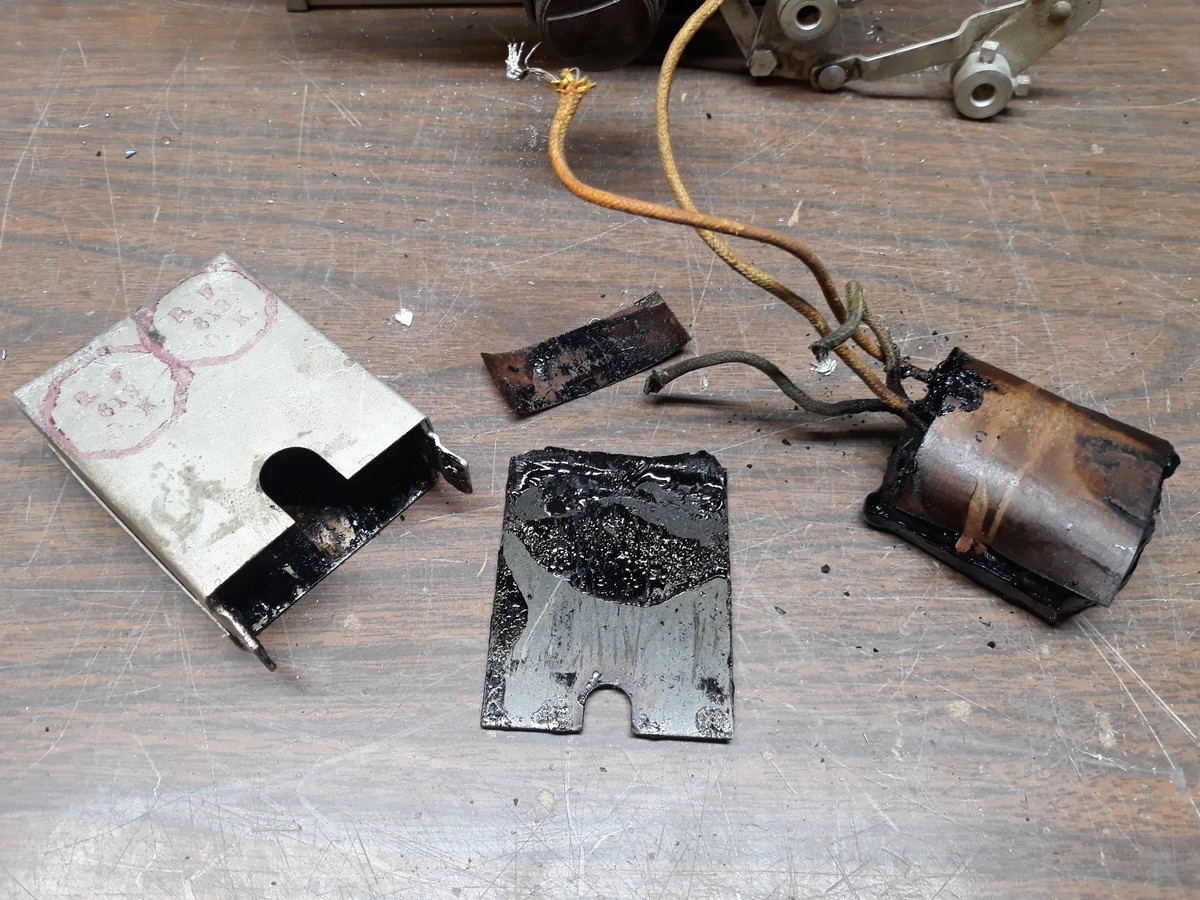
Let's take a look at how all of the components hook up inside the can.
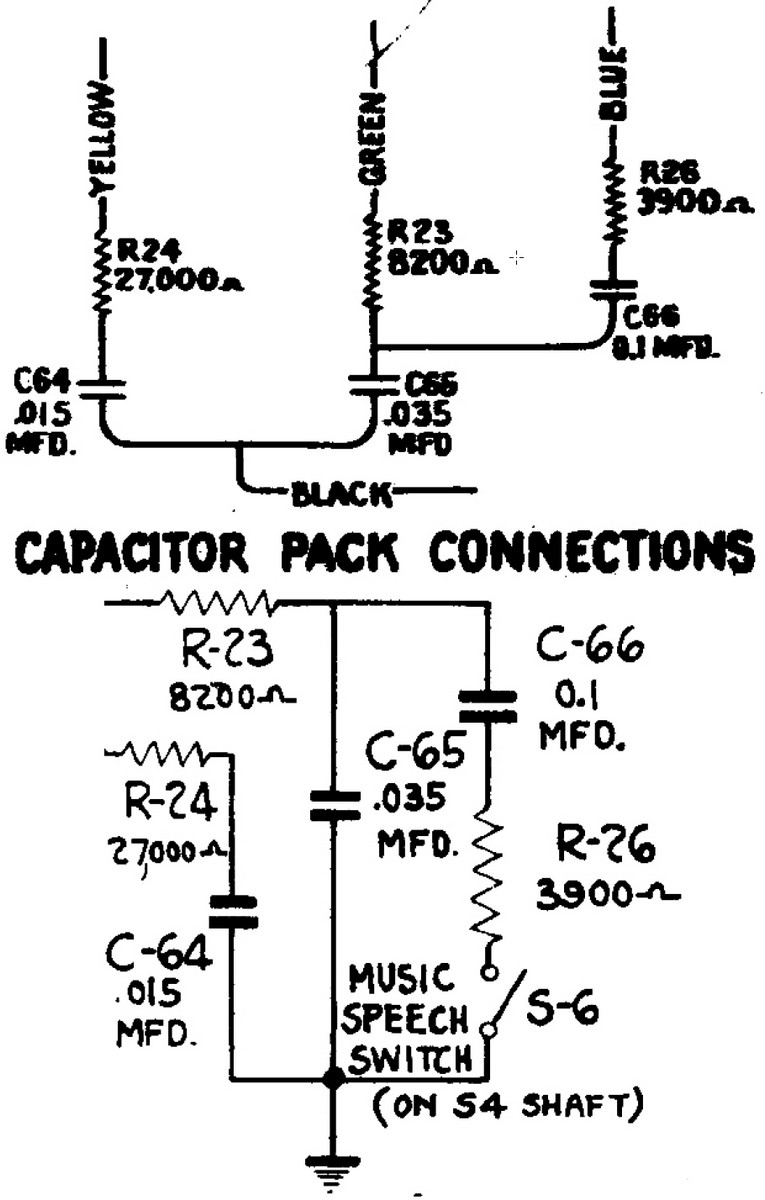
The next step was to replicate the hookup with all new components.
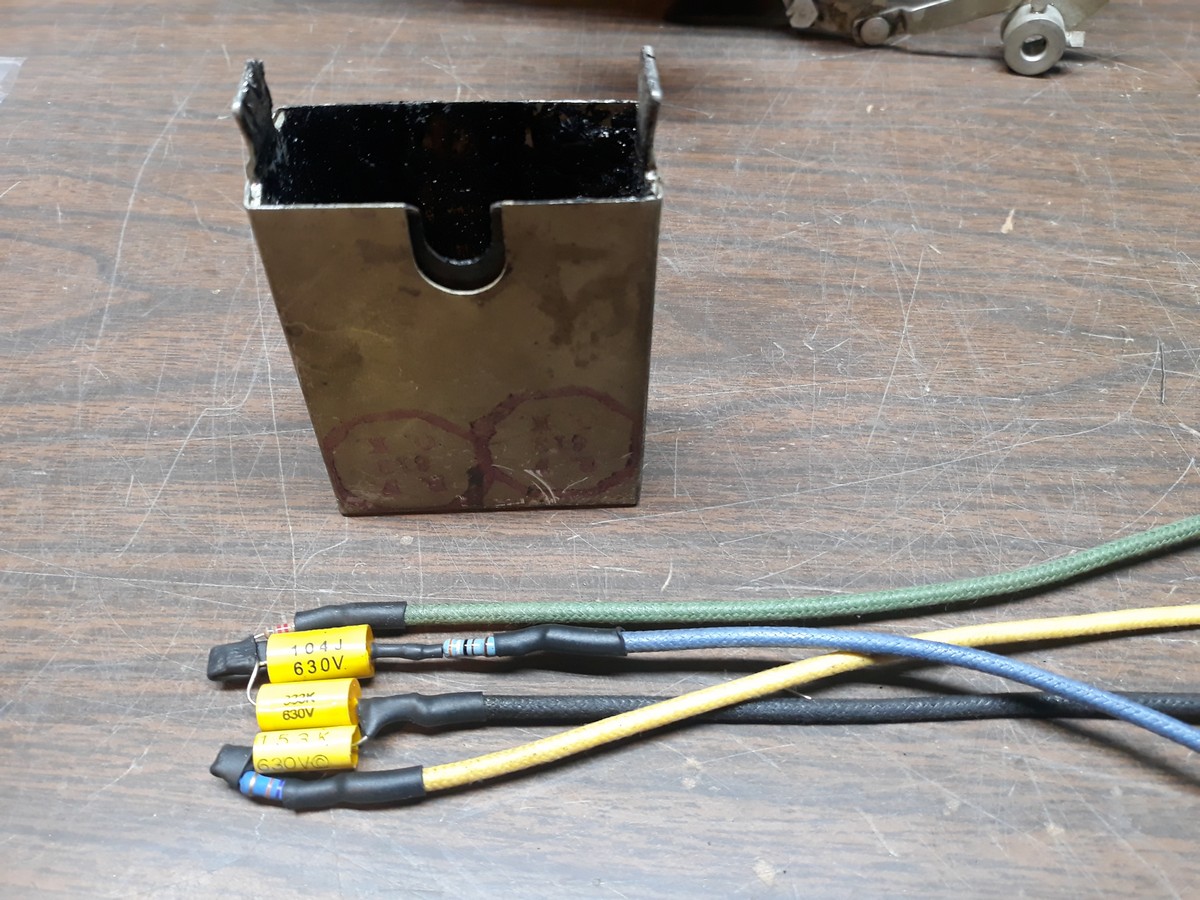
I then prepared the parts for encasing inside the metal can with the use of heat shrink tubing and electrical tape.
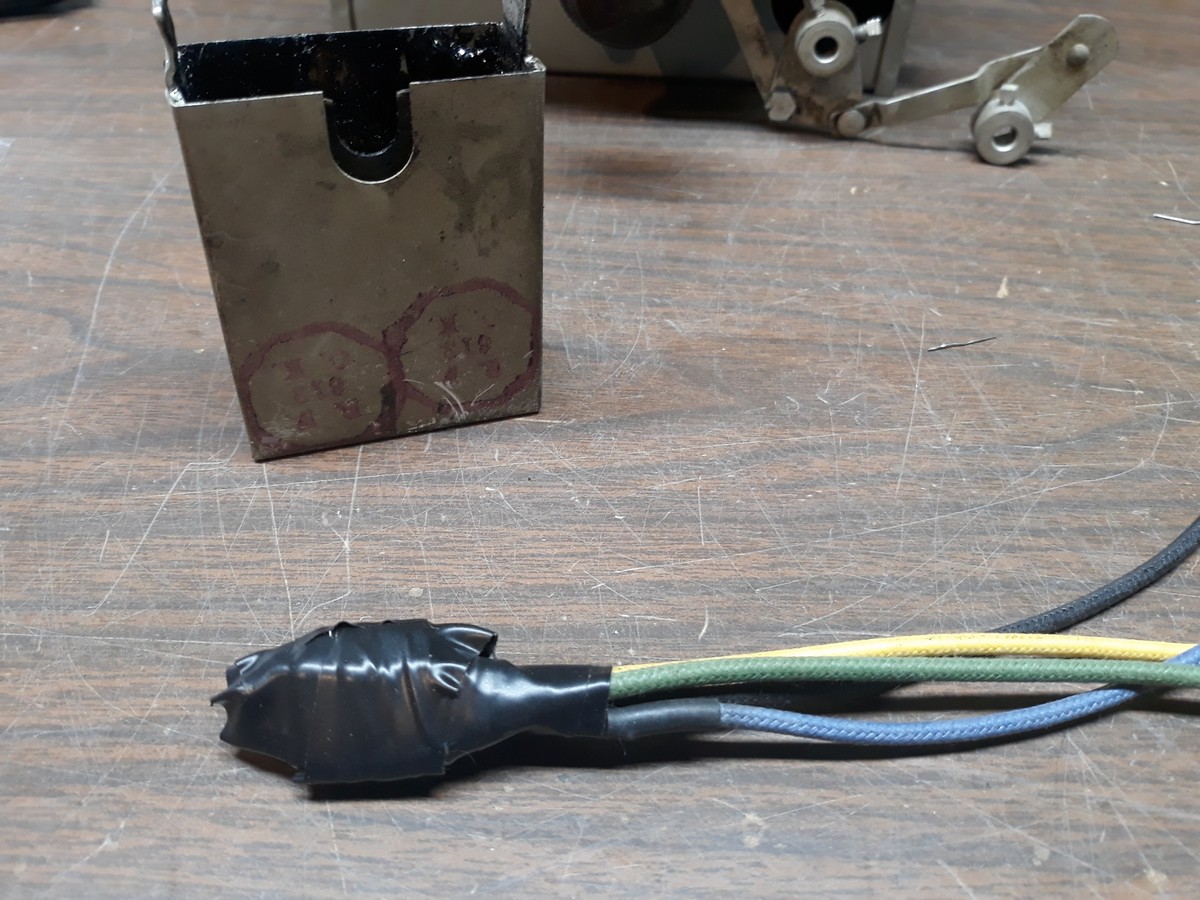
Finally, the new components are placed inside the can and the entire thing is encased in hot glue.
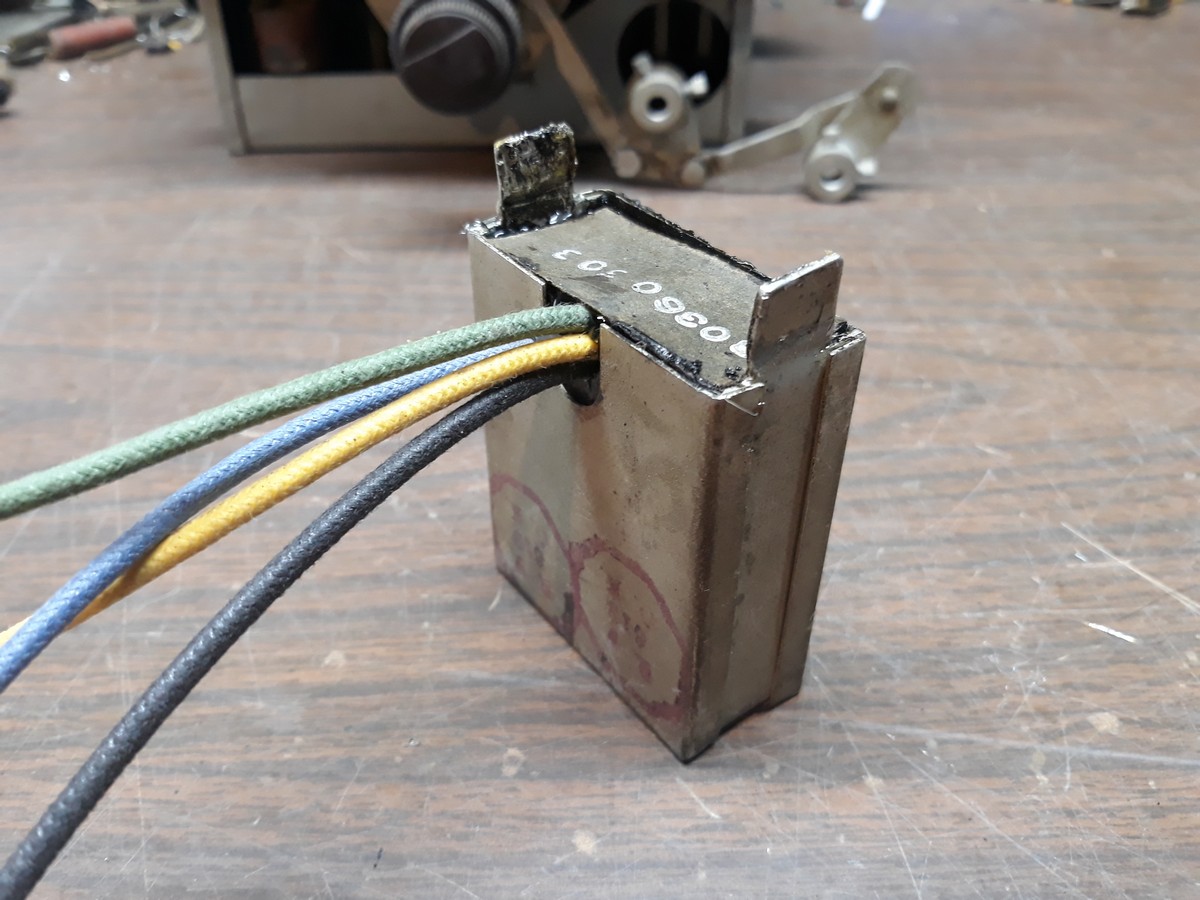
The unit is now ready for reinstallation on the chassis. That may be difficult, as the can mounts to the chassis with those two thick metal "ears" which must be bent over to hold the can in place. But I'll do my best.
So this afternoon after returning home from running some errands, I grabbed the metal can with three capacitors and three resistors inside encased in tar, two pairs of pliers, some cardboard, and my heat gun and took all to our detached garage.
It only took five minutes or so until I had the insides softened up enough to remove the old components from the metal can.
Let's take a look at how all of the components hook up inside the can.
The next step was to replicate the hookup with all new components.
I then prepared the parts for encasing inside the metal can with the use of heat shrink tubing and electrical tape.
Finally, the new components are placed inside the can and the entire thing is encased in hot glue.
The unit is now ready for reinstallation on the chassis. That may be difficult, as the can mounts to the chassis with those two thick metal "ears" which must be bent over to hold the can in place. But I'll do my best.
--
Ron Ramirez
Ferdinand IN


![[-] [-]](https://philcoradio.com/phorum/images/bootbb/collapse.png)


