03-11-2020, 05:28 PM
Well after looking the case construction over carefully, I decided that the best option was to try removing the 2 support members for the radio chassis. If any glue joint was going to “give in” those looked to be the most likely. The chassis supports were slid into a dado on each side of the case. They had the added support of a glue block beneath as well as finish nails from the top of the support, through the joint and into the side of the case.
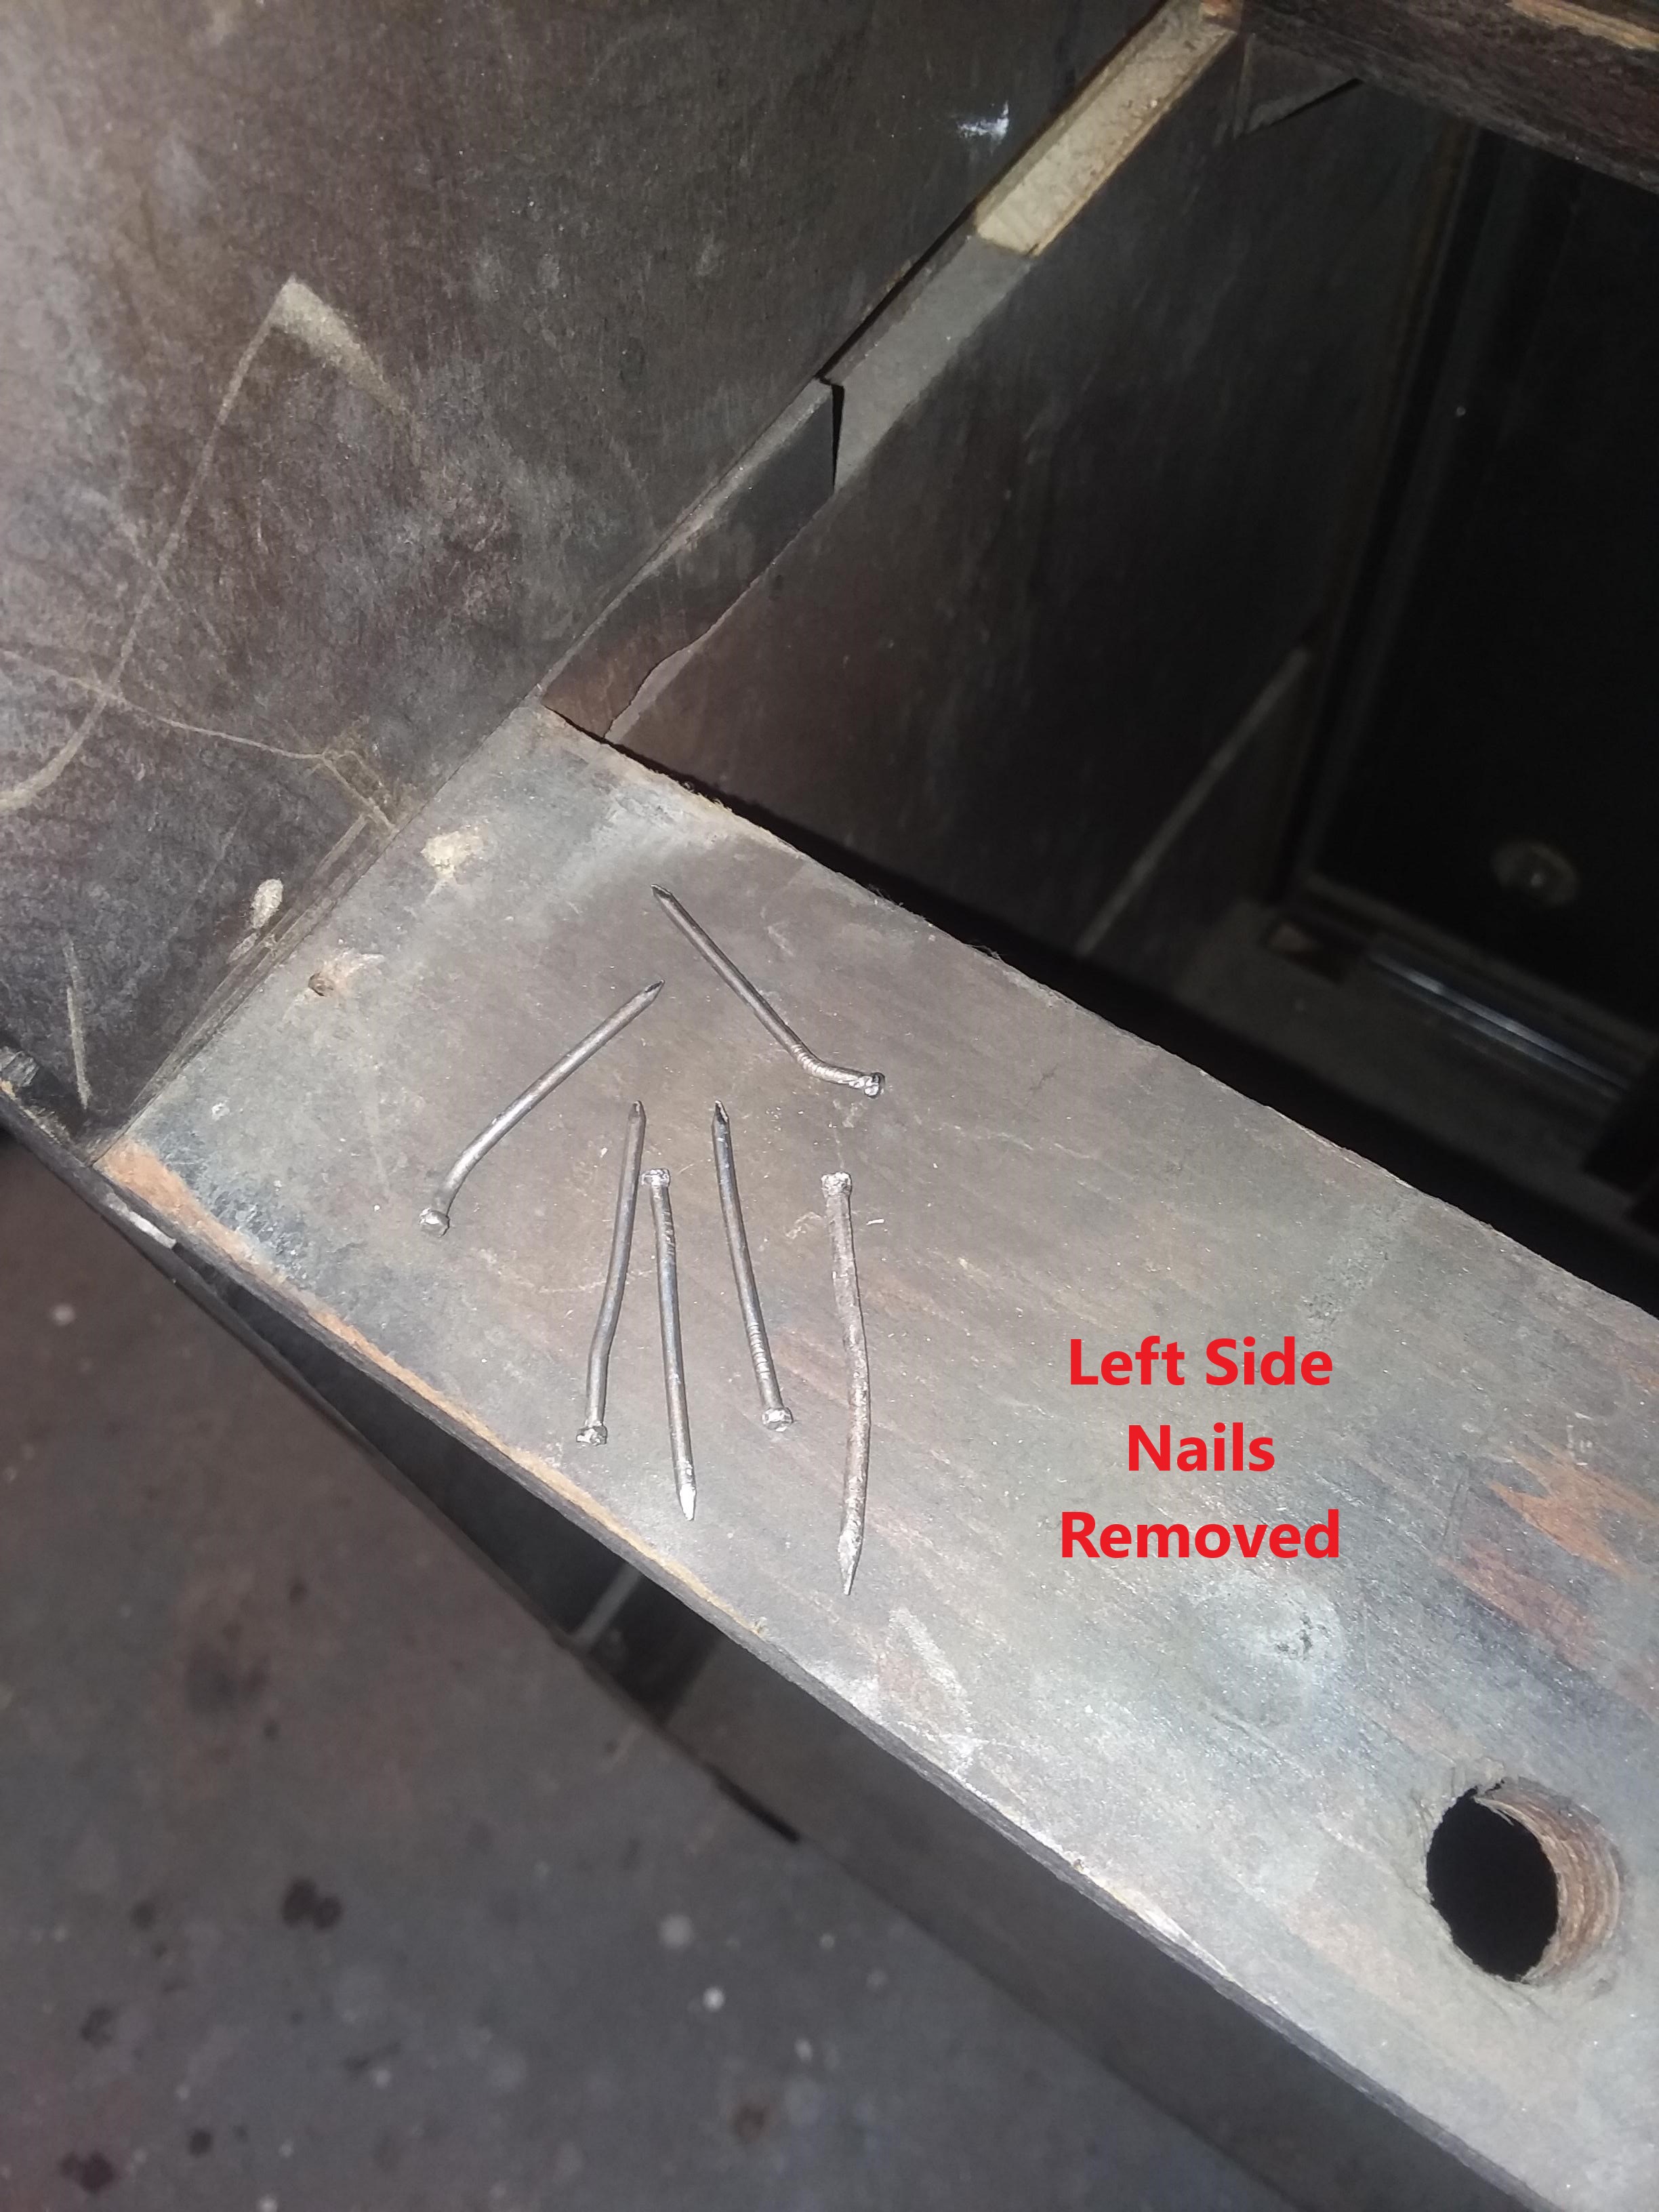
I first located and removed the finish nails. This was an easy task with a vice-grip needle nose plier. There were 2 nails in each support on the right side of the cabinet (facing from the back) but only 1 nail in each member on the left. Working from the rear most support (left side) I gave the joint several smart “taps”. First from the top, next from the bottom, then from the rear and finally from the front. I repeated this on the right side and the glue joint broke free. I was able to manipulate the support out moving it back and forth in the dado. The glue block broke clean on one side but remained attached to the cabinet on the other...no problem. I repeated the procedure on the front support with similar results. There were blocks glued into the dado on each side, probably for additional case support. Some remained glued and some came out with the radio chassis supports. No problem, just glue them back at final assembly.
With the radio chassis supports removed, I now had access to remove the grille assembly and doors. First the grille assembly.
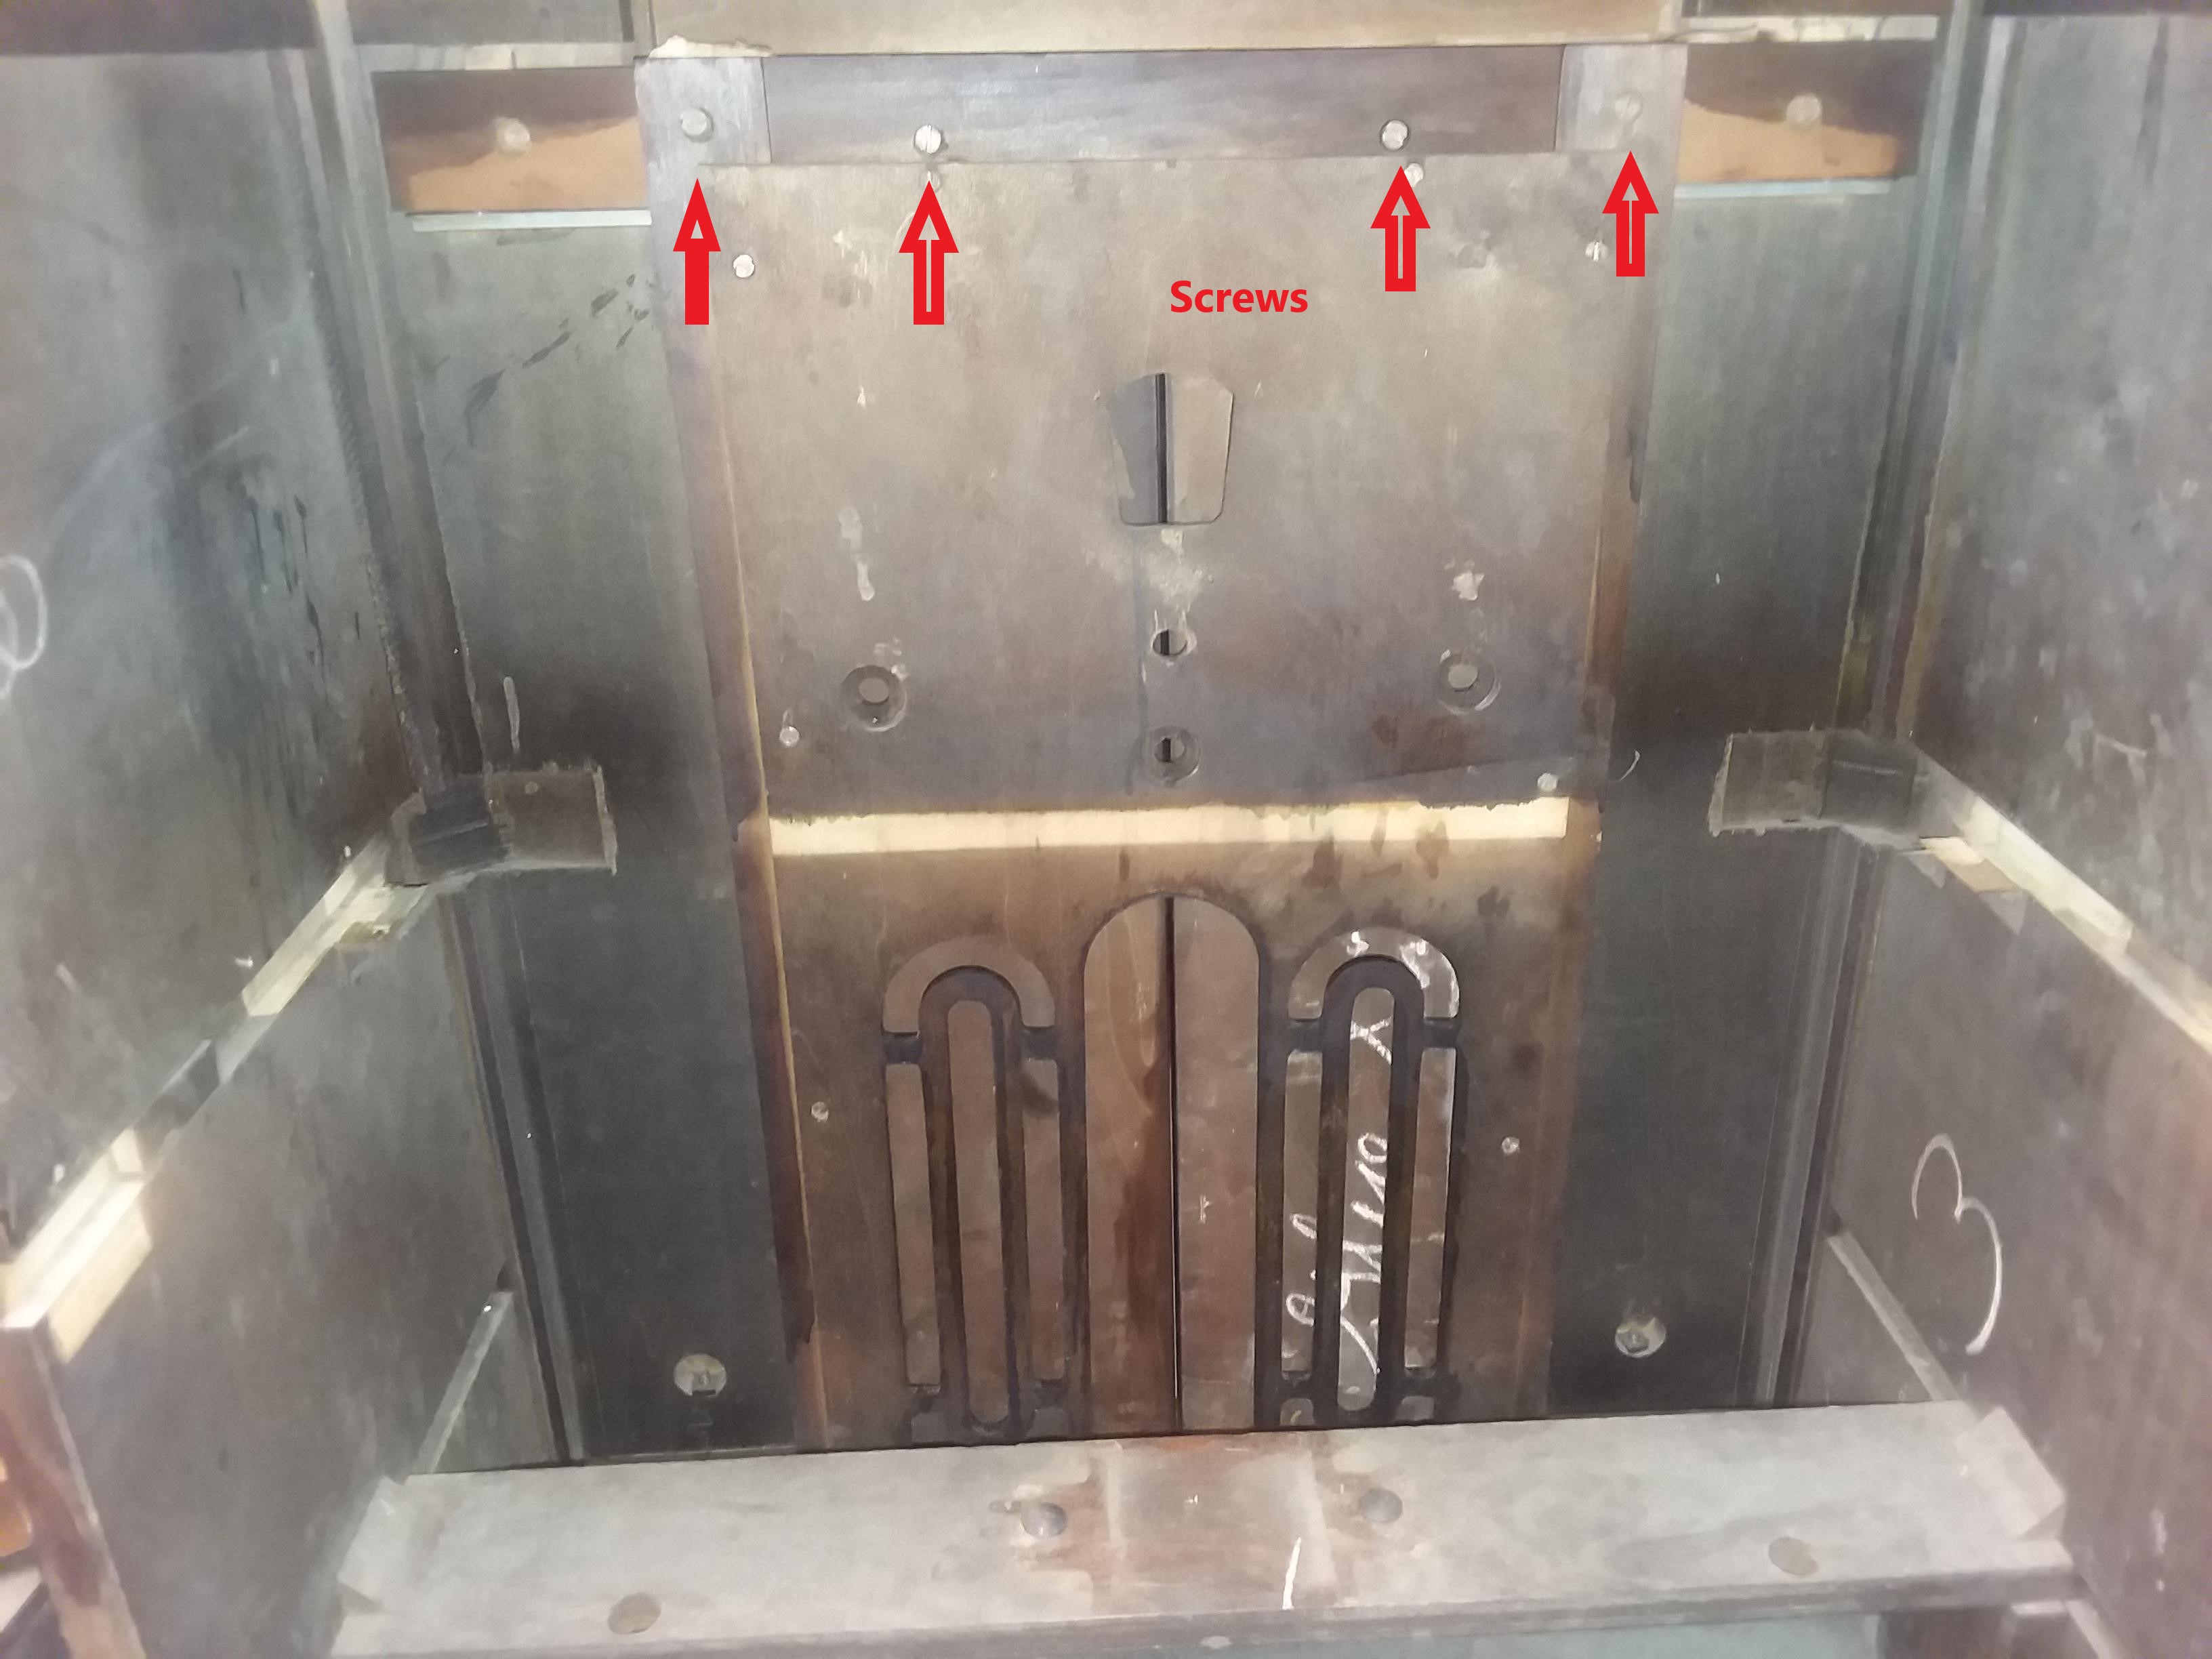
The Grille assembly includes not only the thin veneered panel cut out for the speaker and radio controls, but also the decorative side trim pieces and the top support as well as the bottom decorative trim. All of the pieces are screwed together and can come out as a single unit. First remove the 4 wood screws at the top of the assembly. The decorative side trim pieces are cut at the bottom to fit into matching dados cut in the bottom of the cabinet. The bottom decorative trim piece is not only screwed to the grille panel, but has 2 very small finishing nails going through it into the bottom of the cabinet. I might suggest unscrewing that piece from the assembly before removal (2 small screws) and then dealing with the bottom decorative piece and the finishing nails once the rest of the assembly is out of the way.
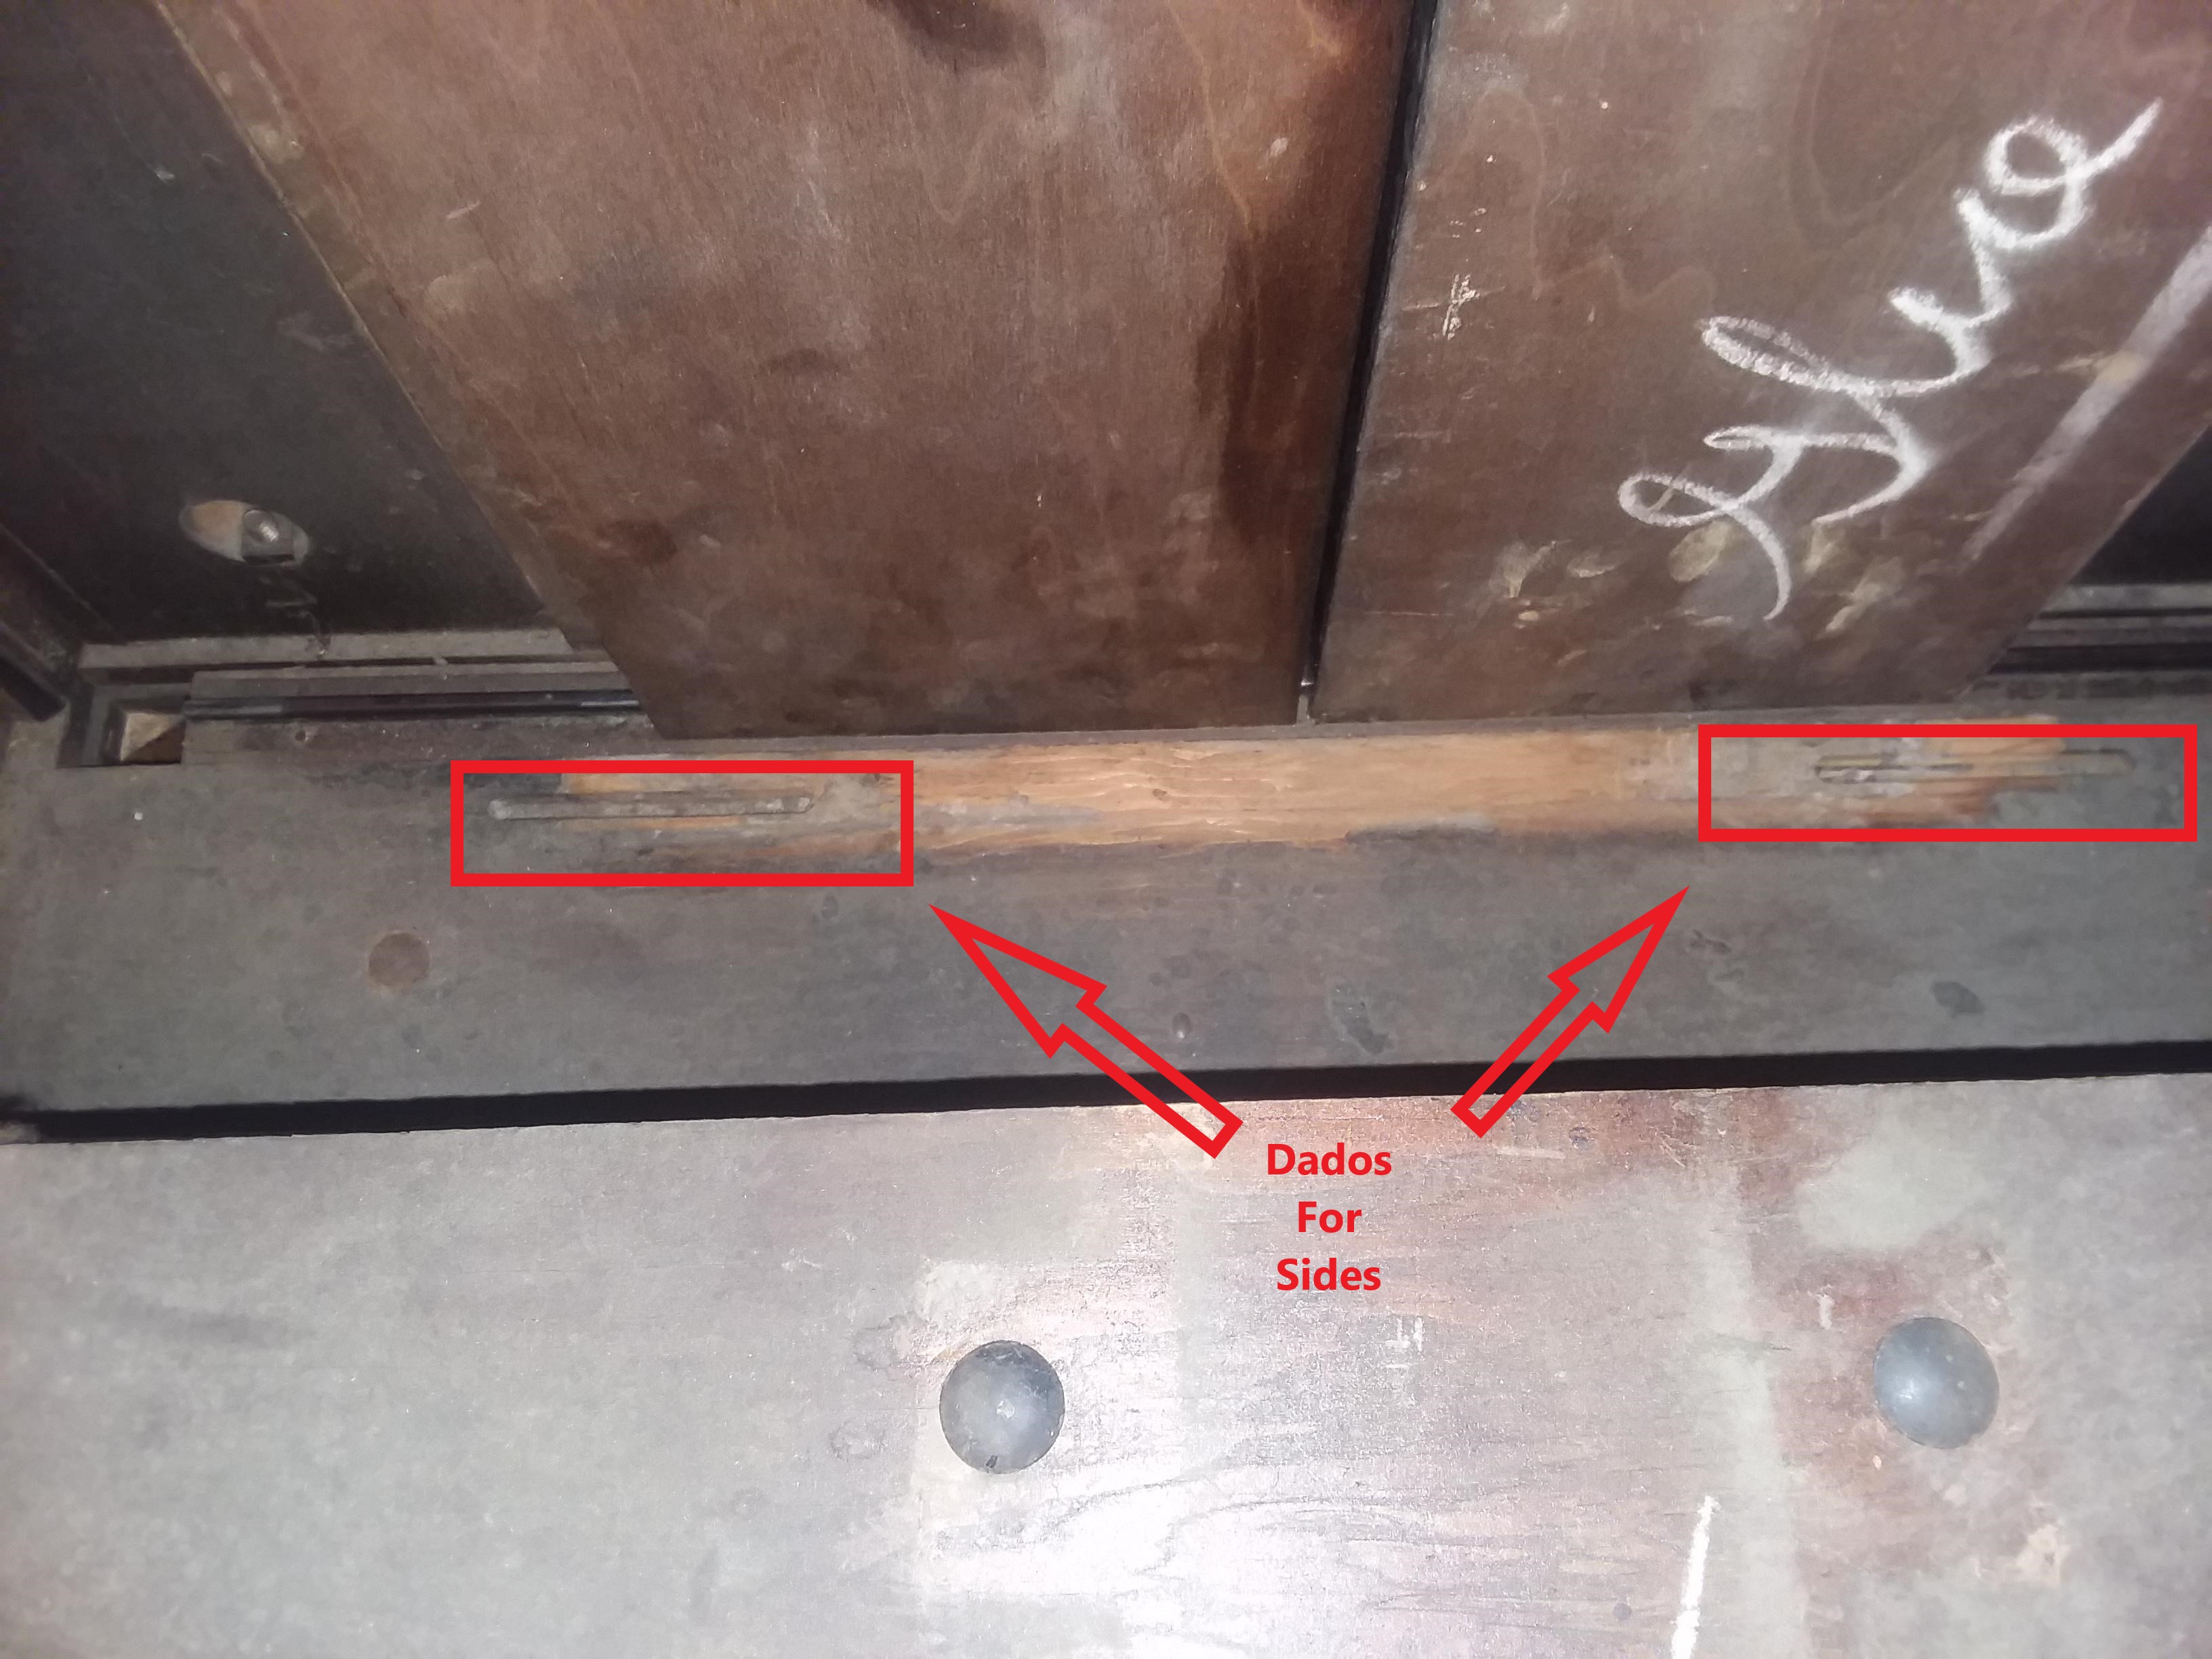
Now just pivot the top of the assembly slightly to the rear of the cabinet and lift up removing the side pieces from the dados at the bottom of the cabinet. It will lift over the speaker shelf and out the back.
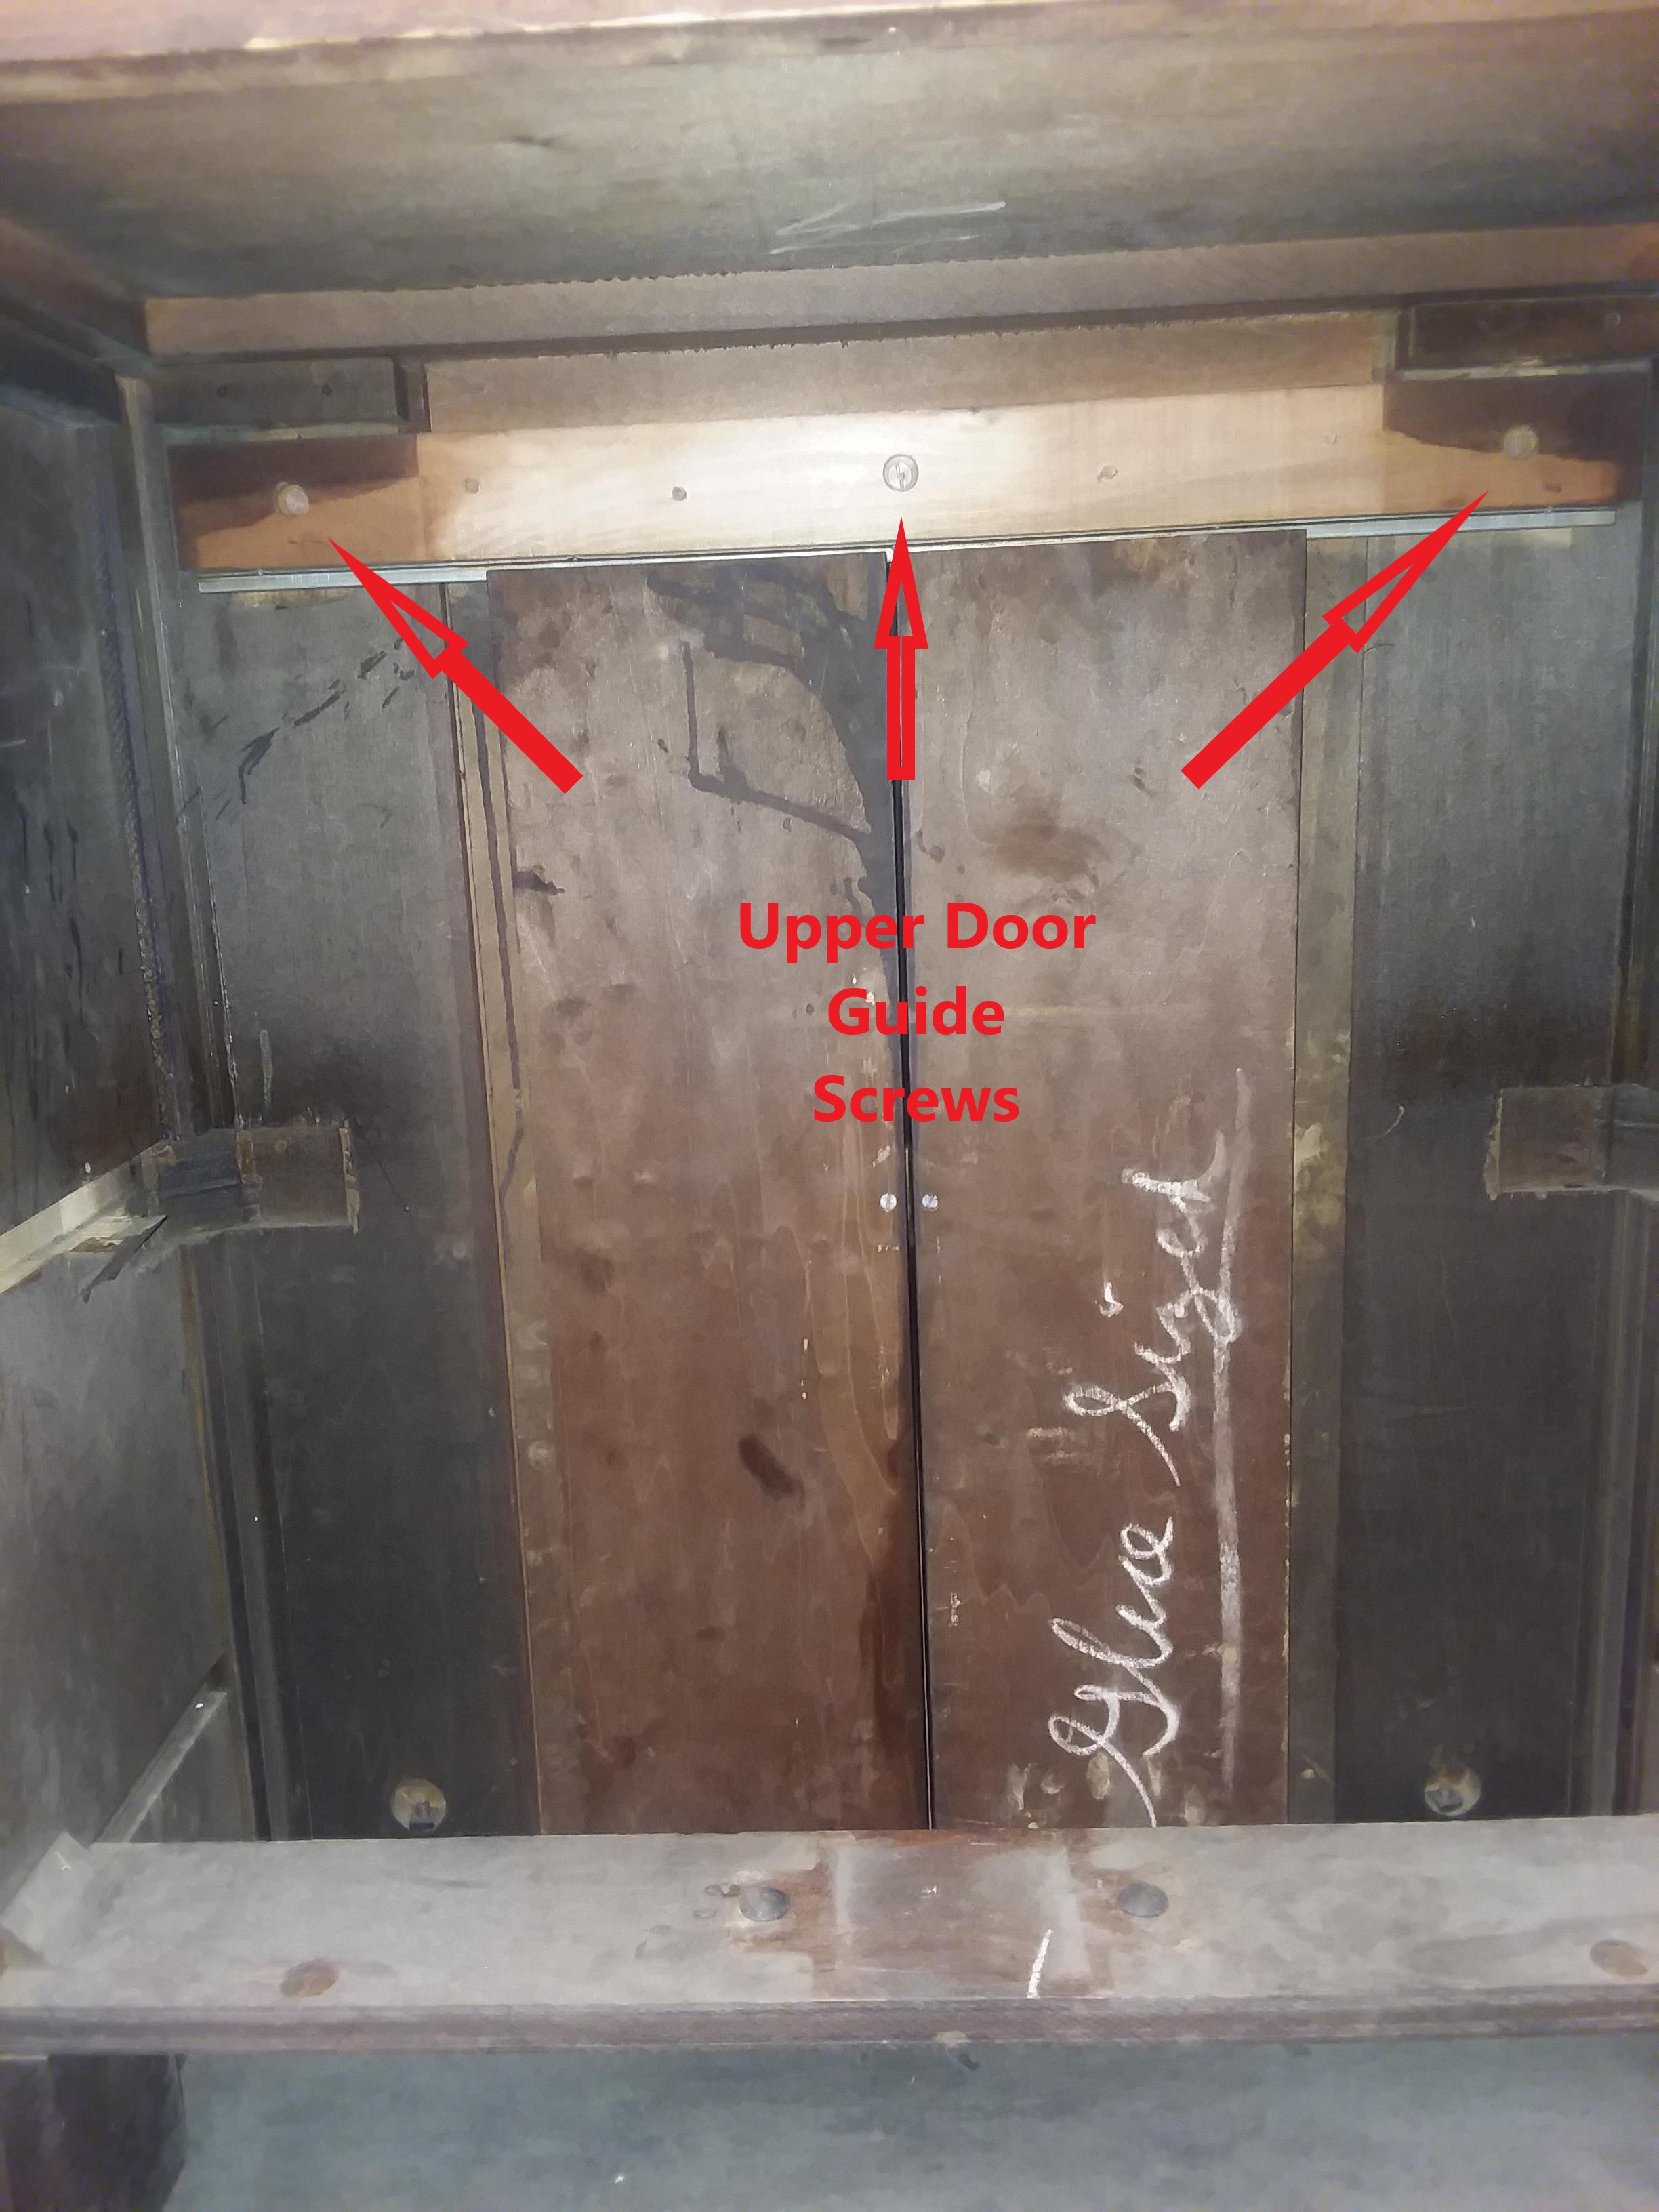
The sliding doors are retained with a metal glide on both top and bottom. The top glide is secured to a board that is attached to the cabinet with 3 wood screws. Once the 3 screws and the top support are removed, the doors can be removed from the bottom glide. There are grooves in the top and bottom of each door with felt strips that glide on the guides.
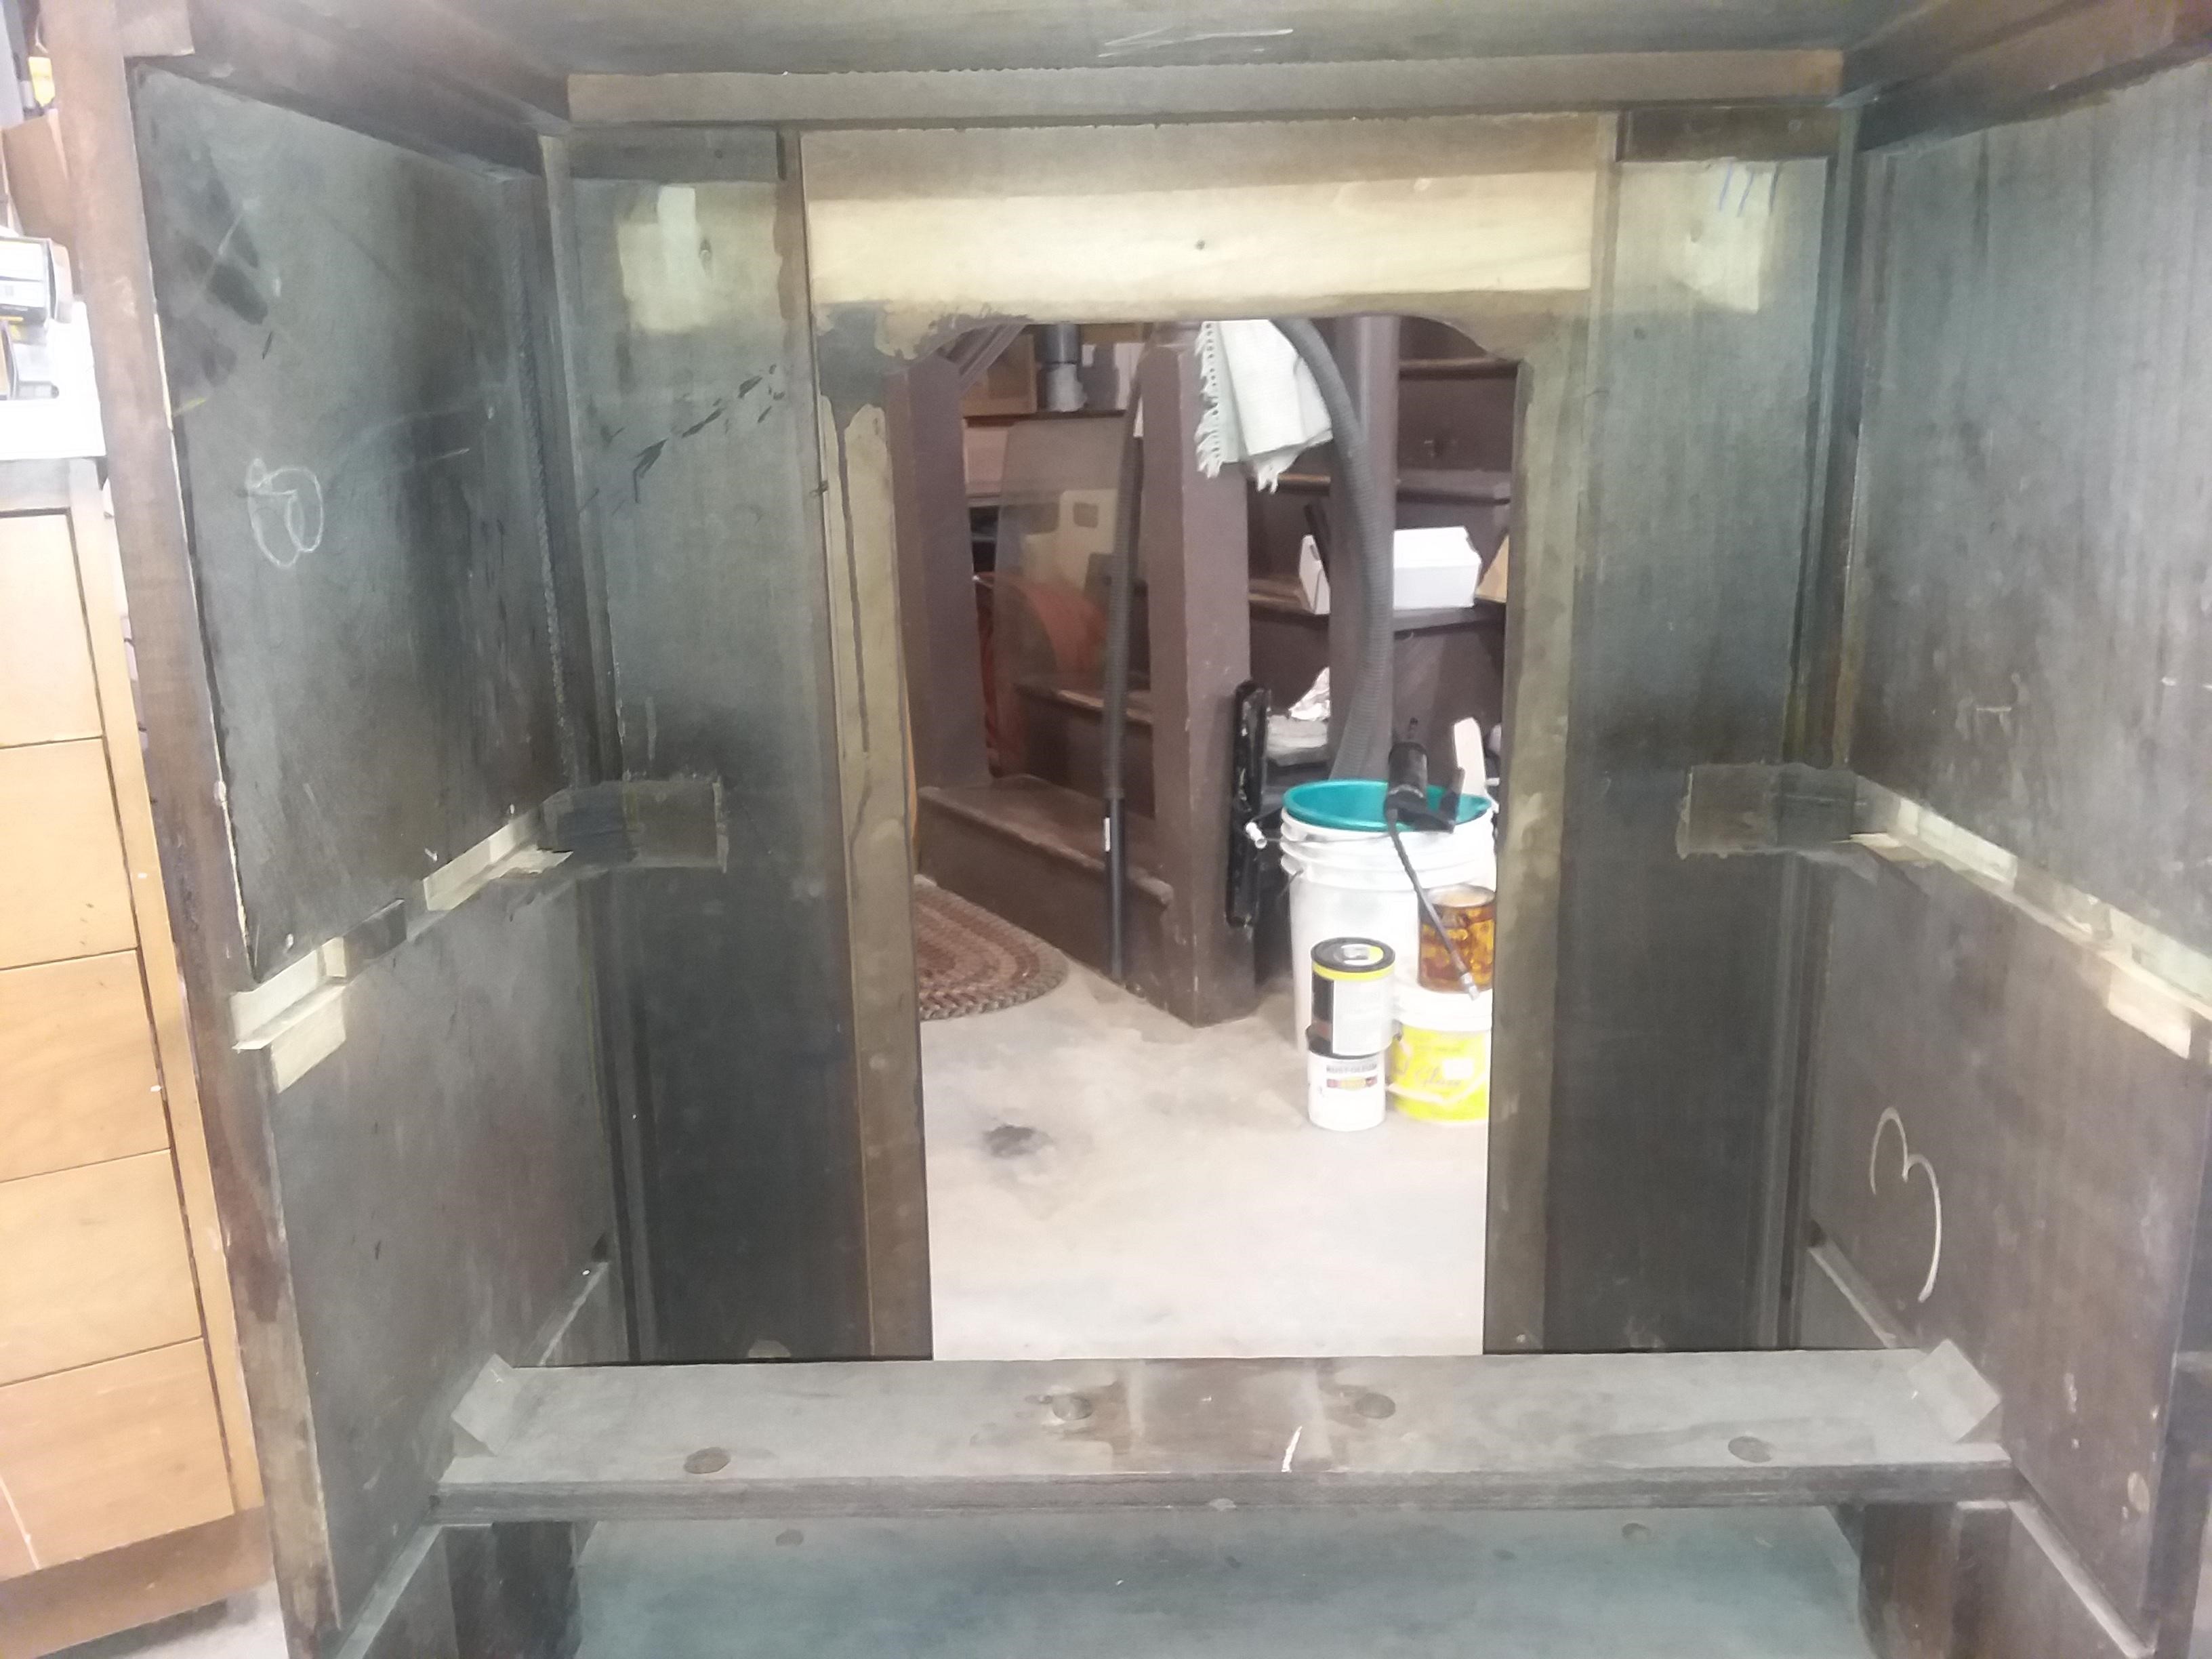
I first located and removed the finish nails. This was an easy task with a vice-grip needle nose plier. There were 2 nails in each support on the right side of the cabinet (facing from the back) but only 1 nail in each member on the left. Working from the rear most support (left side) I gave the joint several smart “taps”. First from the top, next from the bottom, then from the rear and finally from the front. I repeated this on the right side and the glue joint broke free. I was able to manipulate the support out moving it back and forth in the dado. The glue block broke clean on one side but remained attached to the cabinet on the other...no problem. I repeated the procedure on the front support with similar results. There were blocks glued into the dado on each side, probably for additional case support. Some remained glued and some came out with the radio chassis supports. No problem, just glue them back at final assembly.
With the radio chassis supports removed, I now had access to remove the grille assembly and doors. First the grille assembly.
The Grille assembly includes not only the thin veneered panel cut out for the speaker and radio controls, but also the decorative side trim pieces and the top support as well as the bottom decorative trim. All of the pieces are screwed together and can come out as a single unit. First remove the 4 wood screws at the top of the assembly. The decorative side trim pieces are cut at the bottom to fit into matching dados cut in the bottom of the cabinet. The bottom decorative trim piece is not only screwed to the grille panel, but has 2 very small finishing nails going through it into the bottom of the cabinet. I might suggest unscrewing that piece from the assembly before removal (2 small screws) and then dealing with the bottom decorative piece and the finishing nails once the rest of the assembly is out of the way.
Now just pivot the top of the assembly slightly to the rear of the cabinet and lift up removing the side pieces from the dados at the bottom of the cabinet. It will lift over the speaker shelf and out the back.
The sliding doors are retained with a metal glide on both top and bottom. The top glide is secured to a board that is attached to the cabinet with 3 wood screws. Once the 3 screws and the top support are removed, the doors can be removed from the bottom glide. There are grooves in the top and bottom of each door with felt strips that glide on the guides.


![[-] [-]](https://philcoradio.com/phorum/images/bootbb/collapse.png)


