09-20-2023, 06:50 PM
I'll take it from here...
Steve sent enough trim pieces to make three sets of trim - if I was careful with cutting it, that is. Otherwise, I had enough trim to compensate for any errors in cutting.
I tried to be careful.
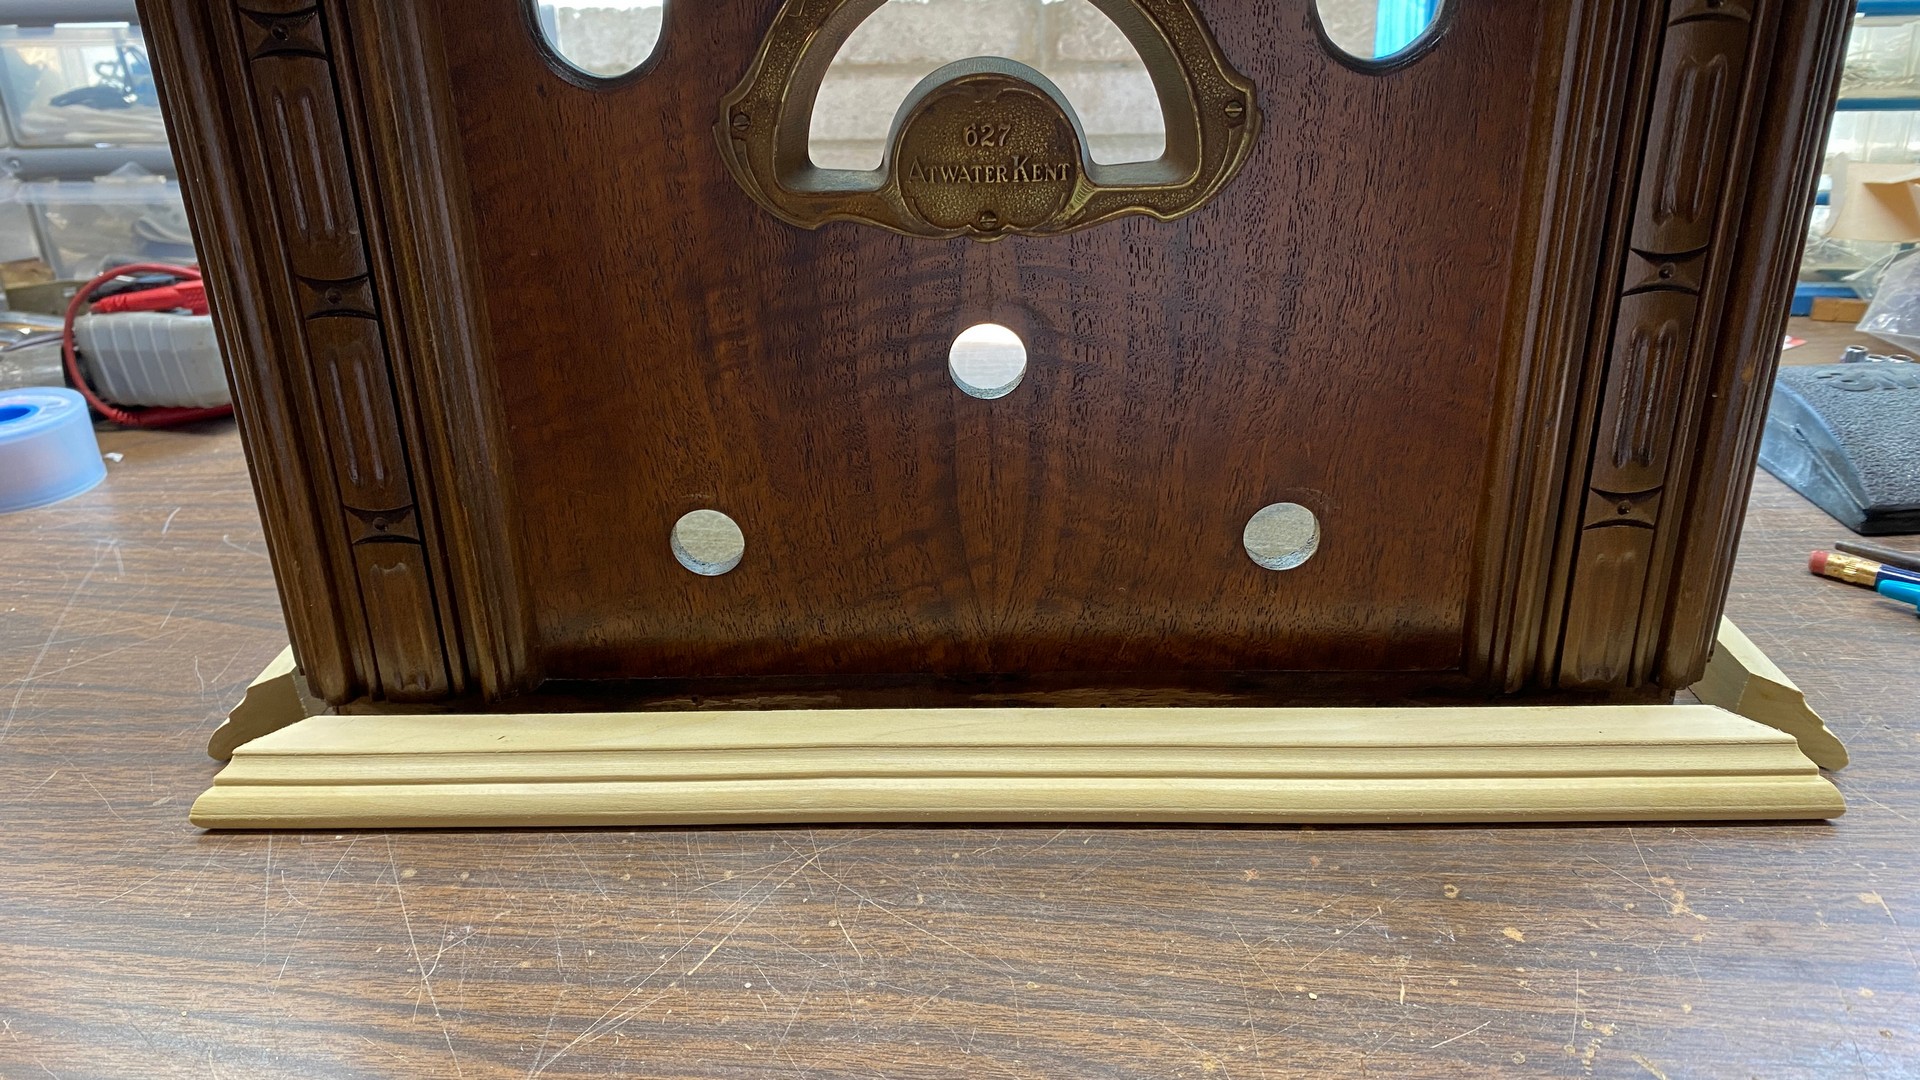
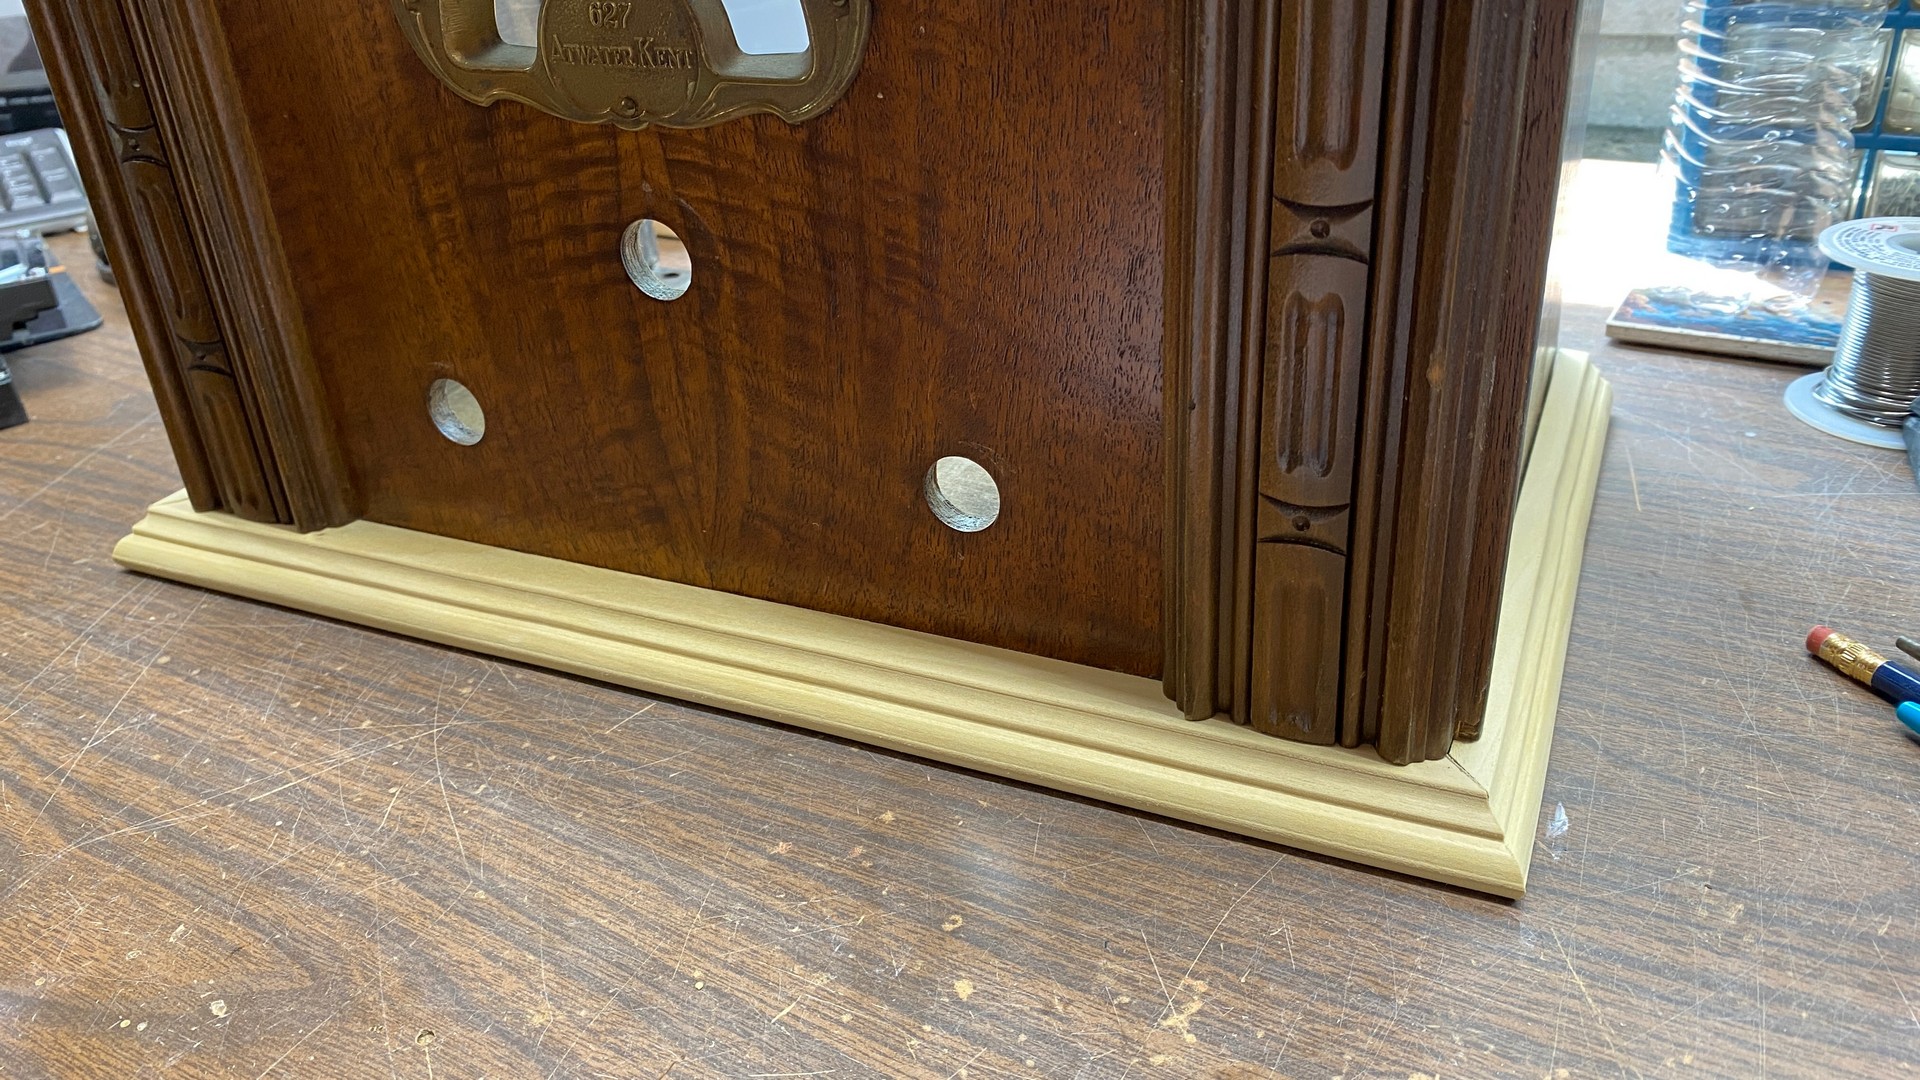
Here is the result after cutting.


Eventually, I finally got around to toning the trim. I did not like the results at first, as none of the toners I had in stock came anywhere close to replicating the original color of the old trim.
So I stripped it, and started over by first spraying with sanding sealer, then toner.
This time, I used one of the cans of toner I had purchased more recently - Mohawk Ultra Classic Medium Oak/Tavern Pine. A test spray seemed to indicate this color was close to the color of the trim surrounding the cabinet's front arch, so I used it.
As luck would have it, the toner did not go on evenly on the first coat, so I was forced to apply a second. This not only made the trim dark, but the toner also ran on top of the trim!
I was going to trash that trim and cut three more pieces, but I decided to try something first. I took the trim to my workbench once the lacquer was dry, and wet sanded the tops (only) of the trim pieces until most of the toner was gone. Then I gave the tops of the trim pieces two more coats. This seemed satisfactory (if dark), so all three trim pieces were given two coats of clear semi-gloss lacquer.
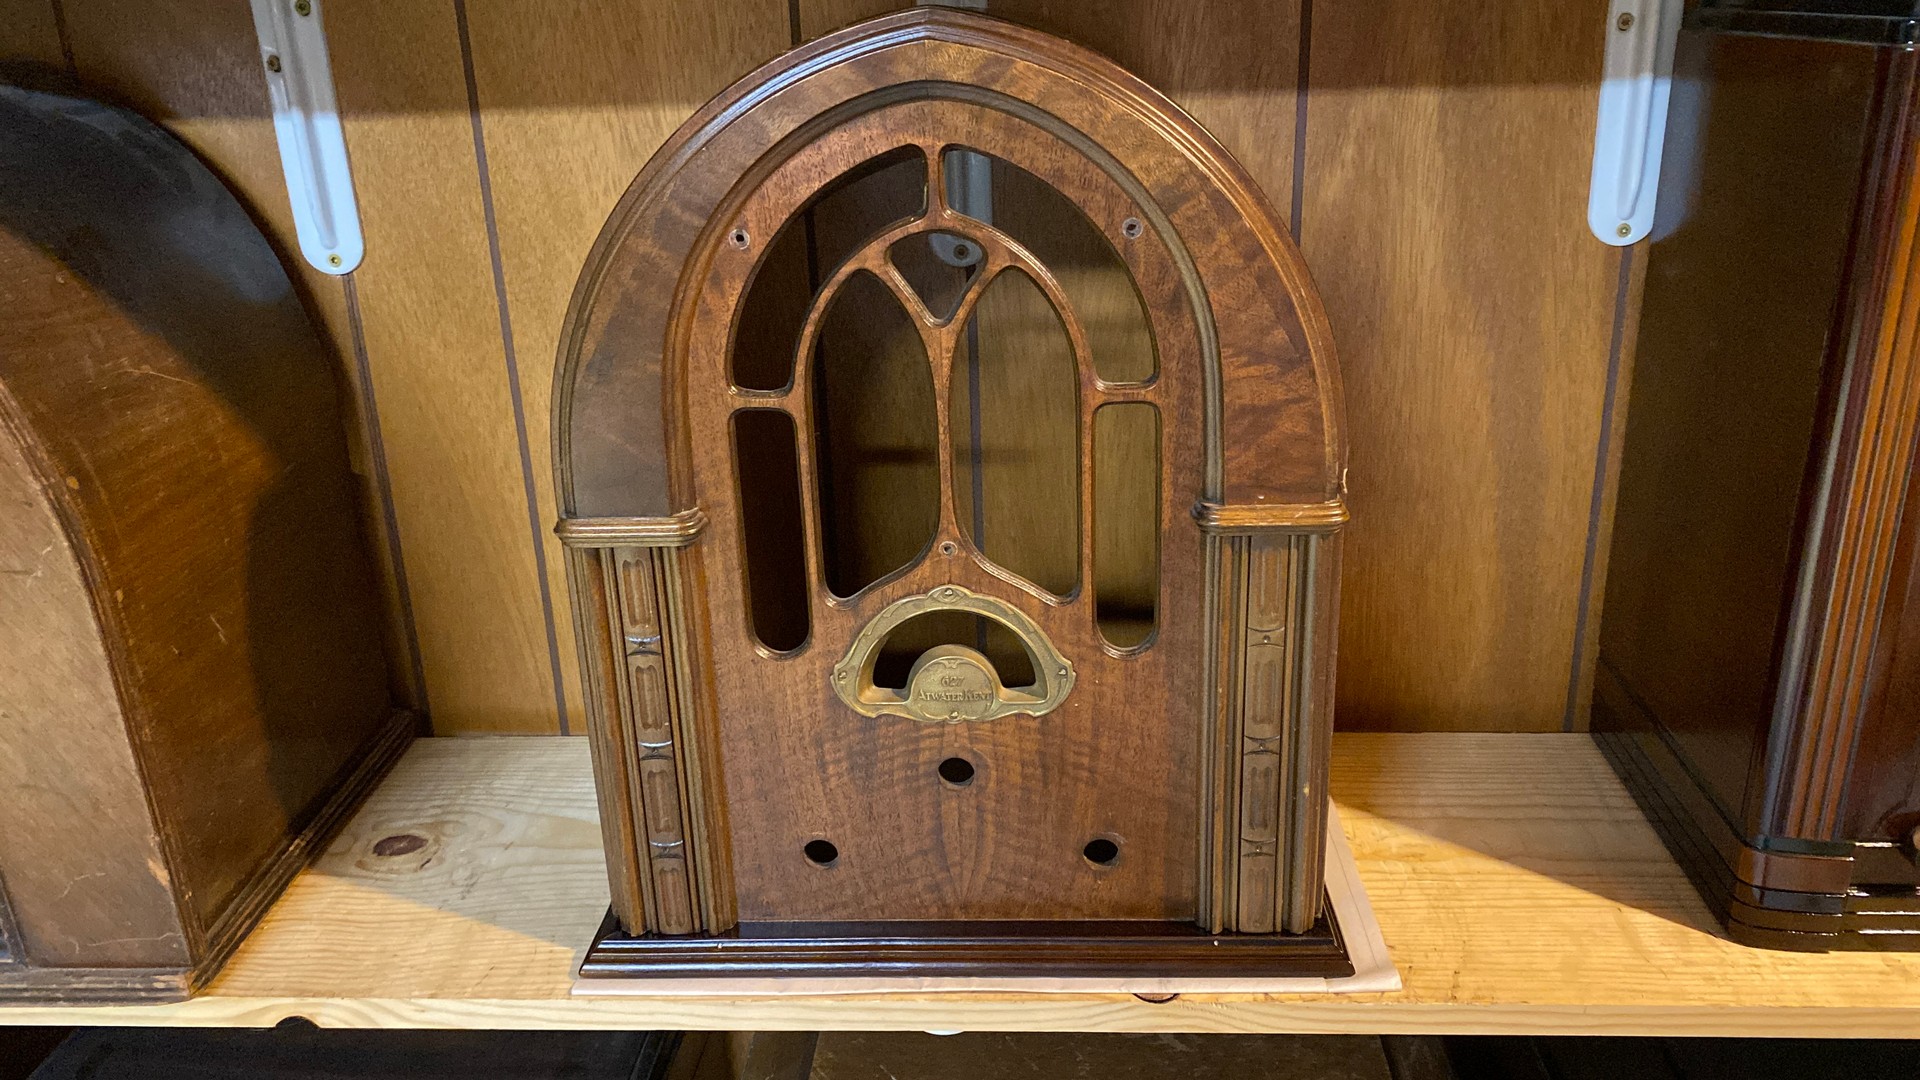
Here is the result...

Yes, the trim is darker than the rest of the cabinet, but since I had no Mohawk colors which came close to the original colors, this is a pleasing contrast, I think.
I still need to fill in the nail holes with wood filler, then dab a bit of Medium Oak/Tavern Pine on each filled spot. And then to add the new grille cloth, and possibly restore the chassis this fall or winter, Lord willing.
The cabinet still carries some "battle scars", but after careful gluing and the addition of the new trim, it looks much better than it did when it arrived.
Thank you so much, Steve!


Steve sent enough trim pieces to make three sets of trim - if I was careful with cutting it, that is. Otherwise, I had enough trim to compensate for any errors in cutting.
I tried to be careful.
Here is the result after cutting.
Eventually, I finally got around to toning the trim. I did not like the results at first, as none of the toners I had in stock came anywhere close to replicating the original color of the old trim.
So I stripped it, and started over by first spraying with sanding sealer, then toner.
This time, I used one of the cans of toner I had purchased more recently - Mohawk Ultra Classic Medium Oak/Tavern Pine. A test spray seemed to indicate this color was close to the color of the trim surrounding the cabinet's front arch, so I used it.
As luck would have it, the toner did not go on evenly on the first coat, so I was forced to apply a second. This not only made the trim dark, but the toner also ran on top of the trim!
I was going to trash that trim and cut three more pieces, but I decided to try something first. I took the trim to my workbench once the lacquer was dry, and wet sanded the tops (only) of the trim pieces until most of the toner was gone. Then I gave the tops of the trim pieces two more coats. This seemed satisfactory (if dark), so all three trim pieces were given two coats of clear semi-gloss lacquer.
Here is the result...
Yes, the trim is darker than the rest of the cabinet, but since I had no Mohawk colors which came close to the original colors, this is a pleasing contrast, I think.
I still need to fill in the nail holes with wood filler, then dab a bit of Medium Oak/Tavern Pine on each filled spot. And then to add the new grille cloth, and possibly restore the chassis this fall or winter, Lord willing.
The cabinet still carries some "battle scars", but after careful gluing and the addition of the new trim, it looks much better than it did when it arrived.
Thank you so much, Steve!
--
Ron Ramirez
Ferdinand IN


![[-] [-]](https://philcoradio.com/phorum/images/bootbb/collapse.png)


