10-19-2026, 08:45 PM
Good evening, folks! I haven't posted an update on the electronic restoration in a little bit, so let me get y'all up to speed. I've still predominantly been working on rust removal. I will admit, I've worked at it on and off again. It seems that I'll work very intensely on it for a few days, and then something will distract me for a bit. It's not exactly the funnest part of the process, but I'm making my way through it. Work has been busy (in fact, I recently interviewed for a principal engineer position at the same company; should know by the end of the week), but the big shocker was that my grandfather had a heart attack a couple of weeks ago. He's okay, and luckily he went to the hospital. They found a blockage, put in a stent, and he was back home after a couple of nights. Thank goodness!
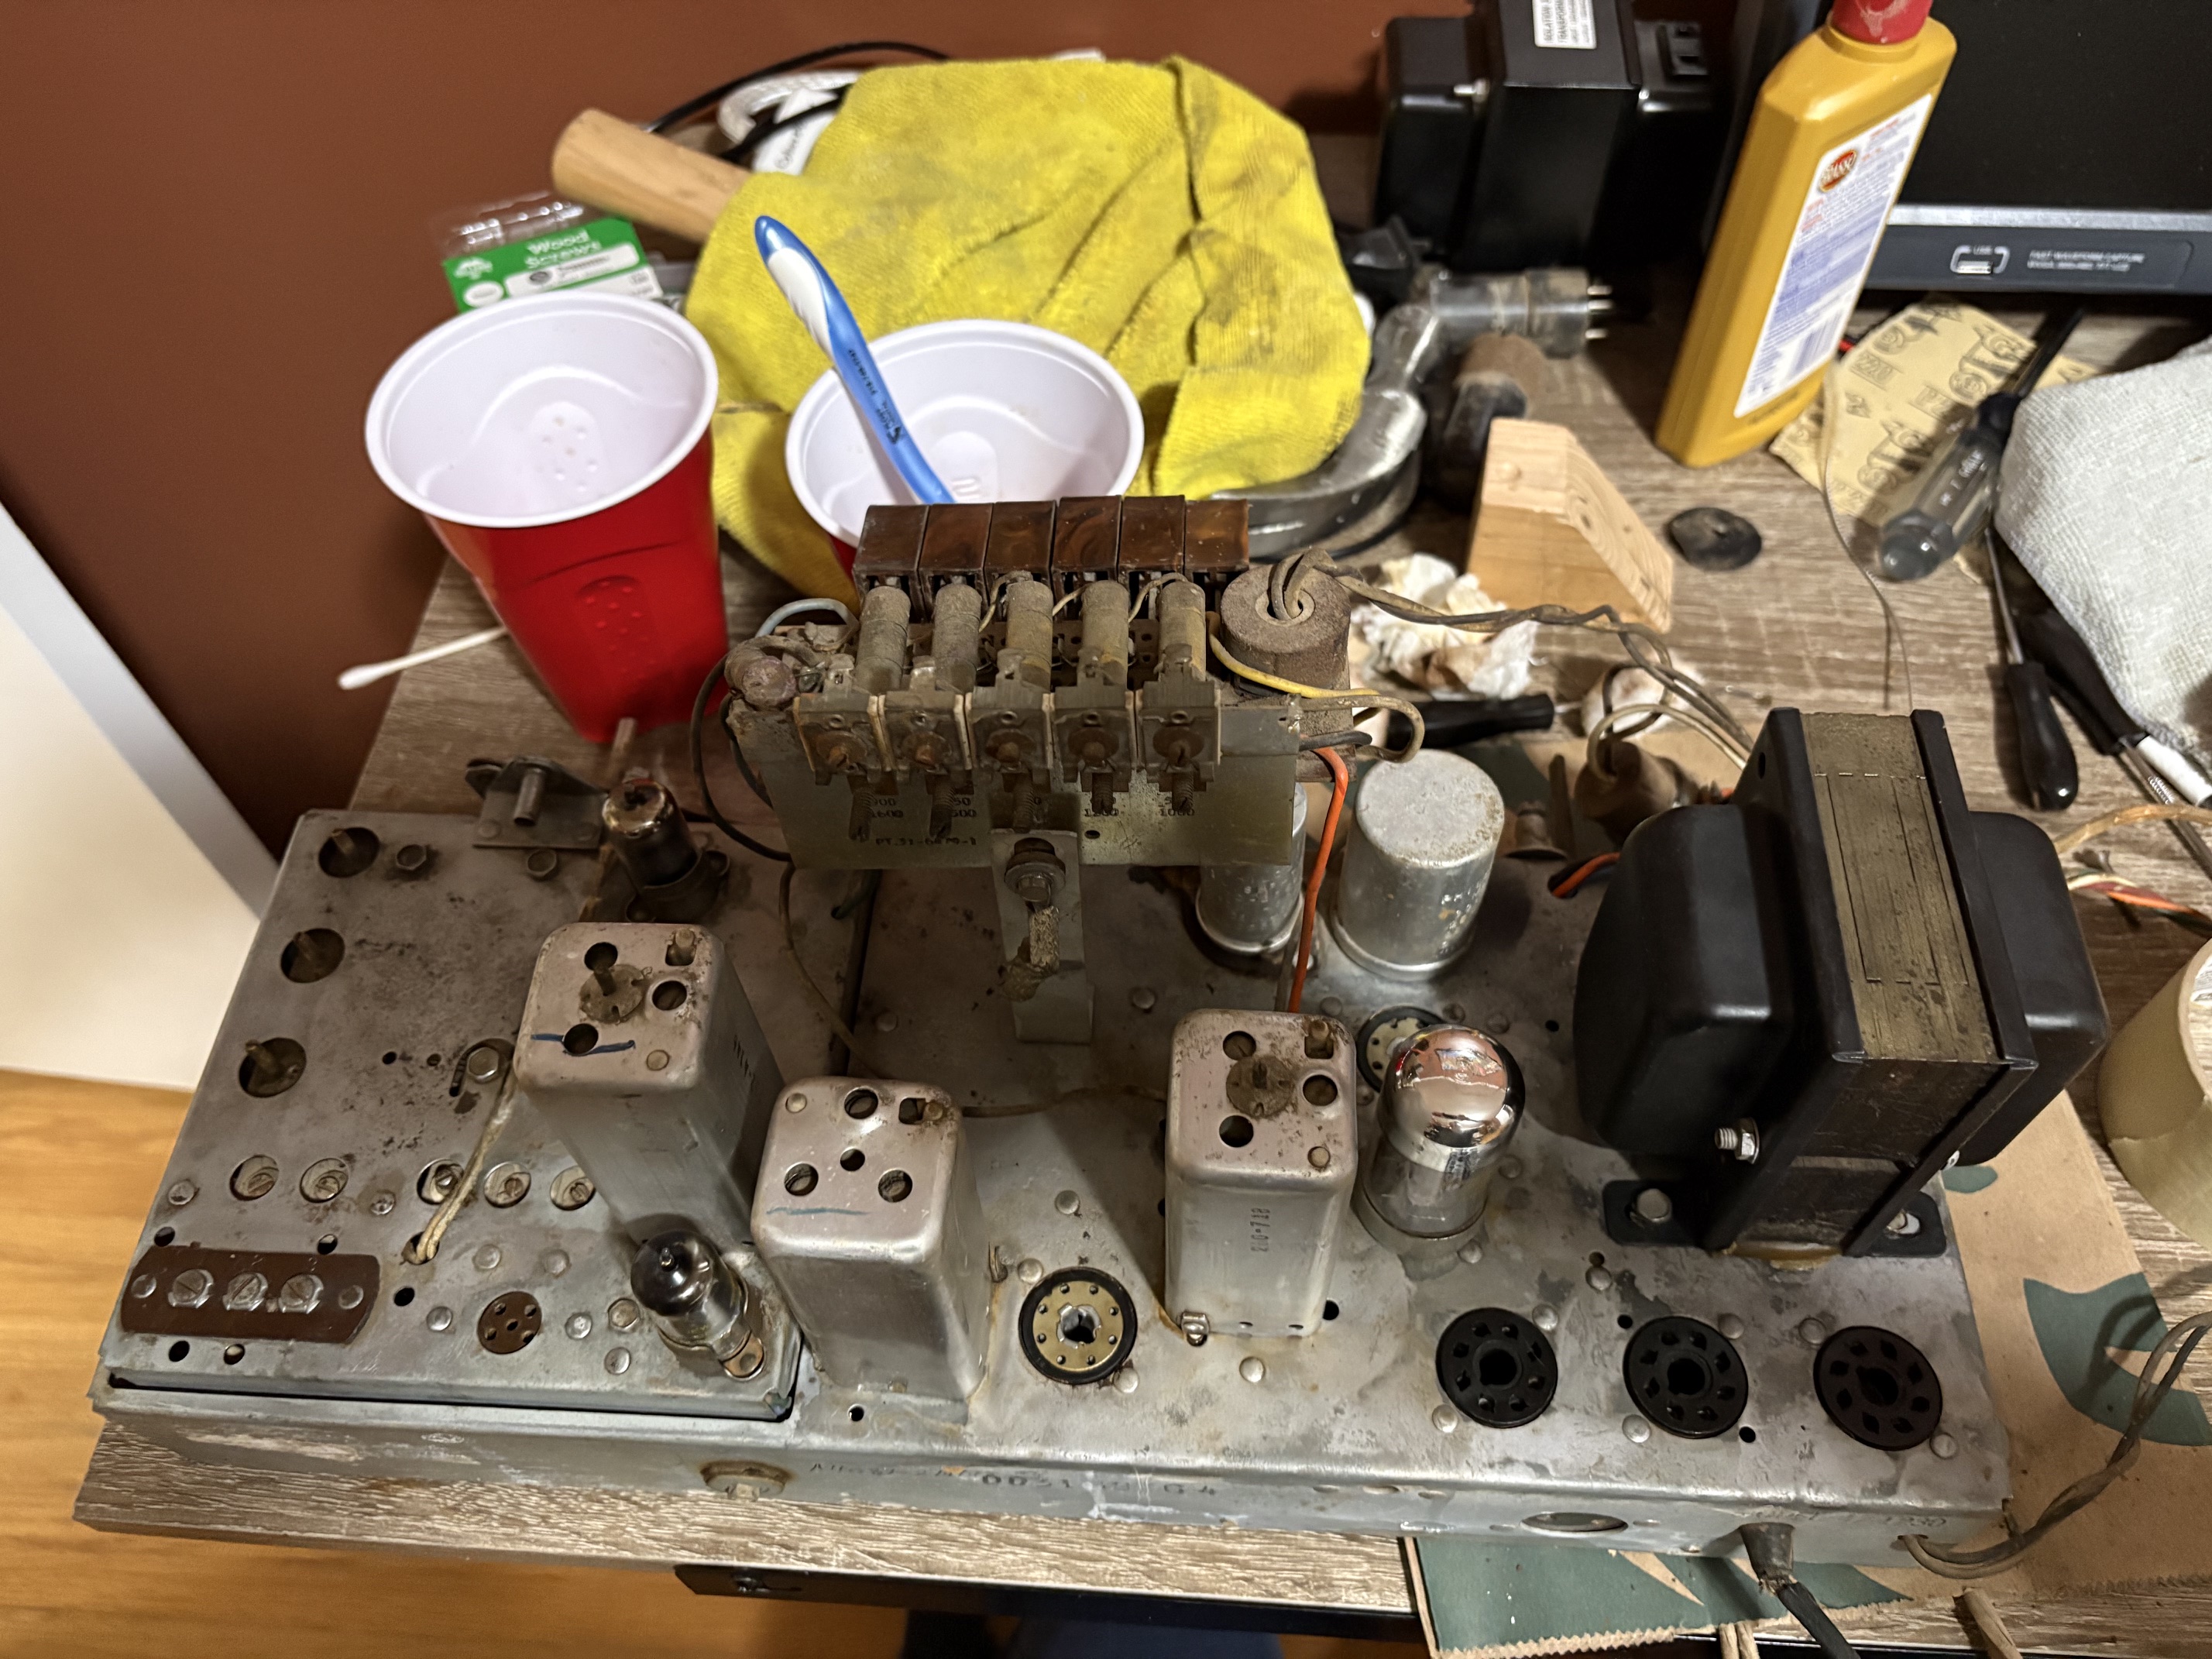
On to the restoration. I've gotten the top of the chassis cleaned up, just about as well as it's going to get. It's not flawless, but the difference is day and night.
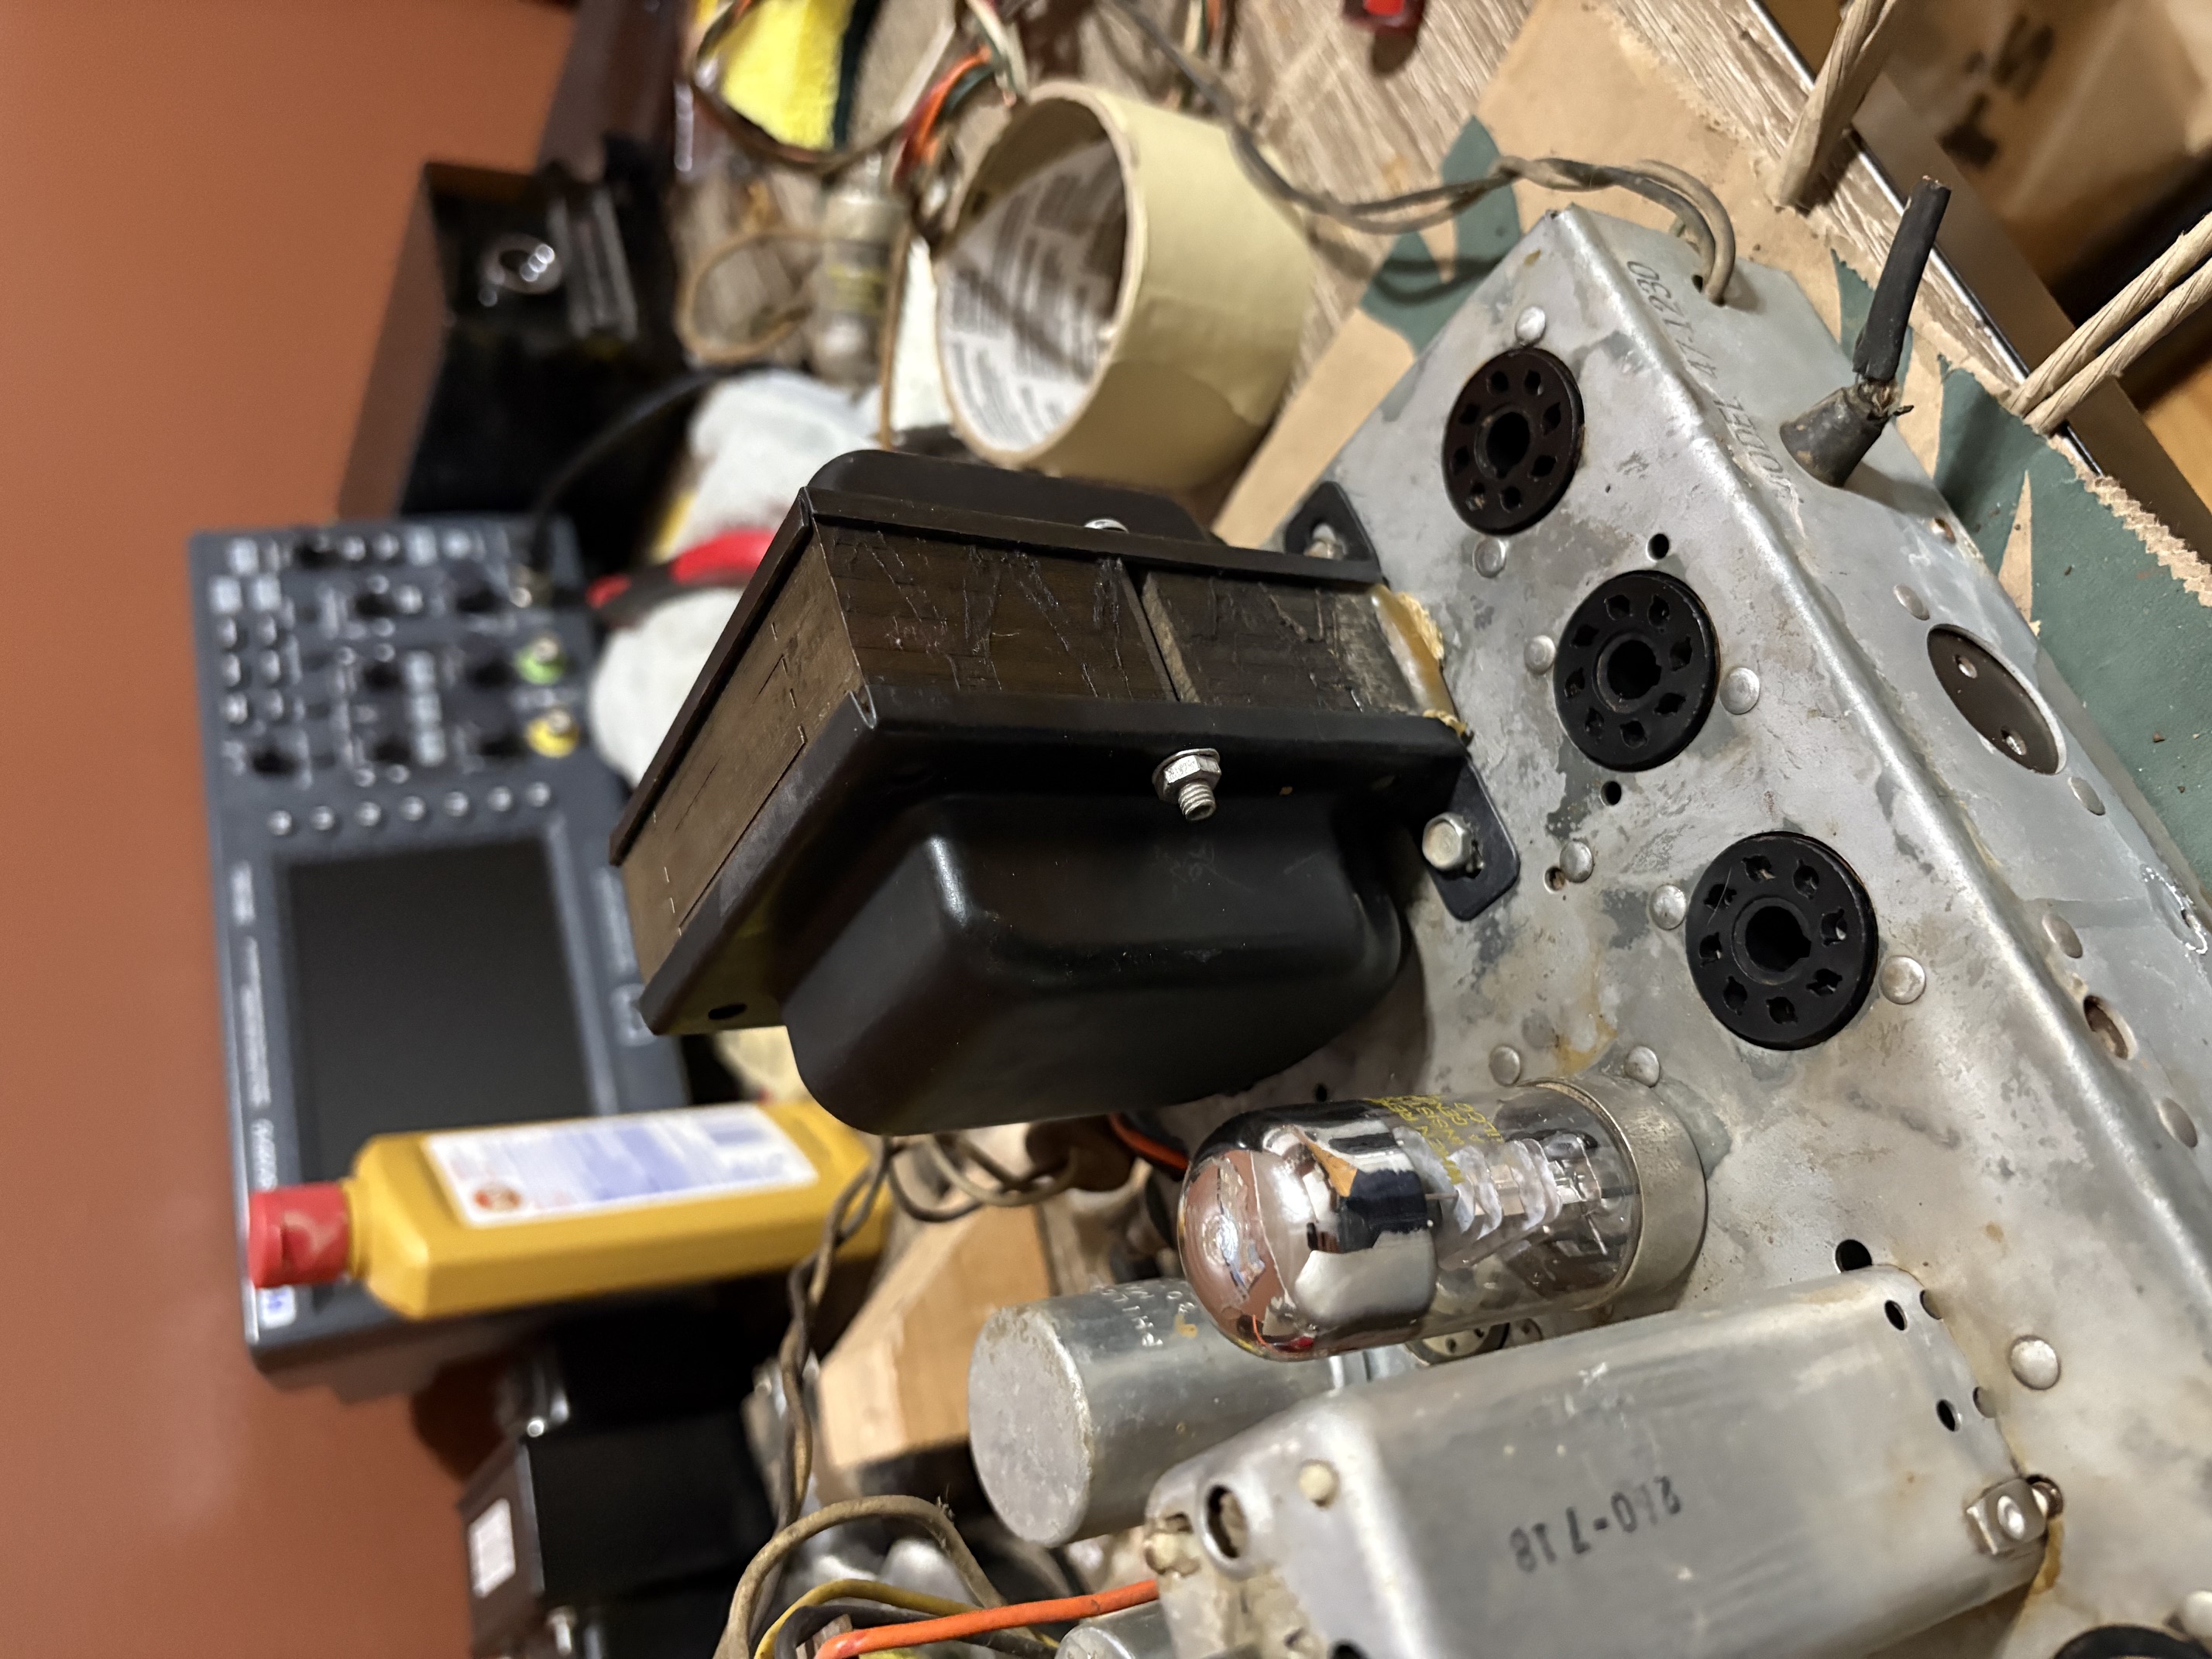
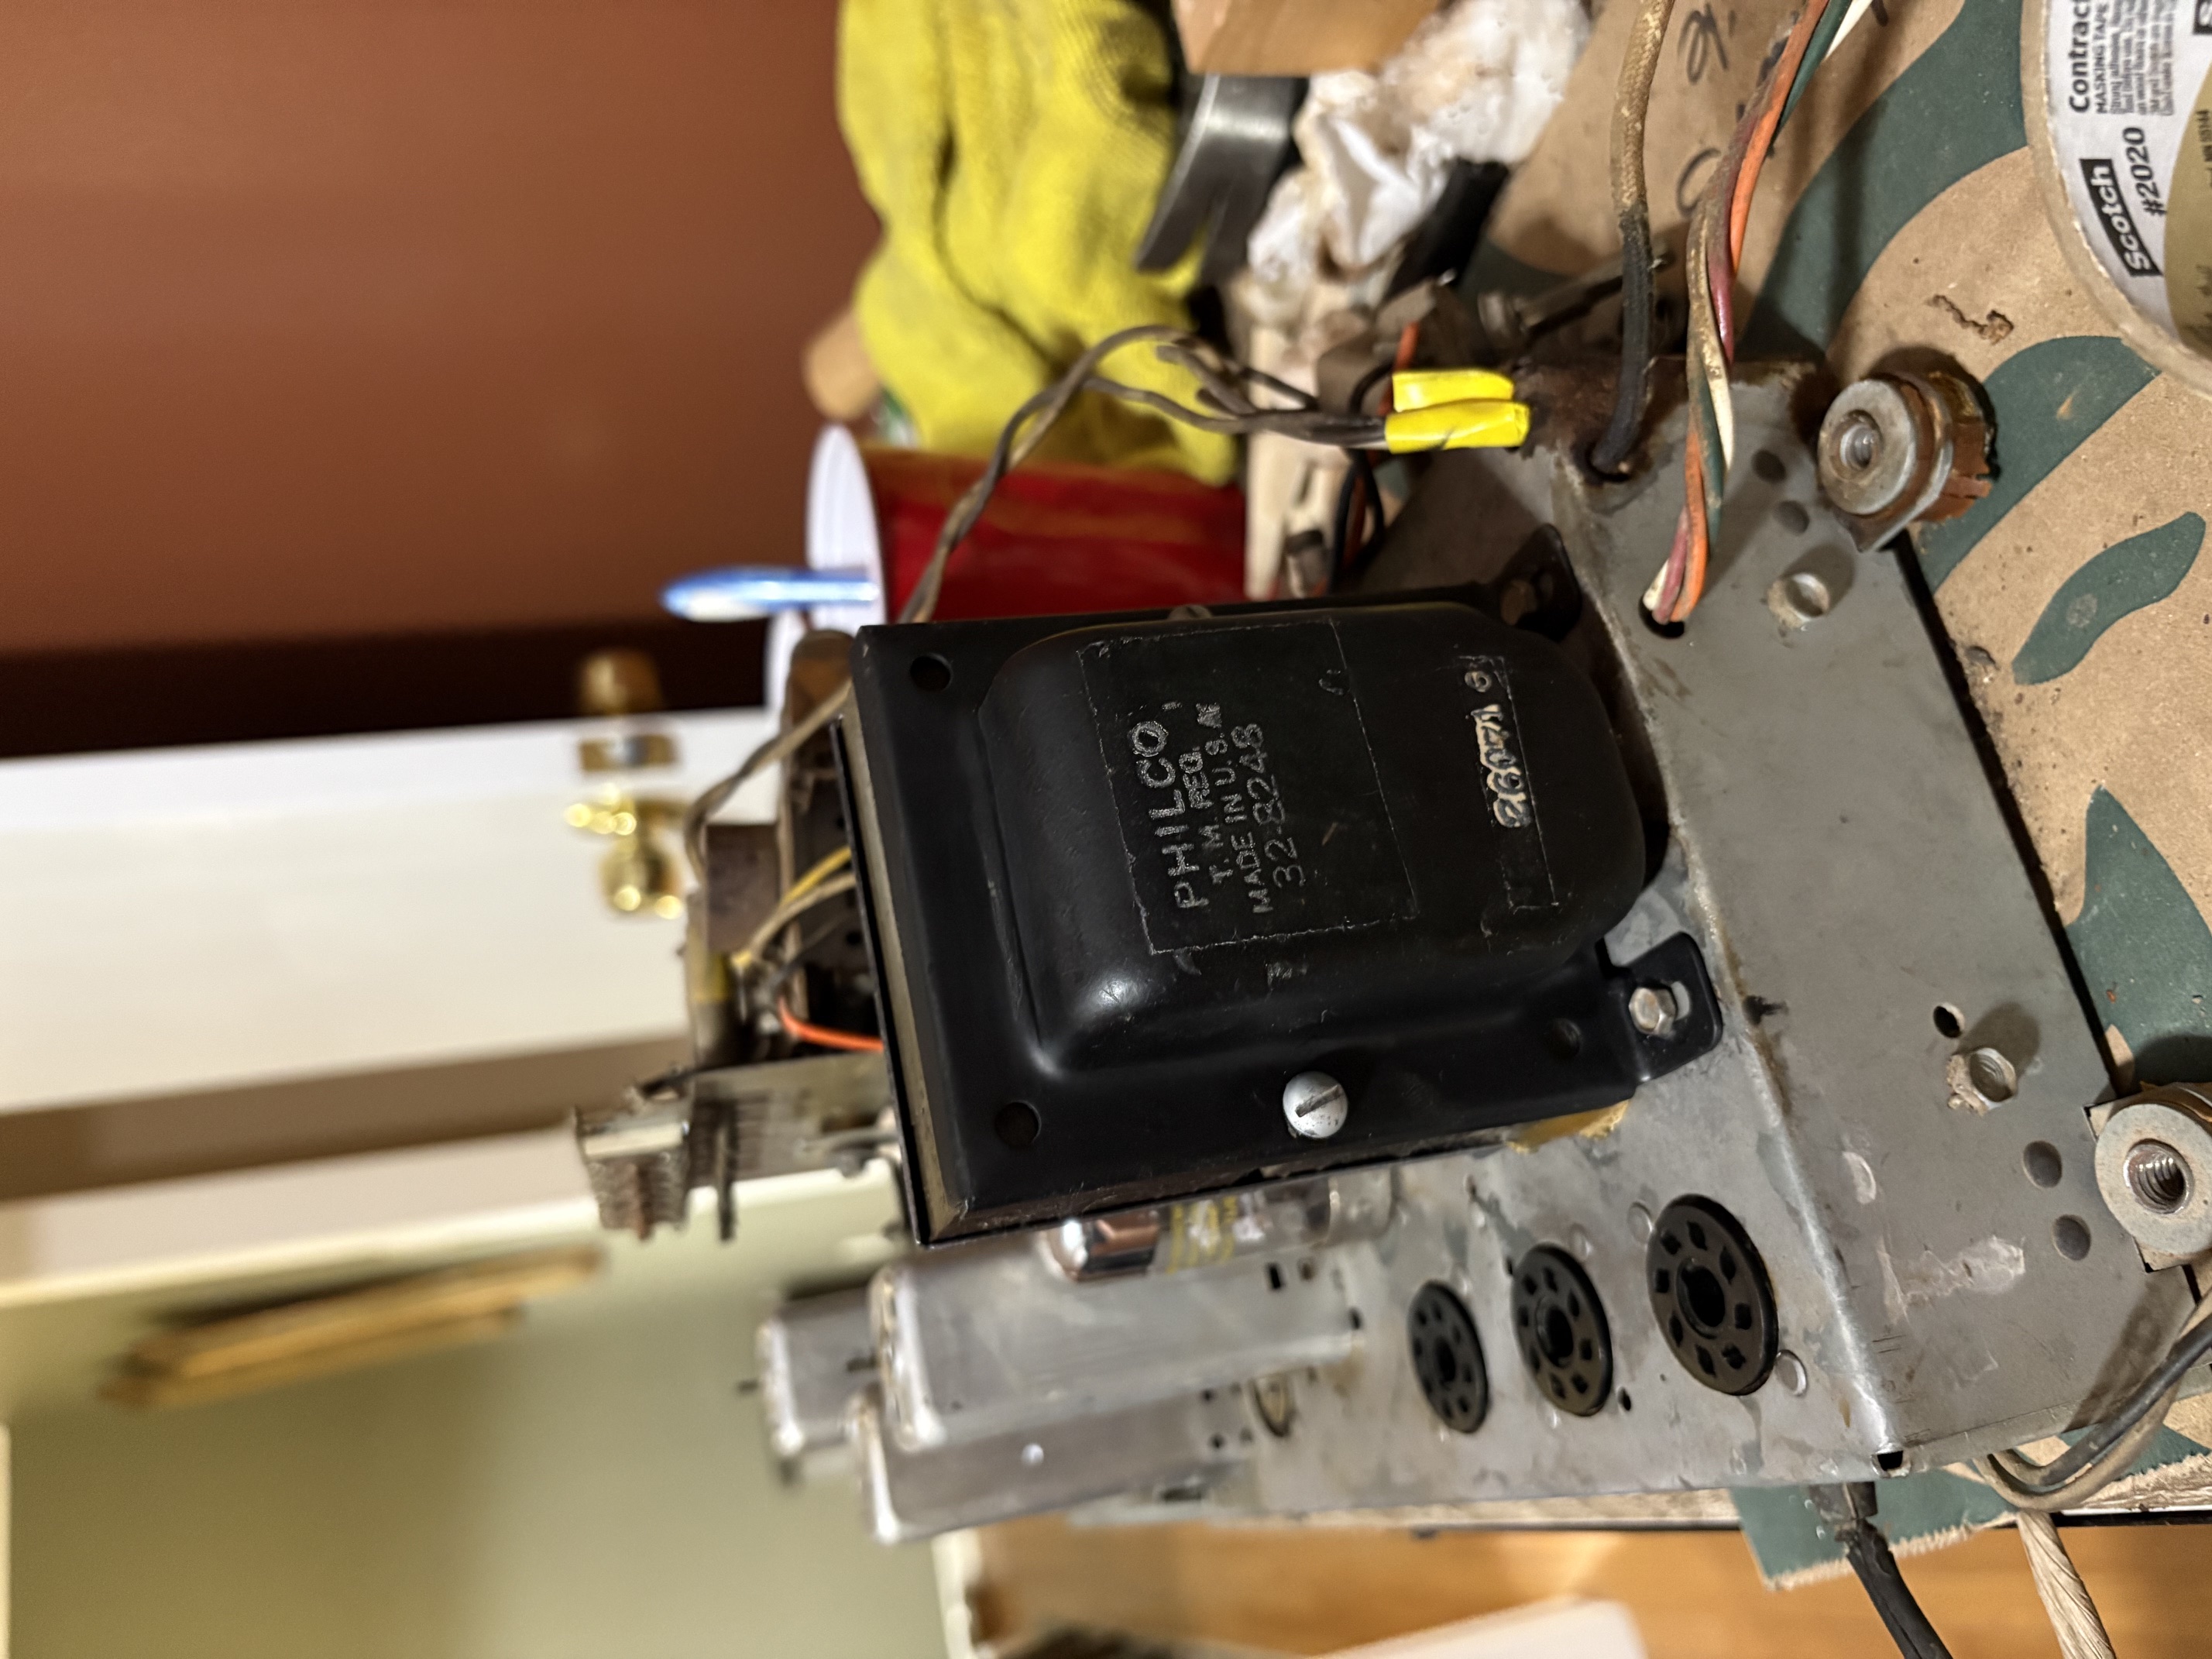
I also cleaned up and repainted the bells on the power transformer. I covered the model number with tape, so that it would be preserved after repainting.
Now I'm focusing my attention onto the underside of the chassis. In the back corner where the power cord passes through the chassis, there was a nasty looking rust spot in the corner. I forgot to get a photo before I treated it with any vinegar, but here's a photo after one application.
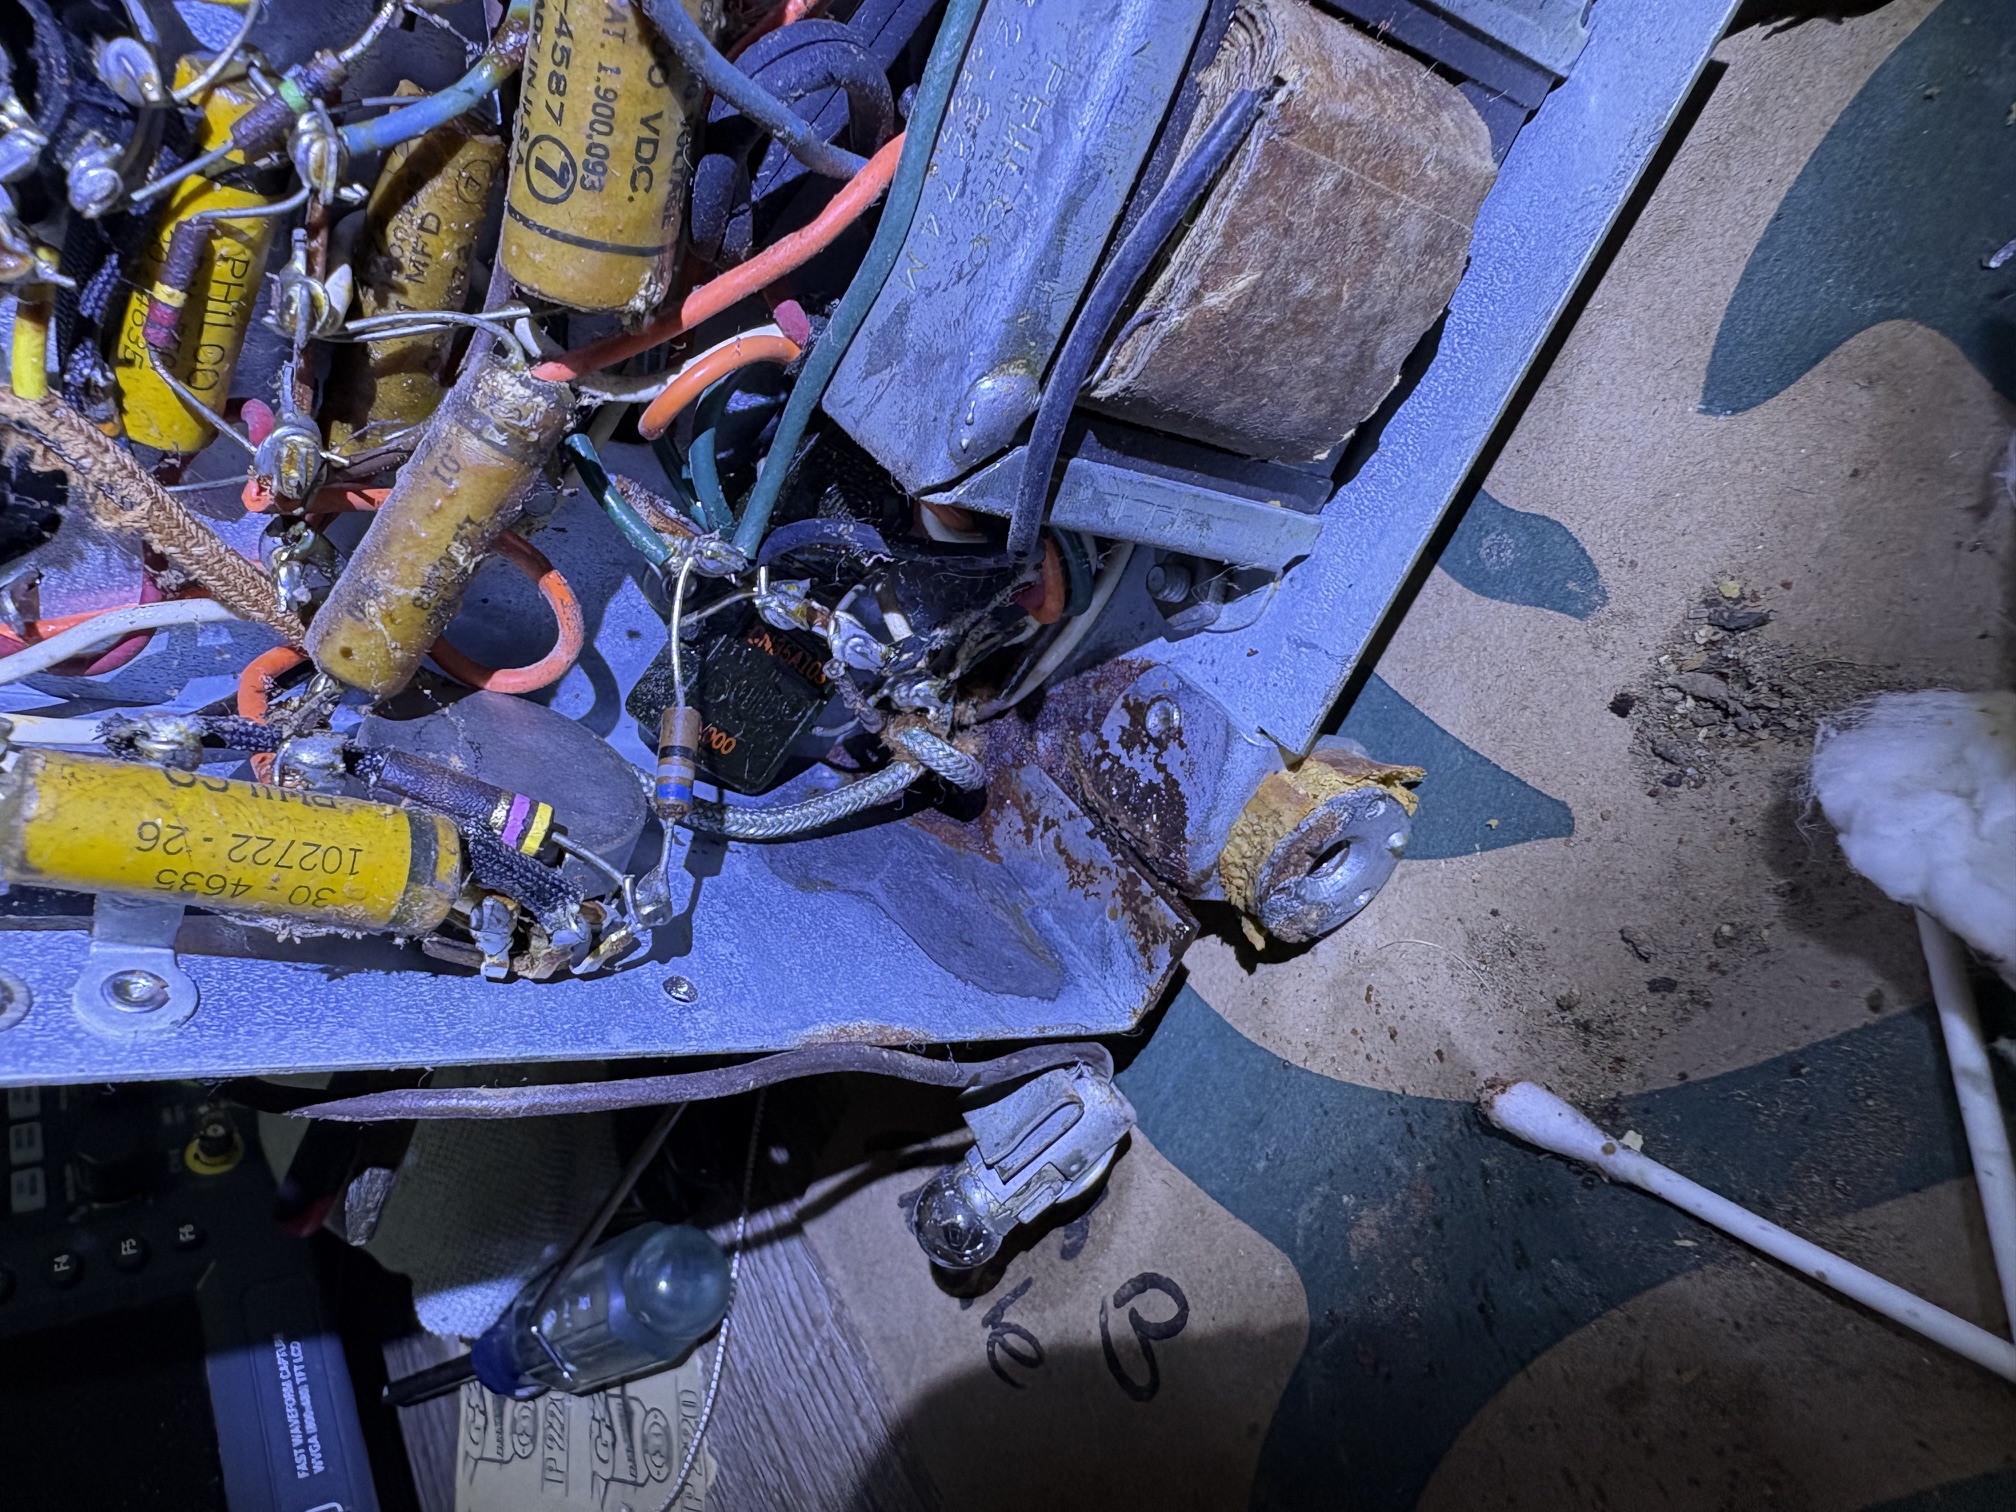
And here it was tonight, after two or three rounds of soaking in vinegar. I think it's about satisfactory.
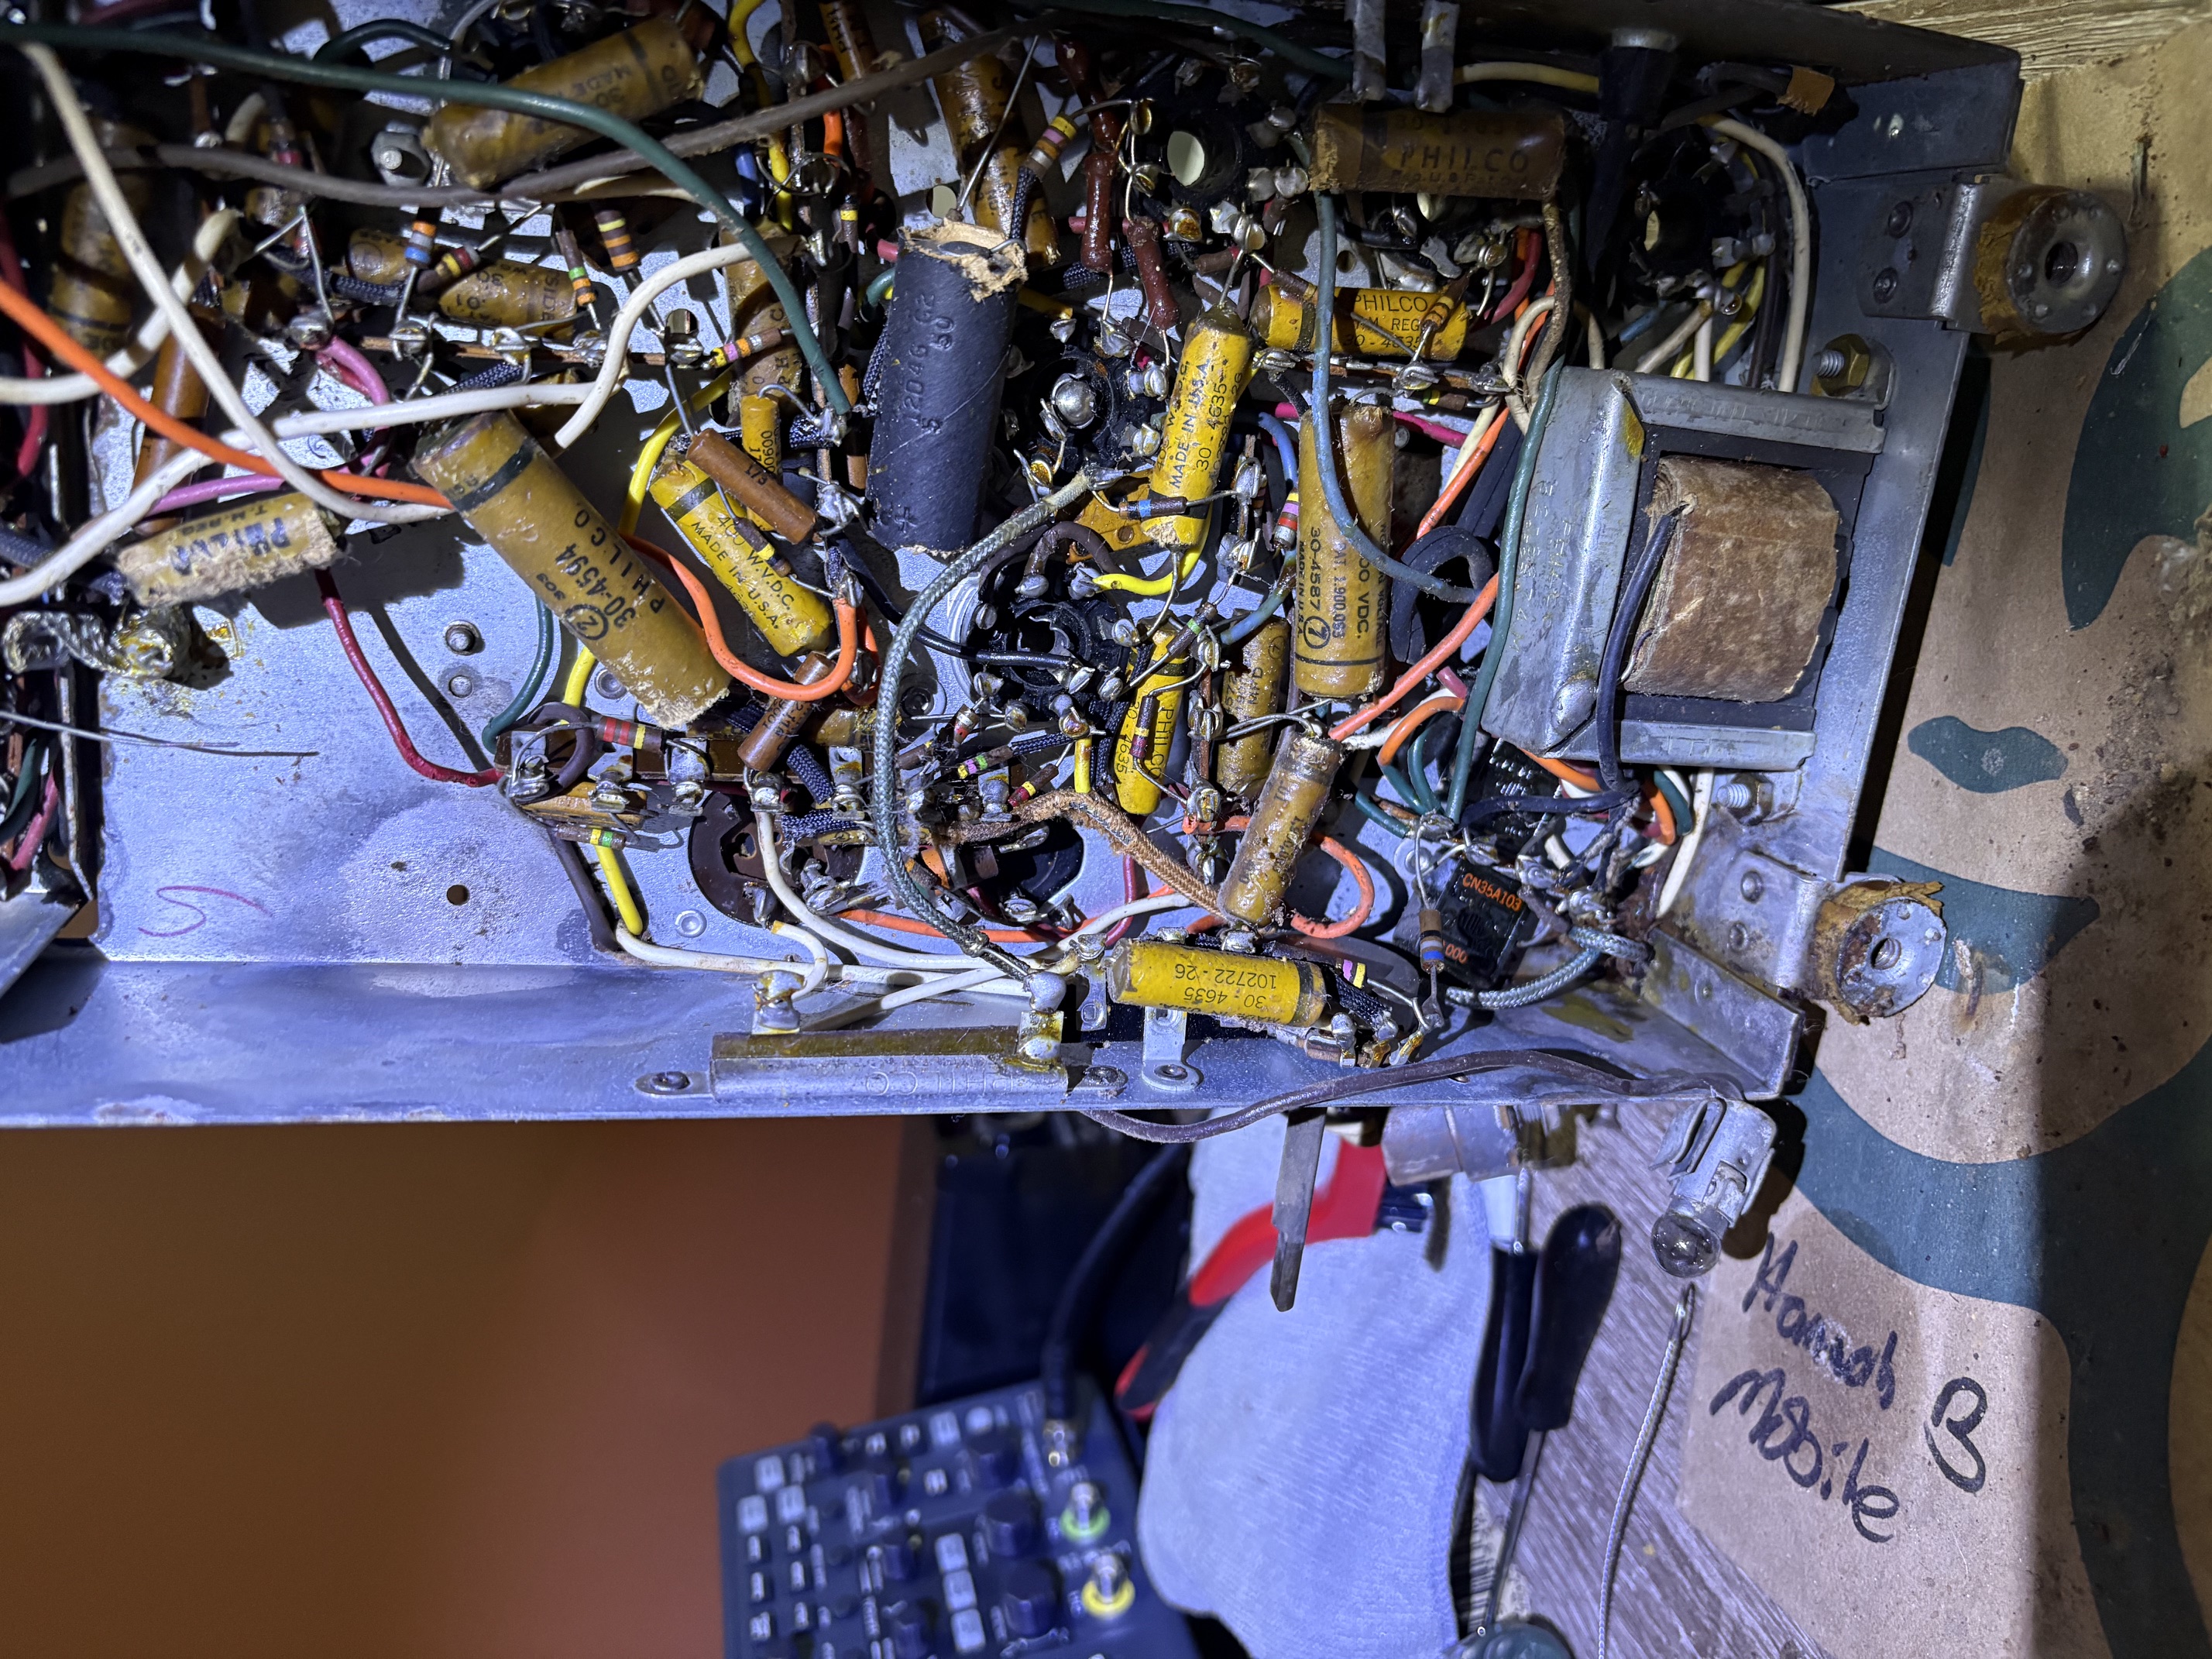
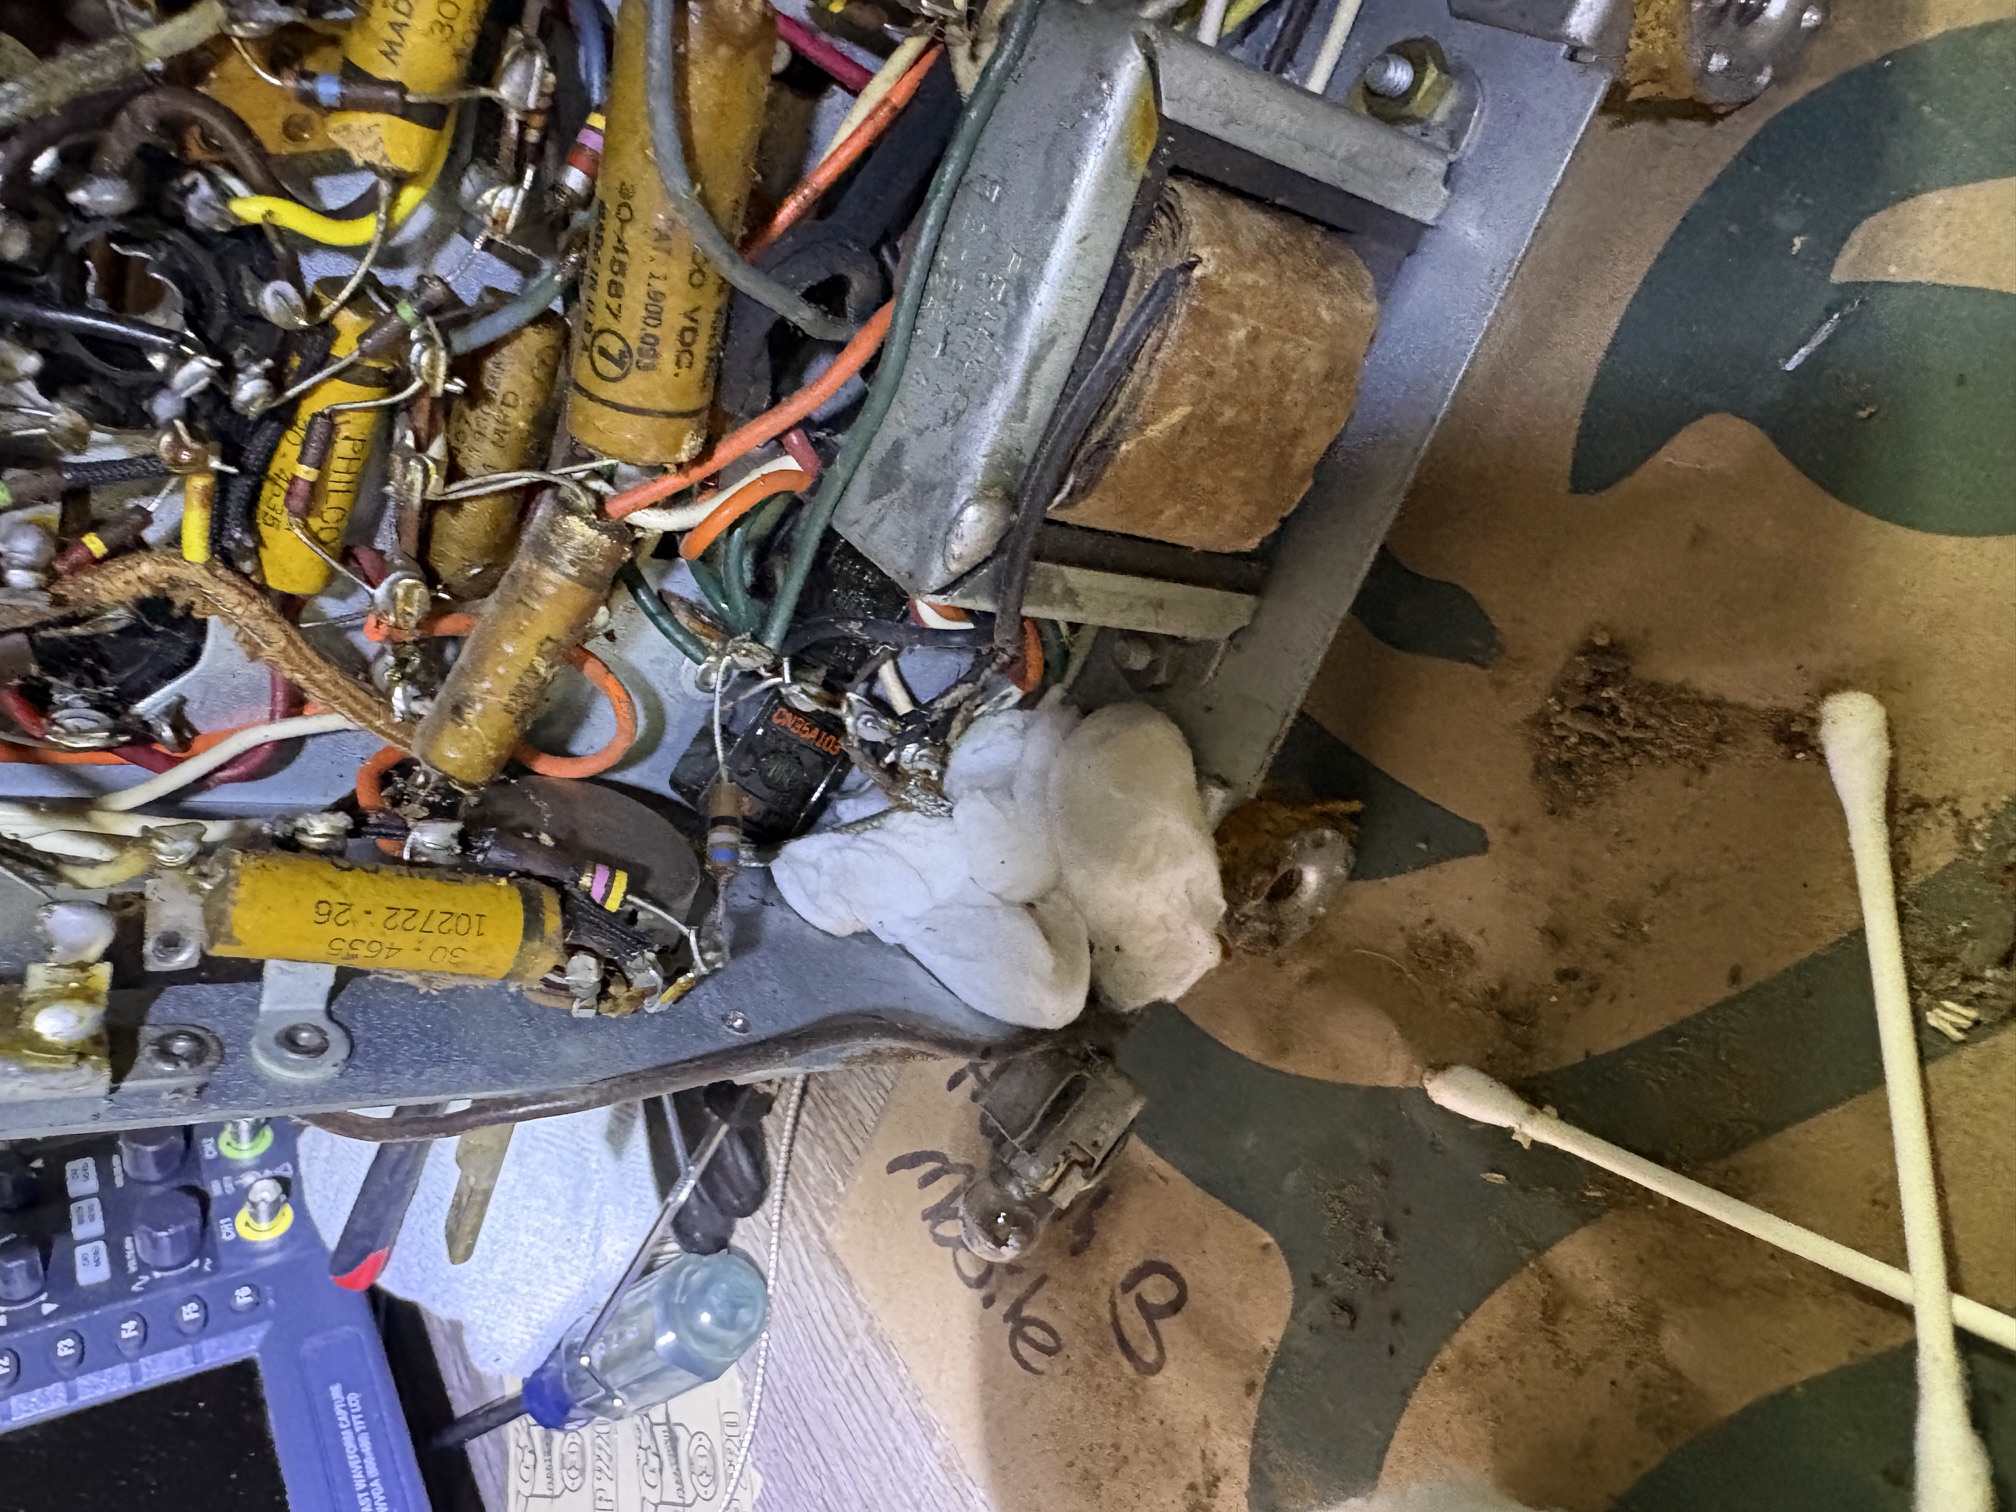
Here's a couple photos of the process. So that I can localize the vinegar without removing components, I soak cotton balls in vinegar and press them over the affected rust spots.
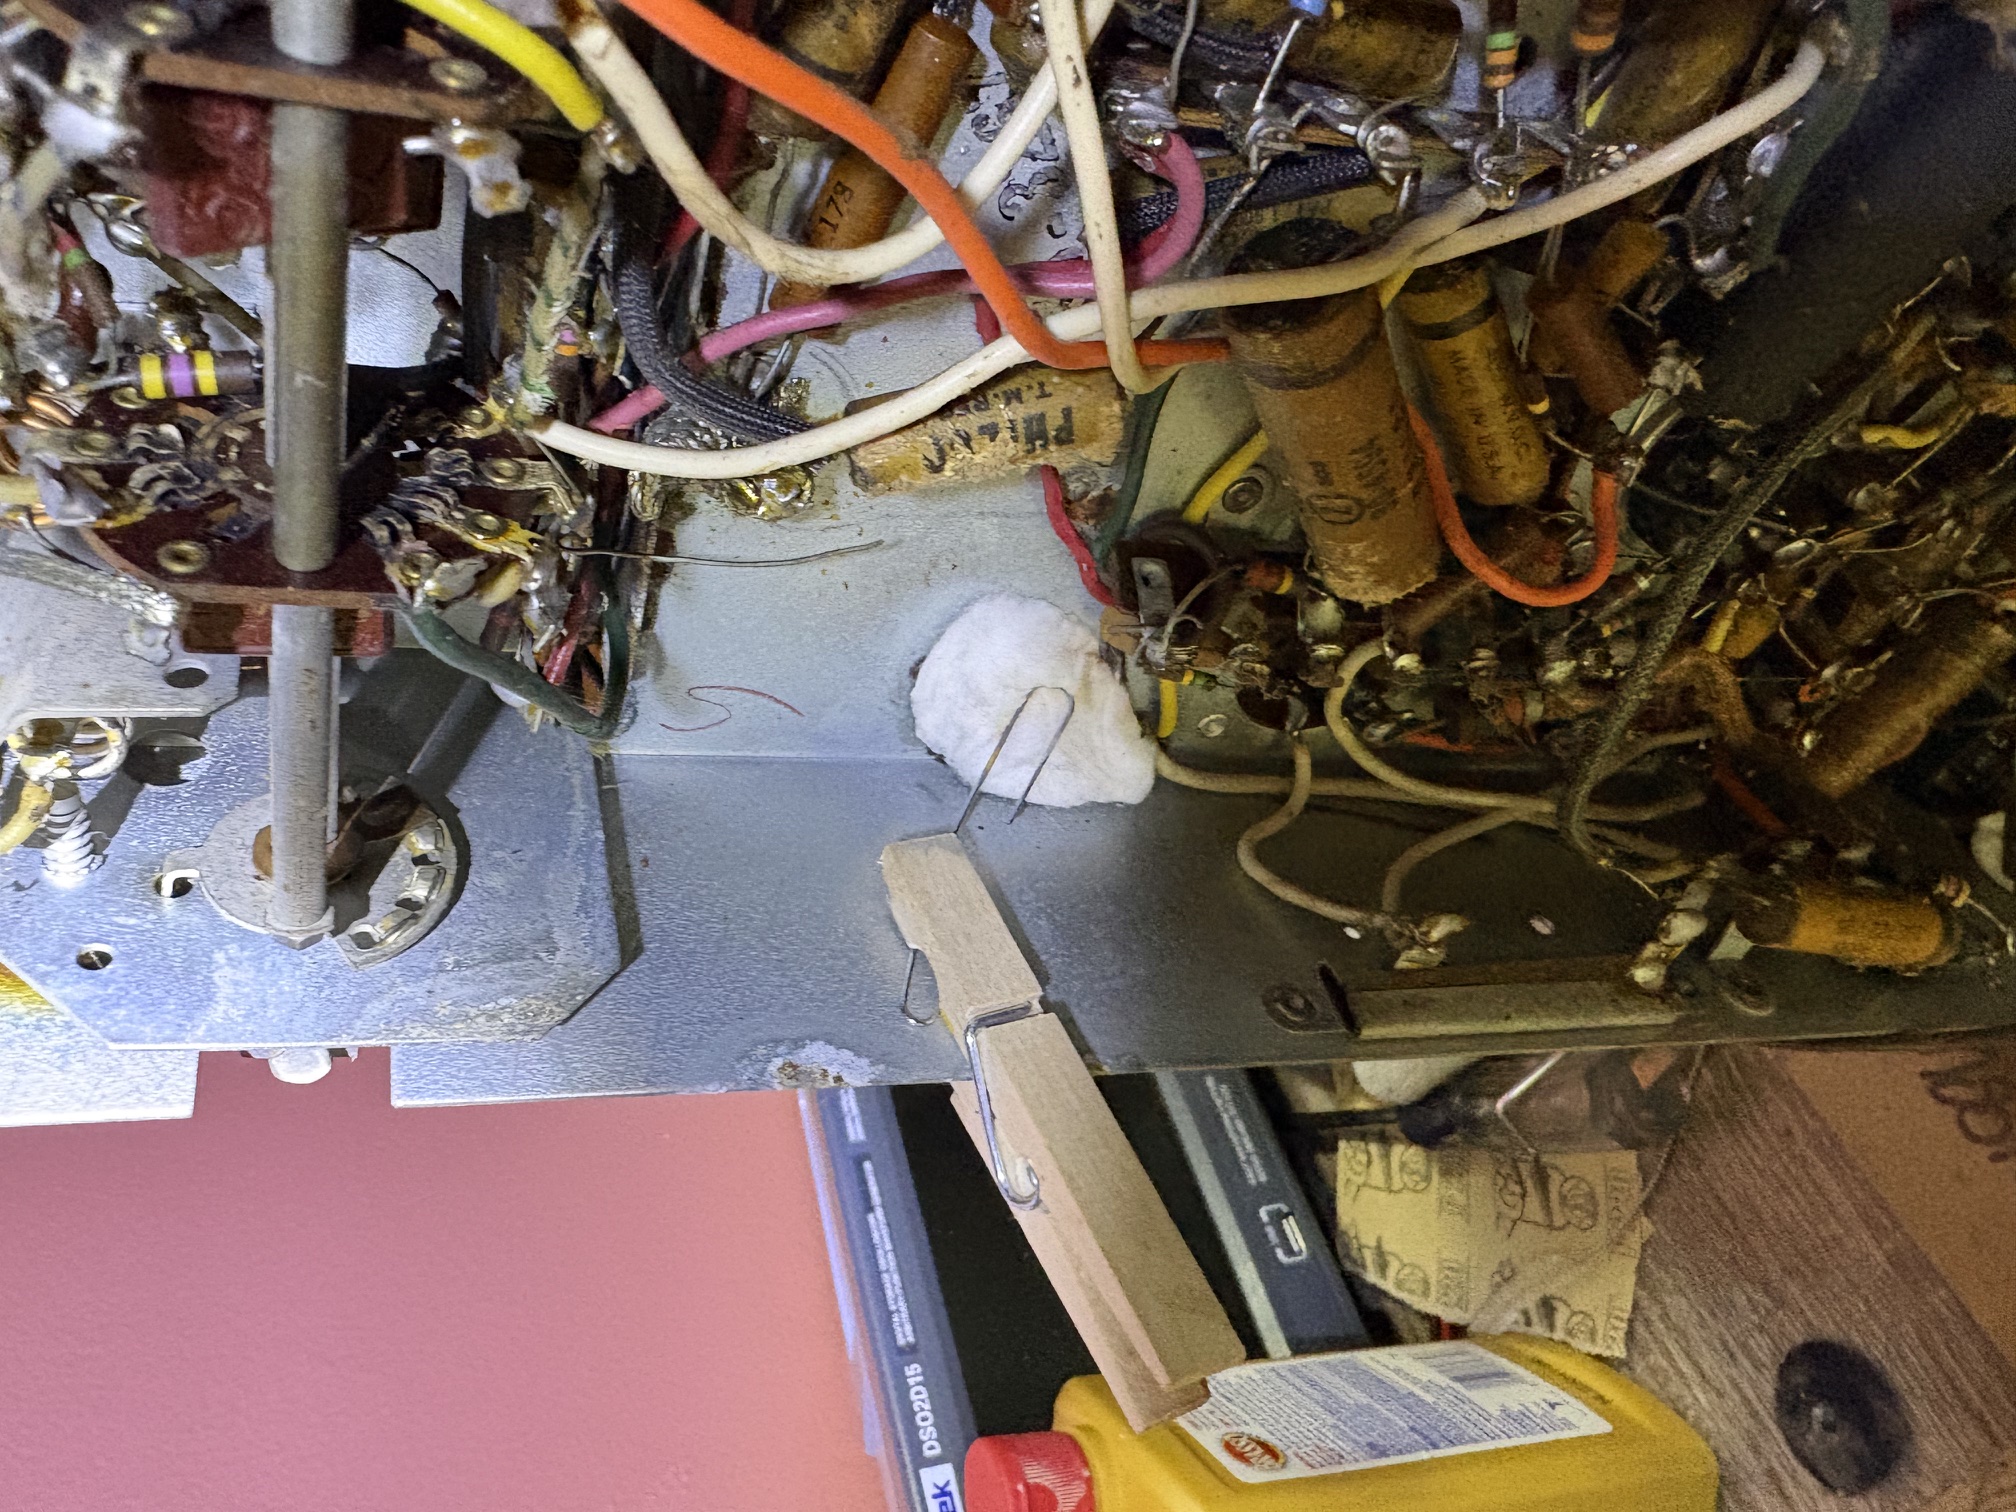
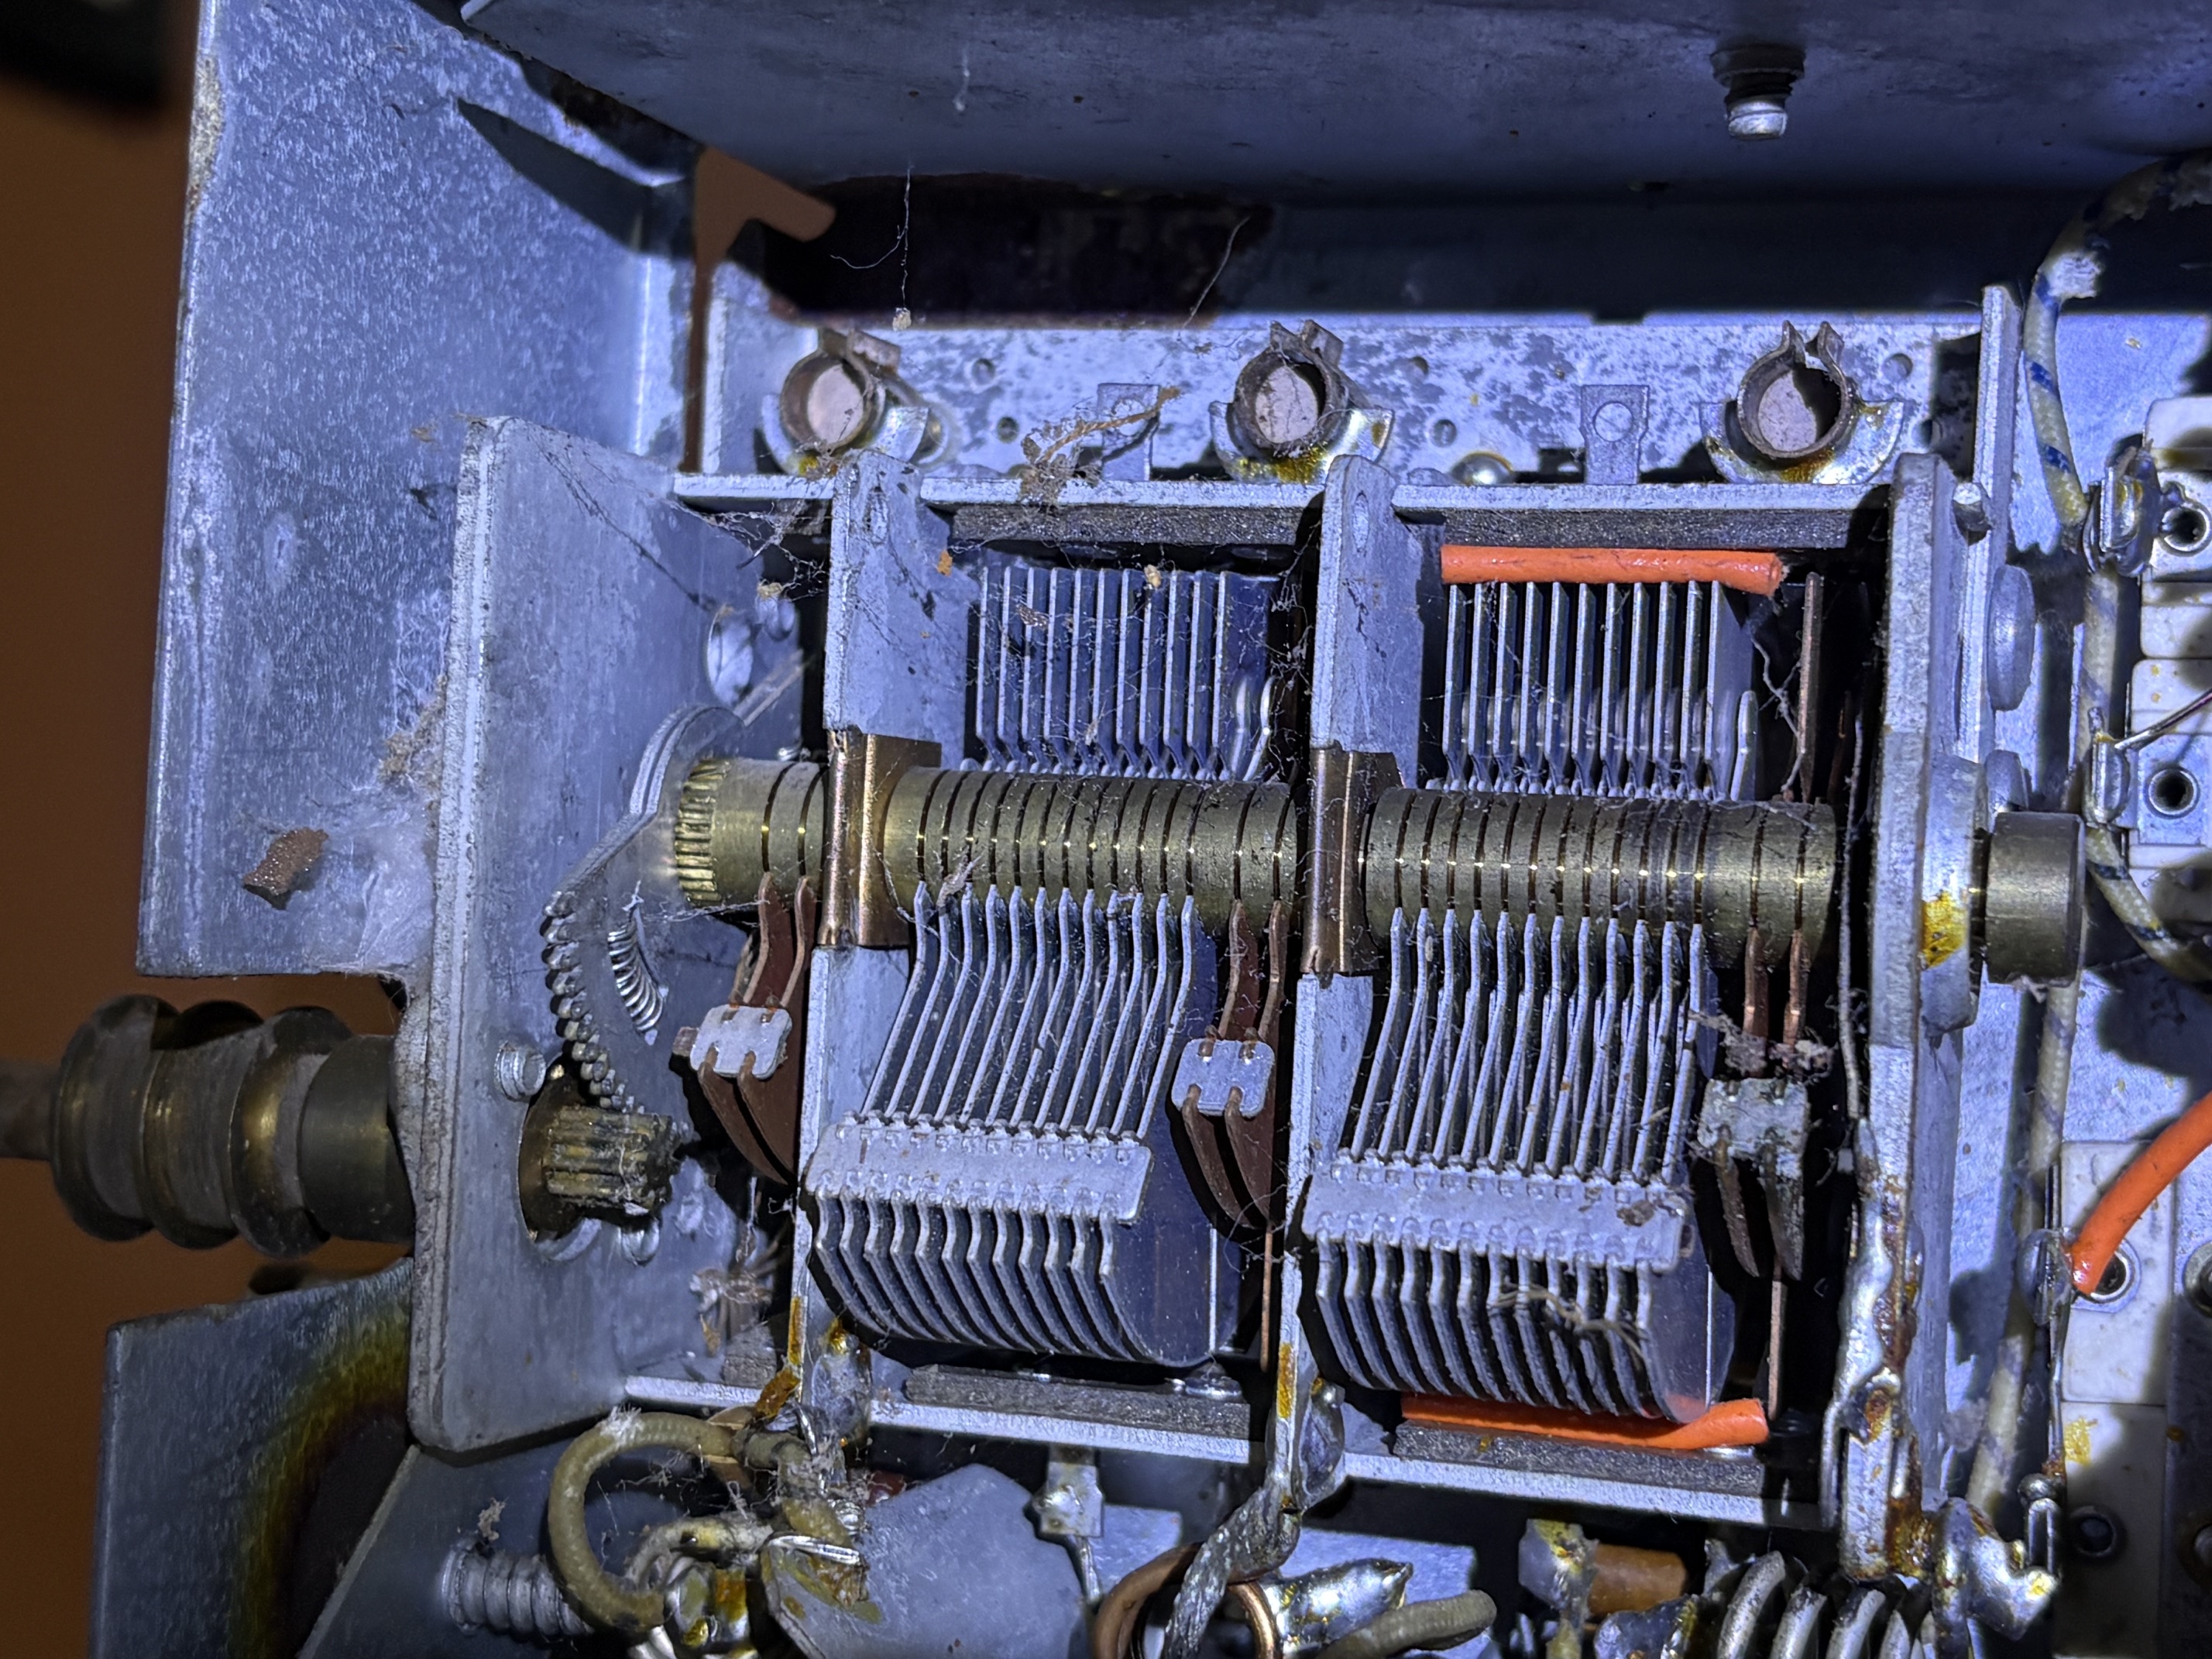
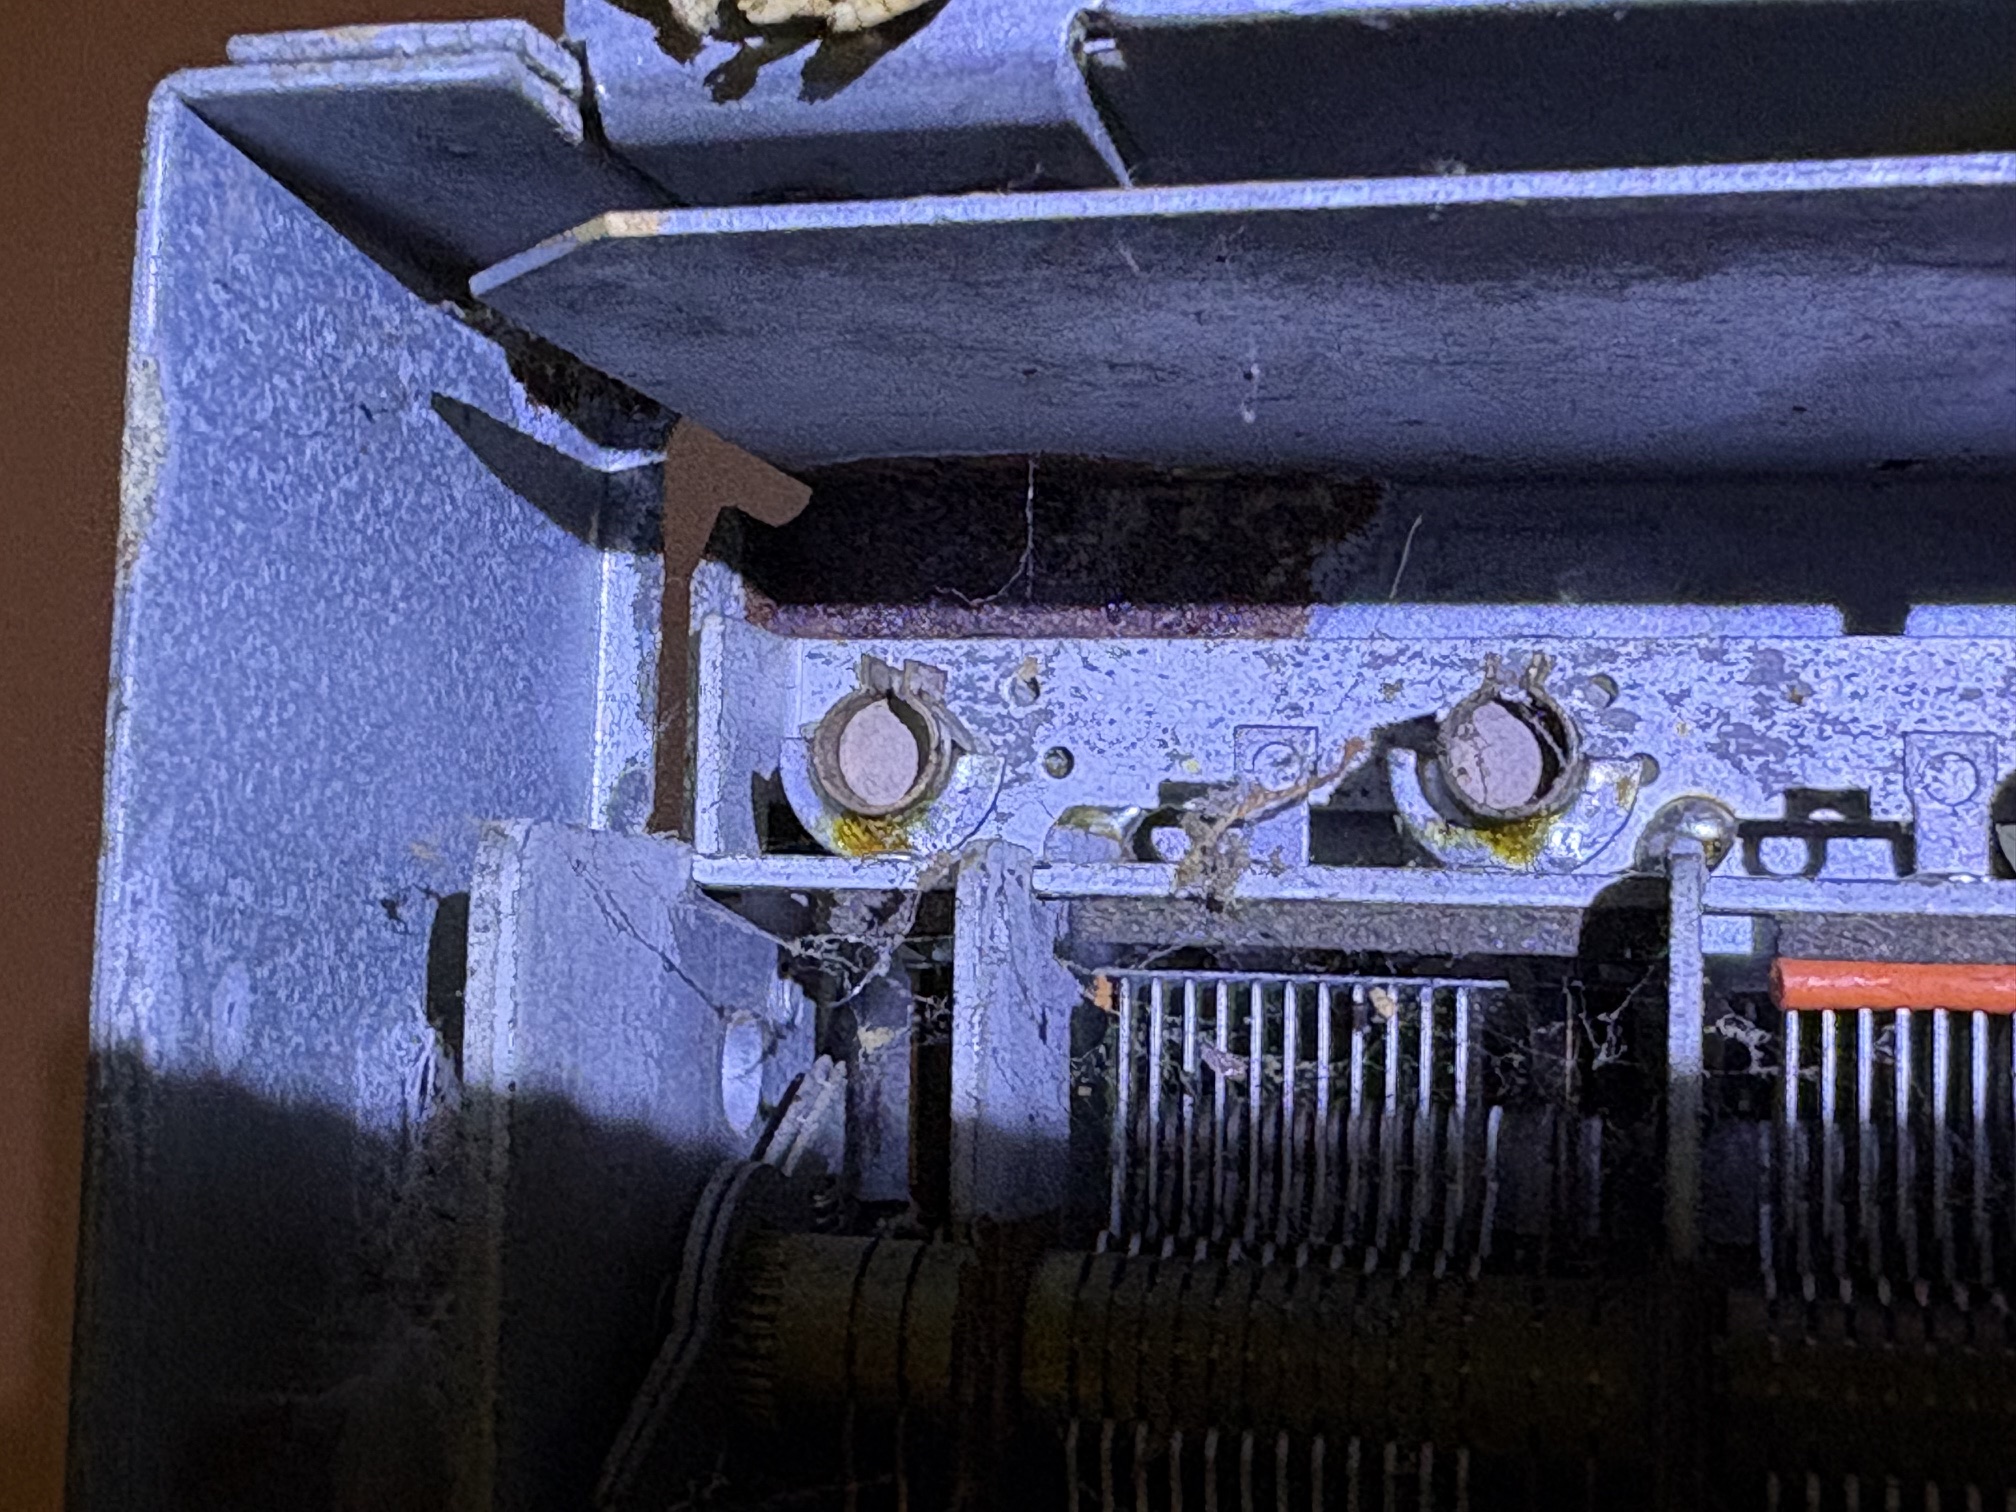
I'm seeing another spot I'd like to treat under the chassis, but I'll have to plan my attack. It's on the other side of the chassis, tucked up above the air gap tuning capacitor. Perhaps I can unbolt it from the chassis and wiggle it over just enough to treat that rusty area.
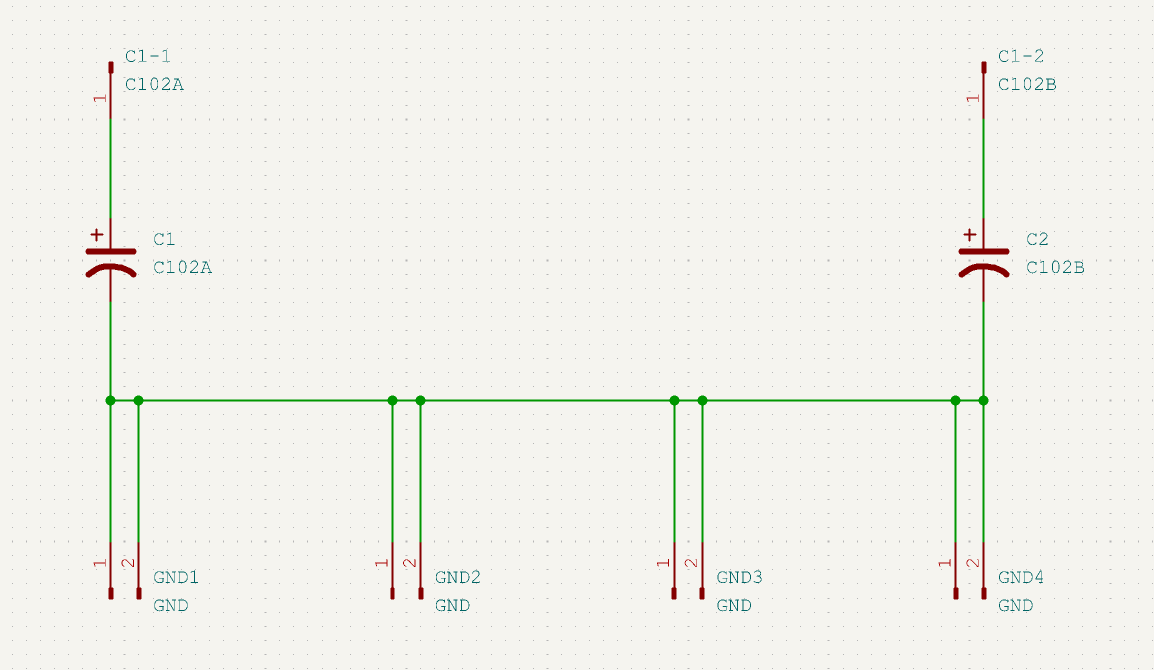
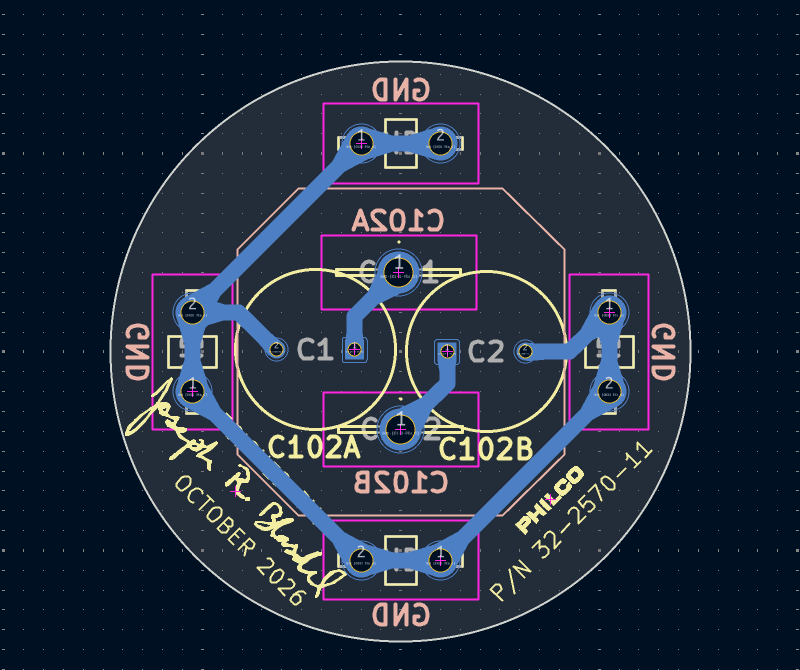
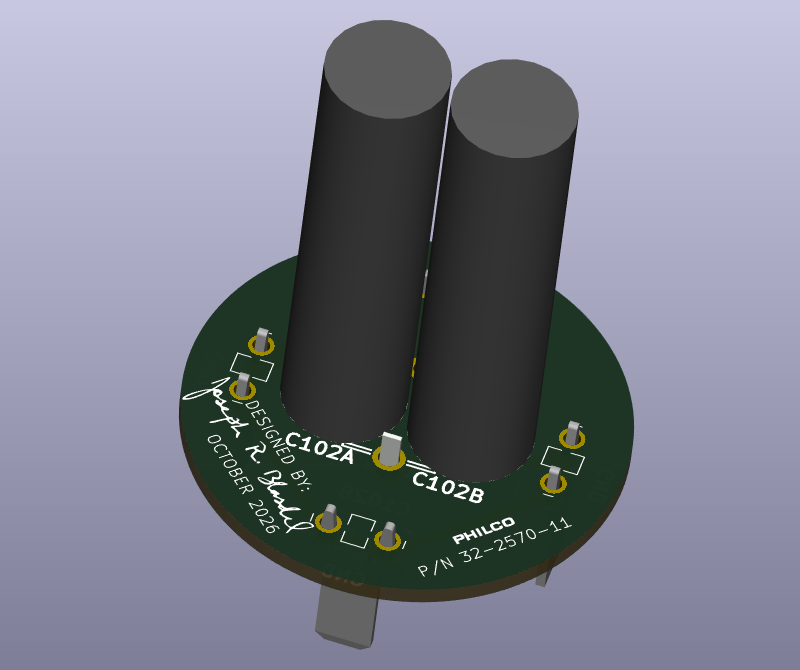
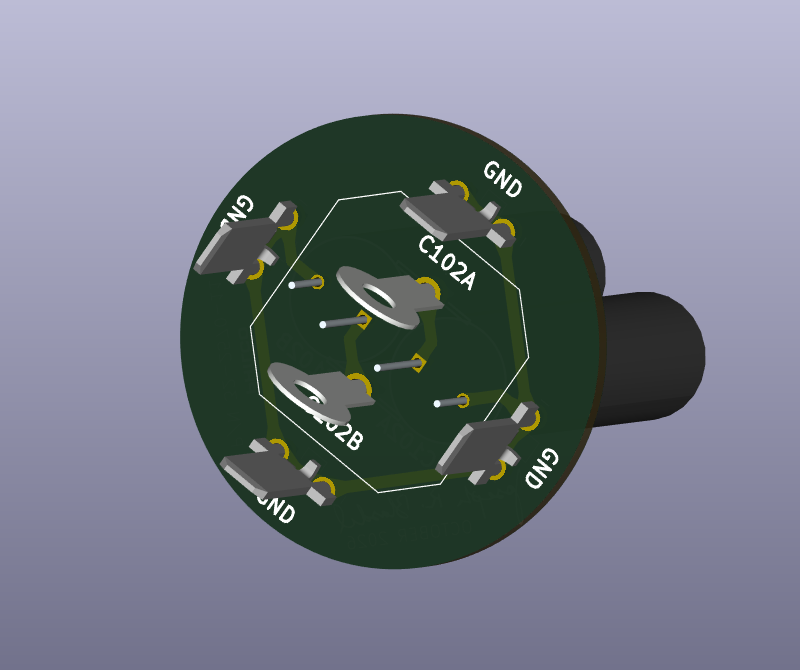
I've also been working on a design for the new chassis-mounted electrolytics. I've been working on C102A/B. I've got it all placed onto a PCB, but I'd like to move the components around just a bit more to spread the two capacitors apart a bit more.
On to the restoration. I've gotten the top of the chassis cleaned up, just about as well as it's going to get. It's not flawless, but the difference is day and night.
I also cleaned up and repainted the bells on the power transformer. I covered the model number with tape, so that it would be preserved after repainting.
Now I'm focusing my attention onto the underside of the chassis. In the back corner where the power cord passes through the chassis, there was a nasty looking rust spot in the corner. I forgot to get a photo before I treated it with any vinegar, but here's a photo after one application.
And here it was tonight, after two or three rounds of soaking in vinegar. I think it's about satisfactory.
Here's a couple photos of the process. So that I can localize the vinegar without removing components, I soak cotton balls in vinegar and press them over the affected rust spots.
I'm seeing another spot I'd like to treat under the chassis, but I'll have to plan my attack. It's on the other side of the chassis, tucked up above the air gap tuning capacitor. Perhaps I can unbolt it from the chassis and wiggle it over just enough to treat that rusty area.
I've also been working on a design for the new chassis-mounted electrolytics. I've been working on C102A/B. I've got it all placed onto a PCB, but I'd like to move the components around just a bit more to spread the two capacitors apart a bit more.
Joseph
Philco 39-750 EZ
Philco 46-480
Philco 47-1230
Philco 48-482
Philco 49-906