11-05-2012, 08:30 PM
Here goes the first cap restoration.
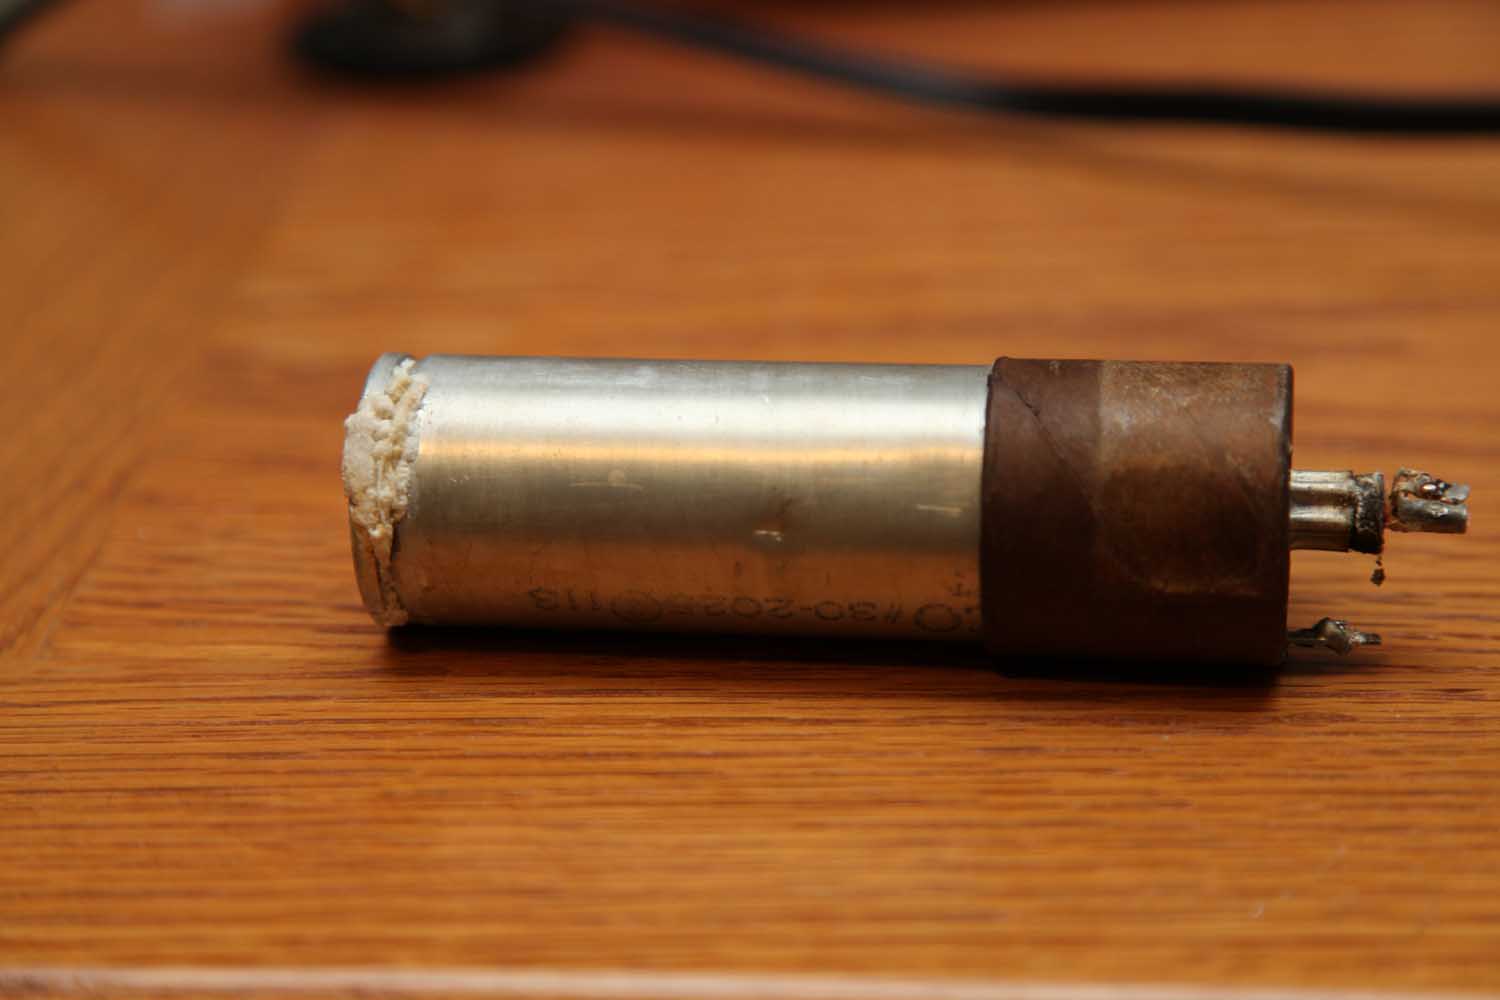
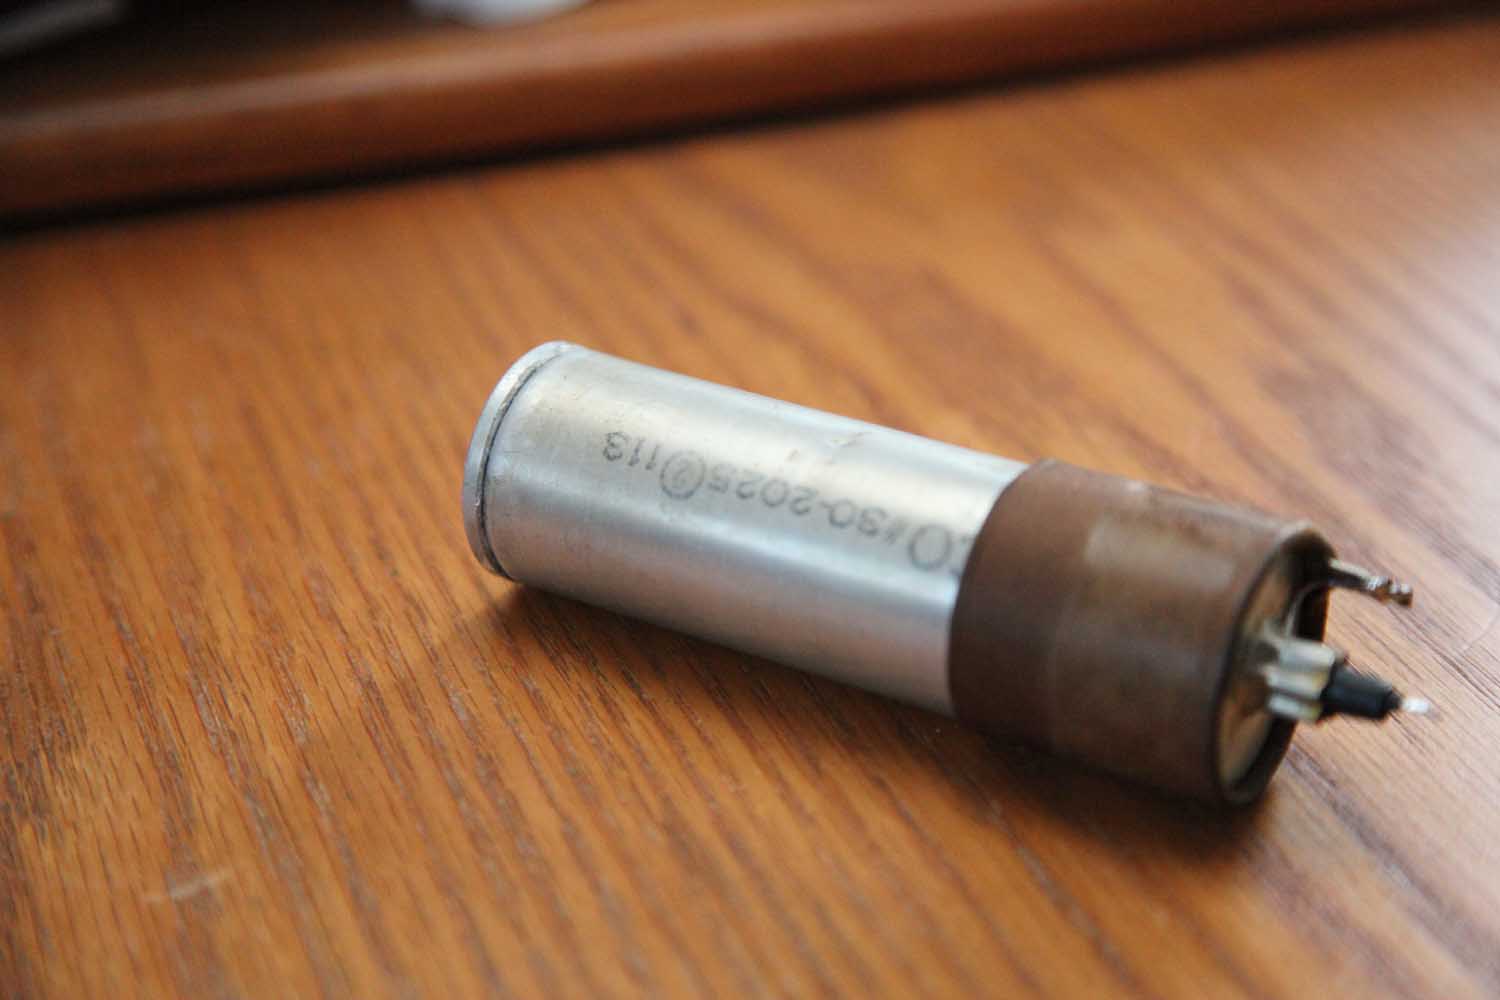
The "Rabied" cap. It was connected and powered whenever the radio played. The newer cap was installed simply in parallel.
Considering that my meter still showed 6uF and the new cap is 10uF, summarily they created a 16uF (and dangerously unreliable) capacitor which is twice what's required (8uF).
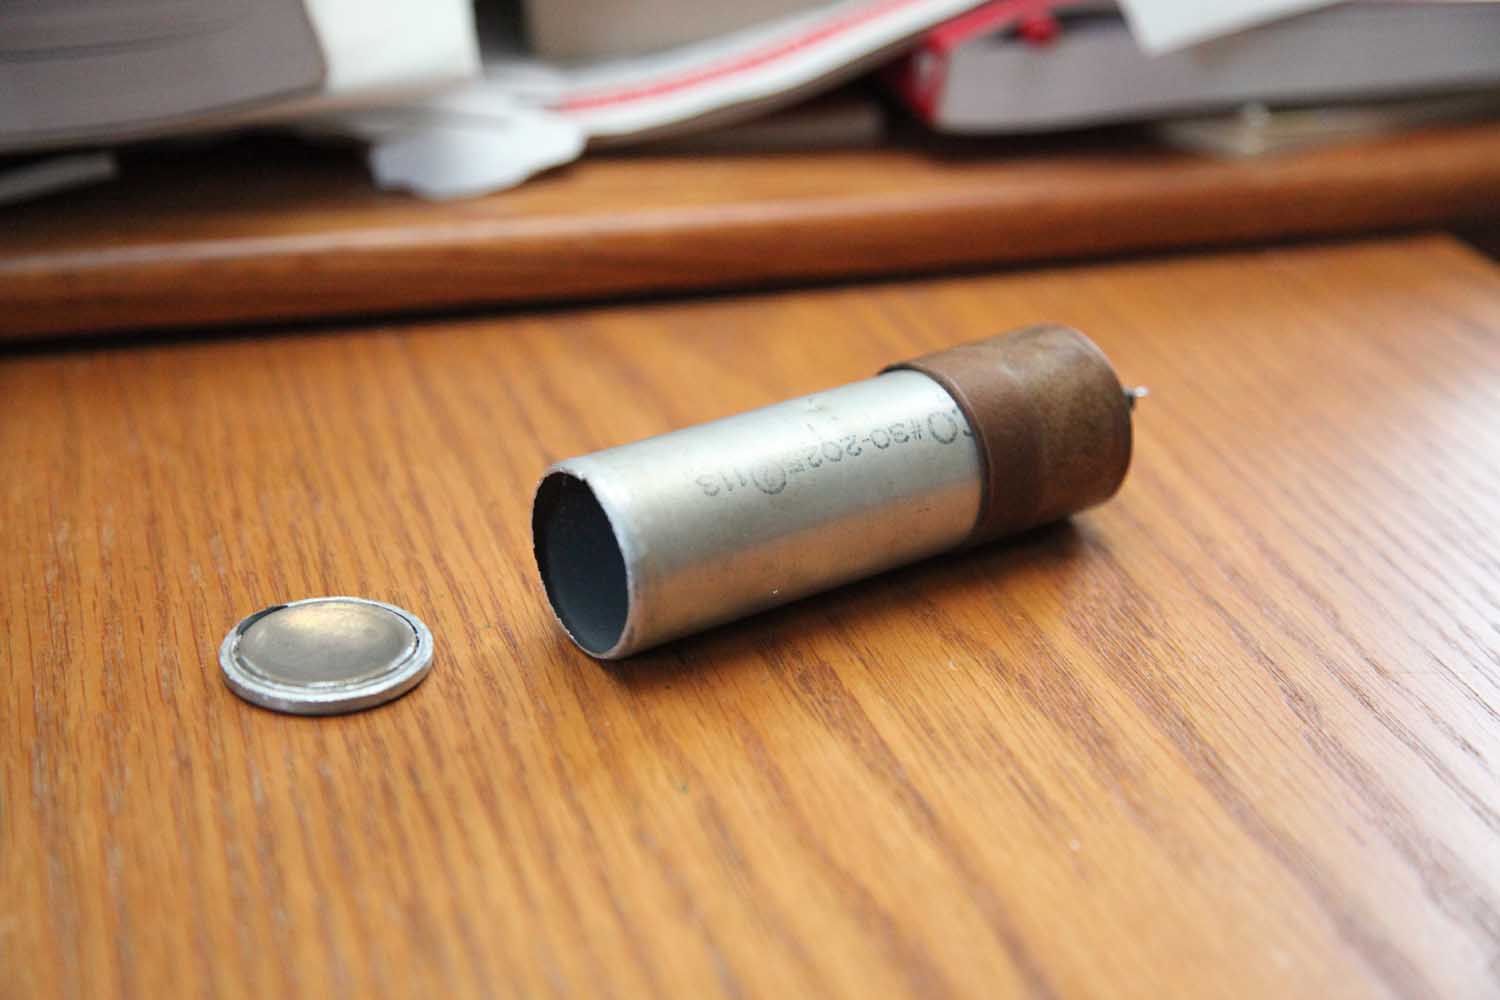
Took a hacksaw and simply took off the cap. Highly recommend for this type caps.
Some liquid escaped. I washed the whole thing with dish detergent, and then heated up with a Milwaukee gun and left to dry.
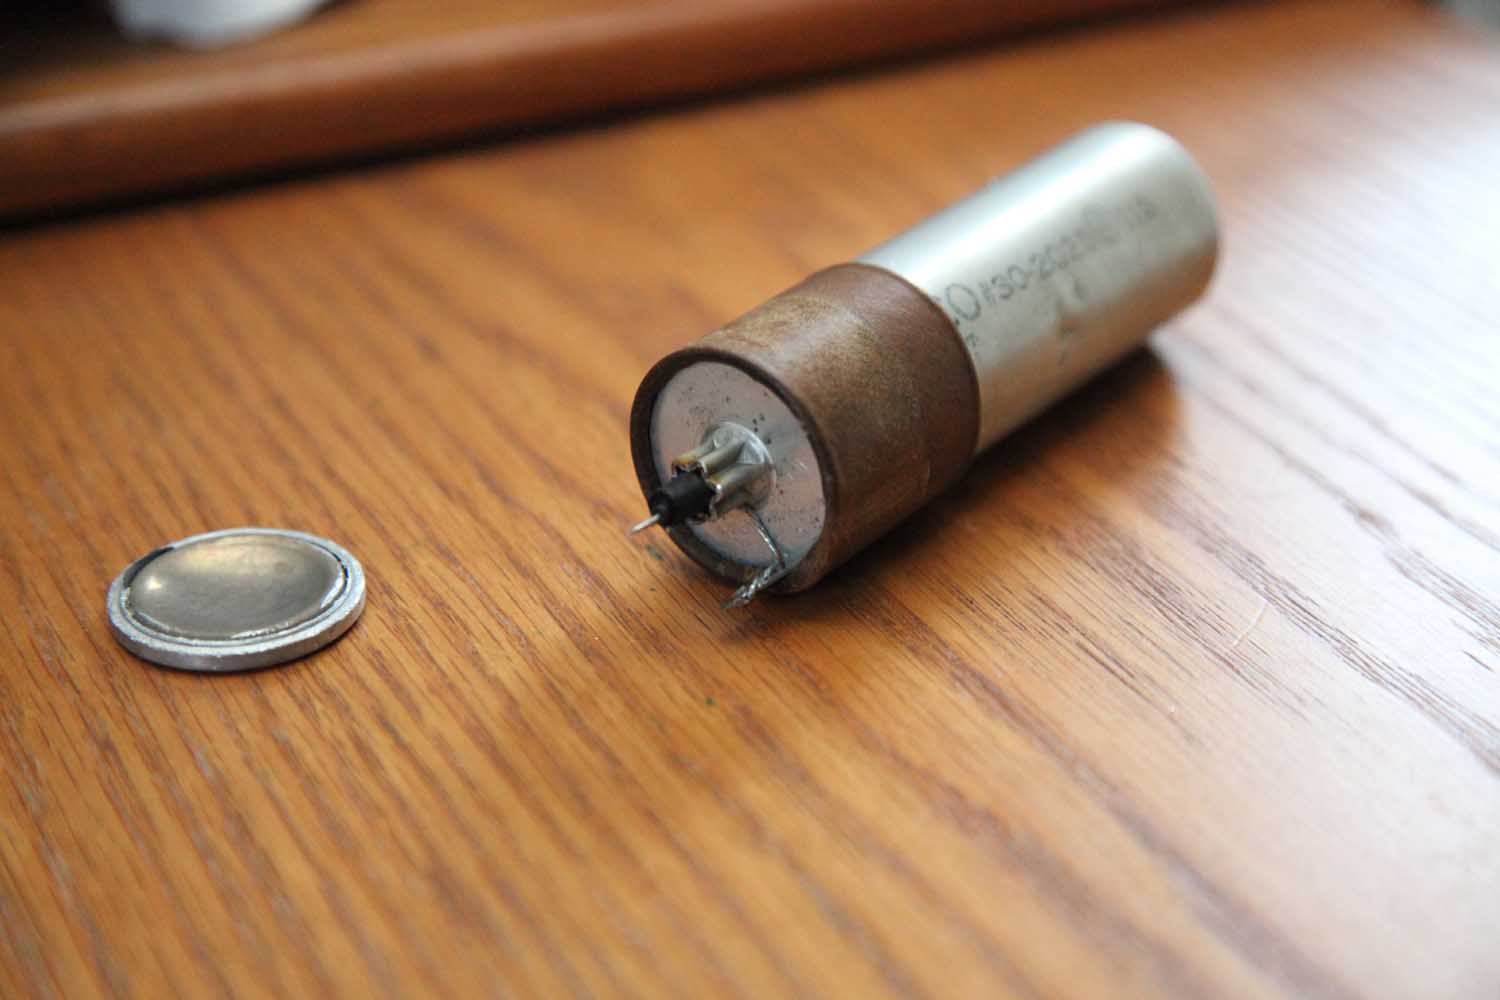
Took the newer cap that used to be in parallel, made sure it measures as required, and put it inside. It is a larger type cap but still a good one, 10uF 450V.
Since the body is minus and then insulated from chassis, the negative wire from the inside cap can be bare. The central positive pin is covered with two heat-shrinks, thinner and then thicker, then wrapped in the insulating tape, to create a diameter that will go in where the rubber gasket was before. This will create enough dielectric strength for 400V and quite more.
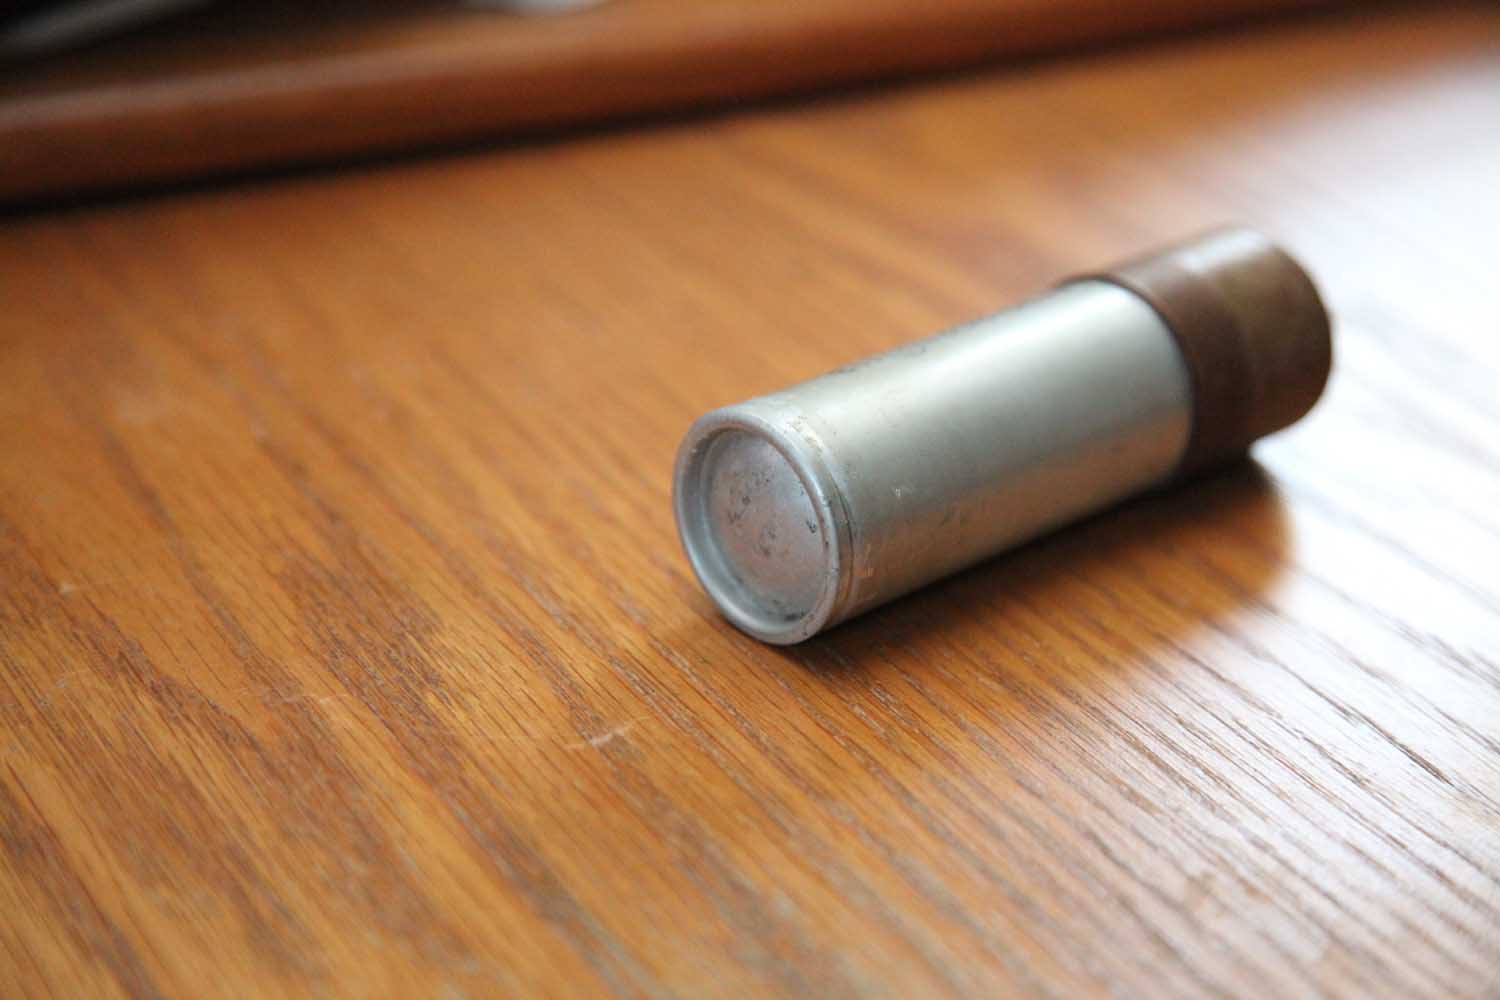
Attached the cap. The cap sticks well even with no adhesive, this is why I like this method. And the seam cannot be seen unless specifically looked for.
Same cap from the front.
The "Rabied" cap. It was connected and powered whenever the radio played. The newer cap was installed simply in parallel.
Considering that my meter still showed 6uF and the new cap is 10uF, summarily they created a 16uF (and dangerously unreliable) capacitor which is twice what's required (8uF).
Took a hacksaw and simply took off the cap. Highly recommend for this type caps.
Some liquid escaped. I washed the whole thing with dish detergent, and then heated up with a Milwaukee gun and left to dry.
Took the newer cap that used to be in parallel, made sure it measures as required, and put it inside. It is a larger type cap but still a good one, 10uF 450V.
Since the body is minus and then insulated from chassis, the negative wire from the inside cap can be bare. The central positive pin is covered with two heat-shrinks, thinner and then thicker, then wrapped in the insulating tape, to create a diameter that will go in where the rubber gasket was before. This will create enough dielectric strength for 400V and quite more.
Attached the cap. The cap sticks well even with no adhesive, this is why I like this method. And the seam cannot be seen unless specifically looked for.
Same cap from the front.


![[-] [-]](https://philcoradio.com/phorum/images/bootbb/collapse.png)


