Welcome Guest! Be sure you know and follow the Phorum Rules before posting. Thank you and Enjoy! (January 12, 2025) x

Thread Closed

48-230 Flying Wedge
#1

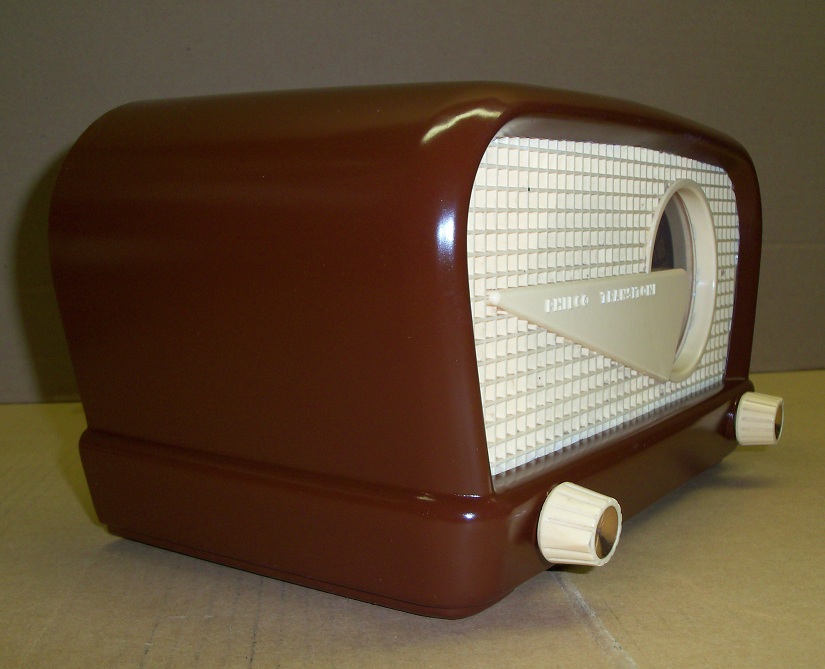
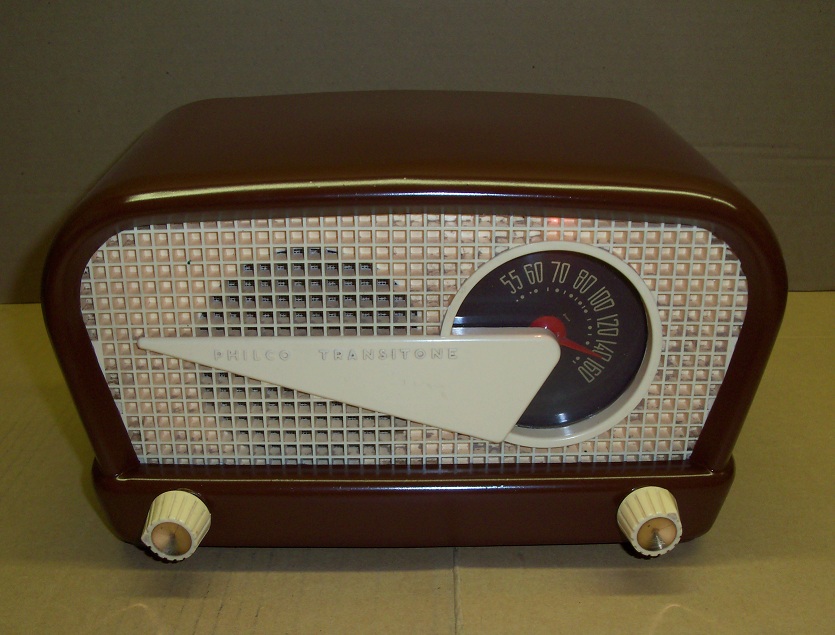
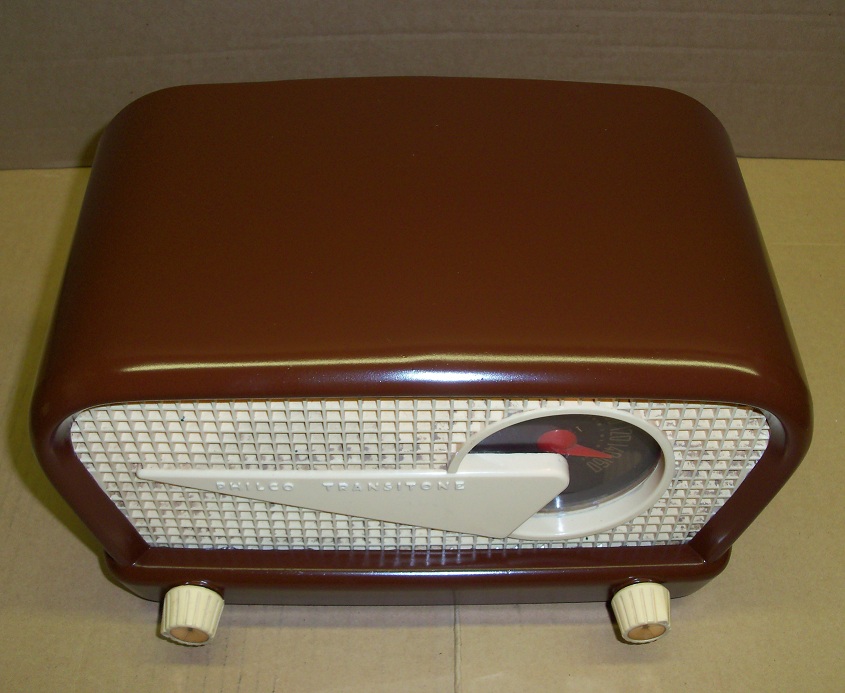
Just finished restoring this tonight. There was a nasty crack on the top and a cigarette burn to deal with, but, thanks to a fiberglass repair kit, I was able to fuse it back together again. After a repaint of the brown cabinet, it's hardly noticeable. I managed to find a shade of brown spray paint that was an almost perfect match! One thing that was a surprise was the "padding" that was glued to the underside of the top of the cabinet. It appears this "padding" was actually some sort of an asbestos material, placed there to dissipate the heat. Silver paint was also added from the factory inside the cabinet, again for heat deflection. The tiny little plastic tabs holding the front panel in place were all broken off when I got the set, so I was forced to have to glue the front panel back inside the cabinet. Which is fine, because I have no plan to ever take it out again anyhow. It's a neat little set. Certainly one of the nicest designed cabinets Philco made during the post war years. I can see why these are so collectible!


Attached Files Image(s)
   

Greg V.
West Bend, WI
Member WARCI.org


Messages In This Thread
48-230 Flying Wedge - by NostalgiaRadioTime - 10-31-2013, 09:43 PM
RE: 48-230 Flying Wedge - by 37silverstreak - 10-31-2013, 09:57 PM
RE: 48-230 Flying Wedge - by vinzer - 10-31-2013, 09:58 PM
RE: 48-230 Flying Wedge - by NostalgiaRadioTime - 10-31-2013, 10:01 PM
RE: 48-230 Flying Wedge - by VntgRads - 11-01-2013, 03:17 AM
RE: 48-230 Flying Wedge - by Jamie - 11-01-2013, 06:35 AM
RE: 48-230 Flying Wedge - by George Kirk - 11-01-2013, 10:04 AM
RE: 48-230 Flying Wedge - by klondike98 - 11-01-2013, 12:34 PM
RE: 48-230 Flying Wedge - by NostalgiaRadioTime - 11-01-2013, 07:18 PM
RE: 48-230 Flying Wedge - by mikeyhitchfan - 08-27-2014, 11:13 AM
RE: 48-230 Flying Wedge - by NostalgiaRadioTime - 08-27-2014, 09:52 PM
RE: 48-230 Flying Wedge - by Arran - 08-27-2014, 11:38 PM


Users browsing this thread: 1 Guest(s)
[-]
Recent Posts
54C Complete Teardown/Rebuild
Hello Roy, here is this one sincerely Richardradiorich — 12:45 AM
54C Complete Teardown/Rebuild
Richard, Had grabbed it already but thank you just the same.  I find myself wanting to find some way to block out the...glyphmon — 12:03 AM
54C Complete Teardown/Rebuild
Hello roy, here is a link to the schematic . Sincerely Richardradiorich — 11:54 PM
54C Complete Teardown/Rebuild
Richard, The Silvertone 2014 also is a transformerless set, so I am incorporating a 1:1 600 ohm audio isolation transfo...glyphmon — 11:37 PM
Preliminary work on wife's Silvertone 2014
Did an alignment today which was interesting.  IF alignment went great, almost all was already spot-on.  Adjusting on th...glyphmon — 11:35 PM
54C Complete Teardown/Rebuild
The main problem with adding a Bluetooth input is that this set lacks a traditional power transformer to isolate it from...radiorich — 11:19 PM
54C Cabinet Refinish
I started stripping this cabinet before it got super chilly out because I knew I wasn't going to be able to work on ...glyphmon — 11:18 PM
54C Complete Teardown/Rebuild
While I'm waiting to wrap up the final steps on my wife's Silvertone 2014, I started disassembly on the next project.  O...glyphmon — 11:07 PM
Preliminary work on wife's Silvertone 2014
Hello roy, that great news glad it worked out for you !! Sincerely Richardradiorich — 10:50 PM
Preliminary work on wife's Silvertone 2014
Safety caps arrived today.  Soldered one in and had a successful first power-up.  No magic smoke escaped and it tunes in...glyphmon — 09:53 PM

[-]
Who's Online
There are currently no members online.

>