03-05-2014, 10:27 AM
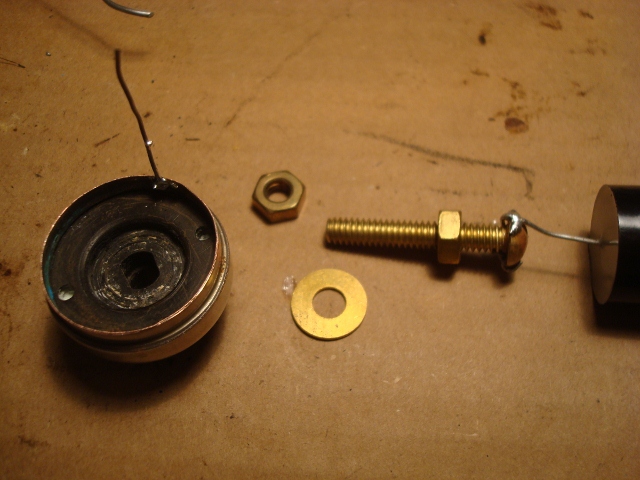
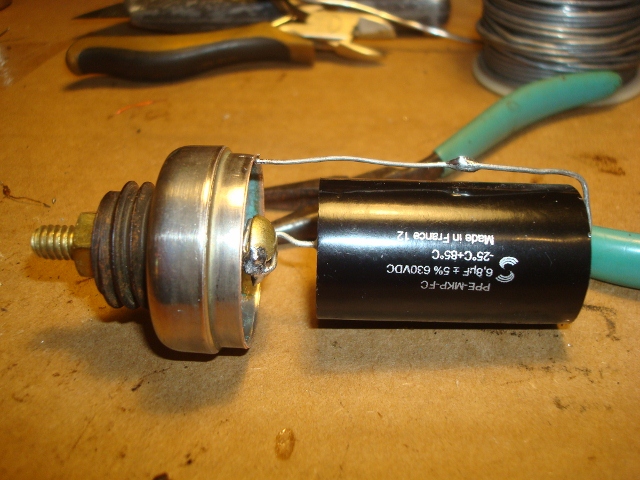
Here are the pics of my electrolytic cap rebuild. I put some thought and time into this one, took some ideas that were mentioned, and this is what I came up with.
I showed the disassembly in an earlier post. I used a propane torch to heat the bolt. It came out after some gentle rocking and pulling. It did not damage the threaded area. I cleaned up the rubber gasket, then used a brass screw, soldered to it, then put together.


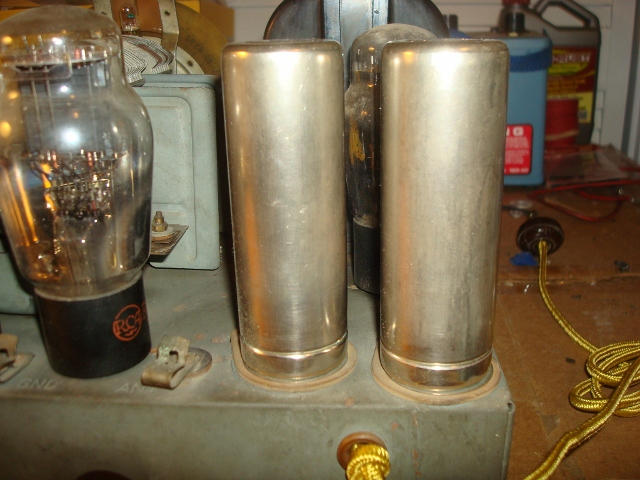
The outer can slipped over the base, and I used 3 little dabs of JB quick to attach. So far, I havent broken them off. I think I can heat and remove if I need to replace the cap sometime. I did have to make sure I had the metal cans lined up with the ground strap. I cleaned both and checked for continuity. It looks factory from over and under. I didnt have to change any wiring. Here is the finished product.

I showed the disassembly in an earlier post. I used a propane torch to heat the bolt. It came out after some gentle rocking and pulling. It did not damage the threaded area. I cleaned up the rubber gasket, then used a brass screw, soldered to it, then put together.
The outer can slipped over the base, and I used 3 little dabs of JB quick to attach. So far, I havent broken them off. I think I can heat and remove if I need to replace the cap sometime. I did have to make sure I had the metal cans lined up with the ground strap. I cleaned both and checked for continuity. It looks factory from over and under. I didnt have to change any wiring. Here is the finished product.
If I could find the place called "Somewhere", I could find "Anything"
Tim
Jesus cried out and said, "Whoever believes in me , believes not in me but in him who sent me" John 12:44


![[-] [-]](https://philcoradio.com/phorum/images/bootbb/collapse.png)


