03-21-2014, 09:37 AM
I started the electrolytic cap rebuild and found three different types, a tar filled dry cap, a dry wet cap, and a wet-wet cap. I am amazed that after 80 years this wet cap was still wet! I went through some threads and articles on these, and here are a few shots of what I did.
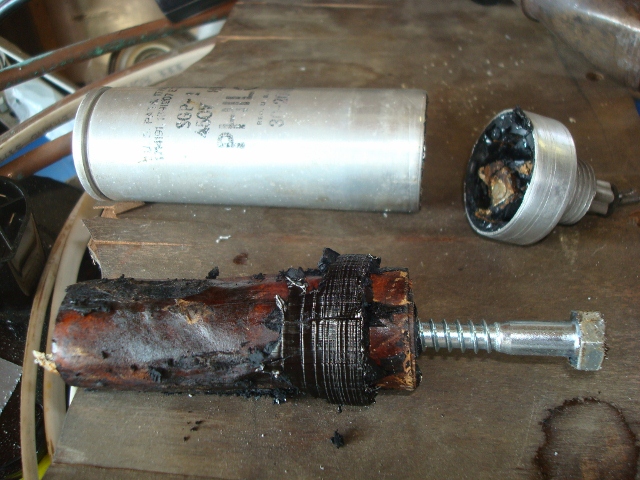
The tar pit:
I knew this one was different. This is the 1st cap off the rectifier tube (#56). I used a tubing cutter in this one, then since the stuff inside was rather fond of it's present location, I had to use a heat gun, lag screw and vice. Finally got it to seperate, then had lots of fun digging the rest of the tar out. Be careful not to dent or crush the can. Also on this one, seemed the lettering wanted to rub off.

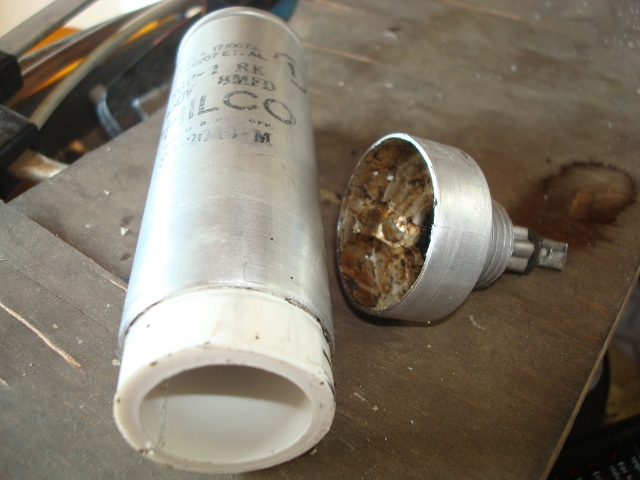
I used the 1" pvc, cut a line through so it would squeeze and go into the can.

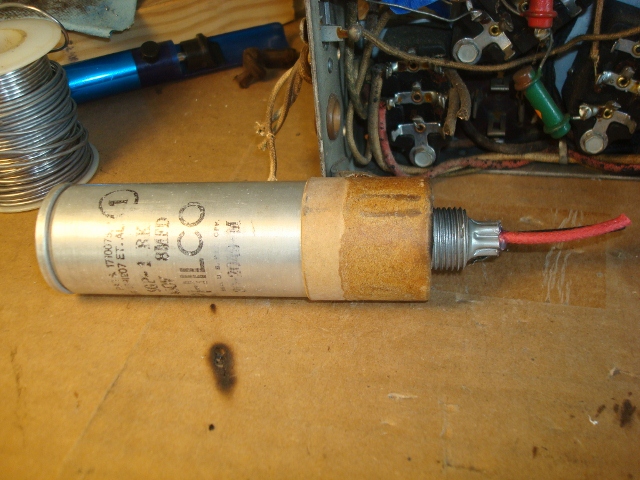
Here is the finished product ready to install. I used hot glue to secure the new capacitor in place, and ran the wires out the bottom. My next post will show in better detail this step.

The tar pit:
I knew this one was different. This is the 1st cap off the rectifier tube (#56). I used a tubing cutter in this one, then since the stuff inside was rather fond of it's present location, I had to use a heat gun, lag screw and vice. Finally got it to seperate, then had lots of fun digging the rest of the tar out. Be careful not to dent or crush the can. Also on this one, seemed the lettering wanted to rub off.
I used the 1" pvc, cut a line through so it would squeeze and go into the can.
Here is the finished product ready to install. I used hot glue to secure the new capacitor in place, and ran the wires out the bottom. My next post will show in better detail this step.
If I could find the place called "Somewhere", I could find "Anything"
Tim
Jesus cried out and said, "Whoever believes in me , believes not in me but in him who sent me" John 12:44


![[-] [-]](https://philcoradio.com/phorum/images/bootbb/collapse.png)


