Philco 16B Code 125 Electronic Restore Project
Posts: 348
Threads: 20
Joined: Nov 2016
City: Cromwell
State, Province, Country: CT
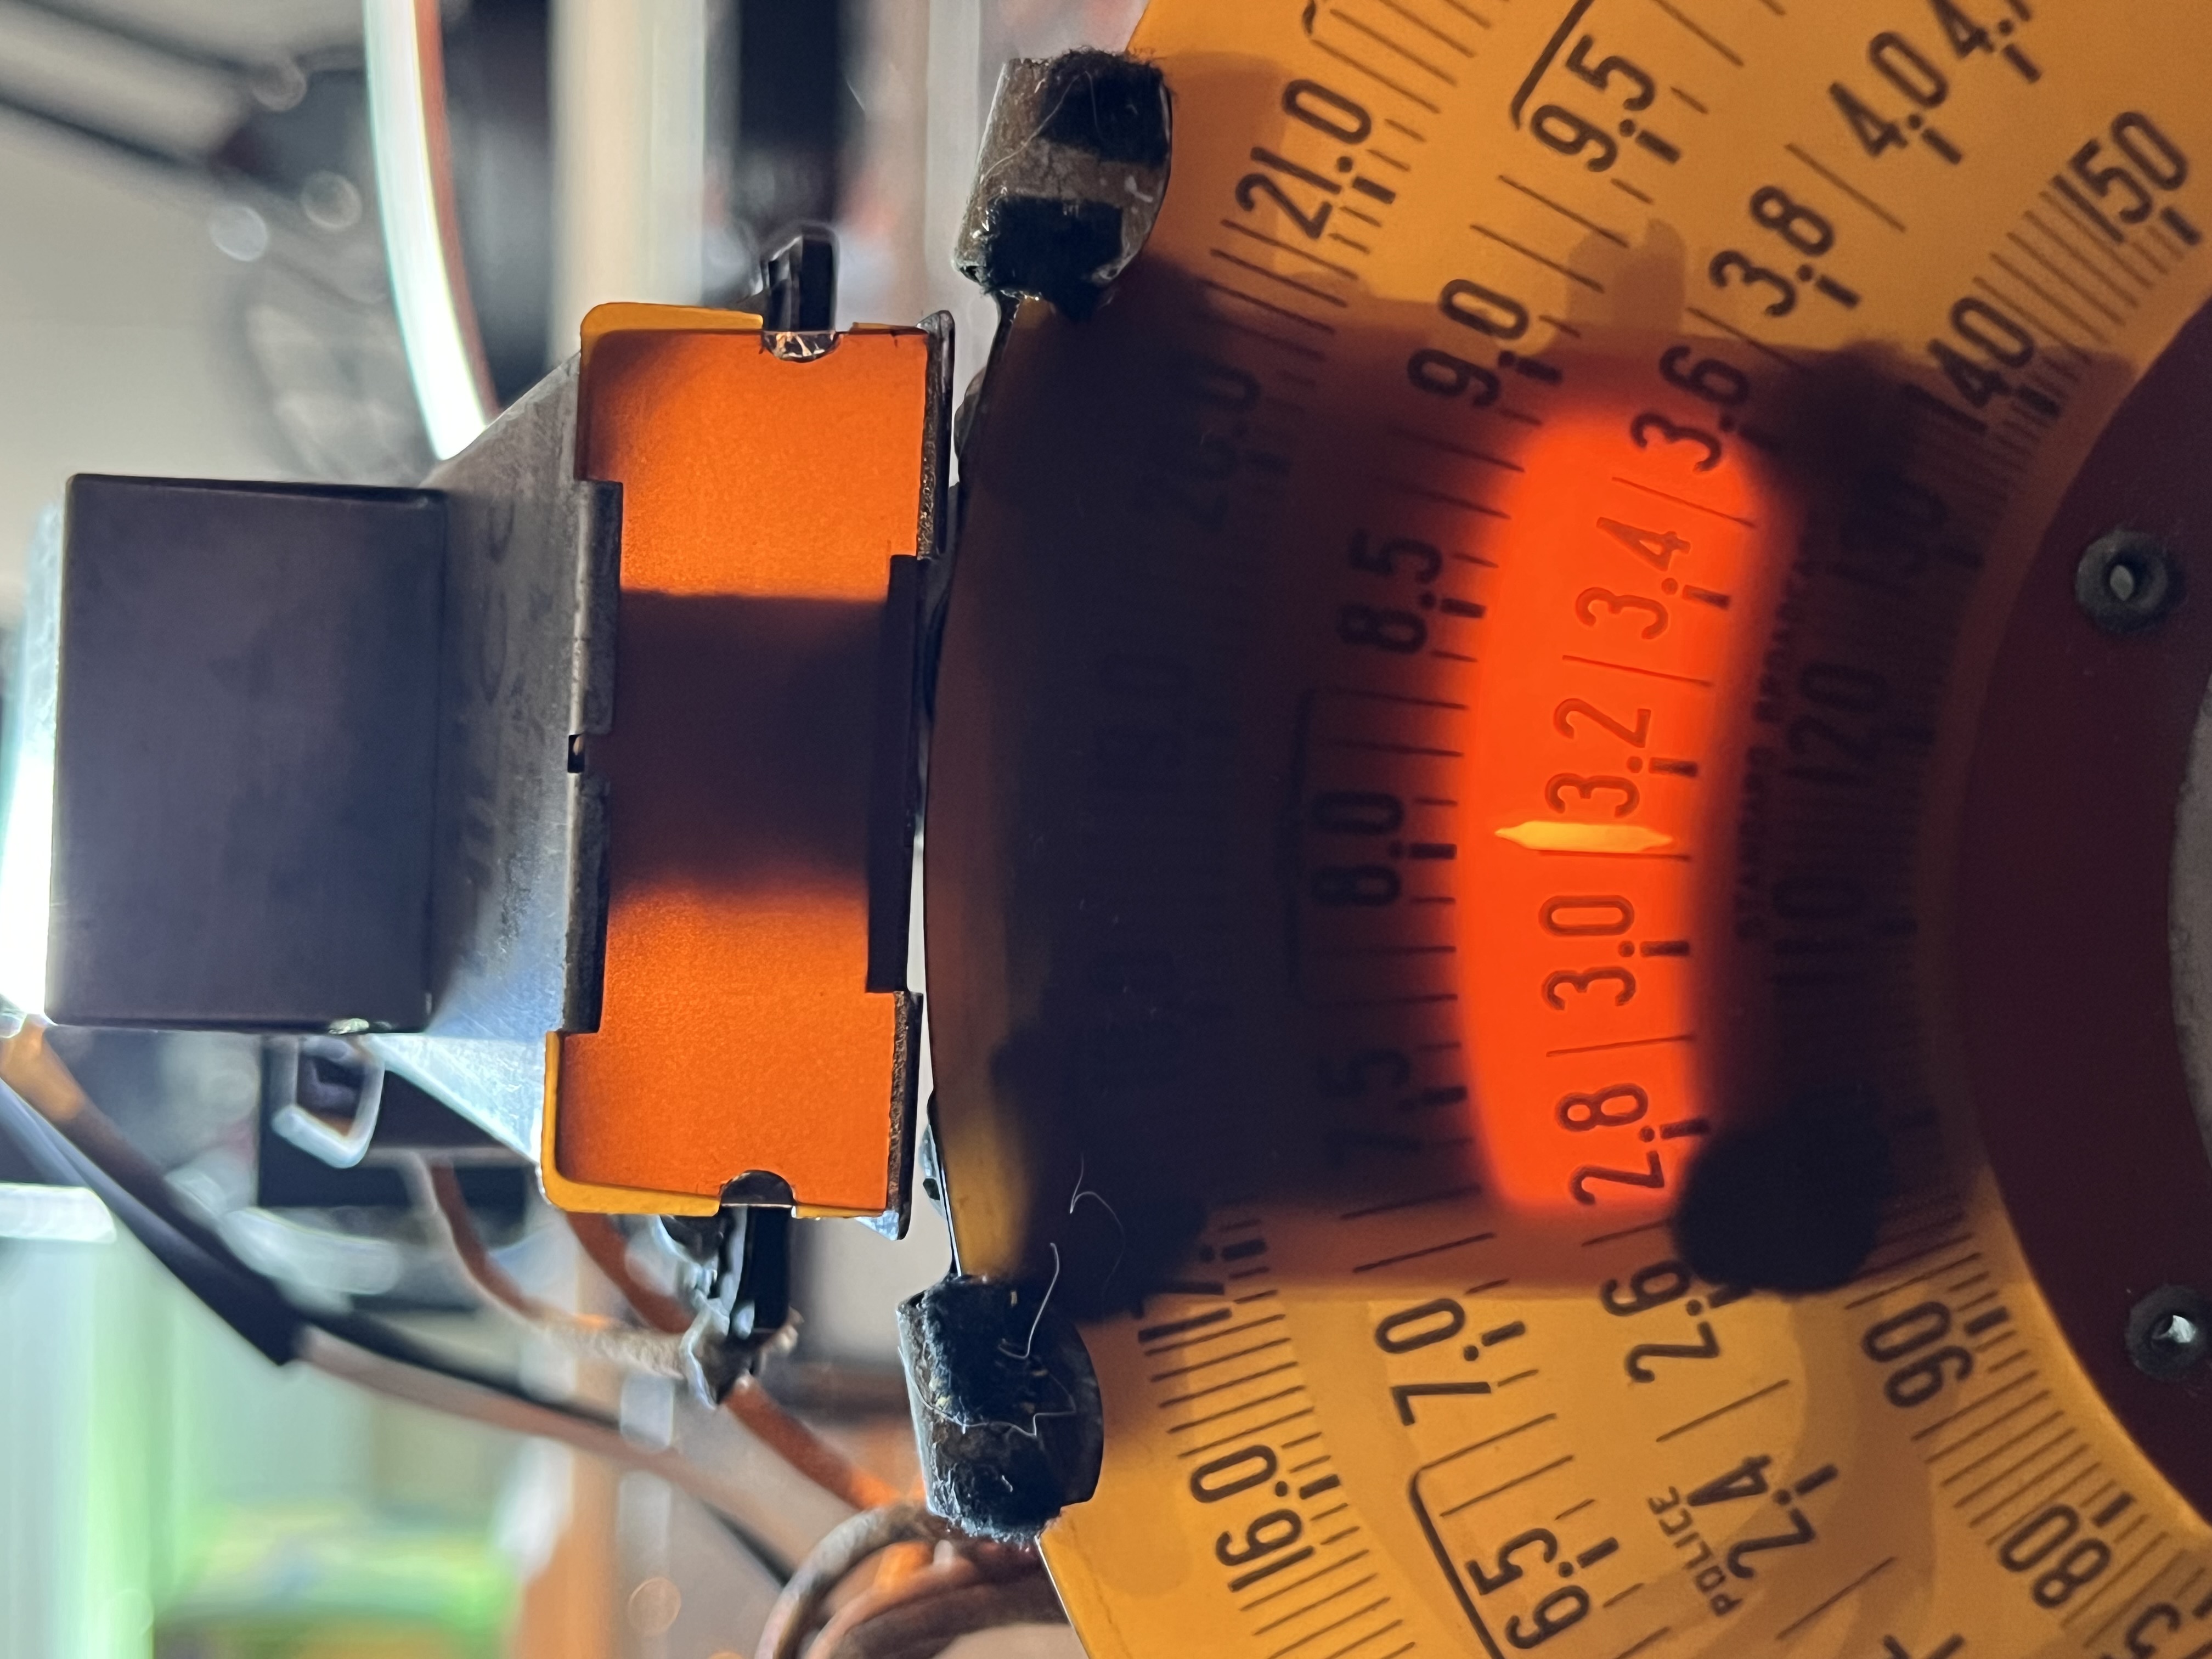
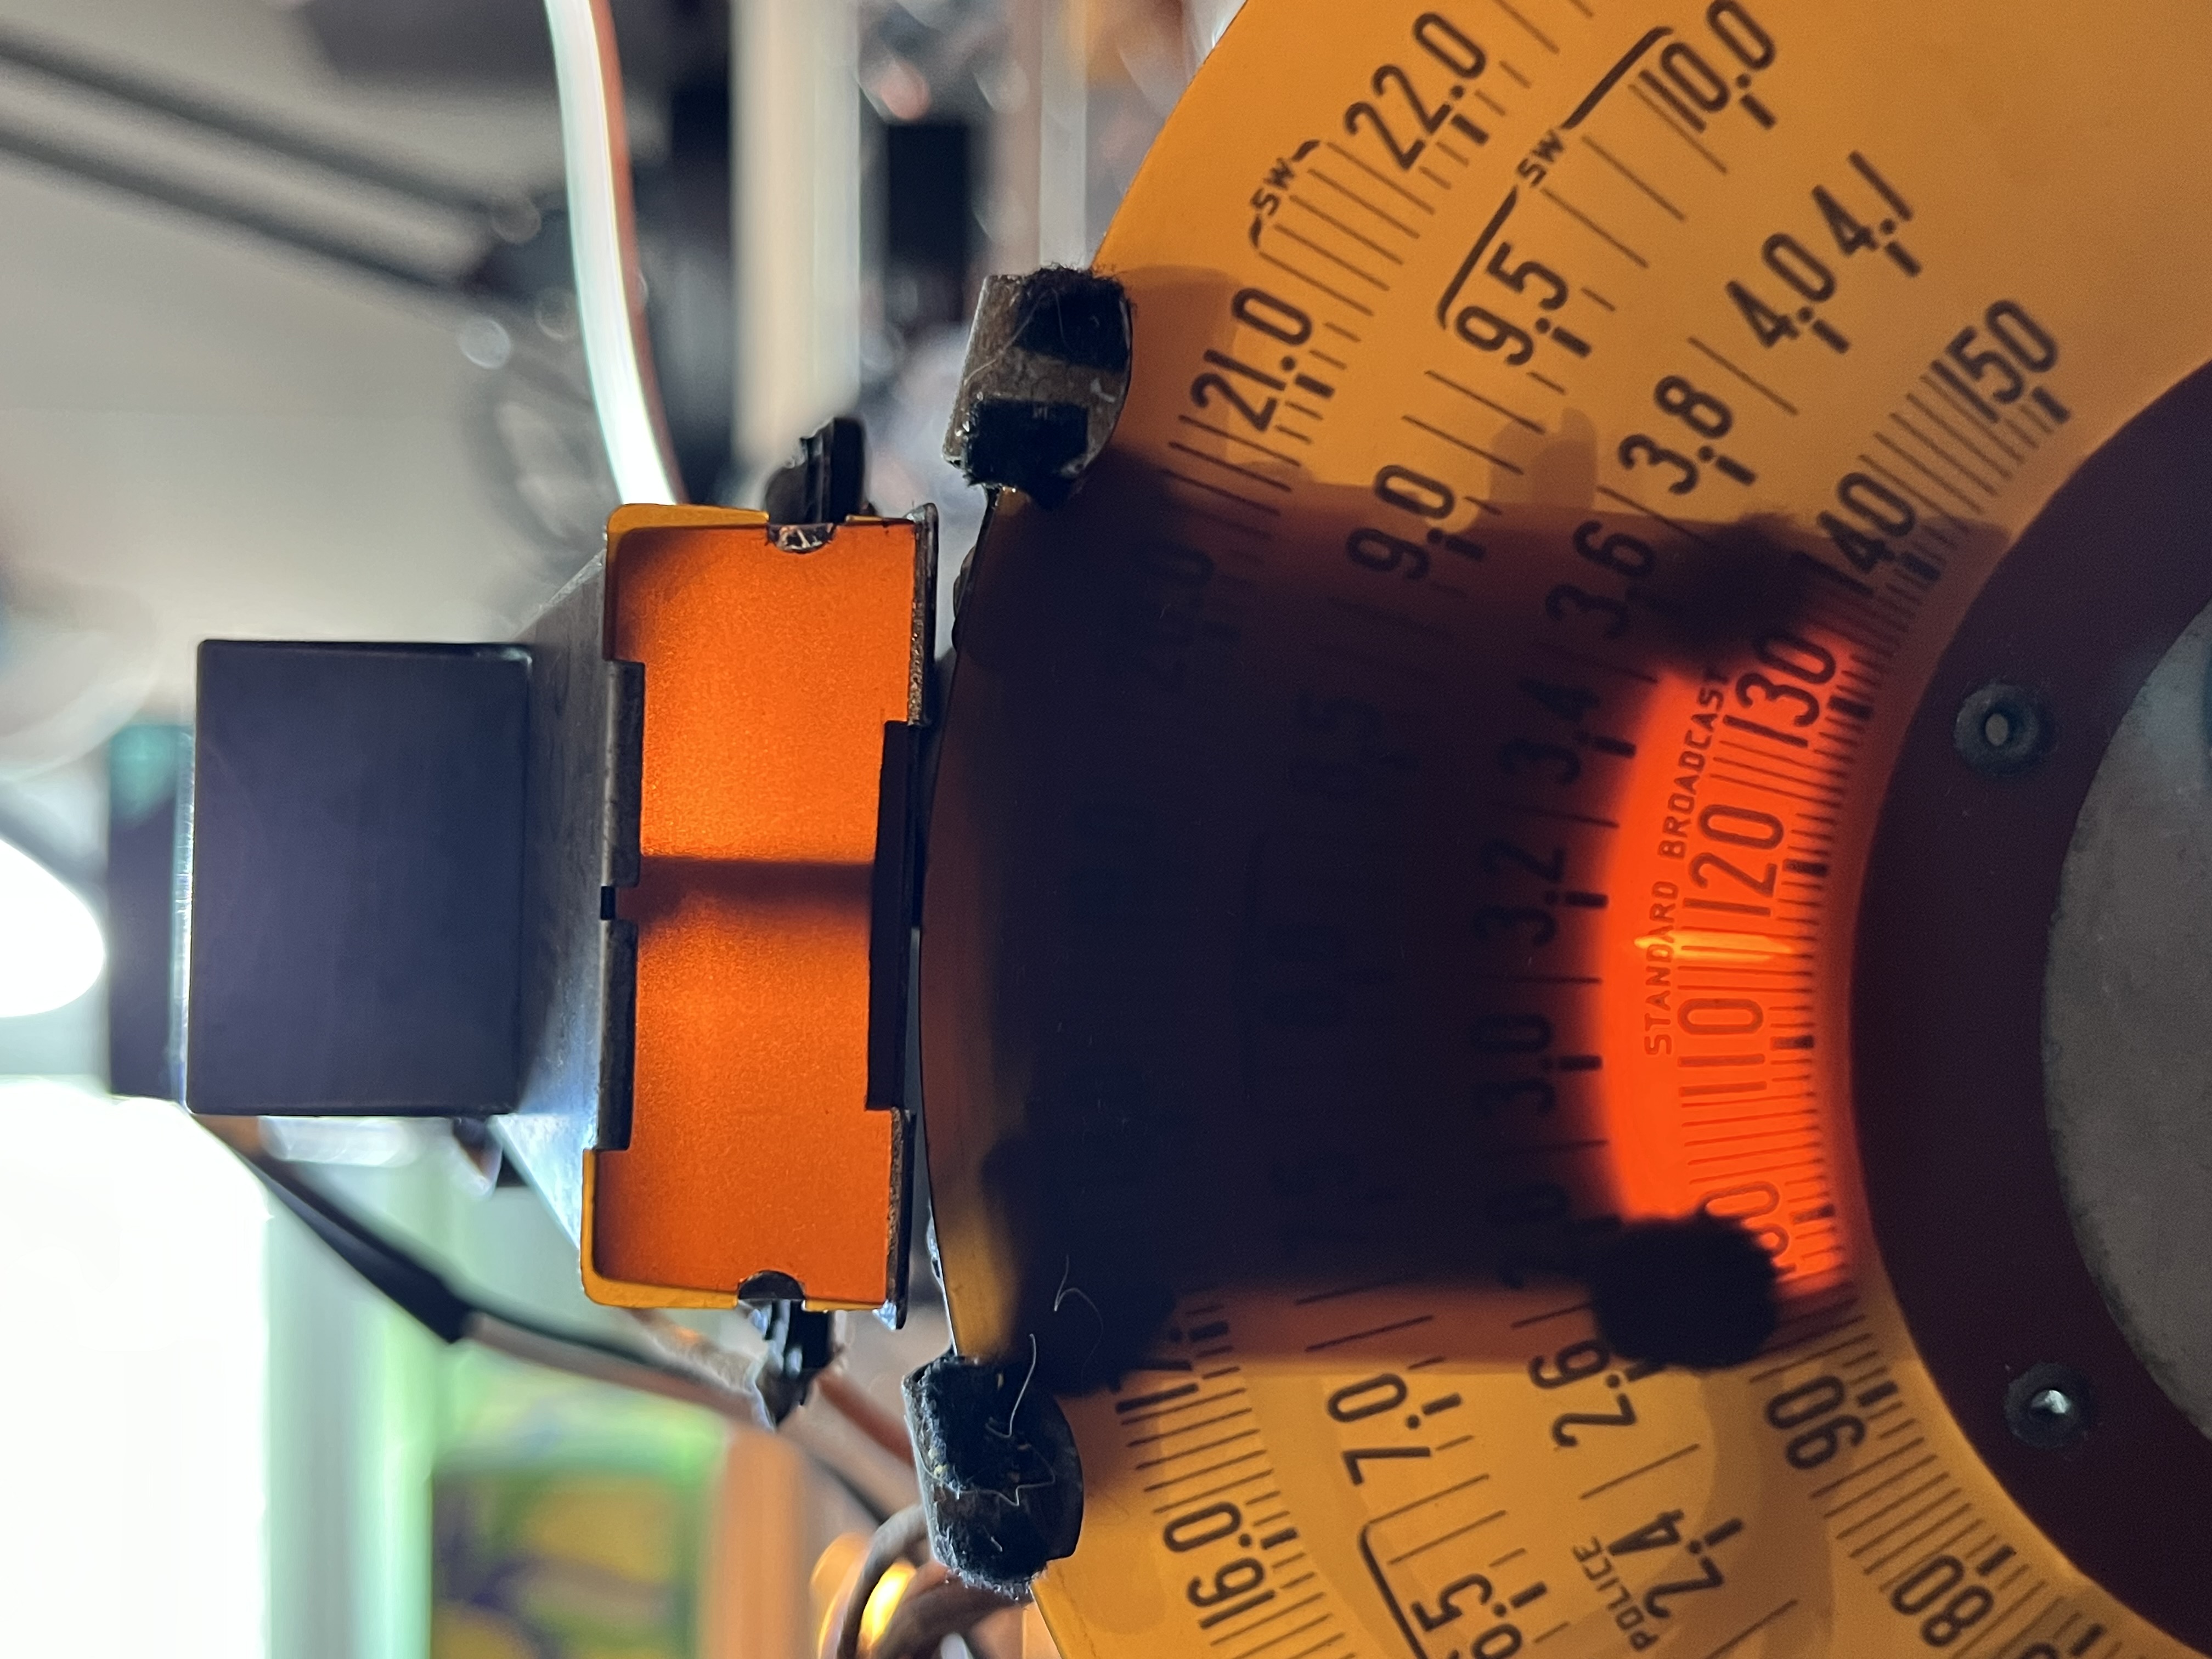
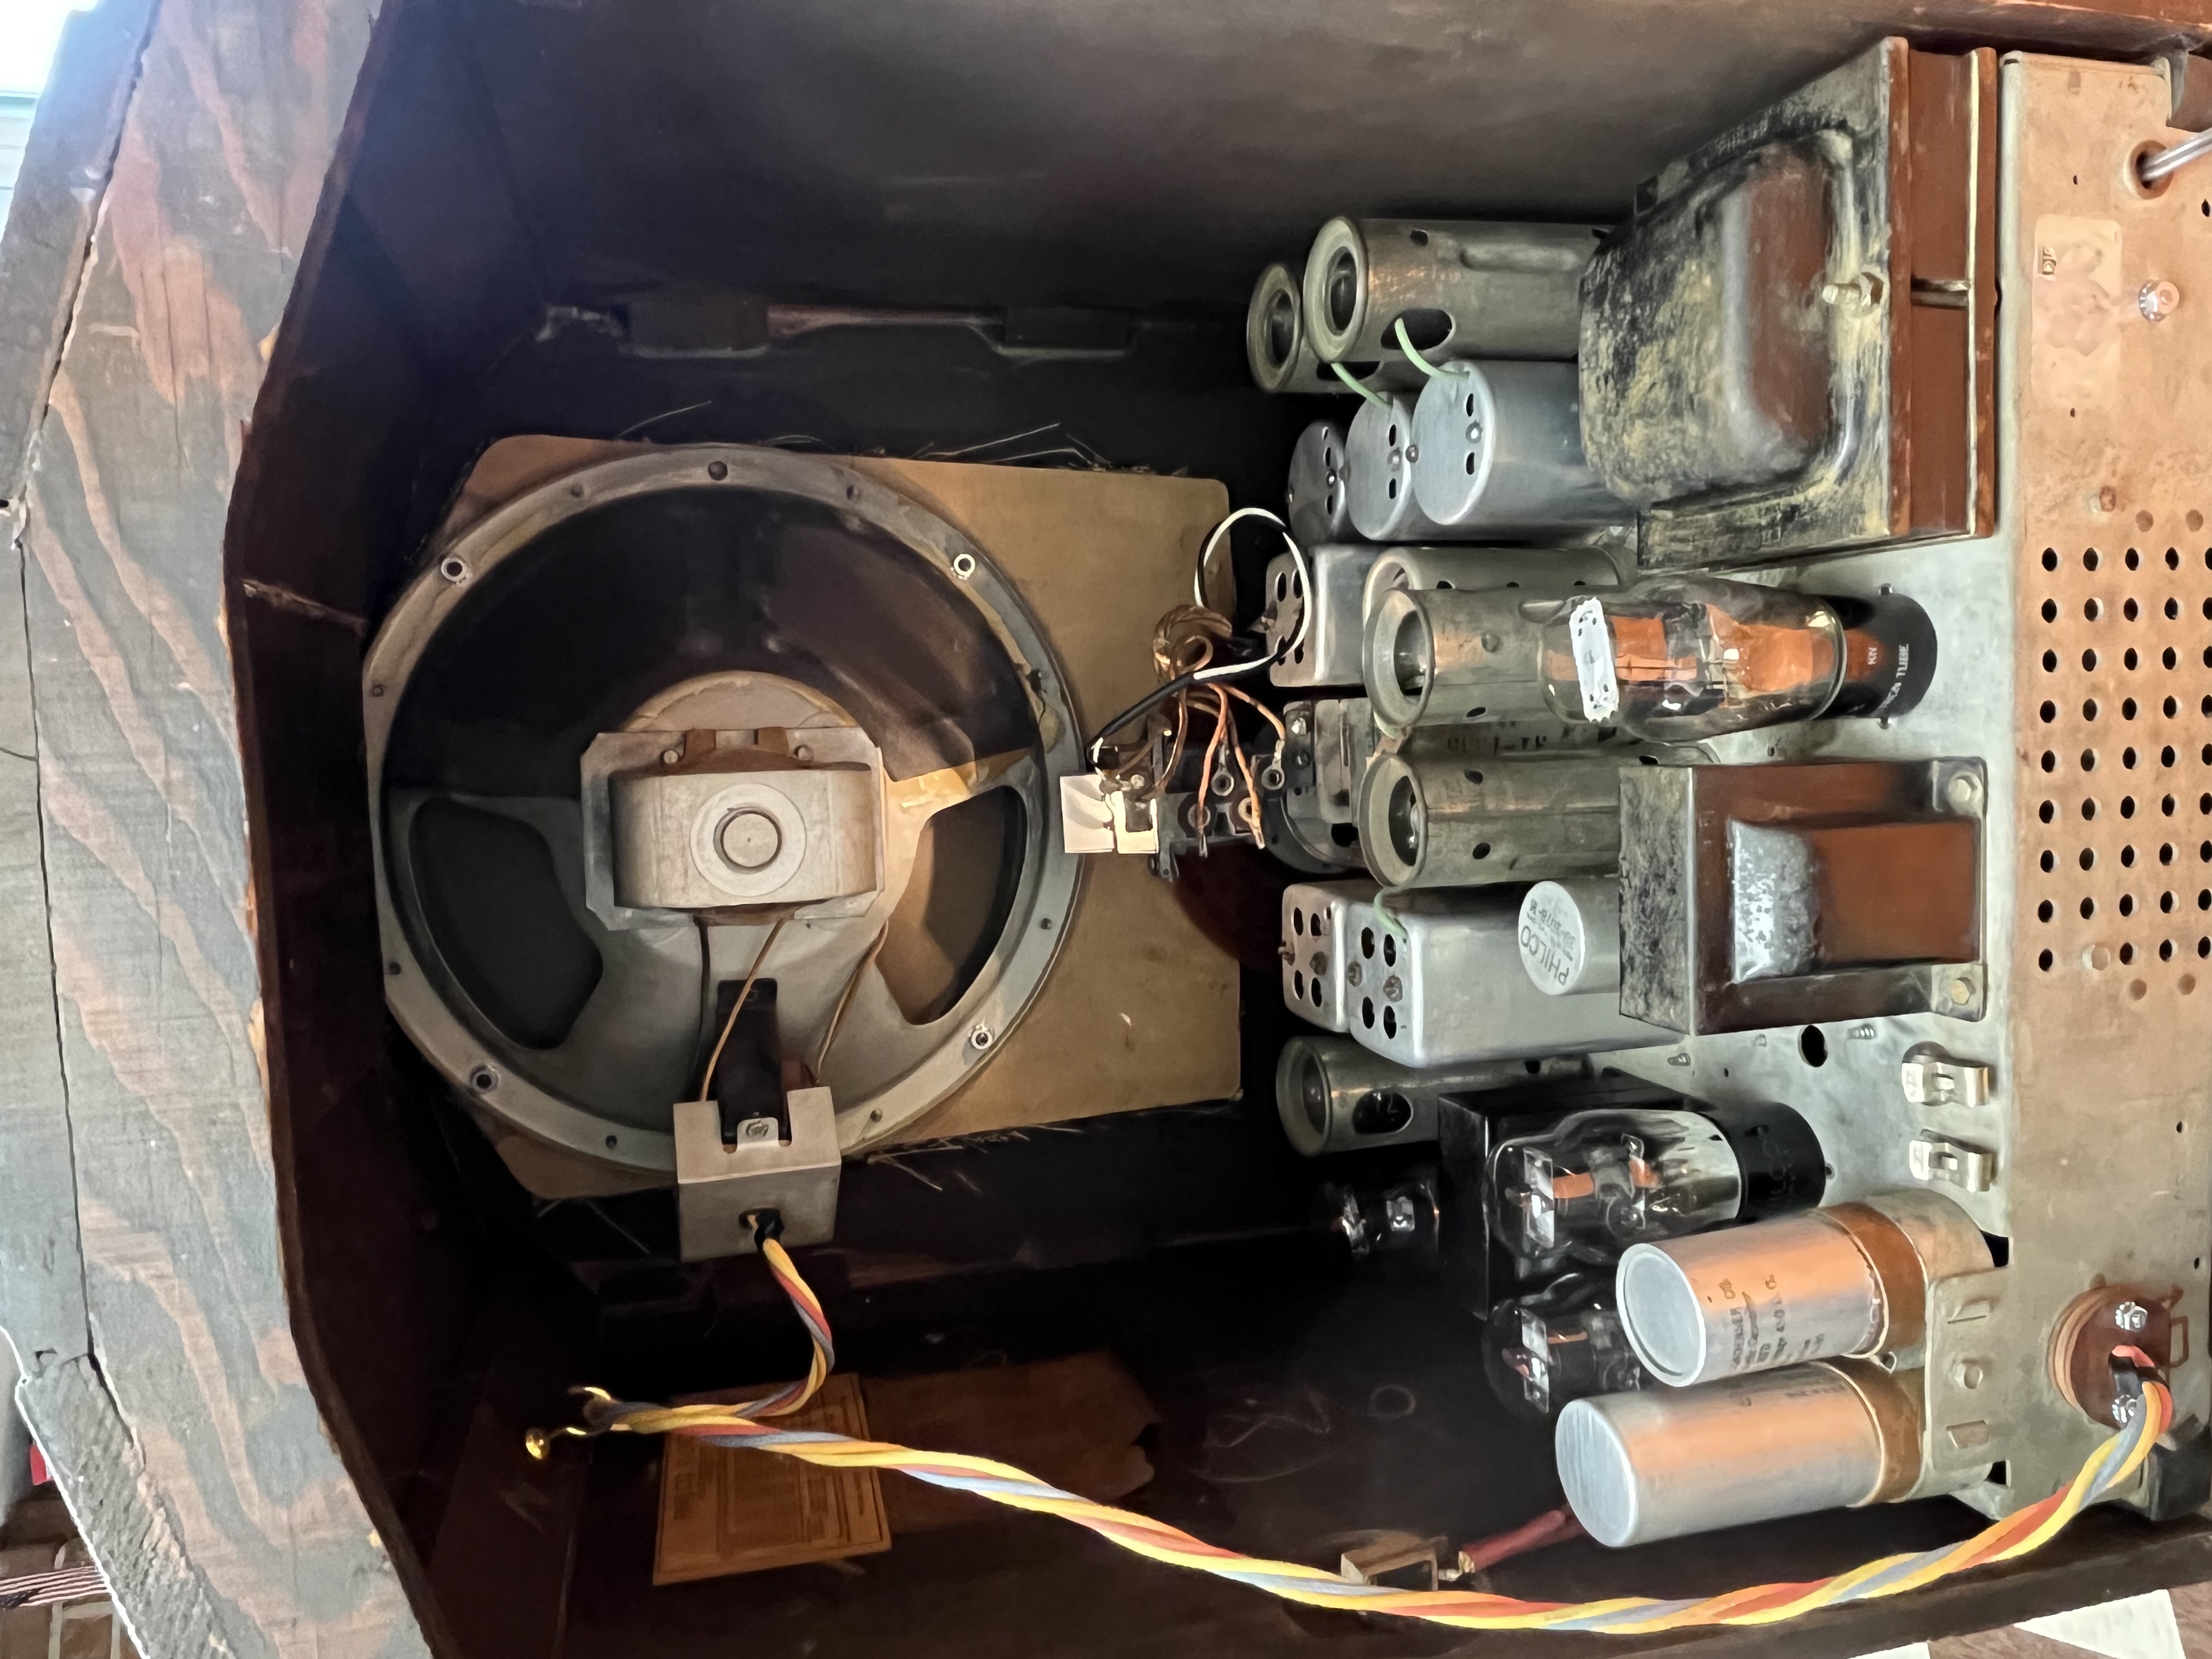
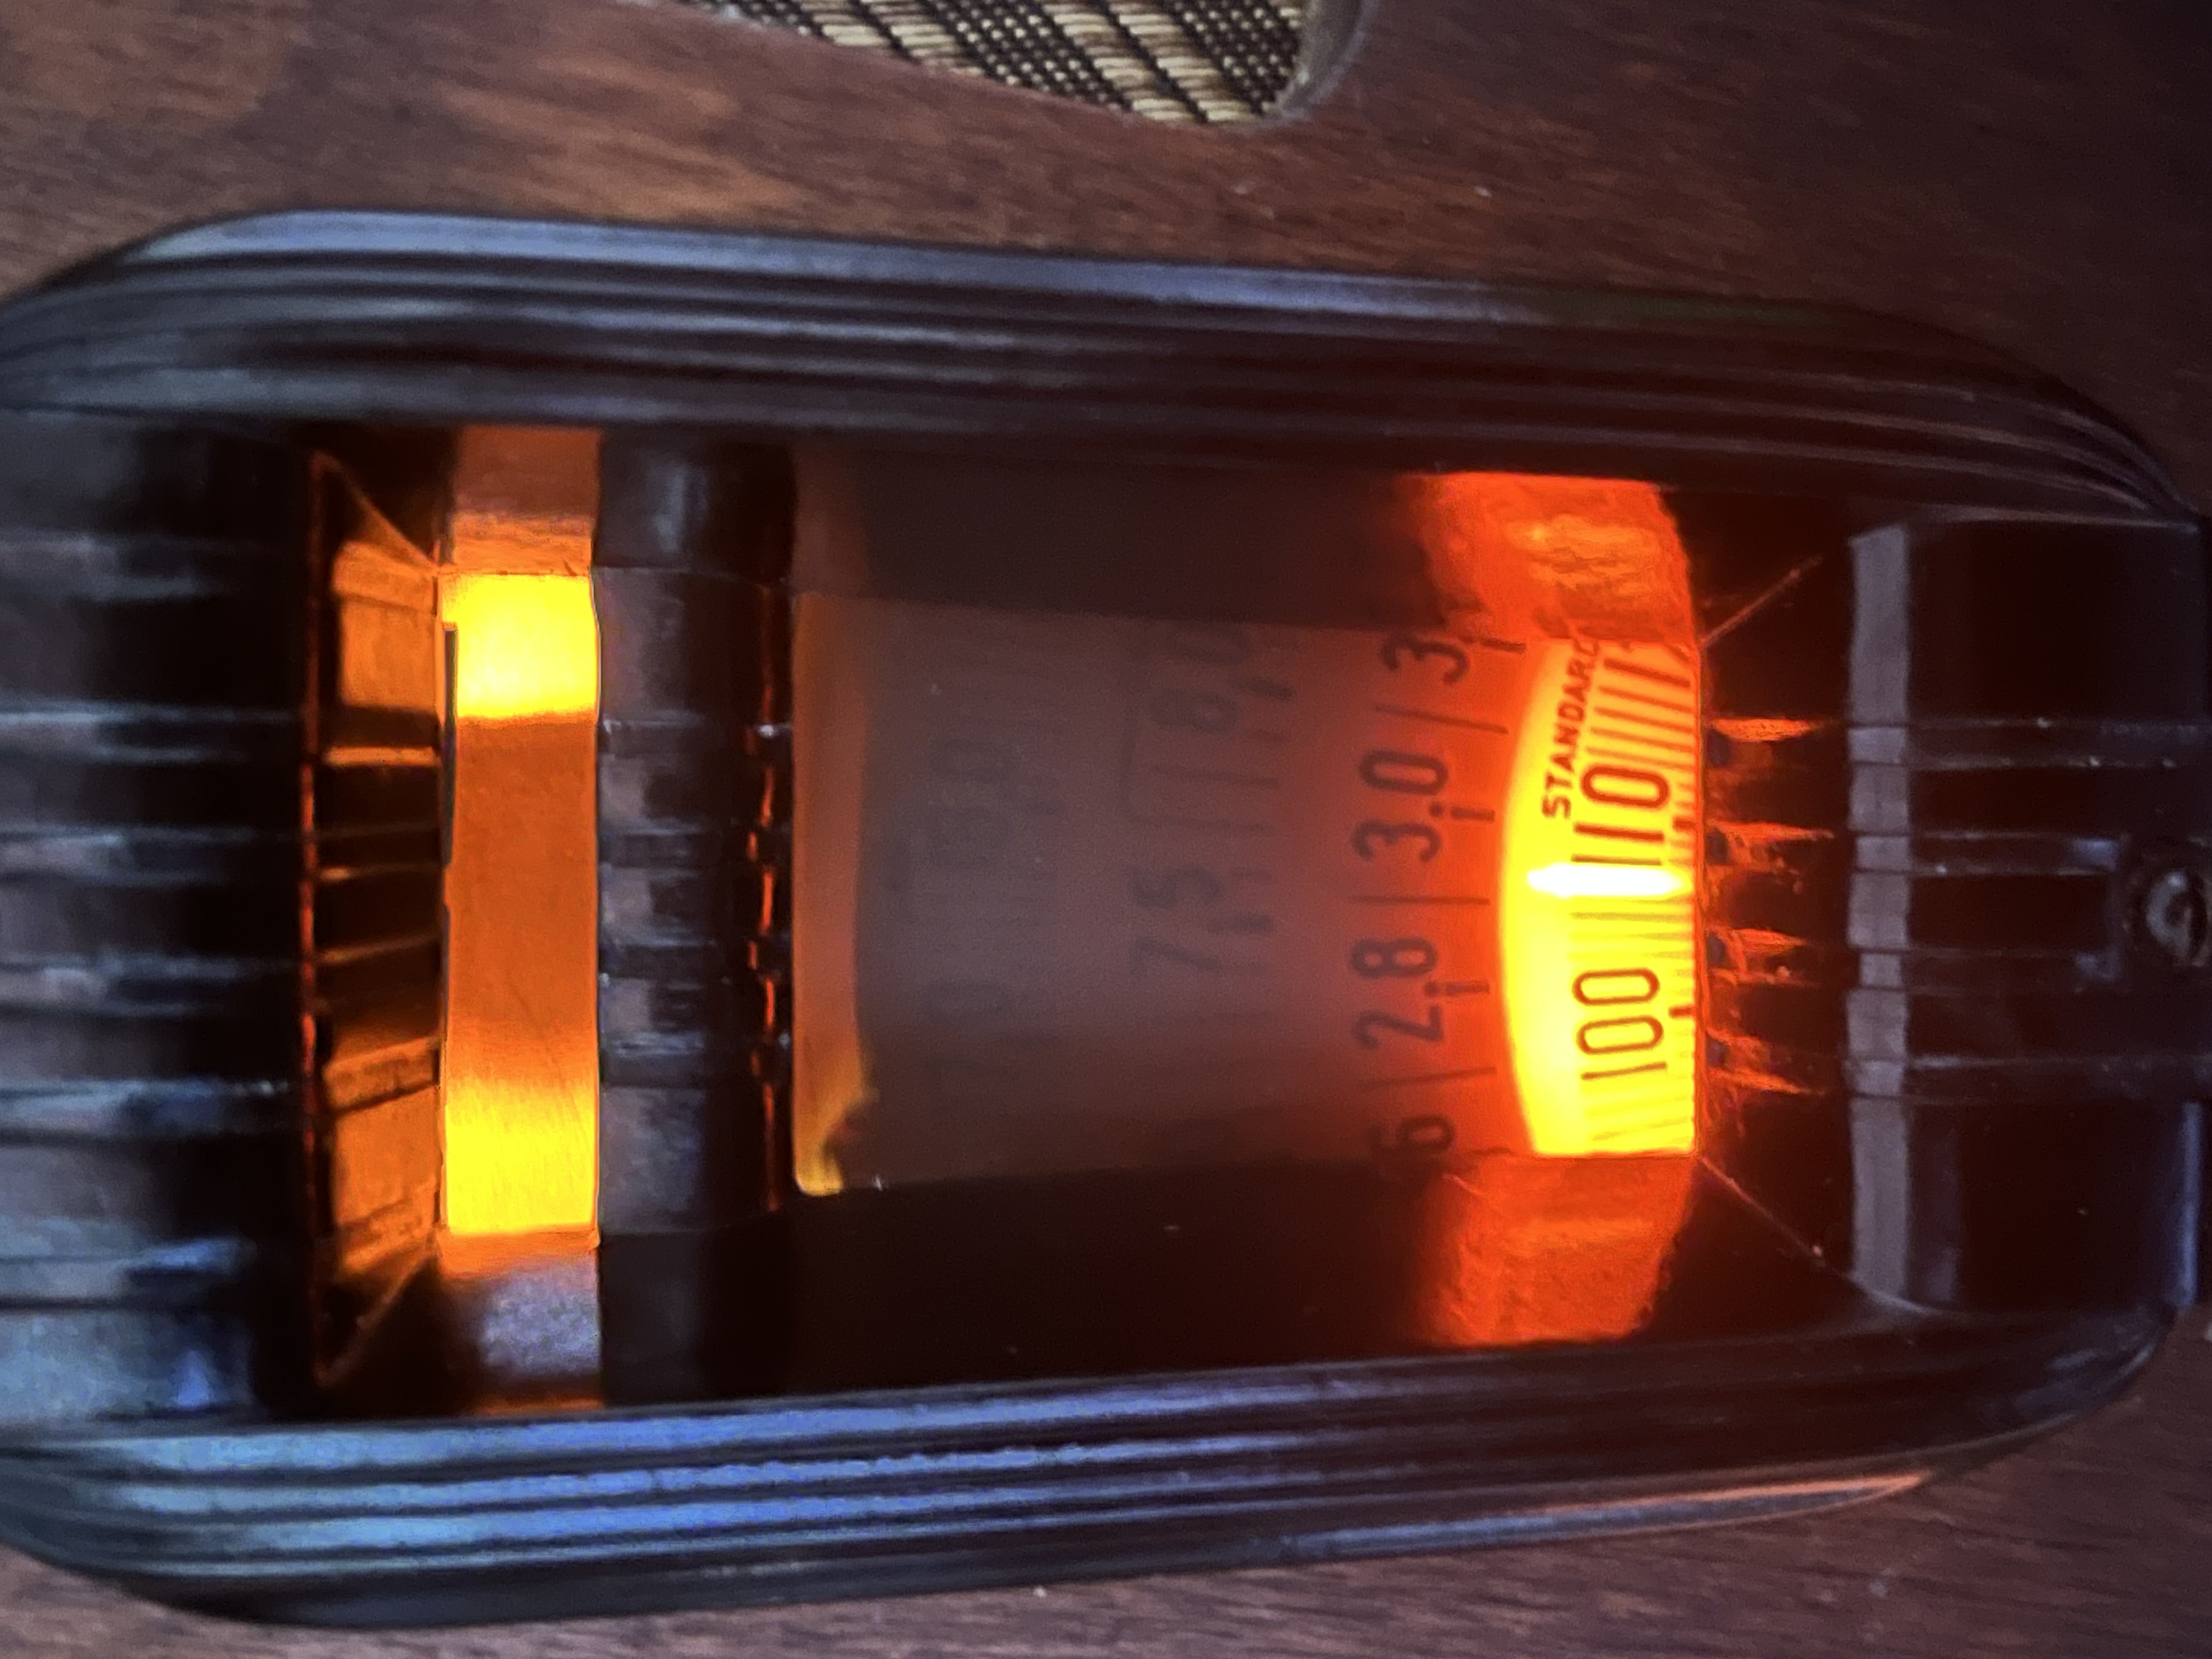
Today I wrapped up the electronic restoration. I was able to properly clean the dial, perform a complete alignment, and center the shadow meter. The meter movement is very delicate to say the least, so I decided to stop before I got in trouble.
I will say I’m very impressed with this radio and its performance. The dial is pretty much dead on on all bands, and the sensitivity is excellent. I’m interested in the audio quality once I get everything back in the cabinet. Should be superb!
Here are some pictures of the set with the dial and shadow meter in two different states so you can see how it will look.
Tony
“People may not remember how fast you did a job, but they will remember how well you did it”
Posts: 3,186
Threads: 226
Joined: May 2008
City: Omak
State, Province, Country: WA
hello Tbone,
Wow it looks great how did you clean the dial ?
I really agree with you "impressed with this radio and its performance but mine is a Philco 610b I am restoring a Philco 38-10t but I have car radio on the bench right now that comes first .
Sincerely Richard
Posts: 4,832
Threads: 437
Joined: Jun 2011
City: Boston
State, Province, Country: Massachusetts
Thumbs up Tony. Paul
Tubetalk1
Posts: 348
Threads: 20
Joined: Nov 2016
City: Cromwell
State, Province, Country: CT
Richard,
The dial was very dirty, so I had to do something.
Having heard that Philco dial paint comes off with water, I was nervous to say the least. I took a Q tip with water on it and tested it on the part number so as not to disturb the main dial. The water did not remove the ink. I used water on a soft cloth and another Q tip to tackle the worst spots.
I can tell you from past experience the 1937 sets had the water sensitive dials. My 37-610 had that problem.
Tony
“People may not remember how fast you did a job, but they will remember how well you did it”
Posts: 499
Threads: 15
Joined: Mar 2013
City: Weymouth Ma
Tony,
Great job documenting the restoration. I always liked that radio. Thanks for the tip on the dial lamps. All this information will be so very valuable when I get to mine.
Henry
Posts: 3,186
Threads: 226
Joined: May 2008
City: Omak
State, Province, Country: WA
Hello Tbone,
Yes, I have a Philco 38-10t dial that I will be extremely careful when cleaning it .
The main dial that I worry about is one from my Zenith model 908 which is a rare set .
Someone had wrote on it in pencil I used an eraser but it now lighten up a couple spots .
You really did amazing job on your radio chassis .
Sincerely Richard
Posts: 18,427
Threads: 622
Joined: Oct 2011
City: Jackson
State, Province, Country: NJ
Mineral spirits work on all of them.
People who do not drink, do not smoke, do not eat red meat will one day feel really stupid lying there and dying from nothing.
Posts: 348
Threads: 20
Joined: Nov 2016
City: Cromwell
State, Province, Country: CT
Mike,
That’s good to know. In my mind what could be milder than water. Unless of course the paint is water based, which I assume some are?
Tony
“People may not remember how fast you did a job, but they will remember how well you did it”
Posts: 4,832
Threads: 437
Joined: Jun 2011
City: Boston
State, Province, Country: Massachusetts
I could never figure out where mineral spirits are used with good results and water with problems. I found out the hard way on a GE dial glass, water is very dangerous, I stopped in time to not have a disaster. Paul
Tubetalk1
Posts: 5,652
Threads: 56
Joined: Sep 2008
City: Sandwick, BC, CA
I seem to recall that the dial in my Canadian Philco 3118B was also not damaged by water, same with the 60L, nor the model 96.The amber coloured Stromberg Carlson dials can also be damaged by water, the ones like they used in the 1937 models, I can's speak for the earlier octagon shaped dials like were used in 1935 however. Strombergs are kind of strange, in some ways they used good quality materials, but then they used washaway ink on some of their dials, Tenite plastic knobs, and escutcheons, and wafer tube sockets. They also used dial belts which are one of the more useless, and unnecessary features, whereas Rogers often used bronze cables on all but their cheap sets. Another way things can be cleaned is by using crumbs from an eraser and a cloth bag to work it around, paper restorers sometimes do this to remove dirt.
Regards
Arran
Posts: 348
Threads: 20
Joined: Nov 2016
City: Cromwell
State, Province, Country: CT
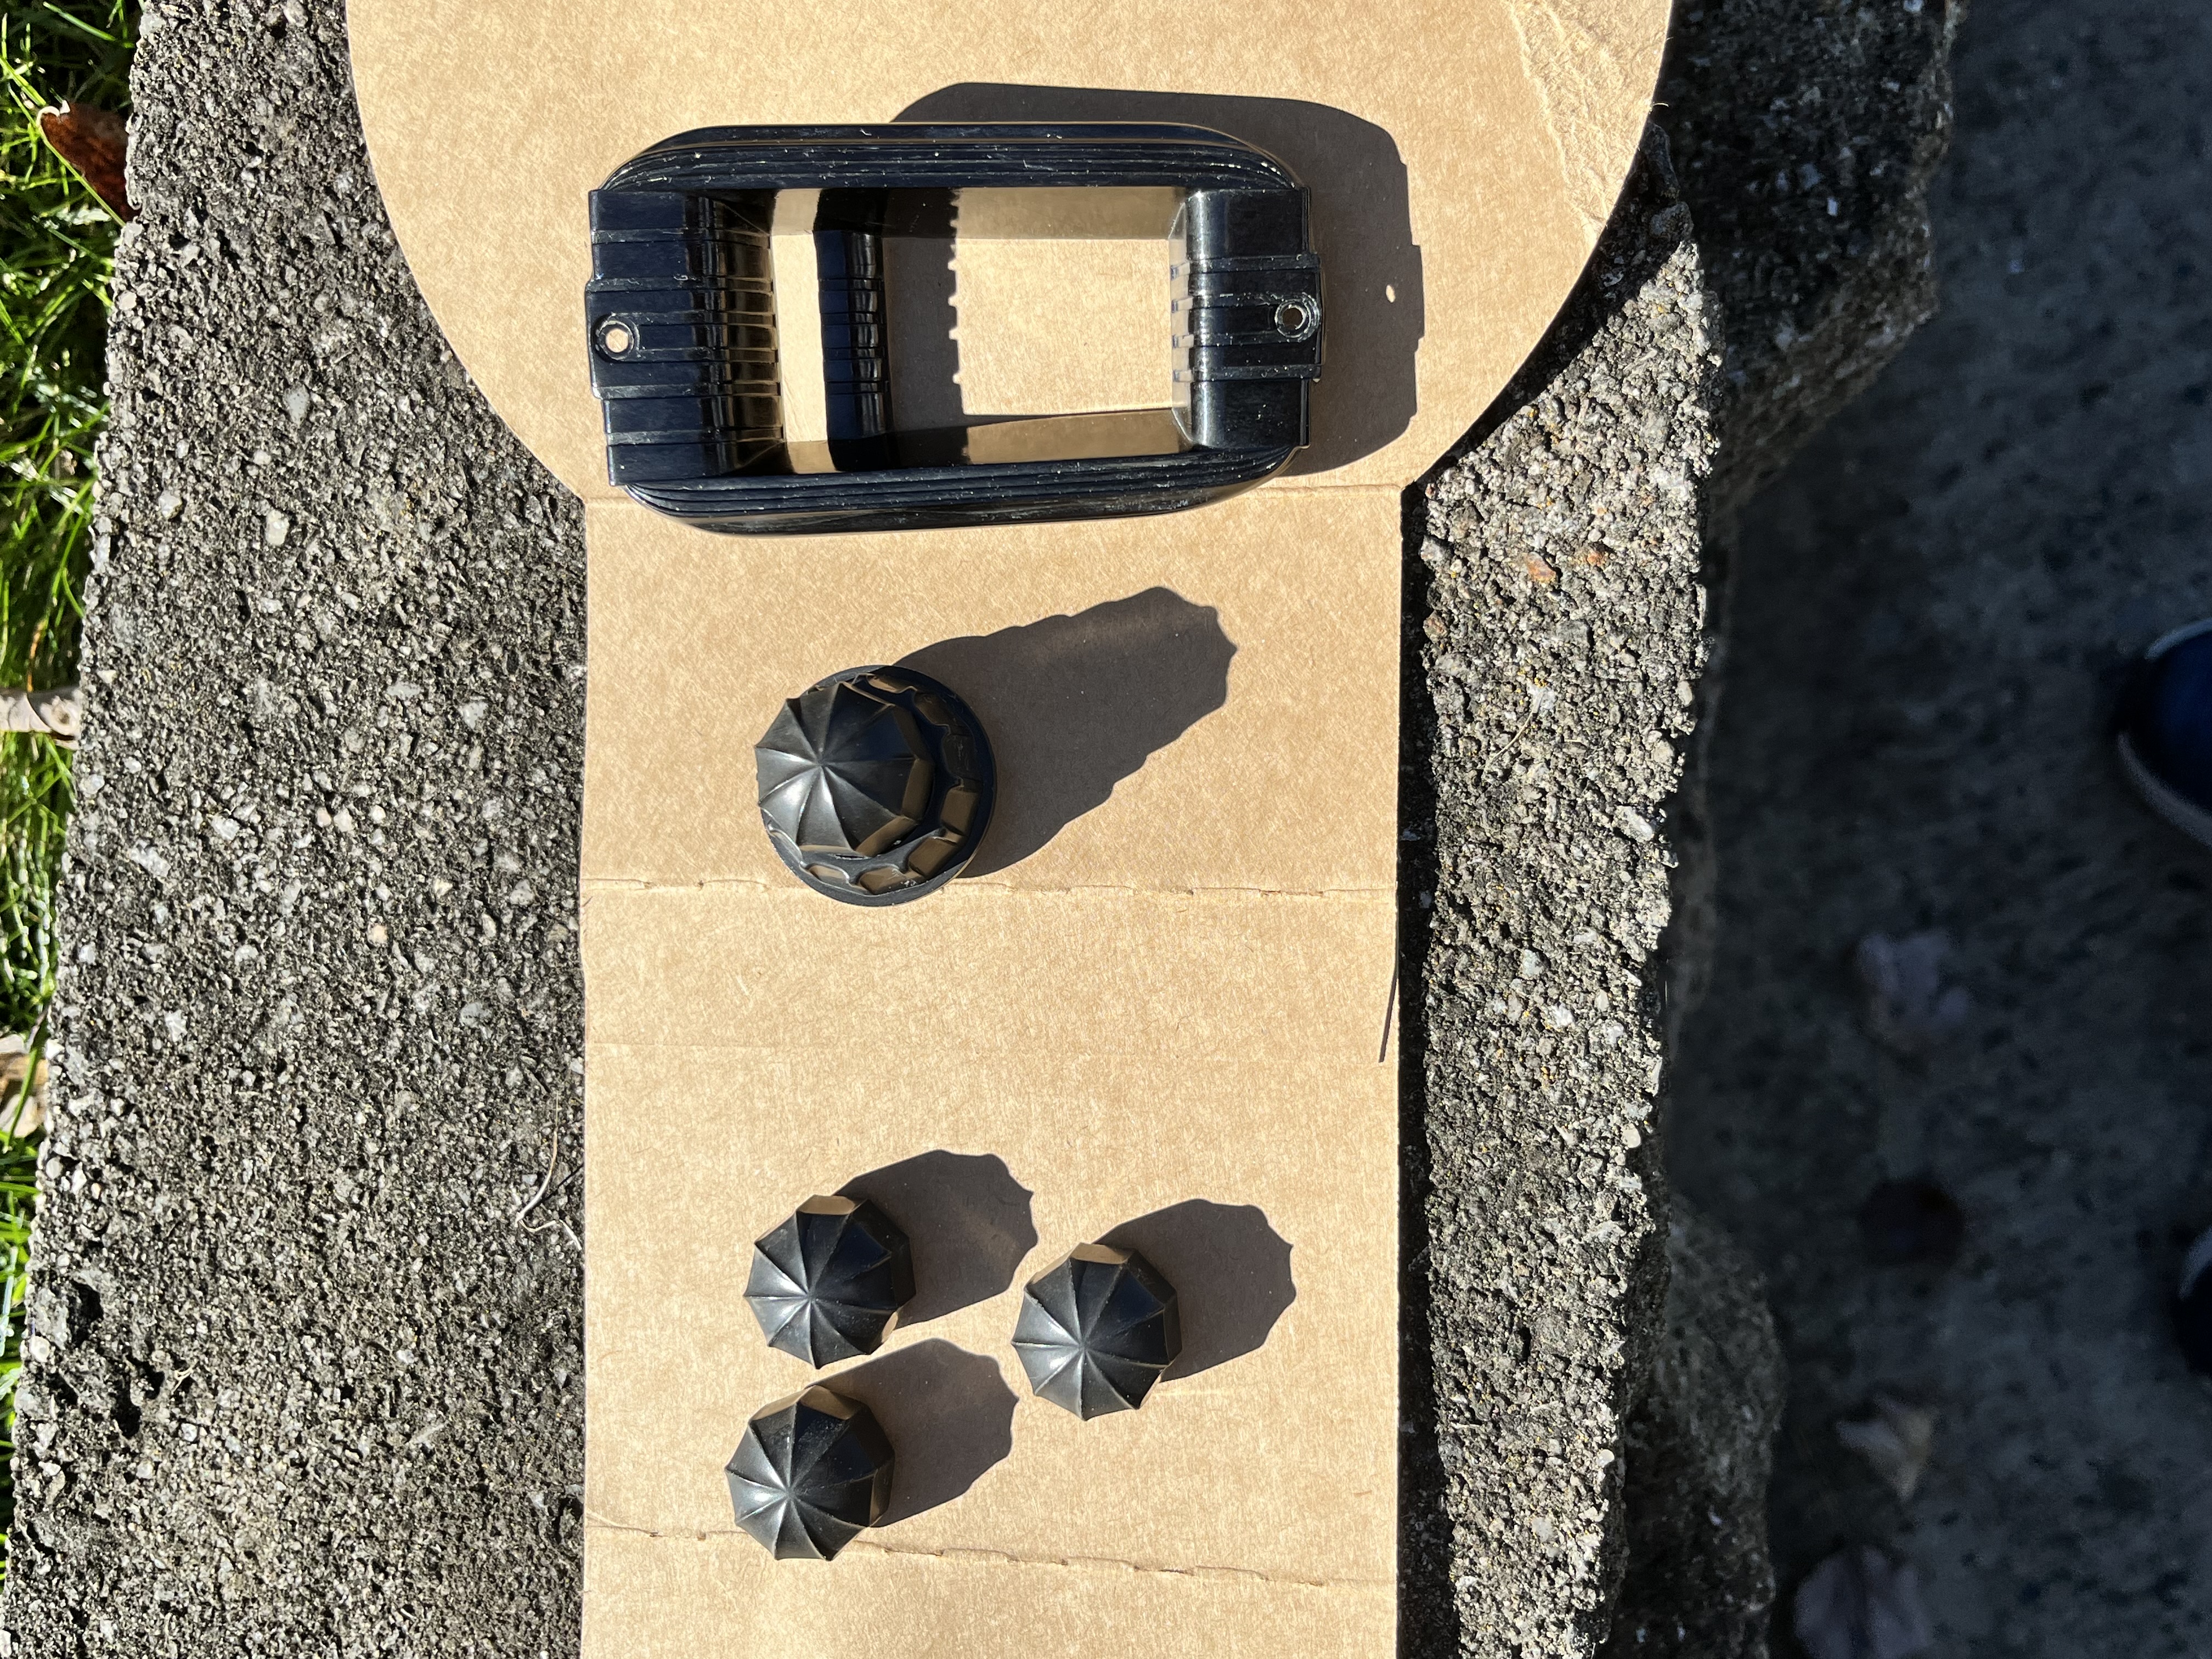
Just a quick update. Not much has happened lately. I just received the replacement grille cloth, and the knobs, escutcheon, and speaker screws were successfully cleaned down to the original finish. I still have to polish them.
The fall has been busy with yard cleanup, and will be for a couple more weeks. I’m also volunteering at the town food pantry and senior center. So far two days a week, but I suspect that may turn into three as we get closer to thanksgiving. Besides working on radios, helping out where I can is very rewarding.
I hope to finish up this week if I can. Looking forward to getting her back to Paul!
Tony
“People may not remember how fast you did a job, but they will remember how well you did it”
Posts: 348
Threads: 20
Joined: Nov 2016
City: Cromwell
State, Province, Country: CT
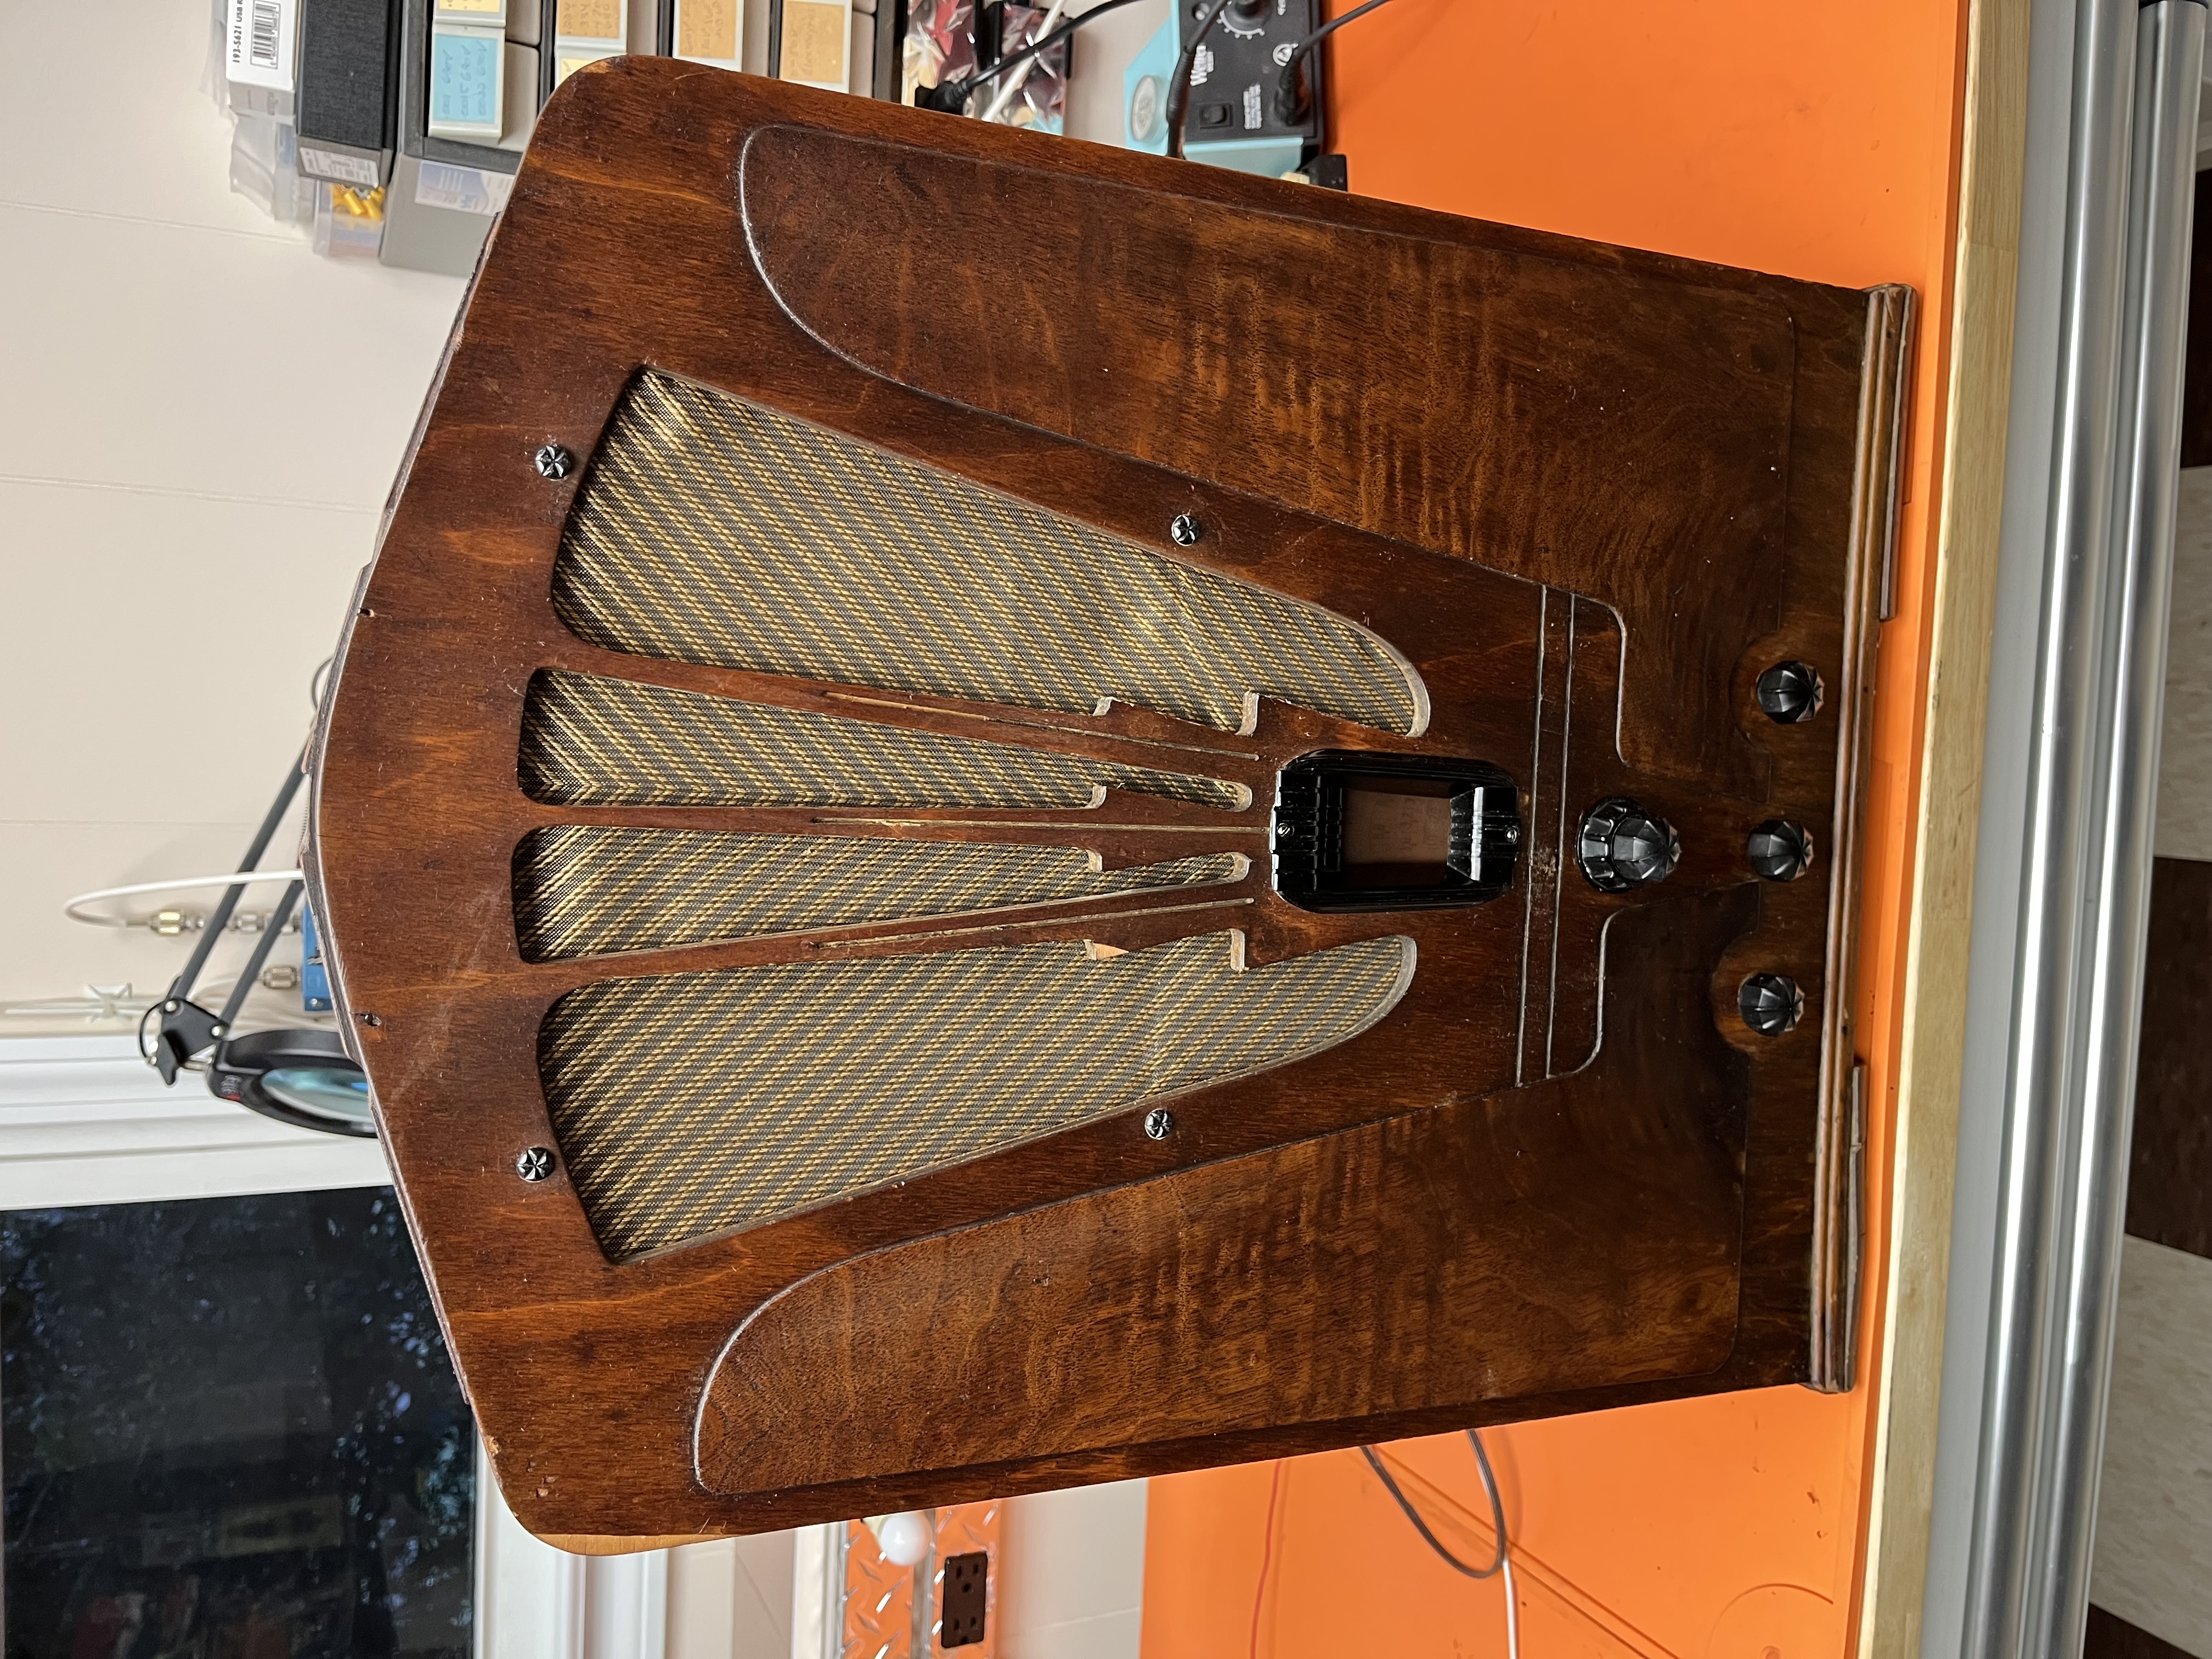
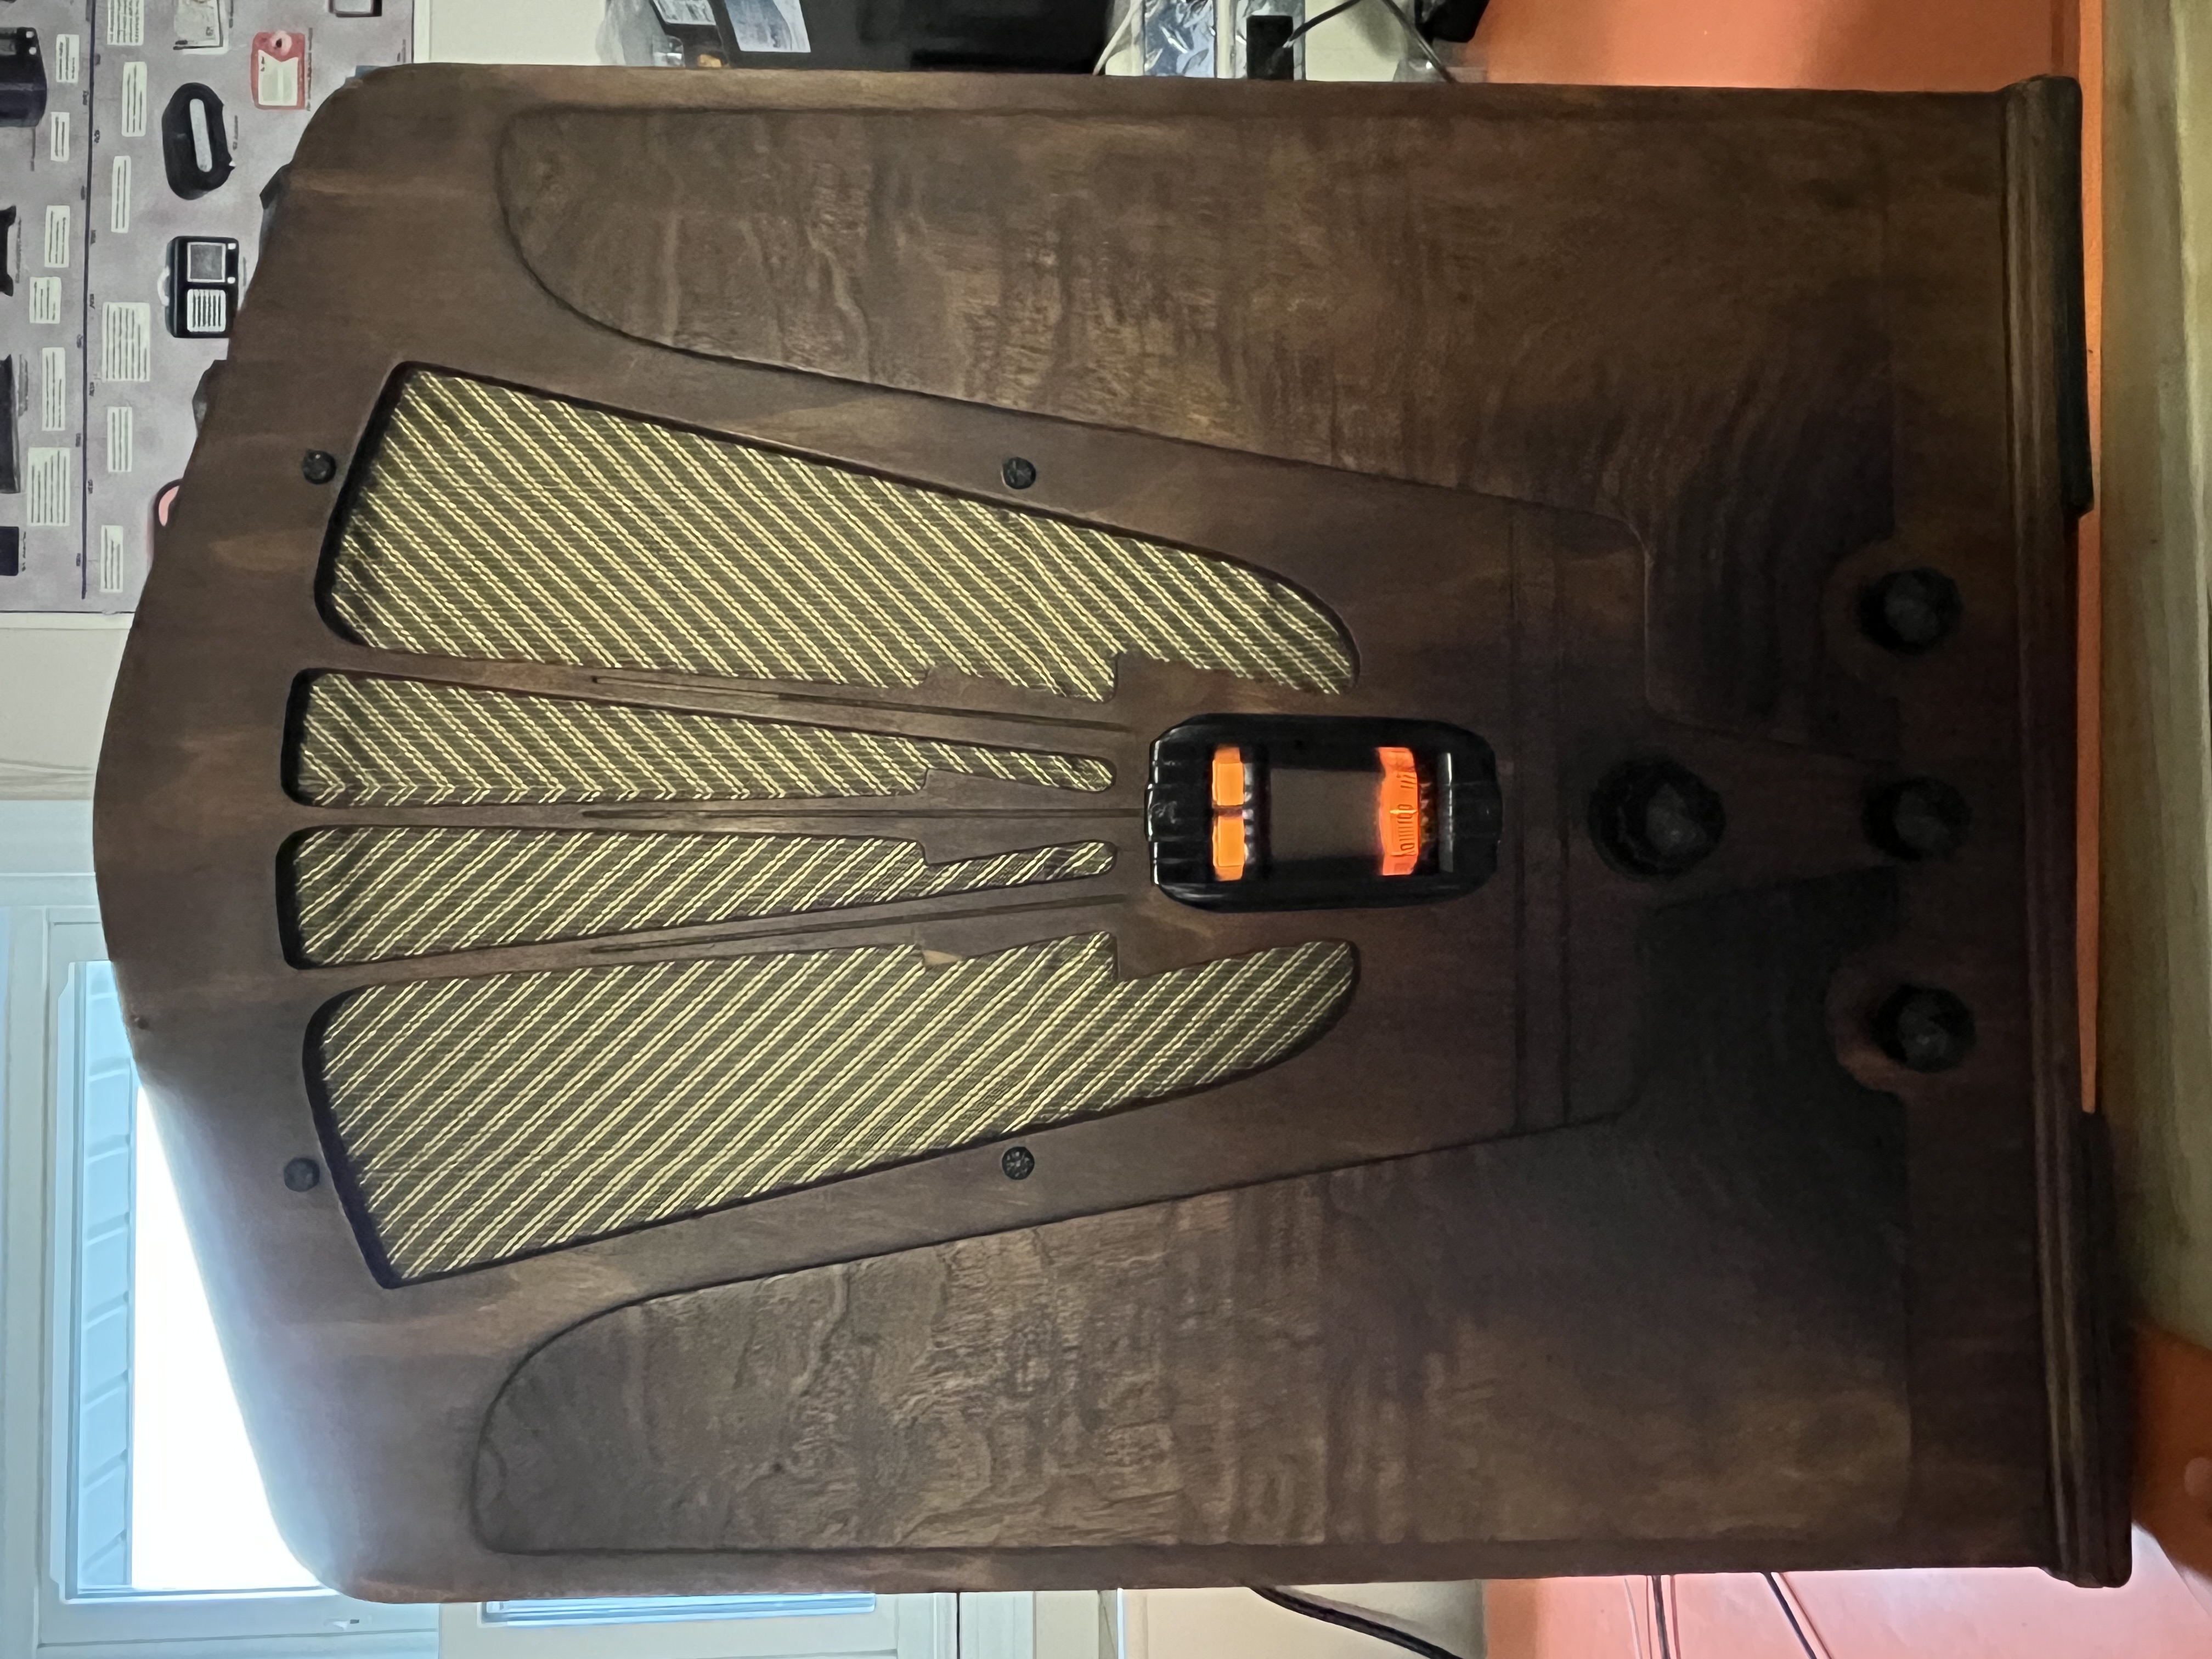
Well the electronic restoration, cabinet re-glue and cleaning are complete. The radio performs flawlessly and the cabinet looks as good as possible without a complete refinish, however I’m not happy with the grille cloth installation. It fought me all the way.
The cloth is very hard to work with and doesn’t stay tight after the glue dried. I’m not sure if the cardboard form is not thick enough, or my gluing technique was bad. I used white glue on a new cardboard form as the old one was pretty beat up.
I’m willing to start over with a new piece of cloth, but I need some pointers from the experts. Please let me know your suggestions.
Tony
“People may not remember how fast you did a job, but they will remember how well you did it”
Posts: 1,797
Threads: 55
Joined: Feb 2015
City: Roseville, MN
Aha, technique! I've found that the material makes the difference. First, the center of the baffle board is not always the center of the grille and with your pattern you'll need to know where the center runs top to bottom. You have to mount the board without the grille cloth and mark the board from the front so you can locate where the center of the grille is. Then remove the board and mark the top and bottom edges and use the marks to center the cloth on the board. Some use adhesive over the entire board and some use just an inch around the edge. I find it easier to make adjustments with the inch around the edge. I use 3M Scotch 77 spray glue. Depending on the material, dampen the cloth with a water spray then apply it to the board top to bottom keeping it taught. Make adjustments by pulling slightly. When the cloth dries it should tighten.
Posts: 18,427
Threads: 622
Joined: Oct 2011
City: Jackson
State, Province, Country: NJ
I wonder if spraying with a bit of ironing starch would help.
People who do not drink, do not smoke, do not eat red meat will one day feel really stupid lying there and dying from nothing.
Posts: 348
Threads: 20
Joined: Nov 2016
City: Cromwell
State, Province, Country: CT
I decided to order a new piece of cloth. In addition, I’m going to the craft store Monday to pick up some picture frame backing material as a new frame for the cloth. I think the corrugation of the cardboard I used had something to do with this. More solid material would definitely be better.
I tried some water on a scrap piece of cloth and it does stain, so that is out. You can iron it with a damp cloth over it with no ill effects.
Mike, I didn’t know they still made spray starch. Of course I never wore dress shirts during my working career. Worth a try.
I will say this is the hardest cloth I’ve ever worked with. It’s extremely hard to maintain the pattern when pulling it taught, but then again, maybe it’s me.
Tony
“People may not remember how fast you did a job, but they will remember how well you did it”
Users browsing this thread: 1 Guest(s)
|
|
Recent Posts
|
|
Philco P45-6365 Universal Transformer Instruction Manual
|
| Can anyone guide me to where this may be found?GRG — 03:00 PM |
|
54C Complete Teardown/Rebuild
|
| I don't think that I have encountered a 12Z3 before, curious how it uses one of those but includes a #43, which is a 25 ...Arran — 02:17 PM |
|
HiFi (Chifi) tube amp build - but my own design.
|
| It's the other forum. I'm also in DIY, but mostly read there. Honestly, I kinda jumped into this without much thought to...TV MAN — 10:43 AM |
|
Philco 71 Code 125
|
| Hello,
I am in need of a schematic for this radio. Mine has the three separate circular tube shields and a shadow me...dconant — 08:06 AM |
|
Stromberg Carlson 1500 Squeal
|
| And life just keeps getting more complicated.dconant — 07:57 AM |
|
54C Complete Teardown/Rebuild
|
| Hello Roy,
here is this one
sincerely Richardradiorich — 12:45 AM |
|
54C Complete Teardown/Rebuild
|
| Richard,
Had grabbed it already but thank you just the same. I find myself wanting to find some way to block out the...glyphmon — 12:03 AM |
|
54C Complete Teardown/Rebuild
|
| Hello roy,
here is a link to the schematic .
Sincerely Richardradiorich — 11:54 PM |
|
54C Complete Teardown/Rebuild
|
| Richard,
The Silvertone 2014 also is a transformerless set, so I am incorporating a 1:1 600 ohm audio isolation transfo...glyphmon — 11:37 PM |
|
Preliminary work on wife's Silvertone 2014
|
| Did an alignment today which was interesting. IF alignment went great, almost all was already spot-on. Adjusting on th...glyphmon — 11:35 PM |
|
Who's Online
|
There are currently 1880 online users. [Complete List]
» 1 Member(s) | 1879 Guest(s)
|
|
|

|
 
|








