Scott 16 - Restoration Begun
Posts: 1,222
Threads: 50
Joined: Oct 2017
City: Allendale, MI
Thanks, Mike, for that info. There may be a few that I'll have to do that with. but this evening I got the first row of tube sockets riveted in without a lot of difficulty. The next row is a bit more difficult as the rivets are closer and the tube shield bases get in the way. Need to make some custom bucking bars to set the rivets. So far, only very minor, invisible damage.
Posts: 2,118
Threads: 112
Joined: Jun 2010
City: Medford OR (OR what?)
(06-22-2018, 10:02 PM)mikethedruid Wrote: I know it isn't original, but I just replace the rivets with little pan head screws, internal lock washers, and little hex nuts. Less chance of damaging anything putting them in, and you don't need special tools. Of course, someone really picky may notice it, but that's THEIR problem for being too anal about such things. It's how we did it back in the day, and it's good enough for me now.
That is what most people do - that is what I have done, especially if it is only one, say, a socket replacement on an average radio. BUT after you pay $400 or more to have a chassis re-chromed it is hard to settle for non-stock hardware. So keep that hammer warmed up - -
"I just might turn into smoke, but I feel fine"
http://www.russoldradios.com/
Posts: 1,222
Threads: 50
Joined: Oct 2017
City: Allendale, MI
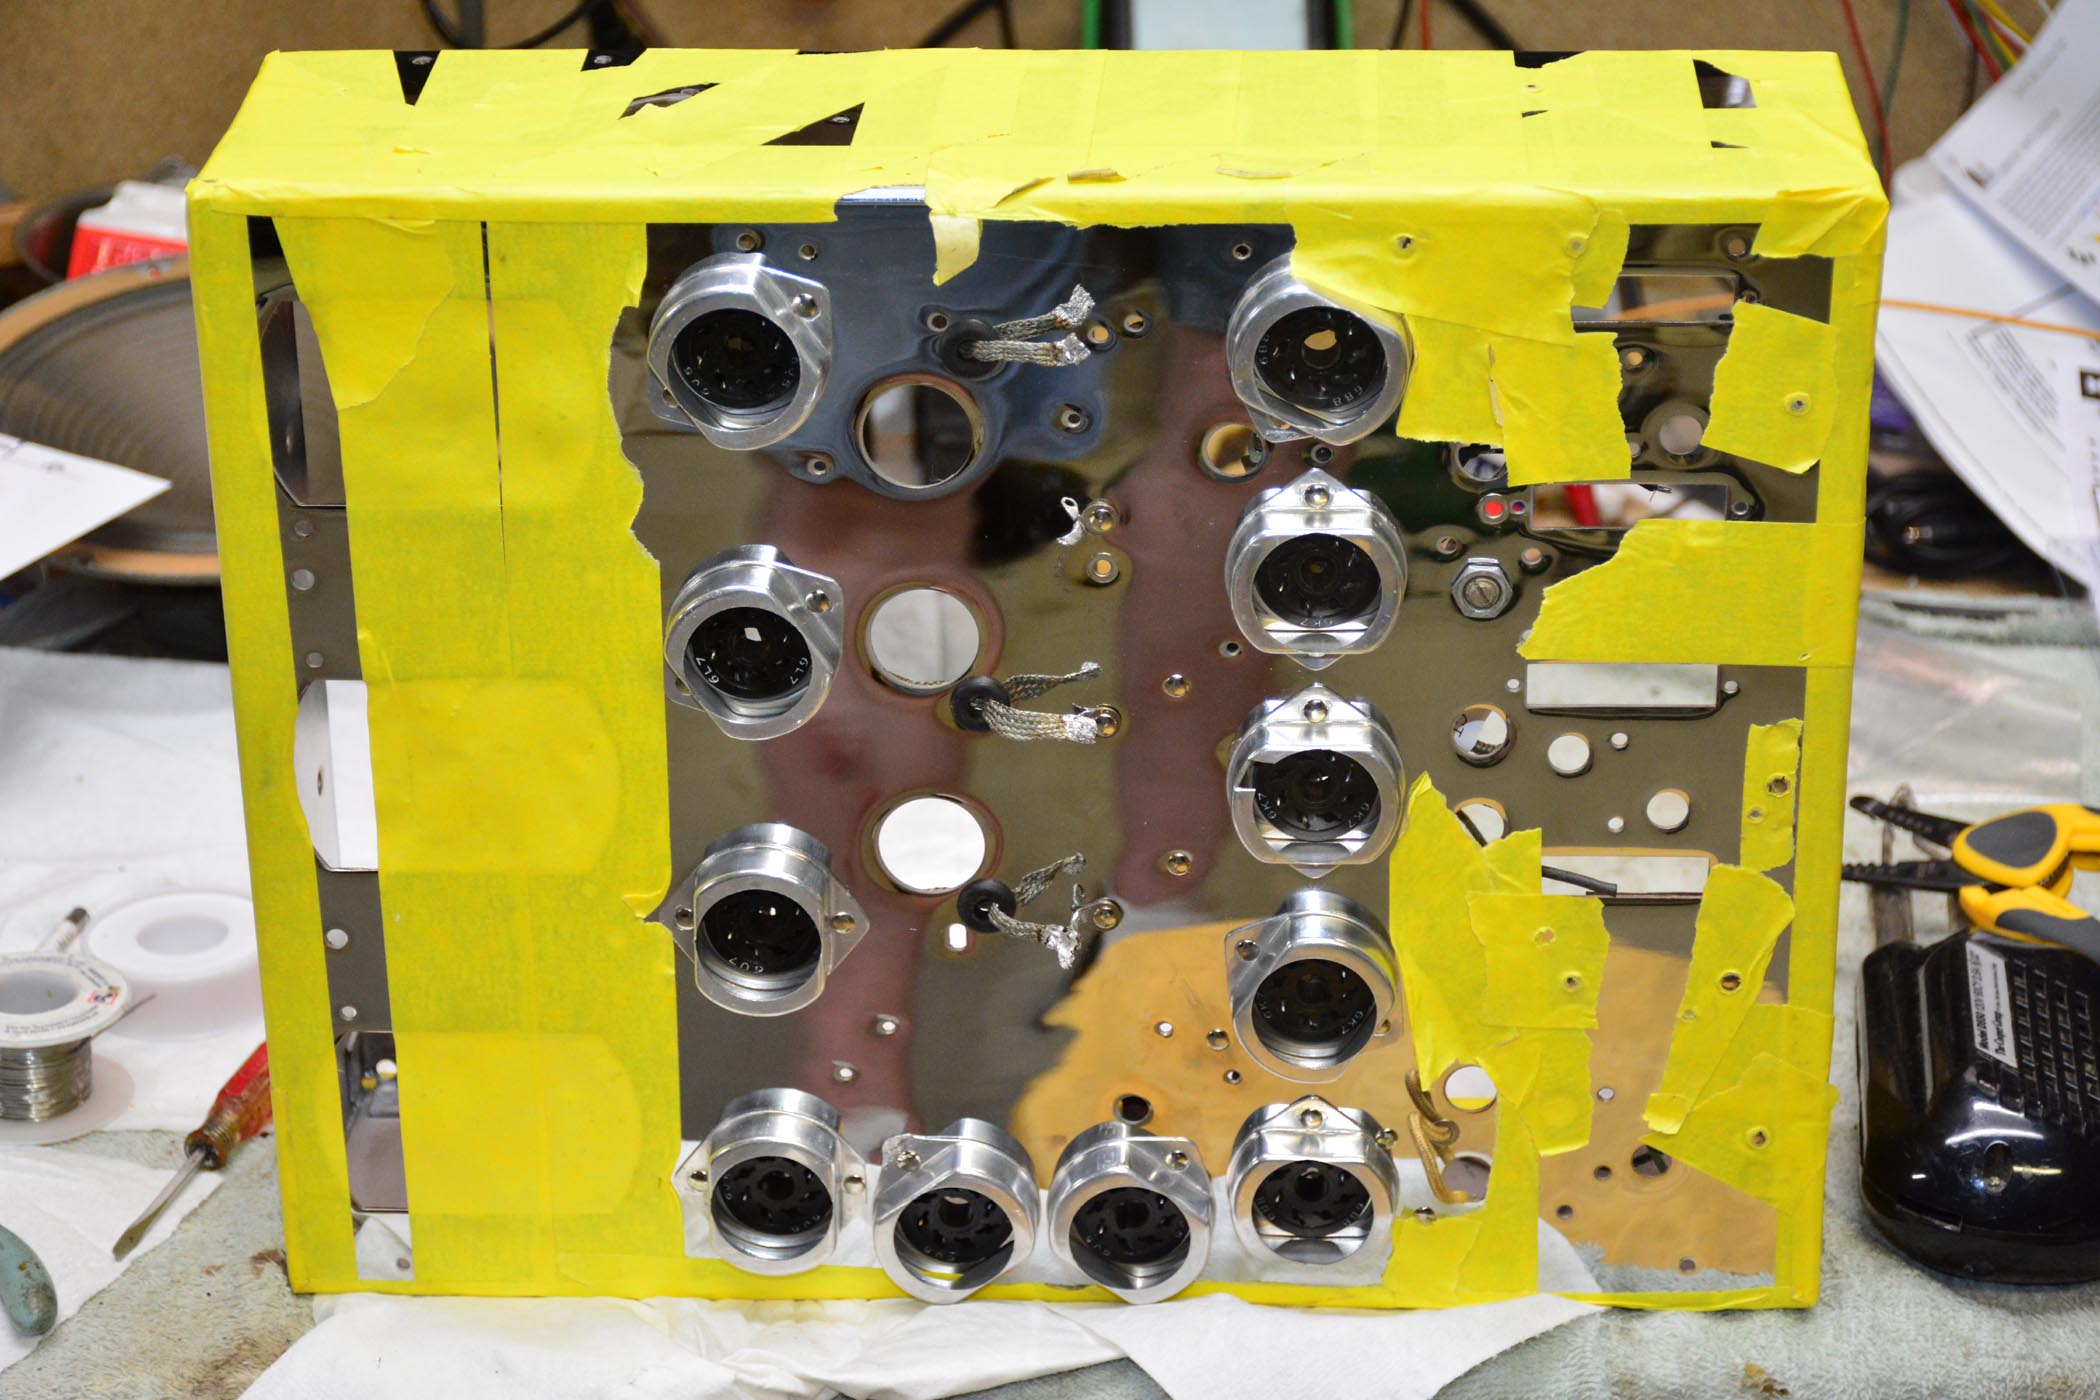
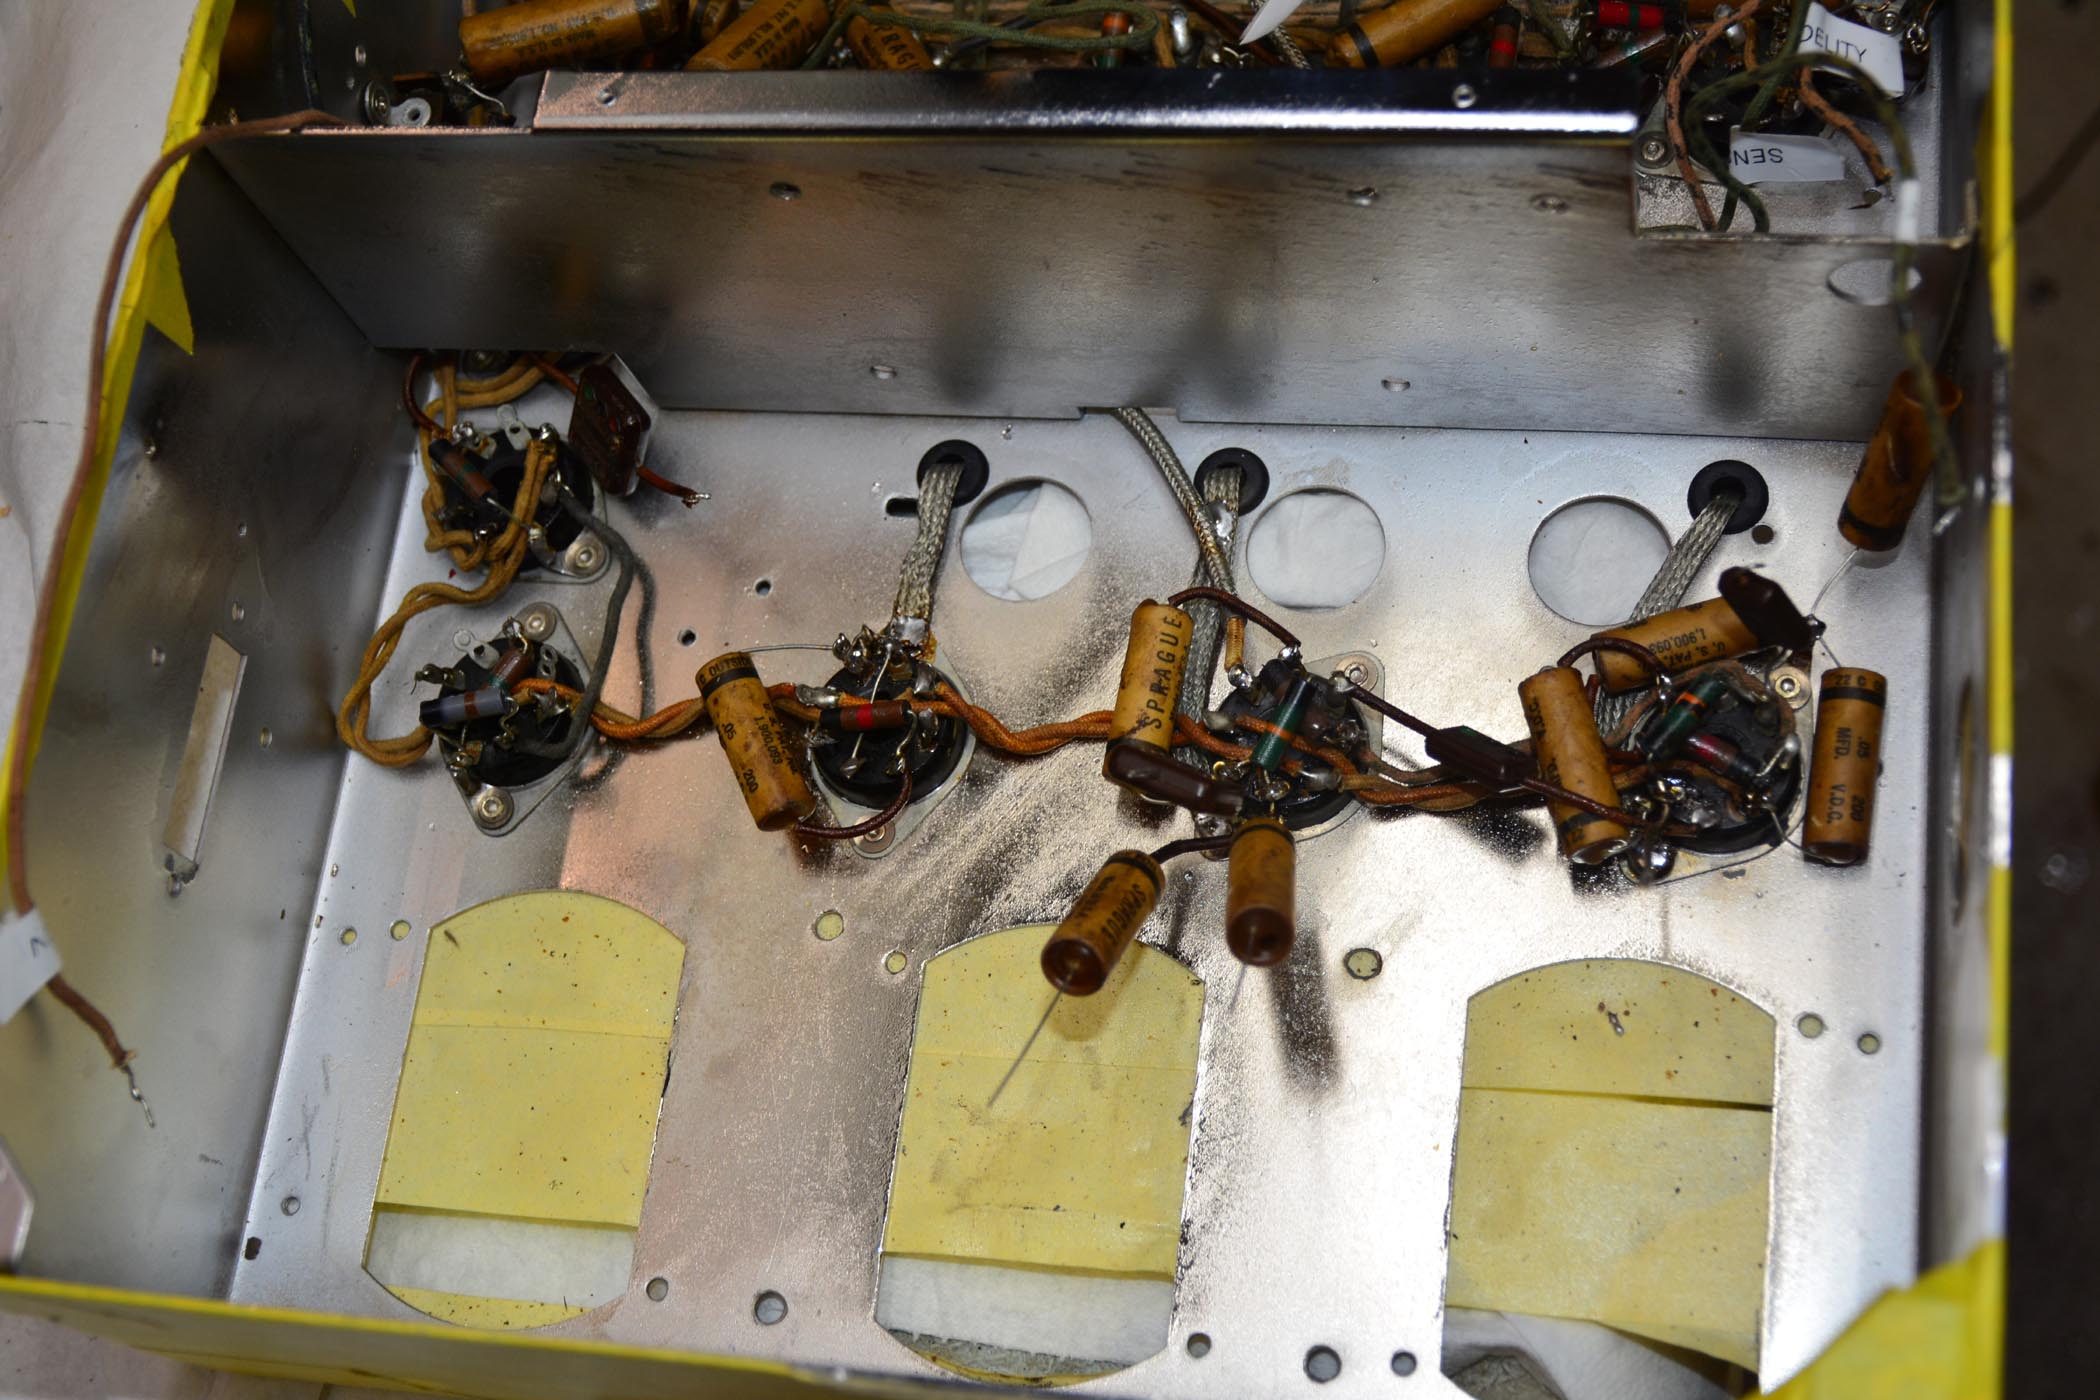
Here's where I'm at so far. Tube sockets and several terminal strips have been riveted in place. A few tubular caps have been re-stuffed with a lot more to go.
Chassis with some protective masking tape:
These caps re-stuffed and resistors checked:
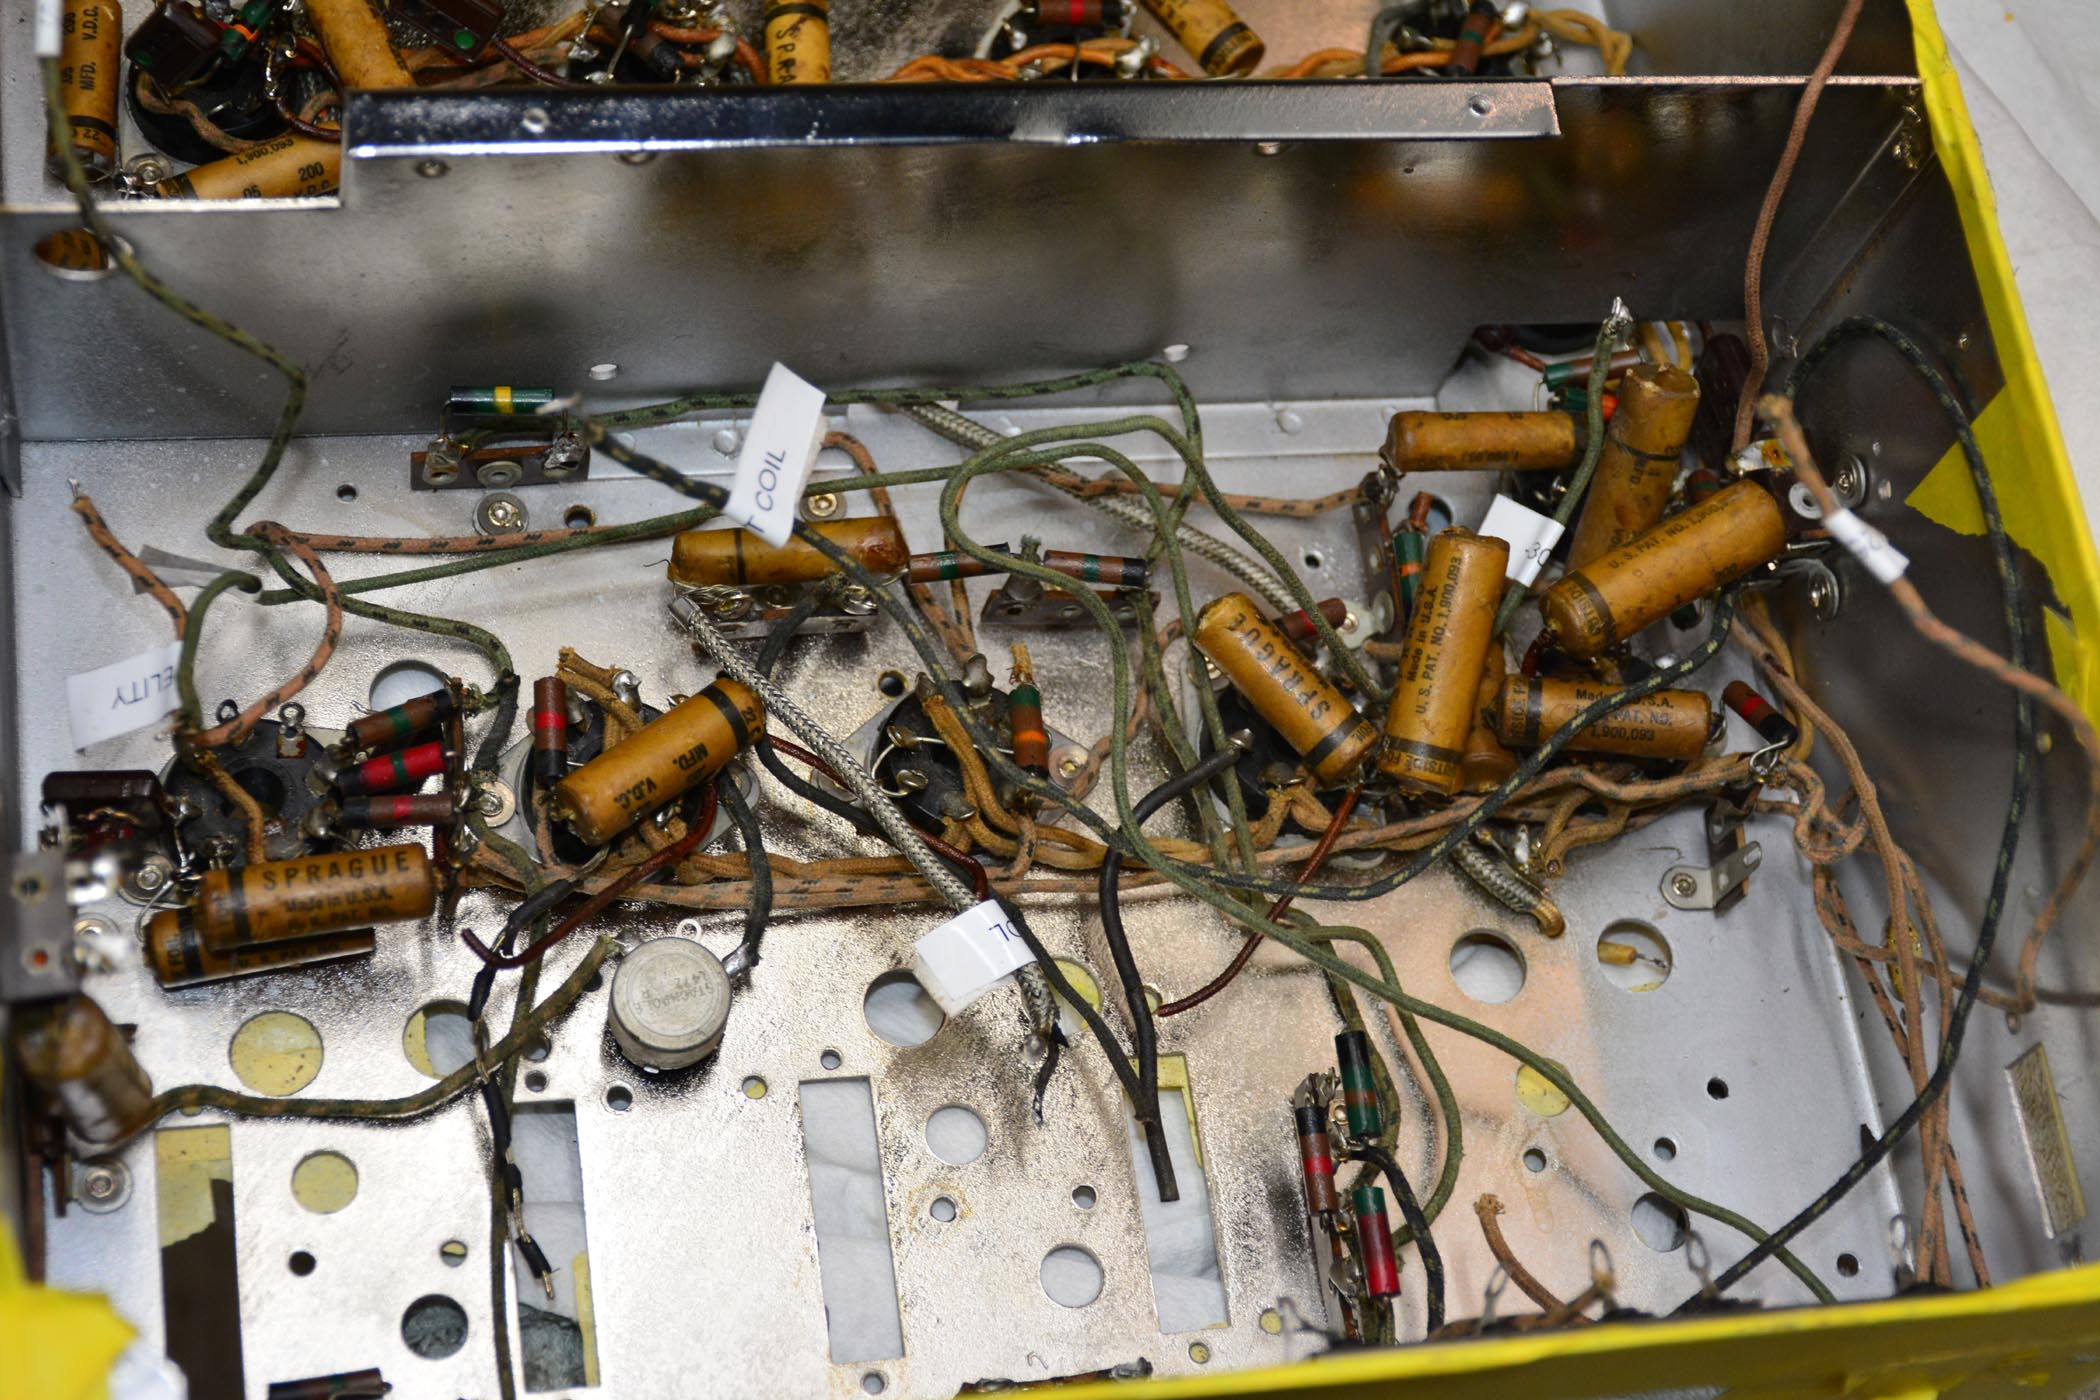
These caps are next:
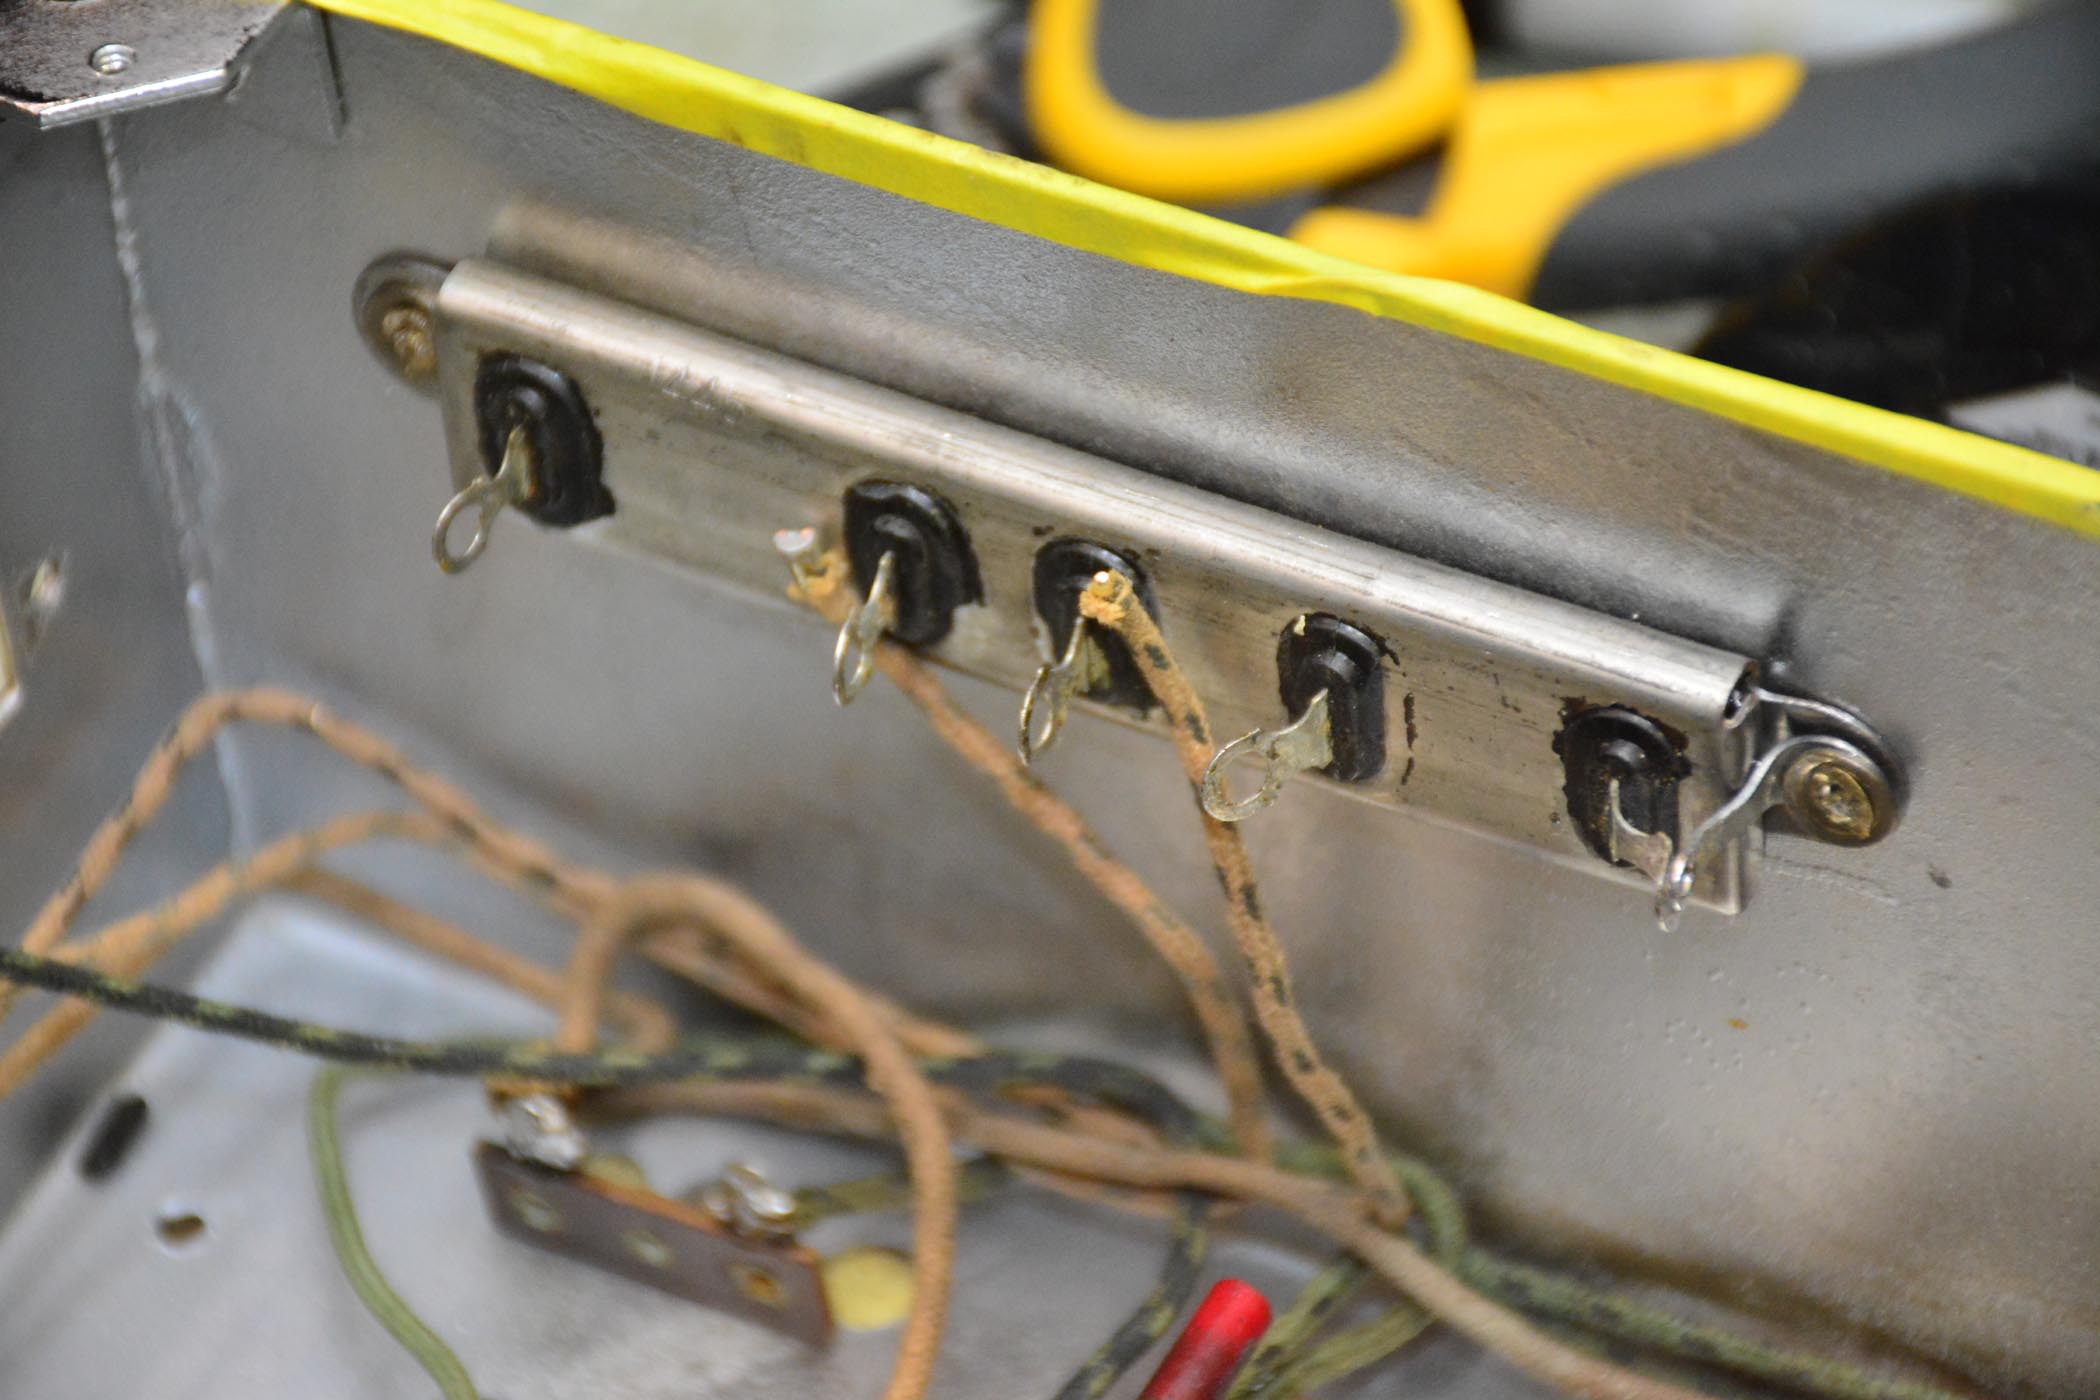
The candohm resistor was opened up and the entire insides were encapsulated in some sort of resin. I took a dremel tool and cut through the resin and the windings to open up all of the sections. I'll use the terminals as a terminal strip to hide the black Dale resistors as best I can.
Posts: 1,222
Threads: 50
Joined: Oct 2017
City: Allendale, MI
Posts: 1,519
Threads: 69
Joined: Nov 2012
City: Kansas city, MO.
Great looking work on the Scott 16.  I was wondering how you were coming along with the restoration.
Posts: 1,222
Threads: 50
Joined: Oct 2017
City: Allendale, MI
Just recently got back to it. Was out of commission for a couple of months.
Posts: 1,222
Threads: 50
Joined: Oct 2017
City: Allendale, MI
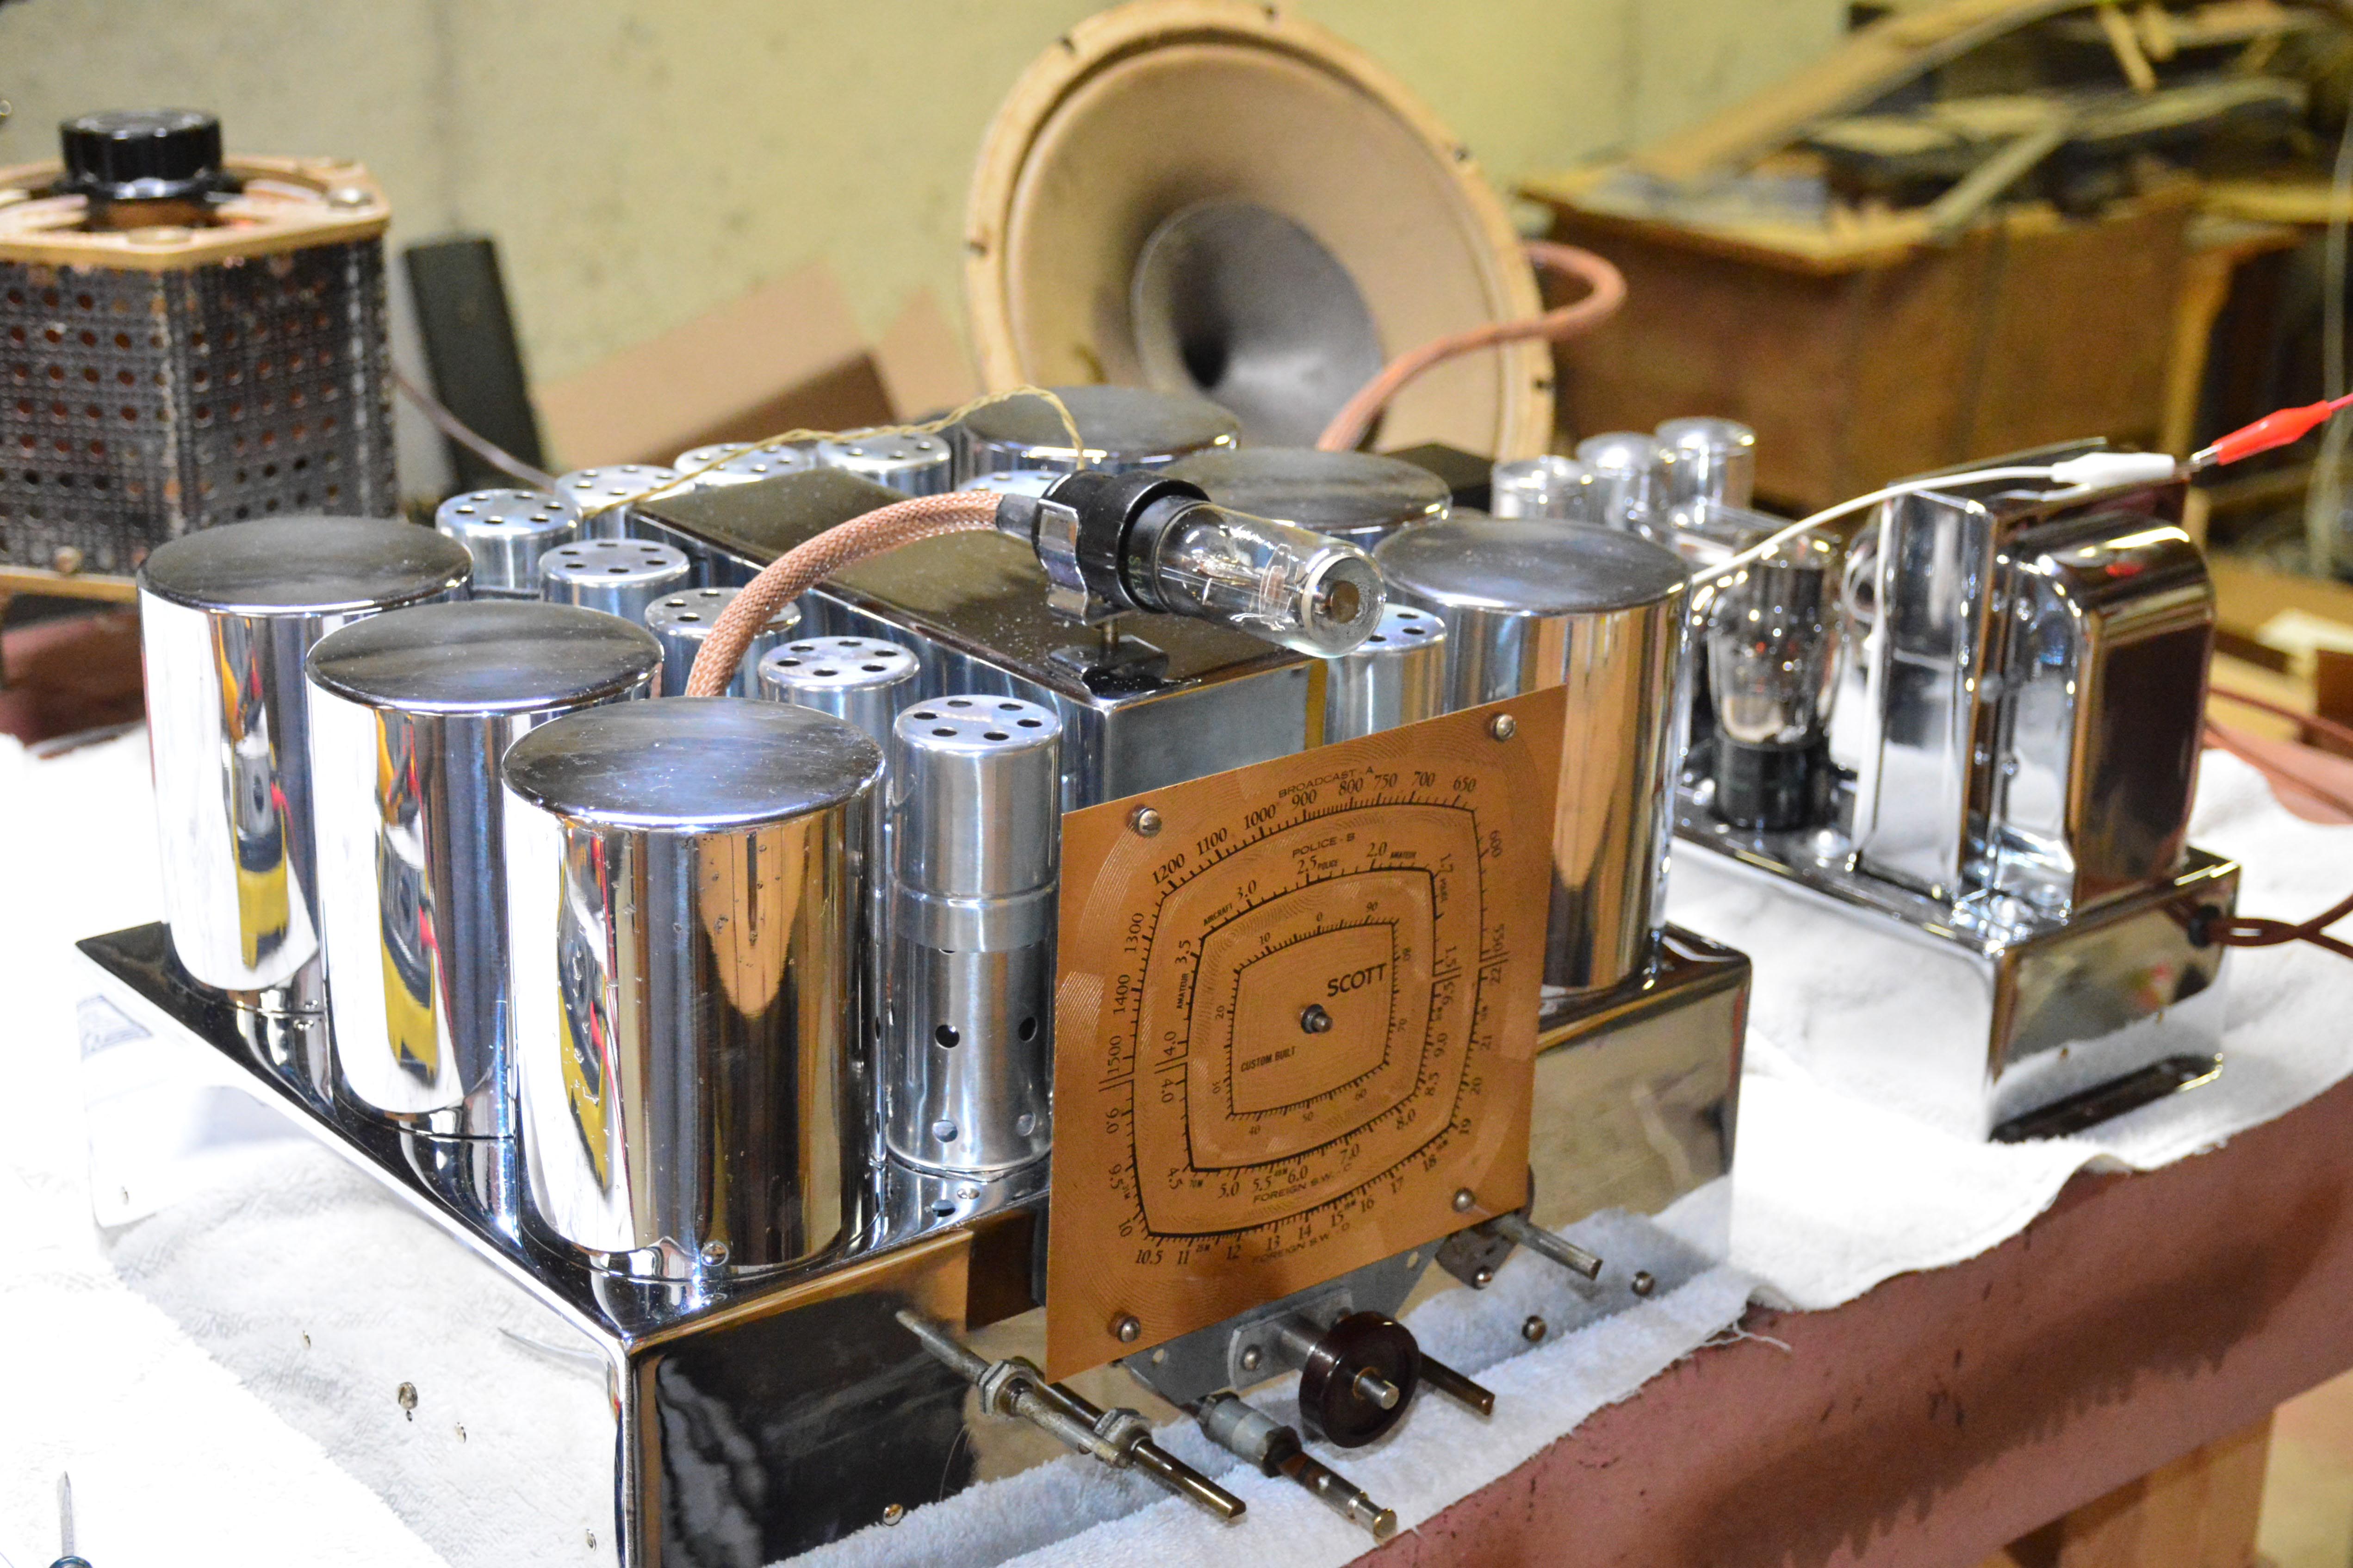
I love it when things work first shot out of the box! Powered it up slowly this evening. Started to get stations all across the dial at about 75 volts. Works great at full voltage with all bands pulling in stations. Now for a complete alignment and a few other minor things such as dial needle and dial lights. Then the cabinet. Nice to finally be this far.
Posts: 1,519
Threads: 69
Joined: Nov 2012
City: Kansas city, MO.
First power up. That's always the exciting part to me after hours of working on a radio.
Will it work or not. 
Posts: 1,222
Threads: 50
Joined: Oct 2017
City: Allendale, MI
The proper IF frequency for this radio is 465kc. I suspect it had been set at 455 at some point in time as I had to turn the trim caps a considerable amount to peak it at 465. Then, my dial was off by about 10kc. I've realigned everything and all bands now track very well. Things seem to work quite well. It sounds pretty good even with the speaker out in the nude. However, it's still AM with all of the associated noise. I like FM! Now I need to attend to the cabinet.
Posts: 1,222
Threads: 50
Joined: Oct 2017
City: Allendale, MI
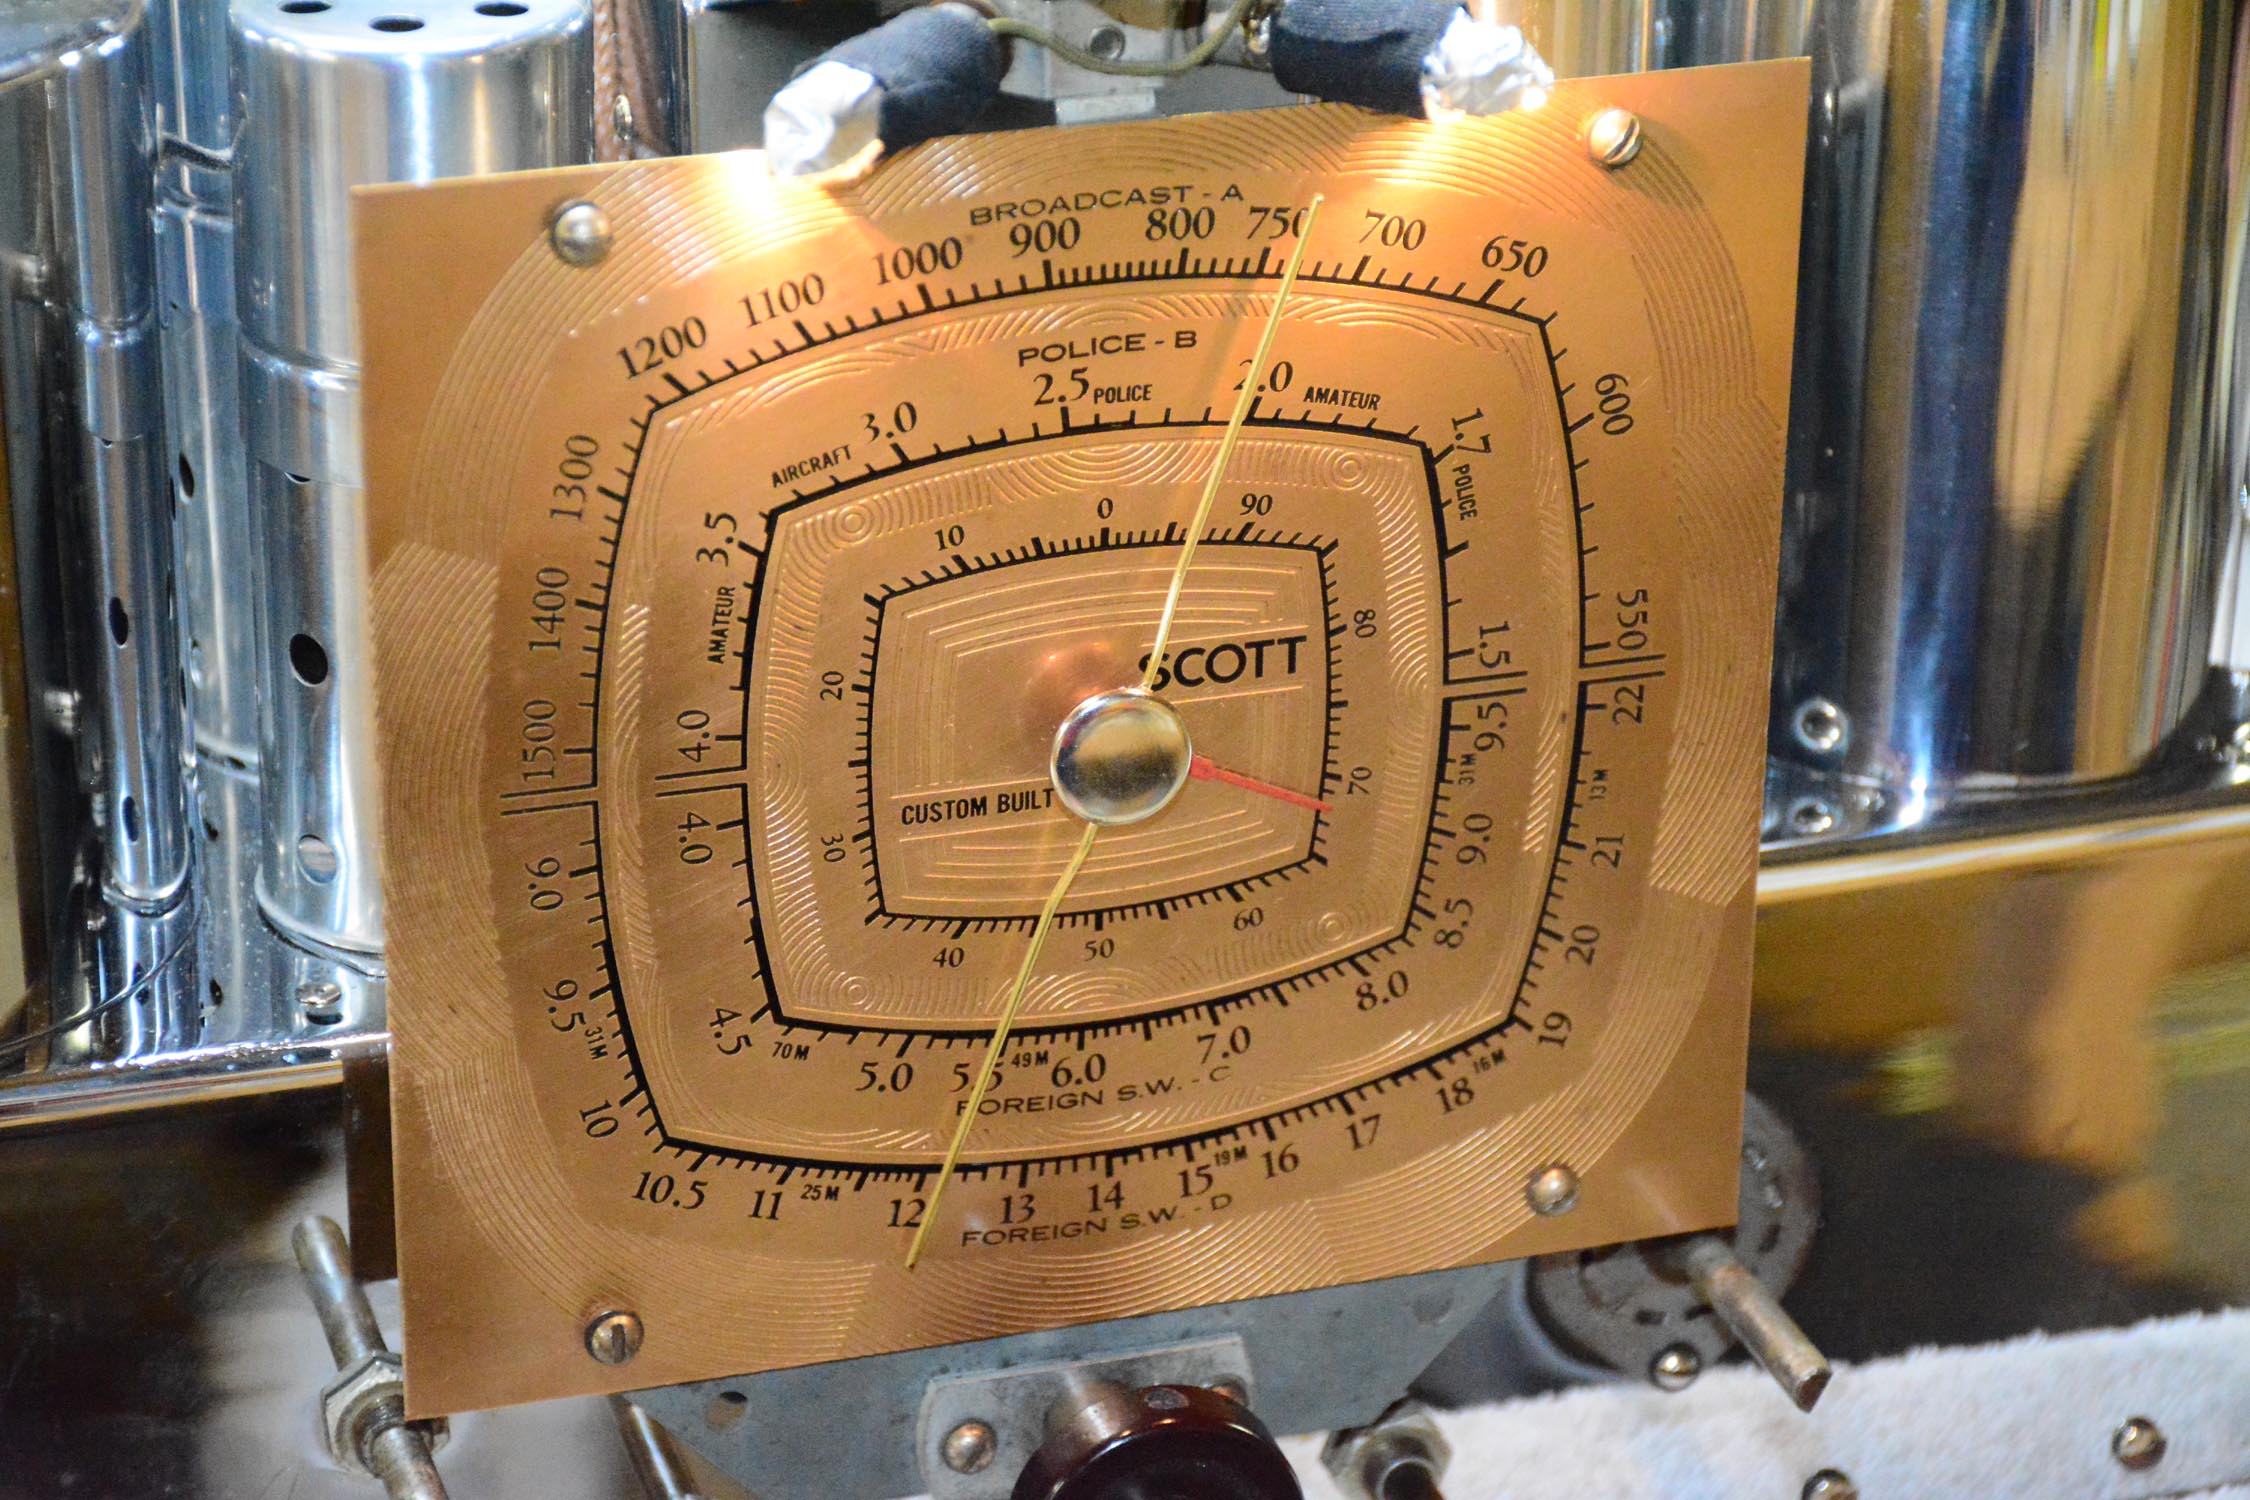
Until such time as I can find an original needle for the dial, this will have to do. It works and doesn't look too bad.
Posts: 1,222
Threads: 50
Joined: Oct 2017
City: Allendale, MI
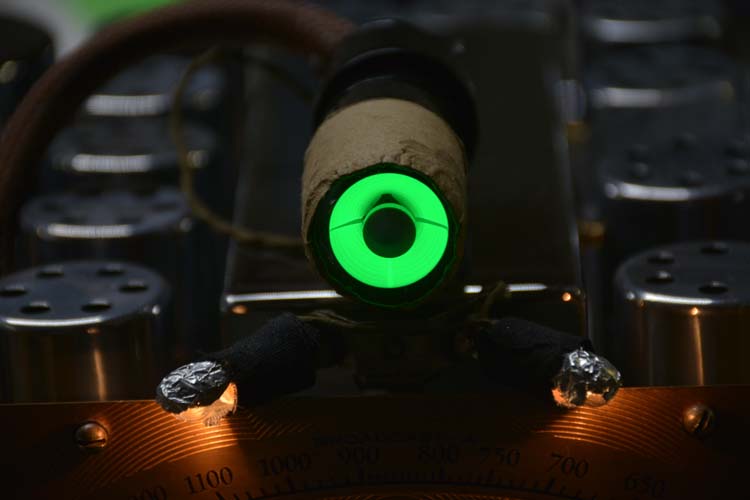
I needed a new 6E5 for this radio and found some cheap Toyo brand on Ebay. I decided to try them. It's nice and bright but the gain in the triode section must be pretty high. Most stations fully close the eye even though the control for eye sensitivity is turned all the way down! I should be able to modify that. Nice to have such a bright indicator.
Posts: 102
Threads: 14
Joined: Jul 2017
City: Bakersfield, CA
I'd love to see the rest of what you've done. I have a 16 and am very interested in what a complete job you've done. Is there more somewhere?
Scott
Posts: 1,222
Threads: 50
Joined: Oct 2017
City: Allendale, MI
This thread is it, Scott. But it is 4 pages long! Starts at the beginning with a complete strip down and re-chroming, and ends up here. If you have questions, please feel free to ask! You can post here or PM me. I'd love to help!
The radio chassis still sits on one of my benches. The Acousticraft cabinet still needs to be refinished. It sound pretty good even though the speaker is not in a cabinet. All capacitors were re-stuffed and all of the resistors were replaced (but not molded to look original.) Both of the chassis were re-chromed but the IF shield cans were not - maybe someday if I find a reliable shop. I have a couple of EH Scott Philharmonic's now that I'm more interested in! The one I have running is awesome!
(This post was last modified: 04-26-2020, 12:35 AM by rfeenstra.)
Users browsing this thread: 2 Guest(s)
|
|
Recent Posts
|
|
Philco 71 Code 125
|
| Hello,
I am in need of a schematic for this radio. Mine has the three separate circular tube shields and a shadow me...dconant — 08:06 AM |
|
Stromberg Carlson 1500 Squeal
|
| And life just keeps getting more complicated.dconant — 07:57 AM |
|
54C Complete Teardown/Rebuild
|
| Hello Roy,
here is this one
sincerely Richardradiorich — 12:45 AM |
|
54C Complete Teardown/Rebuild
|
| Richard,
Had grabbed it already but thank you just the same. I find myself wanting to find some way to block out the...glyphmon — 12:03 AM |
|
54C Complete Teardown/Rebuild
|
| Hello roy,
here is a link to the schematic .
Sincerely Richardradiorich — 11:54 PM |
|
54C Complete Teardown/Rebuild
|
| Richard,
The Silvertone 2014 also is a transformerless set, so I am incorporating a 1:1 600 ohm audio isolation transfo...glyphmon — 11:37 PM |
|
Preliminary work on wife's Silvertone 2014
|
| Did an alignment today which was interesting. IF alignment went great, almost all was already spot-on. Adjusting on th...glyphmon — 11:35 PM |
|
54C Complete Teardown/Rebuild
|
| The main problem with adding a Bluetooth input is that this set lacks a traditional power transformer to isolate it from...radiorich — 11:19 PM |
|
54C Cabinet Refinish
|
|
I started stripping this cabinet before it got super chilly out because I knew I wasn't going to be able to work on ...glyphmon — 11:18 PM |
|
54C Complete Teardown/Rebuild
|
| While I'm waiting to wrap up the final steps on my wife's Silvertone 2014, I started disassembly on the next project. O...glyphmon — 11:07 PM |
|
Who's Online
|
There are currently 1666 online users. [Complete List]
» 1 Member(s) | 1665 Guest(s)
|
|
|

|
 
|