Philco PT-69 (Done), 38-62 (Done) & 41-22CL Resto Chronicles
Posts: 4,106
Threads: 310
Joined: Nov 2013
City: Kings Park NY
Thanks guys,
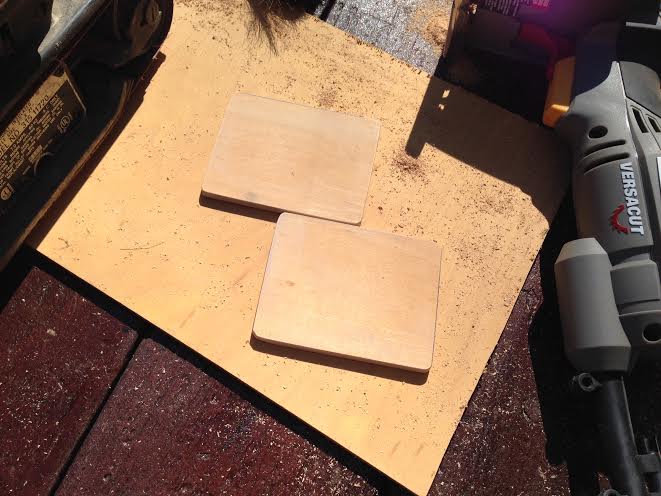
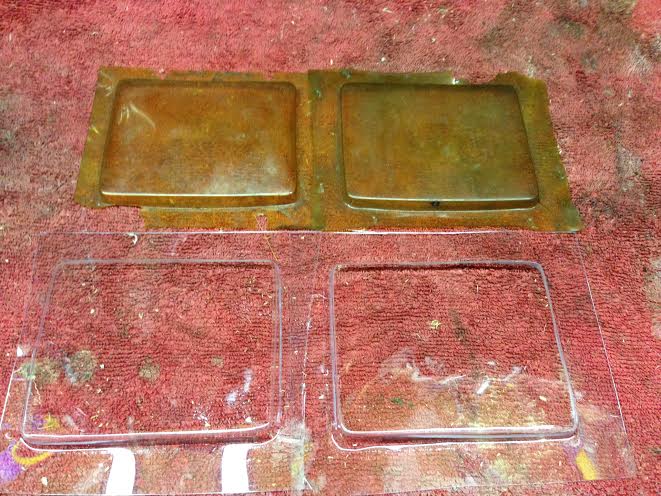
I am happy to see that people like the restorations. Pointing out issues is always welcome too. I made the molds today for the new dial covers and made one for the clock and one for the dial. There was about an 1/8 of an inch size difference so I had to make 2 instead of one.
Here are the new covers:
Times I have been electrocuted in 2021
As of 1/01/2021
AC: 4 DC: 1
Last year: 6
(This post was last modified: 04-10-2014, 09:17 AM by OldRestorer.)
Posts: 4,106
Threads: 310
Joined: Nov 2013
City: Kings Park NY
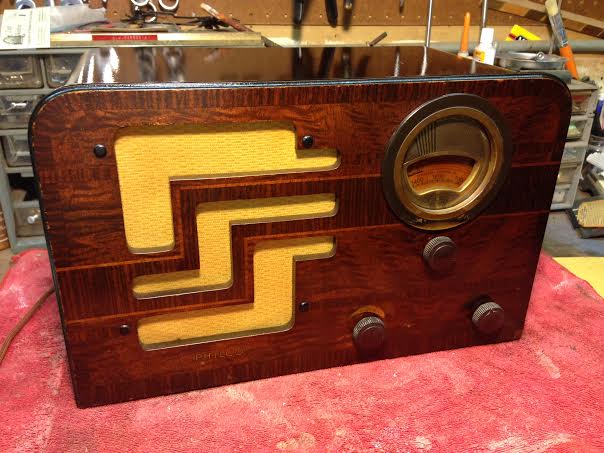
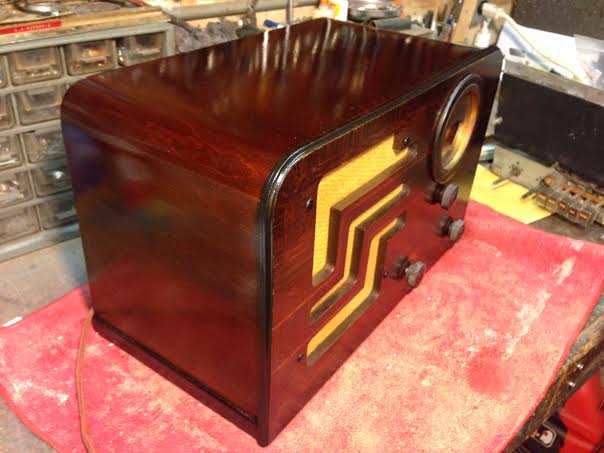
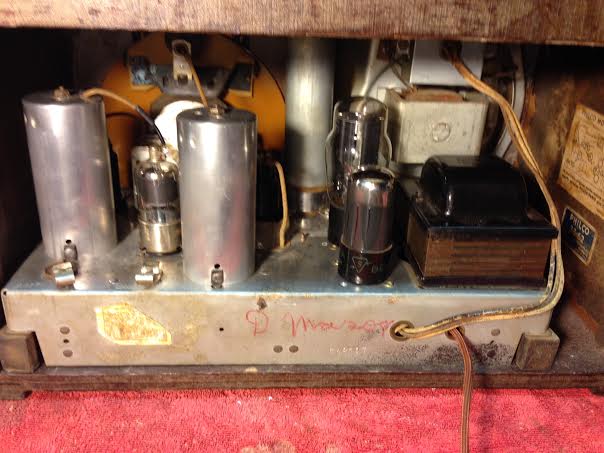
I had amazing weather today and after all my work and stuff I finished my Philco 38-62.
I waxed the heck out of it with Johnsons Paste wax and buffed her out. Put the chassis and speaker back in and cleaned the bakelite knobs with soap and water. Then gave them a shine with Brasso.
Here she is:
Times I have been electrocuted in 2021
As of 1/01/2021
AC: 4 DC: 1
Last year: 6
(This post was last modified: 04-10-2014, 05:52 PM by OldRestorer.)
Posts: 4,106
Threads: 310
Joined: Nov 2013
City: Kings Park NY
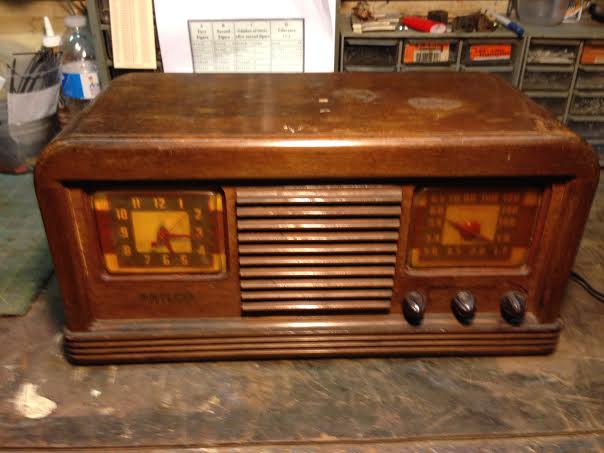
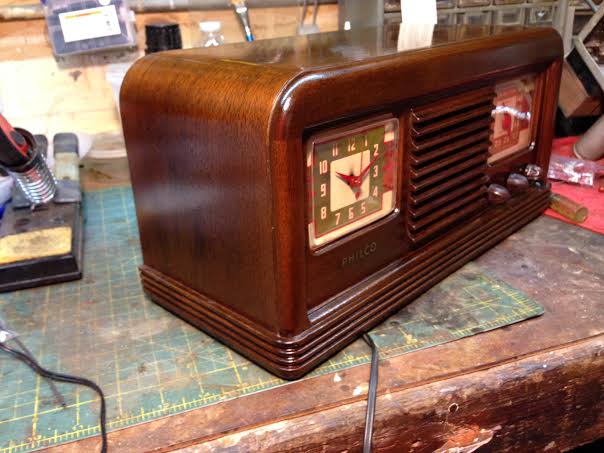
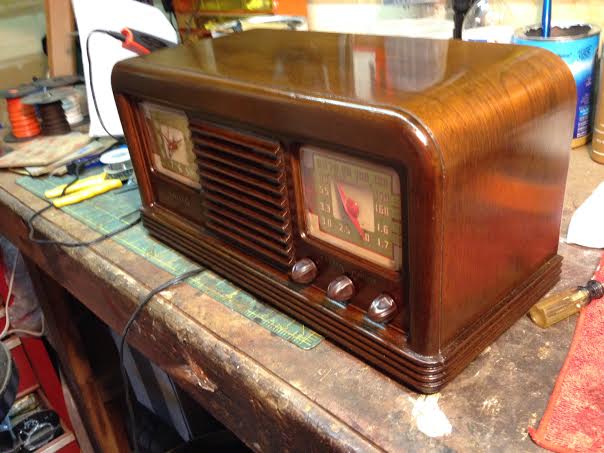
Well after 2 weeks of searching and talking and learning I have just about perfected my method for restoring cabinets.
I took out my 41-22CL and got working this morning. decals, about 4 coats of clear and then 400,800,1000,1500,2000 sanding. Last was the 5 coats of Johnsons wax.
Here she is all finished:

Times I have been electrocuted in 2021
As of 1/01/2021
AC: 4 DC: 1
Last year: 6
Posts: 214
Threads: 16
Joined: May 2010
City: Kokomo, IN
Posts: 3,164
Threads: 59
Joined: Apr 2011
City: Lexington, KY
Very nice Kirk, it looks beautiful.
John KK4ZLF
Lexington, KY
"illegitimis non carborundum"
Posts: 761
Threads: 56
Joined: Jul 2013
City: Kentucky
Excellent work! Great job!
The artist formerly known as Puhpow! 8)
Posts: 16,533
Threads: 573
Joined: Oct 2011
City: Jackson
State, Province, Country: NJ
I am tired of saying "great job Kirk" so I will say it this time, and then please apply it accordingly to all future jobs.
Great job, Kirk!
Posts: 4,106
Threads: 310
Joined: Nov 2013
City: Kings Park NY
Be original Michael!
Im gonna take down my other radios and redo the cabinets this way since I finally found a harder but finer way to do it.
I am done with the constant posting in the cabinet forums for my restorations. I think you all get the gist of my restorations. Im done hogging the boards. Its your turn guys and gals!
Times I have been electrocuted in 2021
As of 1/01/2021
AC: 4 DC: 1
Last year: 6
Posts: 3,164
Threads: 59
Joined: Apr 2011
City: Lexington, KY
Kirk, so your new method is 400,800,1000,1500,2000 sanding followed by paste wax? Are you doing this sanding between coats or only after the final? And how many coats are you applying?
I think you should consider doing a cabinet with step-by-step instructions and pictures.
John KK4ZLF
Lexington, KY
"illegitimis non carborundum"
Posts: 16,533
Threads: 573
Joined: Oct 2011
City: Jackson
State, Province, Country: NJ
Yes. And all ingredients listed.
Posts: 4,106
Threads: 310
Joined: Nov 2013
City: Kings Park NY
I think I have run out of radios that need a full resto. I have a fairbanks morse and the "what did I get myself into" radio. I am hopefully going to win the auction tonight for the philco clock radio. If I do I will use it for the step by step.
Do you guys want a full resto of a ratty cabinet? ie.veneer patches, cabinet splitting, lots of gluing kind of thing or just a simple strip and refinish?
I may have to get another radio since I finished the ratty ones. I have the lamp clock radio, that I am doing the new photo finish on, the 37-60 that I am getting the faux finish for,.... There is a bullet for sale i could buy and it does have a hole in the veneer and need a full cabinet resto.
let me know what you guys want to see.
Times I have been electrocuted in 2021
As of 1/01/2021
AC: 4 DC: 1
Last year: 6
Posts: 239
Threads: 10
Joined: Dec 2013
City: Columbia, SC
I'd love to see how you do veneer repairs.
Posts: 736
Threads: 26
Joined: Jun 2013
City: Hayward, California
That's pretty close to what I am doing. After the last clear coat I use 320 to get any imperfections out , then go to 400 for a smoother finish and end up using 600, then 1000, 1500 and finally 2000 grit. I haven't waxed it yet but am planning on using the Johnsons Paste Wax also... I think that is the normal procedure for finishing . Sounds good.
I would be interested in seeing how you do veneer patches.
(This post was last modified: 04-21-2014, 01:50 AM by Warren.)
Posts: 4,106
Threads: 310
Joined: Nov 2013
City: Kings Park NY
I actually took 3 hours and made a post last night but I ended up deleting it because it was a bit confusing. I have a radio here that I am going to need to do veneer on but have to get some other radios done before hand.
When I get some work done I will do a detailed step by step tutorial on this subject.
Times I have been electrocuted in 2021
As of 1/01/2021
AC: 4 DC: 1
Last year: 6
Users browsing this thread: 3 Guest(s)
|
|
Recent Posts
|
|
New find. 91X code 225
|
| Hello,
I have a Philco 91 code 121 (one speaker). I found more info here that might be of some help. Might want to fo...dconant — 06:42 PM |
|
Philco 60 Power Trans
|
| Hello,
The HV winding on the trans is about 700 volts no load. My meter (Fluke 115) only reads to 650 volts so I meas...dconant — 04:18 PM |
|
New find. 91X code 225
|
| Thanks all. To be honest I don’t know what to make of it being in this cabinet style but I like it a lot. I specifically...pdieten — 12:47 PM |
|
New find. 91X code 225
|
| Nice grab! It appears to be a 19X cabinet. This wasn't unusual. Philco often retrofitted to other cabinets as invento...GarySP — 12:32 PM |
|
1949 Motorola 5A9M
|
| I would certainly write down step-by-step the progression of disassembly of the works, and probably cuss out the electri...GarySP — 12:18 PM |
|
New find. 91X code 225
|
| Nice looking! This annotated schematic from our library shows parts that are slightly different in the early and later ...klondike98 — 11:33 AM |
|
1949 Motorola 5A9M
|
| LOL!! Well Arran, if you do dive into it and come across any advice on dealing with accessing components let me know. I...klondike98 — 11:56 PM |
|
1949 Motorola 5A9M
|
| Bob and Gary;
I have the further complication on the Phillips that they decided to use some 200 volt rated paper caps...Arran — 10:05 PM |
|
1949 Motorola 5A9M
|
| Thx Arran & Gary. Yes its super crowded in the chassis and I've debated whether to try to restuff caps or not. I t...klondike98 — 07:40 PM |
|
1949 Motorola 5A9M
|
| That's got to be one of the tightest conglomeration of components I've ever seen! I wonder how the line workers felt bu...GarySP — 05:46 PM |
|
Who's Online
|
There are currently 1484 online users. [Complete List]
» 3 Member(s) | 1481 Guest(s)
|
|
|

|
 
|


![[-] [-]](https://philcoradio.com/phorum/images/bootbb/collapse.png)


