Posts: 19
Threads: 3
Joined: Dec 2018
City: Duluth
State, Province, Country: GA
 07-21-2019, 02:09 AM
Well, I pulled the chassis from my 60b v2 and got a better look at it. Some light oxidation.
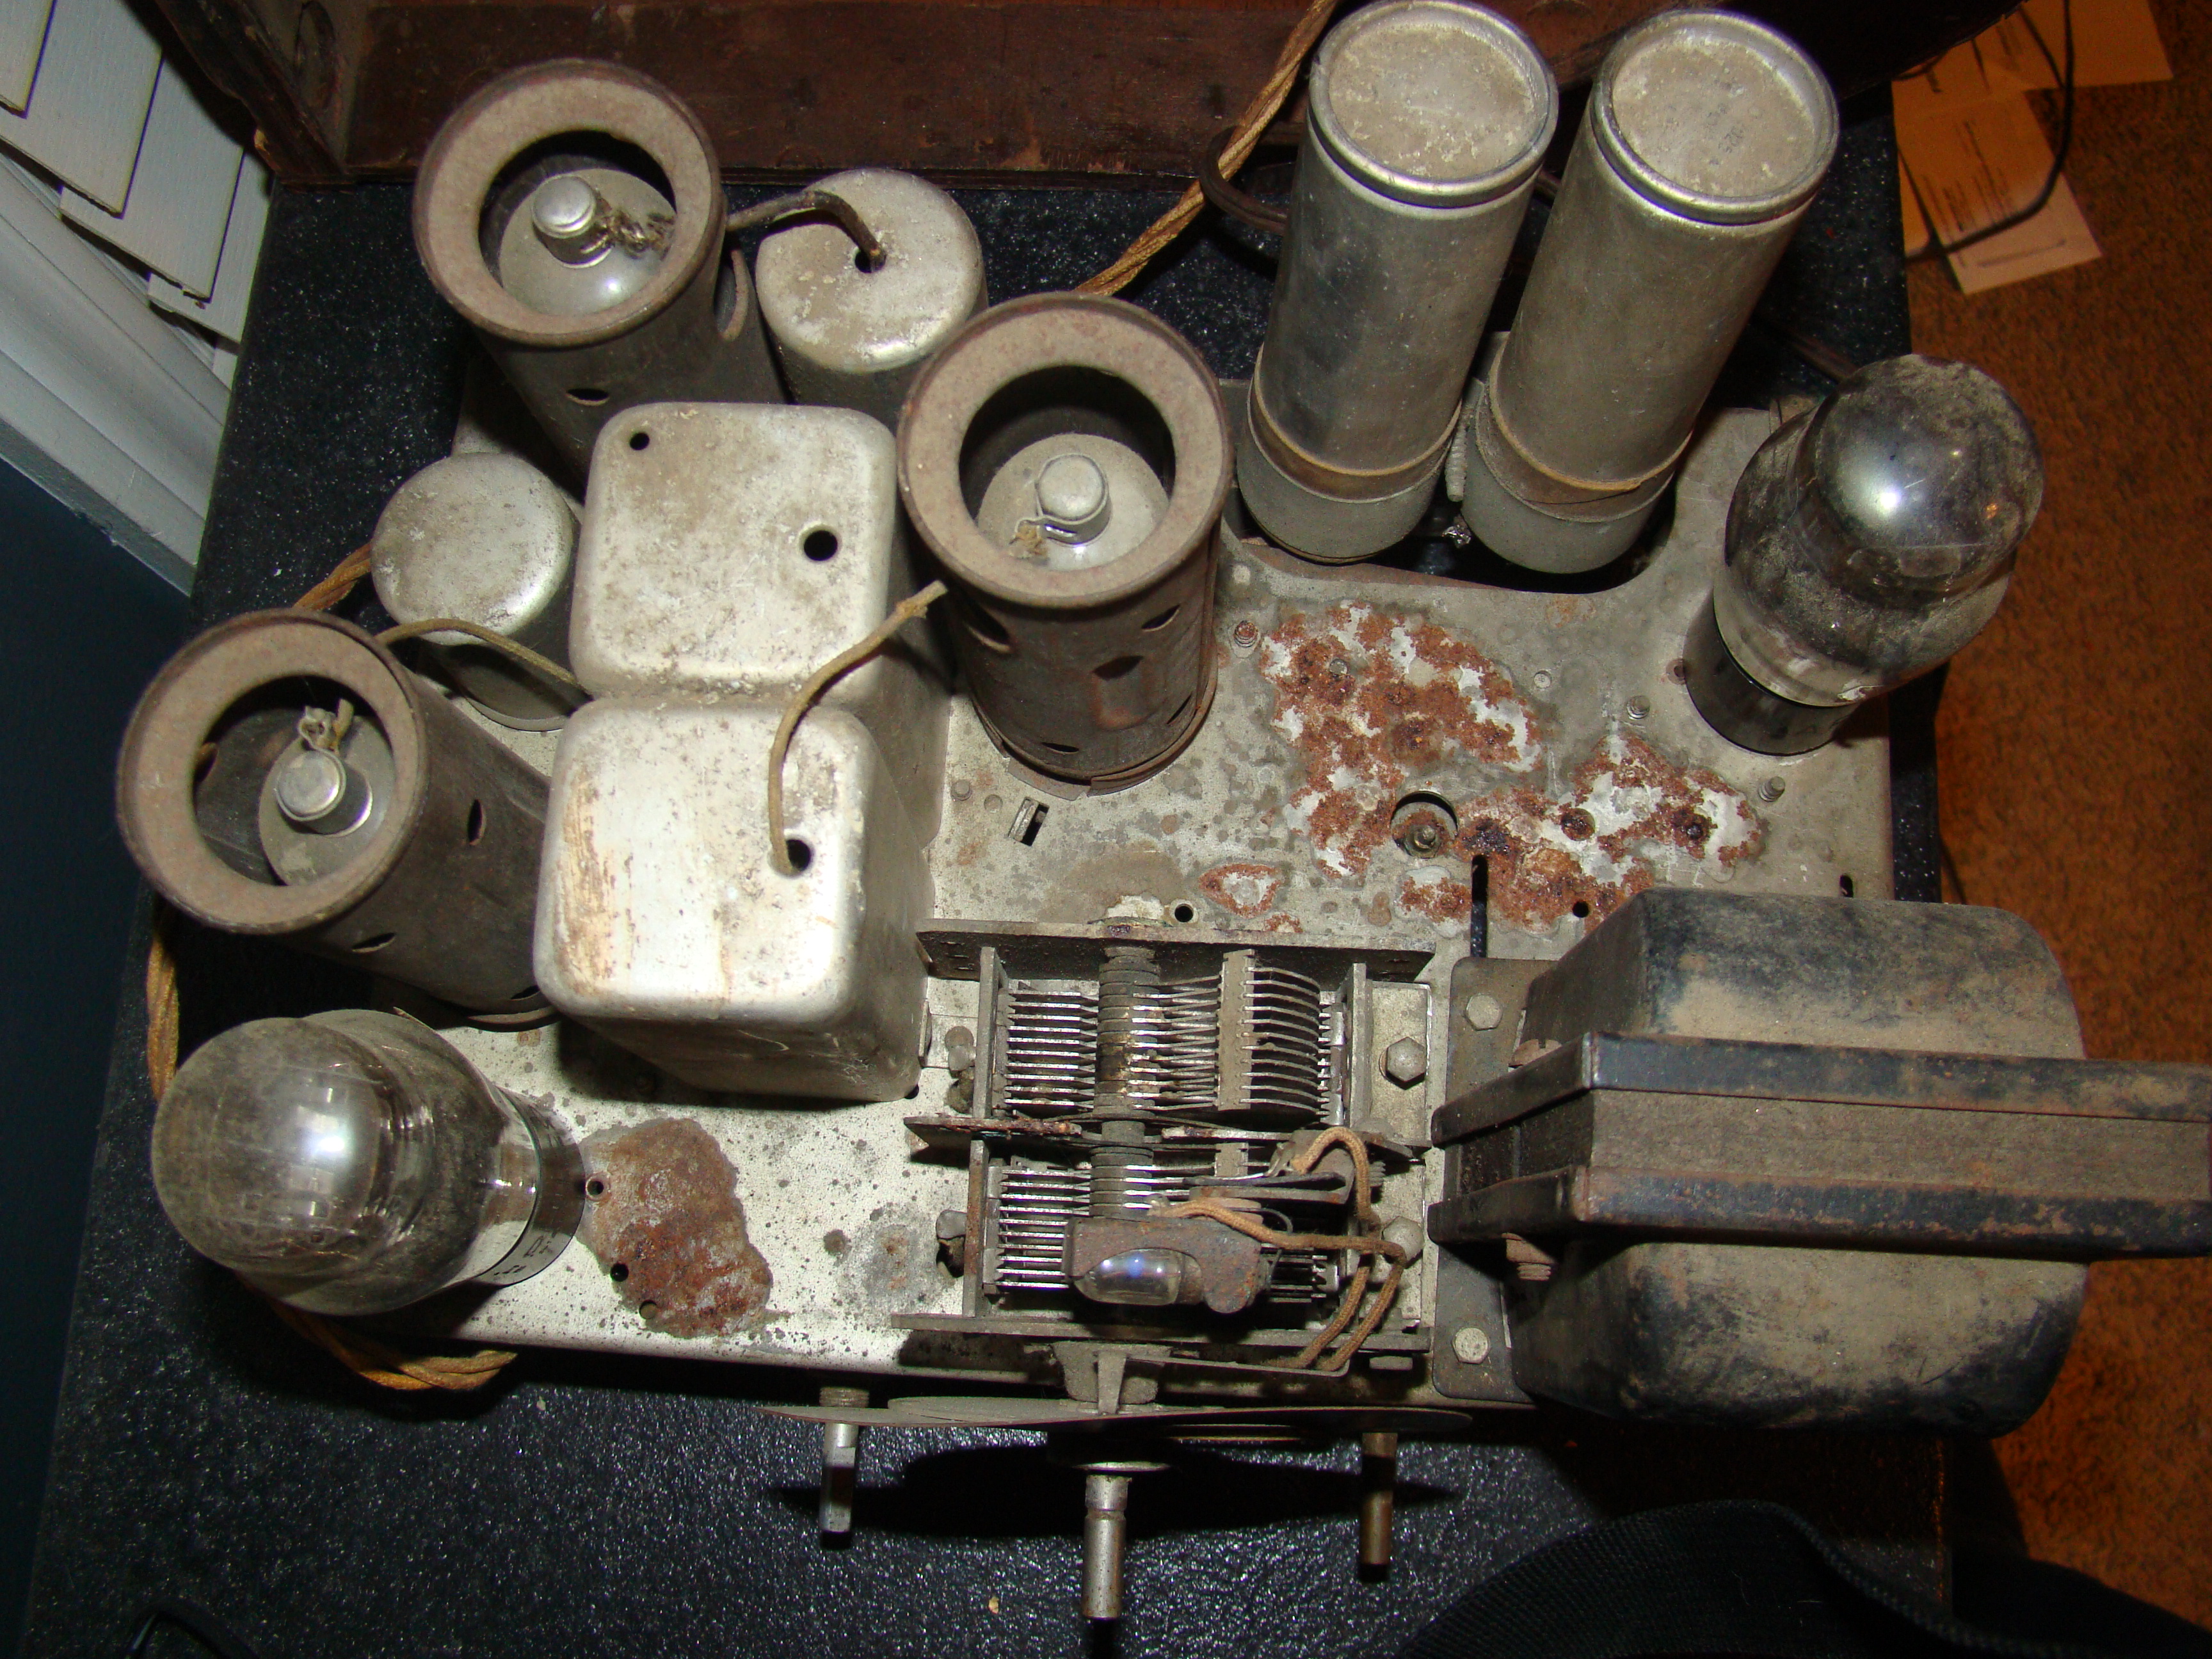
Looks like some of the electronic components were replaced at the last resto, but I need to get a better look at the caps and test them just based on some of the other work that's been done to this thing.
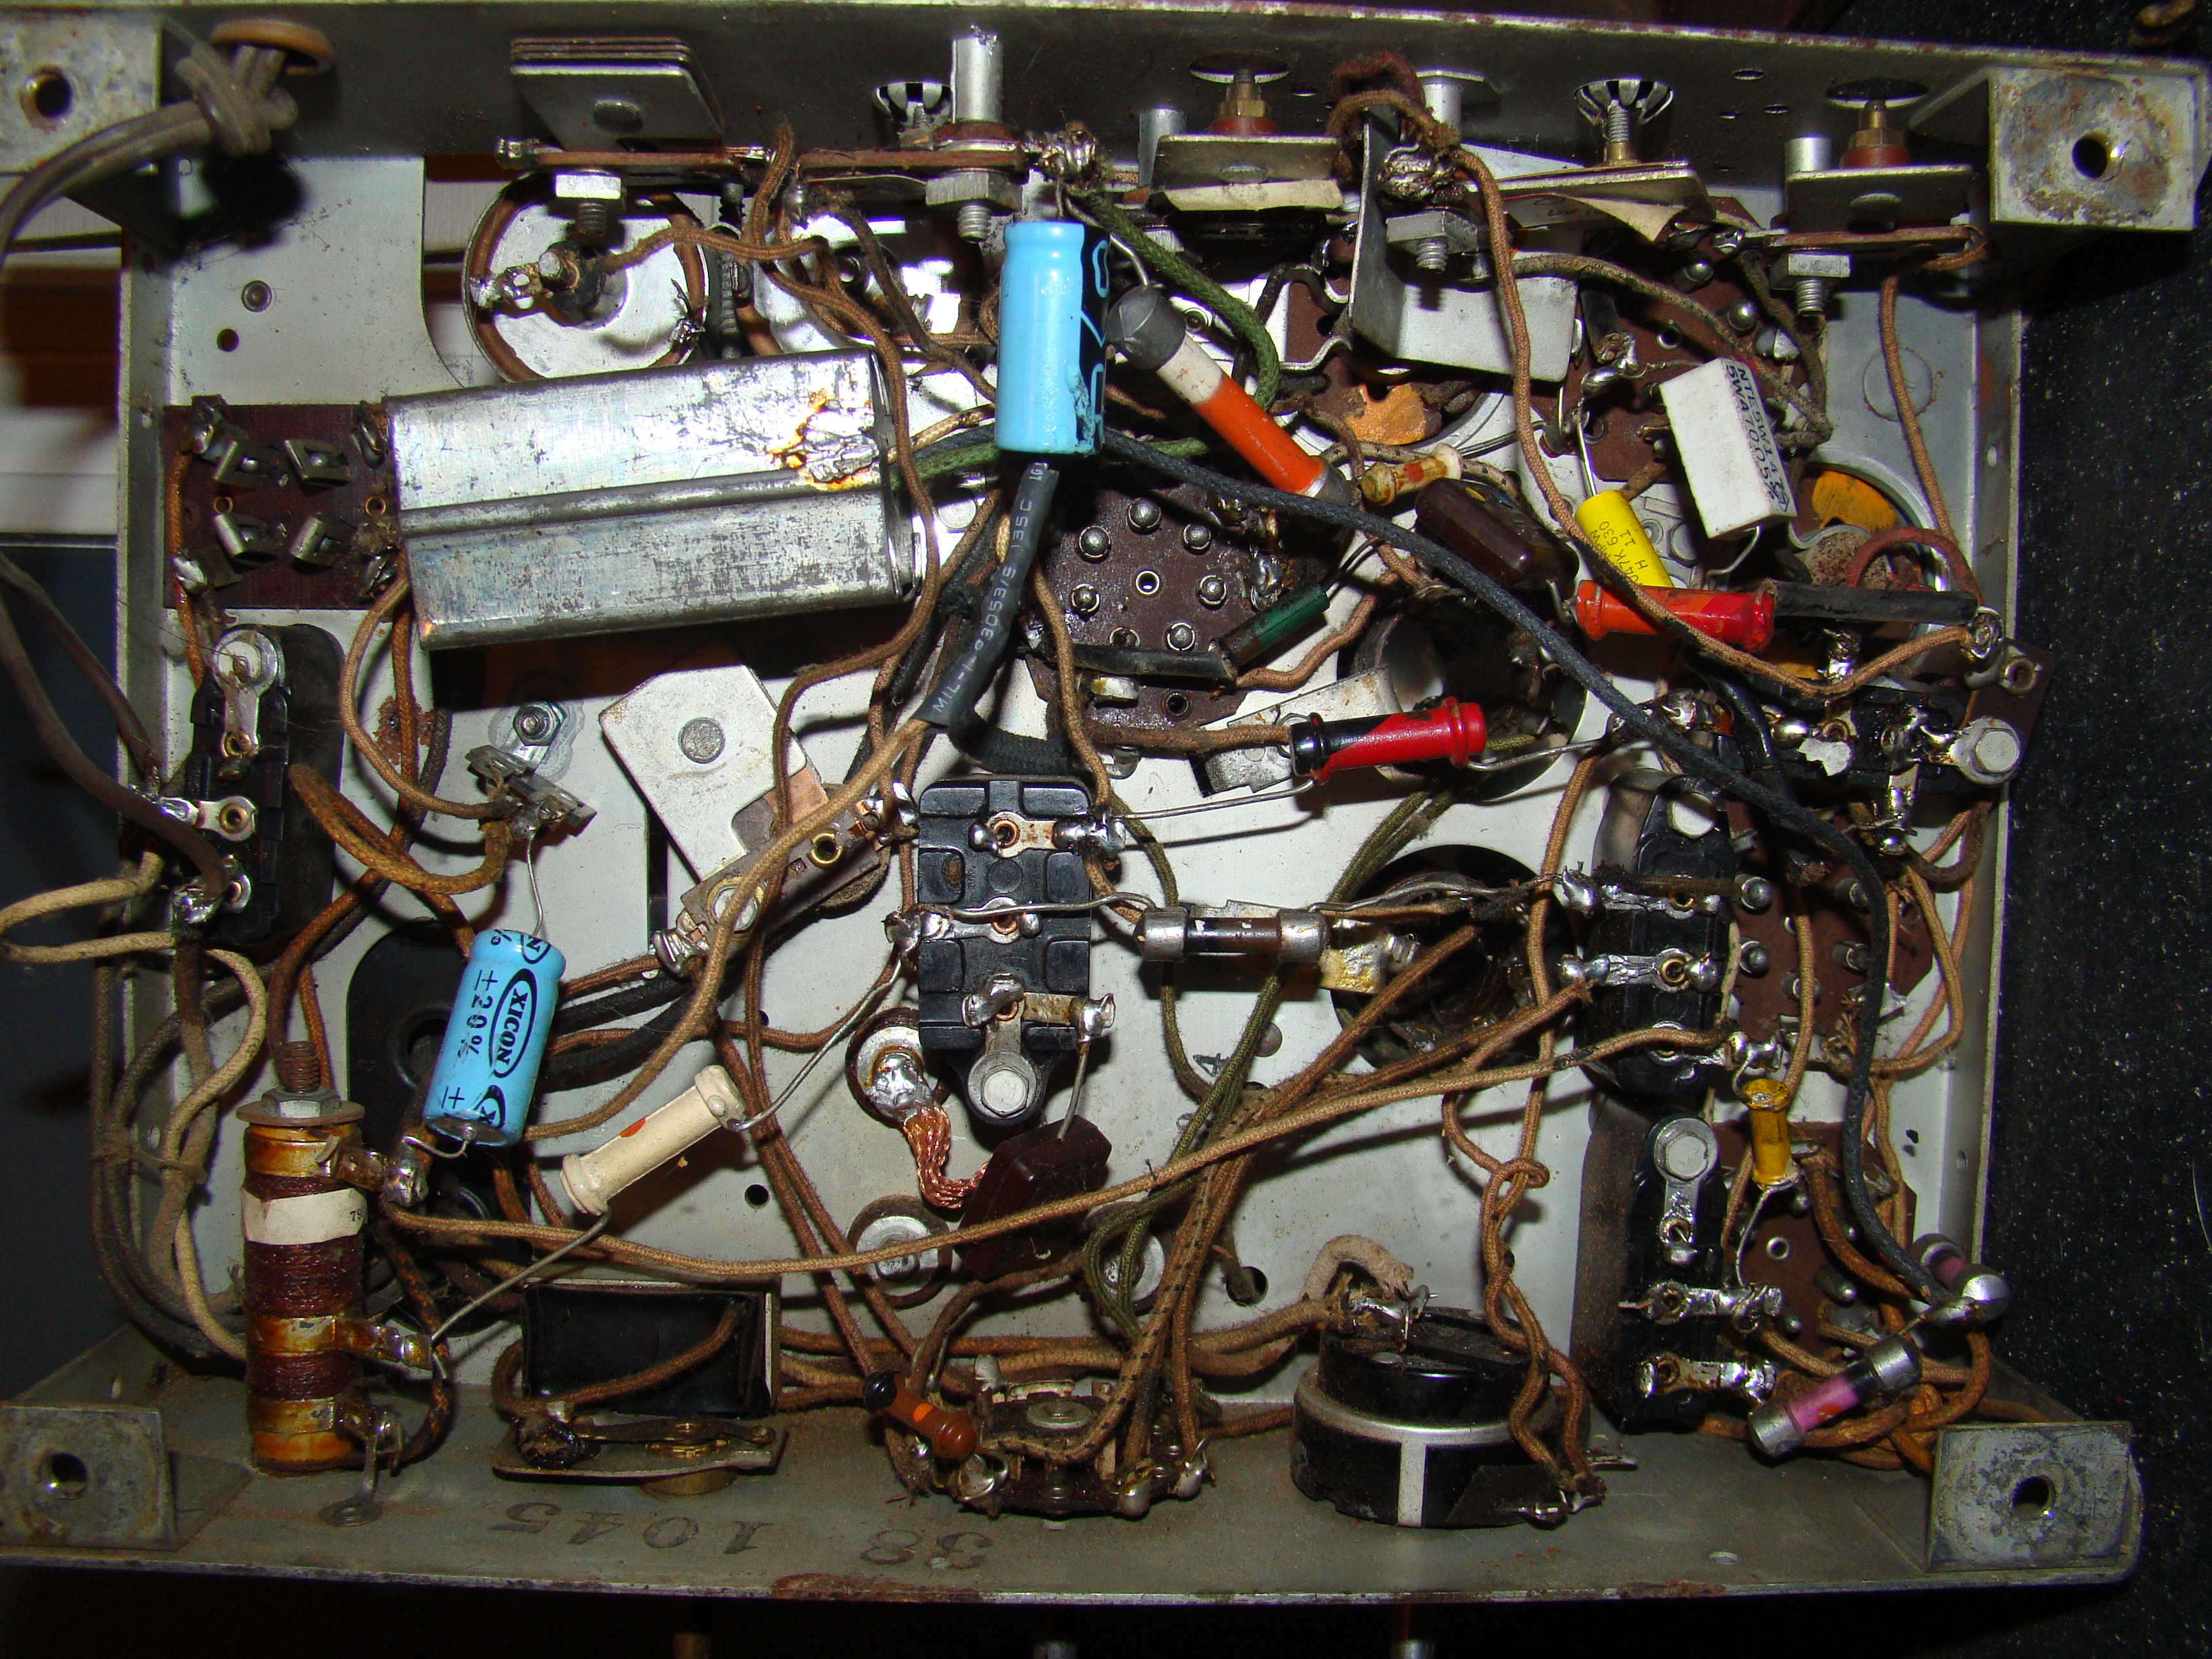
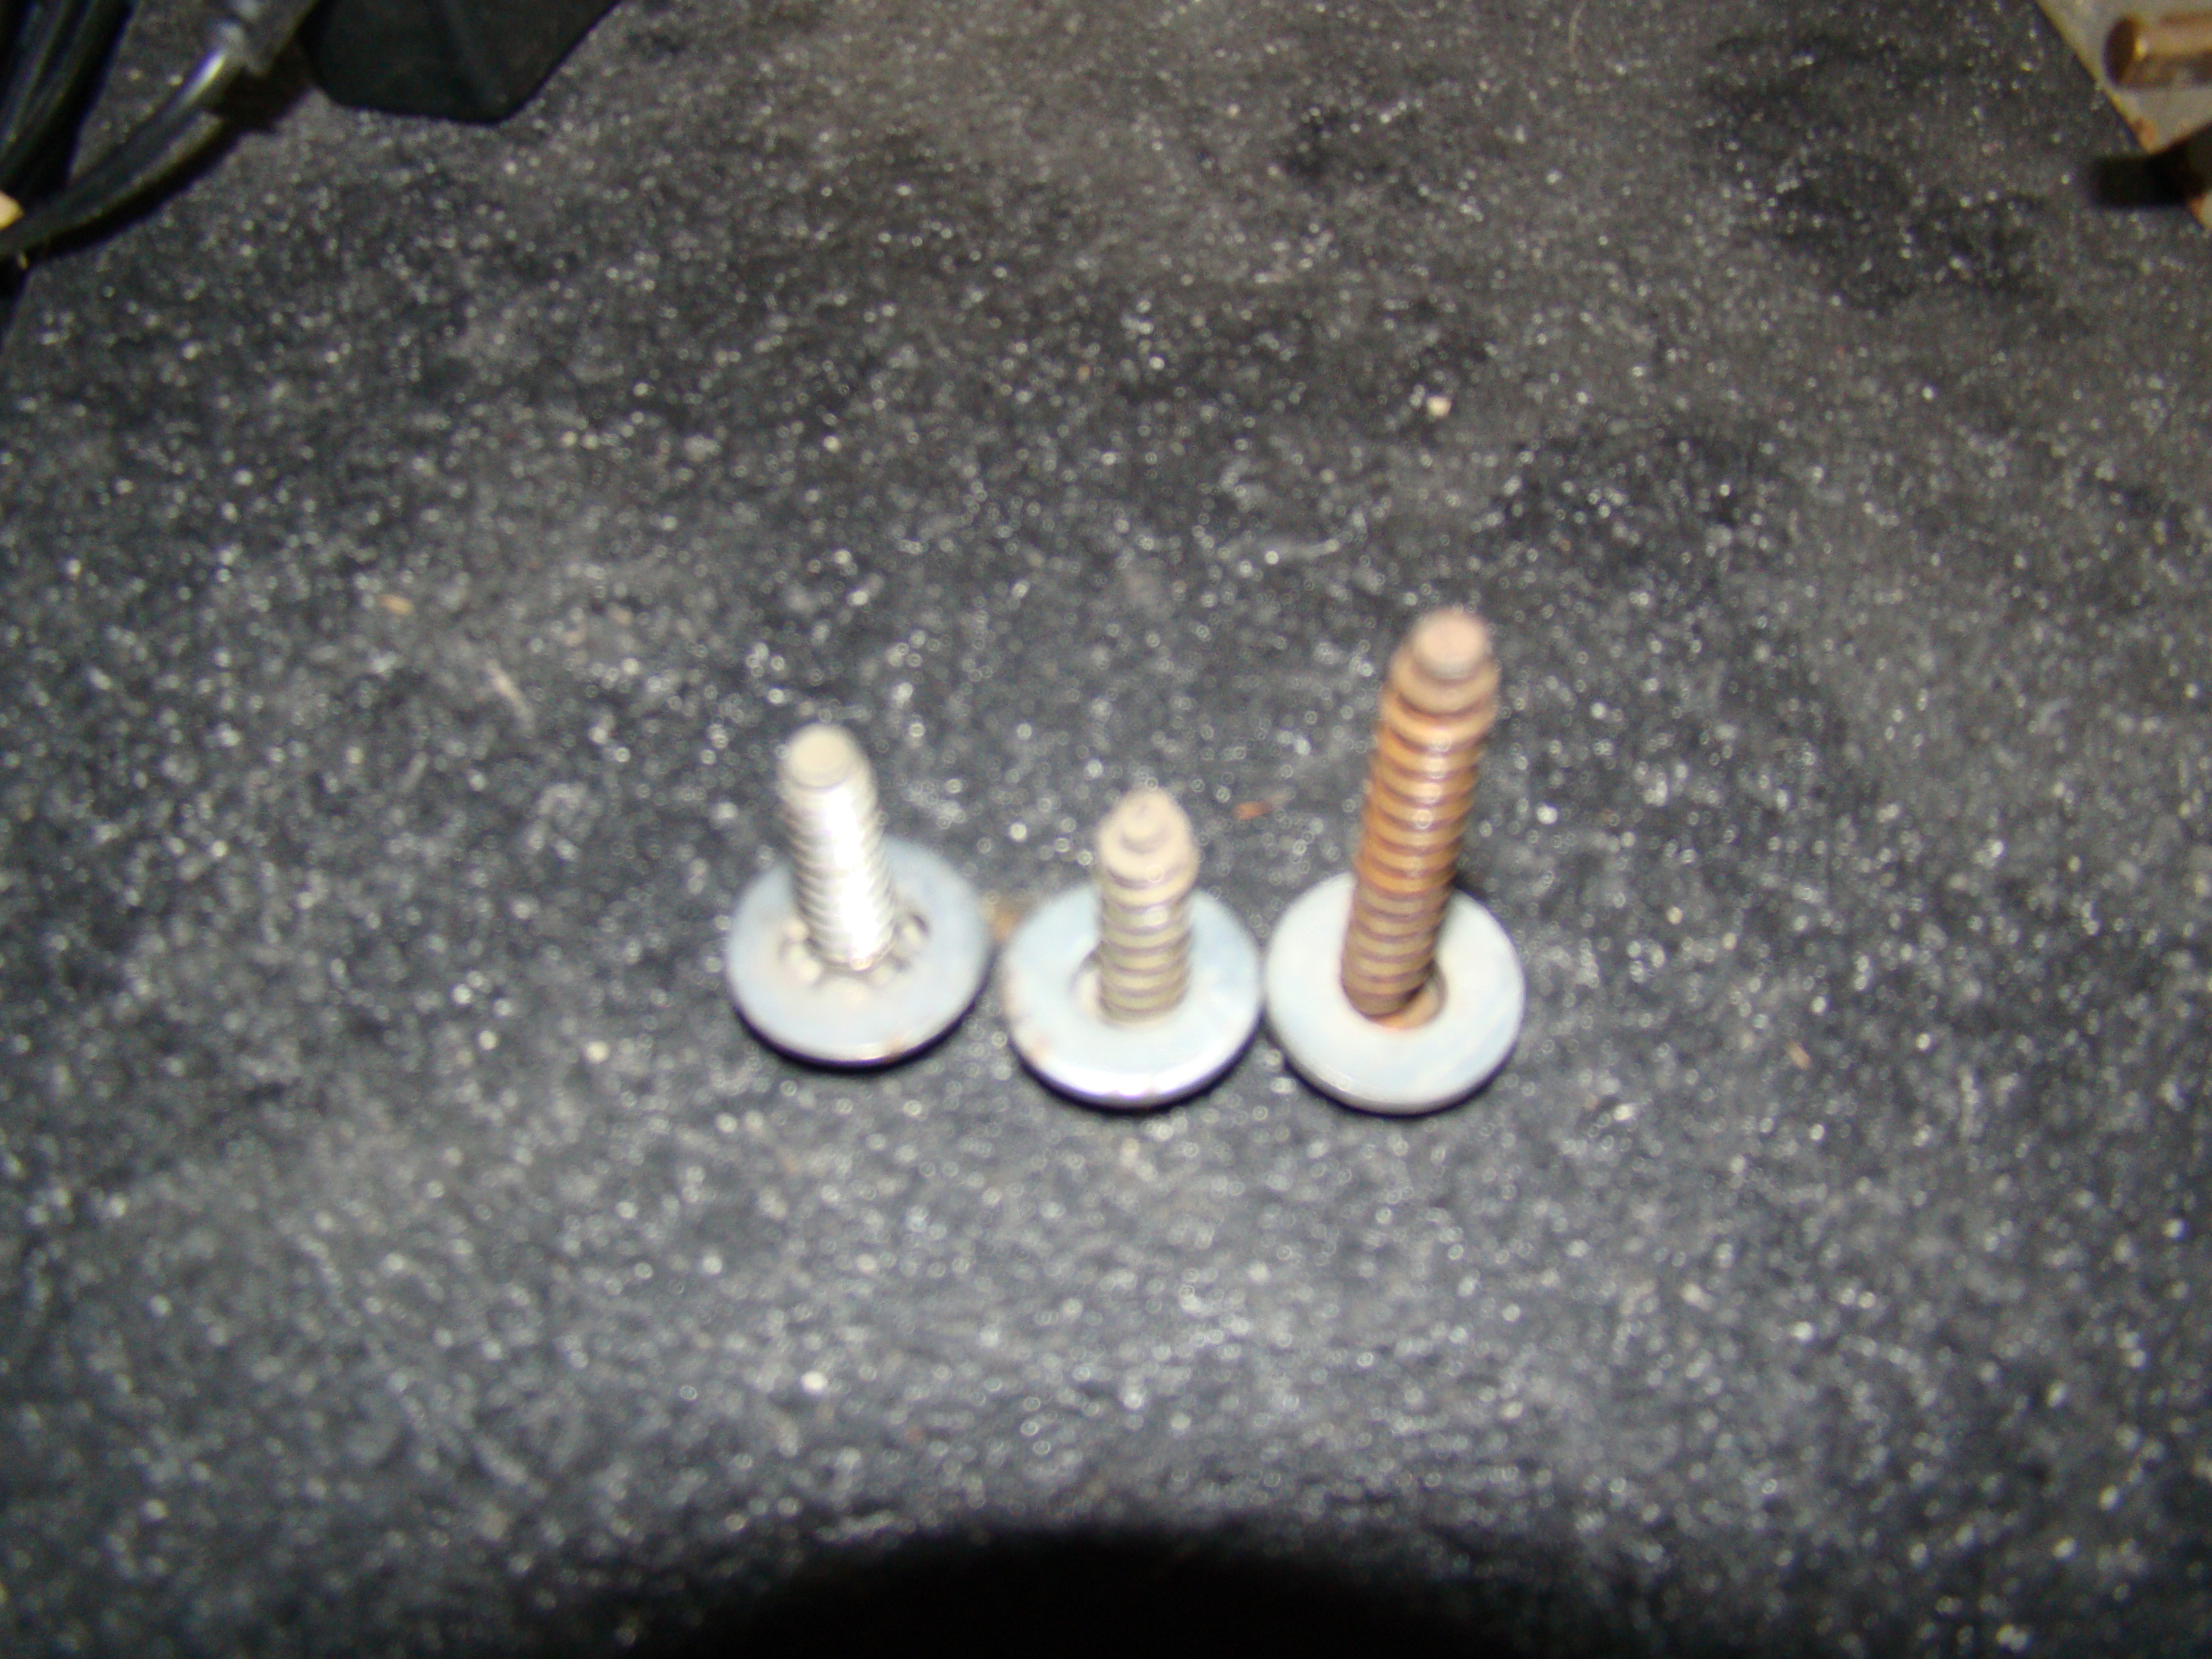
Got a new power cord and 3 prong along with an RFI/EMI filter to reduce the RF noise from today's house grounding systems. I know a lot of you guys prefer to keep them 2 prong, but with me being an active home inspector, I just can't get past that little guy sitting on my shoulder chirping about proper polarization, grounding and safety. Plus, this radio eventually will be doing some travelling (more on that later). I noticed that the chassis bolts had one missing and the rest were a hodgepodge, so I think I'll be buying 4 new ones. My question is if the 60b used those chassis screw sleeves/spacers. There weren't any on this one, but again, the work that was done on this one in the past looks questionable. From what I understand, 14 or 1/4 sheet metal screws with one inch washers should work.
The tuner module is loose and I haven't really addressed the cause of that yet, but it seems that the looseness has cracked the dial.
I'm also wondering if that 121184 is a date stamp from the last resto work. Sure would like to ask the guy why he put crappy laminate and poly on the cabinet.
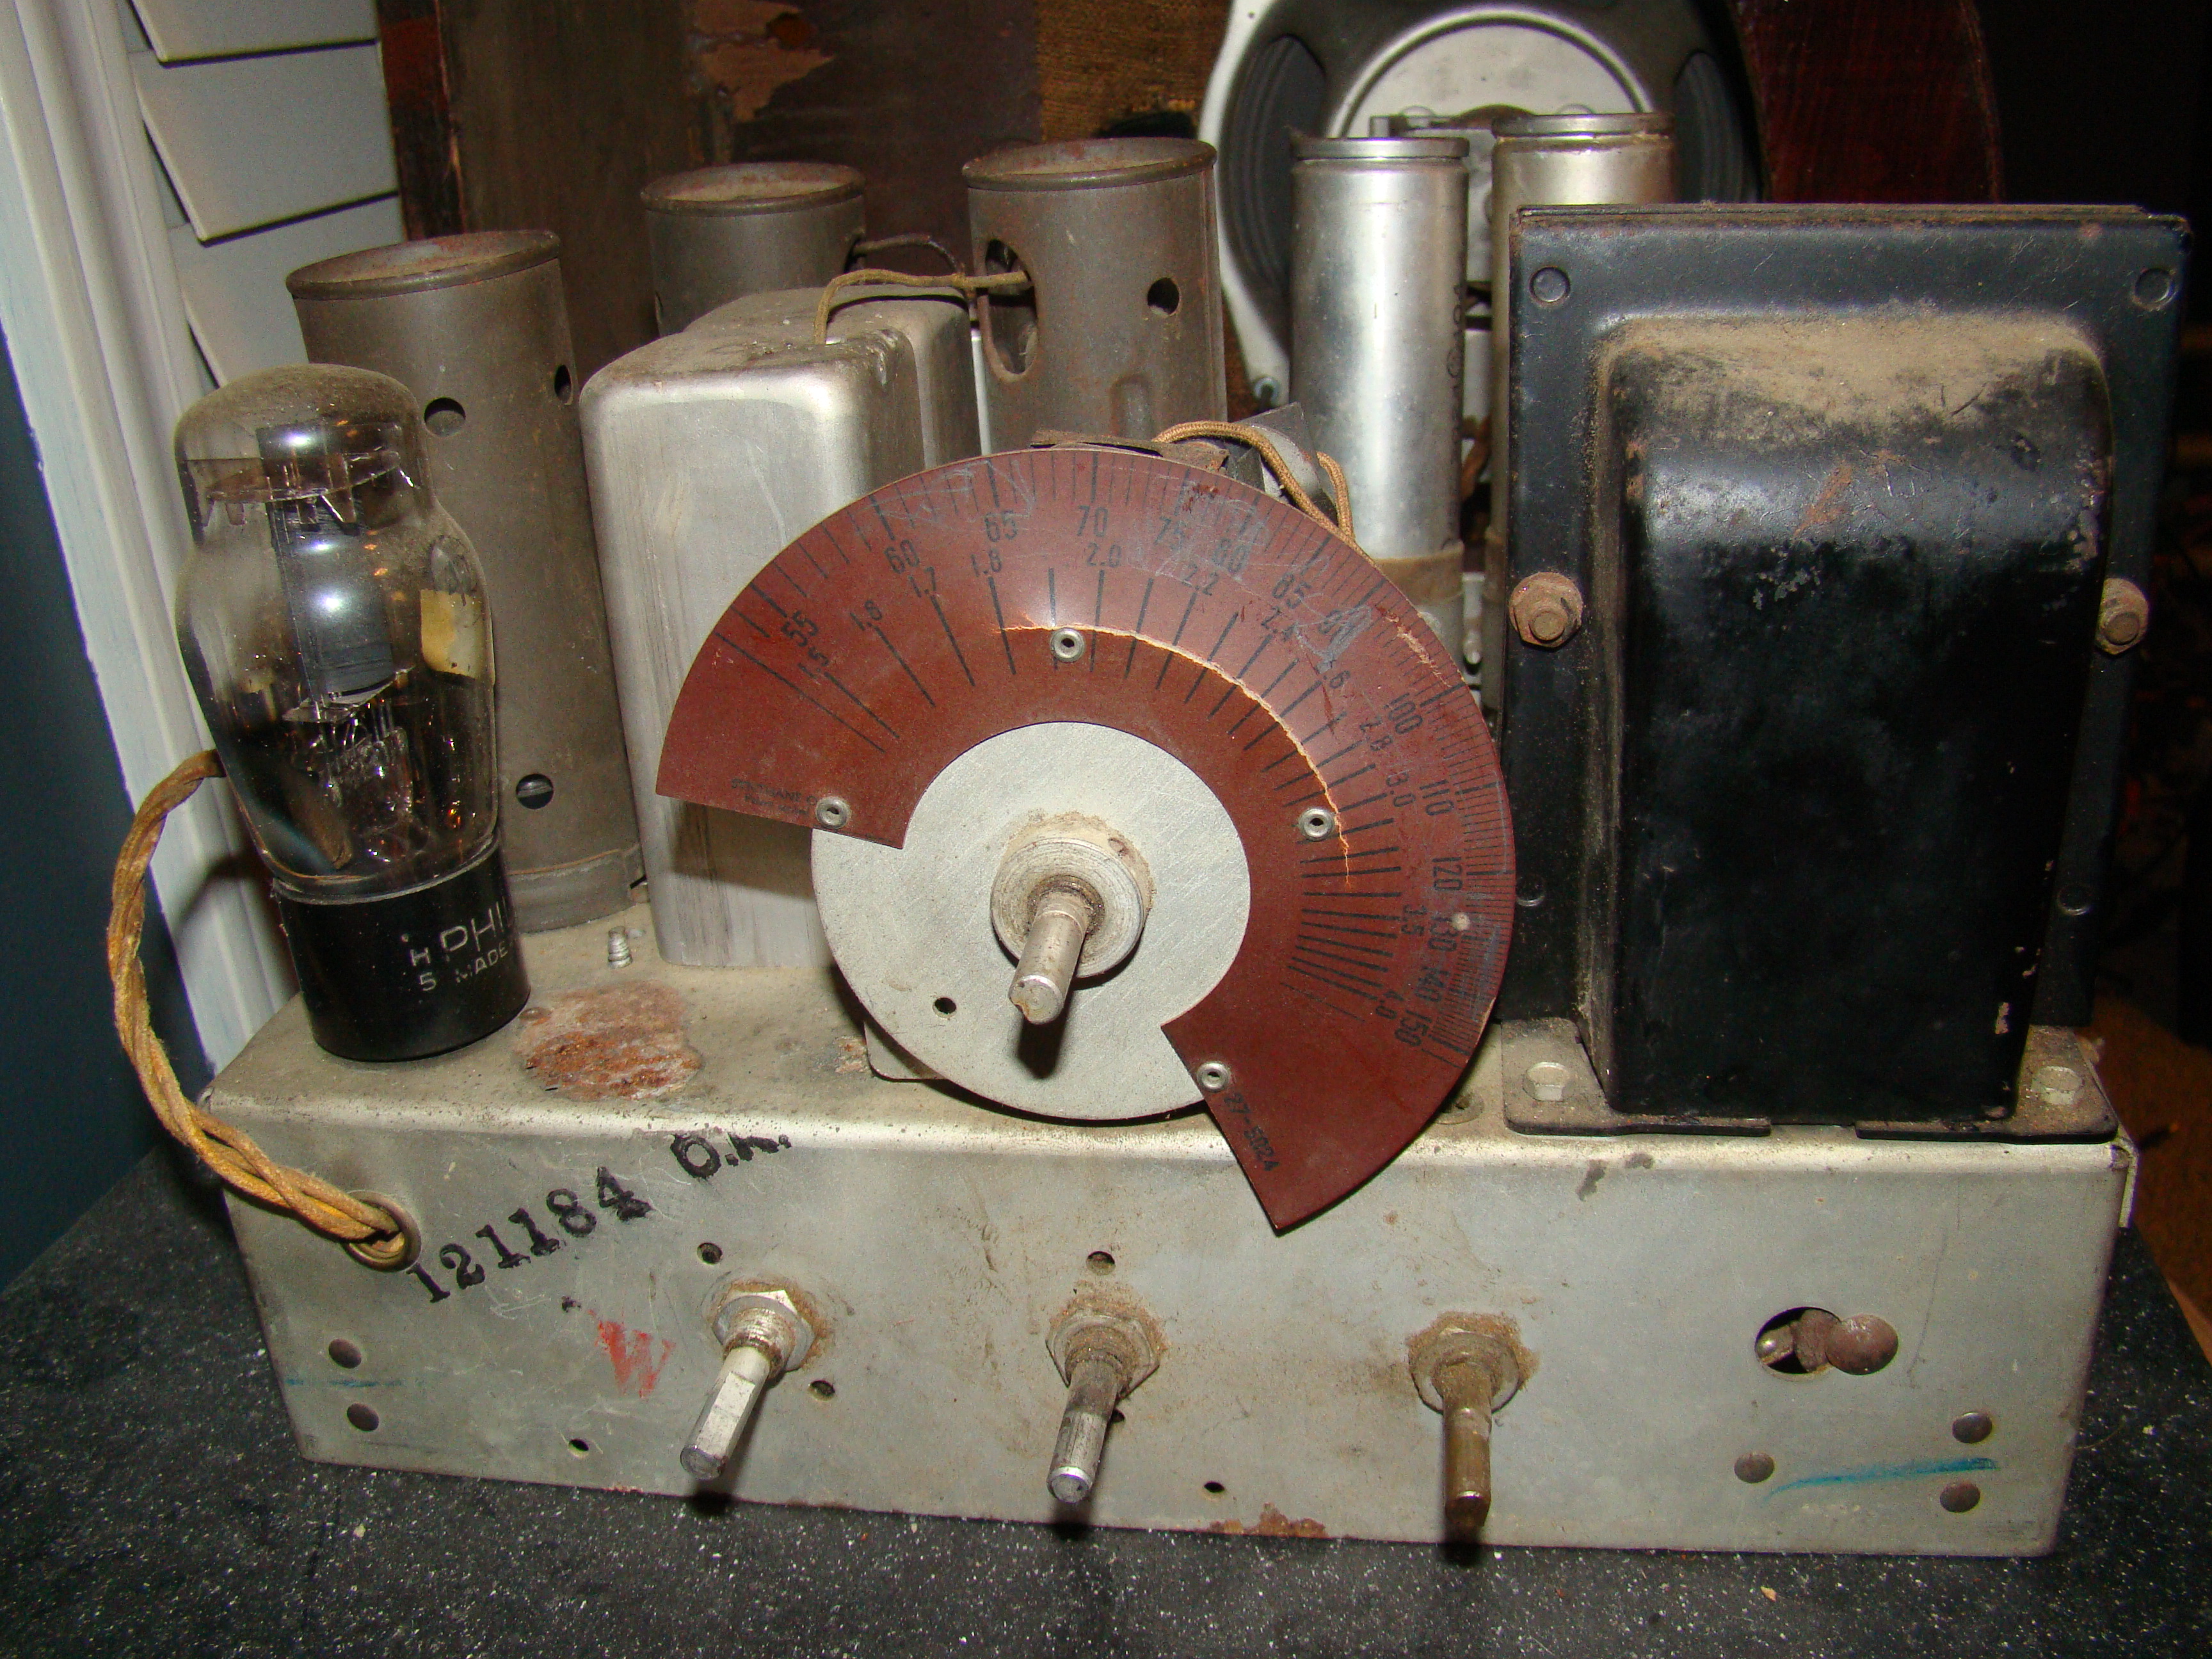
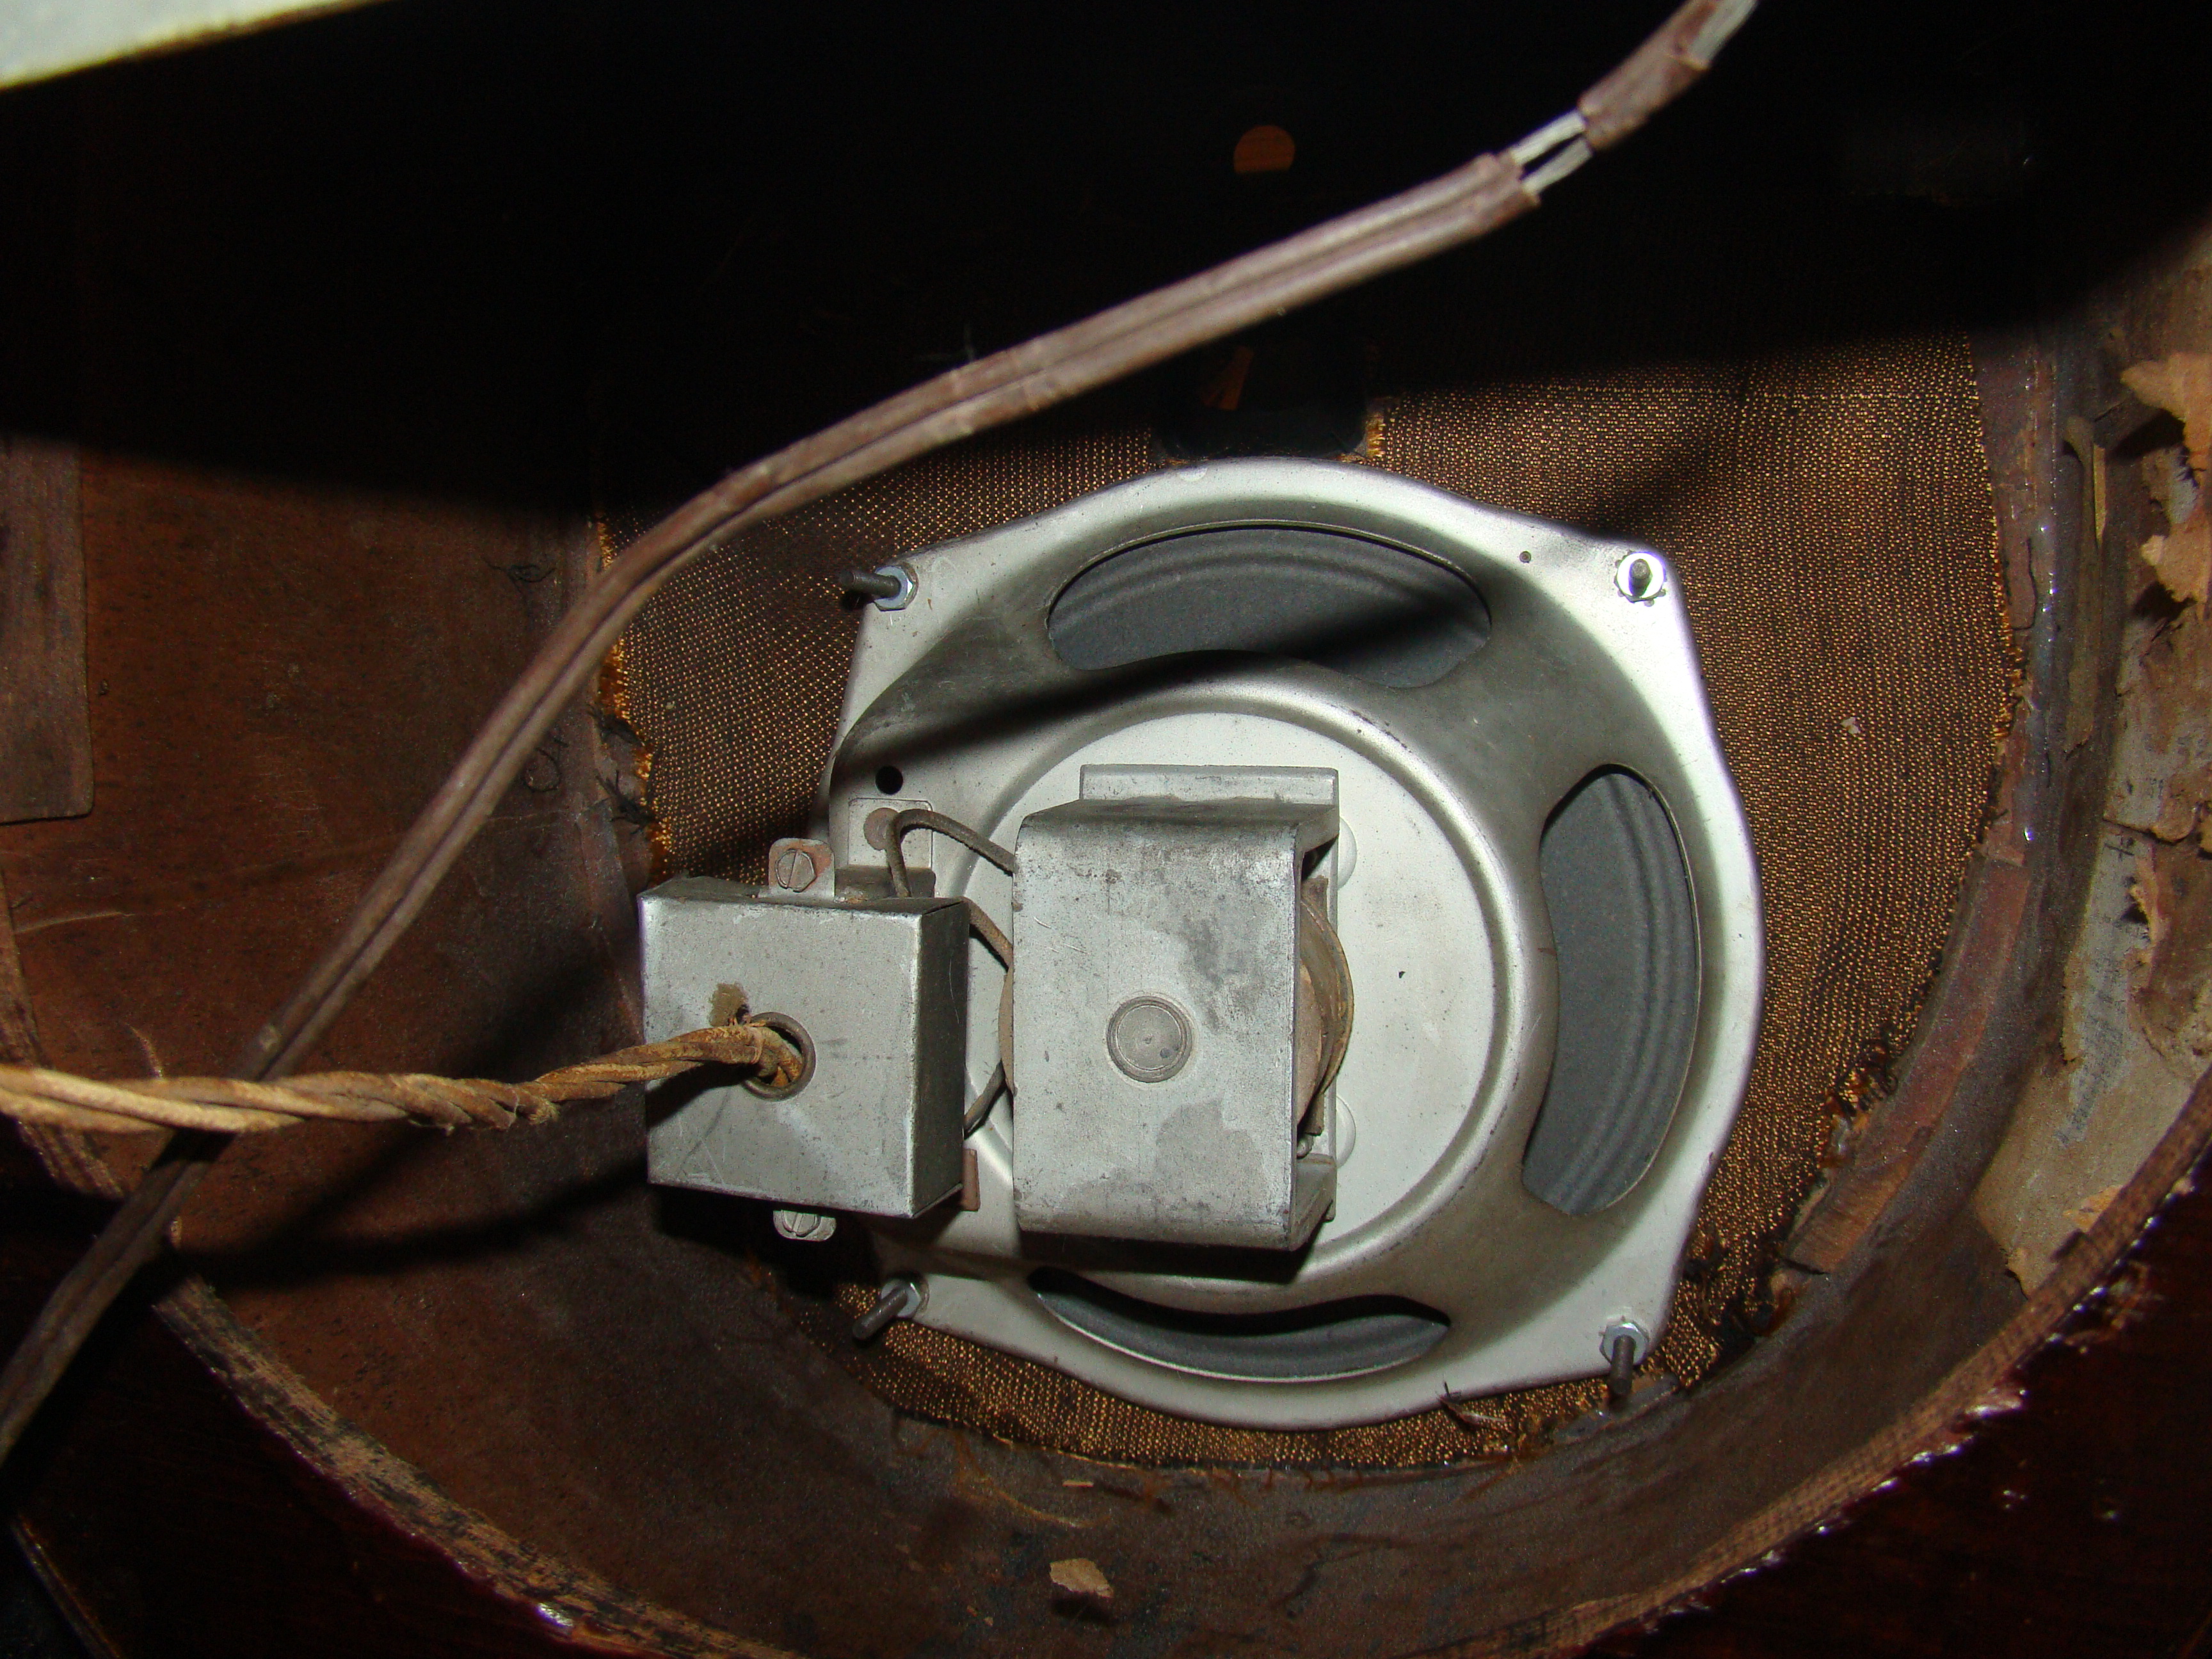
Pretty sure the loose tuner module is why the seller couldn't tune any stations. We'll see. That's a project for after tube testing. Speaker looks and sounds good thus far when tested, but I may replace the wires to it.
You can call me Jerry if you don't want to use my handle. I get it. Makes some folks nervous.
I have a finely tuned horse puckey detector. Don't blame me if it goes off. 
(This post was last modified: 07-21-2019, 11:51 AM by atlghosthunter.)
Posts: 7,302
Threads: 269
Joined: Dec 2009
City: Roslyn Pa
Not sure but it doesn't look like the bakelite blocks have been restuffed nor have the 2 electrolytic caps. Testing these is an afford in futility, would both just replace. I'd flip over a few of the blocks just to check. If that square 5w resistor is 70 ohms it's kind low should be 200 ohms. The chassis bolts are 1/4" with a thread pitch of 10 per inch (really course) 5/16 hex head w/a slot. Abt an inch and a half long.
GL
When my pals were reading comic books
I was down in the basement in my dad's
workshop. Perusing his Sam's Photofoacts
Vol 1-50 admiring the old set and trying to
figure out what all those squiggly meant.
Circa 1966
Now I think I've got!
Terry
(This post was last modified: 07-21-2019, 08:24 AM by Radioroslyn.)
Posts: 19
Threads: 3
Joined: Dec 2018
City: Duluth
State, Province, Country: GA
So the screws DON'T use these screw sleeves? http://www.renovatedradios.com/product.php?product=275 An inch and a half seems kind of long for a pointed screw.
You can call me Jerry if you don't want to use my handle. I get it. Makes some folks nervous.
I have a finely tuned horse puckey detector. Don't blame me if it goes off. 
(This post was last modified: 07-21-2019, 12:06 PM by atlghosthunter.)
Posts: 7,302
Threads: 269
Joined: Dec 2009
City: Roslyn Pa
No those are reserved for the larger chassis set. It may have had a rubber washer between the chassis and baseboard but I would check the shaft alignment @ the front of the cabinet to see if they are centered. Most of the time there will be a recess cut in the baseboard for it. It probably had nothing.
>The tuner module is loose and I haven't really addressed the cause of that yet
There are 3 hex screws that hold it in place. These have special rubber grommet that hold the tuning cap in position. These rot over time and make the cap loose. RR probably has replacements I just make my own using rubber grommets from the store. Obtw it's not set up like that to isolate the the tuning from ground (for the avc circuit) but to prevent microphonics
The dial looks pretty good if the crack doesn't show in view I would just add a little bit of cynoacrylate to the back side of the dial. But I'm cheap. Oh never clean a phenolic Philco dial w/water use odorless mineral spirits water will erase the print in a hurry.
GL
When my pals were reading comic books
I was down in the basement in my dad's
workshop. Perusing his Sam's Photofoacts
Vol 1-50 admiring the old set and trying to
figure out what all those squiggly meant.
Circa 1966
Now I think I've got!
Terry
(This post was last modified: 07-21-2019, 12:55 PM by Radioroslyn.)
Posts: 19
Threads: 3
Joined: Dec 2018
City: Duluth
State, Province, Country: GA
Yeah, it's got recesses. No washers though. Wasn't even any debris from them. I'll find some of those somewhere.
You can call me Jerry if you don't want to use my handle. I get it. Makes some folks nervous.
I have a finely tuned horse puckey detector. Don't blame me if it goes off. 
Posts: 205
Threads: 5
Joined: Sep 2005
City: Newark, Ohio
Posts: 7,302
Threads: 269
Joined: Dec 2009
City: Roslyn Pa
To answer your question of somewhat recent date. <I'm also wondering if that 121184 is a date stamp from the last resto work.>
That number is stamped on @ the factory. Would guess that it's from the chassis final inspection.
When my pals were reading comic books
I was down in the basement in my dad's
workshop. Perusing his Sam's Photofoacts
Vol 1-50 admiring the old set and trying to
figure out what all those squiggly meant.
Circa 1966
Now I think I've got!
Terry
Posts: 19
Threads: 3
Joined: Dec 2018
City: Duluth
State, Province, Country: GA
Nice...thanks Ed. Well I finally got the chassis cleaned of rust and am now getting ready to address the tuner. I'm not sure which size they'll be as the originals won't be able to be measured. As mentioned above, they are pretty much obliterated. Have to figure that one out.
You can call me Jerry if you don't want to use my handle. I get it. Makes some folks nervous.
I have a finely tuned horse puckey detector. Don't blame me if it goes off. 
(This post was last modified: 08-13-2019, 08:52 PM by atlghosthunter.)
Posts: 19
Threads: 3
Joined: Dec 2018
City: Duluth
State, Province, Country: GA
When I inspected further, I discover that the cap cans haven't been re-stuffed, but they were replaced and left in for aesthetics. The blocks don't look too bad at first glance, but I may not know what I need to be looking for. I'll check around the forum for more info.
You can call me Jerry if you don't want to use my handle. I get it. Makes some folks nervous.
I have a finely tuned horse puckey detector. Don't blame me if it goes off. 
(This post was last modified: 08-13-2019, 08:51 PM by atlghosthunter.)
Posts: 19
Threads: 3
Joined: Dec 2018
City: Duluth
State, Province, Country: GA
Can get the rubber shoulder grommets at your local True Value. .95 cents a piece and same dimensions. As far as the chassis washers, they were more difficult. I bought stacks of 4 that were 1/16th thickness each. That way if there is any adjustments that need to be made, I can do so quite easily.
You can call me Jerry if you don't want to use my handle. I get it. Makes some folks nervous.
I have a finely tuned horse puckey detector. Don't blame me if it goes off. 
(This post was last modified: 08-15-2019, 04:08 PM by atlghosthunter.)
Posts: 19
Threads: 3
Joined: Dec 2018
City: Duluth
State, Province, Country: GA
Also discovered that four of the five blocks appear to have been restuffed since the sealing tar is gone. The only one that appears to be original is the one to which the AC supply conductor is soldered. That's good news because it's the one that is easiest to get to with the most work space around it. Sometimes good news comes in waves, but not often.
You can call me Jerry if you don't want to use my handle. I get it. Makes some folks nervous.
I have a finely tuned horse puckey detector. Don't blame me if it goes off. 
Posts: 19
Threads: 3
Joined: Dec 2018
City: Duluth
State, Province, Country: GA
Well....hit another setback that has stopped me in my tracks. There are more than 3 rubber washers under that tuner. I got it in and it was still loose as all you know what. I hadn't inspected much between the tuner and the chassis as there just isn't much room with two relatively short wires coming from the tuner through the chassis for connections and two more for the indicator bulb. Got to looking there and I saw three larger (also obliterated) rubber washer that were now out of place. These appear to be just plain old rubber washers, unlike the shoulder washers under the chassis, also appear to be a larger diameter and go between the chassis and the tuner around the screw sleeves. Their dimensions are gonna be more difficult to determine because of their extremely poor condition, but I'm gonna give it a guess. I'm thinking 3/16 or 1/4 thickness with the same ID as the shoulder washers. OD approximately 3/4. Looks like I will be heading back to True Value in the AM to dig through the rubber washer bins one more time. @#$%!!!!! Was hoping to get the tubes back in and all put back together and fire it up tonight. Oh well, still have one bakelite block to open and inspect anyway.
You can call me Jerry if you don't want to use my handle. I get it. Makes some folks nervous.
I have a finely tuned horse puckey detector. Don't blame me if it goes off. 
Posts: 19
Threads: 3
Joined: Dec 2018
City: Duluth
State, Province, Country: GA
Had a "duh" moment today. The only bakelite block that not been updated in this radio was the one that the power supply attaches to. Got out the heat gun, got the tar out of it and got the old paper wrapped cap out. Of course at this point, I had a nice mini mess in my work space. Flipped the block over to look at the solder joints, then realized that the cap hadn't been replaced within the block because the past subsequent modernization of the power connections had resulted in that cap being abandoned and that my work was for naught. Anyway, the tuner is back mounted on the chassis. Was a bit tedious with some colorful language involved since I had to put the shoulder bushings in with two pieces and half of them had been trimmed a bit with the trusty Exacto since my local hardware store did not have precisely what I wanted. Kept dropping one piece and having to fish it out carefully while coming up with language that my momma would have slapped me for using. The tuner seems to be much more sturdy in its attachment now. Gonna blow out the chassis real well with the compressor blower nozzle since I had to use the Dremel with a wire wheel to remove some of what I had initially thought was "light" rust and it wasn't. I should have the chassis back in for a trial run tonight. Fingers crossed...
You can call me Jerry if you don't want to use my handle. I get it. Makes some folks nervous.
I have a finely tuned horse puckey detector. Don't blame me if it goes off. 
(This post was last modified: 08-14-2019, 08:23 PM by atlghosthunter.)
Posts: 816
Threads: 25
Joined: Mar 2014
City: Louisville, KY
" . . little guy sitting on my shoulder chirping . . . "
I think I have that little guy's twin.
Welcome to the club. ( or maybe that should be the other way around. ;-)
Posts: 19
Threads: 3
Joined: Dec 2018
City: Duluth
State, Province, Country: GA
Bummed out today. Haven't had the opportunity to crank the beast up due to life getting in the way. So I did so this morning after getting the final chassis cleaning done and blowing out debris last night. Grabbed one of the knobs, slipped it on the power shaft, and turned it..."click". Dial indicator light lit up, but no hum through the speaker. Noticed that there was a bit of a "pop" sound coming from the speaker when switching the radio from AM to SW, but NOTHING else. I really don't have much more time for working on this thing. Probably got in over my head. Gonna go cut some grass, drink some coffee and ponder what the issue may be.
You can call me Jerry if you don't want to use my handle. I get it. Makes some folks nervous.
I have a finely tuned horse puckey detector. Don't blame me if it goes off. 
Users browsing this thread:
|
|
Recent Posts
|
|
Philco 91 code 221
|
| Dirty tube pins and socket, cold solder joint, stray tiny strand of wire, clean the entire area around the oscillator tu...RodB — 08:43 PM |
|
Philco 91 code 221
|
| I have been restoring one of these sets and switched it on yesterday. It didn't exactly spring into life, but after a co...Philconut — 08:26 PM |
|
Philco 50-925 antenna connections
|
| That's super. Glad to hear you figured it out. Paul.Paul Philco322 — 11:11 AM |
|
Philco 50-925 antenna connections
|
| Hello Keith,
great news !!
Sincerely Richardradiorich — 02:14 AM |
|
Philco 50-925 antenna connections
|
| Finally, got the antenna fixed (repaired some broken wires) and have the radio playing. I've got four different schemat...keith49vj3 — 09:38 PM |
|
1949 Motorola 5A9M
|
| Bob, Nice radio. I’ve not seen one before. Keep us updated!Joe Rossi — 07:56 PM |
|
Phioco 90 Power Transformer Wire Colors
|
| Thanks for adding that information.klondike98 — 06:09 PM |
|
Phioco 90 Power Transformer Wire Colors
|
| Although I have used this site as a resource for a number of years this is my first post. I am restoring a Model 90 si...vincer — 05:02 PM |
|
My collection presentation
|
| There is a complete instruction how to solve your problem. One piece of advice - be careful with the low-voltage capacit...Vlad95 — 09:32 AM |
|
My collection presentation
|
| Vlad;
I thought your brown RCA portable looked familiar, I have one that is very similar, the RCA-Victor model BX-55....Arran — 02:31 AM |
|
Who's Online
|
| There are currently no members online. |

|
 
|
 Looks like some of the electronic components were replaced at the last resto, but I need to get a better look at the caps and test them just based on some of the other work that's been done to this thing.
 Got a new power cord and 3 prong along with an RFI/EMI filter to reduce the RF noise from today's house grounding systems. I know a lot of you guys prefer to keep them 2 prong, but with me being an active home inspector, I just can't get past that little guy sitting on my shoulder chirping about proper polarization, grounding and safety. Plus, this radio eventually will be doing some travelling (more on that later). I noticed that the chassis bolts had one missing and the rest were a hodgepodge, so I think I'll be buying 4 new ones. My question is if the 60b used those chassis screw sleeves/spacers. There weren't any on this one, but again, the work that was done on this one in the past looks questionable. From what I understand, 14 or 1/4 sheet metal screws with one inch washers should work.
 The tuner module is loose and I haven't really addressed the cause of that yet, but it seems that the looseness has cracked the dial.
  Pretty sure the loose tuner module is why the seller couldn't tune any stations. We'll see. That's a project for after tube testing. Speaker looks and sounds good thus far when tested, but I may replace the wires to it.


![[-] [-]](https://philcoradio.com/phorum/images/bootbb/collapse.png)


