05-10-2012, 10:31 AM
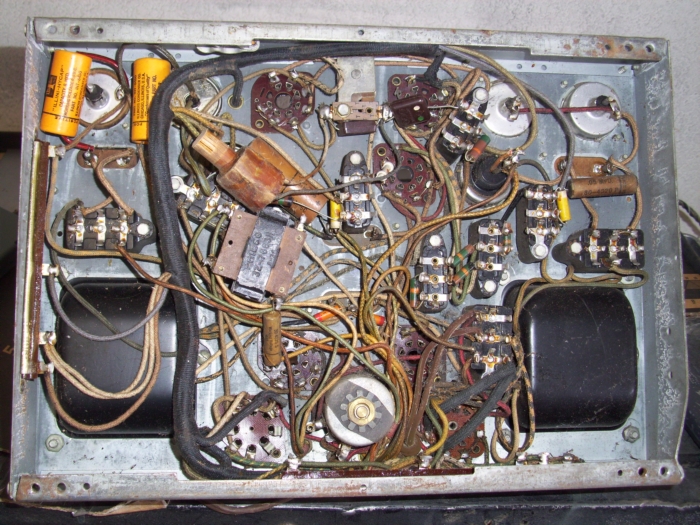
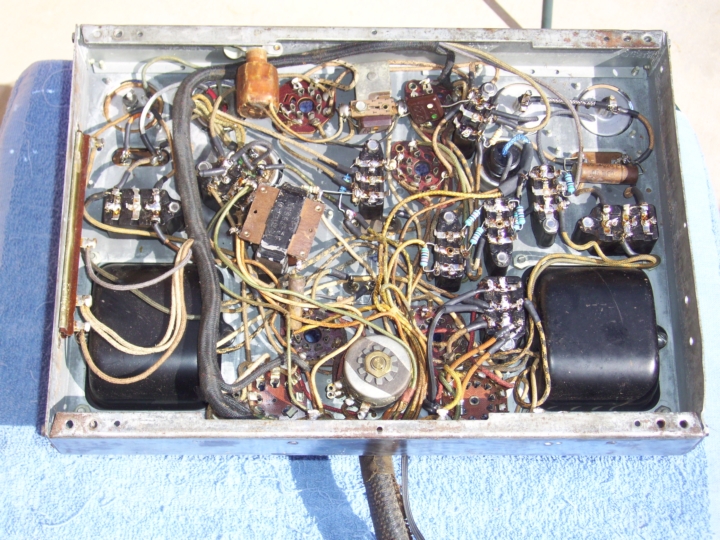
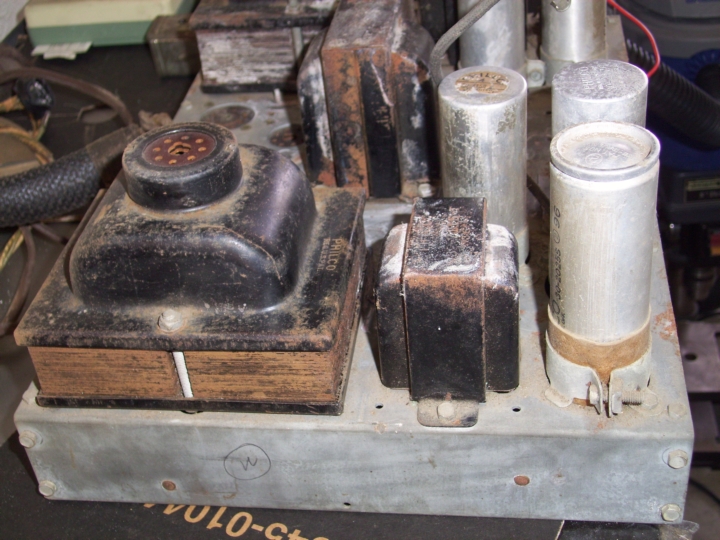
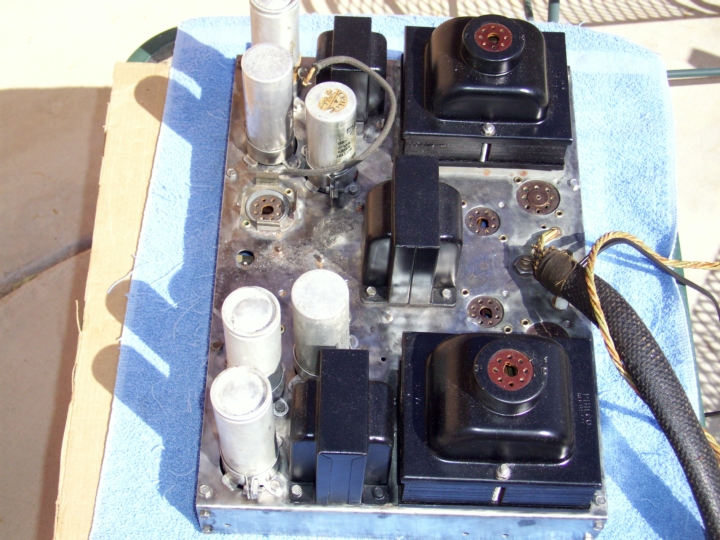
This chassis is much more of a challenge than the 38-690!


camman
camman
|
37-690 Power Supply Chassis Rebuild
05-10-2012, 10:31 AM
This chassis is much more of a challenge than the 38-690!
camman
05-17-2012, 02:03 PM
It does look much more difficult than the 38-690 with all of those bakelite blocks. I just did most of my PS chassis last night on my 38-690 and there were only two of the bakelite blocks. Pretty simple chassis to recap. All transformers checked out good which is nice.
The worst thing is moving the chassis around with all the wires that protrude from it. I melt out the tar out with the bakelite block still in the chassis...just the wires on one side labeled and unsoldered. After doing three 16B chassis you get rather quick at doing the blocks. Good luck with you 37-690. It's a great radio
05-17-2012, 05:12 PM
Thirtiesradio,
Thanks for the "thumbs up!" I took my bakelite blocks all the way out. Are you going to install a the original 1uf NP bypass cap or install the suggested 4.7uf or 10uf cap for the tweeters? camman
05-17-2012, 06:44 PM
If you want to actually hear your tweeters, you will install a 4.7 or 10 uF cap, as well as making sure the tweeters are in phase:
http://www.philcoradio.com/tech/tweeters.htm -- Ron Ramirez Ferdinand IN
05-17-2012, 10:51 PM
I've already installed a non polar 4.7 UF I had while the chassis was on the bench. I'm going to test it out before stuffing the existing metal condenser as I may want to use a 10 UF. I have the 4 wires for each tweeter figured out, which was confusing at first with the two field coil wires as mine have all faded to a similar color. They are wired out of phase (blue/white wires) so when I get it fired up I'll have to try a wire swap.
Right now I'm spending time testing and collecting good tubes for when I test it out. With 20 tubes even that takes time! Tomorrow I can get back to the cap restuffing. BTW Camman you did a great job on your 38-690 chassis you posted a short while back
« Next Oldest | Next Newest »
Users browsing this thread: 1 Guest(s) |
|

|