04-29-2017, 03:55 PM
With the exception of the single electrolytic cap on the main chassis I have finished recap of it today.
Waiting for the sch to come from Chuck as I want to figure how the electrolytics are connected through the cable and to disconnect those axial electrolytics I keep for now as the place markers.
Today there was the central part, which is also the RF chassis, and it has three caps encased into a cylindrical screen, which in 2 out of 3 cases made the replacement a bit complicated.
Here is how it went.
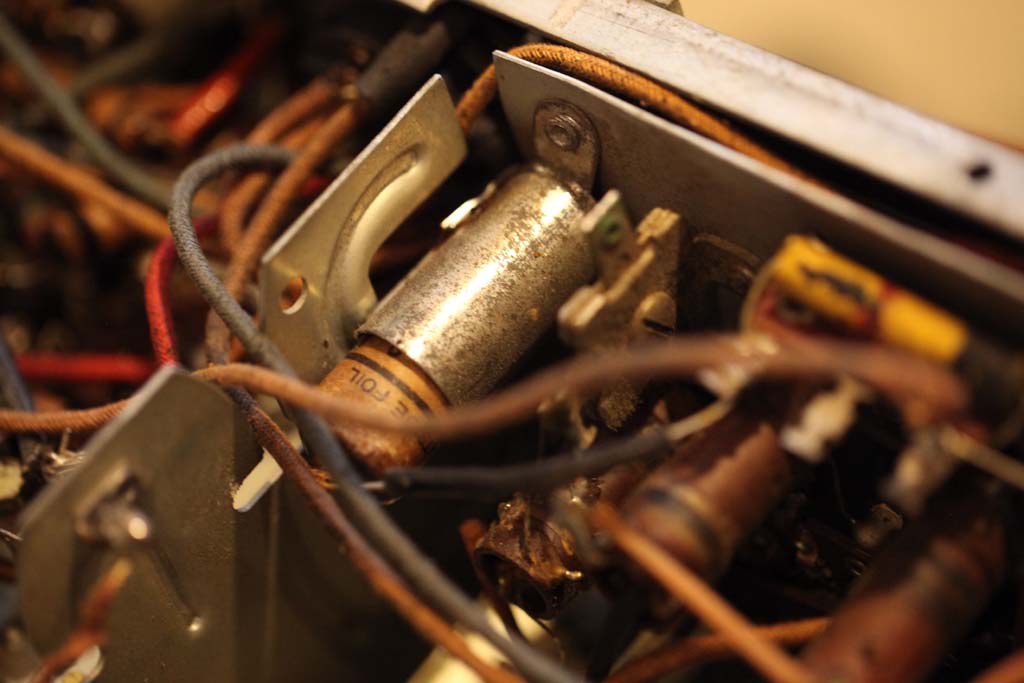
This is the cap in the screen I am talking about. Nothing special: the wire soldered to the screen is easily unsoldered and the cap, after a little warming up with a heat gun to loosen the wax (6-7 seconds) is pulled out.
Then restuffed, potted and put right back. E-Z.
Now comes the second one. This is sandwiched between the two chassis plates separating the RF chassis into sections. I could not pull it out as the space is not enough.
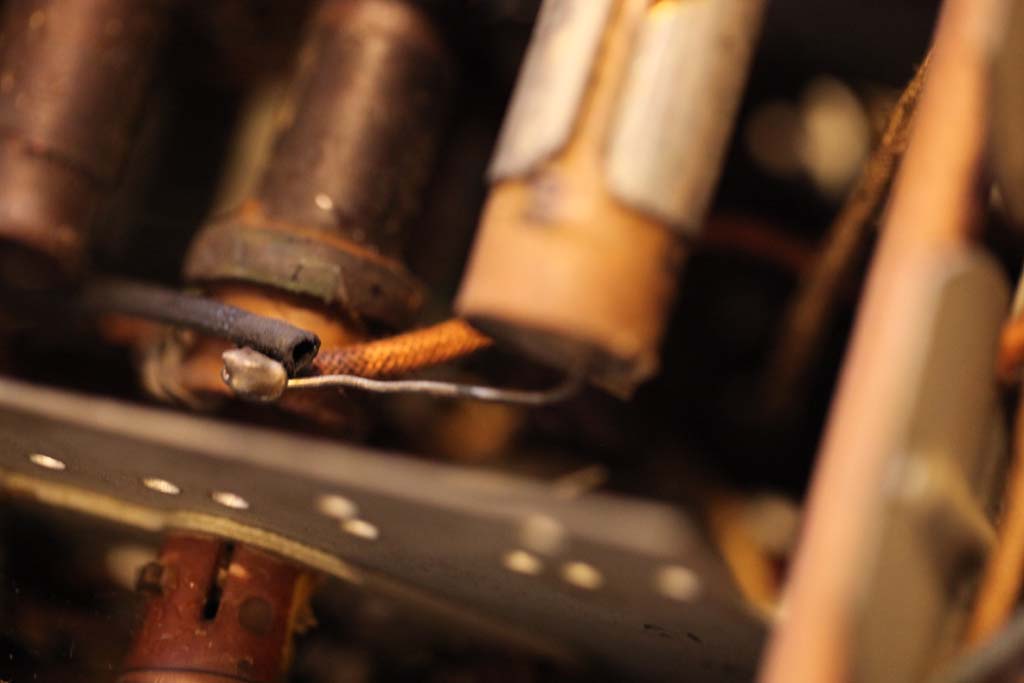
Luckily, the split in the cylinder and the fact that the plates flex a little allowed me to tilt the cap at the angle enough to pull it out.
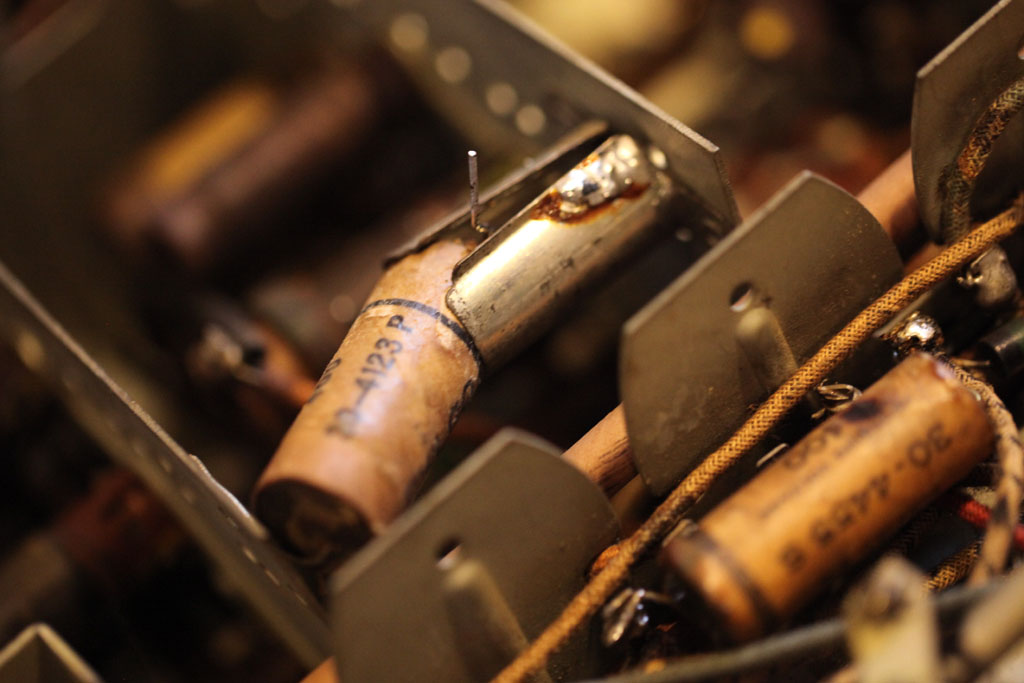
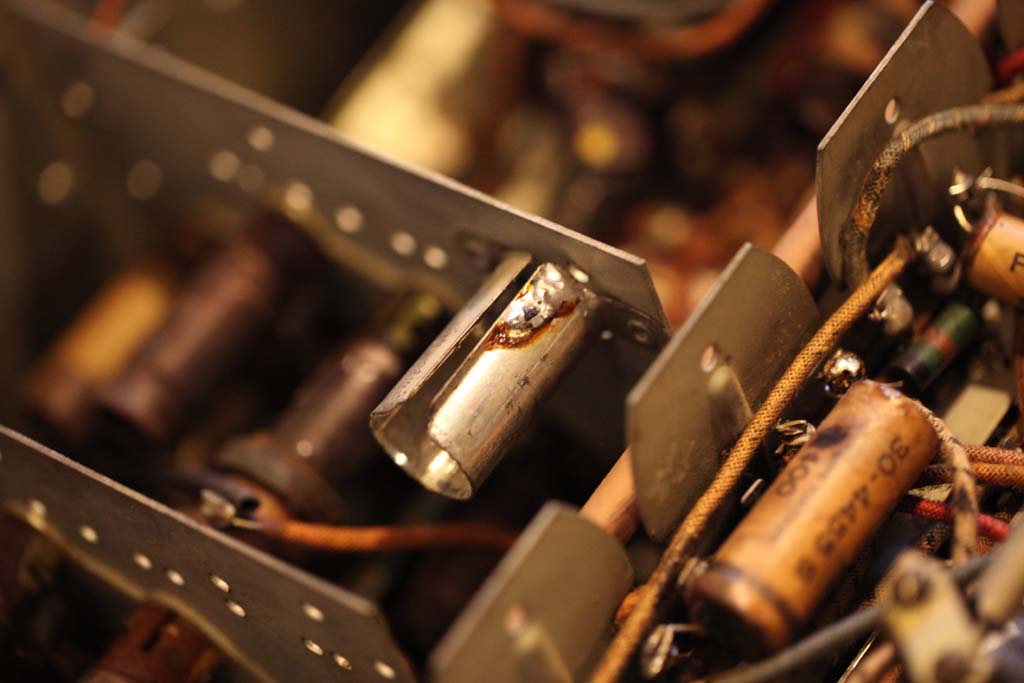
Then I put the cardboard protection disks I cut to size inside the cap after gutting it,
Waiting for the sch to come from Chuck as I want to figure how the electrolytics are connected through the cable and to disconnect those axial electrolytics I keep for now as the place markers.
Today there was the central part, which is also the RF chassis, and it has three caps encased into a cylindrical screen, which in 2 out of 3 cases made the replacement a bit complicated.
Here is how it went.
This is the cap in the screen I am talking about. Nothing special: the wire soldered to the screen is easily unsoldered and the cap, after a little warming up with a heat gun to loosen the wax (6-7 seconds) is pulled out.
Then restuffed, potted and put right back. E-Z.
Now comes the second one. This is sandwiched between the two chassis plates separating the RF chassis into sections. I could not pull it out as the space is not enough.
Luckily, the split in the cylinder and the fact that the plates flex a little allowed me to tilt the cap at the angle enough to pull it out.
Then I put the cardboard protection disks I cut to size inside the cap after gutting it,
People who do not drink, do not smoke, do not eat red meat will one day feel really stupid lying there and dying from nothing.


