Posts: 1,181
Threads: 48
Joined: Oct 2017
City: Allendale, MI
I decided to start on this AK. I was getting bored! this is a radio I purchased at an auction back in March. I liked the looks so I bought it fairly cheap. It actually worked as the filter caps had been replaced in the recent past. Almost all of the wire was rubber and in desperate need of replacement. Russ put me on to some modern rubber covered wire. Not as vibrant in color and not all of the colors available, but reasonable. the cabinet will need to be refinished as there is some veneer pealing and some previous repairs that I hope I can improve upon.
All of the caps have been restuffed ( and they are a bit of pain compared to typical tubular caps of the era) and resistors checked. A few had gone up in value and a suitable parallel addition brought those into range. One 1.5 watt was open so I molded a new one.
The radio is now playing very well even though most of the tubes check way below replacement value according to my TT-1. The 2A6 actually gave me fireworks inside when I tested it. But, it still works even though the diodes and the triode barely register on the meter.
I'm having an issue where the local oscillator dies on the two high bands as I move toward the lower part of the band. Increasing the feedback capacitor in the grid circuit for the oscillator remedied the problem, But I need to figure out why it happens. it could be just a very weak tube. AK must of gotten a good deal on 58's as all of the front end tubes are 58's.
Now I need to work on the cabinet. Not my favorite job. It may wait for a while!


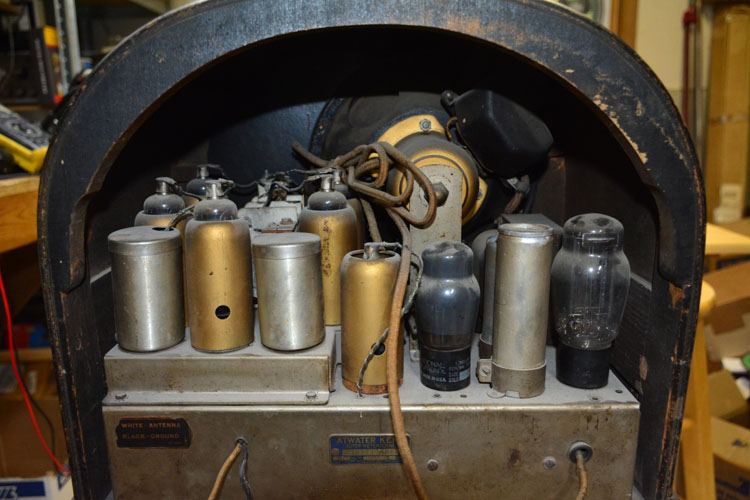

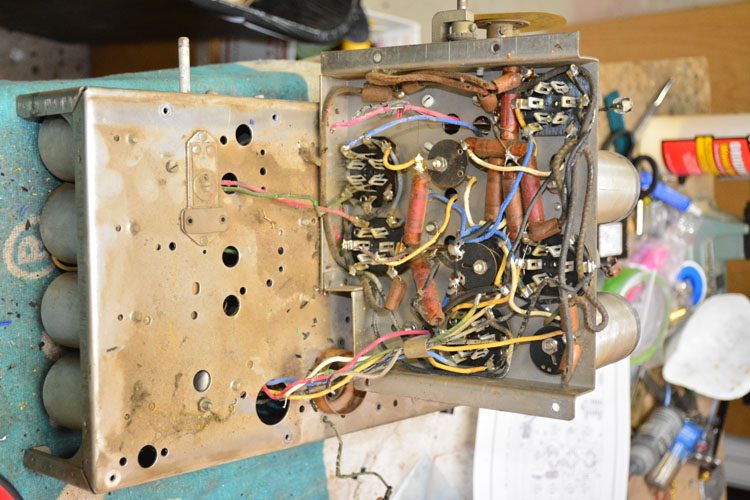
Posts: 1,181
Threads: 48
Joined: Oct 2017
City: Allendale, MI
Posts: 1,181
Threads: 48
Joined: Oct 2017
City: Allendale, MI
Posts: 1,181
Threads: 48
Joined: Oct 2017
City: Allendale, MI
In spite of the tubes being very weak, The radio performs quite well. There is a dearth of adjustments for the 4 frequency bands, so only the BC band is close in dial tracking. I'll do more investigation to see if it is possible to get the other bands closer on the dial. This radio uses an IF of 472.5 khz. The "sealed" AK adjustments were very close. I'd much rather deal with the caps in a Philco than the caps in this radio. There are other areas, such as the power transformer, that are much easier to deal with on the AK. Nice looking radio. I hope I can do the refinish justice.
Posts: 15,305
Threads: 530
Joined: Oct 2011
City: Jackson, NJ
I t hink it is close to mine, the 808A
Rubber-coated wiring galore! Woo-hoo! Hoe you are having fun - I replaced about 95% of it, and replacing those going under the RF chassis was the most fun part.
Somehow your wires looks less barren and devoid of insulation than mine.
Mine were fully bare, and the insulation was in a multitude of colorful pieces on my table.
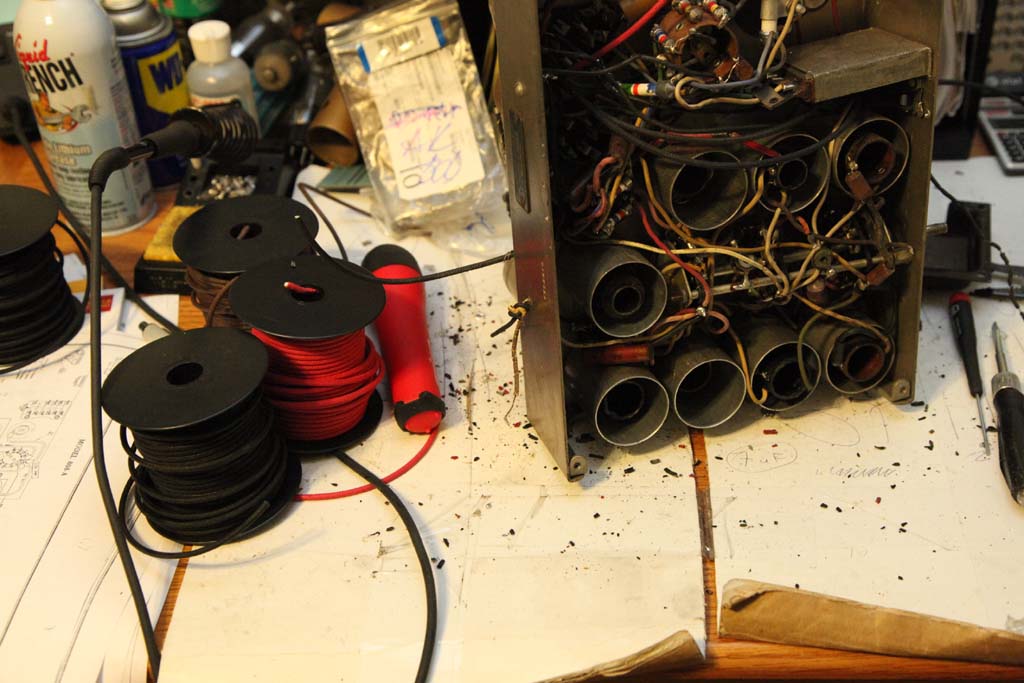
Salivating......salivating......se me cae la baba......
Nice radio. AKs are special. Just the stainless chassis is the testament to the AK quality. And their RF shields. And the way their speakers look.
What a shame it had to end like they did. (coming back to our conversation yesterday with people choocing cheap over quality......this trend existed in 30s also).
People who do not drink, do not smoke, do not eat red meat will one day feel really stupid lying there and dying from nothing.
(This post was last modified: 10-05-2020, 08:28 AM by morzh.)
Posts: 2,118
Threads: 112
Joined: Jun 2010
City: Medford OR (OR what?)
That looks very good, as opposed to many "restorations" who's good varies.
"I just might turn into smoke, but I feel fine"
http://www.russoldradios.com/
Posts: 1,181
Threads: 48
Joined: Oct 2017
City: Allendale, MI
Thanks Russ. I used the rubber wire you suggested. I had to substitute orange for the yellow, as per your suggestion when using that wire with limited colors. Brown wound up being cloth covered as opposed to the rubber. Re-stuffing the AK capacitors is a bit of a pain. The cardboard tube is very fragile and getting the guts out had to be a little different procedure. Getting the speaker voice coil centered was also a bit of a pain. Tried one way first, which didn't work. The second attempt was a success.
Mike, yes I had a pile of rubber pieces under the chassis as I moved things around. This radio is a 708 but it actually follows the 808a schematic in several areas. Perhaps it is a later 708. All wire was changed out except for a couple of connections inside the IF cans. They were just reinsulated. AK put some kind of back stuff around all of the coils that encapsulated some of the short connections inside the cans.
After complete reassembly, the radio didn't work. B+ was only a few volts after the speaker field winding. Tracked an intermittent short to the RF/IF chassis. That was going to be a pain since it is not easily removable. Several wires connected to lower band switch connections would have to be unsoldered. I built up the rewire from the bottom of the switch to the top. The short turned out to be in one of the IF cans that I could remove by working through the slightly spread chassis. Turned out one strand of the wire I replaced for the plate connection up on the pad didn't go through the hole and was shorted against the ground plate of the IF adjustment pad. In about an hour I had it fixed and reassembled. Then the radio performed admirably, even with very questionable tubes. IF tuning was very close, as was RF. There are not a lot of controls for tuning. I got the oscillator to work all across the bands by replacing the oscillator grid capacitor with a larger value. Perhaps I will be able to go back to original value when I get a NOS 58 for the oscillator. I'll be contacting Bob Dobush today!
Now to solve some of the problems with the cabinet.
(This post was last modified: 10-05-2020, 11:12 AM by rfeenstra.)
Posts: 1,181
Threads: 48
Joined: Oct 2017
City: Allendale, MI
Russ, a question for you. There are some areas on the edges of the cabinet that are delaminating. In the past, I've used Titebond or modern Hide glue. What do you use? Will hide glue reactivate some of the old hide glue? Does one stick better than another to the old hide glue? Thanks.
Posts: 3,105
Threads: 54
Joined: Apr 2011
City: Lexington, KY
Your chassis is looking good. What is your source of rubber wire?
John KK4ZLF
Lexington, KY
"illegitimis non carborundum"
Posts: 15,305
Threads: 530
Joined: Oct 2011
City: Jackson, NJ
Rob,
Yes I actually wrote that 708 was a tabletop version of 808A but then I deleted that as the chassis does look a smidge different. I heard that before though. And it uses the same location of the knobs and the same kbobs also.
I actually saved the wires going inside the RF coild as they are potted with some black resin and it would be a disaster trying to change them. Plus, an interesting thing, some colored wires we still good and pliable: it really depends on the color. I think yellow ones did not require replacement.
People who do not drink, do not smoke, do not eat red meat will one day feel really stupid lying there and dying from nothing.
Posts: 2,118
Threads: 112
Joined: Jun 2010
City: Medford OR (OR what?)
The wires leading to all transformers, including the power transformer, and all coils can be changed. There is a land for all connections, usually buried under the tar. It takes a little practice with a hot iron to find the land but a new wire can be soldered on and the tar acts like flux.
Seventh picture down:
https://www.russoldradios.com/blog/atwater-kent-559n
Sixth, 7th and 8th picturs down from the top:
https://www.russoldradios.com/blog/who-l...-a-chassis
This only works on AKs.
"I just might turn into smoke, but I feel fine"
http://www.russoldradios.com/
Posts: 15,305
Threads: 530
Joined: Oct 2011
City: Jackson, NJ
Yes, I meant this exactly: you could see the solder posting. But......I did not want to risk the coils.
People who do not drink, do not smoke, do not eat red meat will one day feel really stupid lying there and dying from nothing.
Posts: 1,181
Threads: 48
Joined: Oct 2017
City: Allendale, MI
Eliot, Russ put me on to SOOW cord. It is 18 AWG but is about the diameter of what AK used. I purchased the 6 conductor cable then strip the jacket off to get the individual wires. Unfortunately, it does not come in brown or yellow. The insulation is EPDM rubber. I purchased a bunch from Allied wire.
Just discovered Mouser has yellow and you can buy individual colors. but not brown. Only in 100ft rolls at a $1.32/ft - ouch.
(This post was last modified: 10-06-2020, 08:22 PM by rfeenstra.)
Posts: 3,105
Threads: 54
Joined: Apr 2011
City: Lexington, KY
Thanks Rob, I'll look into that SOOW cord 
John KK4ZLF
Lexington, KY
"illegitimis non carborundum"
Posts: 1,181
Threads: 48
Joined: Oct 2017
City: Allendale, MI
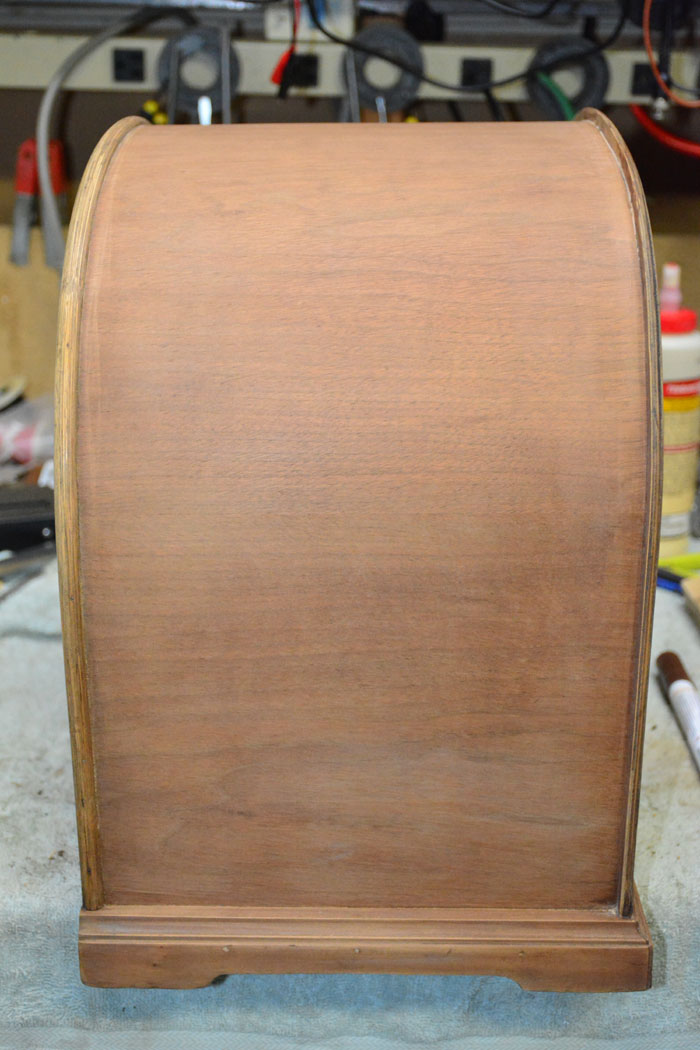
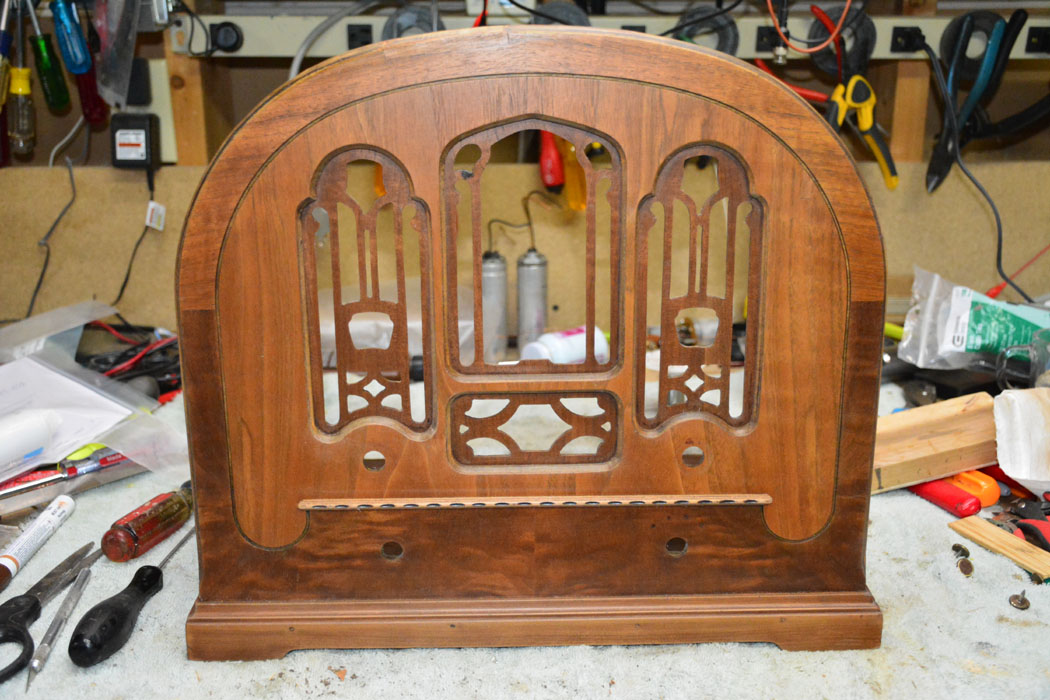
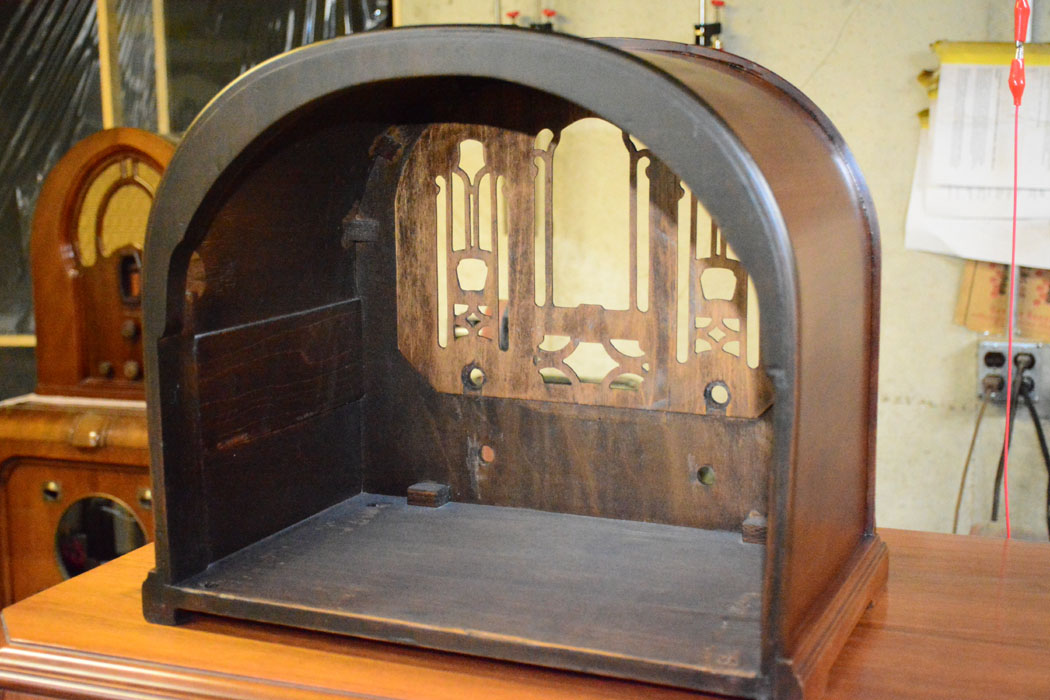
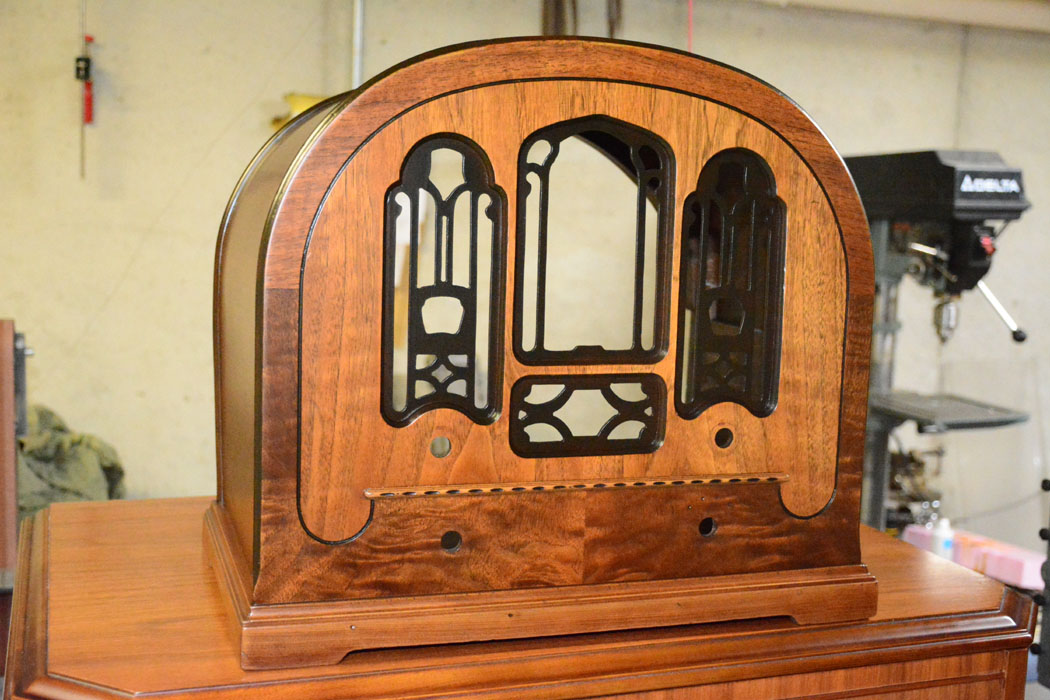
I started on the cabinet. You can see a before pic in earlier posts. A lot of the very dark brown or black toner on the grille trim was falling off. Plus, a piece of the very thin lattice work was broken. There was some veneer repair that I didn't like so I tried to improve it. Plus there was deep ding in the upper right side. Tried my hand at veneer repair. Results were ok but not great. I'm learning!
I still need to tone the base a bit since it was originally much darker. Plus it will help hide some of the character marks.
Cabinet stripped and sanded:
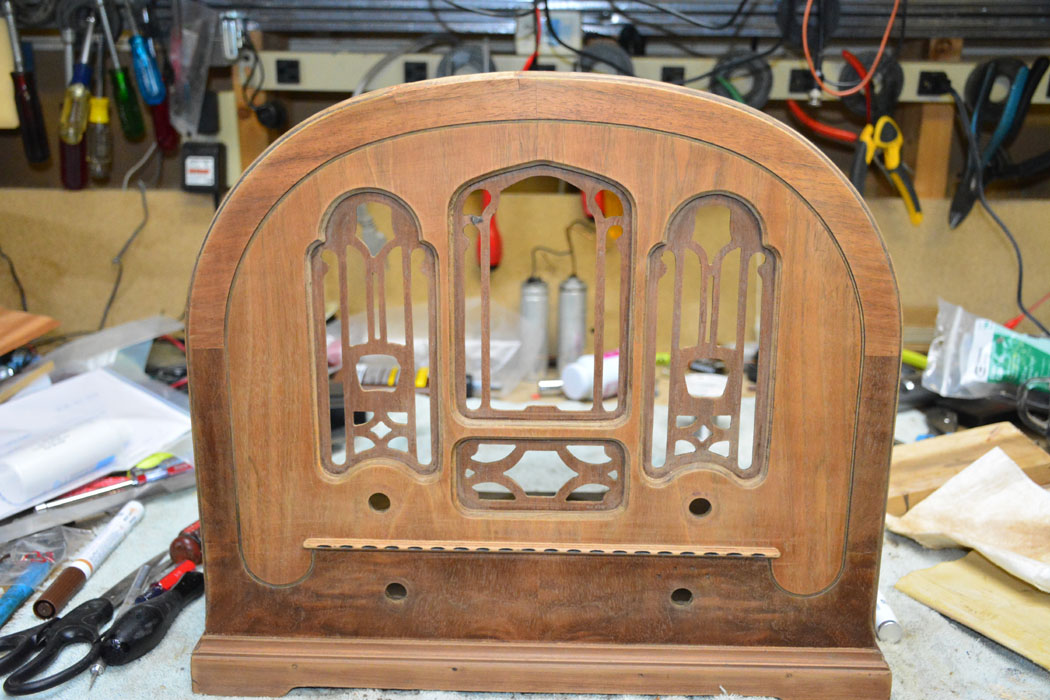
Wash coat of sealer before grain filler:
3 coats of sanding sealer, dark toner on the trim, and one coat of sanding sealer to "fix" the dark toner. Still need to tone the base. I'll use tinted lacquer in a spray gun for that as i can's seem to master rattle cans! Out of lacquer so I have to wait till it comes in. Plus, I need to affix the decal before the final coats of finish lacquer. Ready for wet sanding before the final coats.
(This post was last modified: 10-17-2020, 10:13 PM by rfeenstra.)
Users browsing this thread: 1 Guest(s)
|


