03-17-2014, 02:55 PM
Alright.. lookin good!..Allow it to dry! ...
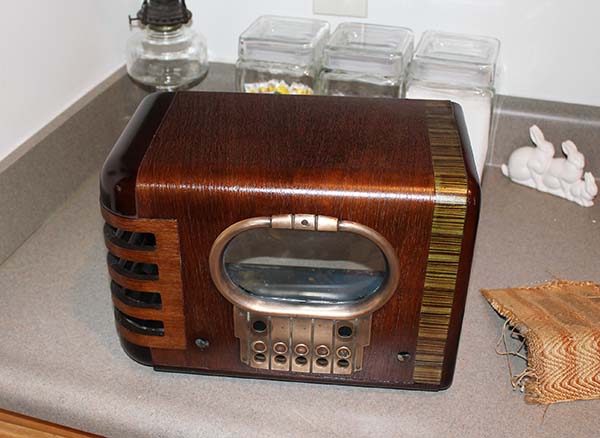
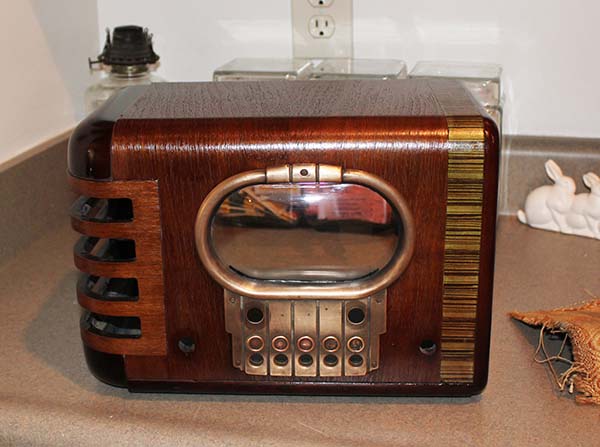
Next up was just to use regular refinishing technique. There are already threads on this, so I will skip those steps. Basically, I sprayed a light coat of universal walnut over the entire cabinet (including my paper finish.).. Then, I taped off the main cabinet and did the edges with Extra Dark Walnut. This was followed up with a few coats of Clear Gloss.
Final Result....


Vs

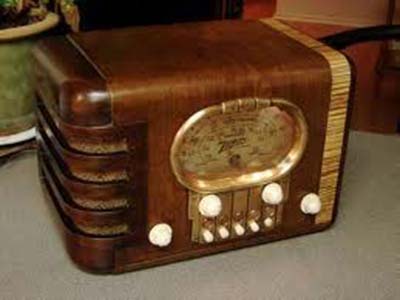
Original look that was desired...
Not too shabby!..
Next up was just to use regular refinishing technique. There are already threads on this, so I will skip those steps. Basically, I sprayed a light coat of universal walnut over the entire cabinet (including my paper finish.).. Then, I taped off the main cabinet and did the edges with Extra Dark Walnut. This was followed up with a few coats of Clear Gloss.
Final Result....
Vs
Original look that was desired...
Not too shabby!..
The artist formerly known as Puhpow! 8)


