Posts: 34
Threads: 5
Joined: Jan 2017
City: Upper Sandusky, Ohio
Started stripping process on Saturday. Tried the Pine-sol soak until last evening. Loosened some of the newer spray paint. Scraped all I could and let it soak until this morning. Got up and started in again this morning (day off, today!)...about 3/4 of the paint scraped off pretty easy....down to bakelite. The grill and tough spots have been being soaked/scraped with some old stripper I had in the garage...I've been working a couple hours and it is about 90% stripped. Still working on grill area....still not sure if I will be able to polish up or paint, but it is a bunch of work. I do enjoy it, though. I should have taken a few pics through the process, but didn't think about it. When I head back out to scrape, I'll snap one.
Posts: 34
Threads: 5
Joined: Jan 2017
City: Upper Sandusky, Ohio
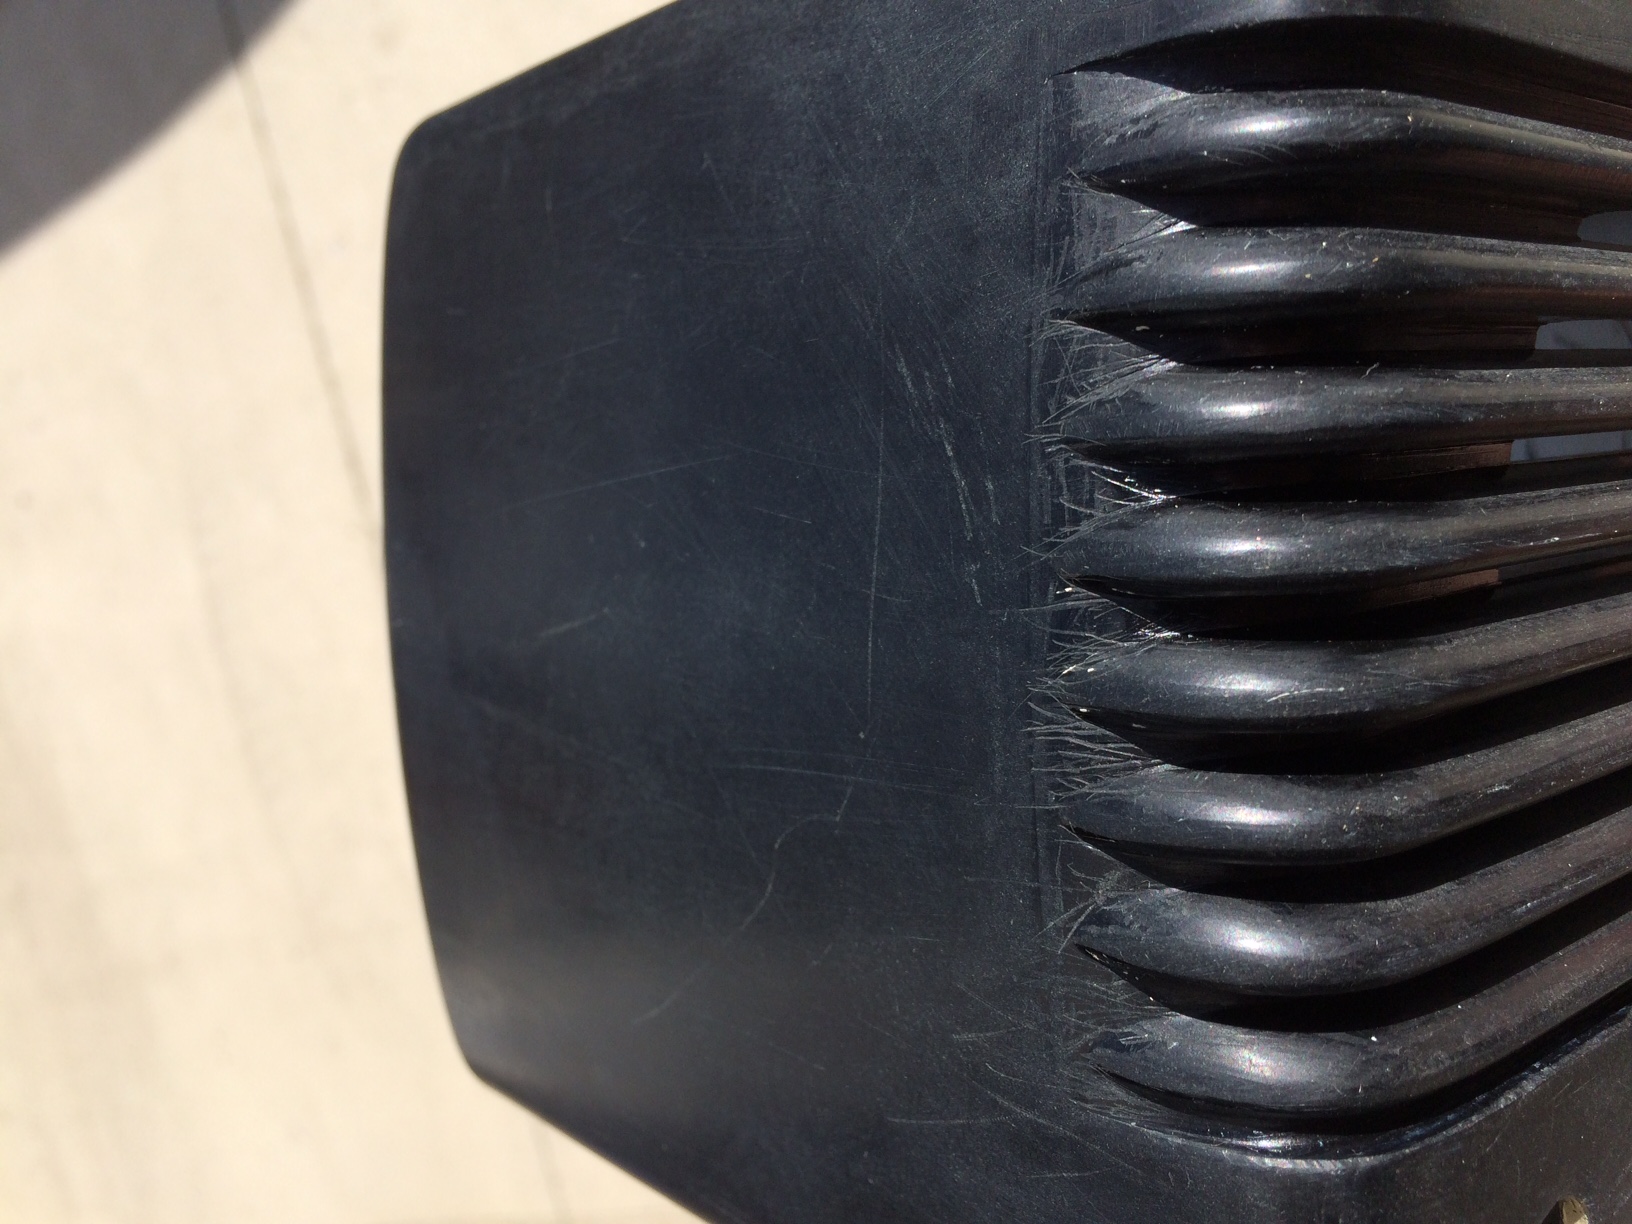
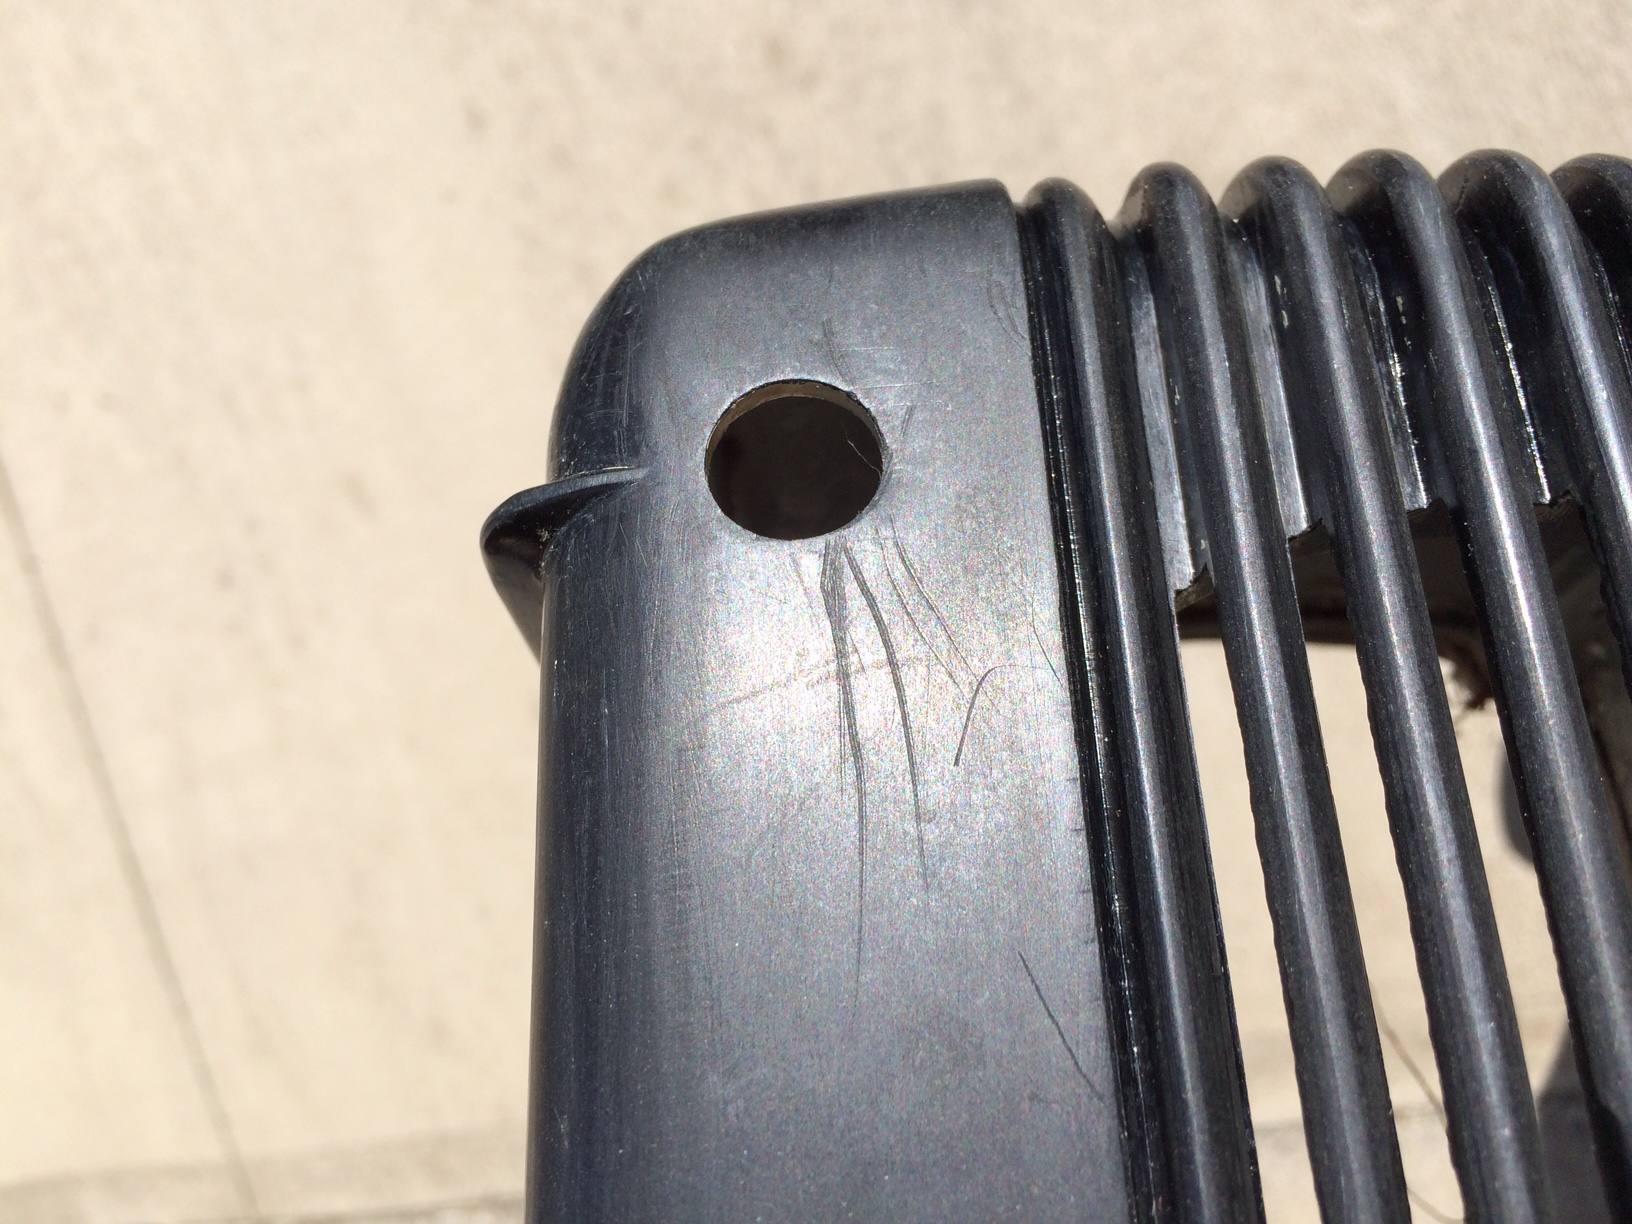
It looks like I will have to re-paint this thing. It seems that the previous owner who initially re-painted it scratched the heck out it, while removing the original paint?...can I sand these out to prep for re-painting?

....also the gouges near the hole in the cabinet are deeper than just a scratch (see the very first pic, before stripping)...too deep to sand. Can I fill with bondo? or something?..

it is interesting that the bottom still has a sheen to it under the 2 coats of paint. I think the rest of the cabinet was sanded before the repaint, but didn't sand the bottom.
I still have some cleaning up to do. It looks like I will have to remove the loop antenna, as I'll never clean the inside up without ruining it....
This is never gonna be a pristine example...but I'm learning some stuff, I guess.
Posts: 4,928
Threads: 54
Joined: Sep 2008
City: Sandwick, BC, CA
Yuck; it looks like someone used a rusty nail as a paint removal tool! It's a tough call, you could wet sand the more or less flat areas but those scratches in between the grill bars is a much more difficult task, you would have to make a tool to wrap the sandpaper around to get in there, like out of an old popsicle stick. I think that a combination of a high bodied sand-able primer and some glazing and spot putty might help with most of it. In any event the Bakelite looks like it pure black, so you could paint it over it in black if you like that look.
Regards
Arran


![[-] [-]](https://philcoradio.com/phorum/images/bootbb/collapse.png)


