Atwater Kent 82, restoration.
Posts: 1,600
Threads: 101
Joined: May 2008
City: Omak
State, Province, Country: WA
Hello morzh,
Same here during workdays I do not have much time after work either!
I decided to take this coming up Friday off that will give me more time to work on the stuff and far as my AK who knows when it will get restored.
I find it kind of fun to rebuild electrolytic caps and the coupling capacitors.
Sincerely Richard
Posts: 15,818
Threads: 554
Joined: Oct 2011
City: Jackson, NJ
Until now I have always rebuilt the lytics.
I still might. Though I am not sure they are original; one is the same type use in Philco 90s, the Mershon-like with plated copper.
Well, we'll see what I feel like... 
People who do not drink, do not smoke, do not eat red meat will one day feel really stupid lying there and dying from nothing.
Posts: 15,818
Threads: 554
Joined: Oct 2011
City: Jackson, NJ
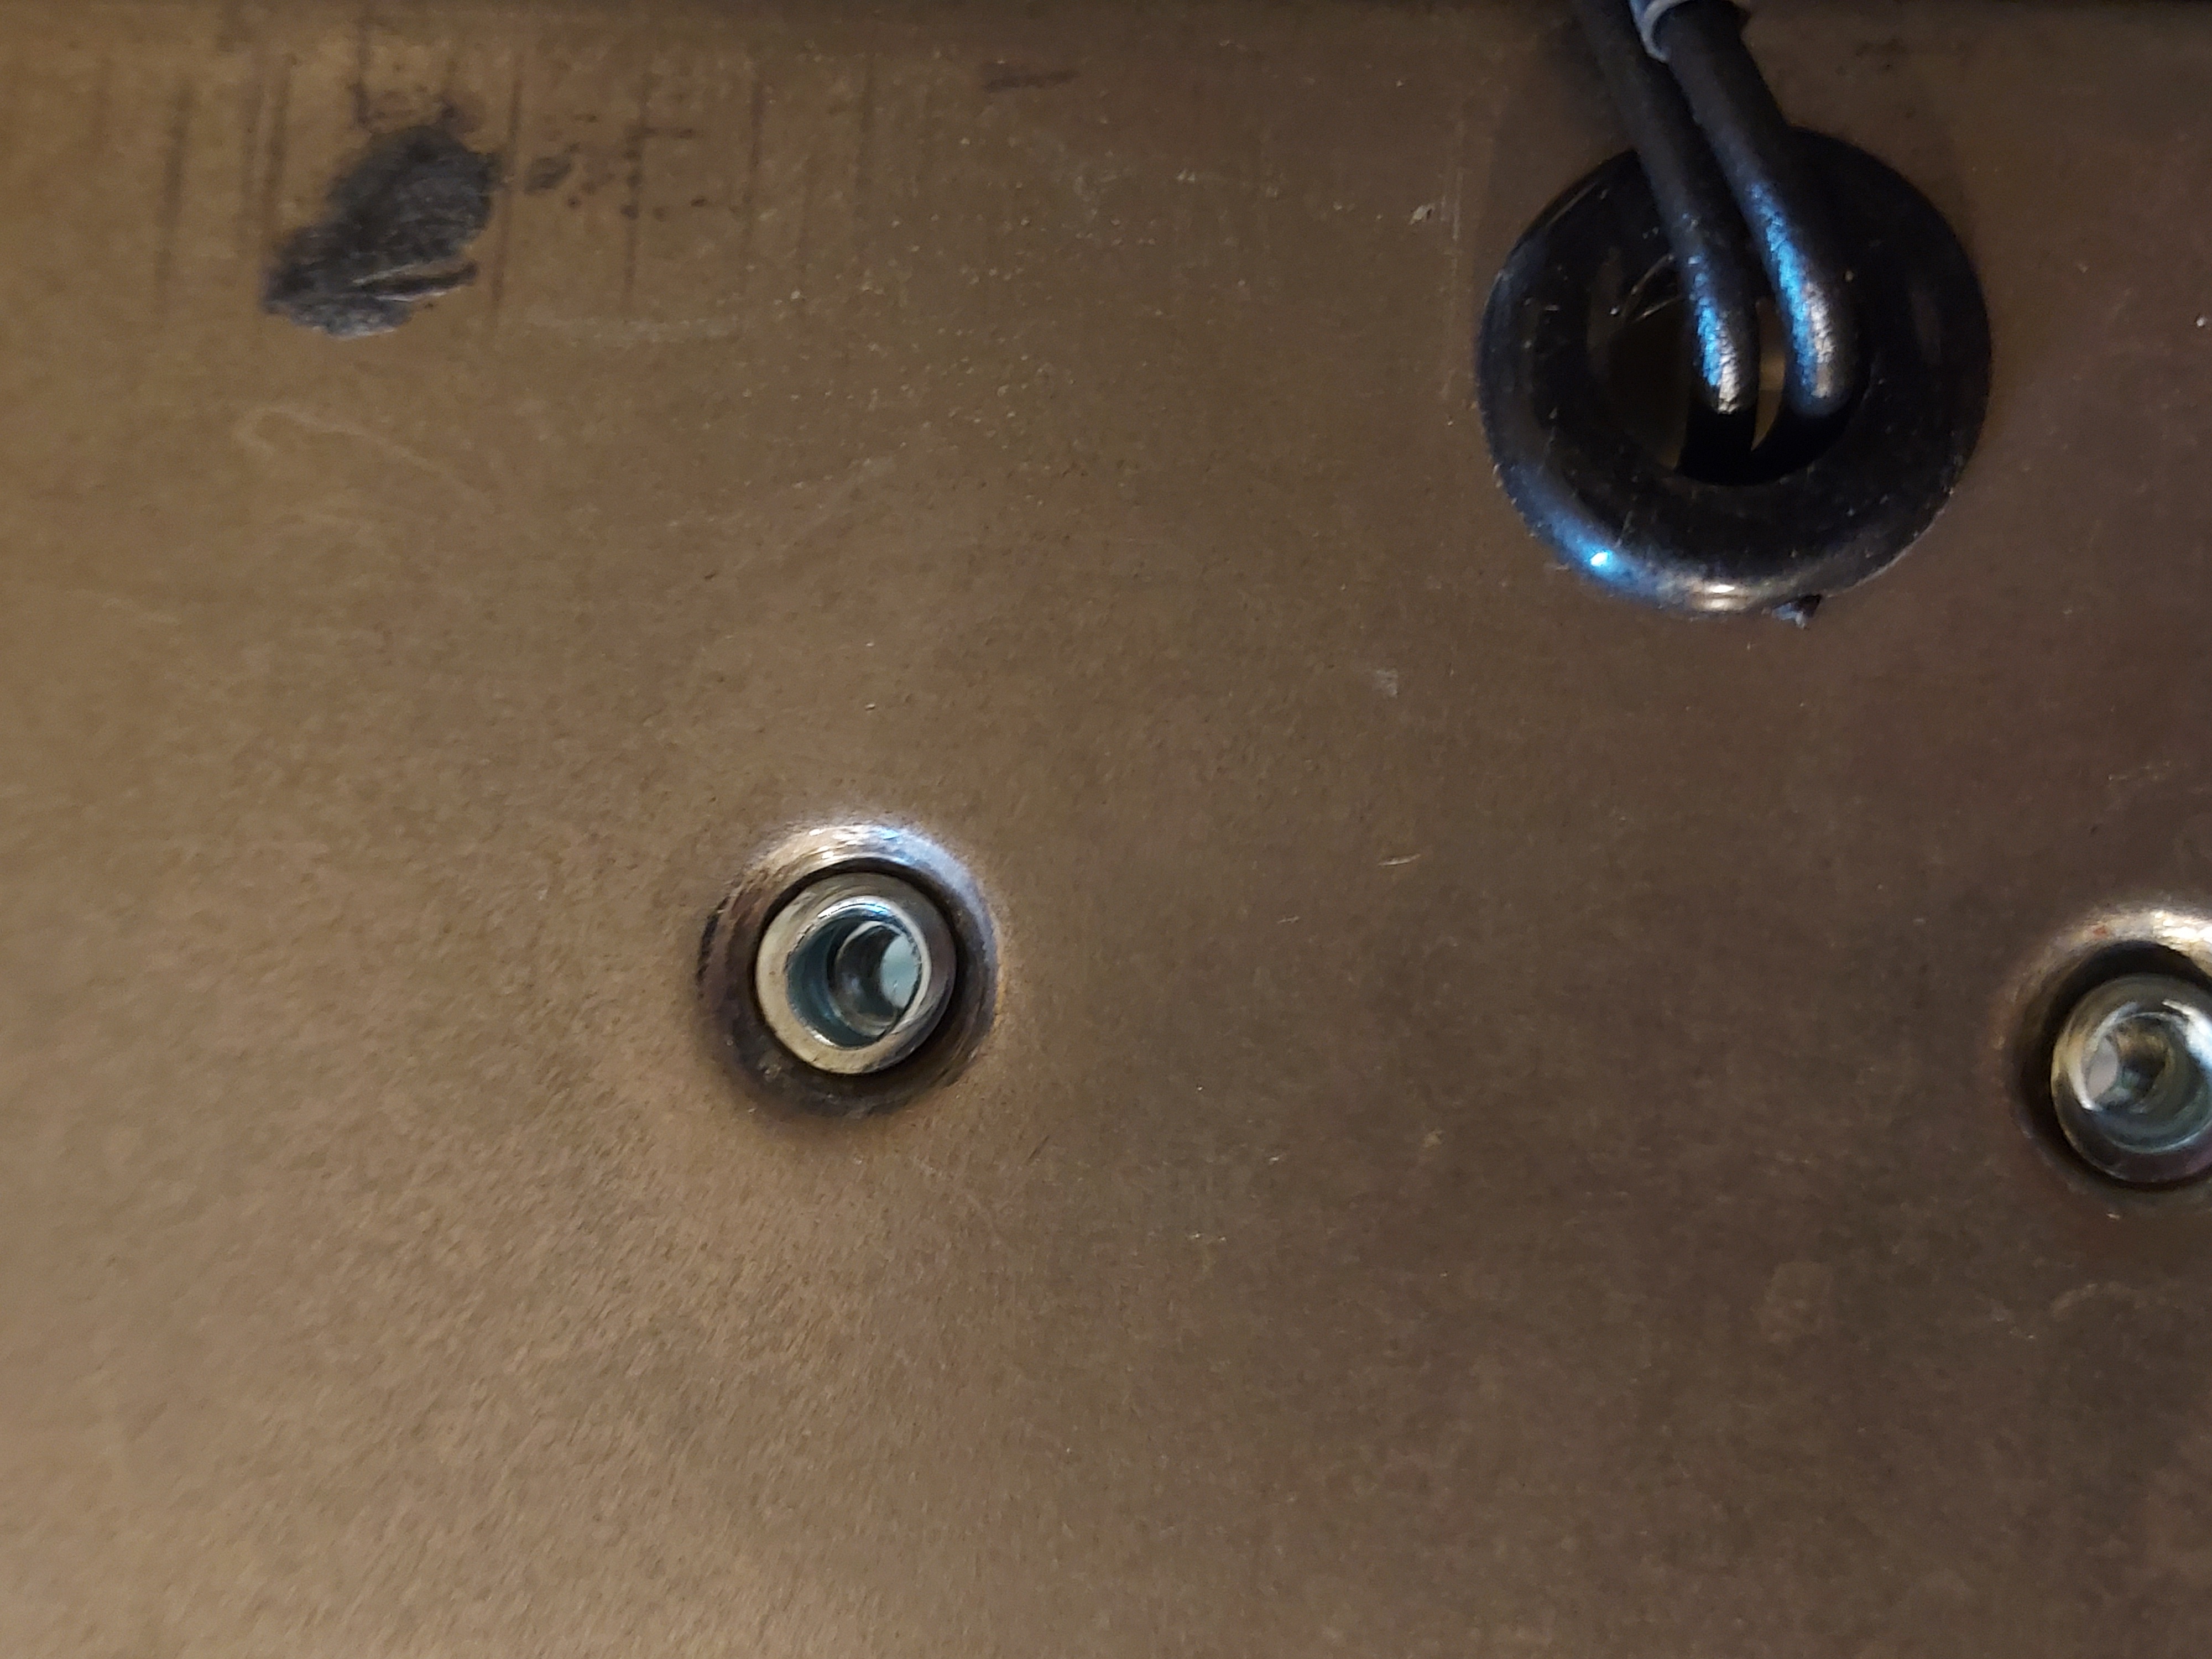
Oh....the rivnuts seem to work. I got the countersunk type.
Also I realized I made a mistake overtightening. Maybe this was the reason the first set did not work, though countersunk have way more protrusion befor I start pulling. I will try the original for the next can; if they work, they look better than these ones. If not, well, this are ok too.
People who do not drink, do not smoke, do not eat red meat will one day feel really stupid lying there and dying from nothing.
Posts: 13,776
Threads: 580
Joined: Sep 2005
City: Ferdinand
State, Province, Country: Indiana
Mike, can you share some photos of the rivnuts and how they look in the chassis, please?
--
Ron Ramirez
Ferdinand IN
Posts: 15,818
Threads: 554
Joined: Oct 2011
City: Jackson, NJ
This is how it looks installed
These are the views of the two types, the yellow is a regular, and the silver is the countersunked.
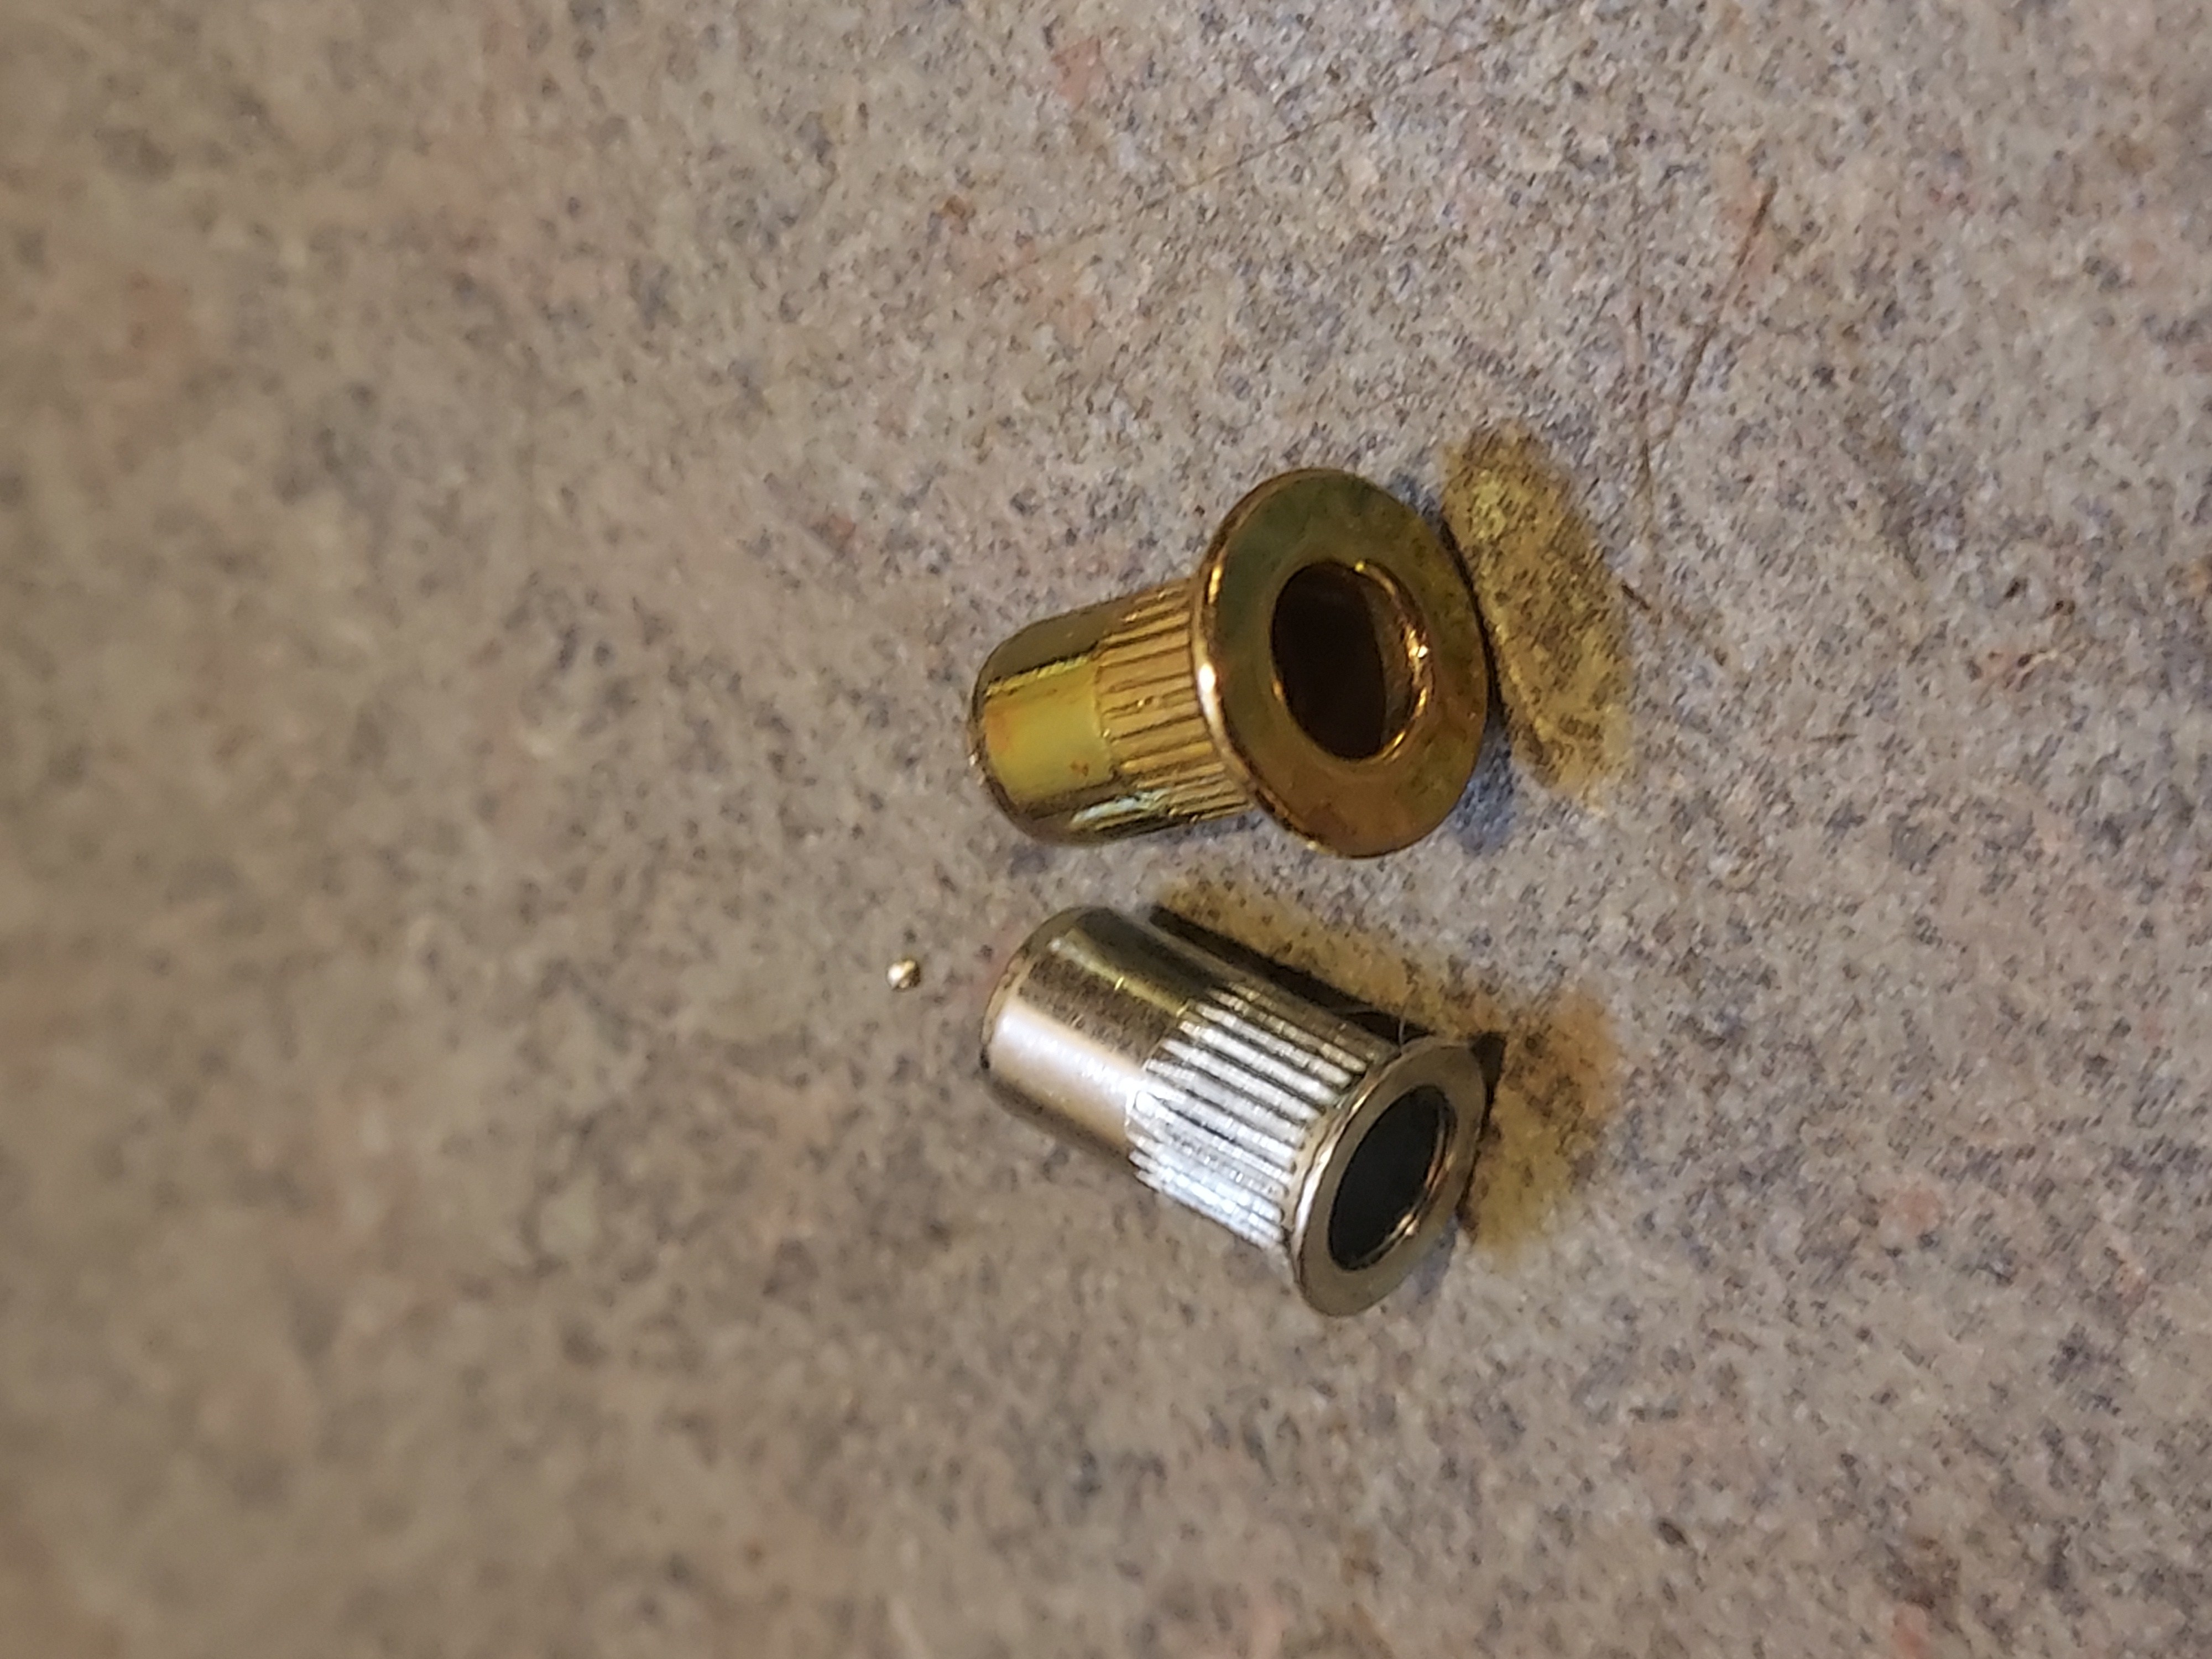
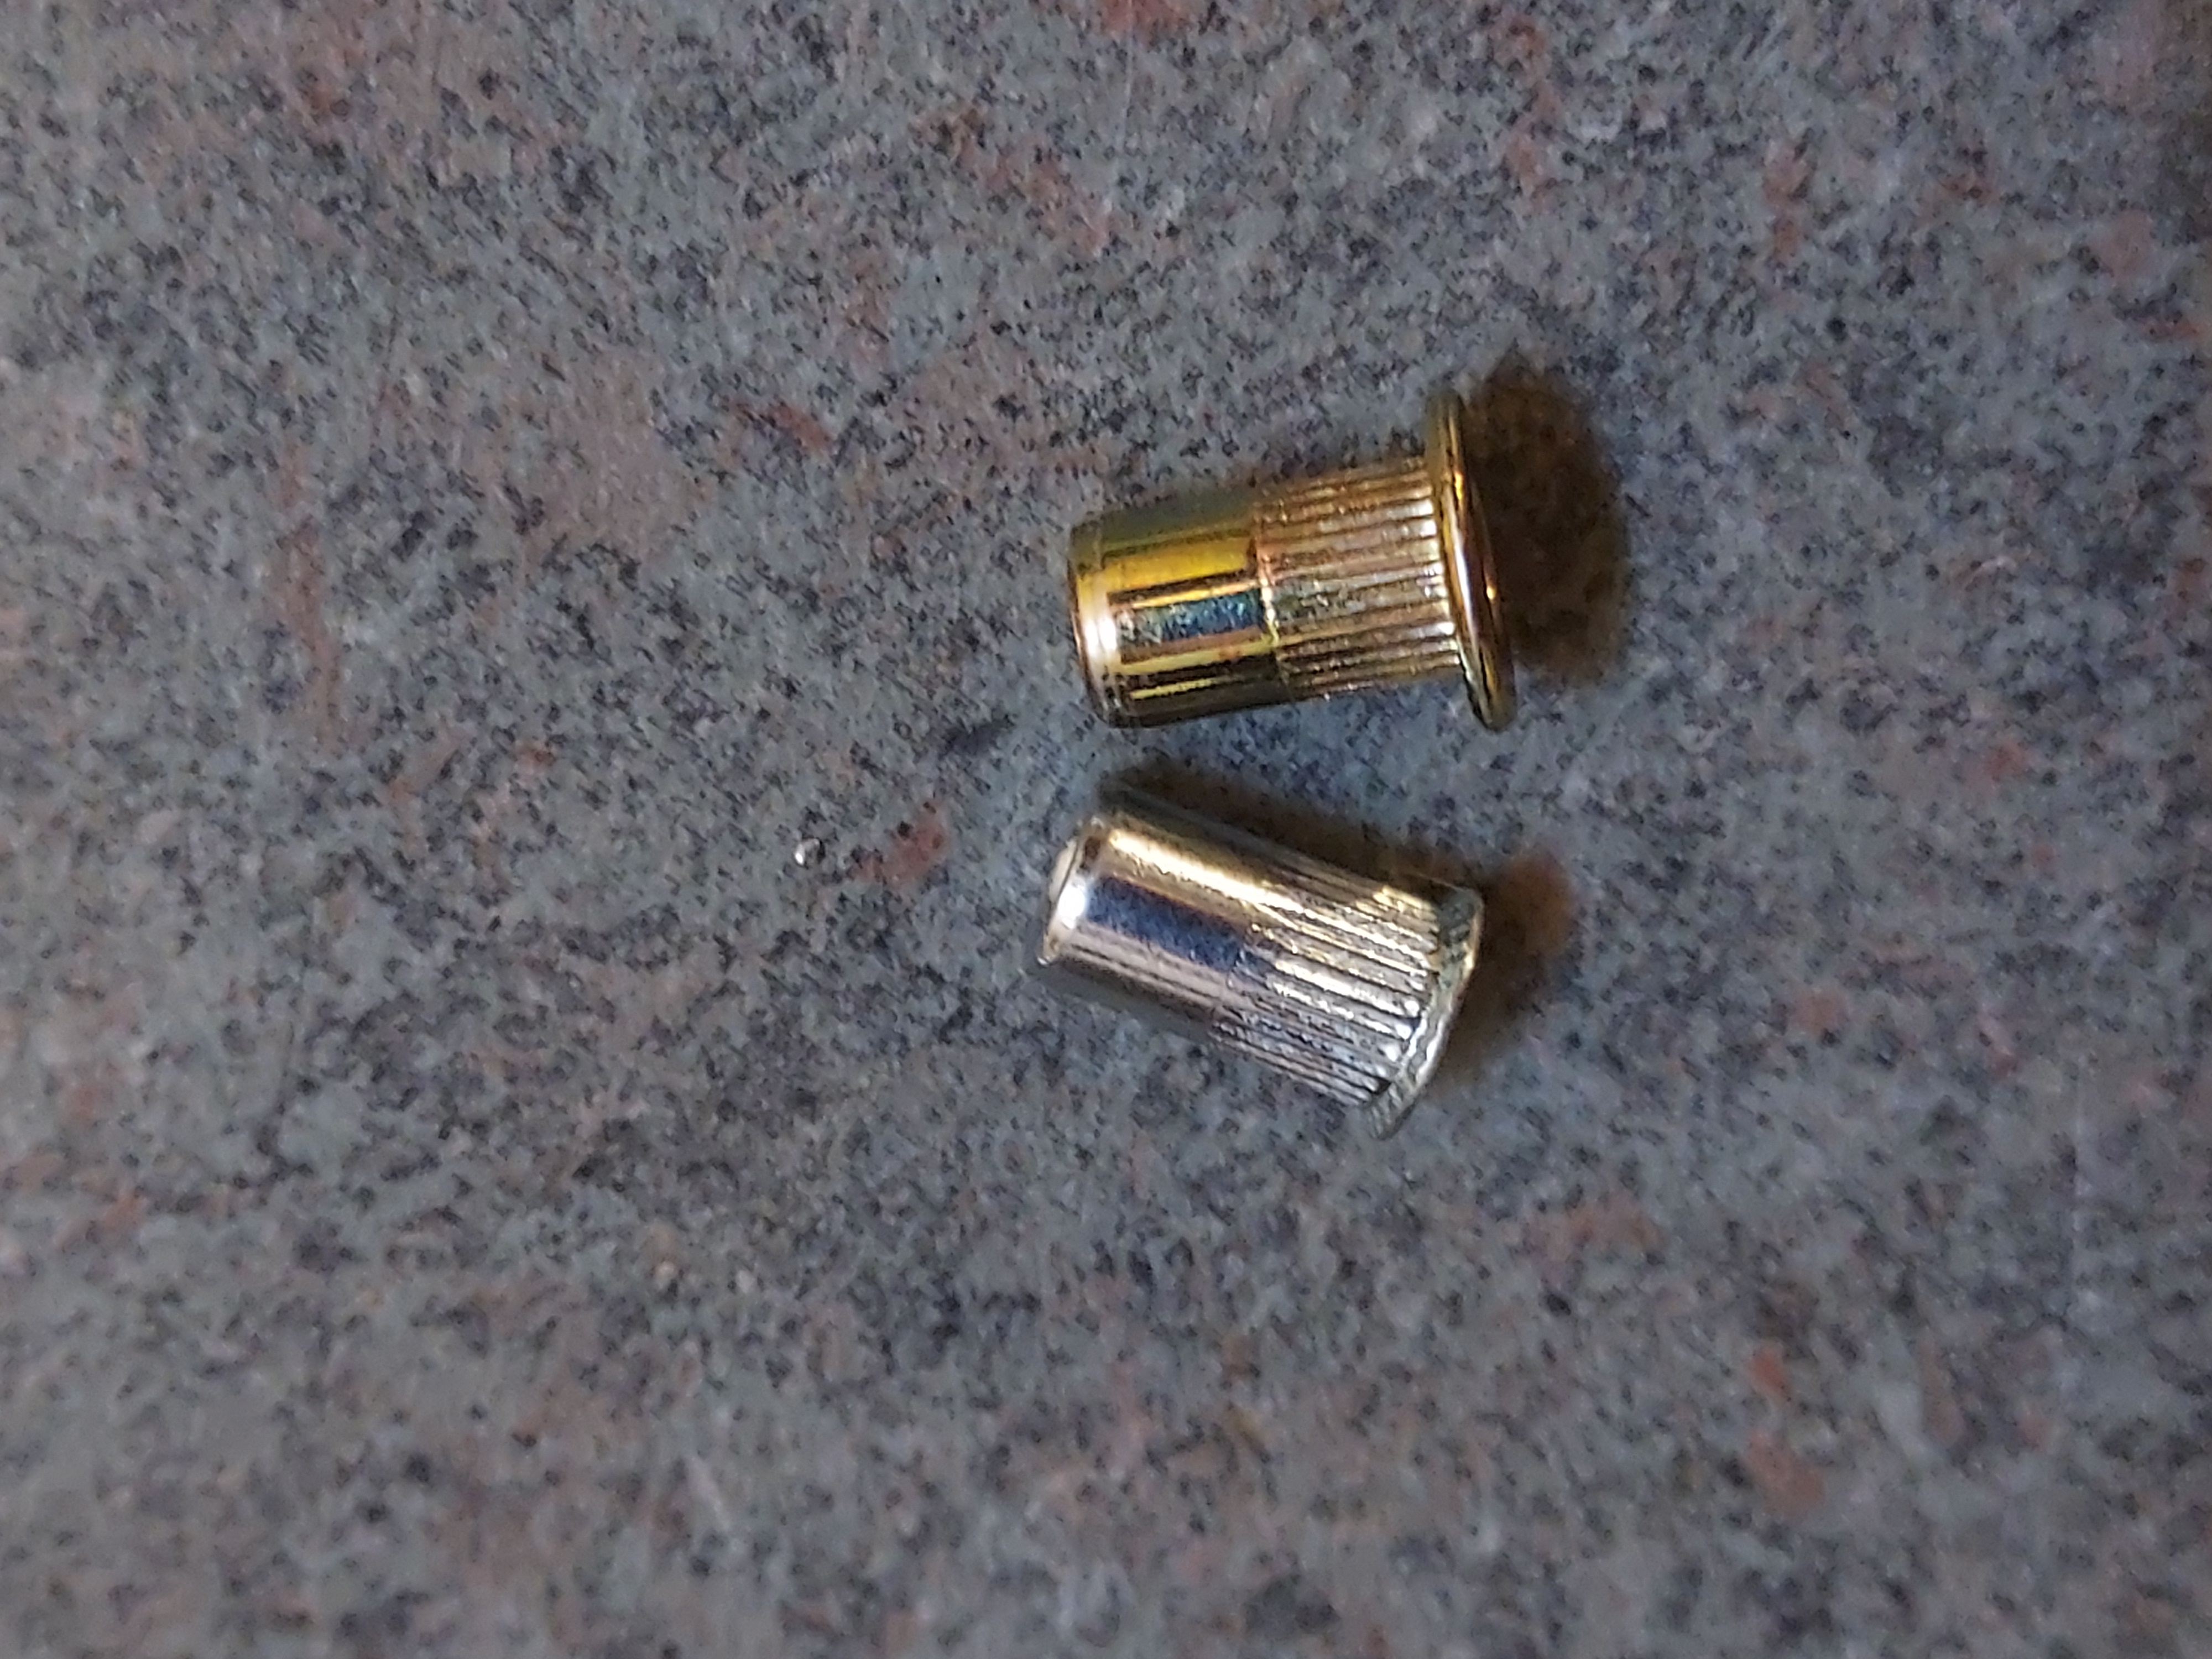
Rivnut, as I understood it, is in fact a threaded insert and is for other purposes. Like having a threaded insert, akin to PEM and such. It has a grip range (material thickness) of 0.5 - 2mm (or 0.5 - 1.5mm for the regular ones) for the M3 size (the one I use). But it works fine if needed to hold together a couple of surfaces, as long as the total thickness is within range.
The knurled part is the one to collapse, the smooth is the nut itself (not used in my case).
People who do not drink, do not smoke, do not eat red meat will one day feel really stupid lying there and dying from nothing.
(This post was last modified: 06-09-2022, 01:33 PM by morzh.)
Posts: 1,190
Threads: 50
Joined: Oct 2017
City: Allendale, MI
They are often used in airplanes. I have a rivnut setting tool.
Posts: 15,818
Threads: 554
Joined: Oct 2011
City: Jackson, NJ
Rebuilt another can cap. Now, with experience, this took jus about under an hour.
People who do not drink, do not smoke, do not eat red meat will one day feel really stupid lying there and dying from nothing.
Posts: 15,818
Threads: 554
Joined: Oct 2011
City: Jackson, NJ
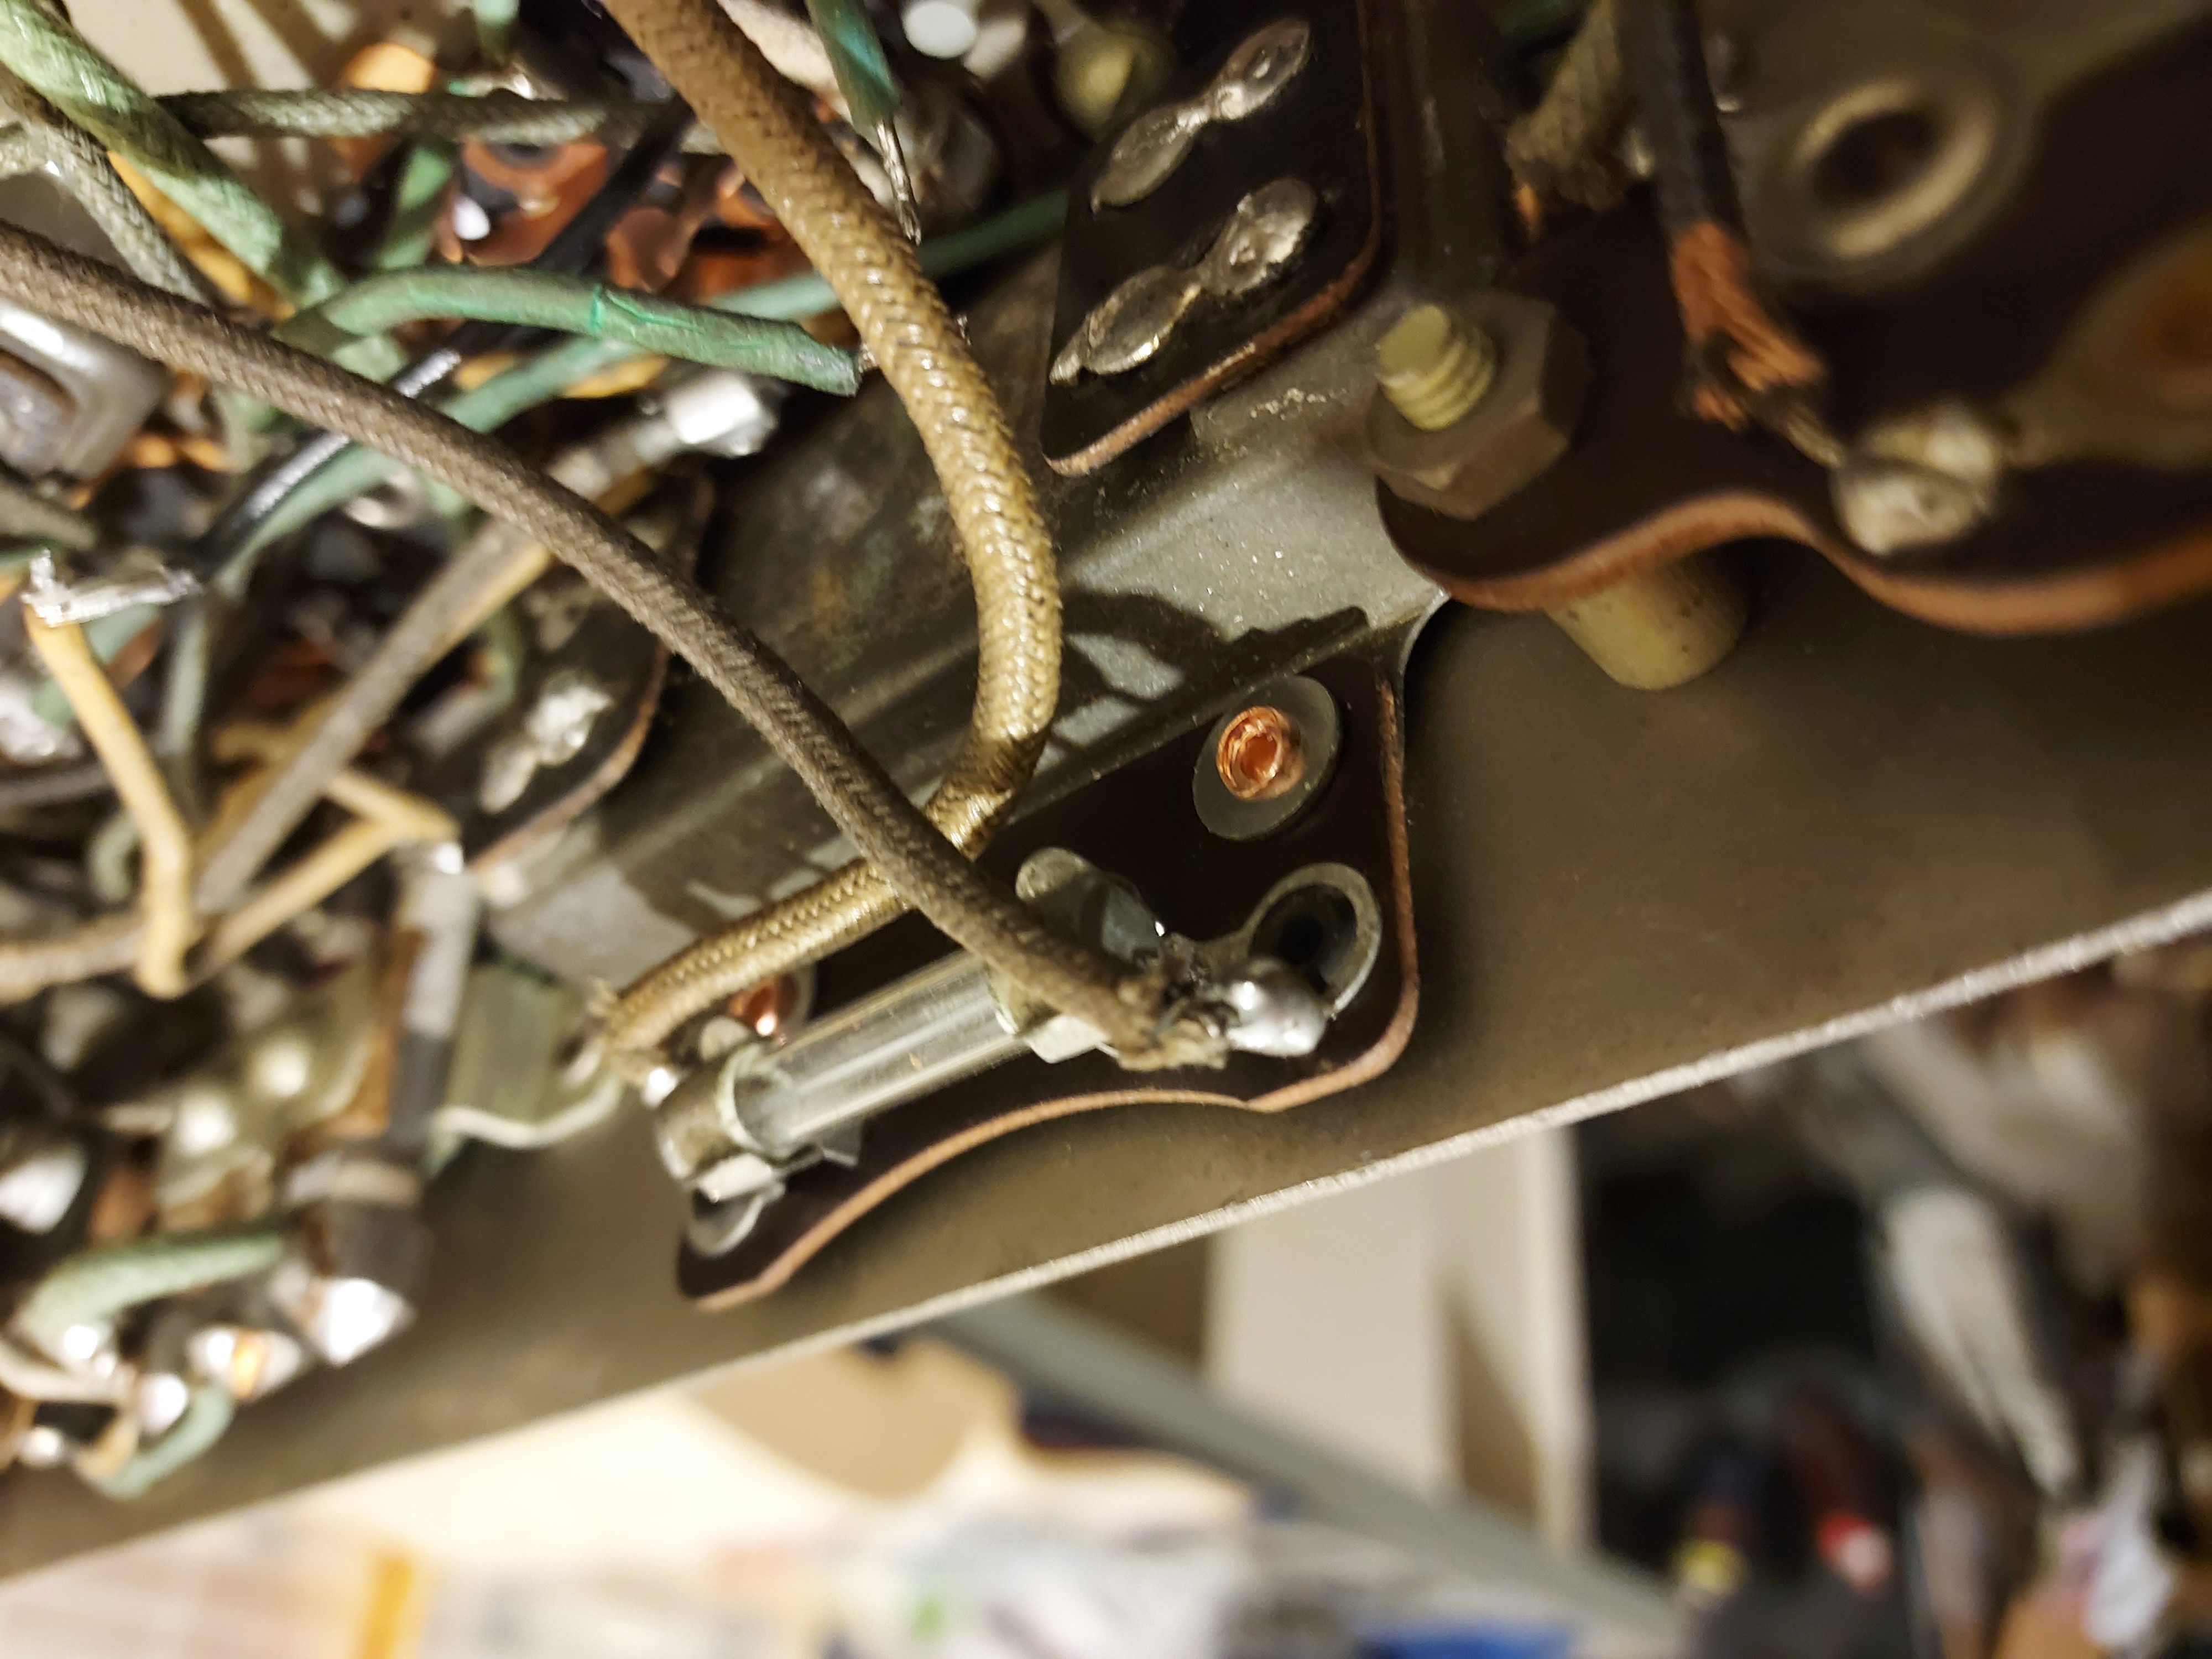
Because no rivnut will fit the thickness of both cap can and the fuse panel, I decided to use M4 copper pop rivets. M5 would not go through the fuse panel.
I bought 8 and 11 mm long ones.
I also used a M4 stainless steel washer to protect the phenolic fuse panel from cracking.
I also did not pull the mandrel all the way through, but stopped where I felt it flared the barrel enough to hold well, and then pushed the mandrel ouit.
Here is how it worked. I might use the pop-rivets and rivnuts interchangeably, depending on which one fits the place best.
People who do not drink, do not smoke, do not eat red meat will one day feel really stupid lying there and dying from nothing.
(This post was last modified: 06-14-2022, 10:45 PM by morzh.)
Posts: 1,600
Threads: 101
Joined: May 2008
City: Omak
State, Province, Country: WA
Hello mike,
that fuse holder looks just fine I think that was a good choice !
Sincerely Richard
Posts: 15,818
Threads: 554
Joined: Oct 2011
City: Jackson, NJ
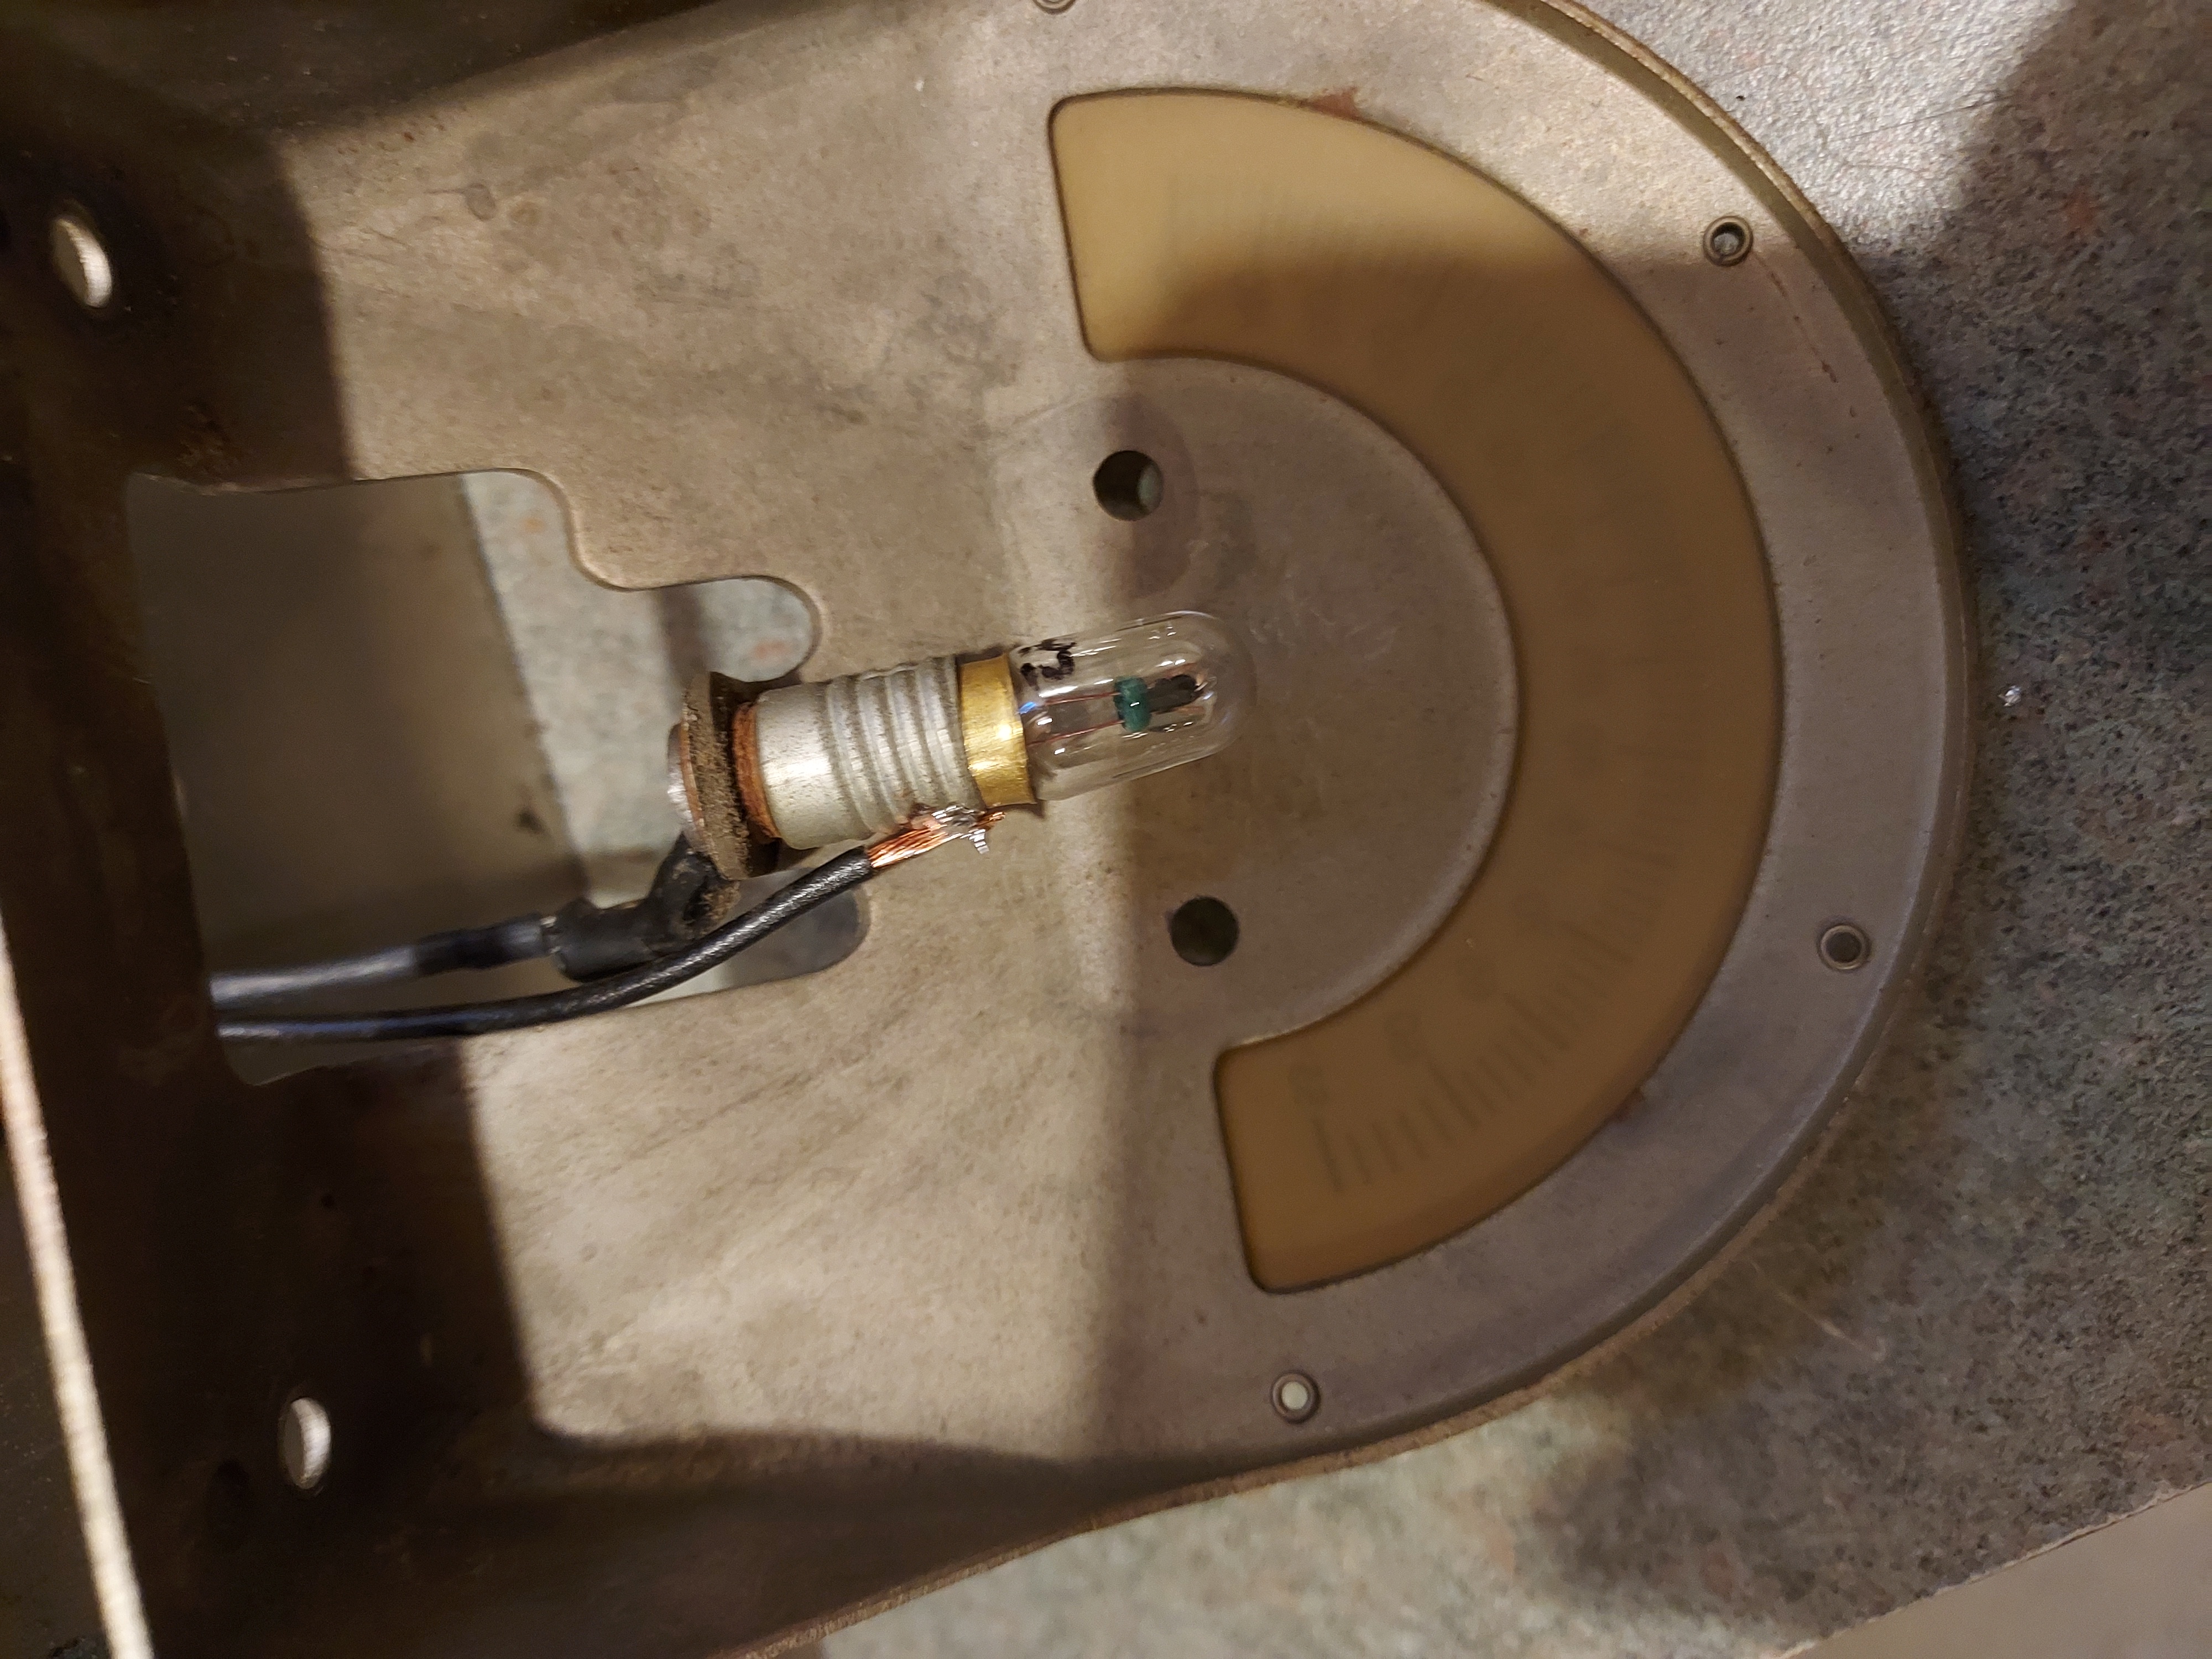
In order to get access to the rivets I had to remove the tuning cap.
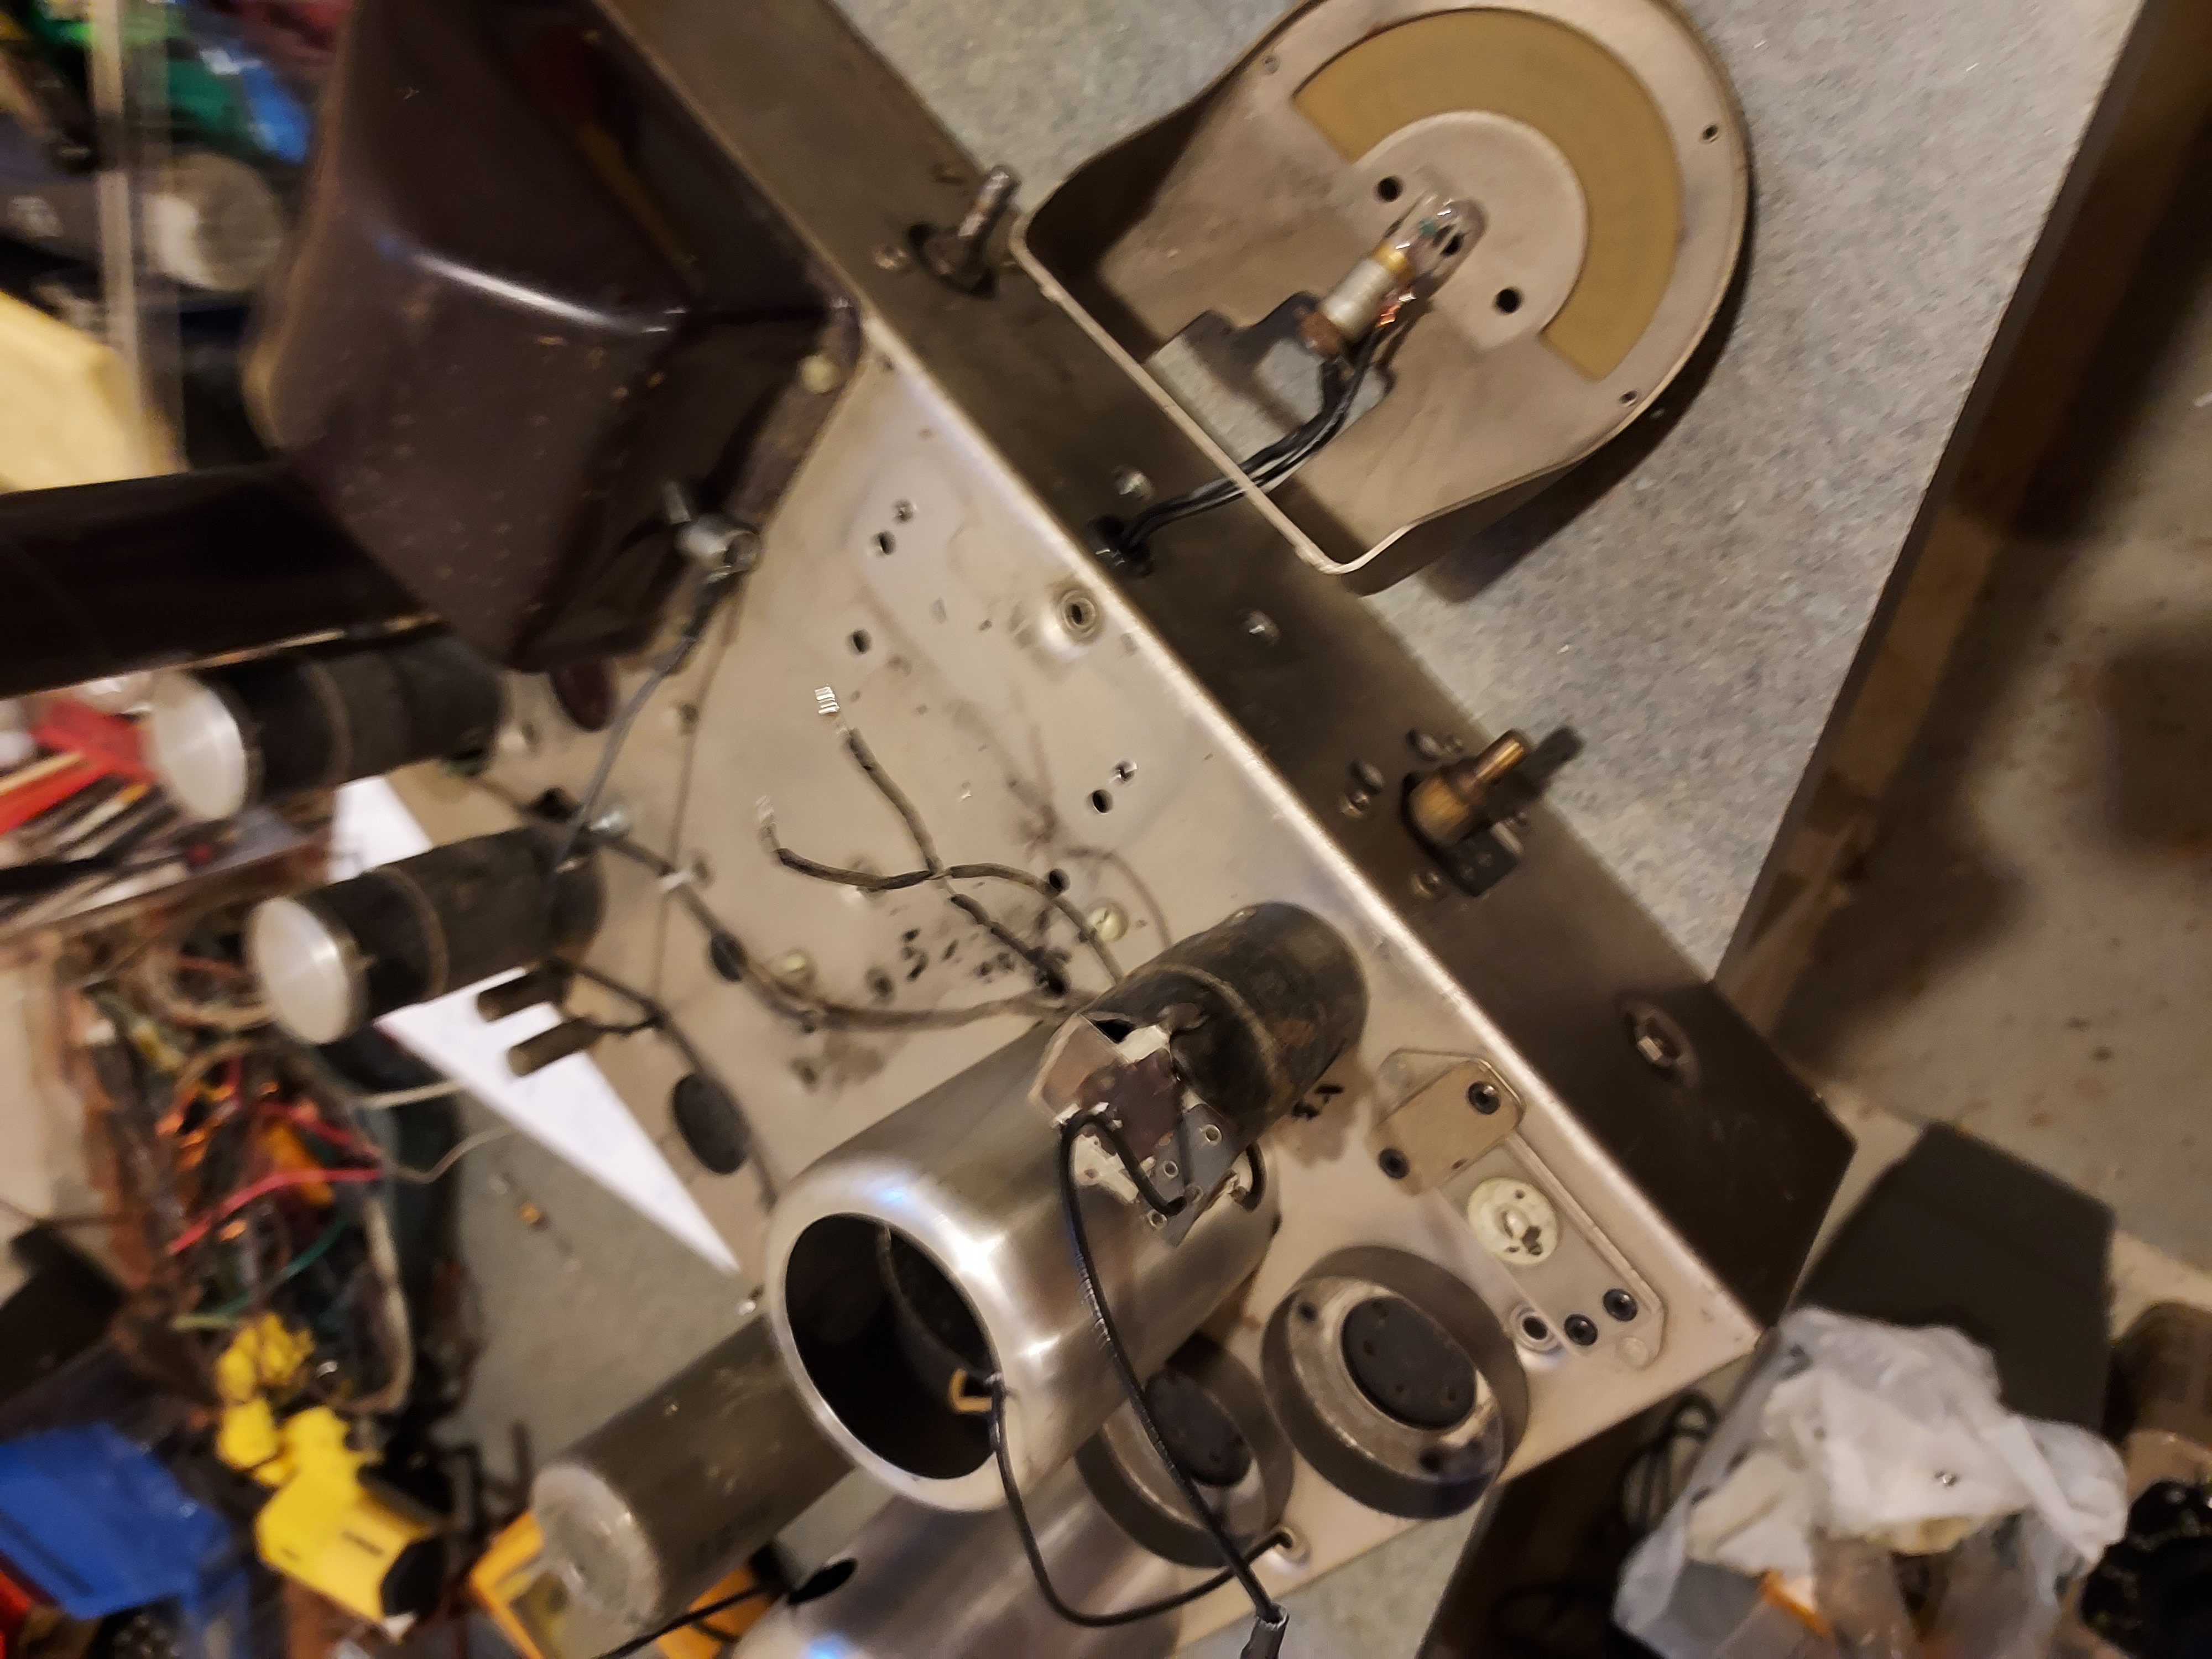
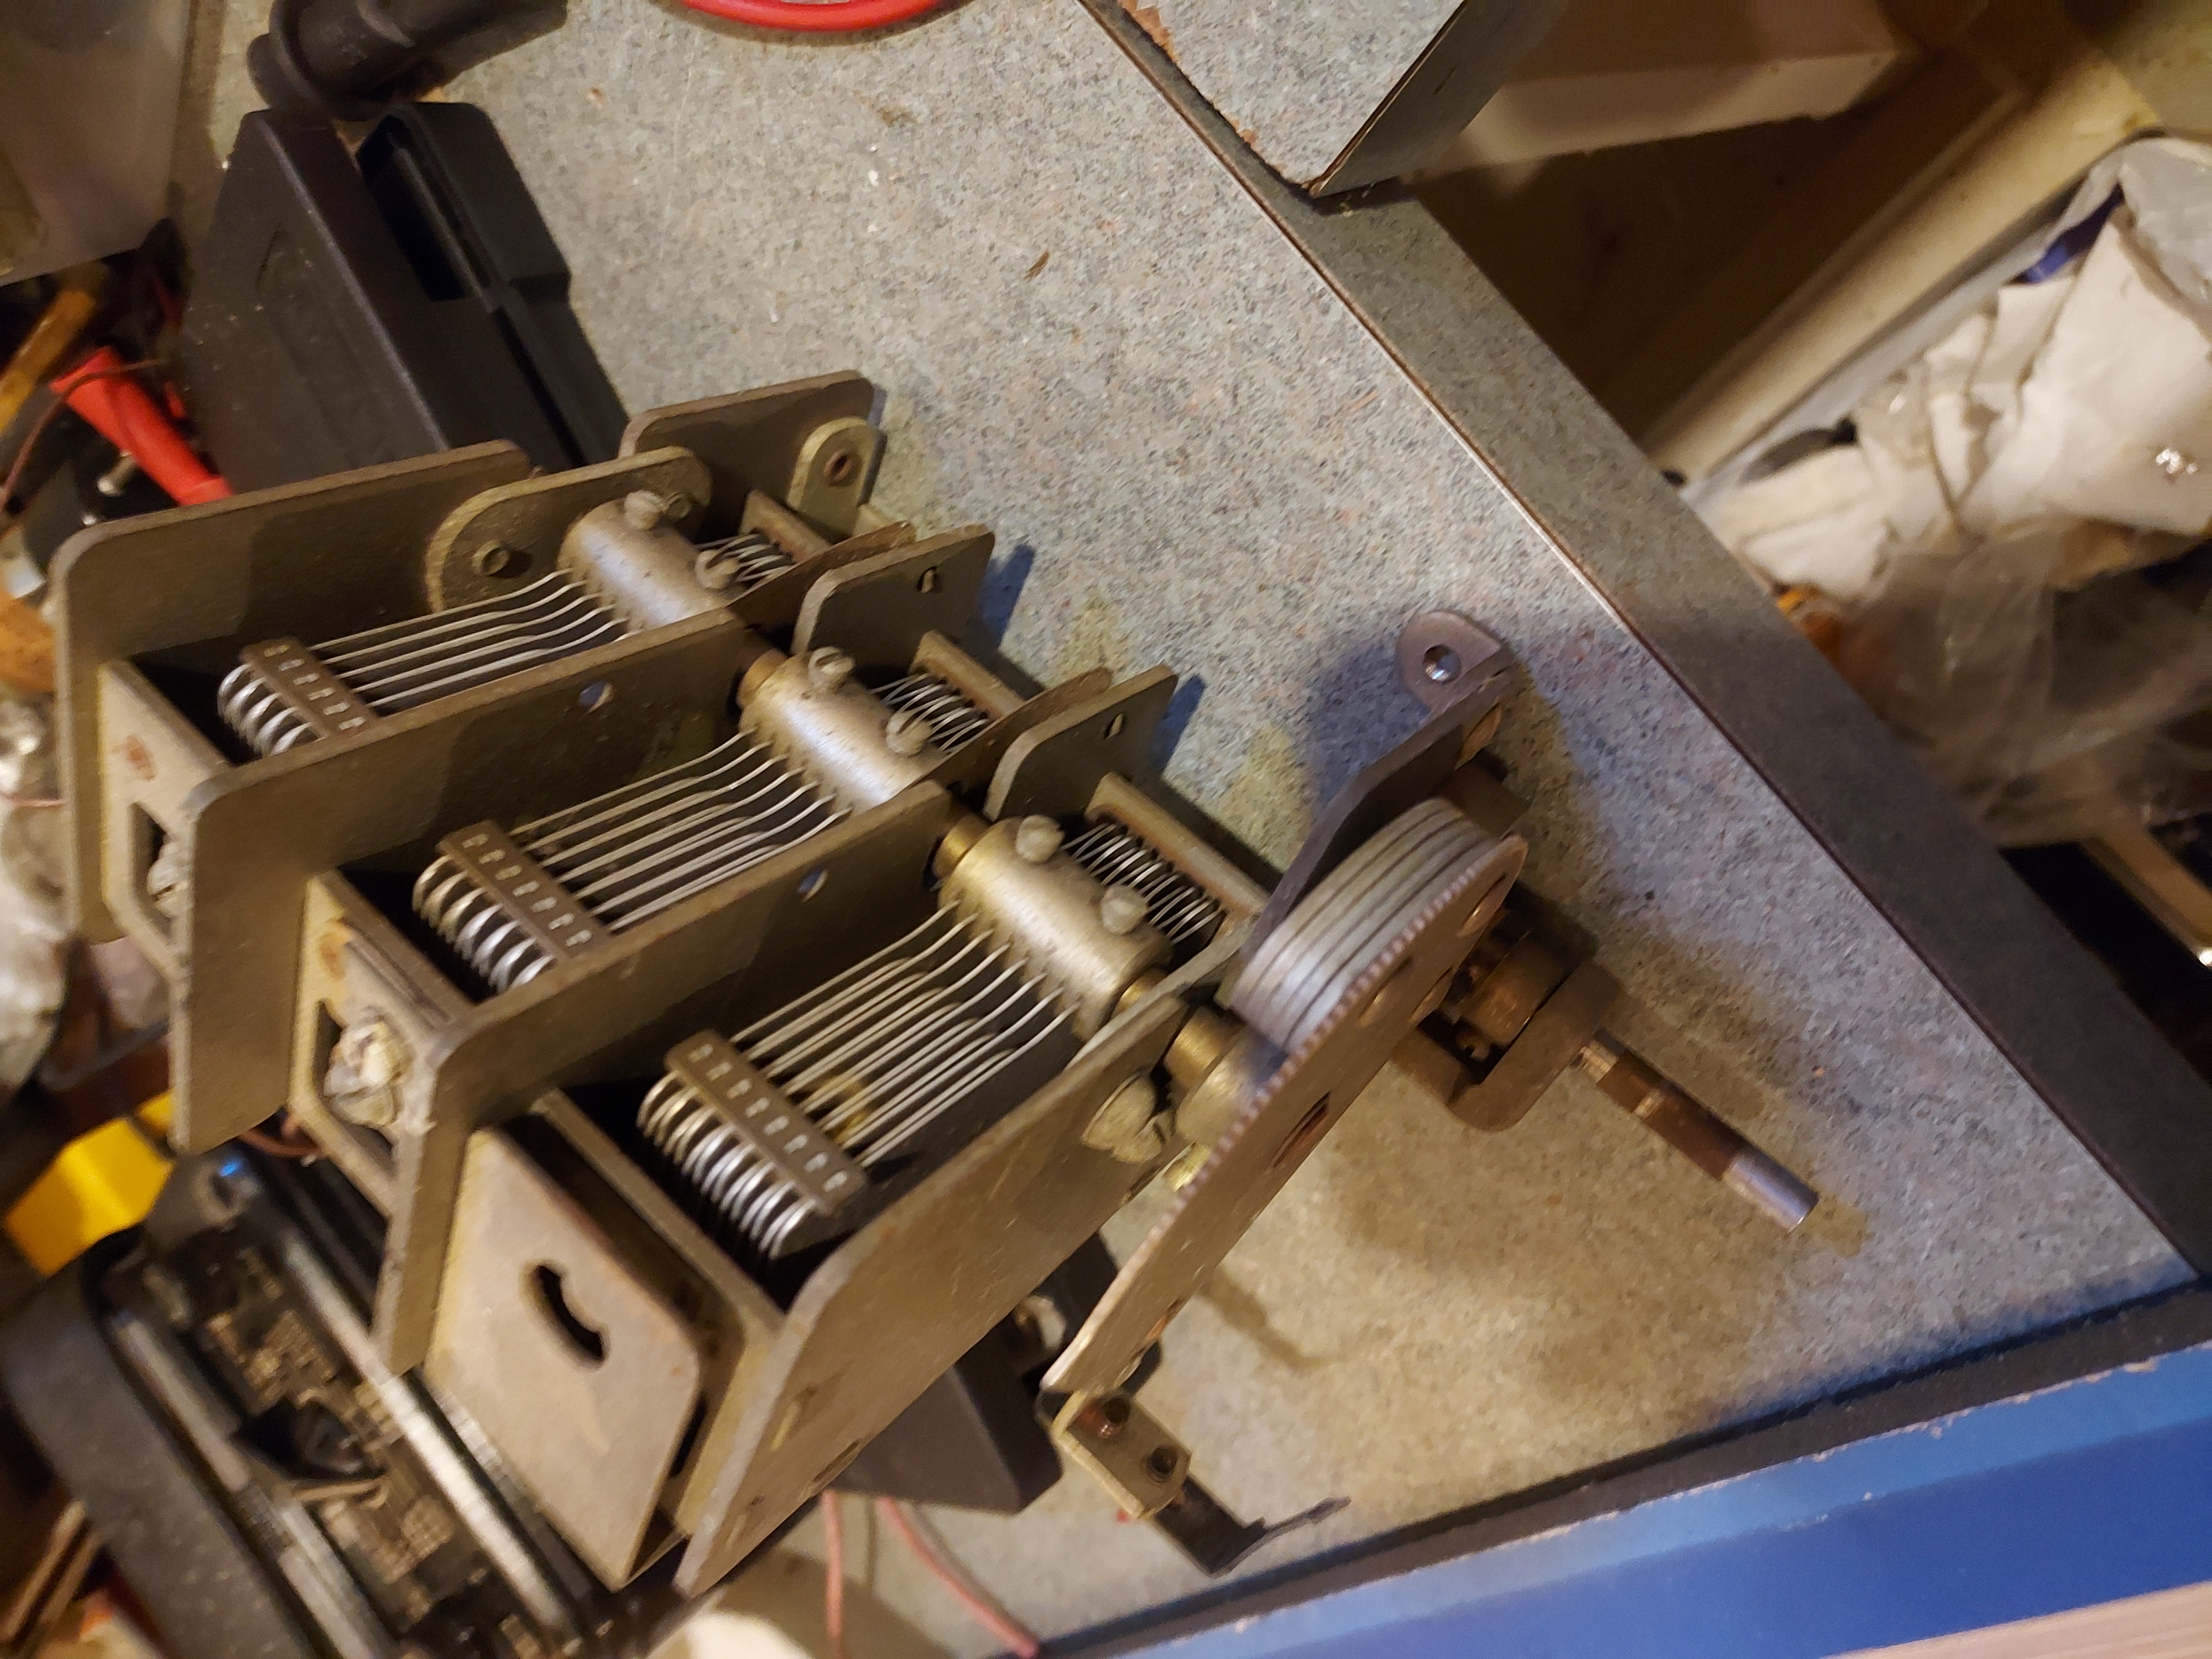
Installing the rivets.

Installed
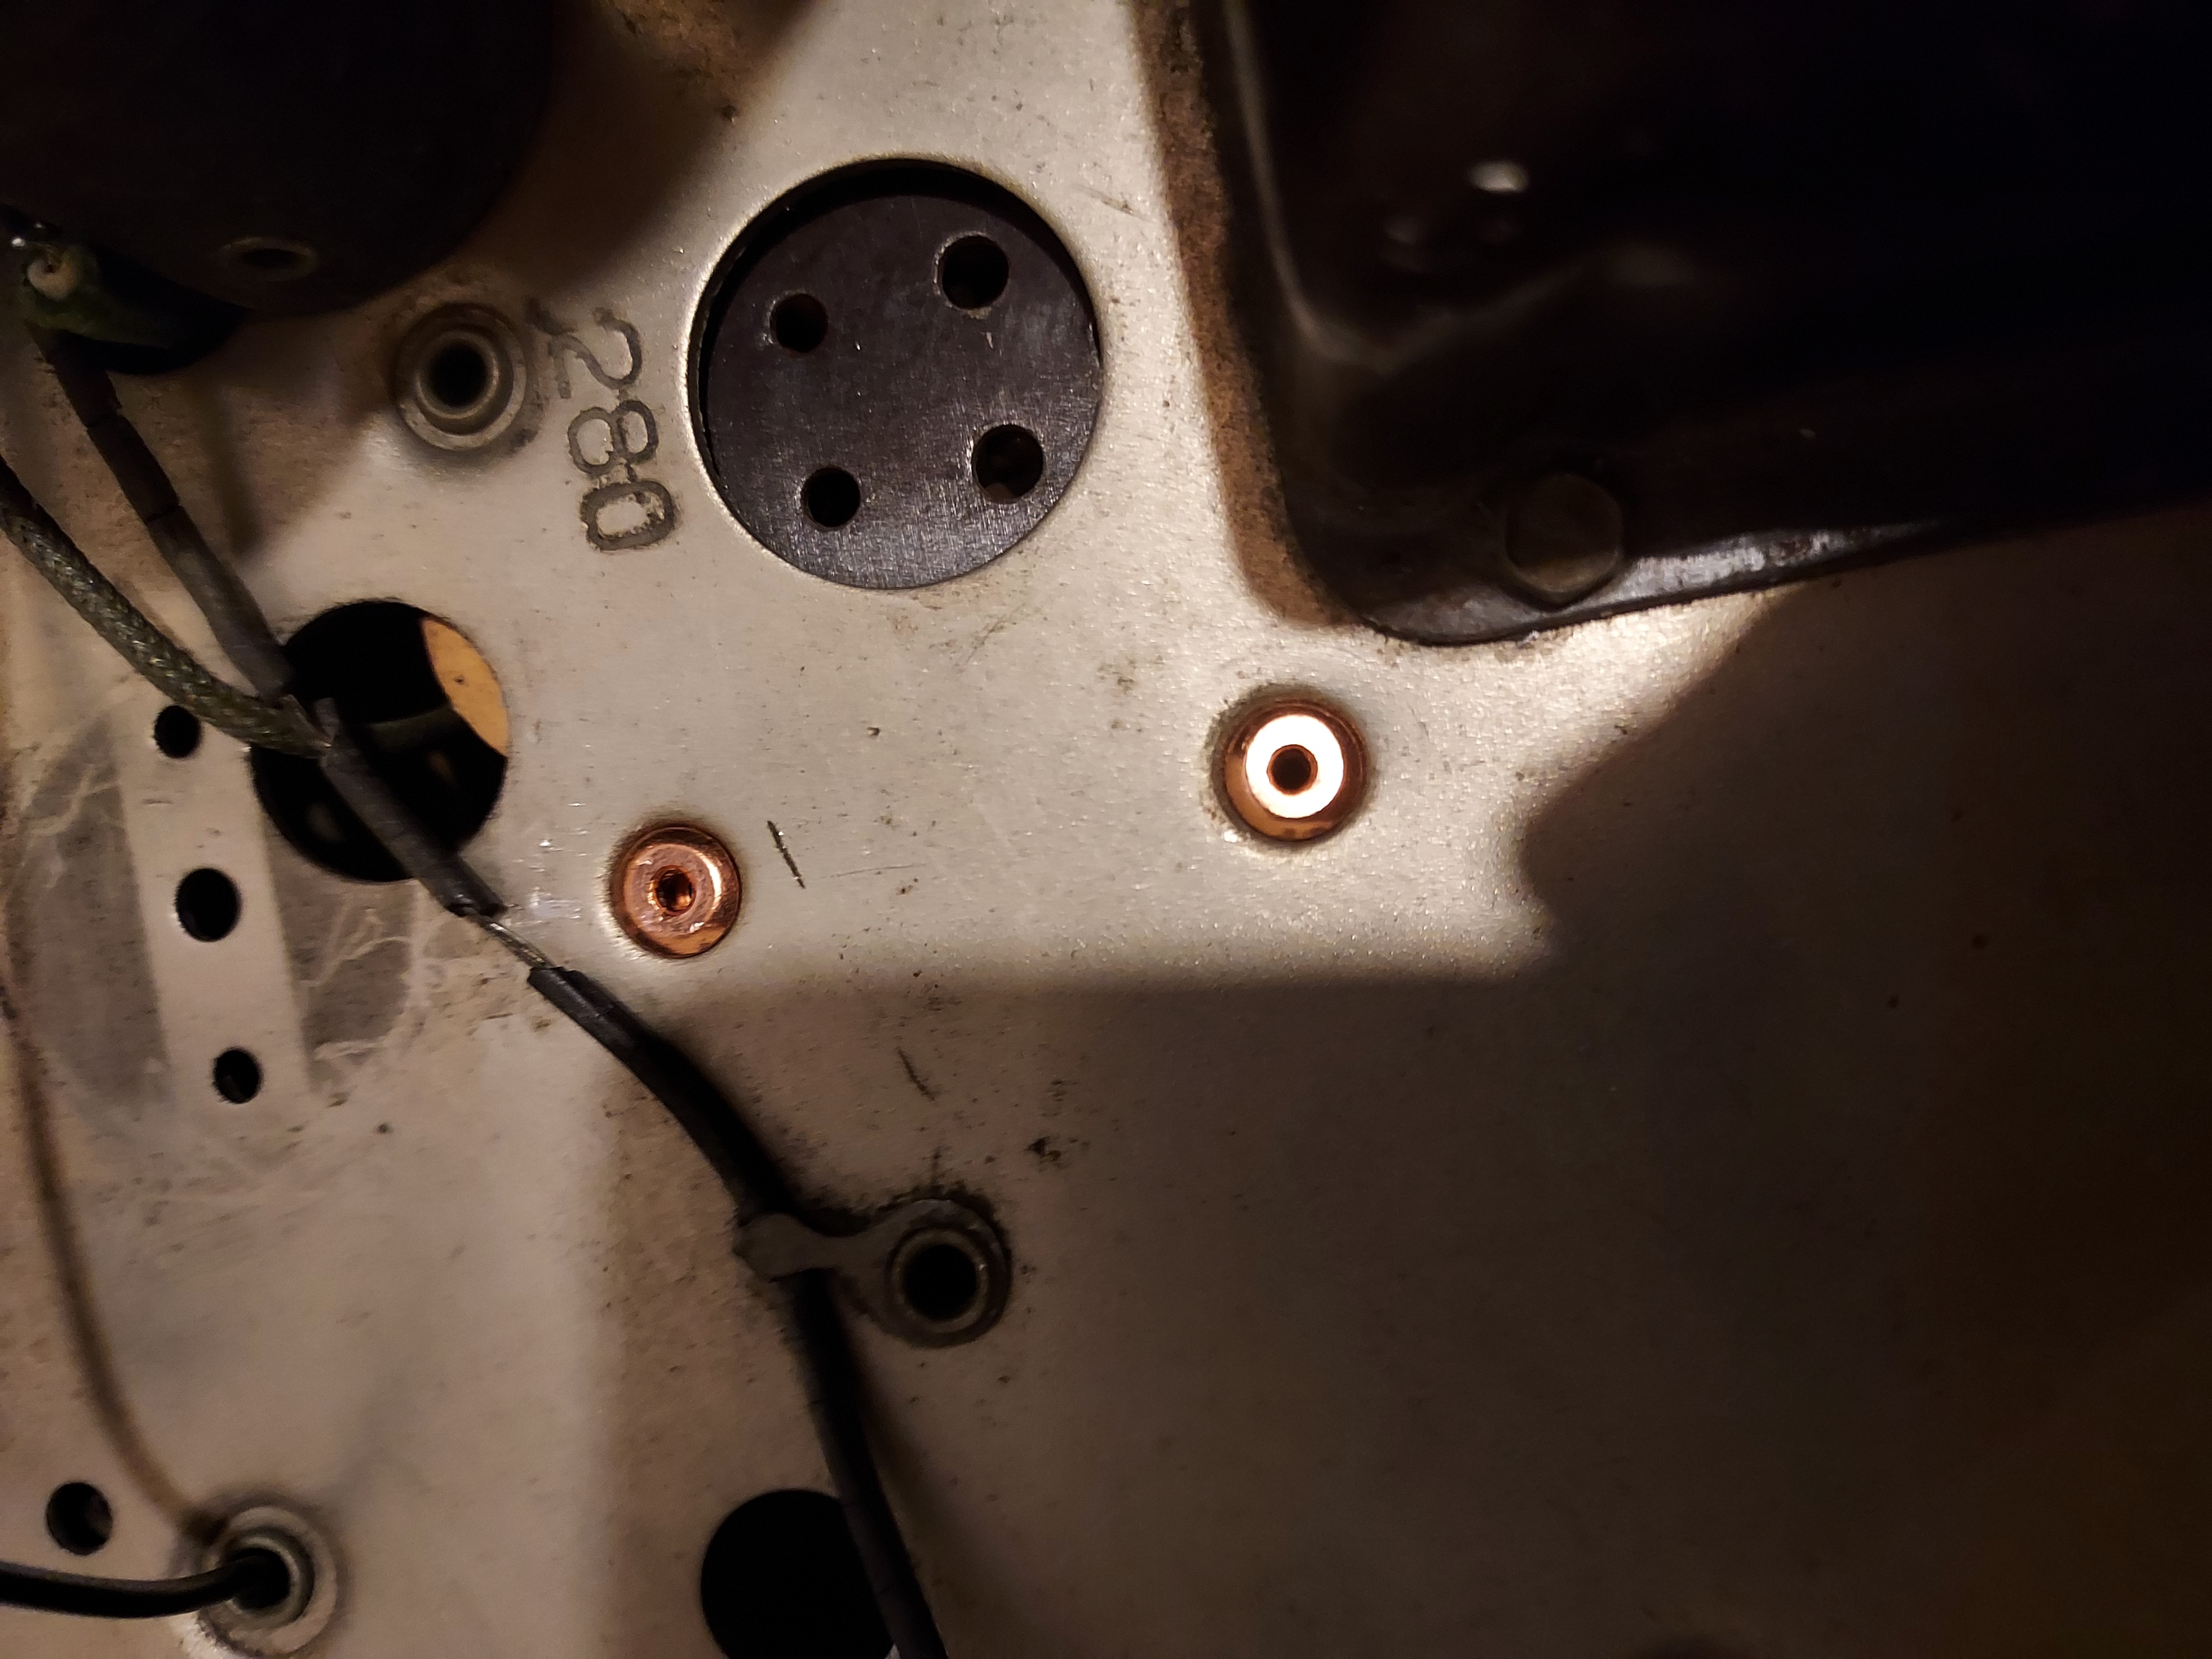
The rivets, even the 8mm, require a washer to really pull the cap to the chassis. I use 4mm washers. Otherwise the rivets does not flare enough to hold through almost 5mm hole.
I would use the rivnuts but somehow the two cans in the middle of the chassis do not let them through.
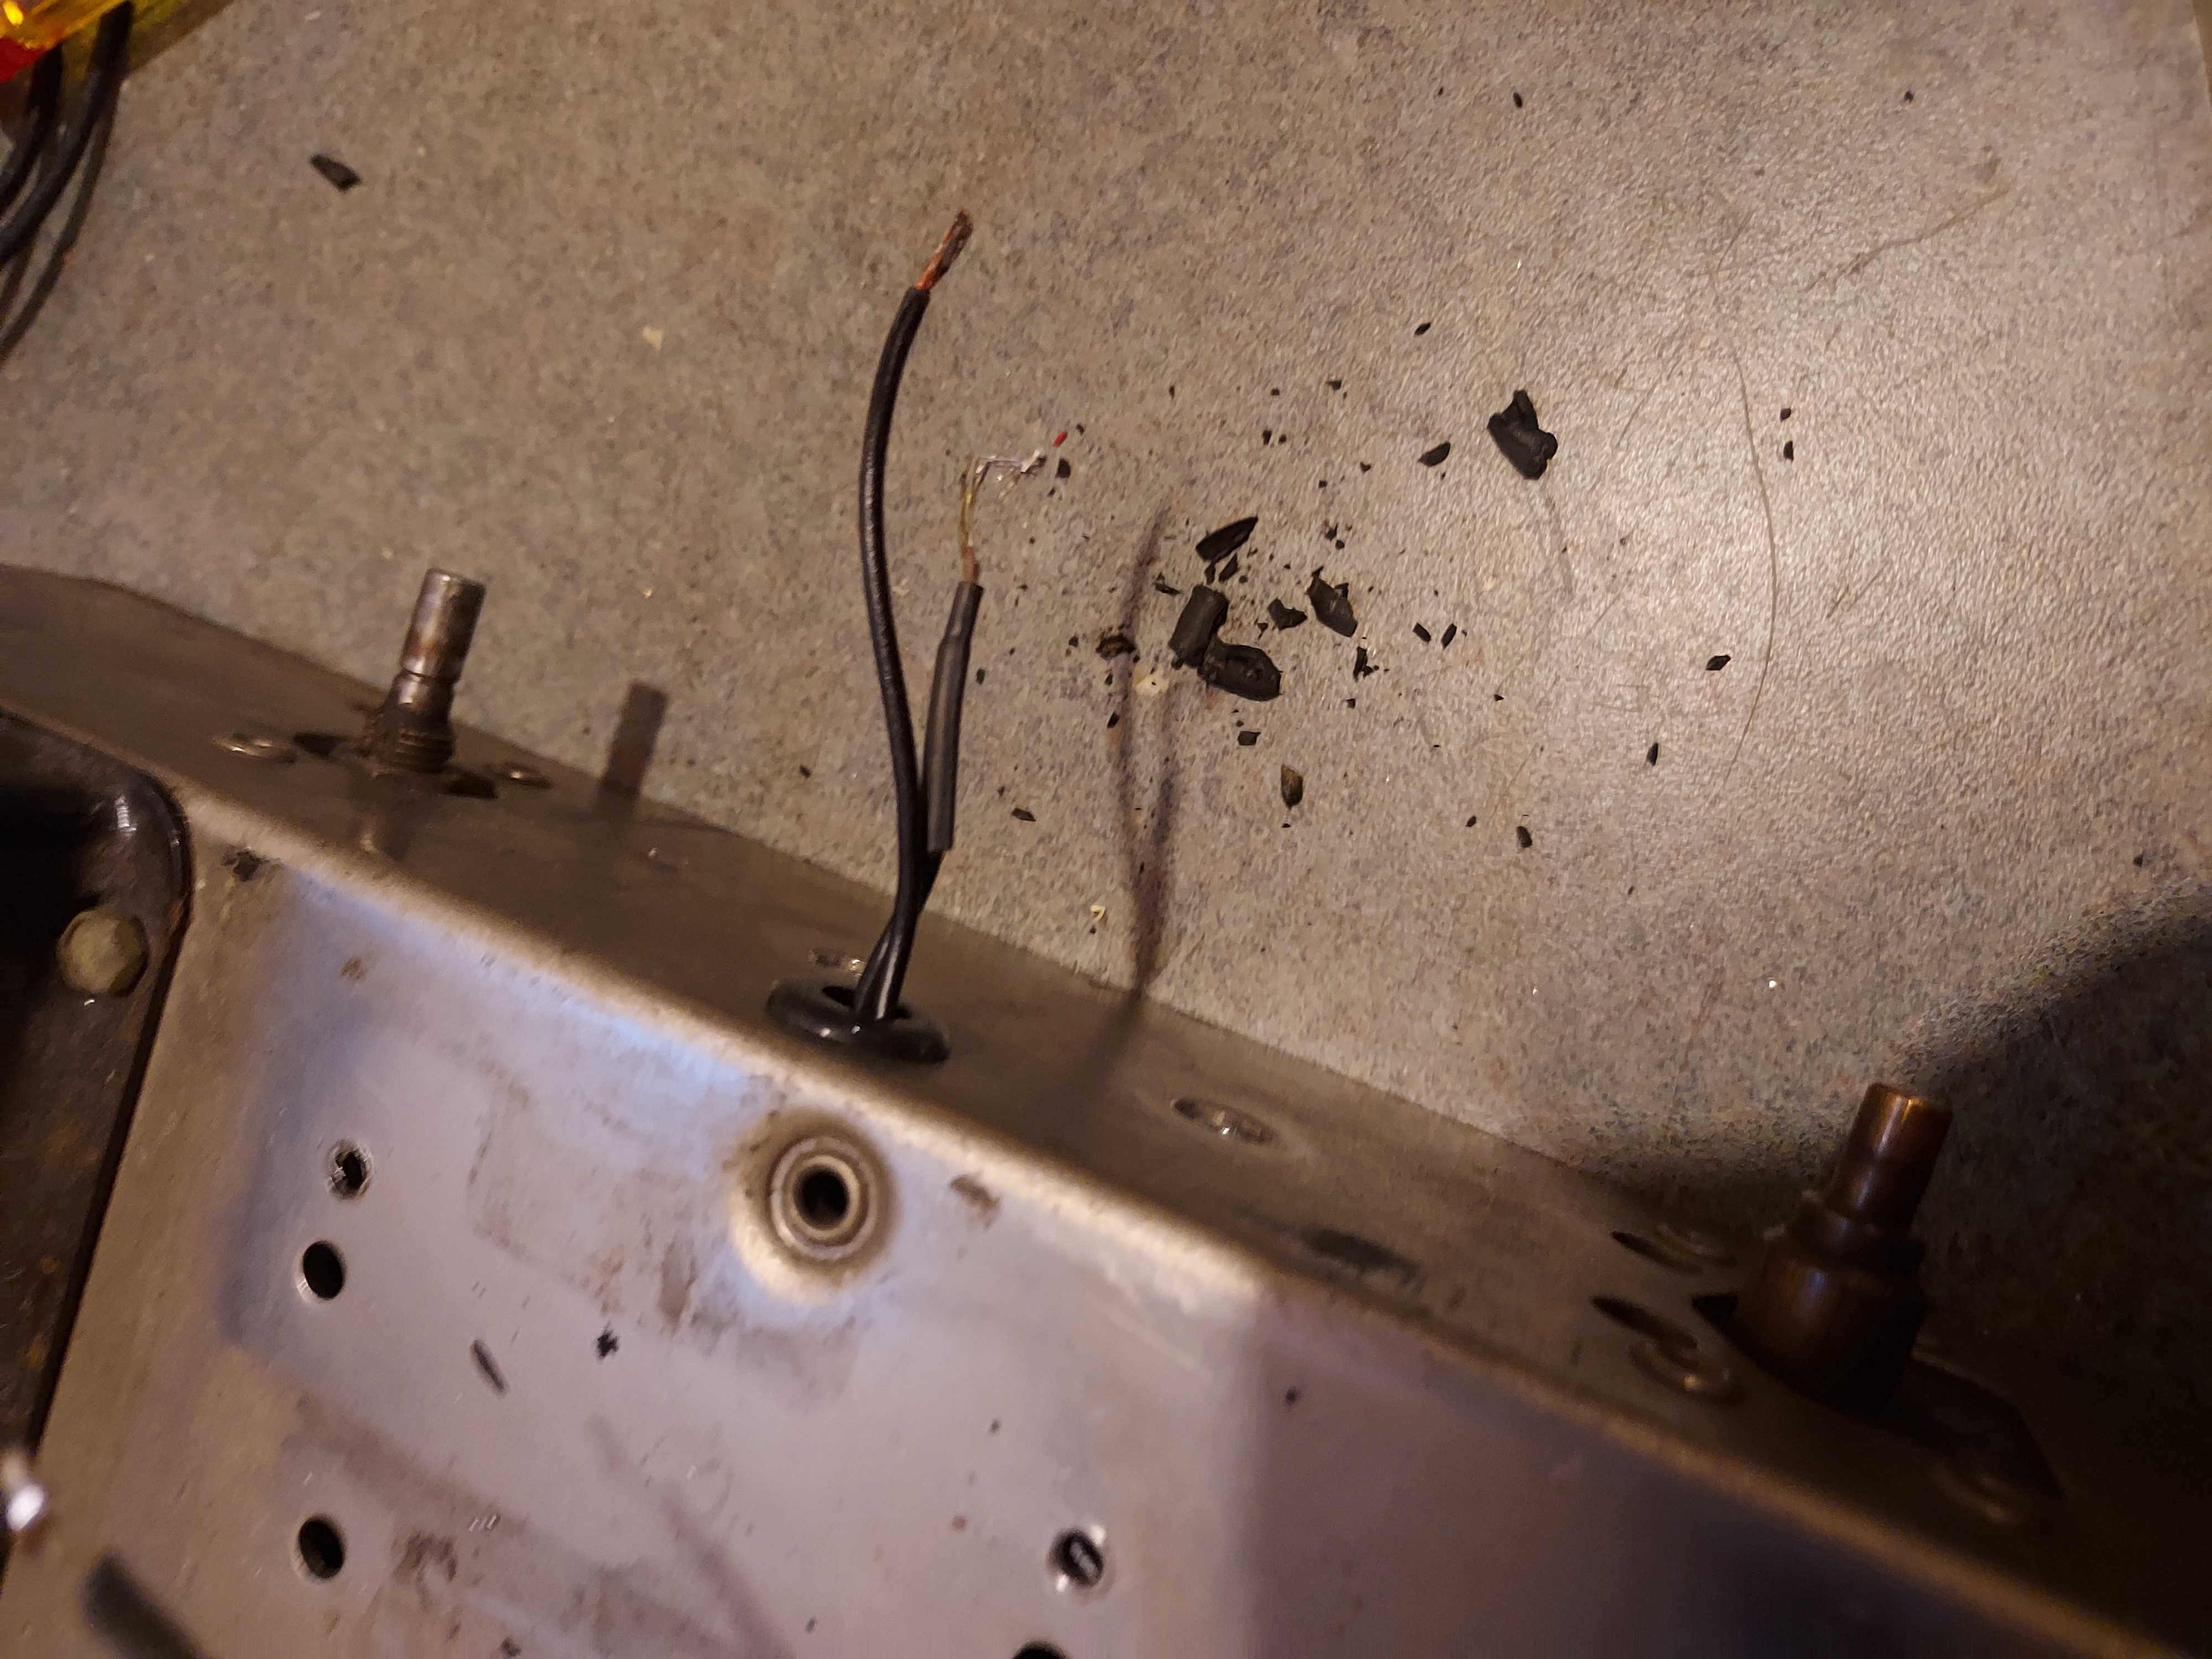
I guess it is a good thing I ahd to removet the tuning cap: some wires are fraying and require replacement. The guy who sold it to me claimed it all works but he probably did the bare minimum.
People who do not drink, do not smoke, do not eat red meat will one day feel really stupid lying there and dying from nothing.
(This post was last modified: 06-18-2022, 10:36 PM by morzh.)
Posts: 15,818
Threads: 554
Joined: Oct 2011
City: Jackson, NJ
The last cap can re-stuffed.
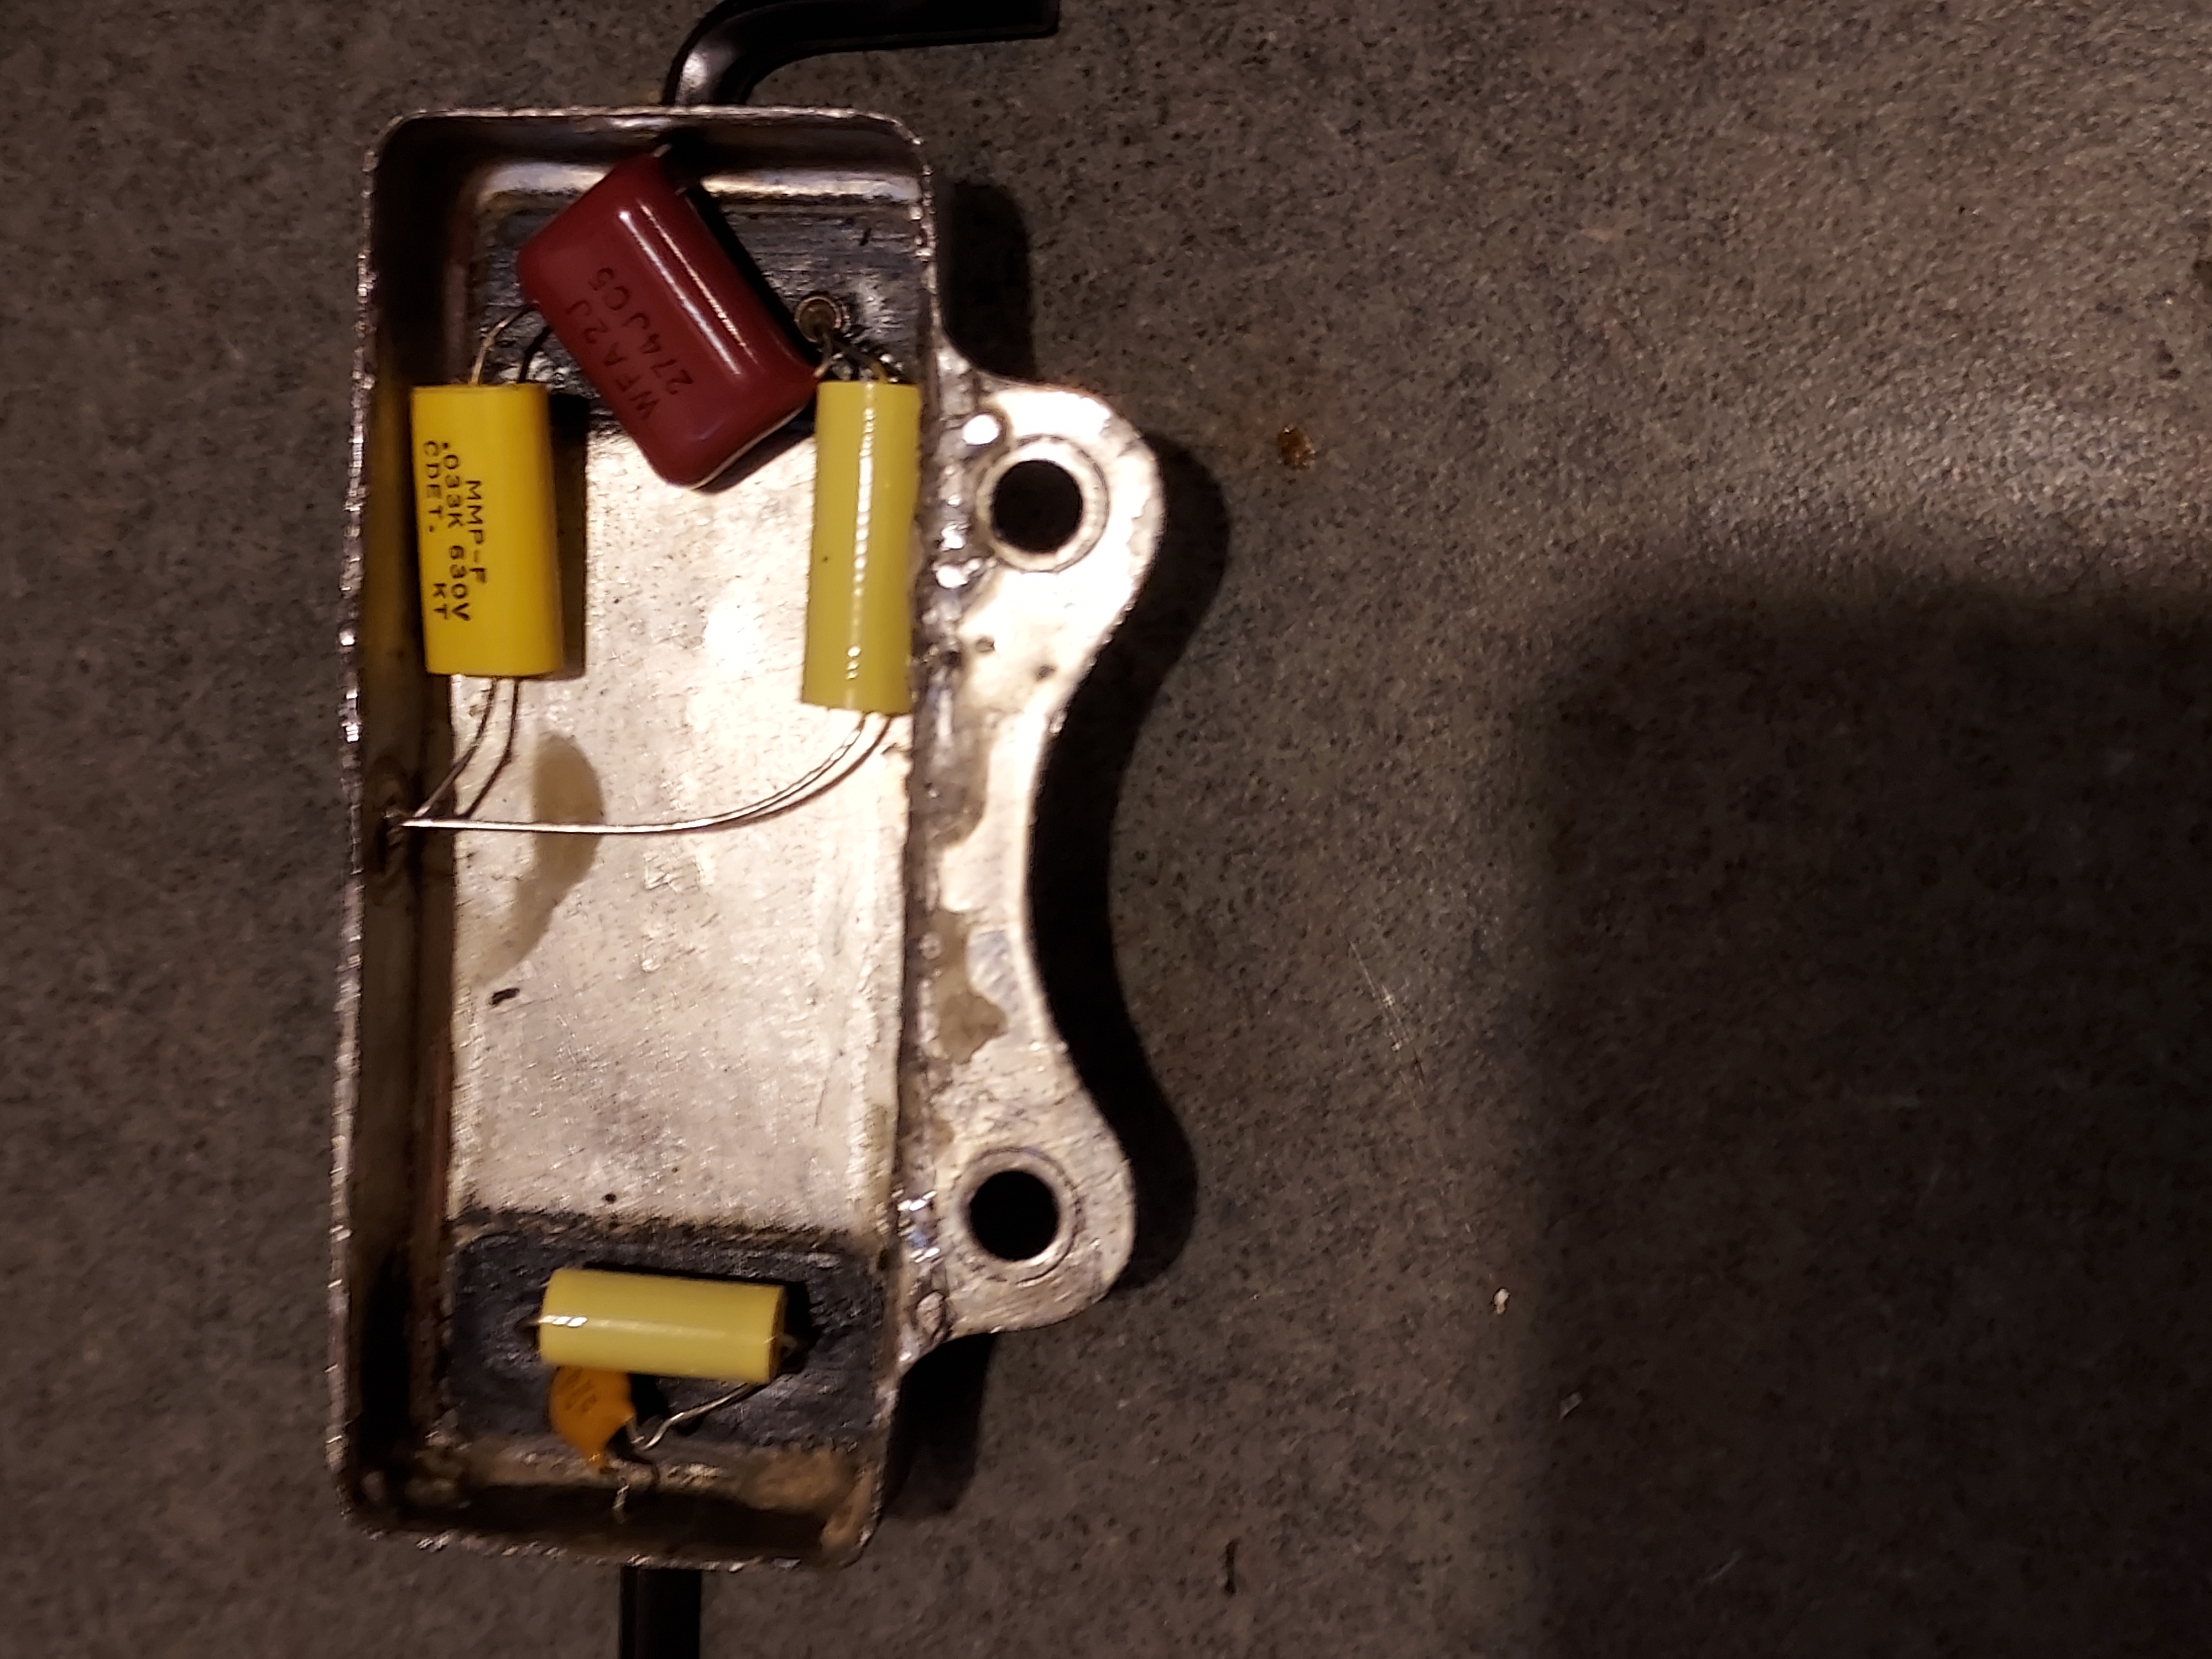
And closed

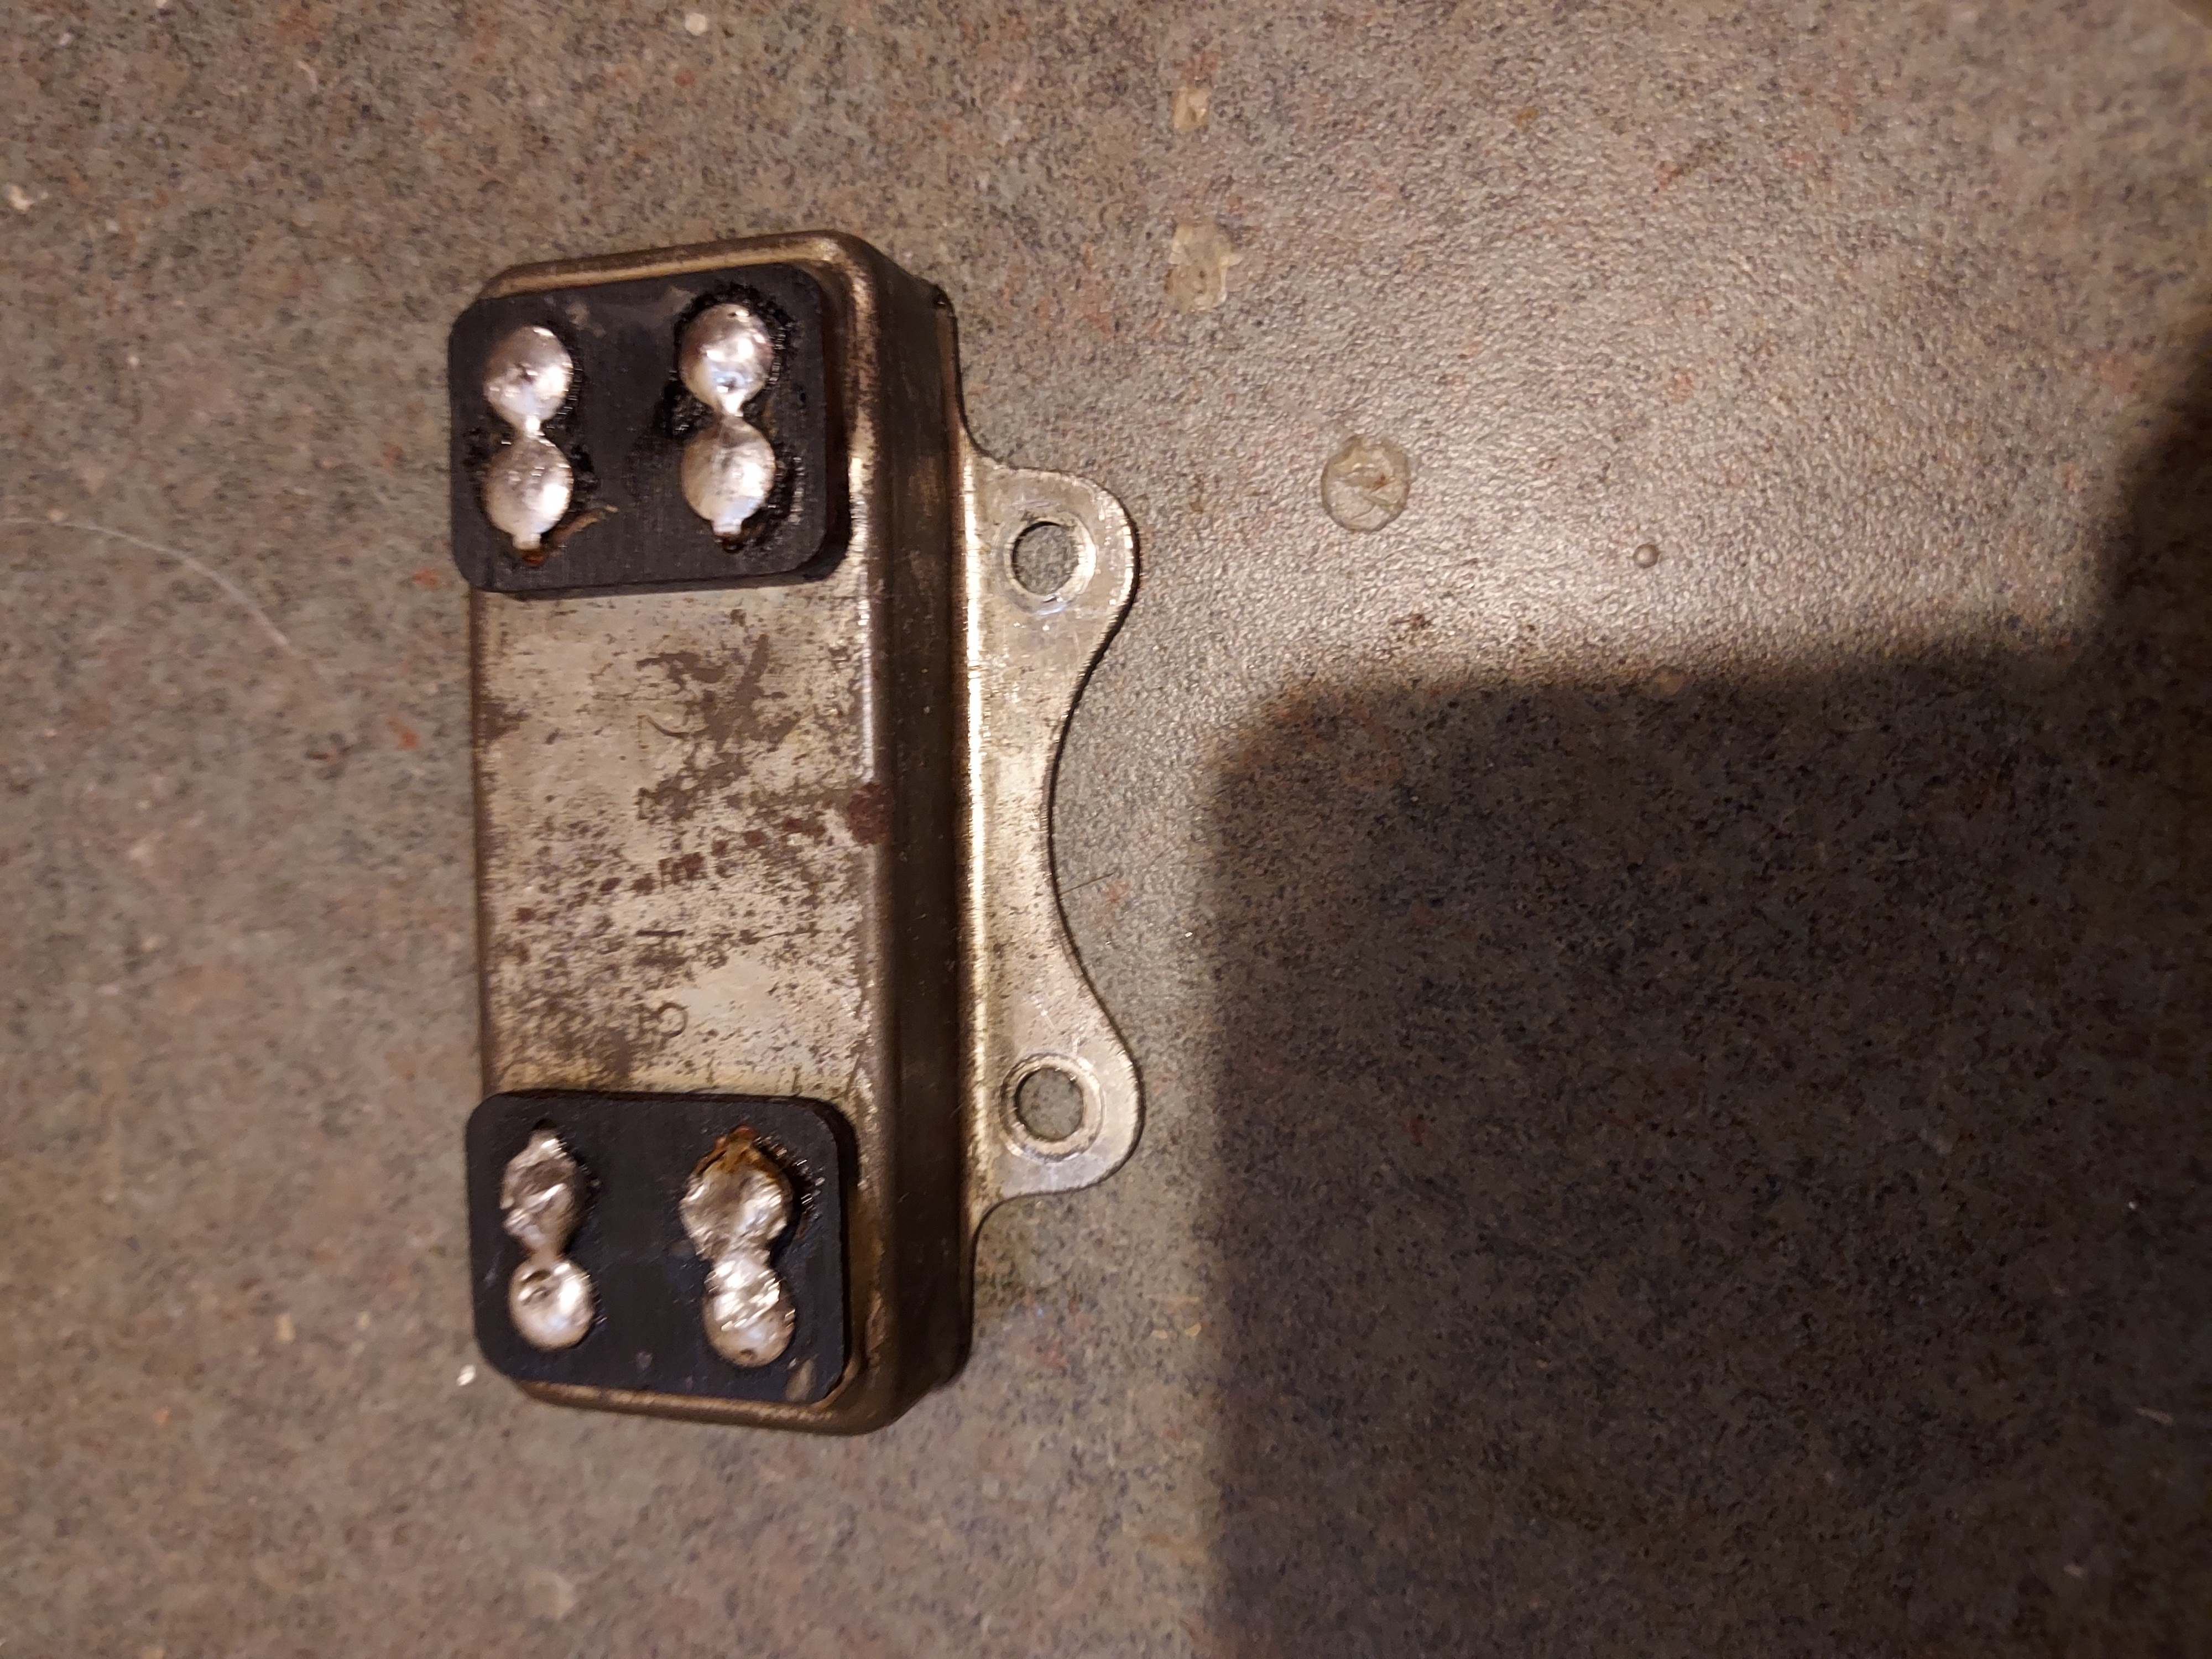
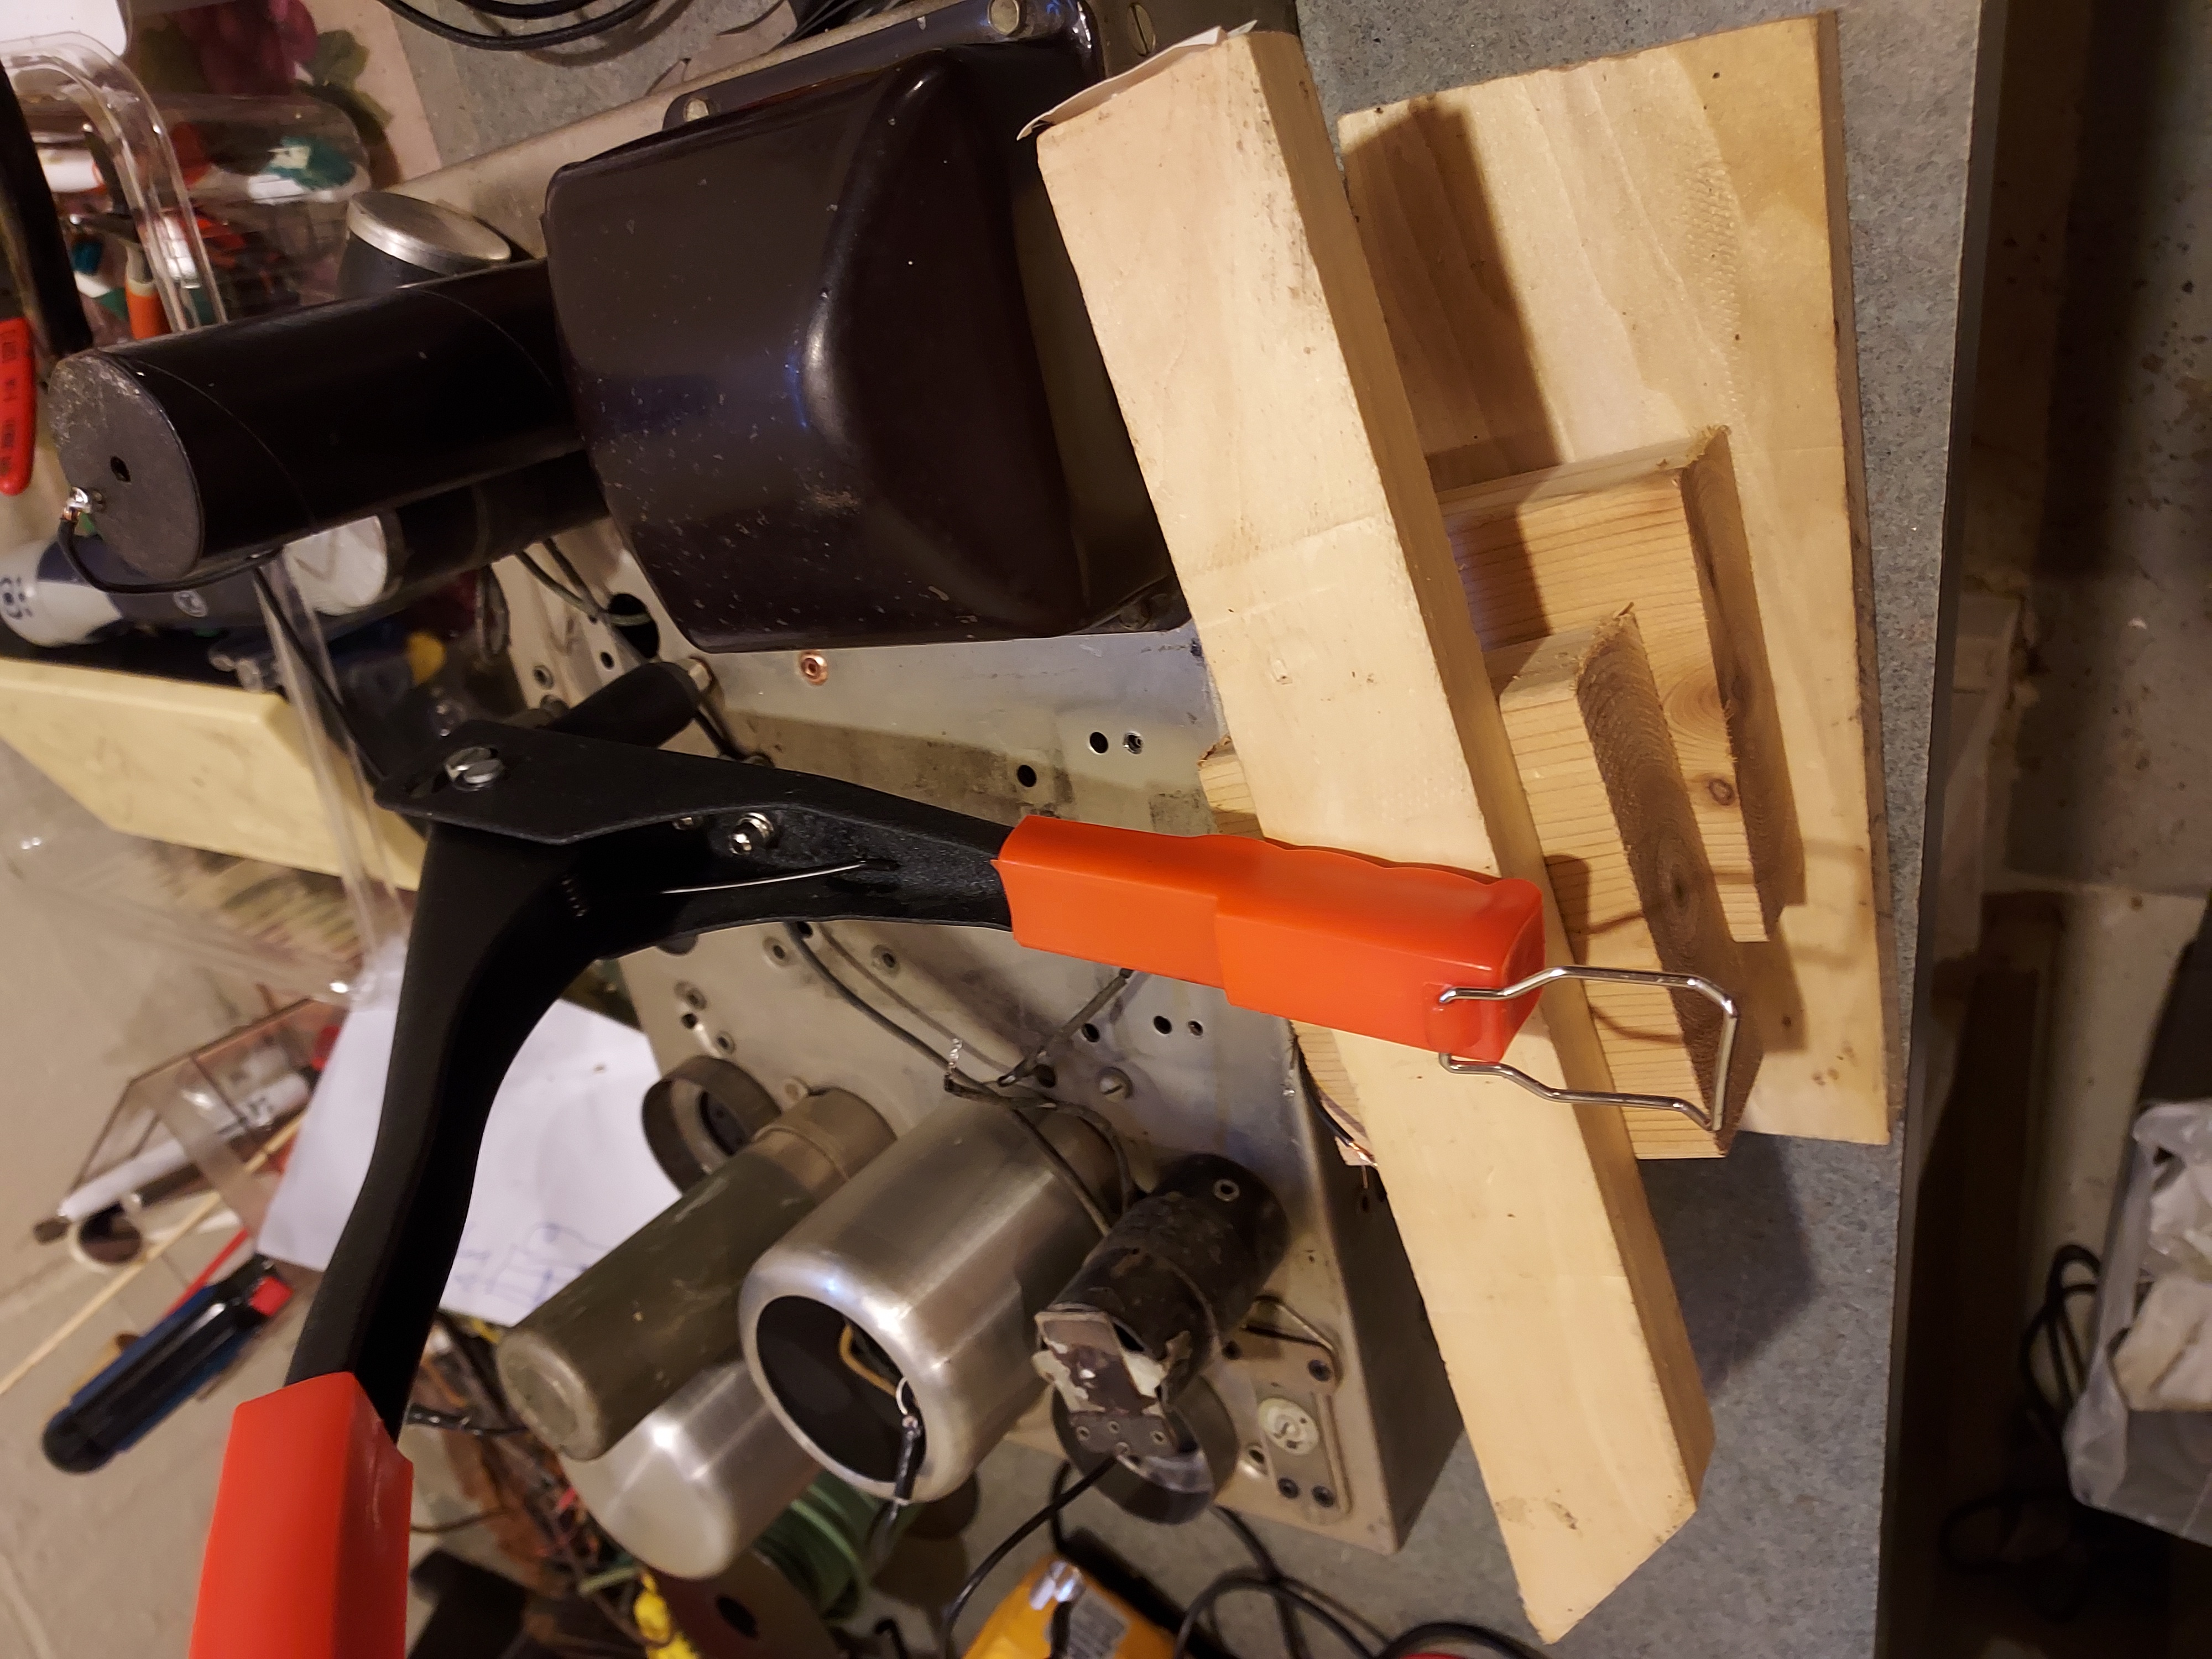
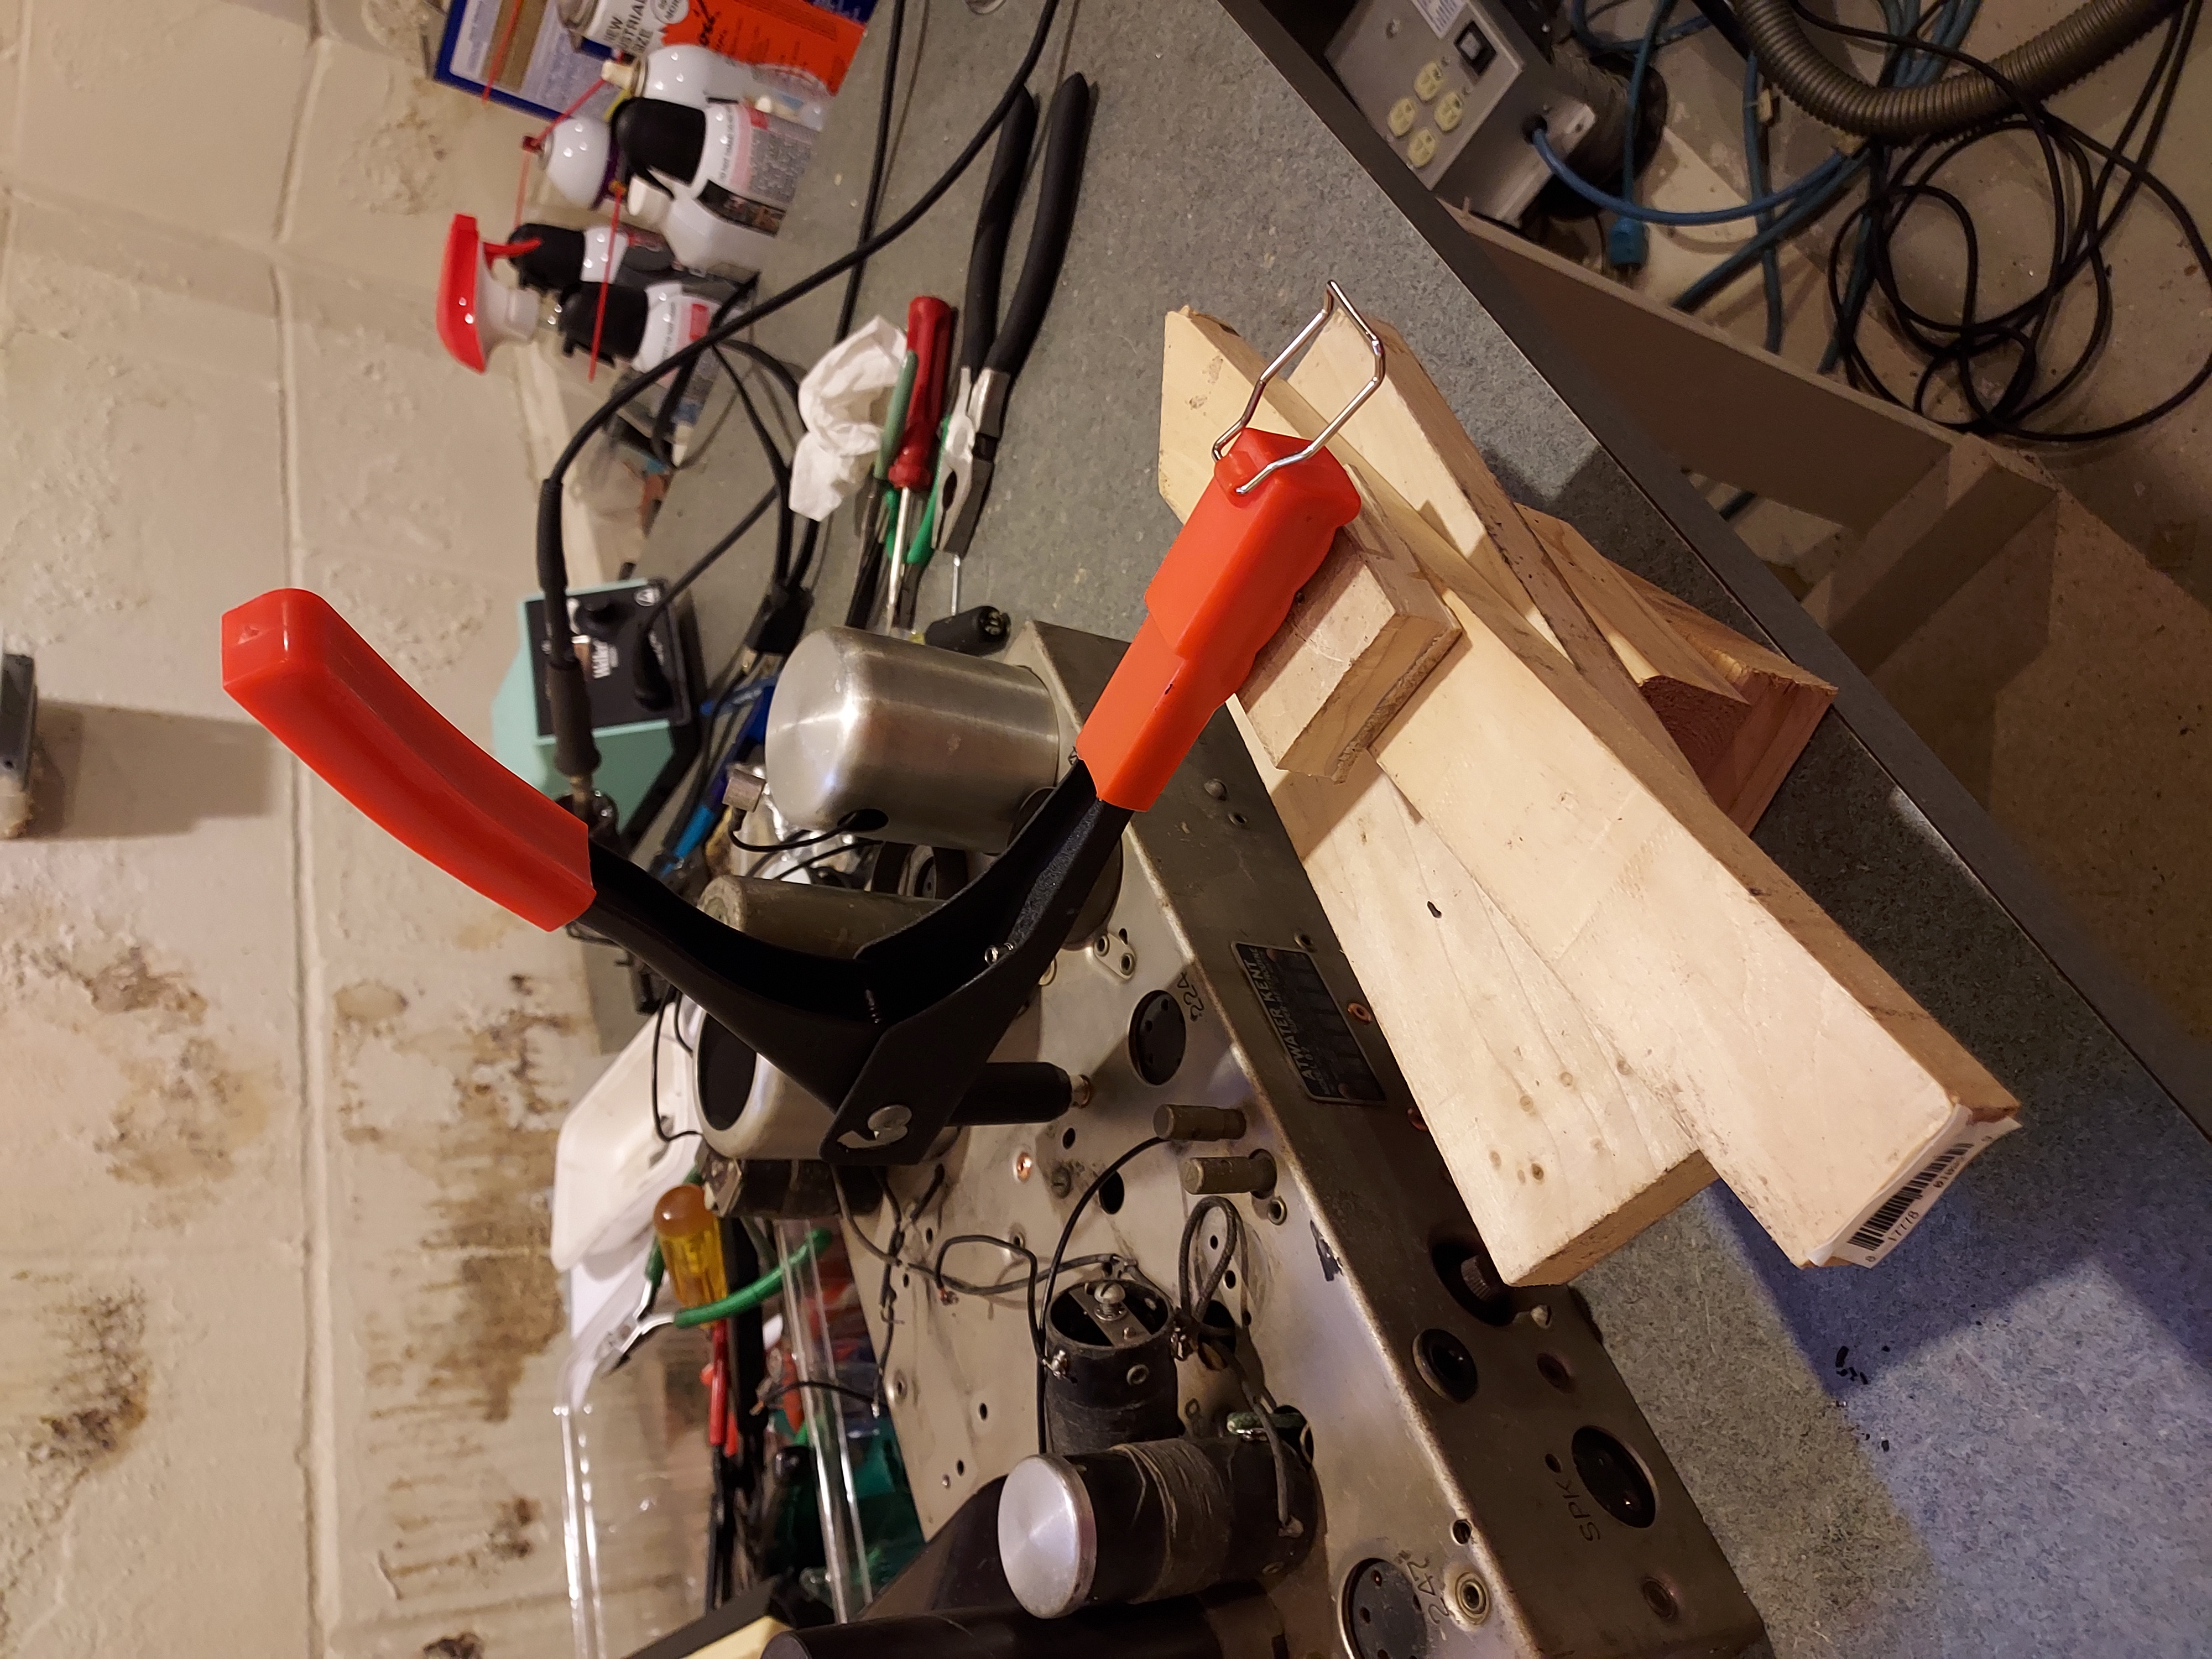
And riveted. These rivets are tough to set with the hand tool I have: with two hands it will flare most of it but will not tighten unless you have very strong palms grip.
So I used some support and my weight as the force.
People who do not drink, do not smoke, do not eat red meat will one day feel really stupid lying there and dying from nothing.
(This post was last modified: 06-19-2022, 06:22 PM by morzh.)
Posts: 15,818
Threads: 554
Joined: Oct 2011
City: Jackson, NJ
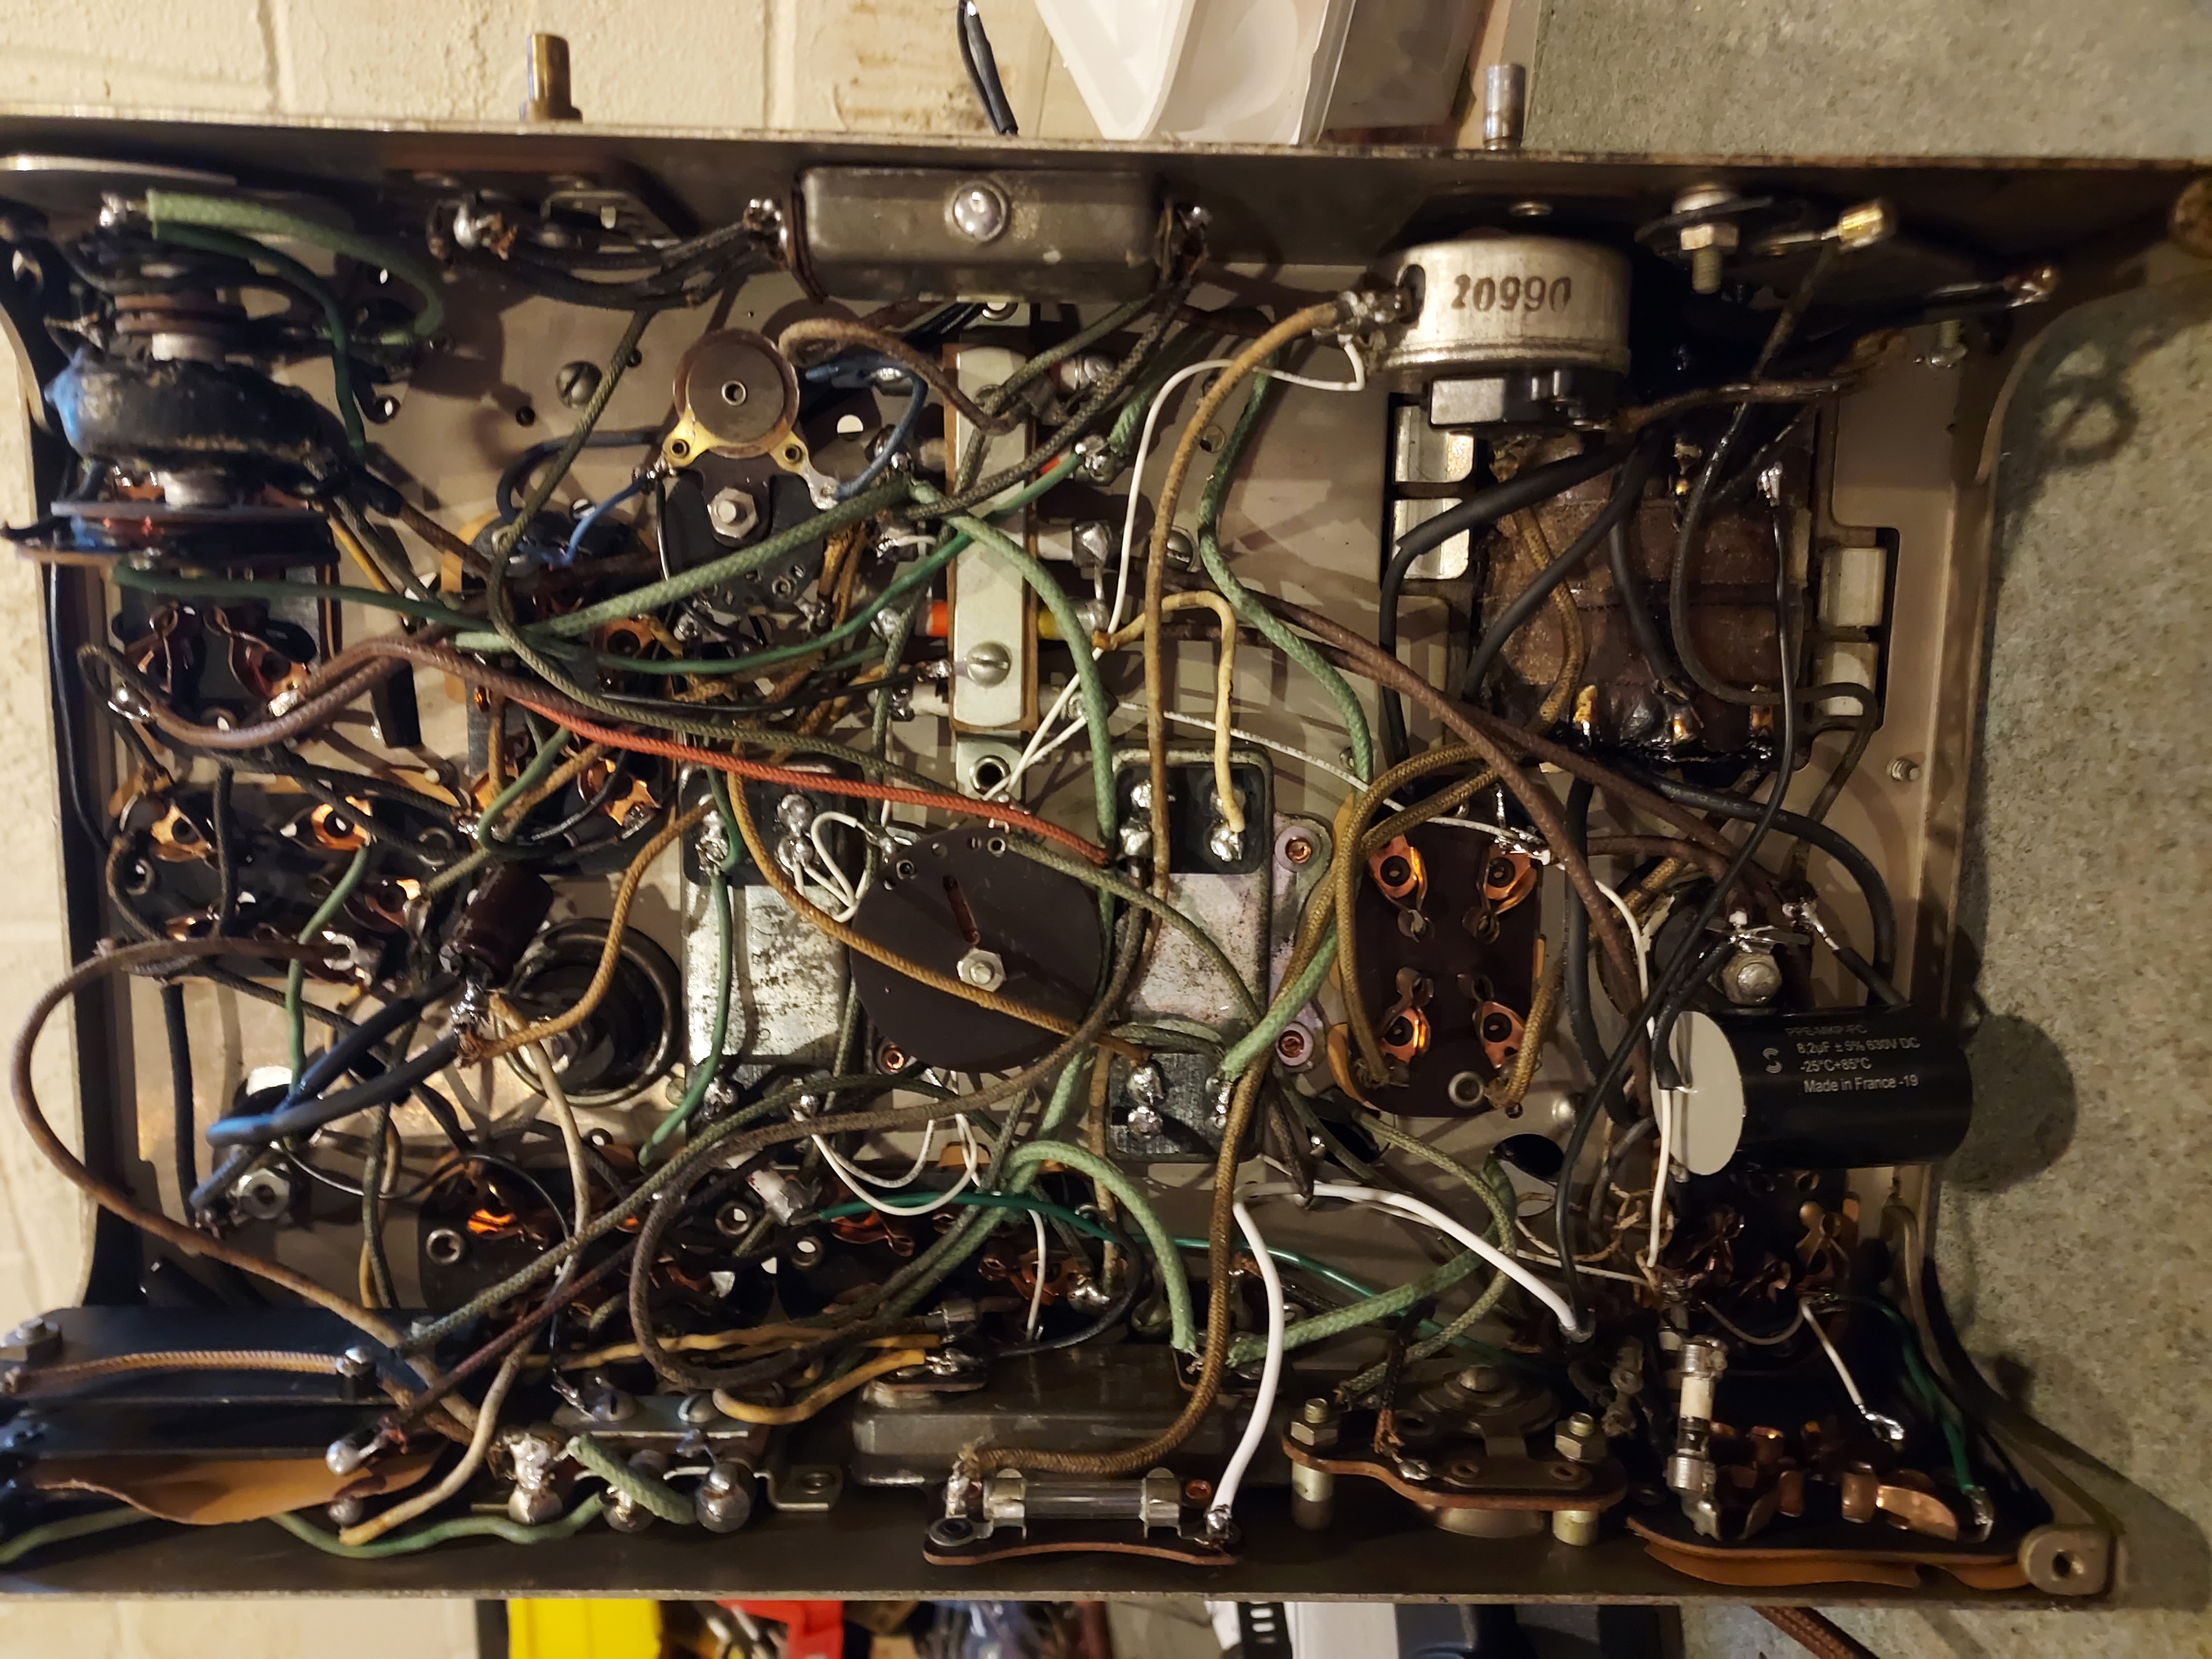
I have finished rewiring and recapping.
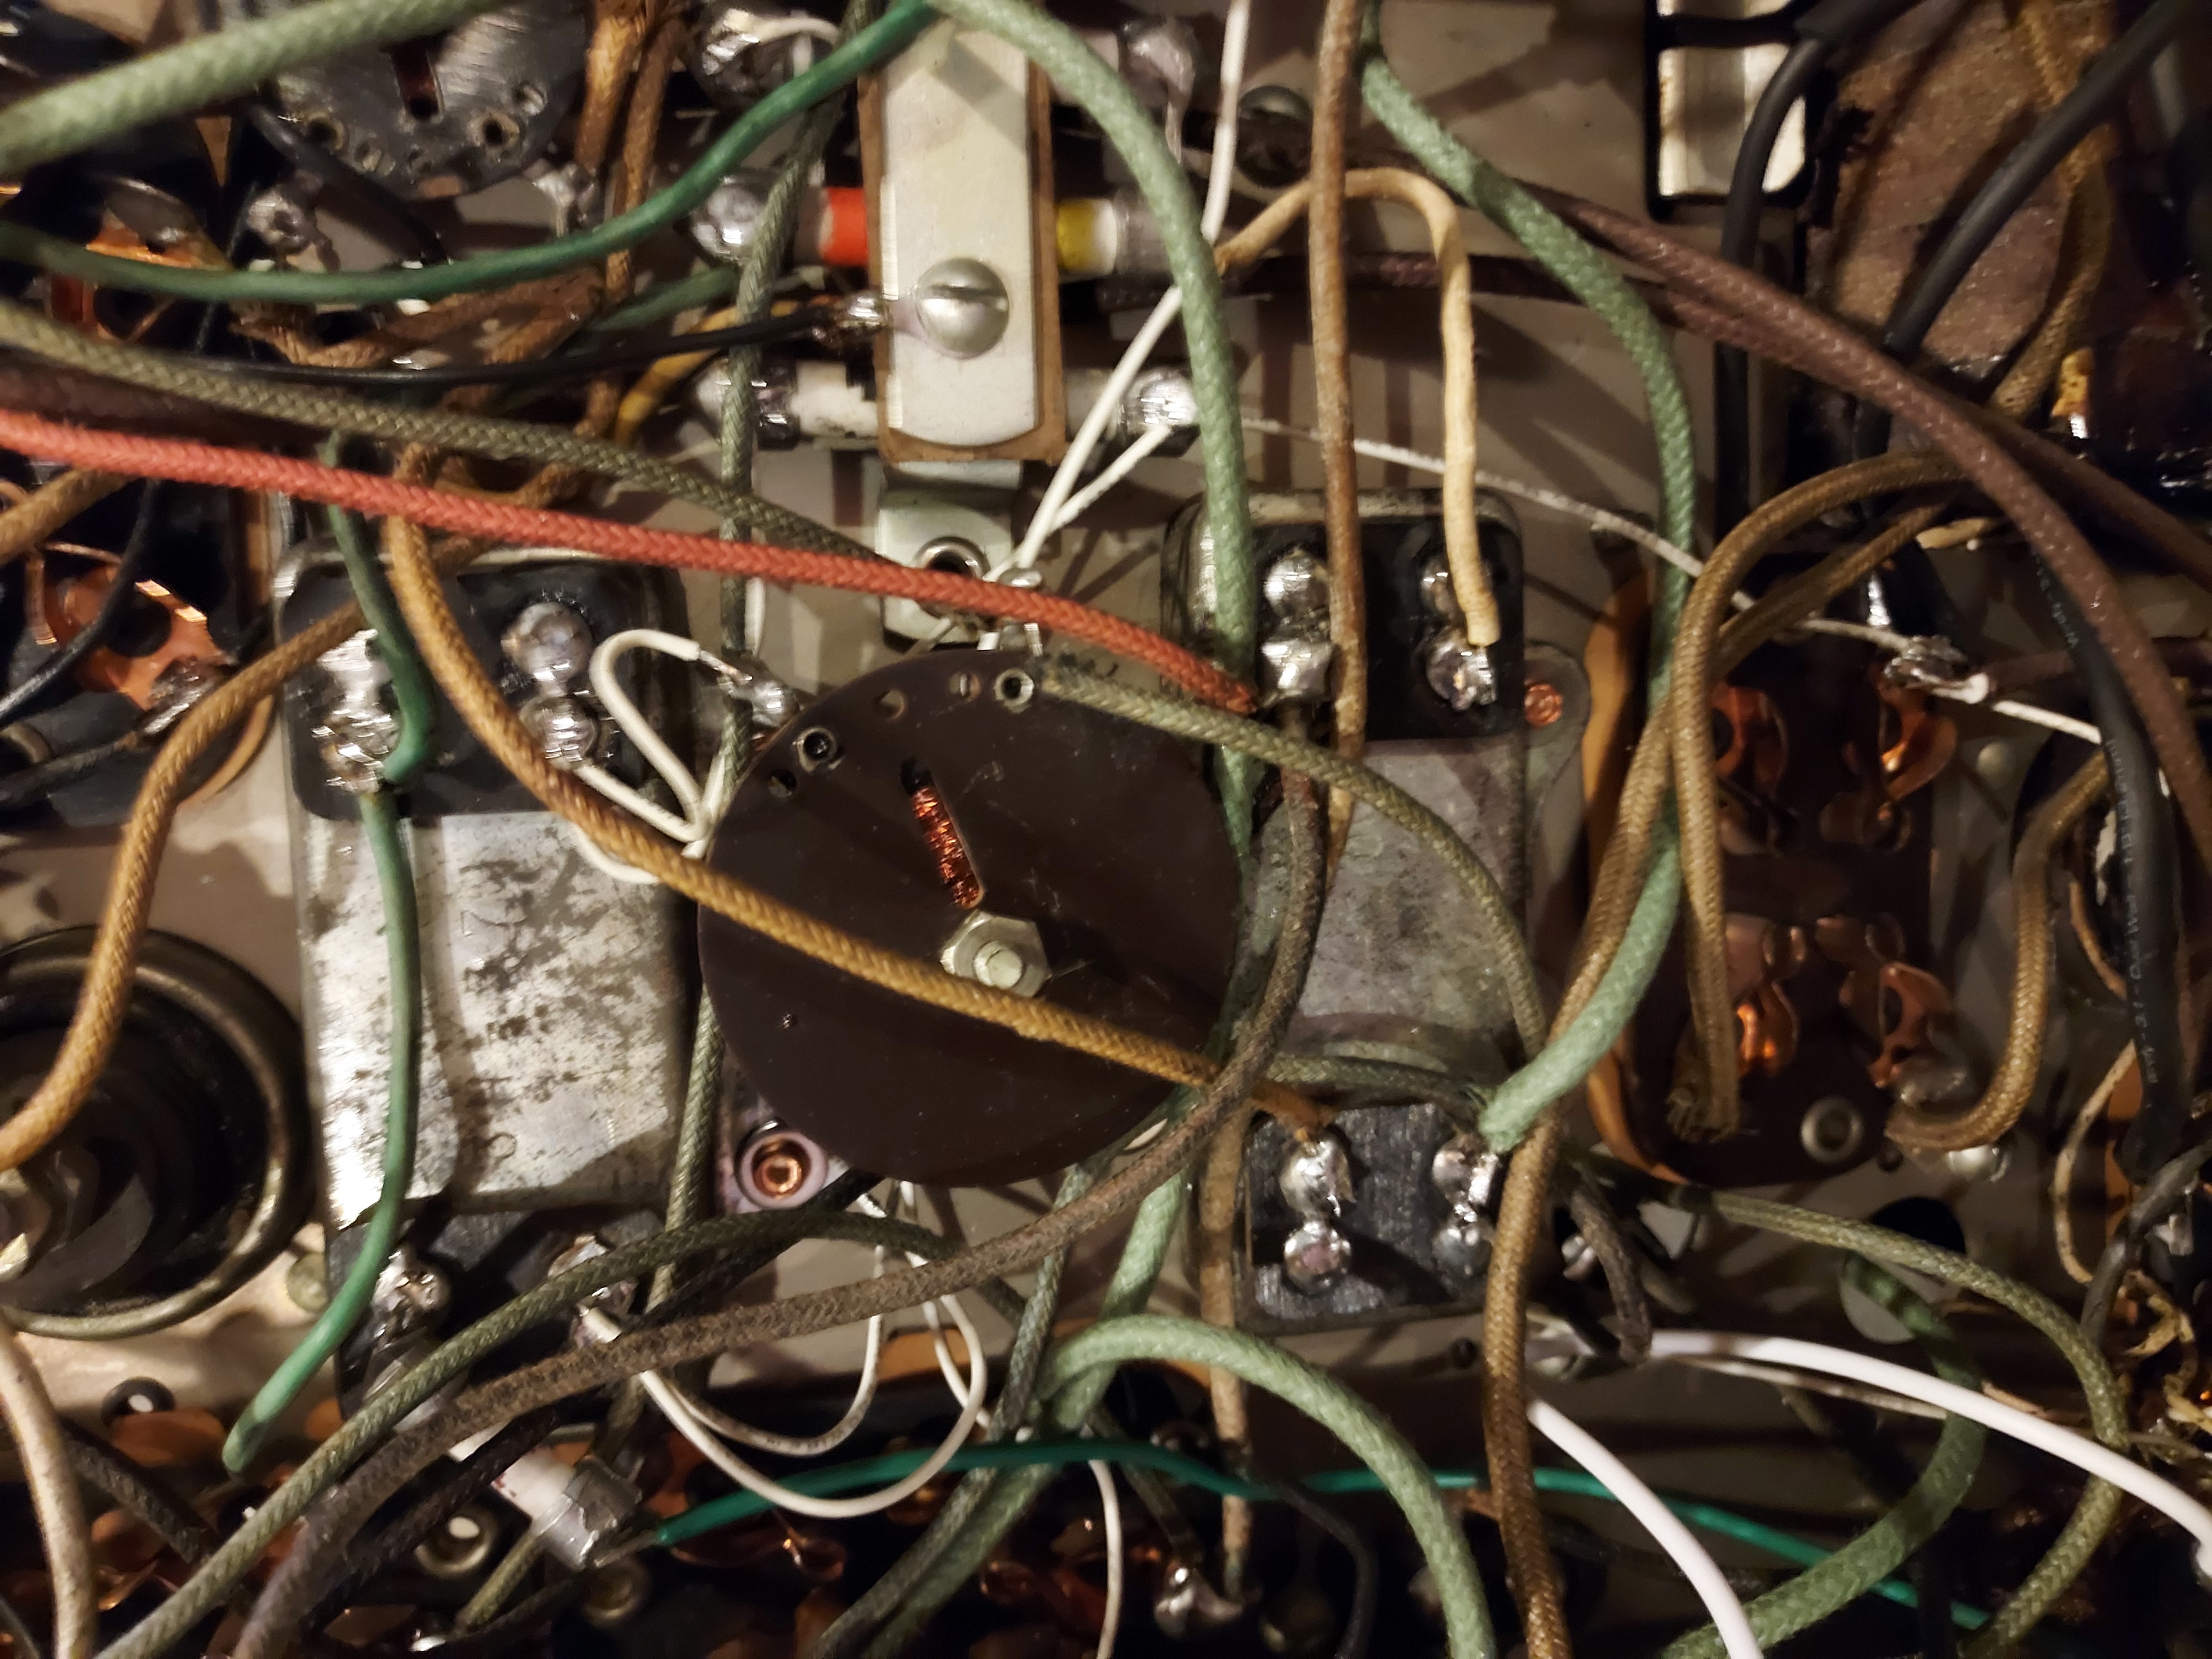
For now I have chosen to not restuff the aluminum electrolytic caps, and used them as holders for the solder posts, to which I attached a good 10uF cap as the second filter, and the Solen 8.2uF (correct value) film cap as the firstd one.
I attached the cord and checked the transformer; it seems to produce correct values (5V for the rectifier tube filament and 950V between plates) at 110V AC.
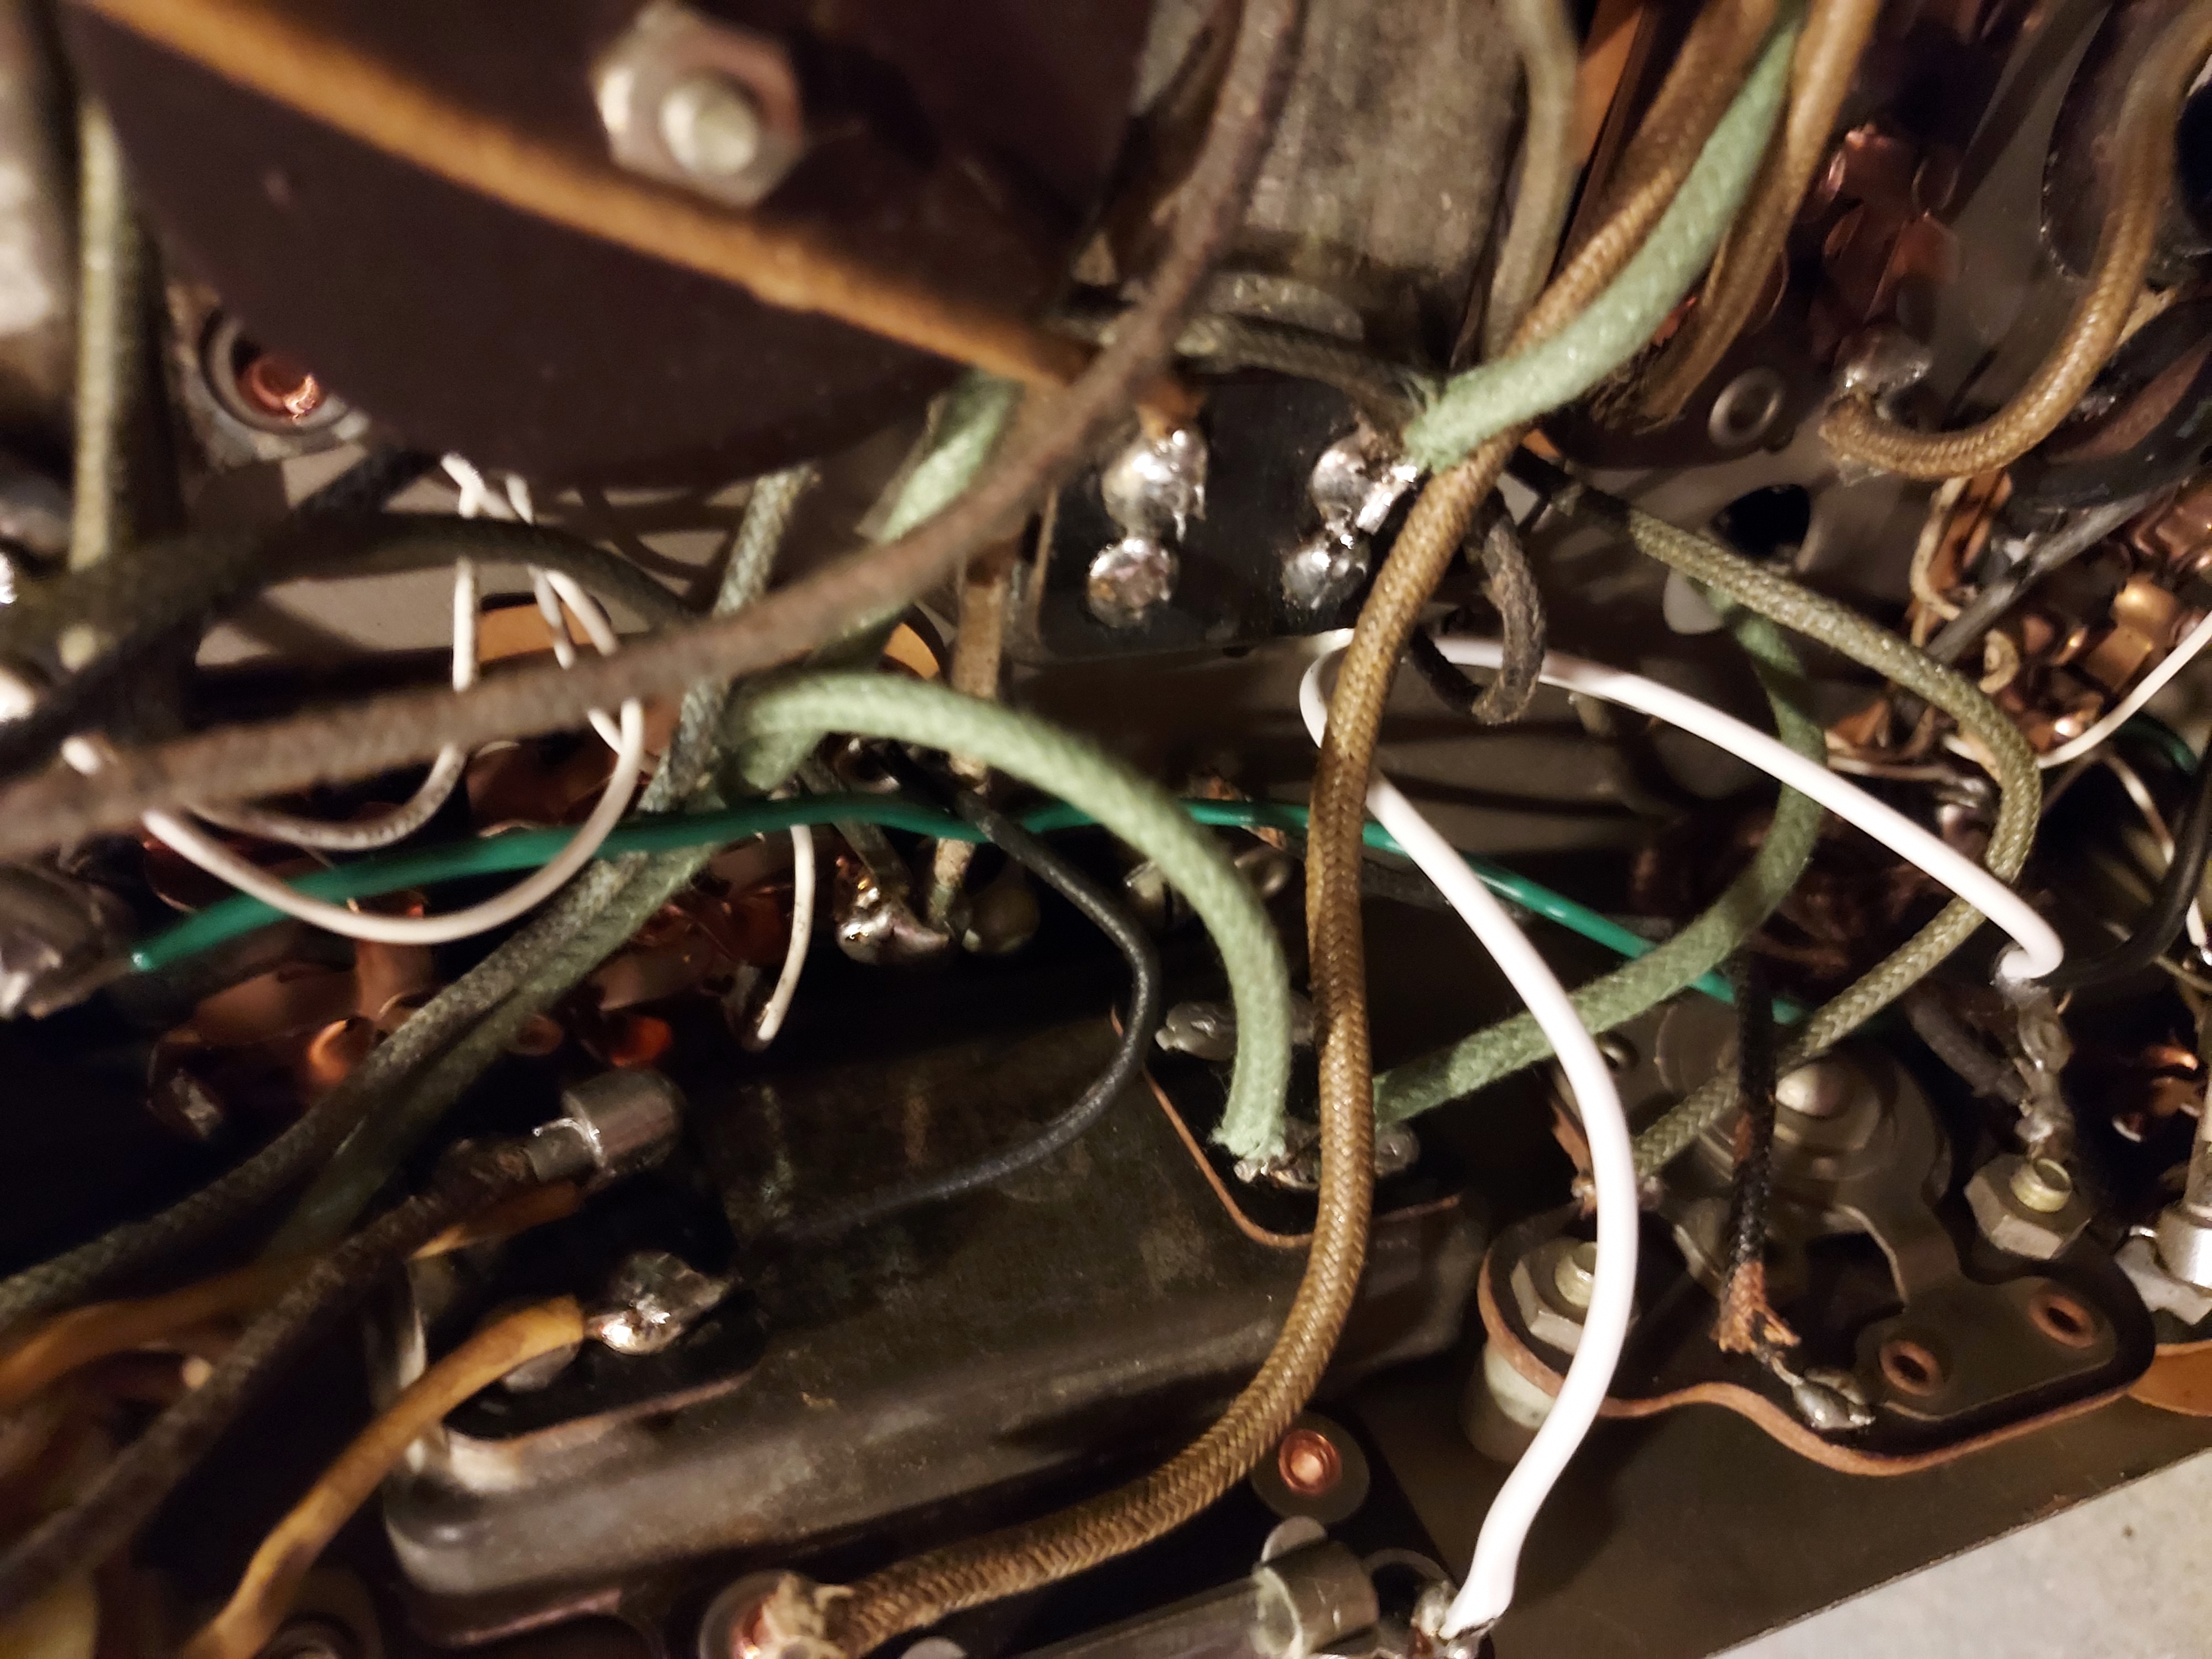
I bought 3mm an 5mm headshring adhesive tubing to encase the wires that went to the transformer (they are cloth-covered thinner type that has an extra insulation that has crumbled) and used it; it is thick-walled type and makes the insulation look right; across the chassis, I also used some to encase the wires I was not willing to desolder, like the tar-potted ones inside the RF coils (AK loves that stuff).
Most resistors I checked are OK, despite being the "Early Philco"-type dogbones (those used in 20 and 70). I have left it be.
This is how those wires look
The remnant of the thick insulation can be seen.


And after the heatshrink tubing put over. It can also be seen how I used the solder post and the electrolytic cap as the holder for it, to attach the replacement cap for the electrolytic.

The chassis and the cap cans are here

People who do not drink, do not smoke, do not eat red meat will one day feel really stupid lying there and dying from nothing.
(This post was last modified: 07-02-2022, 07:28 PM by morzh.)
Posts: 15,818
Threads: 554
Joined: Oct 2011
City: Jackson, NJ
Before power up decided to re-check the resistors in-circuit.
One did not make sense.
I check the schematic - the wiring was wrong. My fault. Somehow I connected it to the wrong point when re-wiring. Now all makes sense.
Time to power up.
People who do not drink, do not smoke, do not eat red meat will one day feel really stupid lying there and dying from nothing.
Posts: 15,818
Threads: 554
Joined: Oct 2011
City: Jackson, NJ
So, hooked up the speaker, put in the tubes, briefly power up gradually to about 60V, saw the B+ voltage started drooping (good sign), turned it off and it went down fast - also a good sign.
Then powered it to 90V, touched the AF grid, heard the hum. Good sign.
Powered off, smelled, touched for heat. Seems none.
Then powerd up to 110V, waited for the droop and rotated tthe tuning cap. The local station came in, very strong.
Good sign.
Now the alignment.
People who do not drink, do not smoke, do not eat red meat will one day feel really stupid lying there and dying from nothing.
Posts: 15,818
Threads: 554
Joined: Oct 2011
City: Jackson, NJ
Anyone has the alignment procedure for AK82?
I am sure I am not the first to ask.
People who do not drink, do not smoke, do not eat red meat will one day feel really stupid lying there and dying from nothing.
Users browsing this thread: 4 Guest(s)
|
|
Recent Posts
|
|
Philco 46-420 Code 121 Reception issues
|
| Welcome Eric,
I agree with Bob and far as the two main electrolytic filter capacitors did you change them yourself or w...radiorich — 11:43 PM |
|
Philco 46-420 Code 121 Reception issues
|
| You mentioned the Philco manual and going through the check points...just to be sure we're on the same page here's the m...klondike98 — 08:13 PM |
|
Philco 42-1008 conversion kit
|
| Interesting. I haven't seen that before.klondike98 — 07:02 PM |
|
12' Philco
|
| Yes I had looked for it on the web as well some time back and could not find it. I was glad to see it turned up in Ron'...klondike98 — 06:59 PM |
|
Shadow Meter Bulb
|
| Now if you had a set with a tuning light then the bulb type is important to the circuit, some sets used those prior to t...Arran — 04:58 PM |
|
Shadow Meter Bulb
|
| Ok. Thanks for the correction.RossH — 03:09 PM |
|
Model 28L
|
| For 28 you will probably need to buy a Hammond 125CSE. Or any of the series of the power you need, with SE suffix. Then ...morzh — 02:09 PM |
|
37-60 revision 6
|
| I am restoring a Philco 37-60 and it shows run 6 they removed the ground from G3 of the 6K7G and put the G3 to -2.5v for...bobbyd1200 — 01:01 PM |
|
Shadow Meter Bulb
|
| Mike is correct on the bulb connection, two separate circuits. I found that by rotating the bulb and sliding it forward ...RodB — 12:19 PM |
|
Hickok AC51 tube tester
|
| Cleaned ann contacts, switches and sockets, works great now.martinj — 11:32 AM |
|
Who's Online
|
There are currently 3812 online users. [Complete List]
» 1 Member(s) | 3811 Guest(s)
|
|
|

|
 
|


![[-] [-]](https://philcoradio.com/phorum/images/bootbb/collapse.png)


