12-01-2013, 06:13 PM
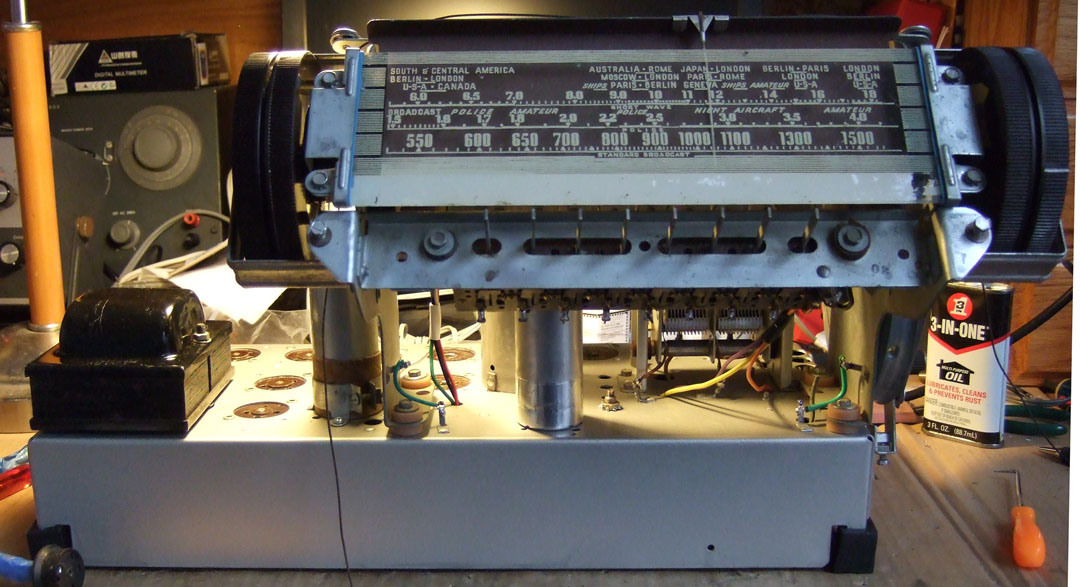
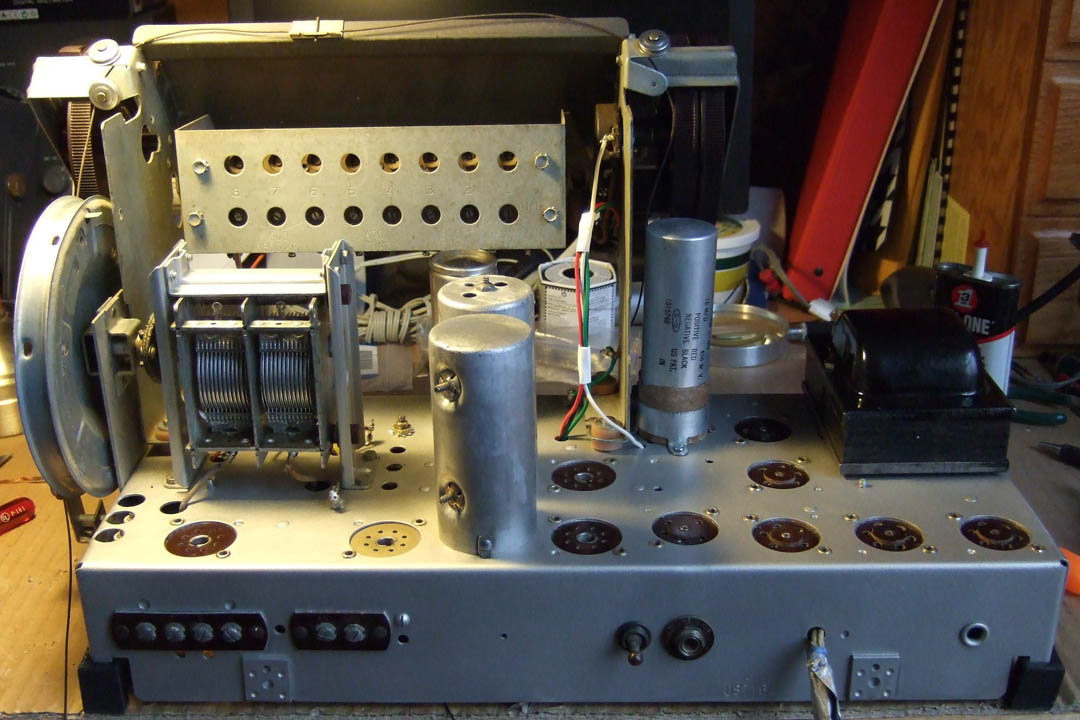
Today I managed to get the chassis reassembled. All the major parts are on the chassis now and the control panel wires have been reattached to the band switch and the audio controls. I retained the OEM cloth covered wires from the coils below up to the tuning capacitor lugs.


I had to study the schematic closely to determine exactly which wire from C23 and C24 went to which lug on the band switch. One wire from the push-button trimmers goes to the band switch A-8. I used an orange wire for that as it matched the original color as best I could determine. The lug it attaches to on the band switch is close to the chassis and very difficult to get to, so I trimmed the remaining cloth covered wire back some, soldered the new wire to it under the chassis and insulated it with some heat shrink tubing and black electrical tape. The lead from C23 attaches to band switch B-3. I used a yellow wire for that. The lead from C24 attaches to band switch B-12. I used a violet wire for that.
I replaced the audio wires with black, green and red going to the volume control and a white wire going to the tone control. These wires went all the way to terminal strip lugs underneath the chassis.
A lot still remains to be done, but the rest will be easier for me as it is just some more wiring and trouble-shooting. The IF transformers have new color coded wires attached and still have to be reconnected to the tube sockets and other points. The electrolytic capacitors are mounted, but still have to be wired into the circuit.
Joe


![[-] [-]](https://philcoradio.com/phorum/images/bootbb/collapse.png)


