Starting to refinish my Highboy 90
Posts: 1,106
Threads: 88
Joined: Jun 2011
City: Tacoma
State, Province, Country: Washington
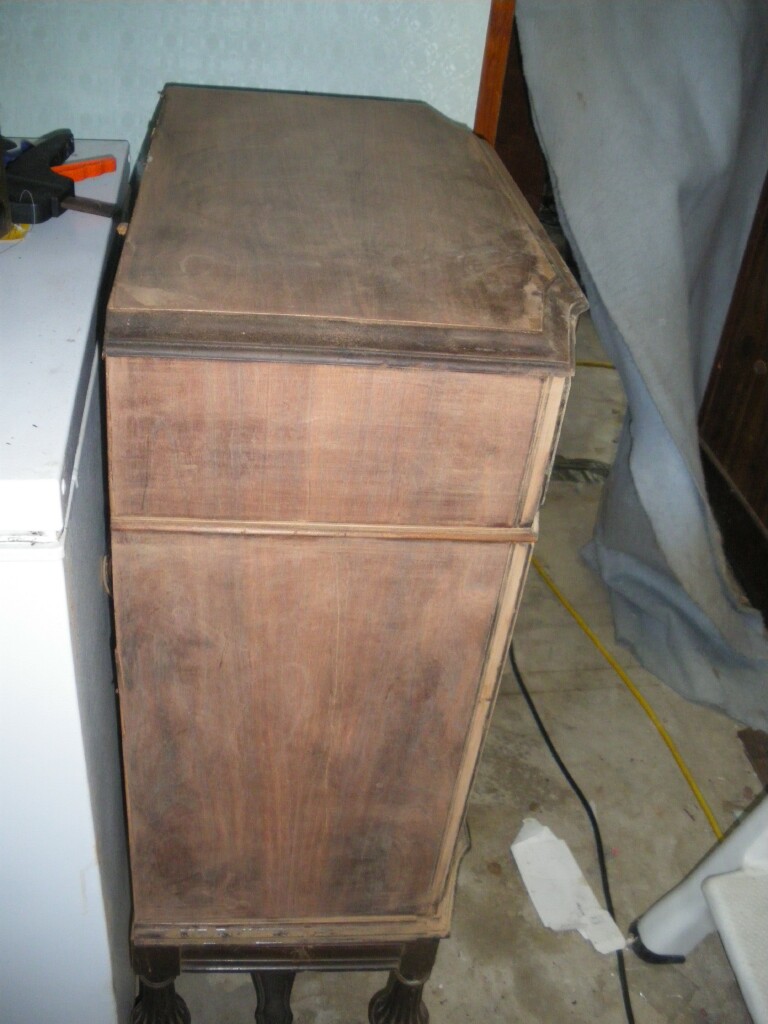
Started working on this cabinet in earnest this evening. Am posting pics of what I've managed so far.
First, the missing veneer from the top:
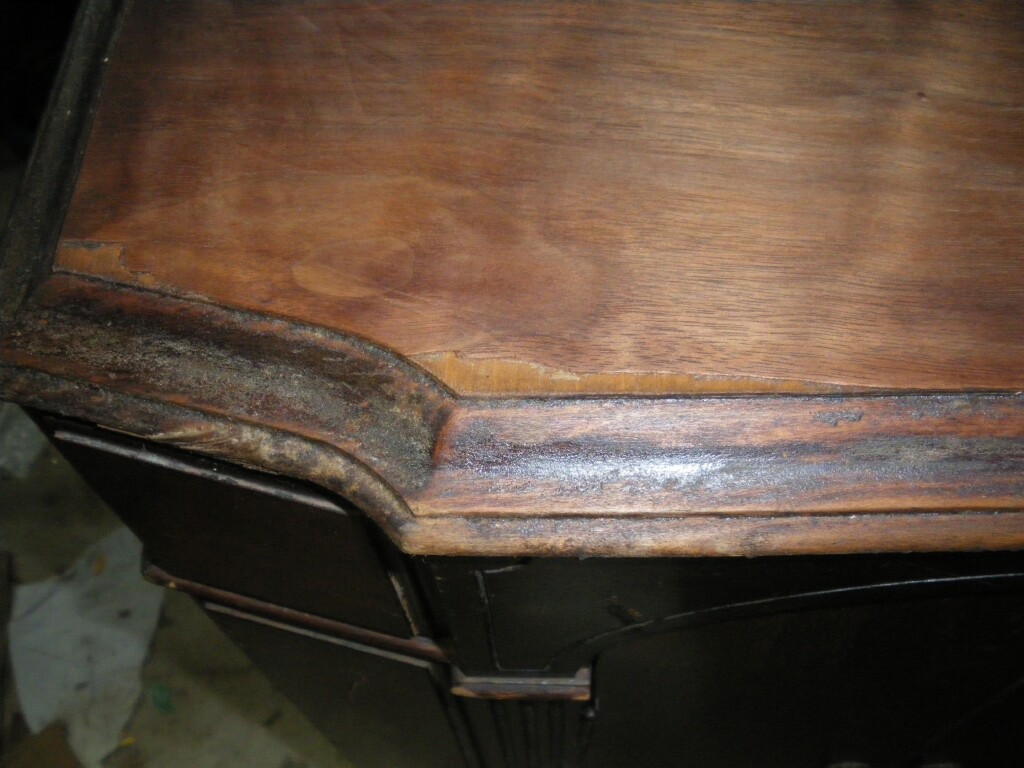
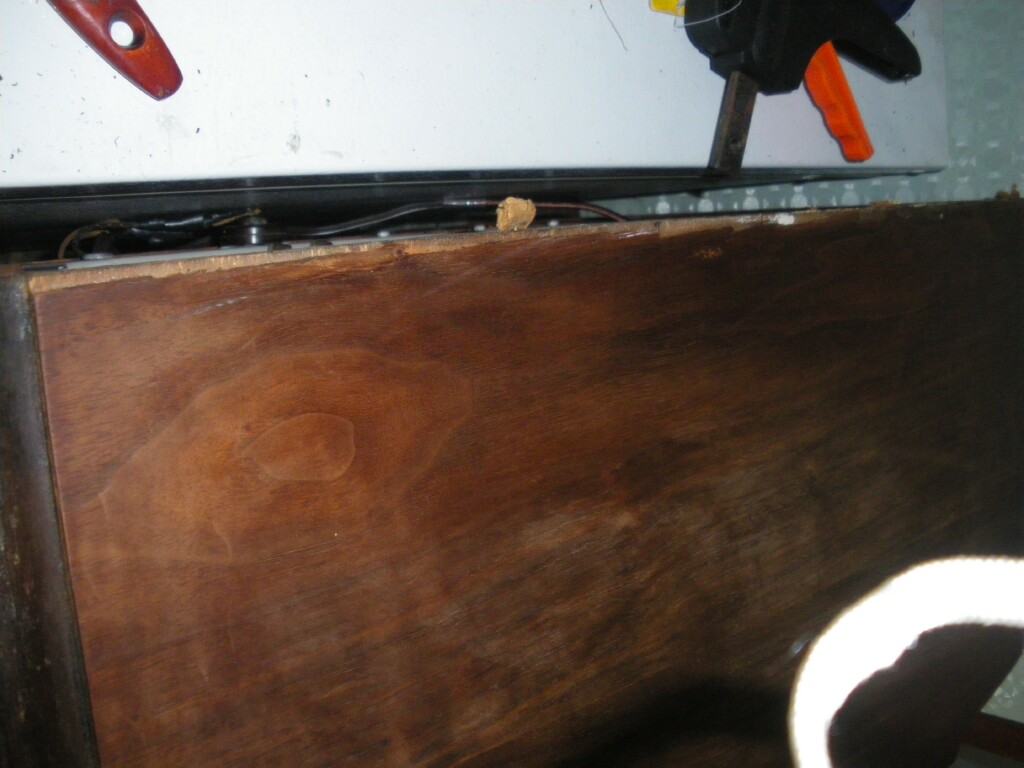
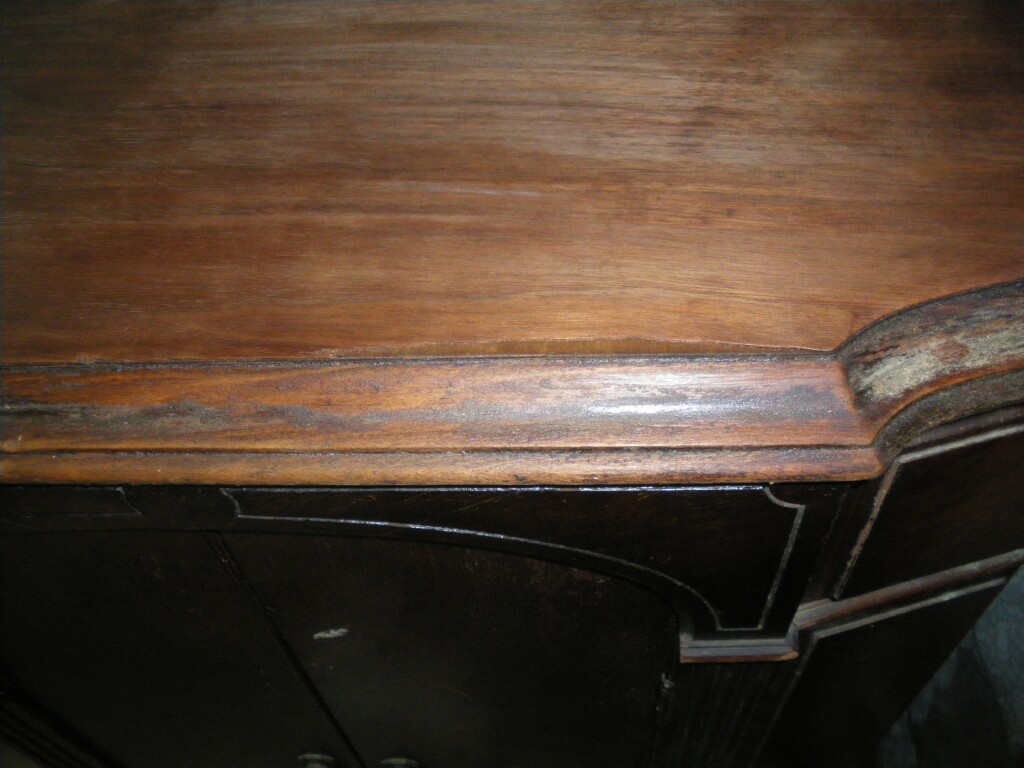
The left side, looked pretty ugly to start with. Note the deep scratches.
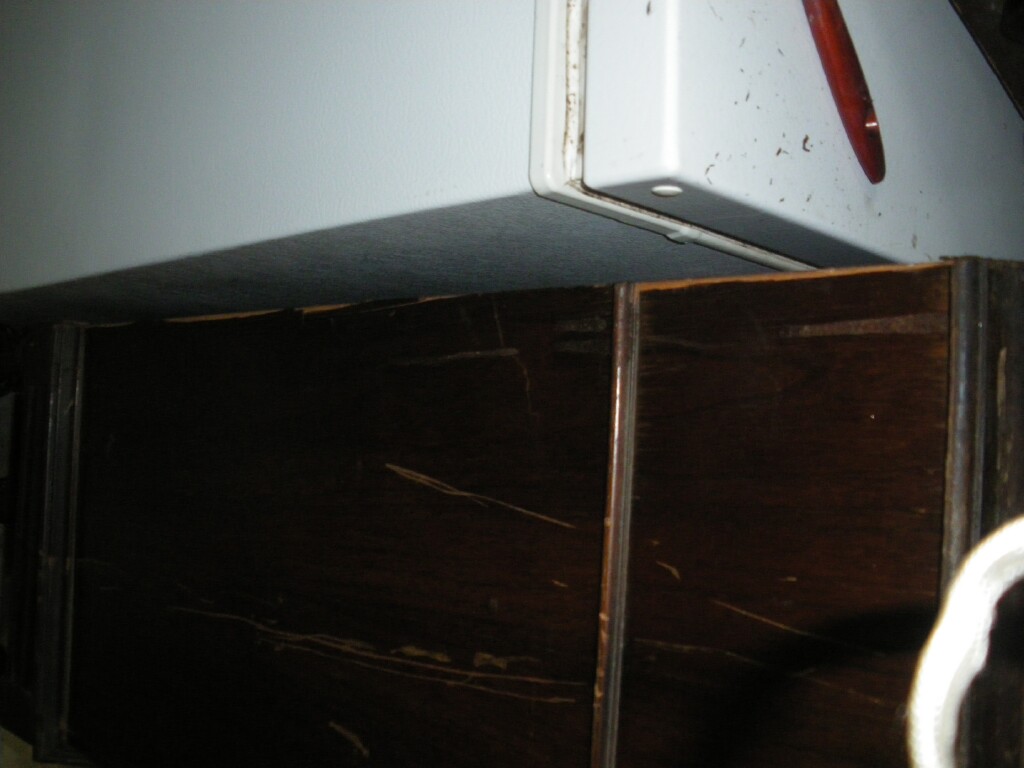
The cabinet partially stripped and sanded.
Posts: 1,106
Threads: 88
Joined: Jun 2011
City: Tacoma
State, Province, Country: Washington
These wouldn't go into the last post.
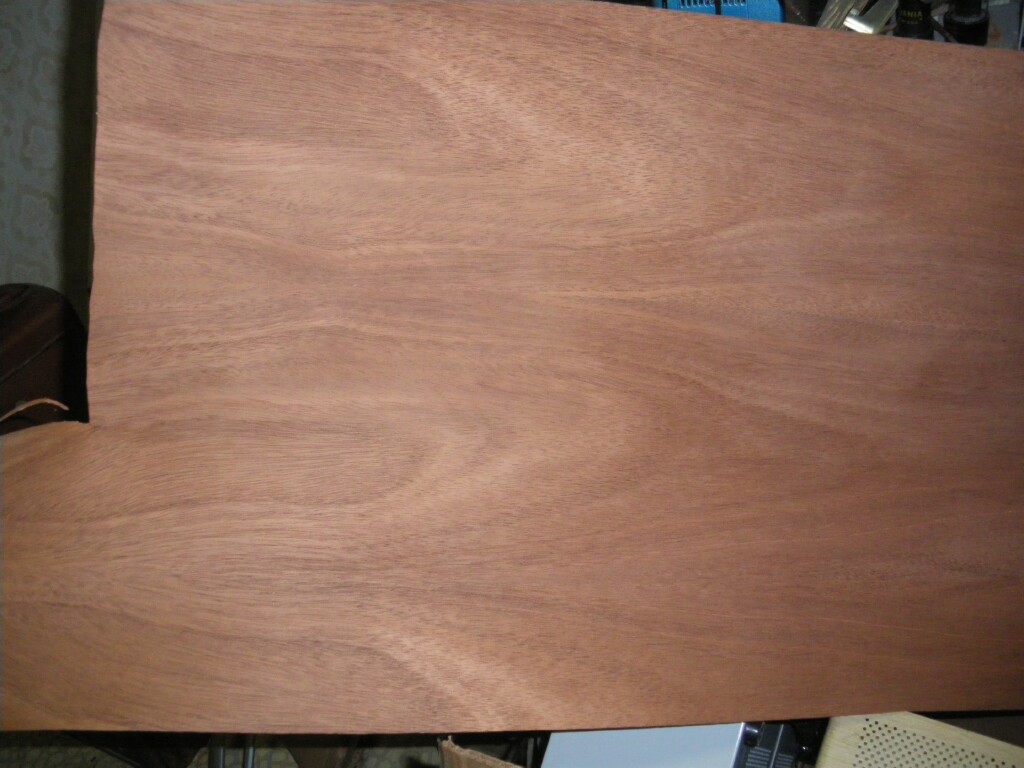
This is the veneer that I have here to work with.
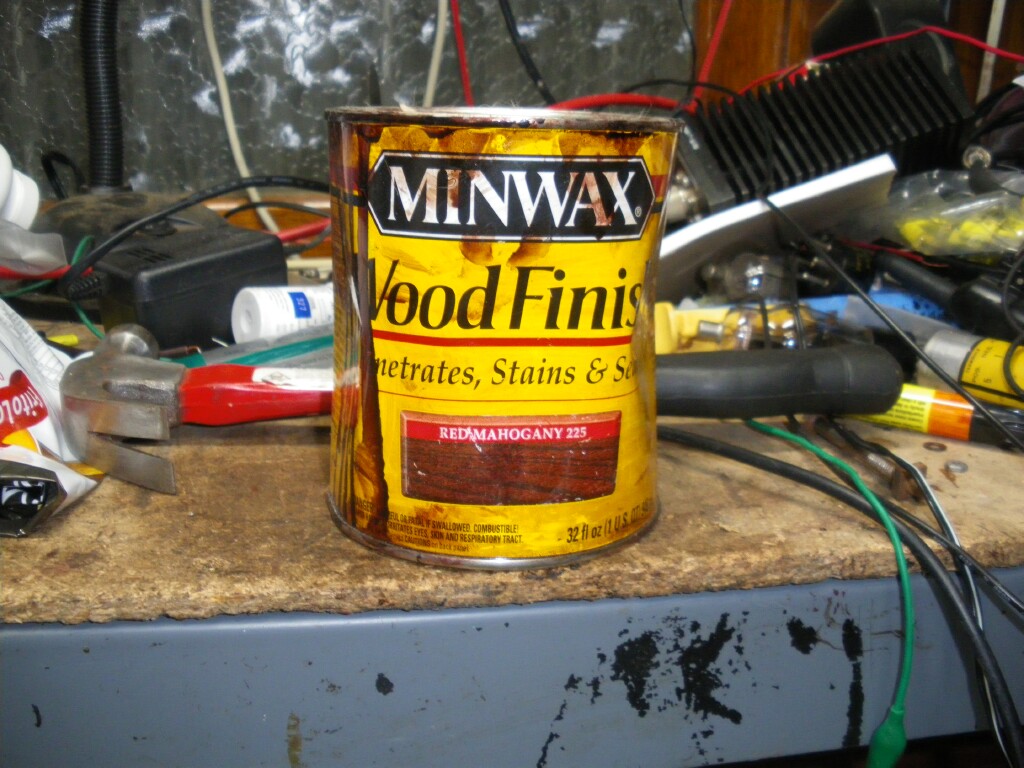
And the only color stain I've been able to get. I use it because it's sort of mid-range for most of the radios I've worked on.
I'm open to all suggestions. As I said, I'm no expert on this part of restoration,and I'd like to do as good a job as I can.
Posts: 761
Threads: 56
Joined: Jul 2013
City: Kentucky
I'm no expert either, but I'm better at refinishing than I am at chassis work. I'll tell you what I do, but other people might do things differently.
Do you have an old, beat up, scrap radio cabinet that you can salvage veneer from? I find that old pieces are easier to work with. If not, no big deal. Cut pieces of veneer to fit into the missing spots. I've used a pencil and paper to make a tracing of the missing area first, then use the pattern to cut the new piece. You want the grain to run in the same direction as on the radio. Try to get an exact fit, if possible. Once you are happy with the new piece, use wood glue and glue it in place. Use a clamp or heavy weight to hold it down if needed. Let it sit for 24 hours..
Once it's dry, trim any overhang, then take a sanding block and some 300 - 400 grit sandpaper and sand the new veneer (with the grain), until it's level with the veneer on the radio. Once you start getting into the old veneer be careful. Don't want to sand through it.
I personally try not to sand the old cabinet any more than necessary. The wood has developed a petina and sanding removes it and can make the final finish look uneven.
The artist formerly known as Puhpow! 8)
(This post was last modified: 09-14-2013, 02:35 PM by Jamie.)
Posts: 481
Threads: 18
Joined: Jan 2013
City: Mesa, AZ
You don't waste any time, BrendaAD! I really love those old consoles! I've used that red mahogany before, with a blend of early colonial, seems to get the tone in the ballpark. After I did the 42-400, then I realized (from this phorum) that the way to go is with the toning lacquer (which I will do in the future). I realize that your options are limited, "way over yonder", but am sure that whatever you do will make a vast difference to the cabinet! What kind of stations do they play over yonder, or do you just install an Ipod and play your own? 
Posts: 1,106
Threads: 88
Joined: Jun 2011
City: Tacoma
State, Province, Country: Washington
Of course, 99% of all radio and television here is in Korean. All of the television is, now, since all AFN TV stations that broadcast over the air went off the air a while back.
Basically, then, I have two choices for radio: AFN and my own local broadcast.
For TV, I've spent a zillion bux on building my own CATV/SMATV headend. Right now, I have all the AFN satellite TV channels plus a lot of their radio channels (each of these requires its own satellite receiver and modulator) plus CNN International, a few inhouse entertainment channels (The Roddenberry channel, which also runs any current TV shows we can get ahold of, a cartoon channel, a music video channel and a local weather channel) and several security cam channels. The Roddenberry channel, so dubbed because we run all the Gene Roddenberry shows on it, is in 720i HD.
Now, to keep this on topic, I'll be getting off my butt and over to the shop shortly to start working on that cabinet again. I dread completing all the flat surfaces, because all those fancy knurls and such make me crazy trying to strip them. 
Posts: 1,106
Threads: 88
Joined: Jun 2011
City: Tacoma
State, Province, Country: Washington
Can someone peruse this seller's wares, and tell me which veneer would be best for me to have on hand for Philco restorations (most especially this one)?
http://www.ebay.com/sch/jsowoodproducts/...1543.l2654
Posts: 761
Threads: 56
Joined: Jul 2013
City: Kentucky
It's a tough call to make without seeing it in real life. Unless I'm going to totally re-veneer a very large area, I don't like the paper backed veneers. I've found that most radio work is just patching in small places where veneer has chipped off. For that, I like the new veneer to be a little thicker, or at least as thick as what is on the radio. If the new veneer is a little thicker, you don't have to sand the old veneer much to get a match in surface height, does that make sense? The paper backed veneer I've seen is very thin. That's why I like to strip veneer off of old, scrap cabinets.
I am assuming you are just planning to patch the veneer on that radio.. so
if I were overseas, and If I had to order some for the radio you are working on, I'd get this..
http://www.ebay.com/itm/Walnut-wood-vene...0970144399
It's a nice piece of walnut veneer and should provide a lot of wood to fix typical chipped cabinets. The color is dark enough to blend in with most old wood with years of patina. If I've got to have a mismatch in veneer color, I'd always prefer the new piece be a little darker than the original. I find it's easier to hide the mistake when it's dark. A lighter color really stands out like a sore thumb.
If you are going to re-veneer a large area, then I'd look at the paper backed, iron on veneer. If you are ever at a flea market and see an old table or cabinet with peeling veneer for sale cheap, buy it. It's great to be able to just go break off a small piece when you need it.
The artist formerly known as Puhpow! 8)
(This post was last modified: 09-15-2013, 10:41 AM by Jamie.)
Posts: 4,928
Threads: 54
Joined: Sep 2008
City: Sandwick, BC, CA
Judging by the photos what the cabinet originally had was a plain cut French walnut veneer. There are some guys on fleabay that sell it in assorted quantities, lengths and widths, but there are plenty of mail order houses that have it as well including Constantines. It would probably be best to make a straight line patch parallel to the grain where the veneer is chipped out, it's easier then trying to cut and fit a smaller patch to fit the chipped out area and a lot easier then trying to reveneer an entire panel.
Regards
Arran
Users browsing this thread: 1 Guest(s)
|
|
Recent Posts
|
|
Rogers Majestic R-646
|
| Today I finished inspecting all the parts. The result is not very pleasing.
The first positive news:
1) The power tr...Vlad95 — 11:40 PM |
|
HiFi (Chifi) tube amp build - but my own design.
|
| Well, found muh culprit. After using socket test adapters and finding voltages all ok, swapping 6V6s, no avail, swapped ...TV MAN — 11:18 PM |
|
HiFi (Chifi) tube amp build - but my own design.
|
| Well, maybe - maybe not :lol: It's been an interesting project so far! Something so simple, yet so cranky. The 1st one ...TV MAN — 05:12 PM |
|
1949 Motorola 5A9M
|
| Haven't thought of Burgess batteres in a while
https://www.radionostalgia.ca/lib/Images/battery/us/burgess1D.jpgi
...Vlad95 — 03:50 PM |
|
Philco Model 16 wiring question
|
| Measure the voltages first, just in case.morzh — 02:19 PM |
|
1949 Motorola 5A9M
|
| Haven't thought of Burgess batteries in a while Mr. Fixer. Boston Edison always used Burgess in their Bright Star yellow...Paul Philco322 — 02:17 PM |
|
1949 Motorola 5A9M
|
| Thanks Sam. I'll let you know. I can probably scare some up from the local radio club.klondike98 — 02:07 PM |
|
Philco 89 Code 123 Osc Coil
|
| Hello,
I thought I would post my findings on my bad oscillator tickler coil. There were 27 turns on the outer coil b...dconant — 12:38 PM |
|
Philco Model 16 wiring question
|
| Thanks Morzh. So it appears I did wire it incorrectly and I have to switch the wires between pins 2 and 4.bobclausen — 09:24 AM |
|
Philco 46-1209 strange behavior
|
| No, it's not a problem, just during certain condition it could show up.
Yes, an internal tube short could do that too.
...morzh — 09:13 AM |
|
Who's Online
|
There are currently 671 online users. [Complete List]
» 2 Member(s) | 669 Guest(s)
|
|
|

|
 
|


![[-] [-]](https://philcoradio.com/phorum/images/bootbb/collapse.png)


