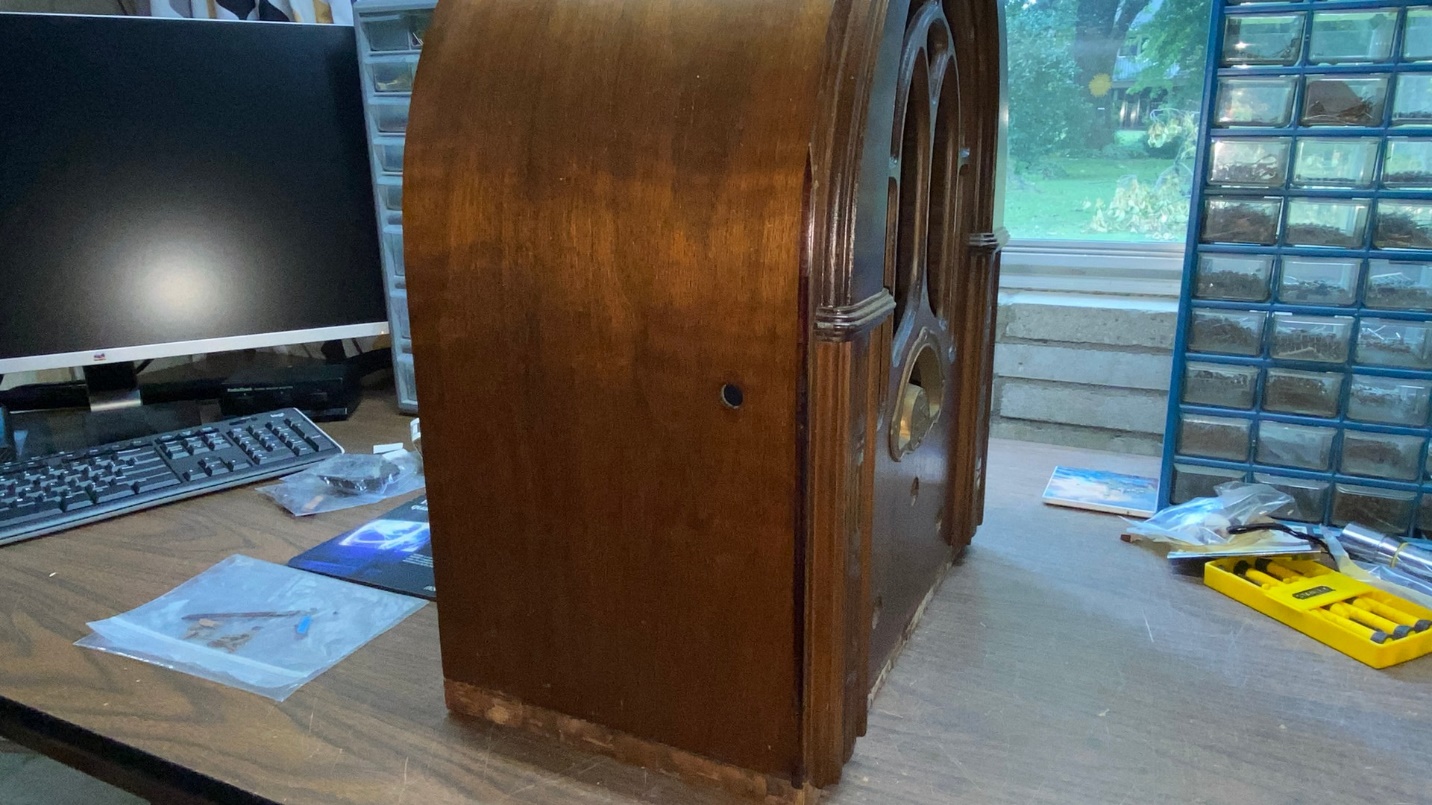
When I left you last time, I was in the middle of repairing the large piece of trim which had broken from the left side of this Atwater Kent model 627 cathedral radio cabinet. Now, let us continue the saga.
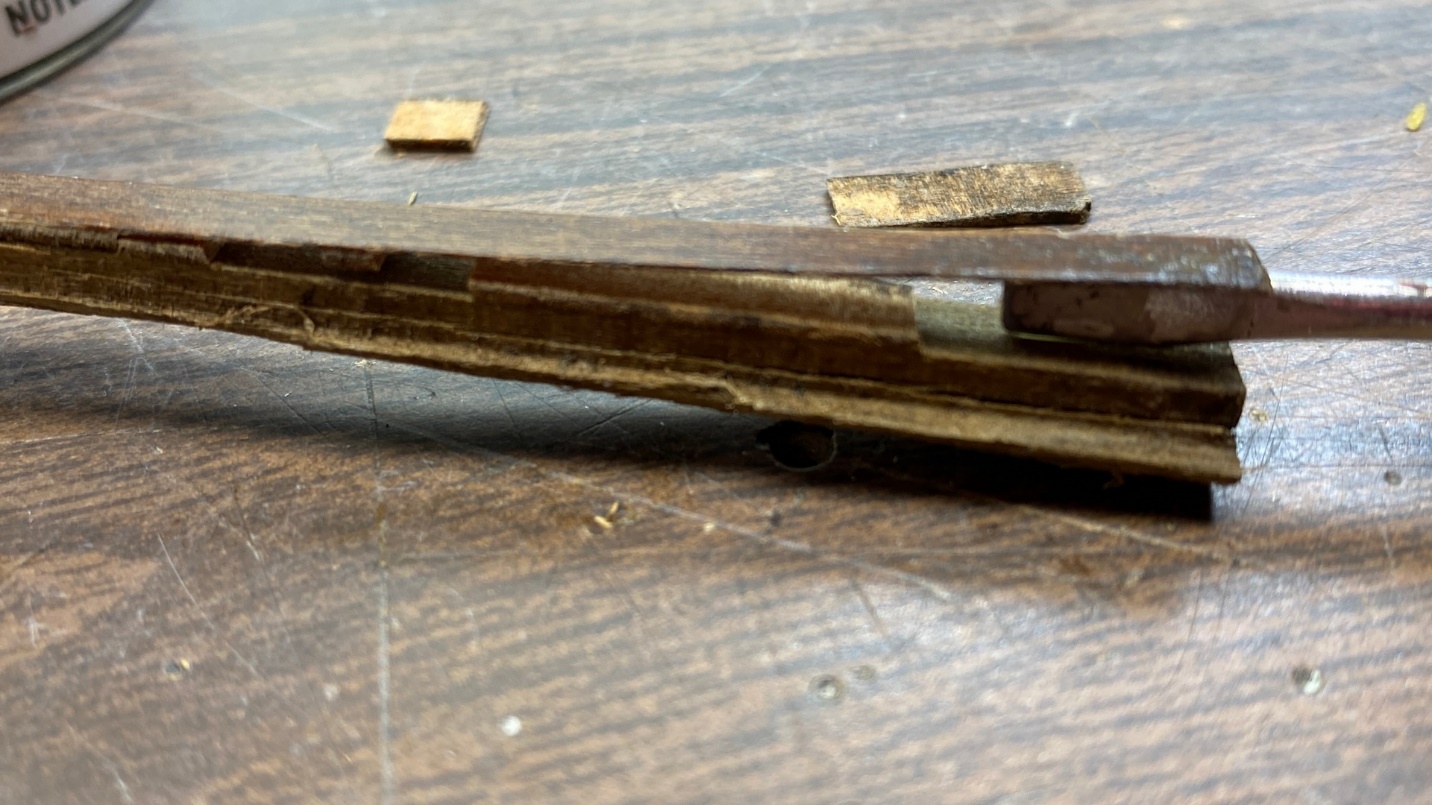
I had glued some veneer to the outside of this trim piece, but the trim still had some missing pieces of substrate which I needed to glue back into place as seen above. Fortunately, I was able to find those pieces in my small bag of wood pieces which I had saved for this purpose. These were glued into place, and the trim then clamped together while the glue dried.
Final gluing of the broken side trim.
Finally, the side trim was ready to be reglued to the cabinet. I was forced to spray new lacquer on it as the original finish was in really bad shape from the rough handling. Unfortunately, I did not have any Mohawk lacquer colors which closely matched the original color of the trim.
I ended up using Medium Brown Walnut, which was darker than the original, but better than nothing.
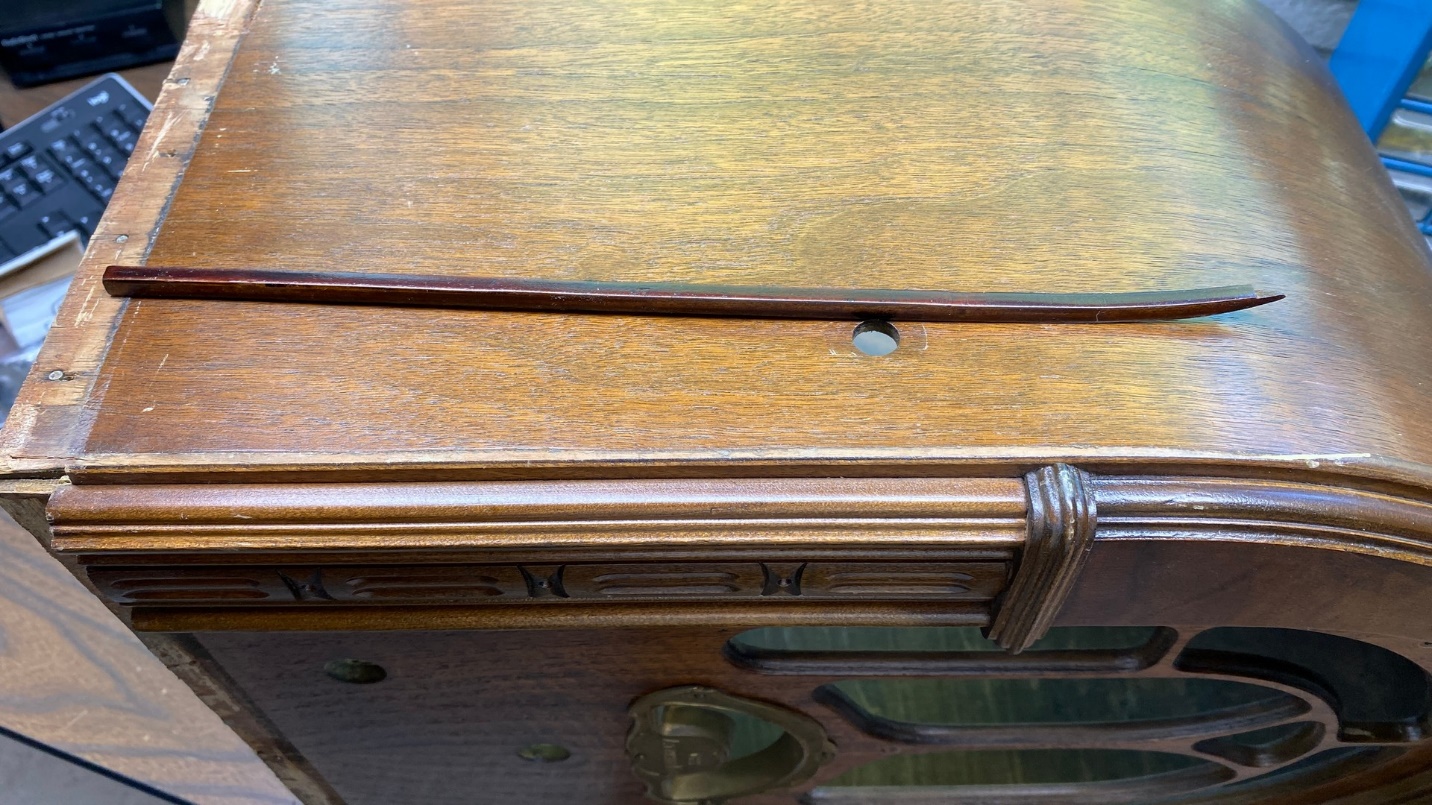
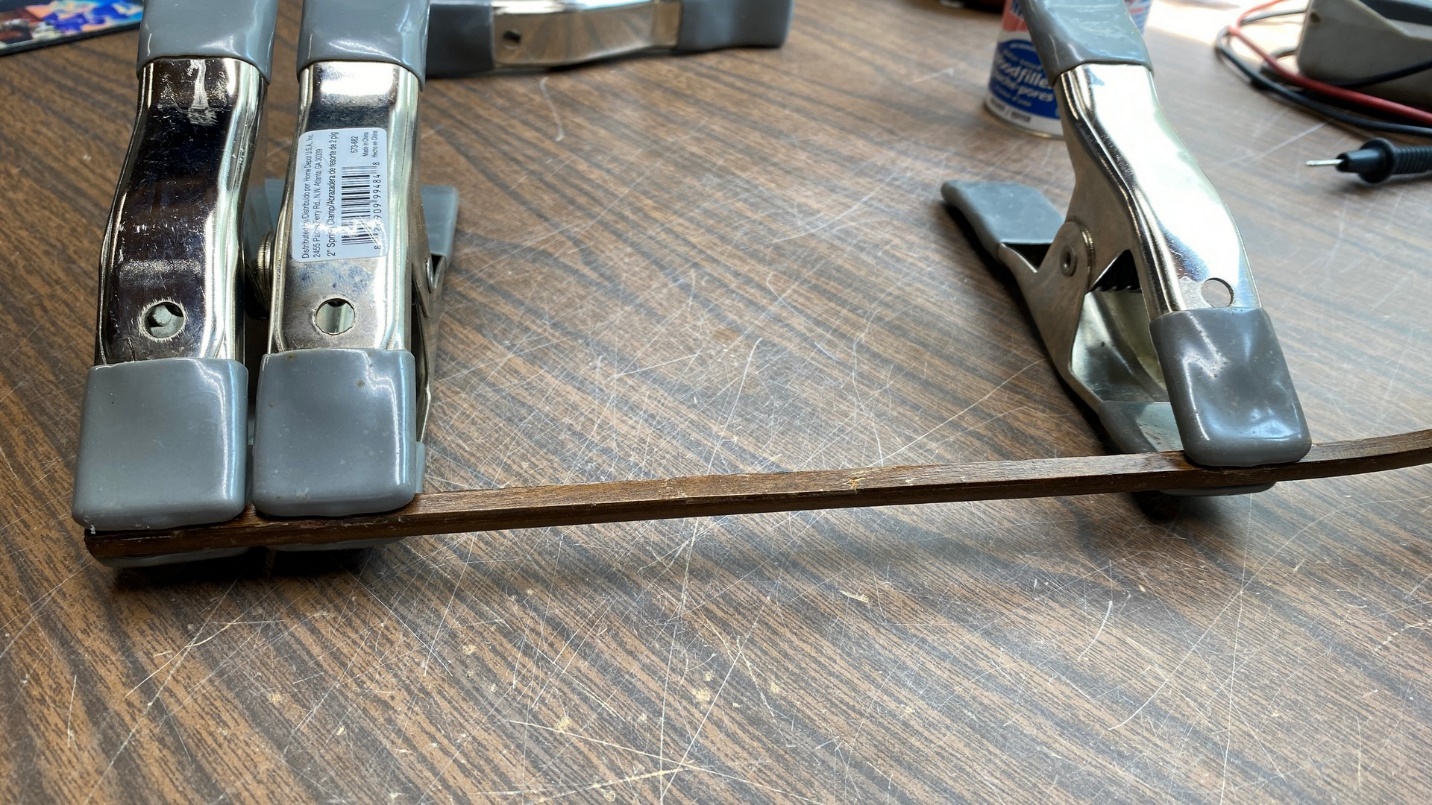
The left trim is ready to be glued back onto the cabinet.
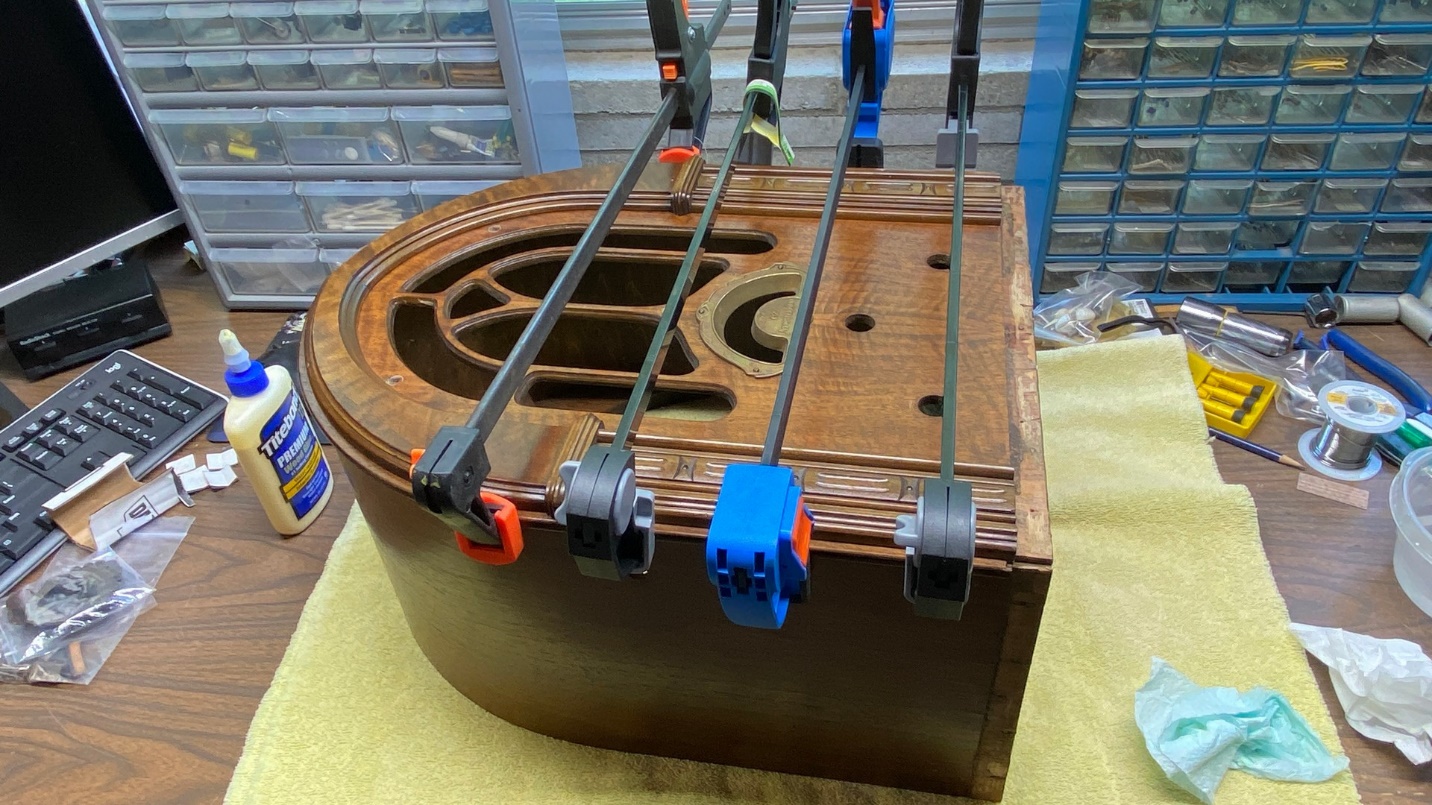
The trim is clamped in place while the glue dries.
The end result – darker than original, but it looks better than being broken off.
At this point, I still had a small bag full of veneer chips and small pieces of broken wood. It was time for me to try to figure out where these broken pieces needed to go on the cabinet.
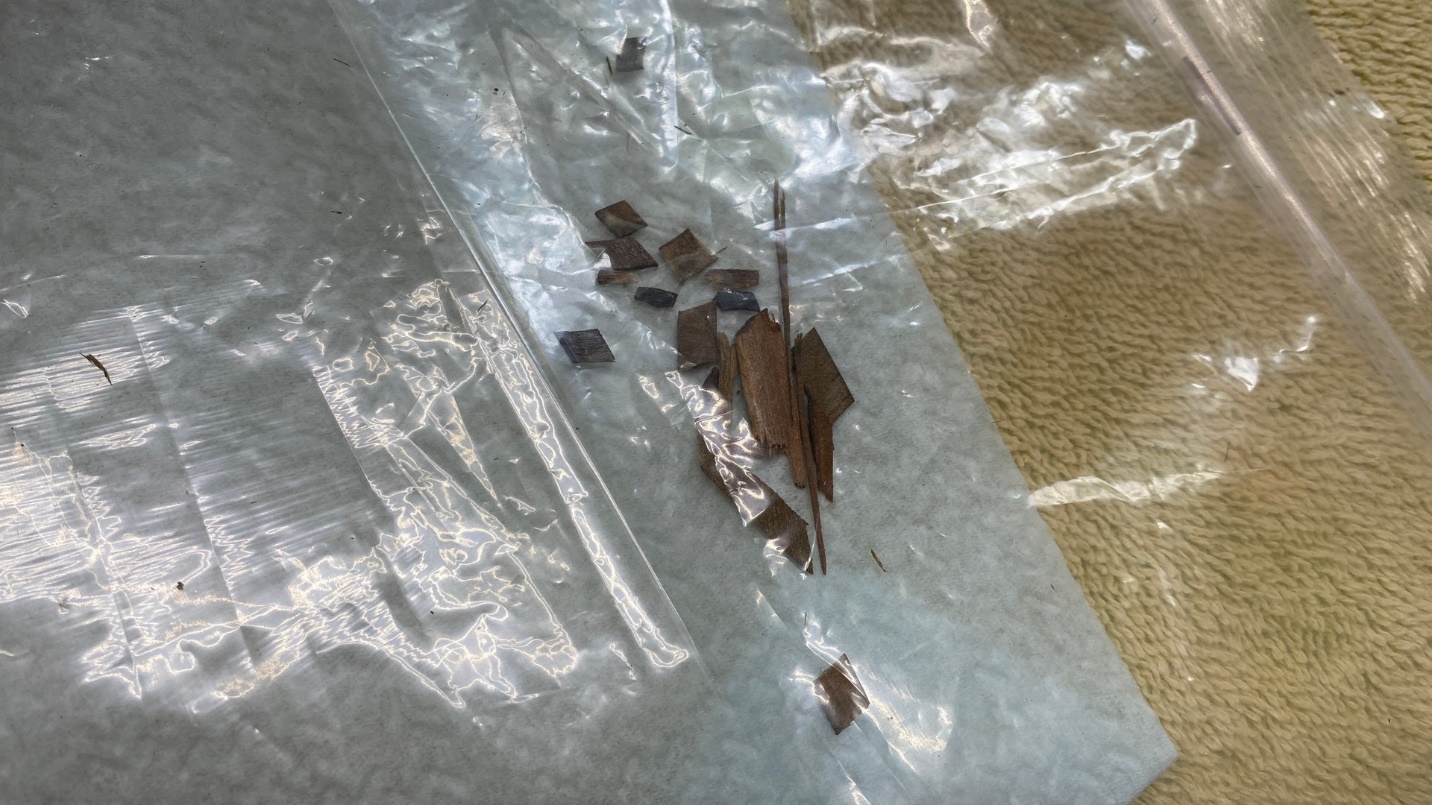
I still had a bag full of broken wood pieces.
I discovered that many of these pieces came from the back edge of the front arch. Slowly, I figured out where many of these pieces needed to go, and glued them back into place on the back of the front arch.
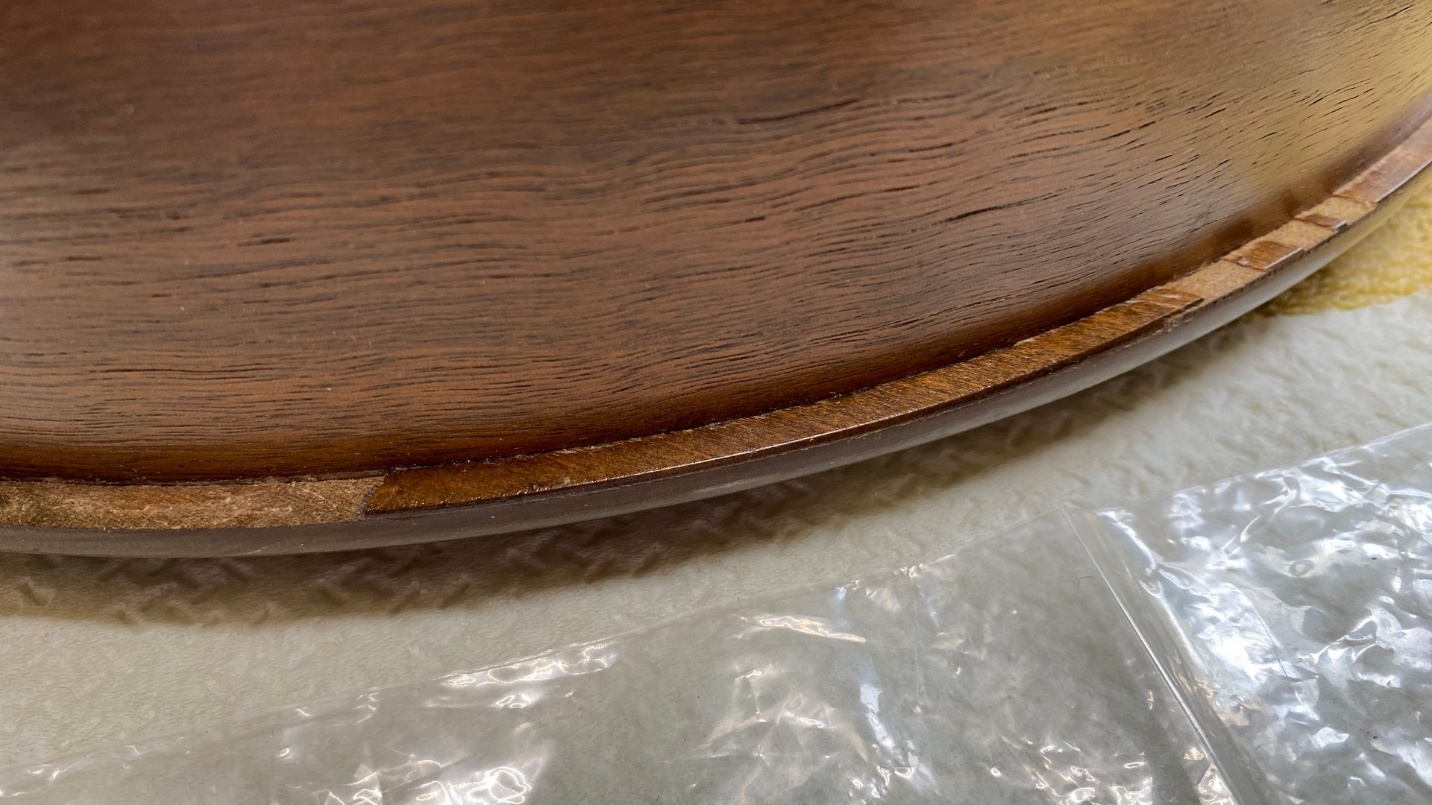
Small veneer chips have been glued to the back of the front arch.
When finished, I still had a few remaining broken pieces of wood. I could not figure out where these went, so I decided to stop at this point.
In the meantime, Steve Davis had sent me some beautiful reproduction Atwater Kent 627 bottom trim. I was busy with other cabinet projects throughout the summer, so I did not get around to cutting the trim until late August, and did not attempt to spray them with toning lacquer until September.
New bottom trim for the AK 627.
I did a test fitting of the trim after I cut the pieces with my miter saw. I did not get them cut 100% perfect, but they looked pretty good, so I decided to go with these.
Test fitting the new trim to the cabinet.
Spraying the trim with toning lacquer turned into an adventure of its own. I sprayed them with Medium Brown Walnut, let them dry, and tried them out. I was not satisfied with the color, so I took them outside and wiped the new lacquer off with acetone.
In late summer, I had purchased a few more cans of Mohawk lacquer, including one color I had not used before – Ultra Classic Medium Oak/Tavern Pine. A test spray showed this color was promising for the AK trim, so I first sprayed the stripped trim with sanding sealer, then a coat of Medium Oak/Tavern Pine. The color went on unevenly. I then applied a second coat, and it turned out darker than I would have liked. I addition, the lacquer developed runs on the top of the trim!
Ugh. I dislike it when things like this do not turn out well (really, who does?).
I was going to discard these trim pieces, cut new ones, and start over (fortunately, Steve sent along plenty of extra trim). However, I then had an idea. I wet sanded the tops (only) of the trim pieces, which removed the toning lacquer. I then resprayed the tops of the trim very carefully, using the same color toner (Medium Oak/Tavern Pine). This time, the results were much better.
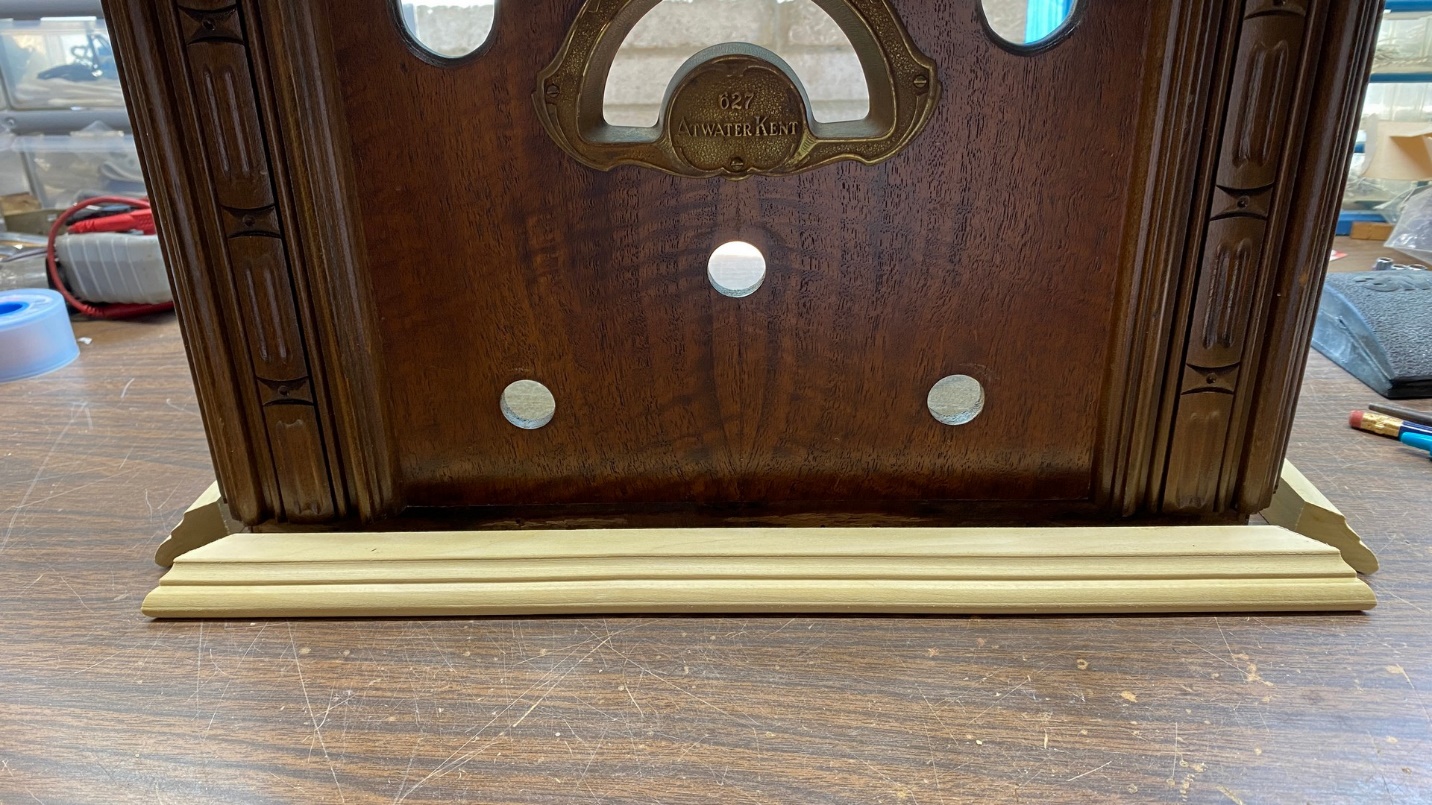
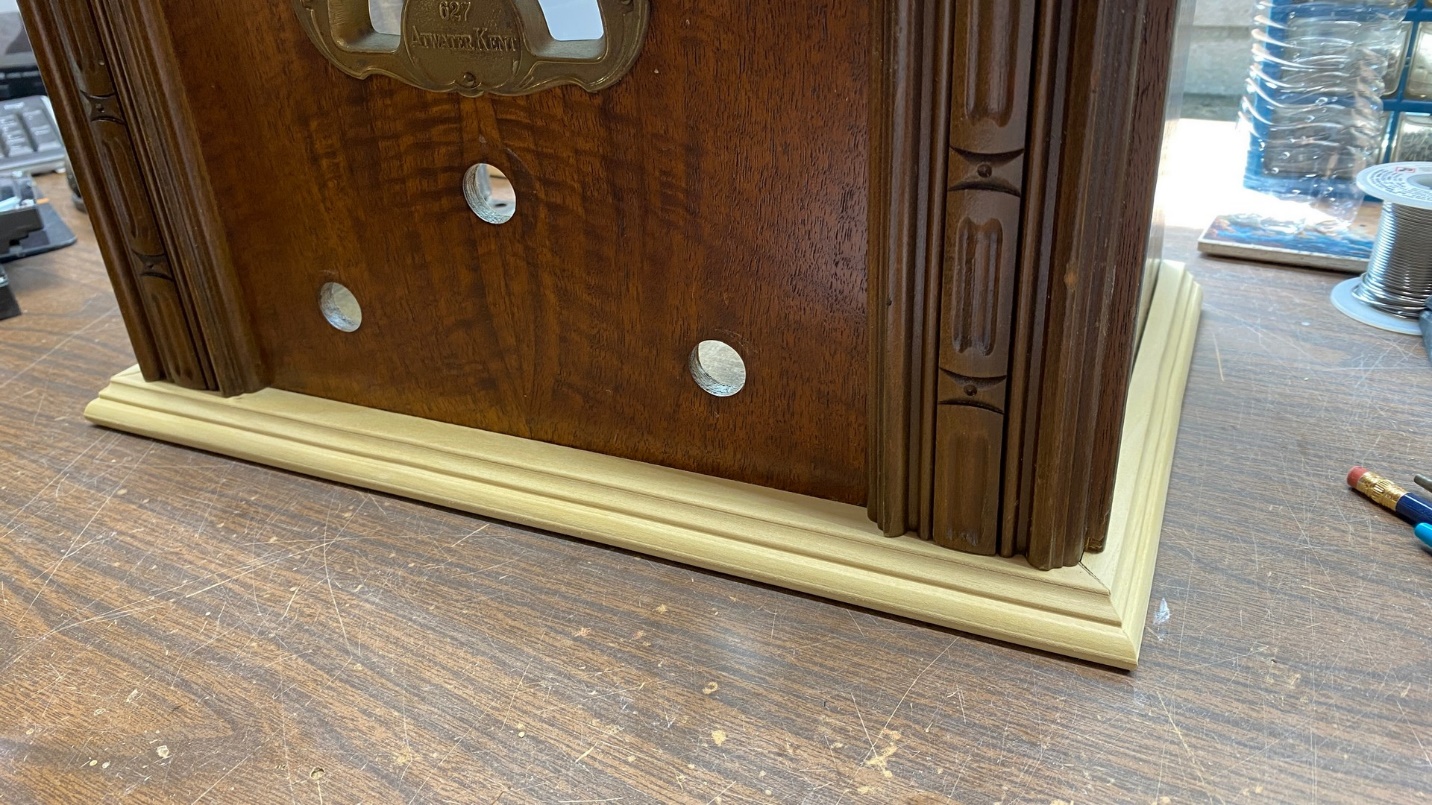
I began to attach the new trim to the cabinet.
The Atwater Kent trim is thicker than the trim used on Philco cabinets – the front trim is even thicker than the side trim – so longer nails would be required. I ended up using the longest brad nails I had on hand to fasten these trim pieces to the cabinet. In addition, I applied a small amount of glue to the back of each trim piece, so the trim would be secured to the cabinet once nailed in place.
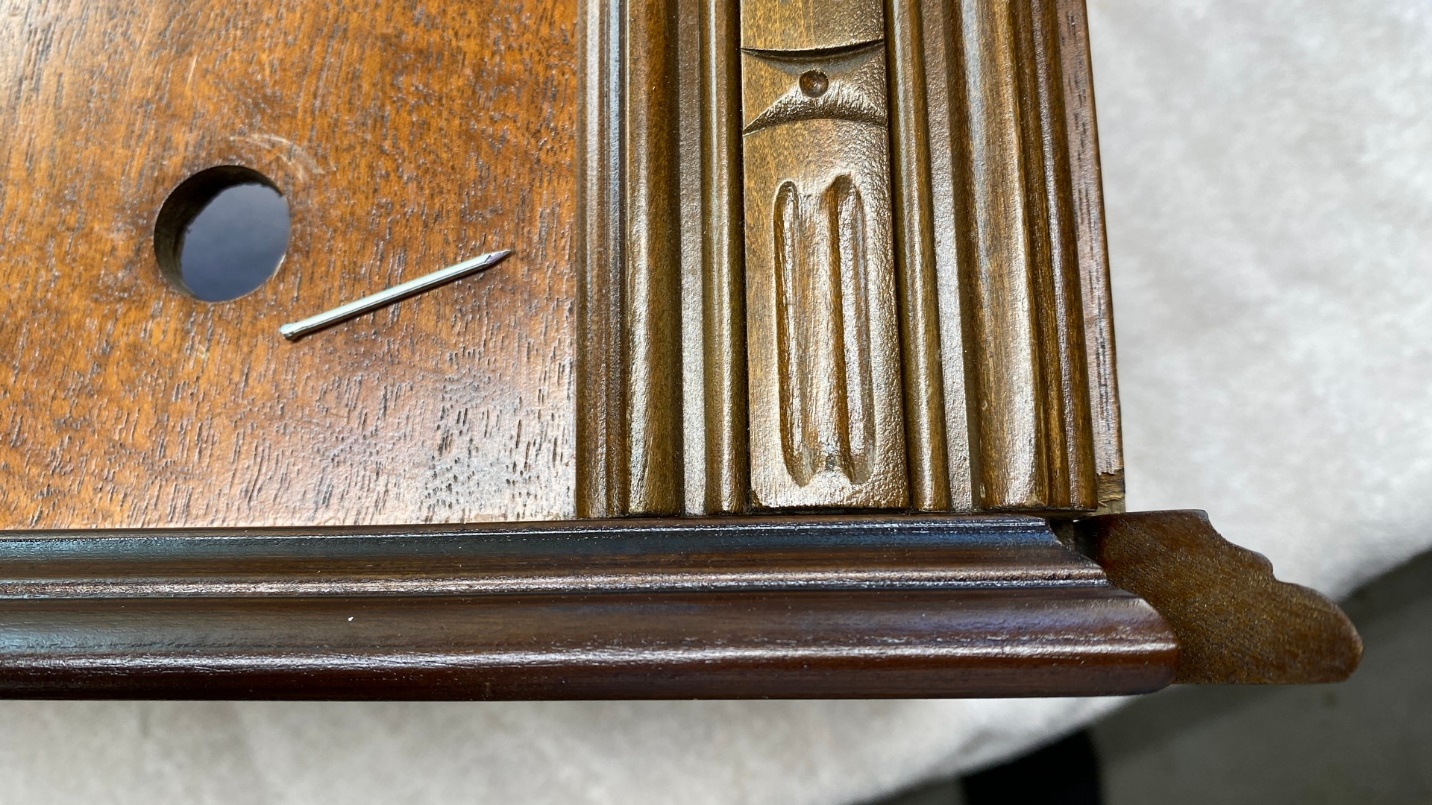
One of the brad nails used to nail the front trim in place.
I countersunk each nail head using a nail setting tool, intending to fill those holes later on with wood filler which would then be followed up by a touch-up of toning lacquer over each filled nail hole.
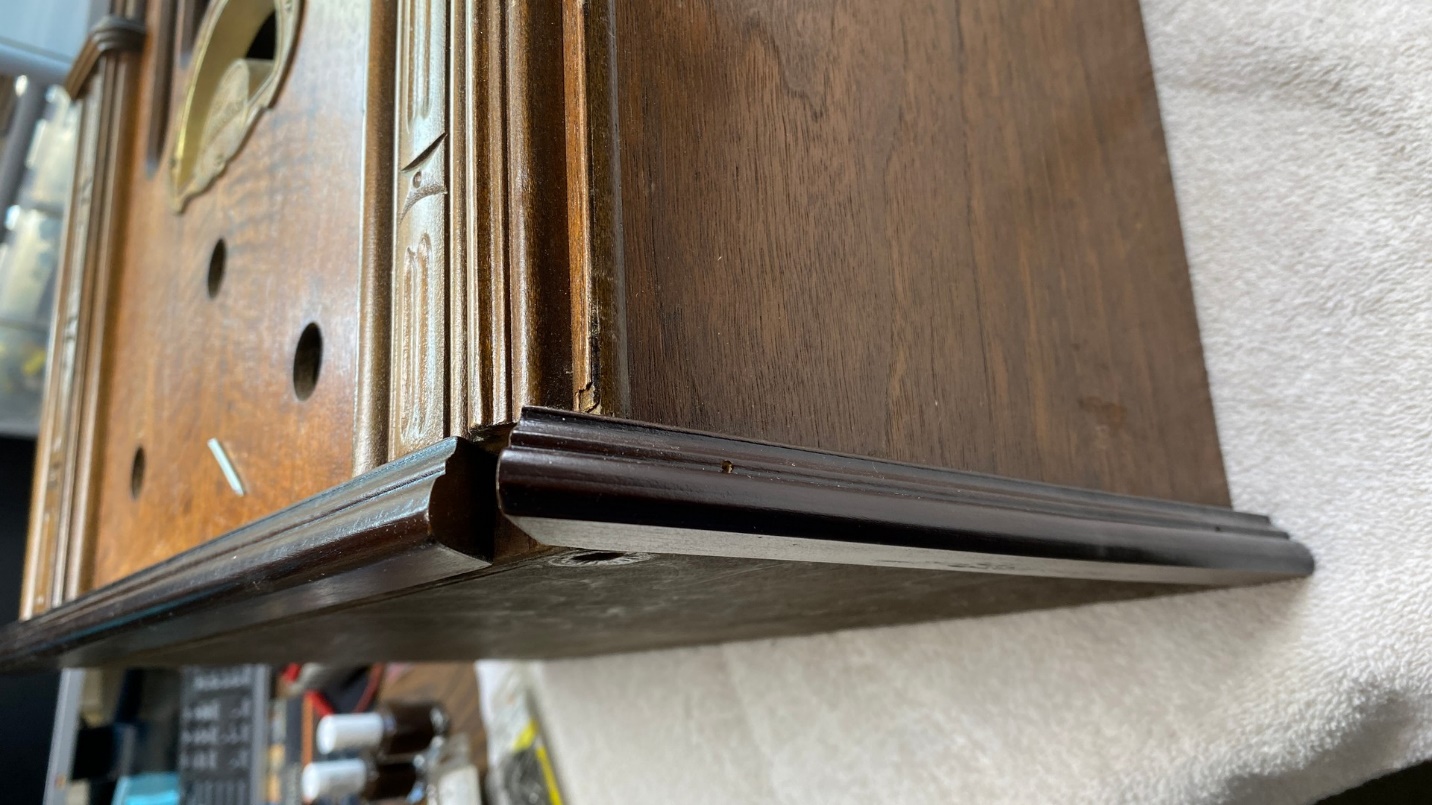
The repaired cabinet – no flash.
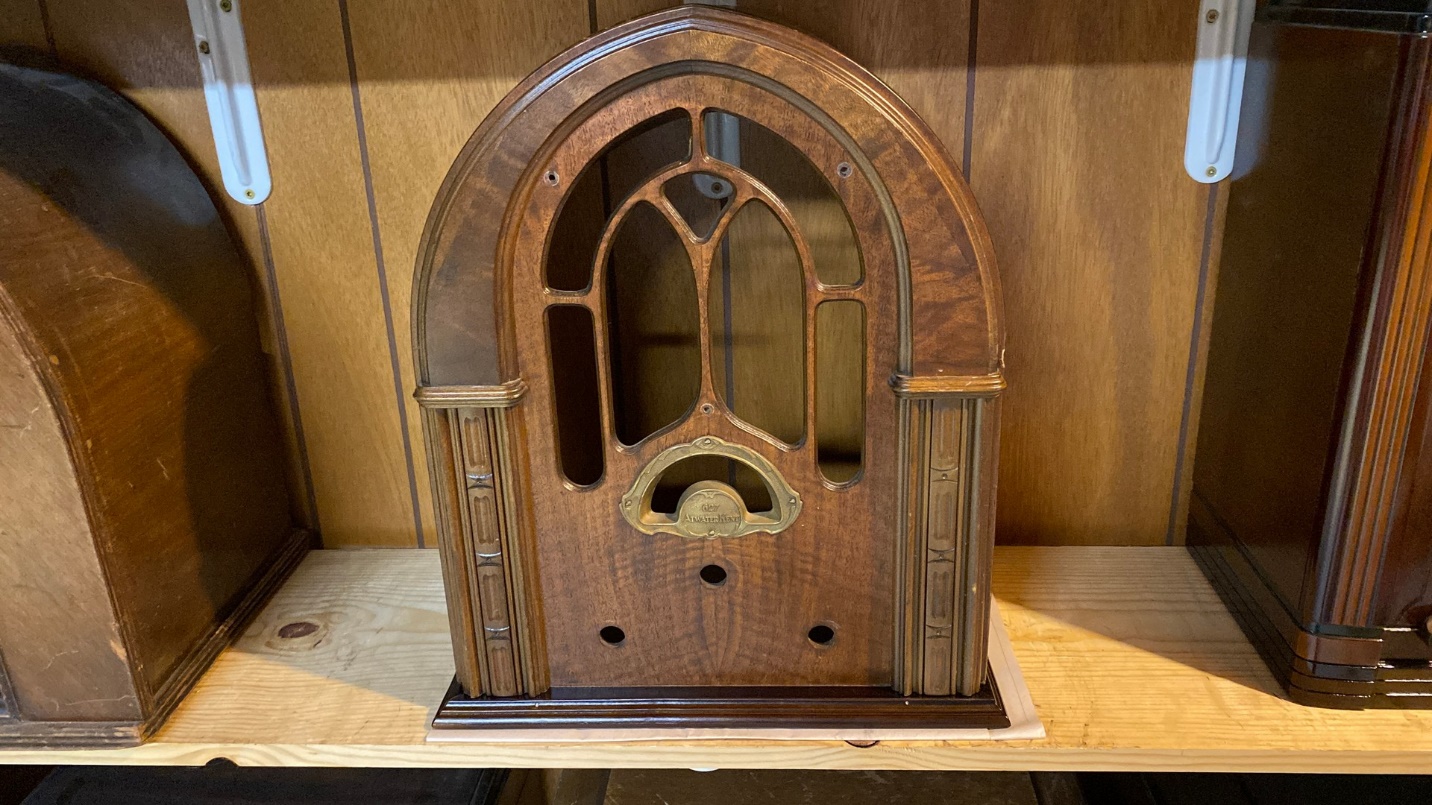
The repaired cabinet – with flash.
As you can see above (especially in the picture taken with flash), the trim is darker than the cabinet. But it is a pleasing contrast, I think.
I did go back and fill each nail hole, and once the filler was dry, I dabbed some toner of the same color used on the trim over each spot. This turned out even better than the nail holes I filled on my Philco 46 cabinet.
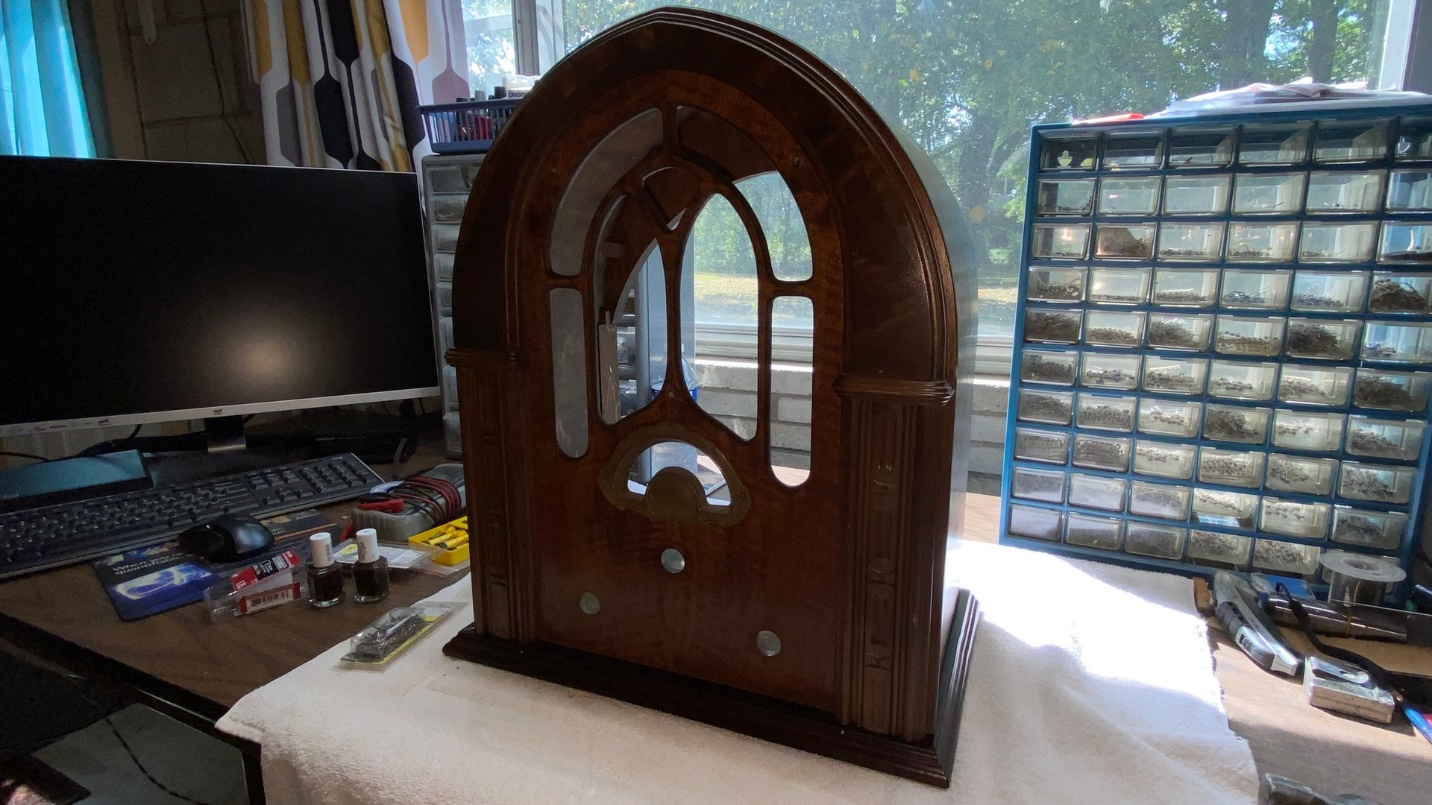
I have managed to rescue this AK 627 cabinet from the trash! Yes, it still carries some “battle scars,” but I can live with that.
A very good friend furnished some grille cloth for this cabinet to replace the red curtain or tablecloth material which you saw in the first picture in this series. The AK 627 used a unique cloth which has never been reproduced, so the new cloth my friend furnished is similar to AK 84 cloth. I still need to install this, and then, Lord willing, I hope to restore the chassis over the winter.