I have owned this Philco model 21 cathedral radio for several years now. It has the distinction of being the very first in a line of Philco cathedrals to use this classic styling. Designed by Edward L. Combs, this series of Philco cathedral or Baby Grand models (21, 46, 35, 70, 90 and very early production 50) have been called “the epitome of antique radios” due to the immediately recognizable styling.
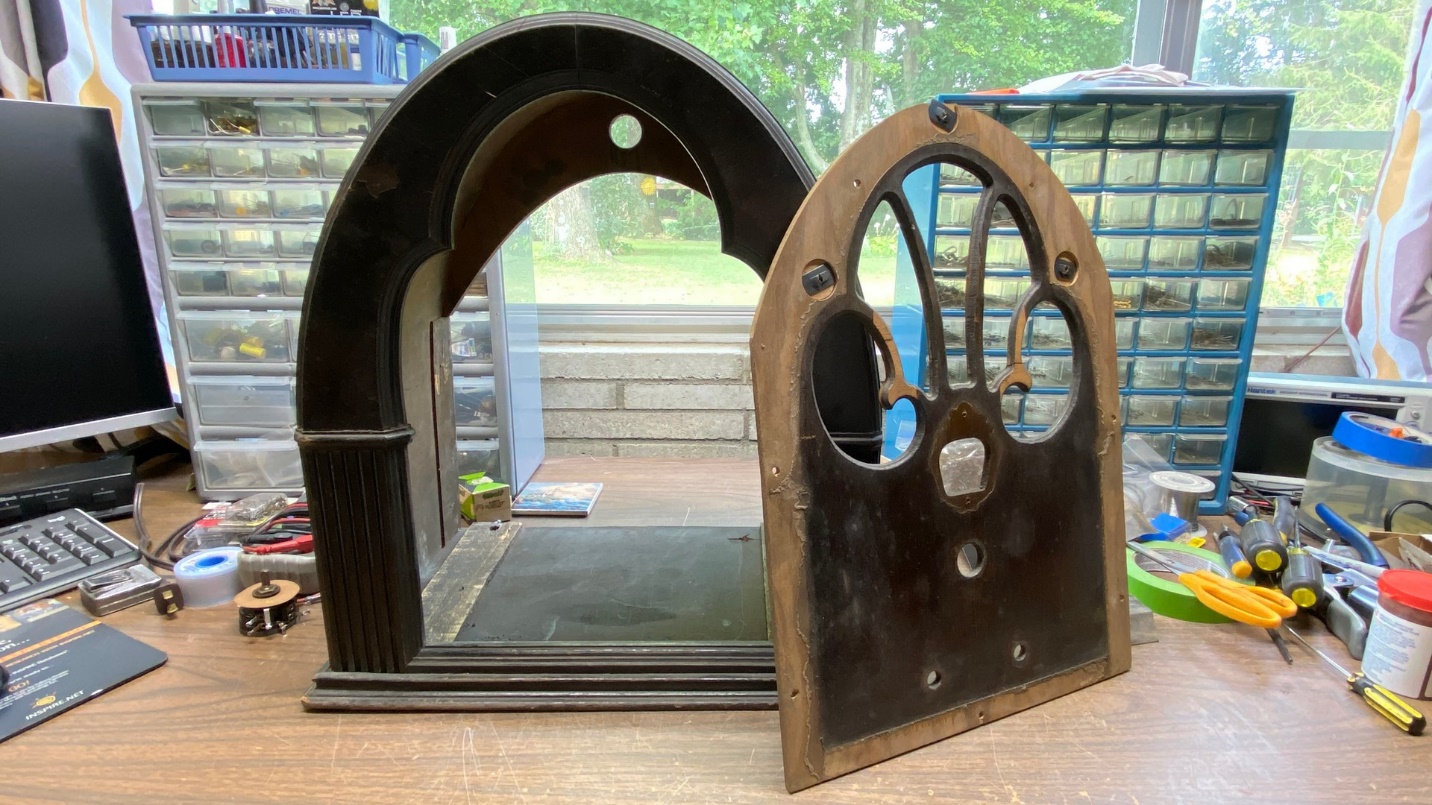
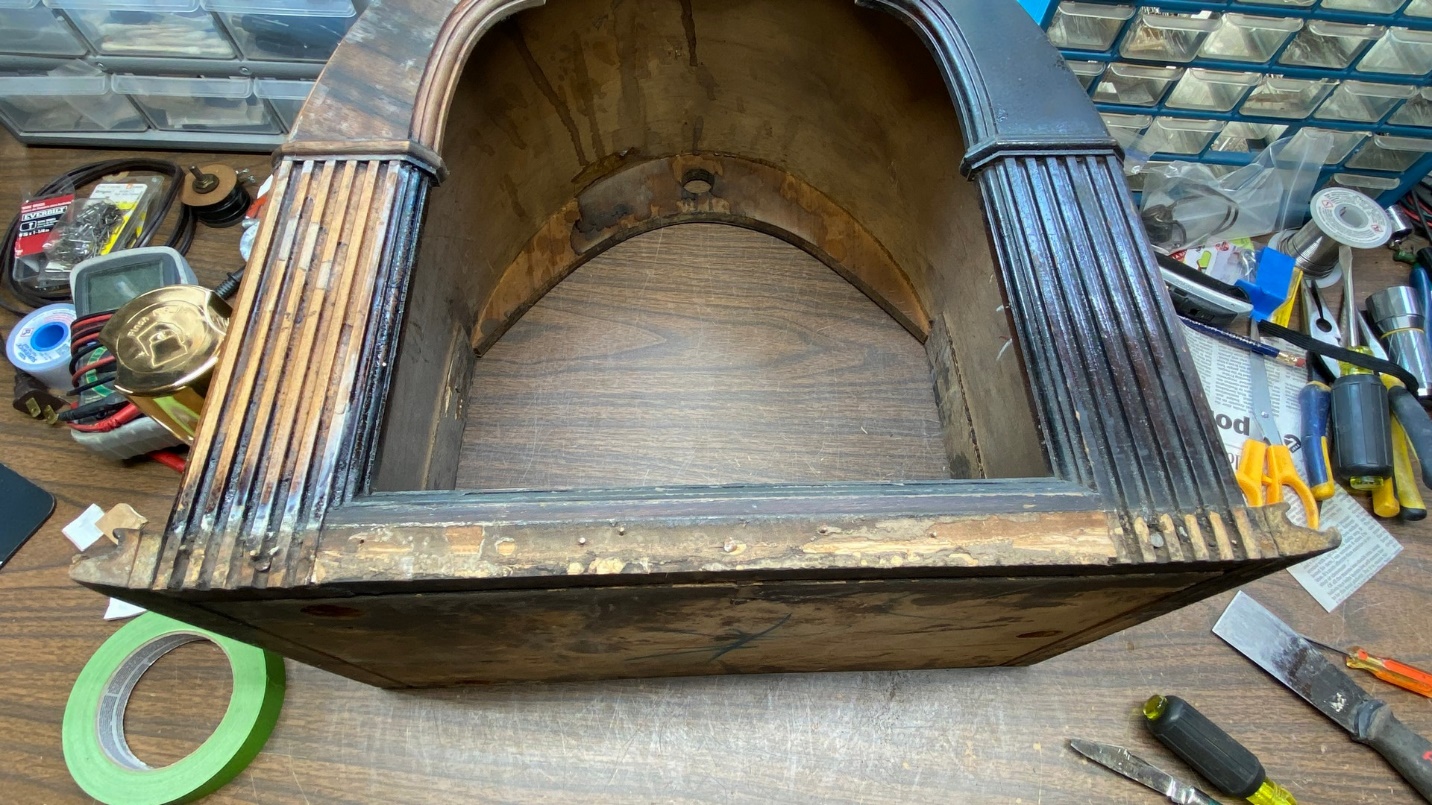
This cabinet’s finish had turned very dark over the years, and I knew it would benefit from a refinish. As is so often the case, I forgot to take a “before” picture, but I did remember to take the photo above, showing how the cabinet looked after I removed its front panel.
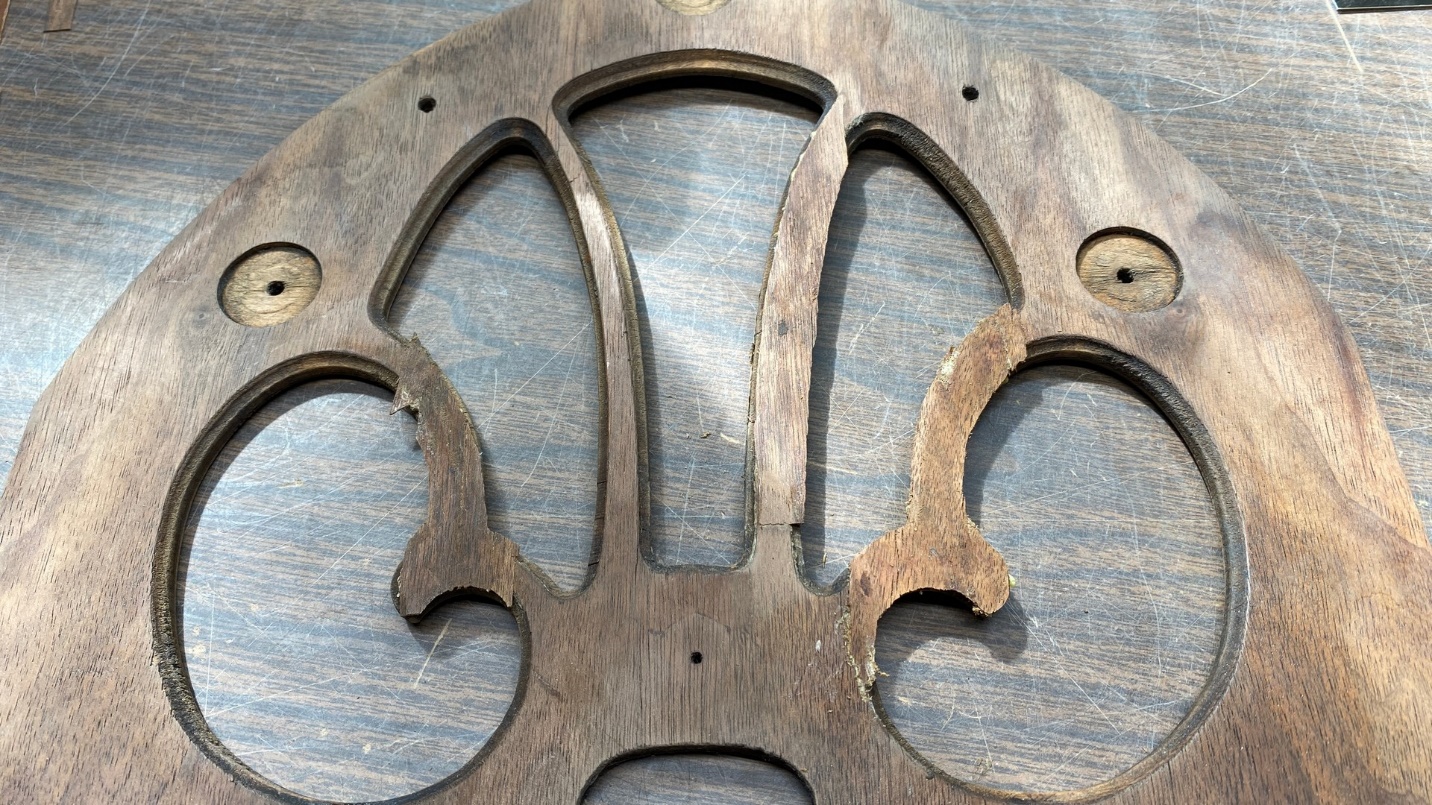
As you can see, the front panel has some delamination and missing veneer. And when I removed the chassis and speaker from this cabinet, I discovered something I had overlooked when it first arrived here – the front arch was pulling away from the top/side surround.
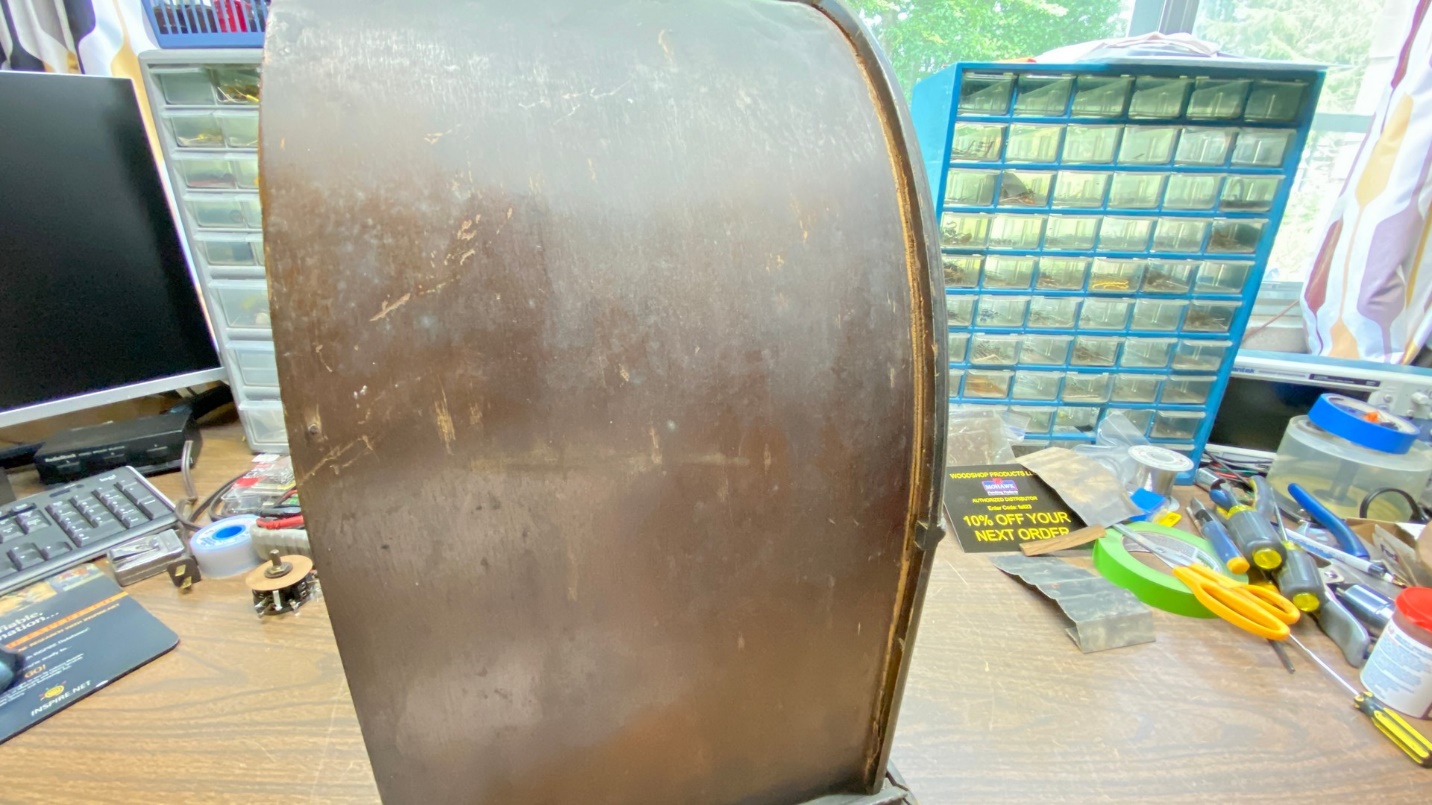
Notice how the surround has pulled away from the front of the cabinet.
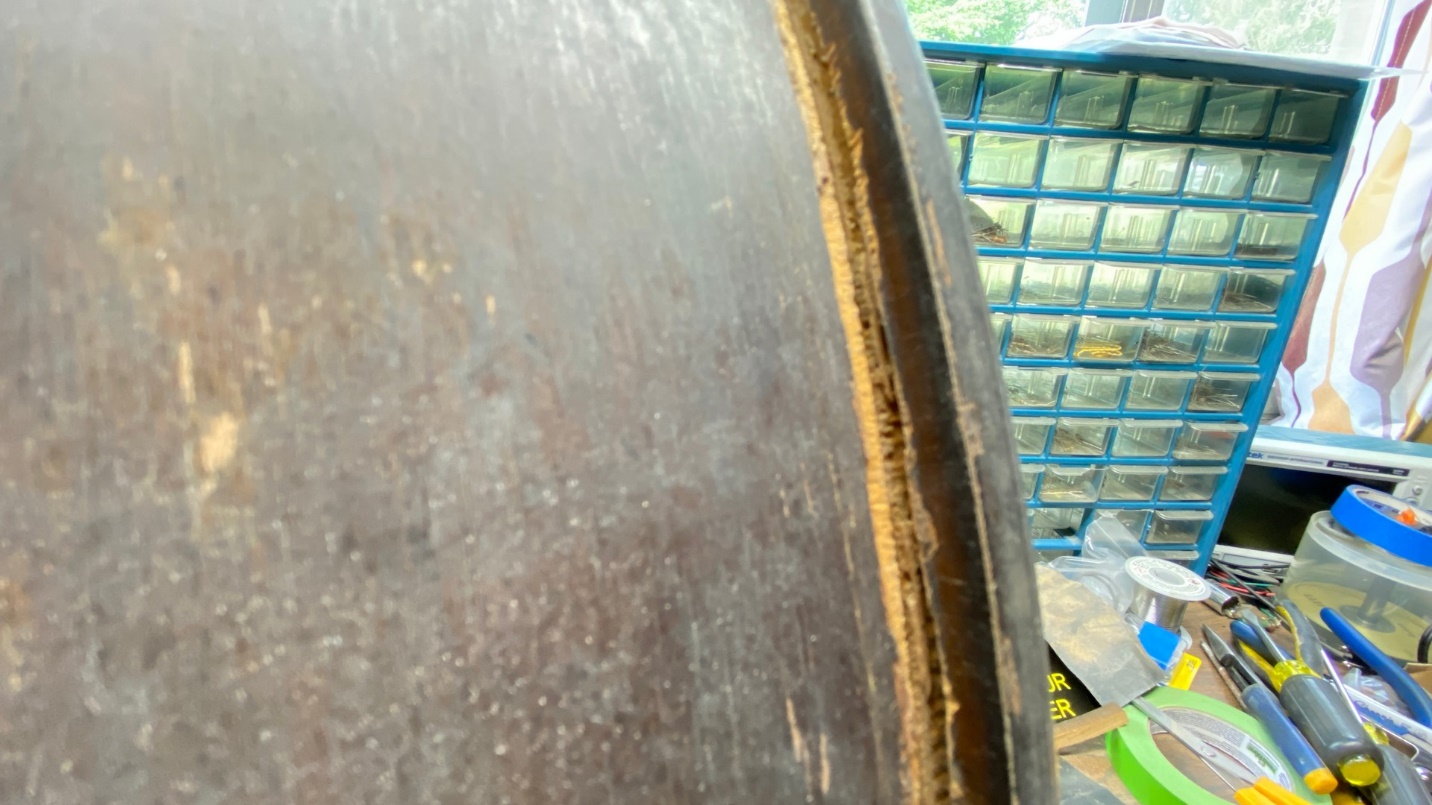
A closer look at the surround as it has pulled away from the cabinet front.
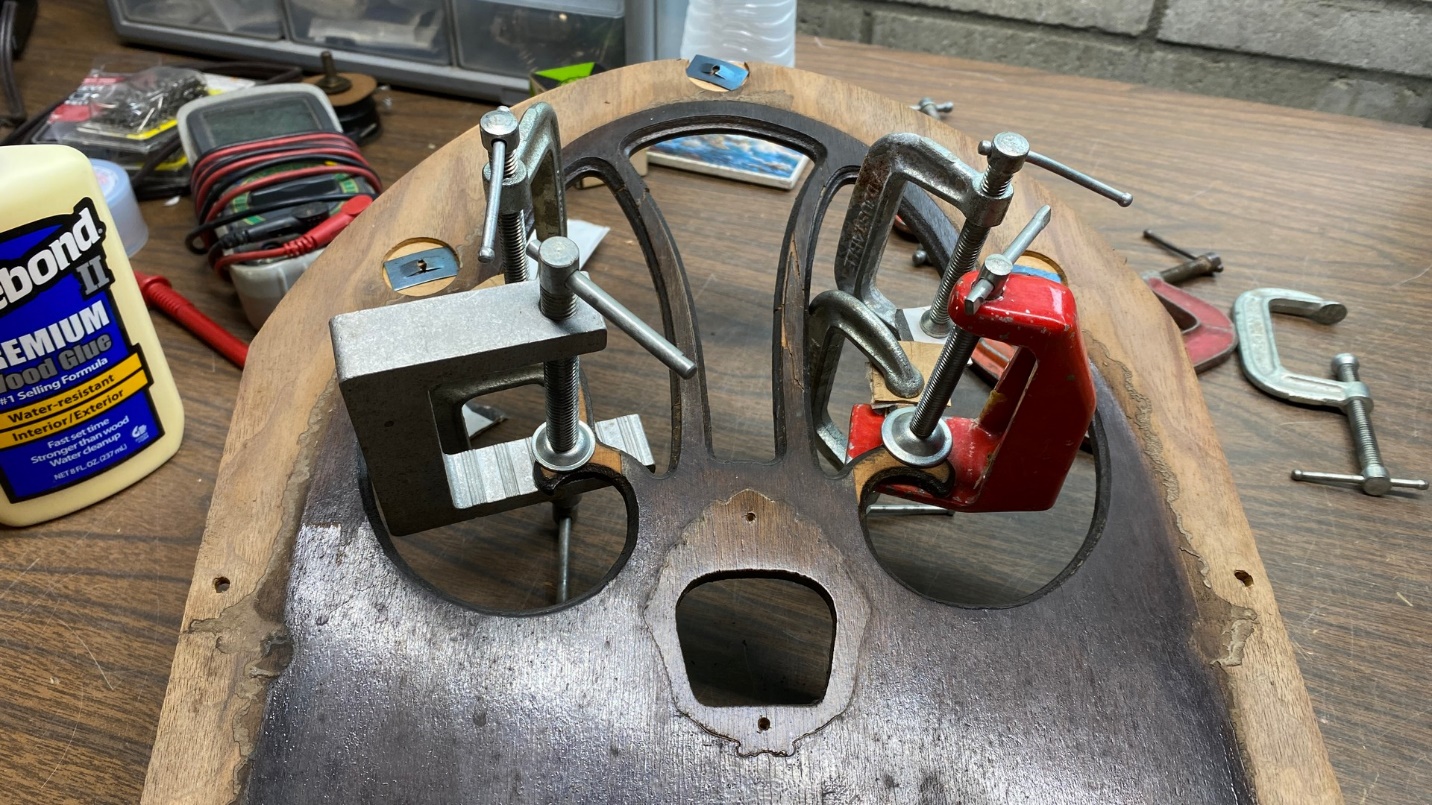
So, before I proceeded to strip the cabinet, I began to reglue it. The surround was easily placed back into the groove in the cabinet front, made at the factory for this purpose. Some Titebond II wood glue would ensure that these parts of the cabinet remained together and in place.
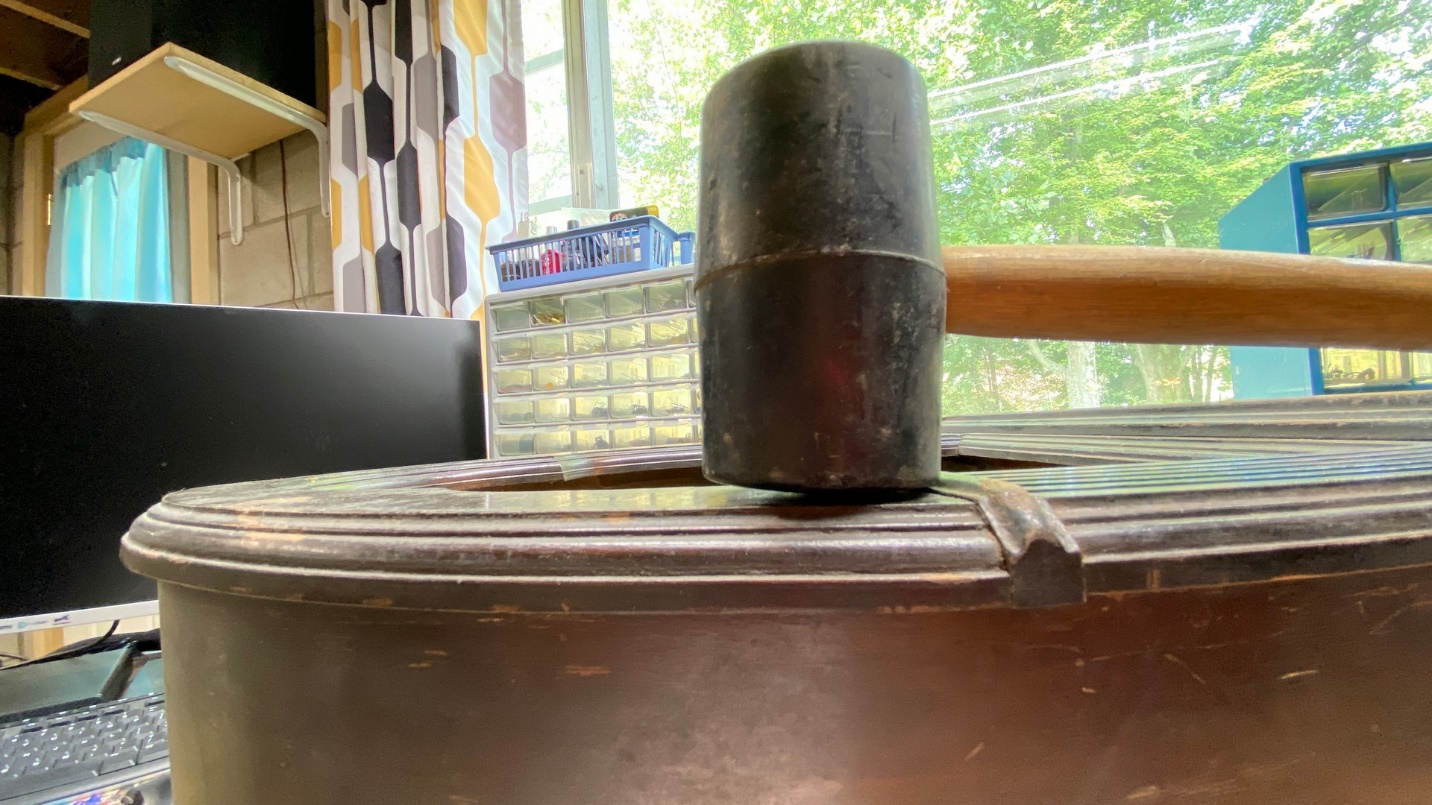
Tapping the front of the cabinet back into the surround with the aid of a mallet.
Once the front and surround were back together and glue had been added, the parts were held in place with bar clamps until the glue dried.
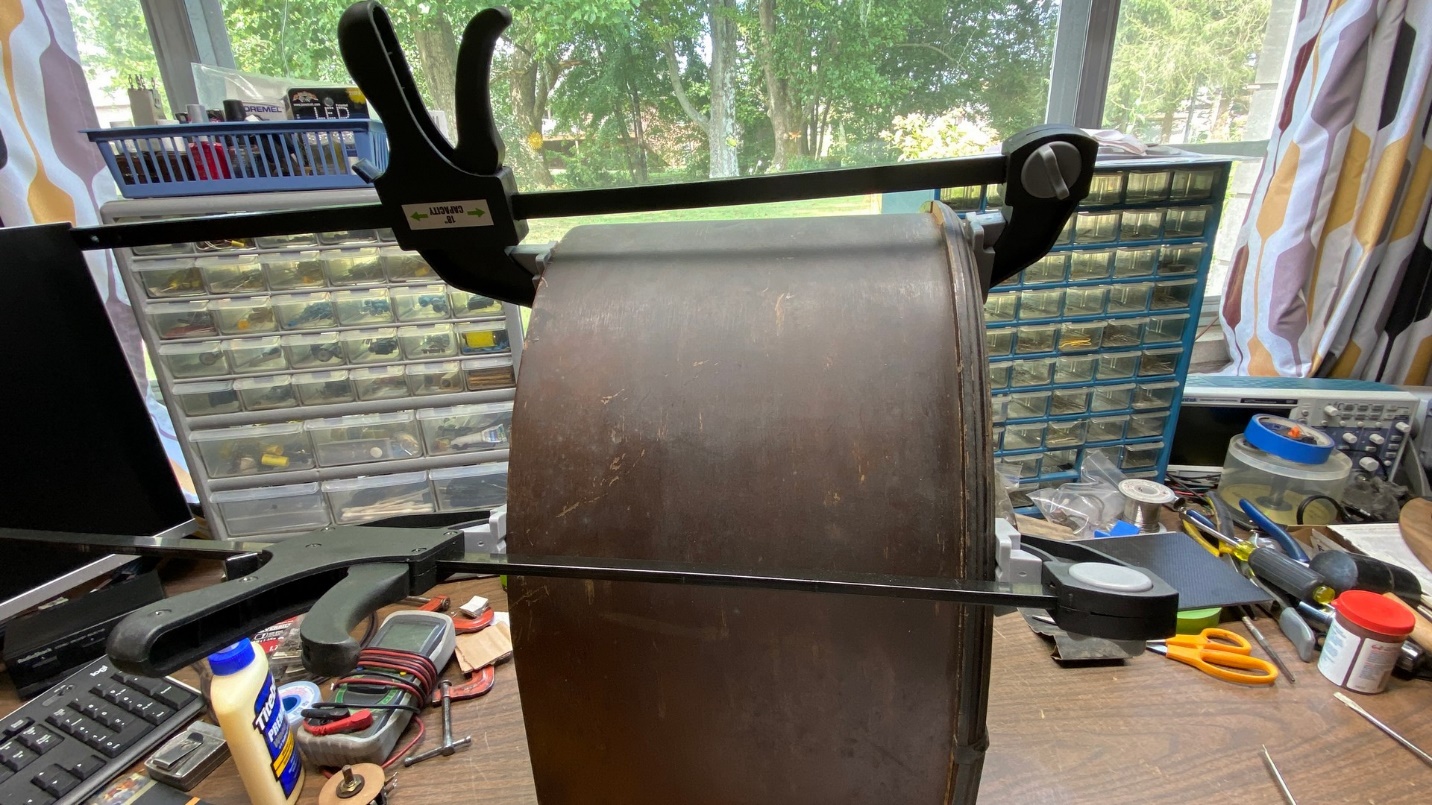
Clamping the cabinet while the glue dries.
I could not help but notice the spacers used in this cabinet. It was obvious that Philco had used two pieces of scrap lumber by their rough appearance, as shown below.

The factory spacers used inside this Philco 21 cabinet.
They may not be attractive, but they performed their needed task quite well – that is, raising the chassis up just enough so it sat in the proper place in the cabinet, so the control shafts would properly protrude through the matching holes in the front panel.
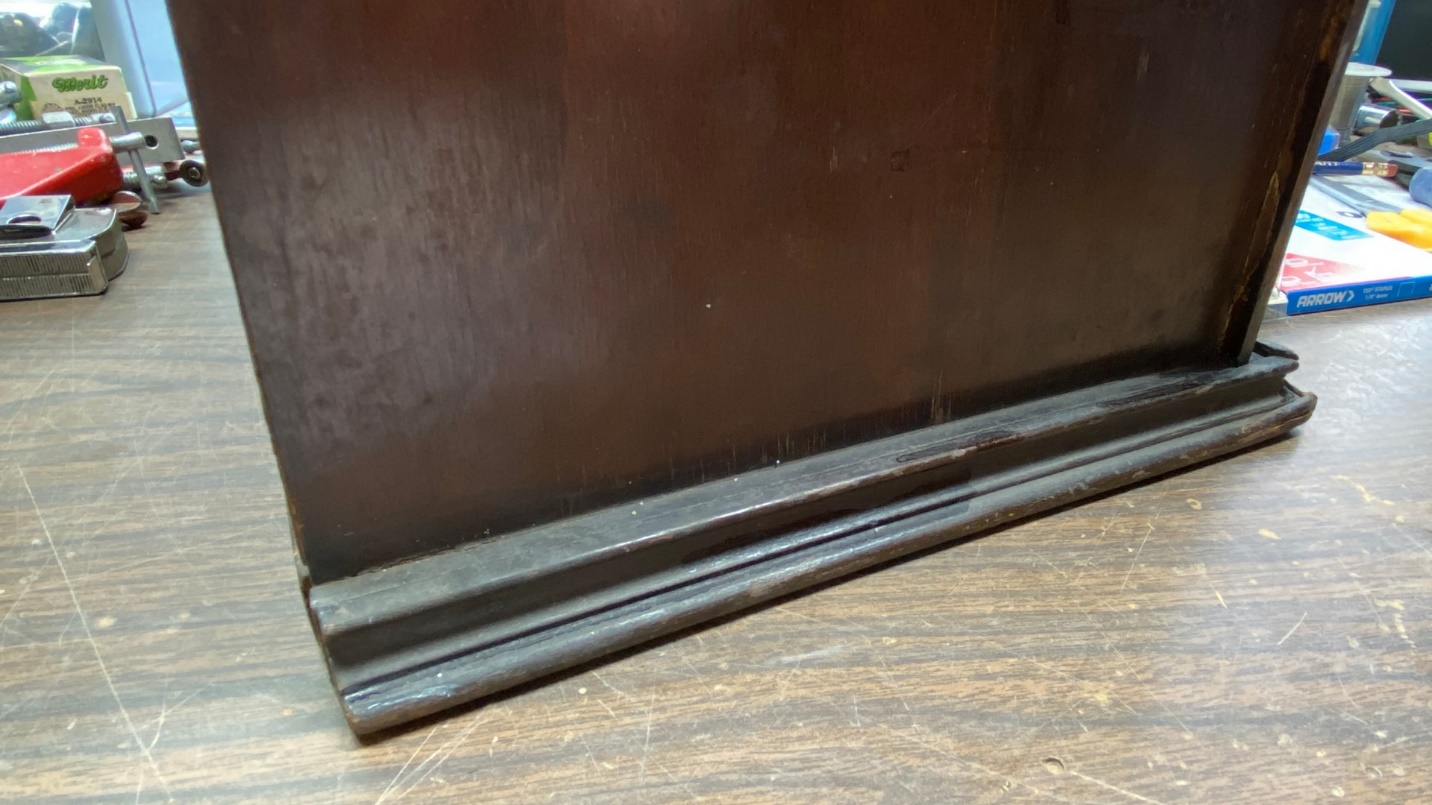
The bottom trim on the left side of the Philco 21 cabinet.
The bottom trim of the cabinet was not in the best of shape, so I decided to remove the trim and, later on, cut new trim pieces. I had a set from my friend Steve Davis, who had sent these to me for my Philco 46. However, I ended up using the 46 trim I thought I had messed up, but which turned out to be very usable after all.
Removing the bottom trim.
With the aid of a putty knife, the bottom trim was removed.
I also added glue to the back side of the rear arch, for added support in case the old glue were to release.
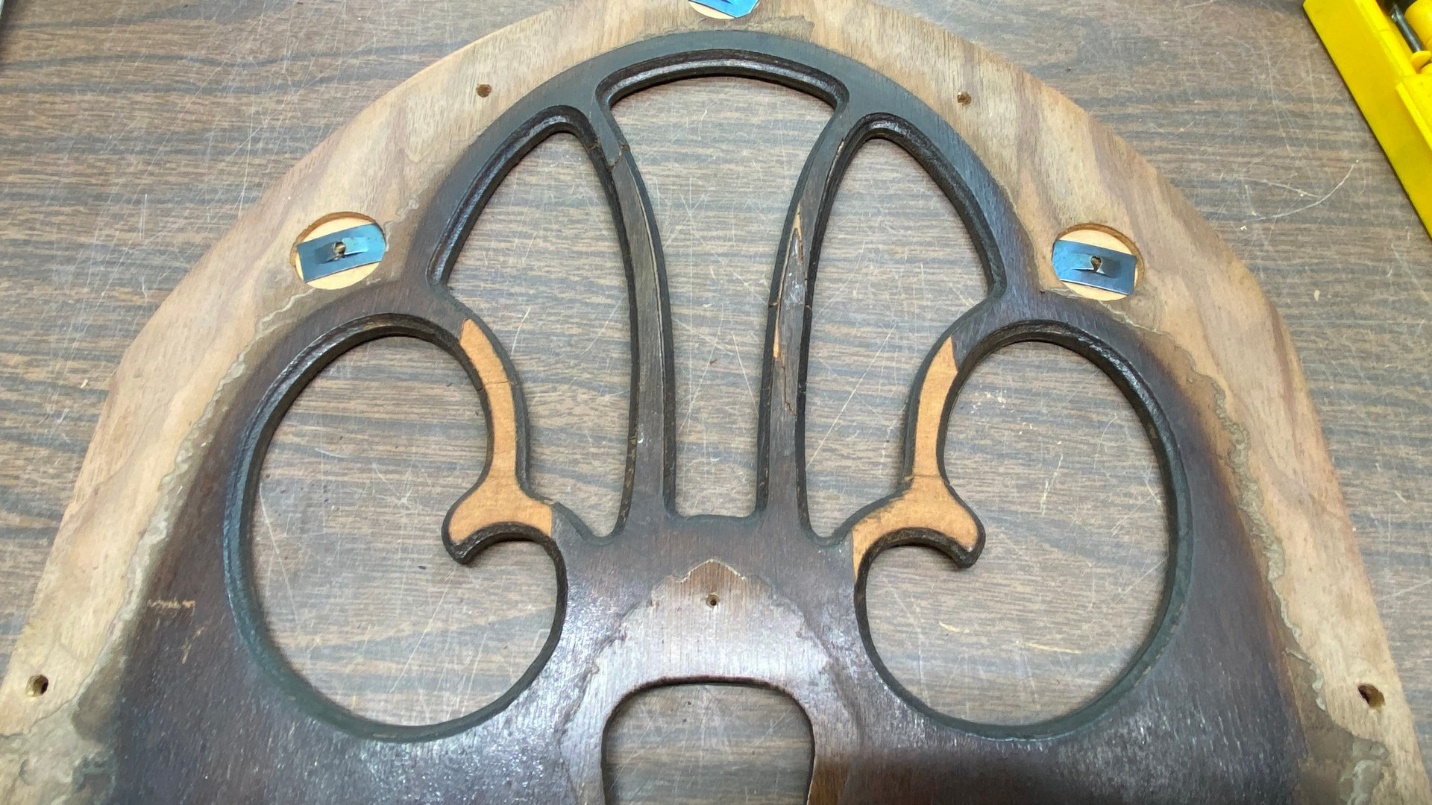
Inspecting the front panel.
I decided to make an attempt to repair the front panel. I began by regluing the grille bars where they had become delaminated.
Regluing the grille bars.
Next, I made rough cuts of walnut veneer and added these to the areas where veneer was missing on the front panel.
The missing veneer on the front panel has been replaced.
I had no idea how I was going to cut those pieces of veneer to the proper width. Then an idea occurred to me – why not use my router? I had purchased a router many years ago, along with a bit which would allow me to replicate the convex cut in the edges of the grille.
This, unfortunately, did not turn out well.
The router did indeed remove the excess veneer, but I went too far with my cutting and ended up giving the edges of the grille bars a “wavy” appearance.
To say I was disappointed was quite an understatement.
But I had to remind myself that I had not used the router in a decade or more, and I was out of practice.
Next time, I will tell you what I did about the front panel, and I will also continue working on the main cabinet. Please join me then.