[Contributed by Mike (morzh)]
This is step by step instructions of how to rebuild bakelite Philco capacitors without desoldering.
I came to this technique after some trials and optimizations.
As the result, I now do it:
1. Without desoldering the caps.
2. Without unscrewing the bakelite block before the tar potted capacitor is pushed out of the casing. Unscrewing is performed only as one of the last steps when the capacitor that has been pushed out is being removed and the new capacitors go in.
Here goes.
Besides the obvious (hex socket wrench and soldering accessories) you will need the following:
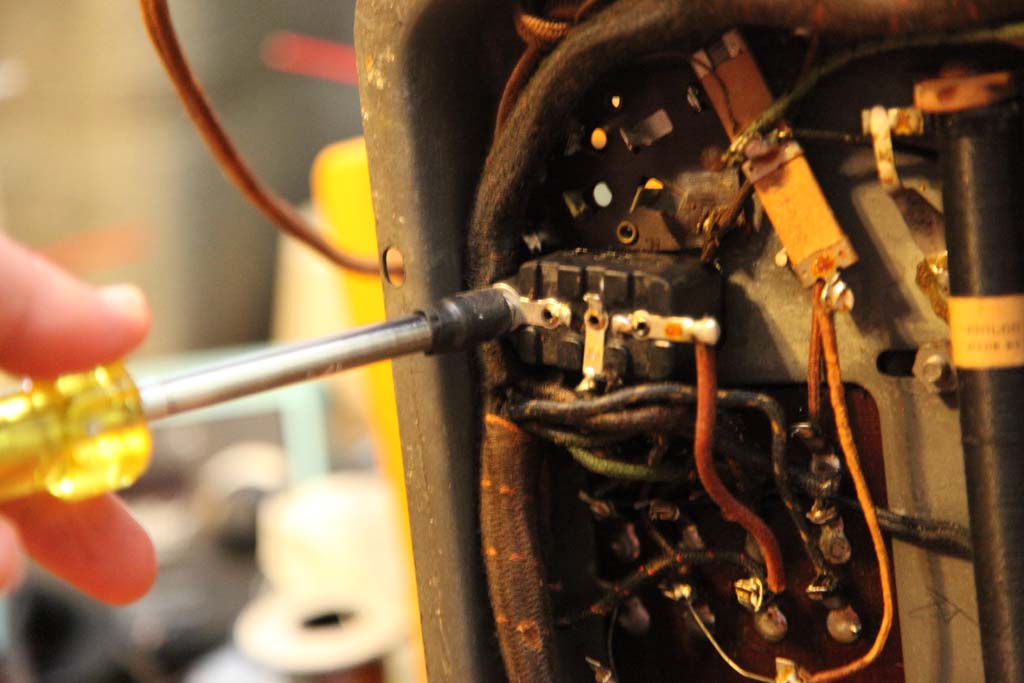
1. A thin blunt object to push the tar block out. Like this Allen wrench. It should fit in any of the eyelets (rivets) through which the capacitor wires come out from the inside.
2. Wire cutters. Small type, as they have to be able to bite off the thin wires close to the eyelets.
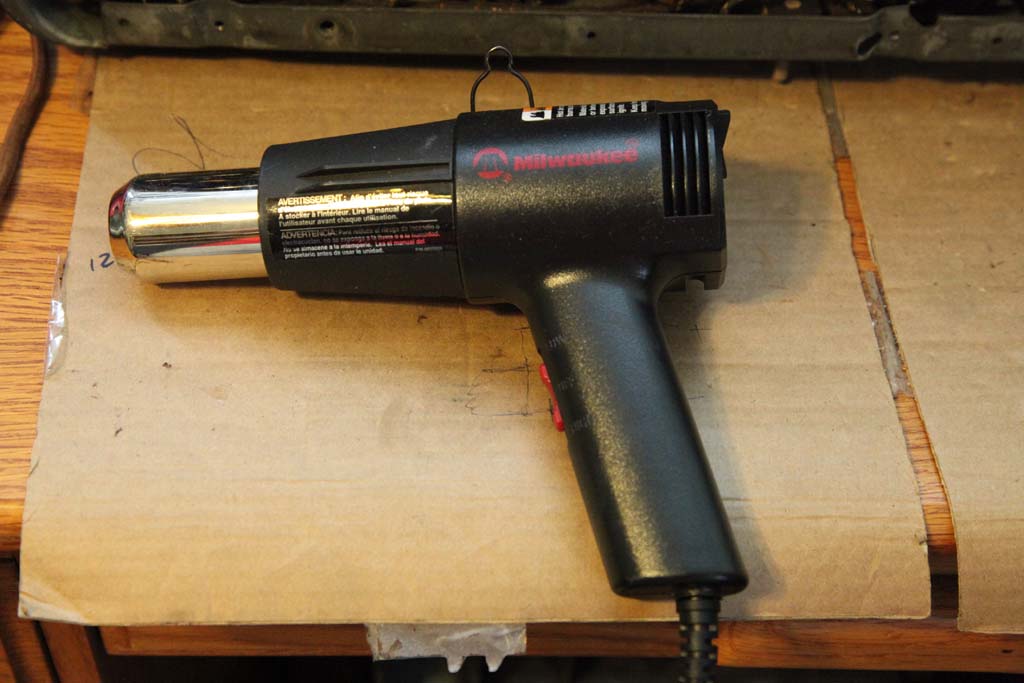
3. Heat gun (or a hair dryer).
Now that we have the tools, let’s re-stuff a capacitor.
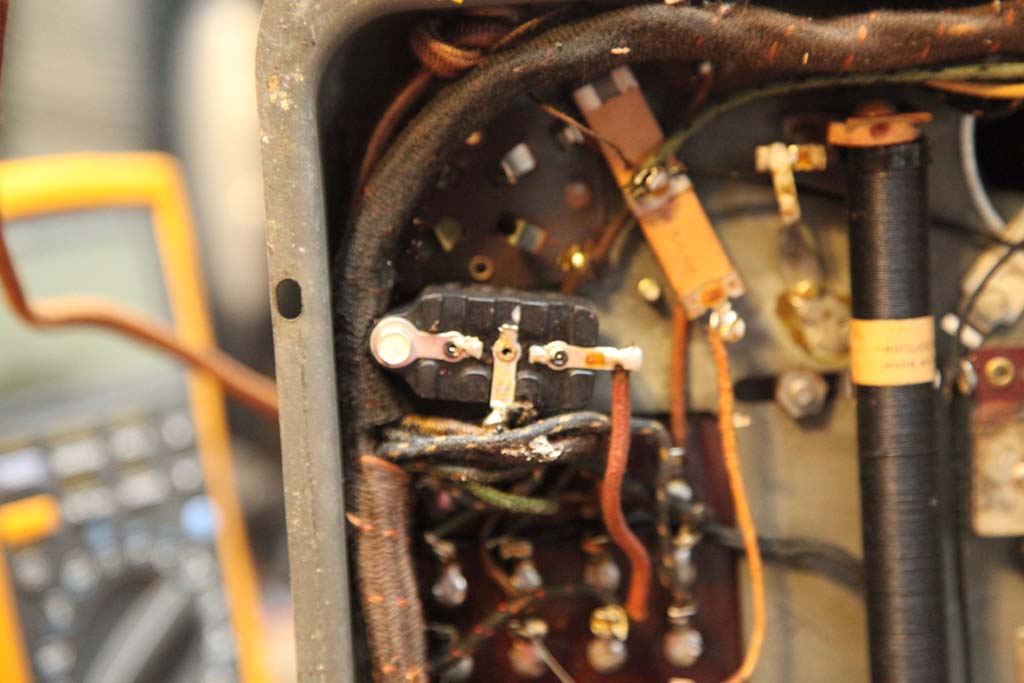
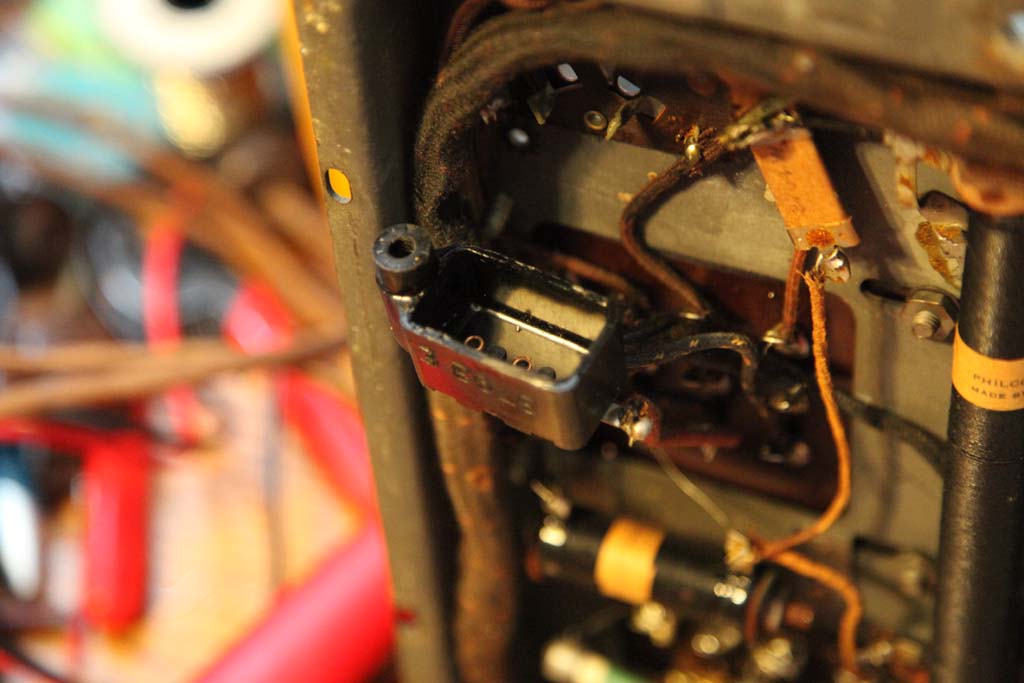
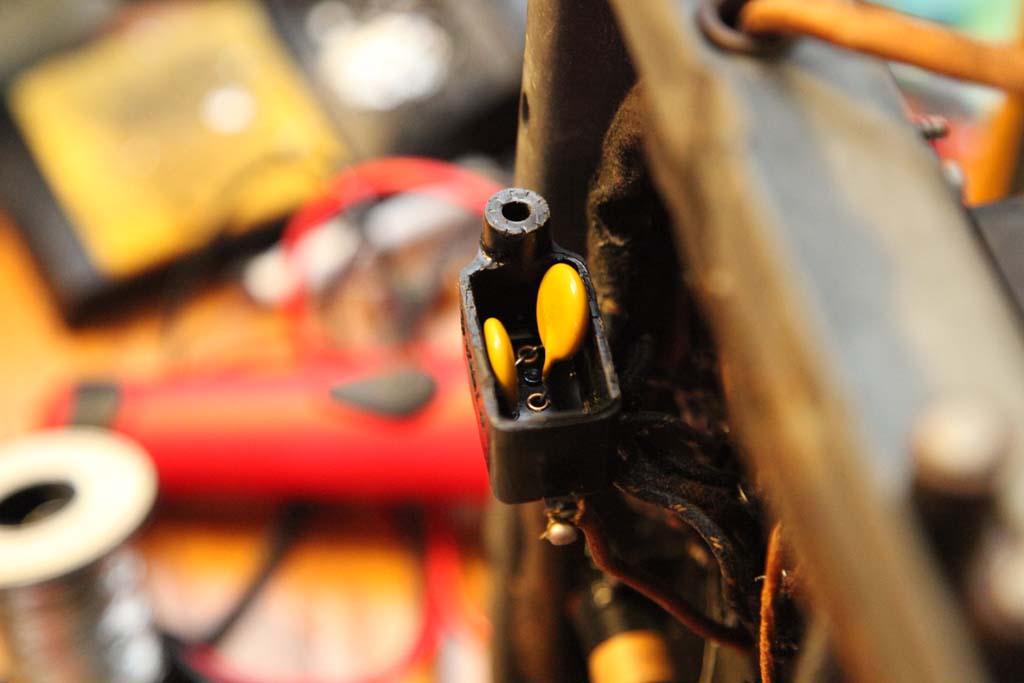
4. The capacitor whose re-stuffing is demonstrated in this topic is the AC line filtering Y-cap.
This one:
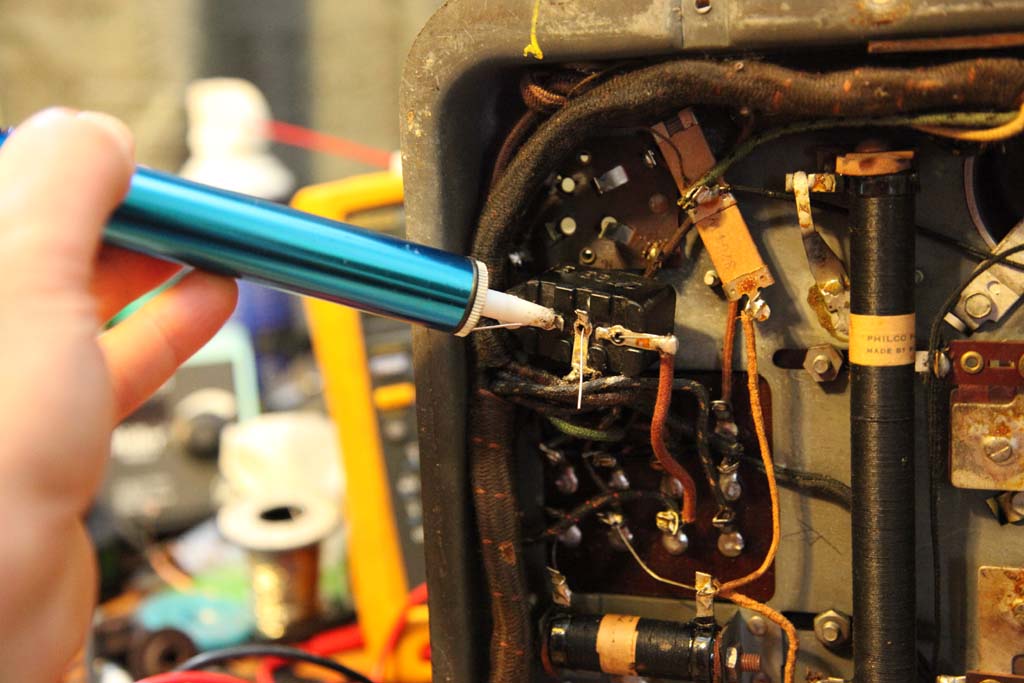
5. THIS STEP IS ESPECIALLY IMPORTANT AS OTHERWISE YOU WILL END UP WITH MORE MESS THAN YOU WANT
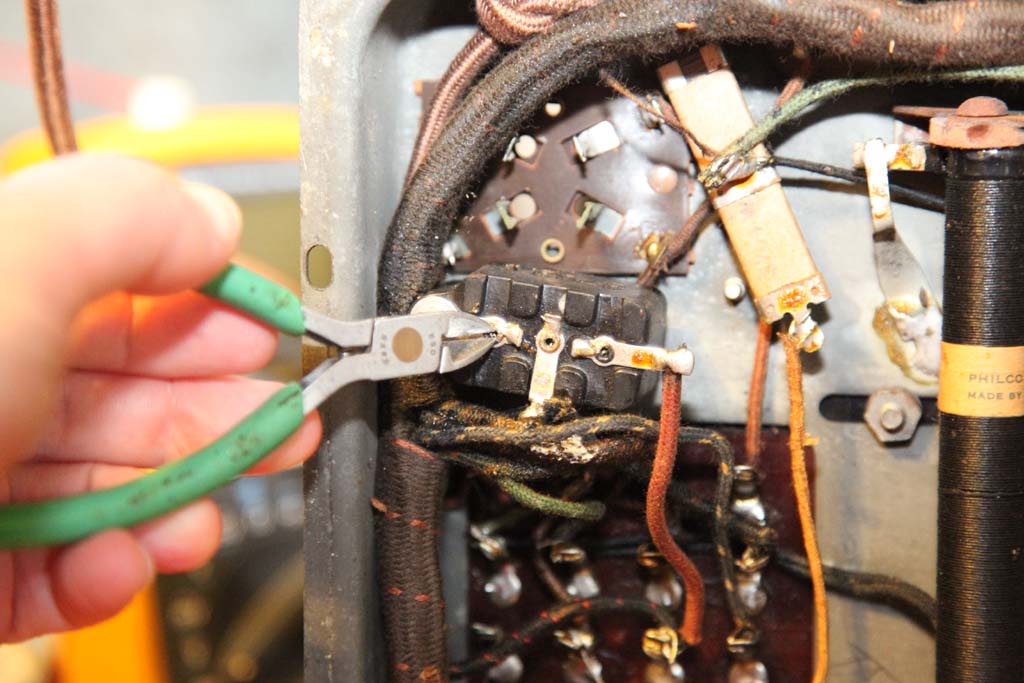
Using cutters cut the wires coming out through the eyelets. Make sure they are indeed cut.
6. Set the heat gun to “Low”, so not to damage the surrounding components, and give the capacitor about 10 seconds on each of the two sides and the top.
30 seconds all together.
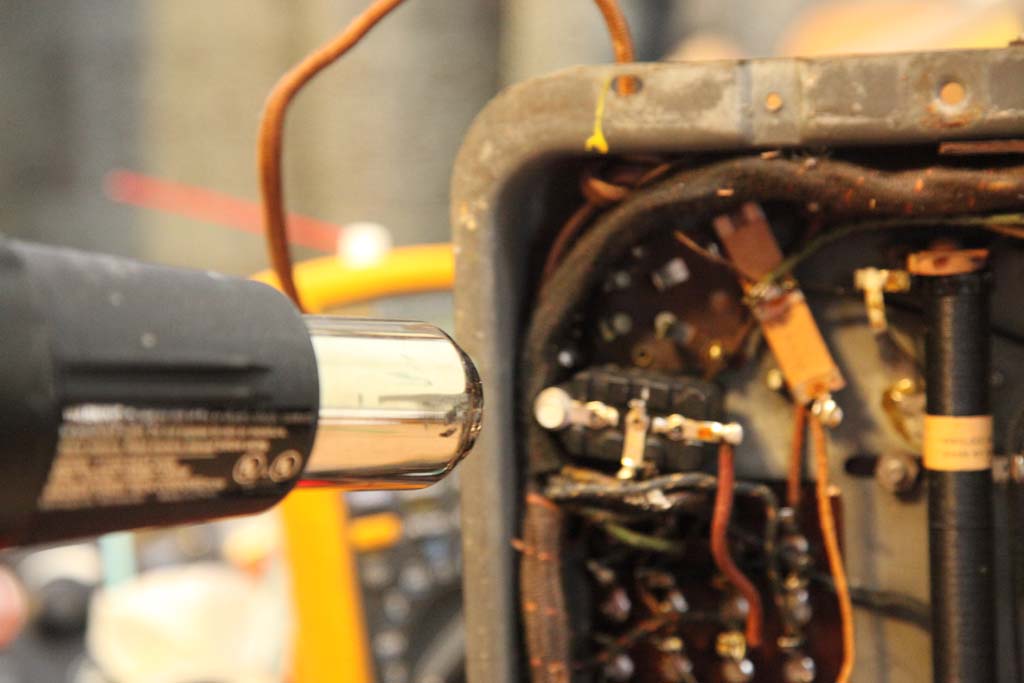
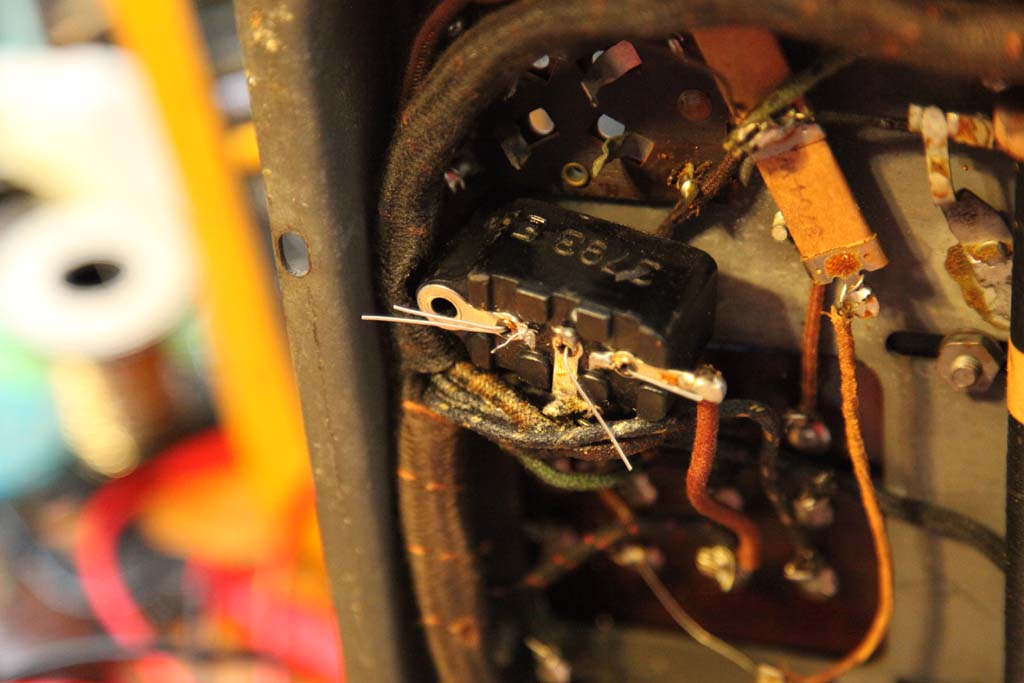
7. Insert the Allen key in the middle (important!) eyelet and push the contents out. if you feel the force you have to exert is too high, do not force it, use the heat gun again for 5-10 second two sides and the top.
It should come out with the force that feels maybe like about 4-6lbs, not much more.
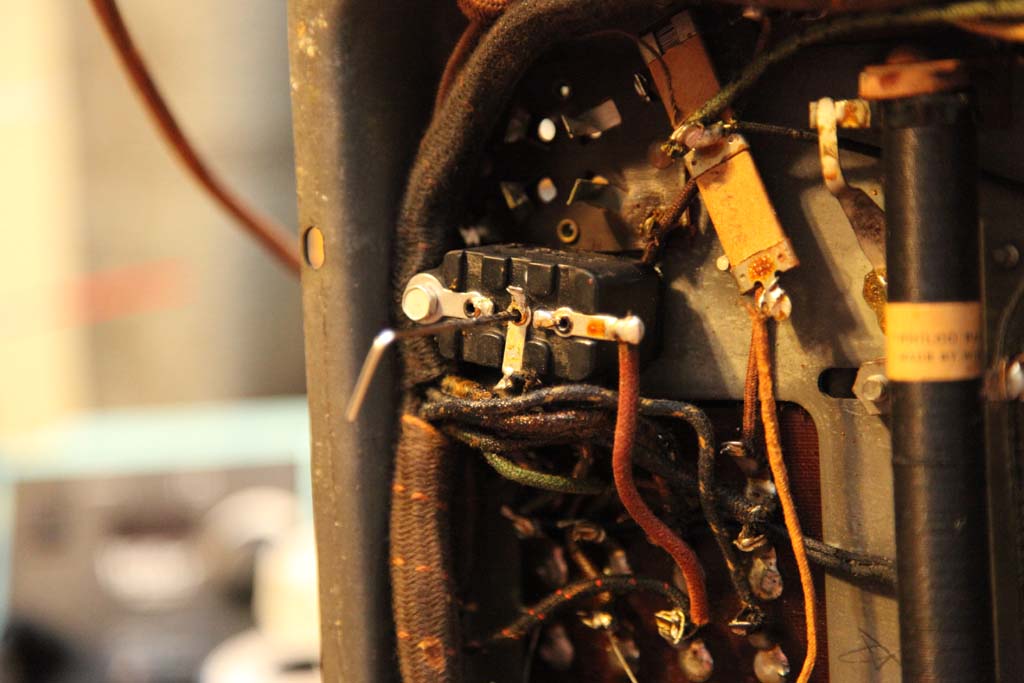
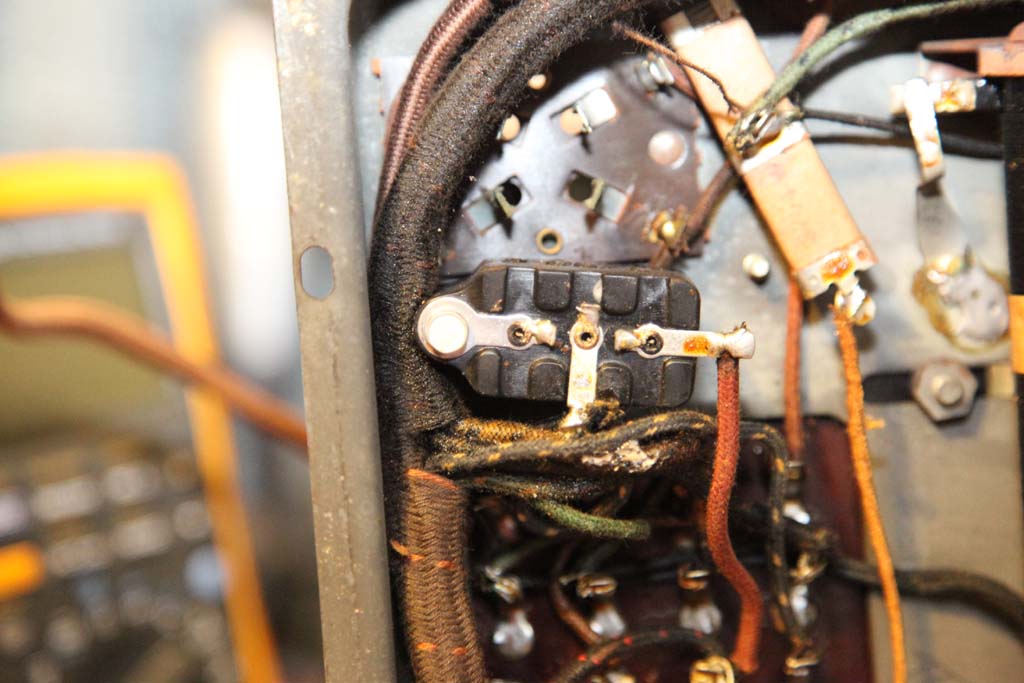
8. Now use the socket wrench to unscrew the bolt.
Be careful not to loose the star washer which is usually under the cap. Most times it will stay stuck to the chassis but it might fall off, and it also might fall of while you handle the cap and touch it. So it is best to take it off and deposit it where you won’t lose it.
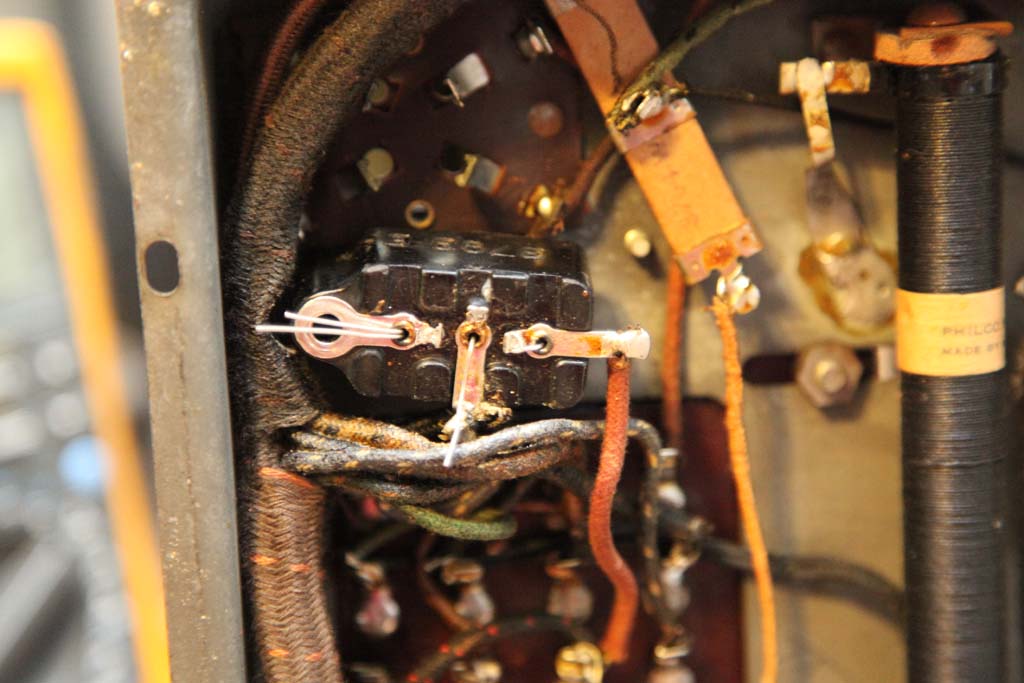
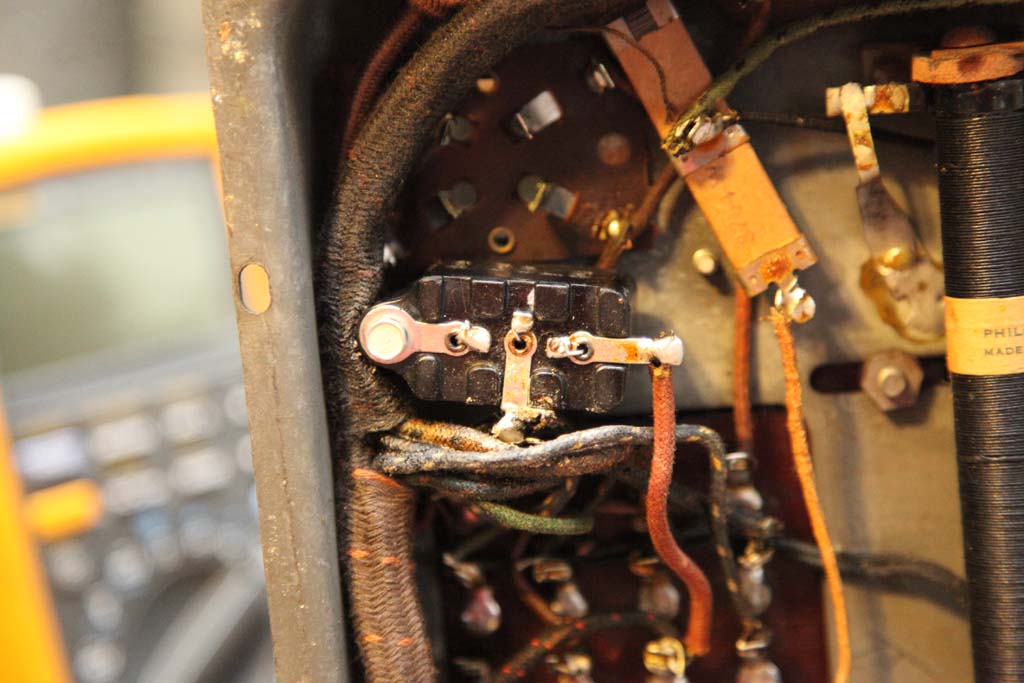
9. Turn the cap towards yourself. This is how it looks now.
Do this while it is still warm, this will make it easy.
Note: I tried the approach where I first push the caps out for every cap and then start to extract them one by one. By the time I was finished with the first one, the rest cooled off and the pushed out block re-glued itself to the backelite and it came out messier than I wanted.
Do them one by one.
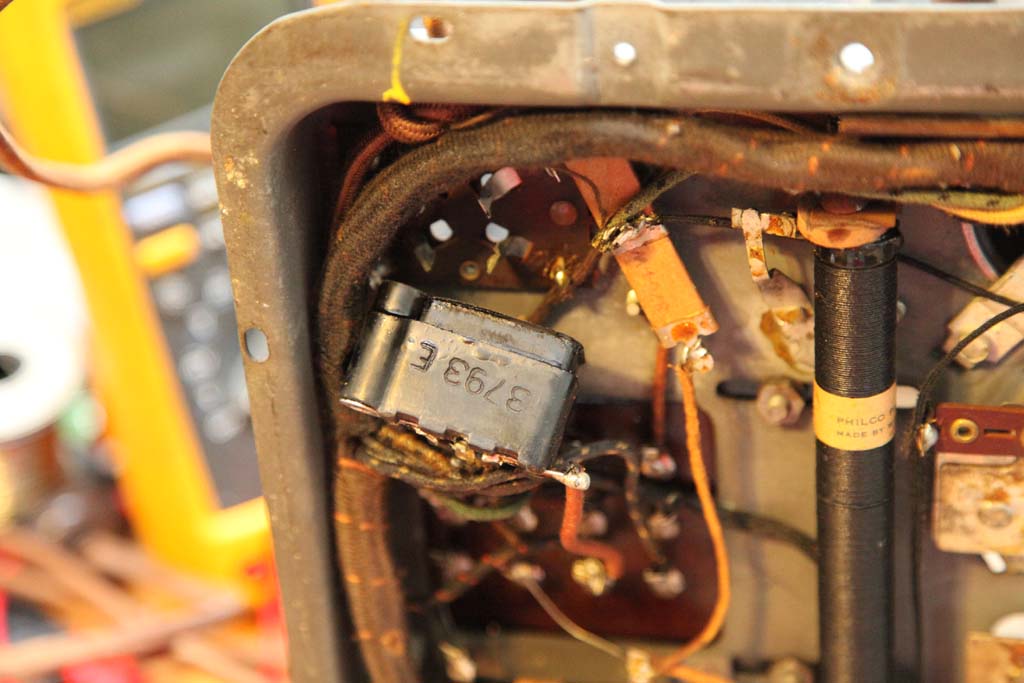
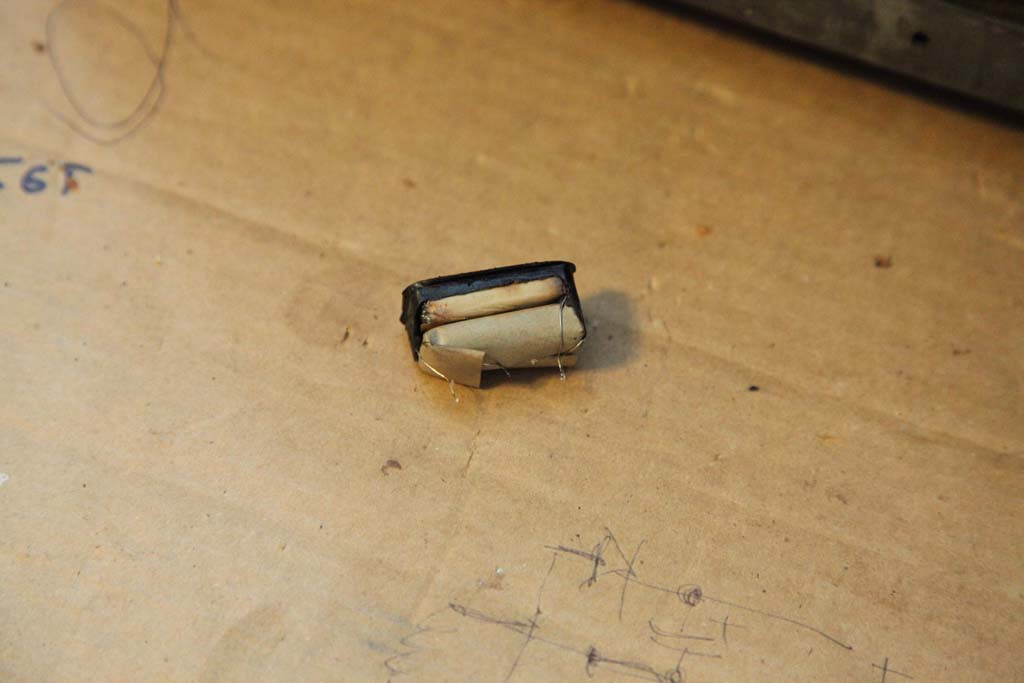
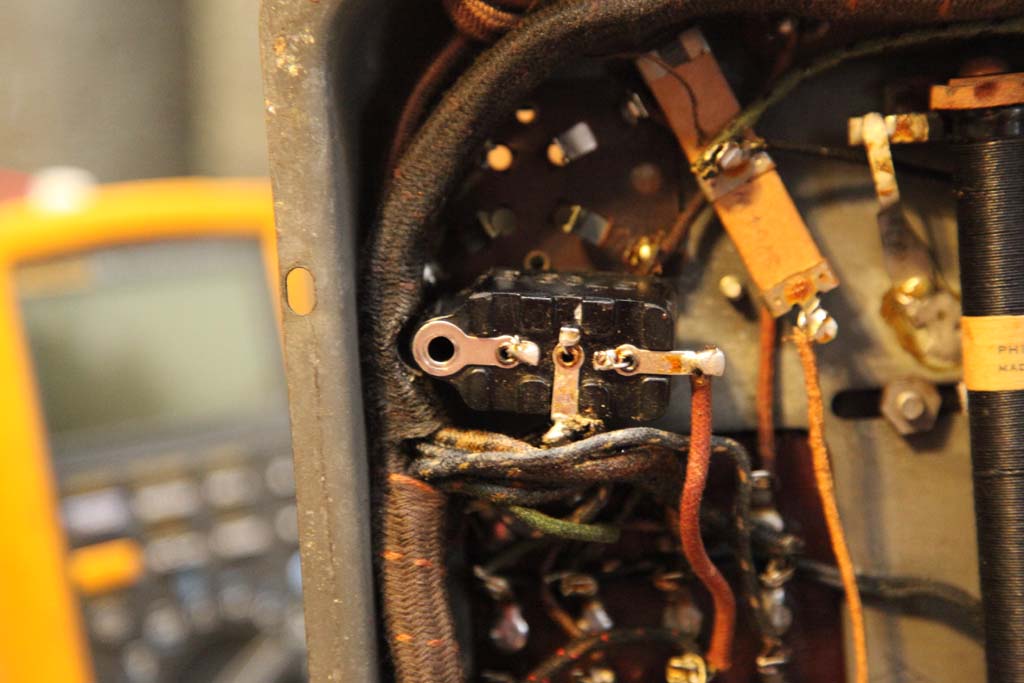
This is the shell.
This is the contents.
11. Now we will re-stuff the block.
For this particular one I use 10nF Y2 ceramic disk capacitors.
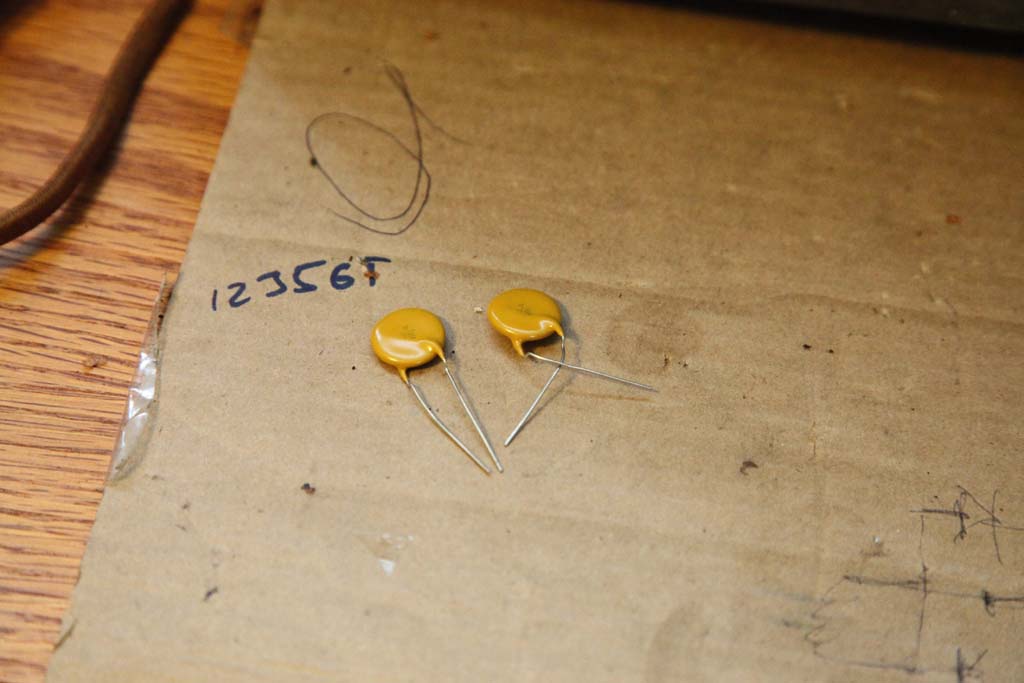
Insert them in the block according to how they should be in the schematic. If needed, use the Philco bakelite block cap chart from Chuck’s website to see the pin-out.
These two have to have one pin each in the Chassis lug, and then one pin each in the two remaining eyelets (no matter which one goes where).
12. Now is the time to solder. But first I would like to clean up the lugs. It is not necessary but I like to do it, and it will make it easier when it is time to attach the new caps’ leads to them.
First suck the excess solder.
An afterthought: while writing this I thought it would be more optimal to clean the lugs before unscrewing the cap and having it re-stuffed, as obviously while the cap is still screwed it does not move and dealing with the solder sucker and rmoving the old wires is easy. But then having remembered some previous experiences I realized that soldering the lugs while the contents were still inside the cap often made the tar boil and ooze out of the eyelets which made things a bit messy and complicated the soldering afterwards.
The result should look like so:

13. Now use needle-nose pliers to wrap the capacitors’ leads around the cleaned lug while keeping them taut.
Once wrapped, cut to size.
And solder.
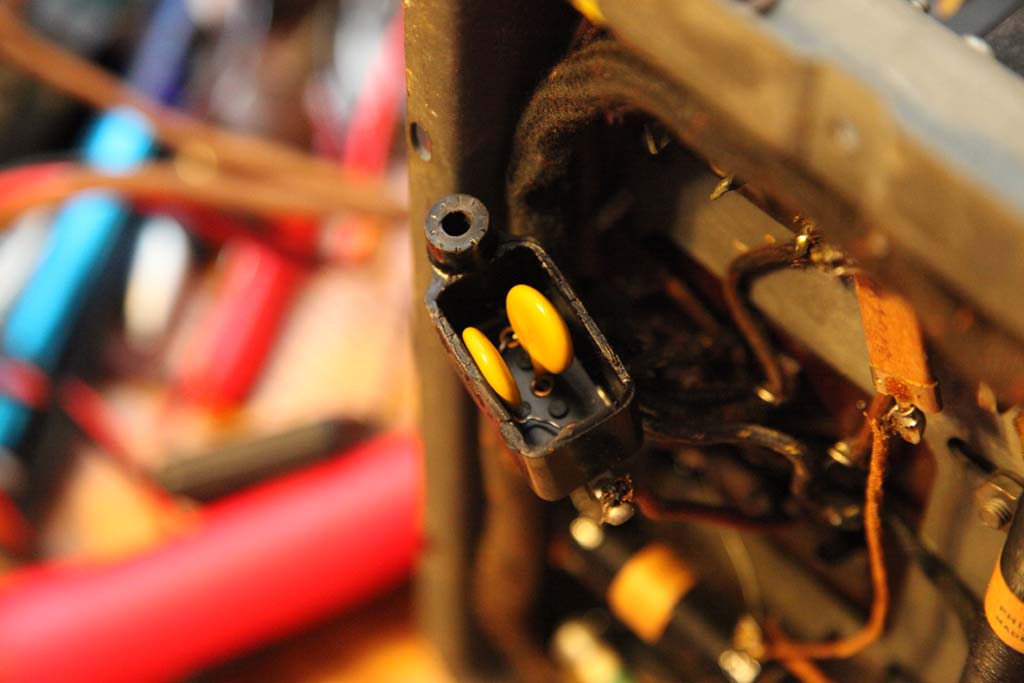
14. Take one last look at the caps inside the block and push them apart or otherwise form them with your fingers, now that they are soldered.
From now on they won’t move anywhere. Make sure your wires go apart from each other and all.
As you can see the tops of the caps protrude a little outside the block; this is OK as they still do not protrude nearly enough to touch the chassis.
15. Now simply turn the cap back, insert the bolt, put the star washer on the bolt and screw the cap back in its place.
16. YOU ARE DONE!!!
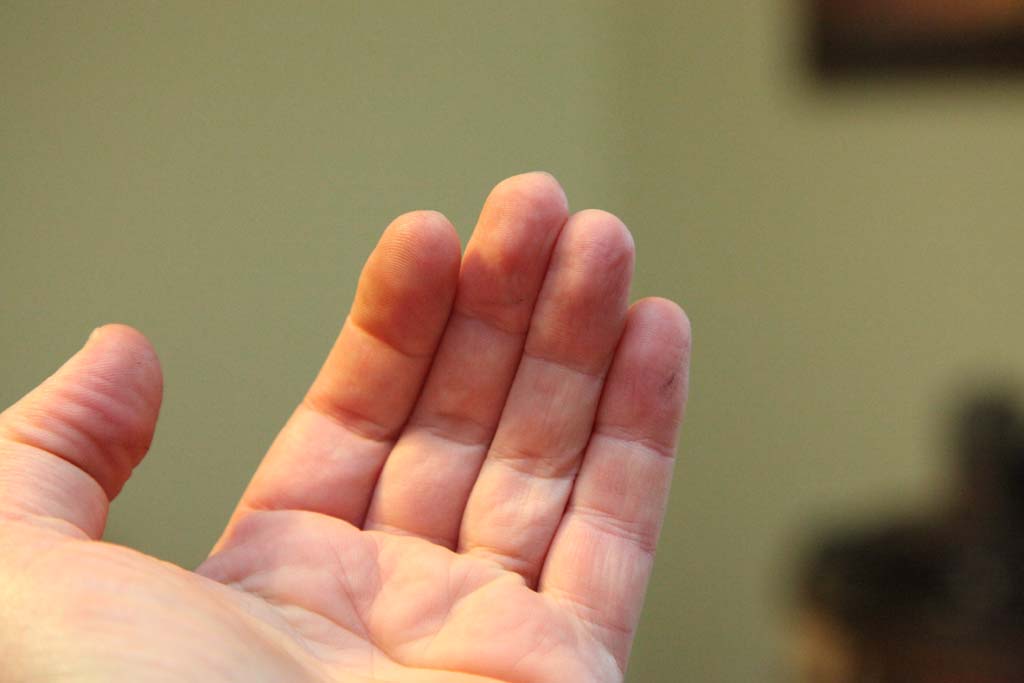
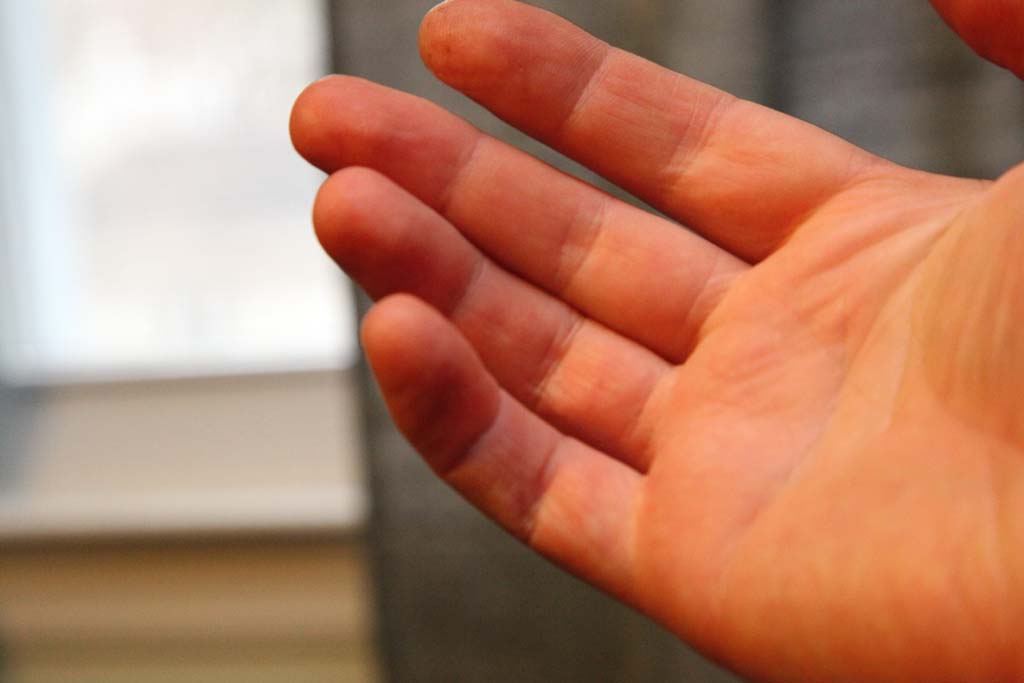
Now if you were following these directions and the cap you were dealing with is unmolested (no flooded eyelets etc) your hands at the end of the operation should look not much worse than this:
Left
Right
THE END.