When I returned to work on the Philco 41-KR cabinet, I began by sanding the entire cabinet. Then, after wiping the cabinet off with a soft rag, I took it outside. Another 70 degree day had arrived – it was the third week of October – and I sprayed the cabinet with sanding sealer.
The cabinet you see in the picture above is how it looked after sanding sealer had been applied. The sealer allowed me to see if I had missed any scratches, gouges, or flaws in the cabinet. As it turned out, I had, so these were promptly filled with Timber Mate wood filler. I let this dry overnight, and sanded these spots smooth the next day. I then lightly sanded the entire cabinet with 400 grit sandpaper.
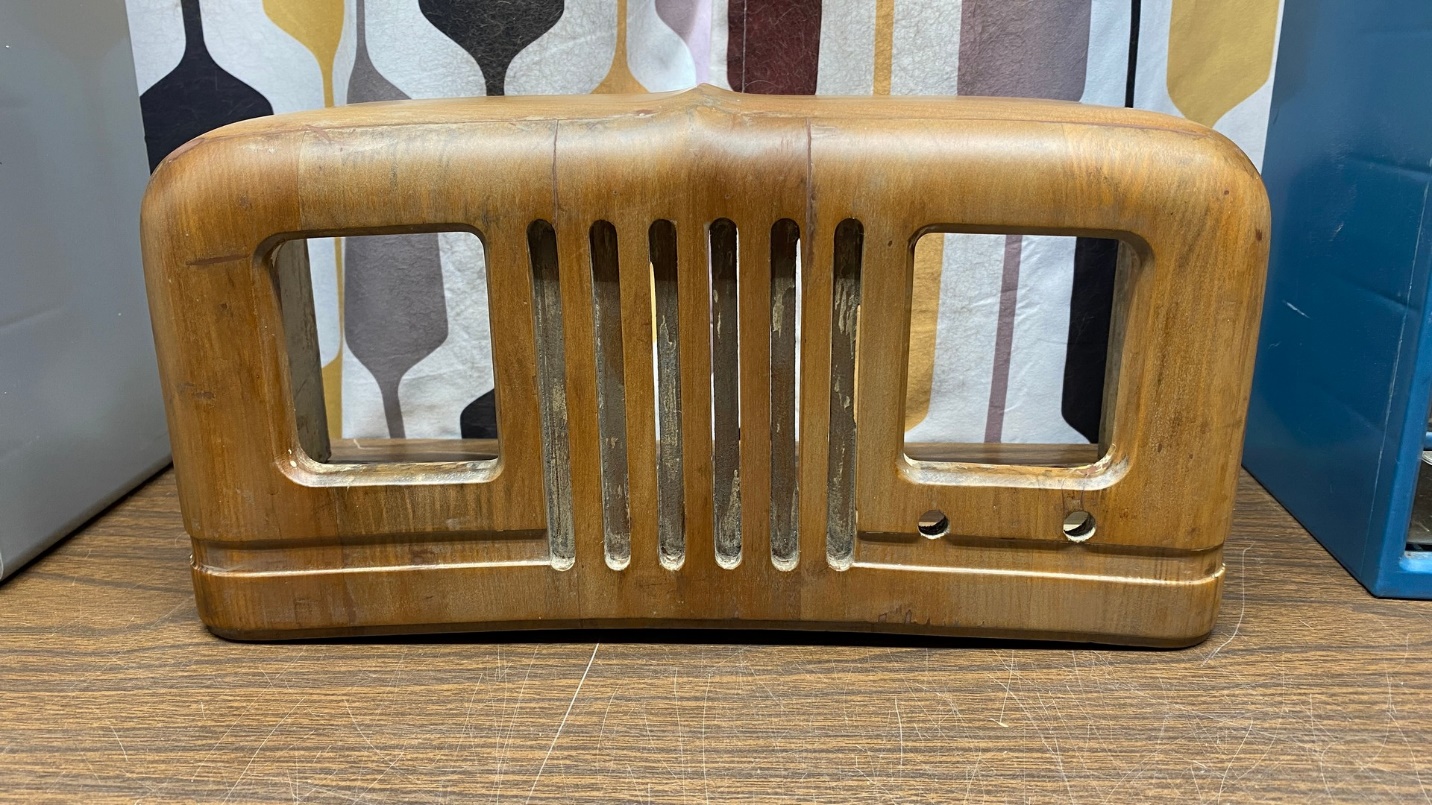
I knew the cabinet was not going to look perfect. After all, it had been in very bad shape when I began to work on it, and I was not expecting any miracles. I only hoped it would look better when I was finished with it.
Once the cabinet had been sanded, it was wiped down with a soft rag again. I then went outside and set up my working area in the garage after moving my truck out of there.
I took the cabinet outside and set it on top of some boxes, placed on top of my folding work table.
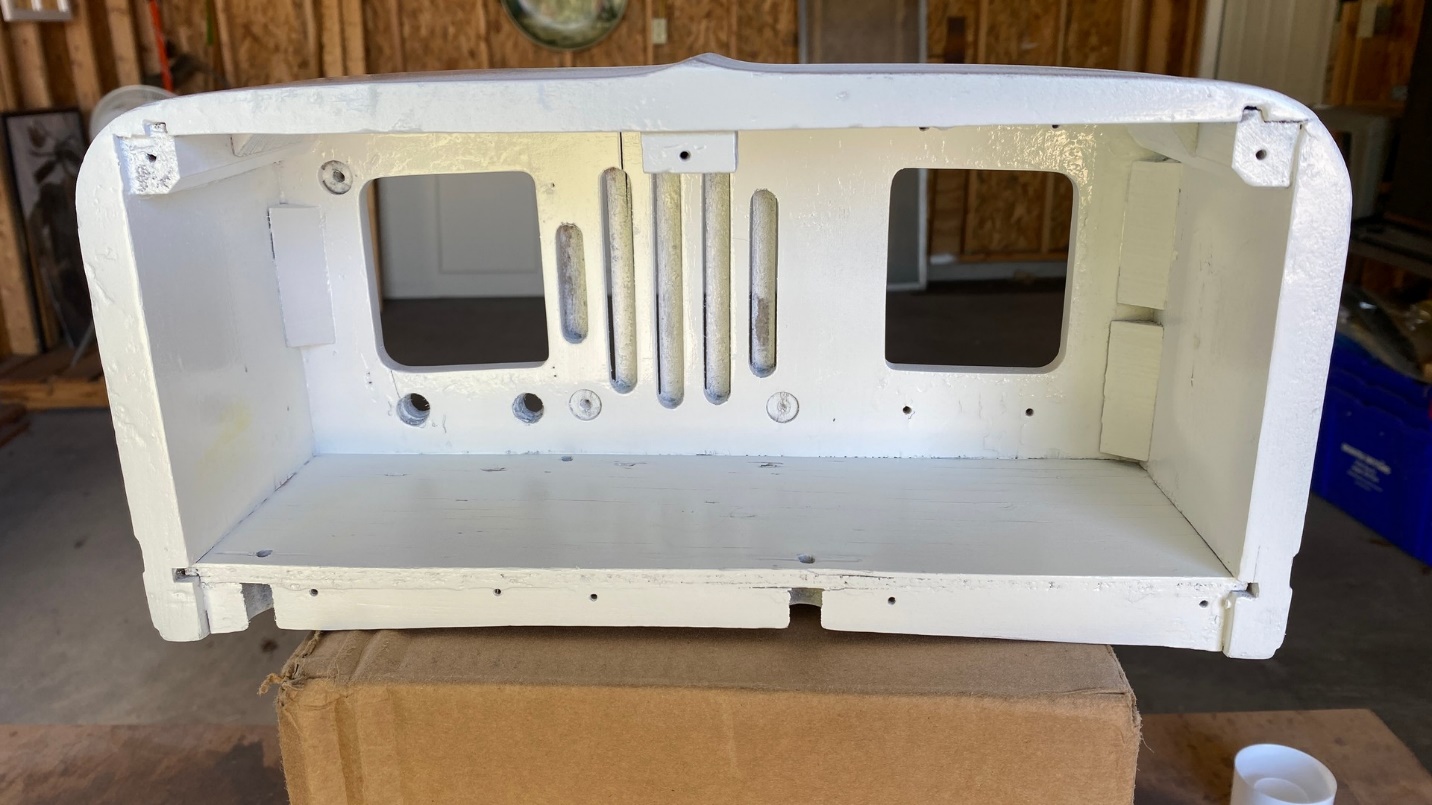
The inside of the 41-KR cabinet after two coats of white lacquer had been applied.
This time, instead of Krylon, I used Mohawk Gloss White lacquer. This went on more smoothly than the Krylon had done on my Philco 42-KR3 cabinet. In addition, the white lacquer seemed to build up fast and covered the wood with only a few coats.
I applied only two coats of white lacquer to the inside and underside of the cabinet. I then set it aside for a while to dry, while I worked on another cabinet project.
Later that day, I returned to the Philco 41-KR cabinet and gave its exterior surfaces three coats of white lacquer.
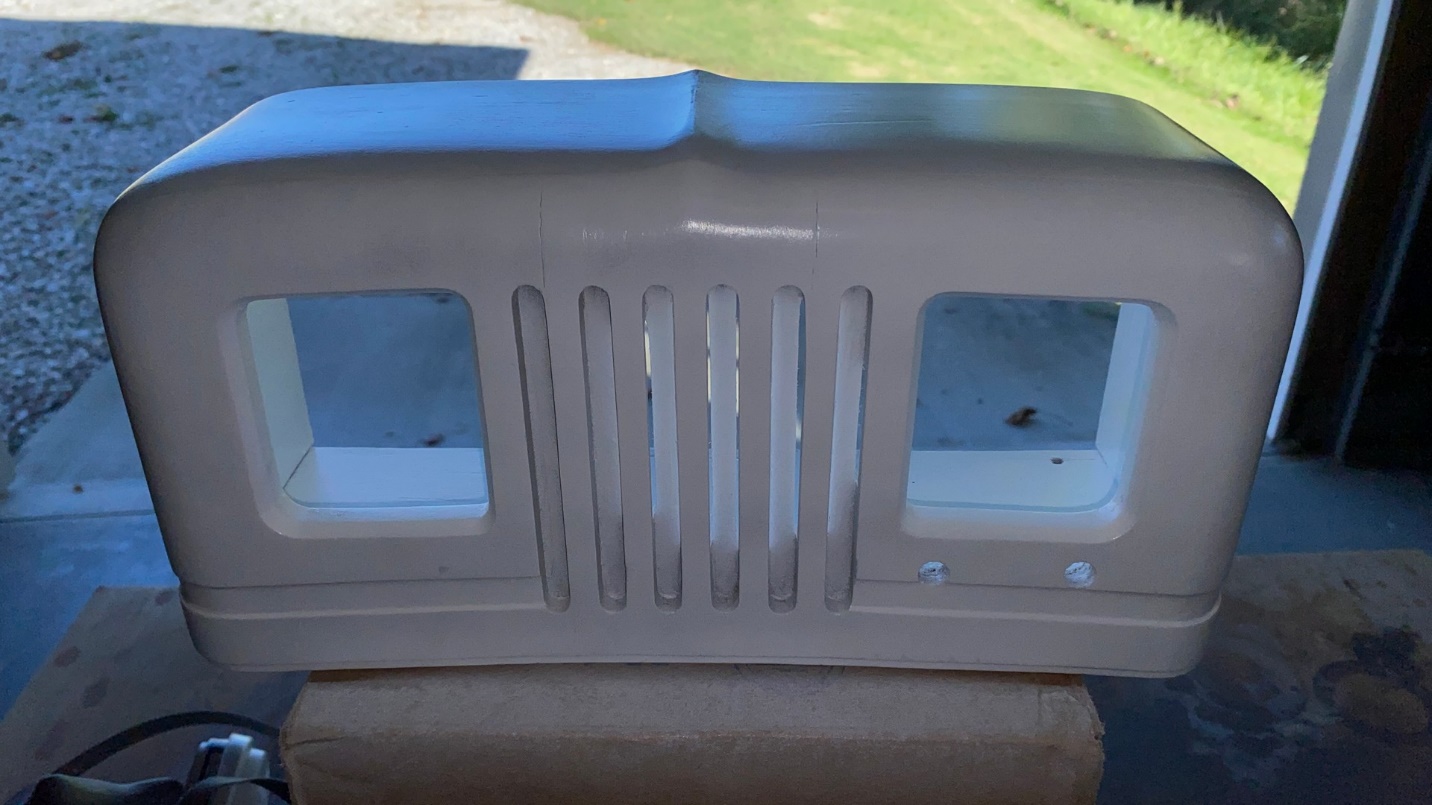
The Philco 41-KR after one coat of white lacquer had been applied to the exterior surface of the cabinet.
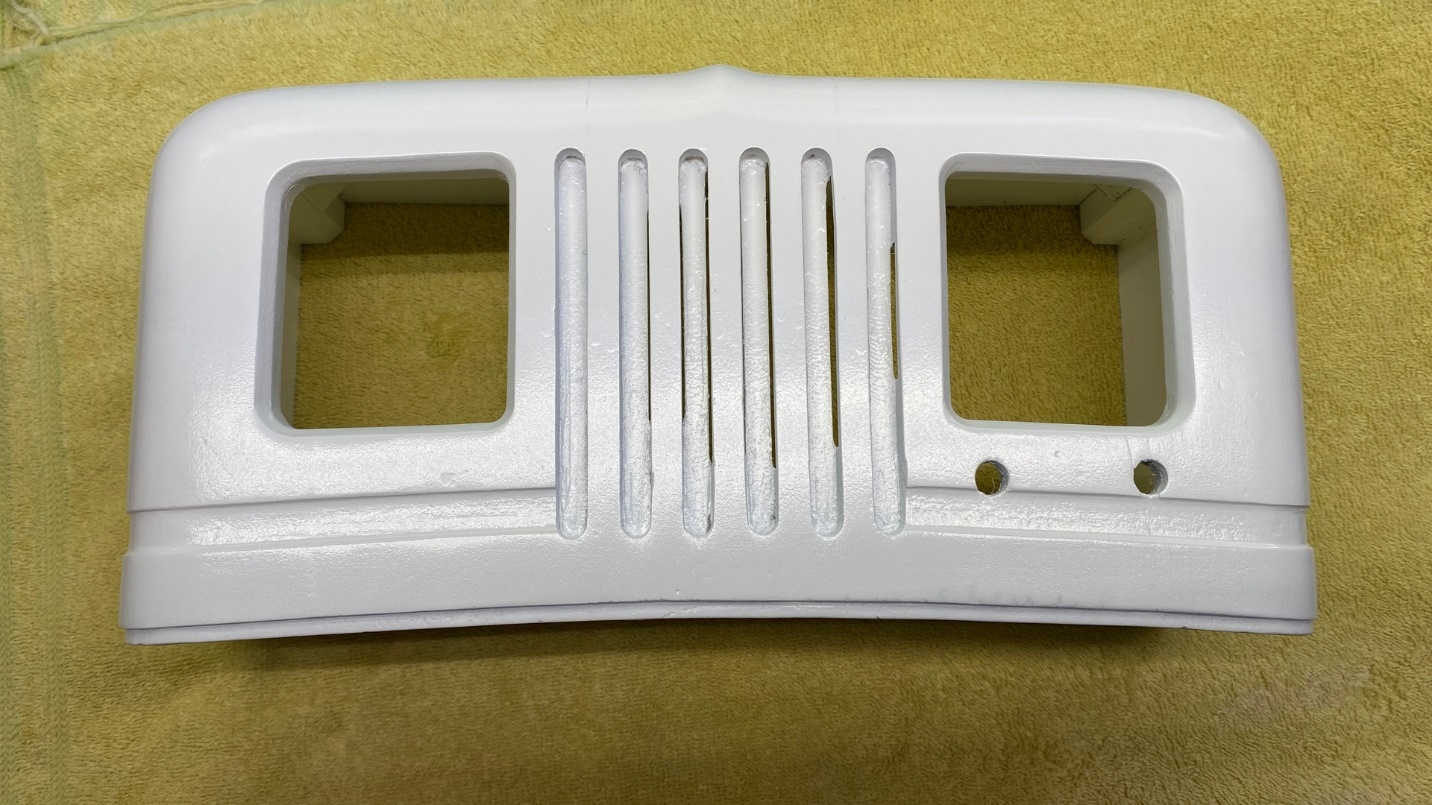
How the cabinet looked after all three coats of white enamel had been applied.
While two coats seemed to be sufficient for the inside and underside of the cabinet, I decided to spray three coats on the front, sides and back in an attempt to get a smoother, more uniform surface. After all, the outside of the cabinet would be seen much more than the inside or bottom.
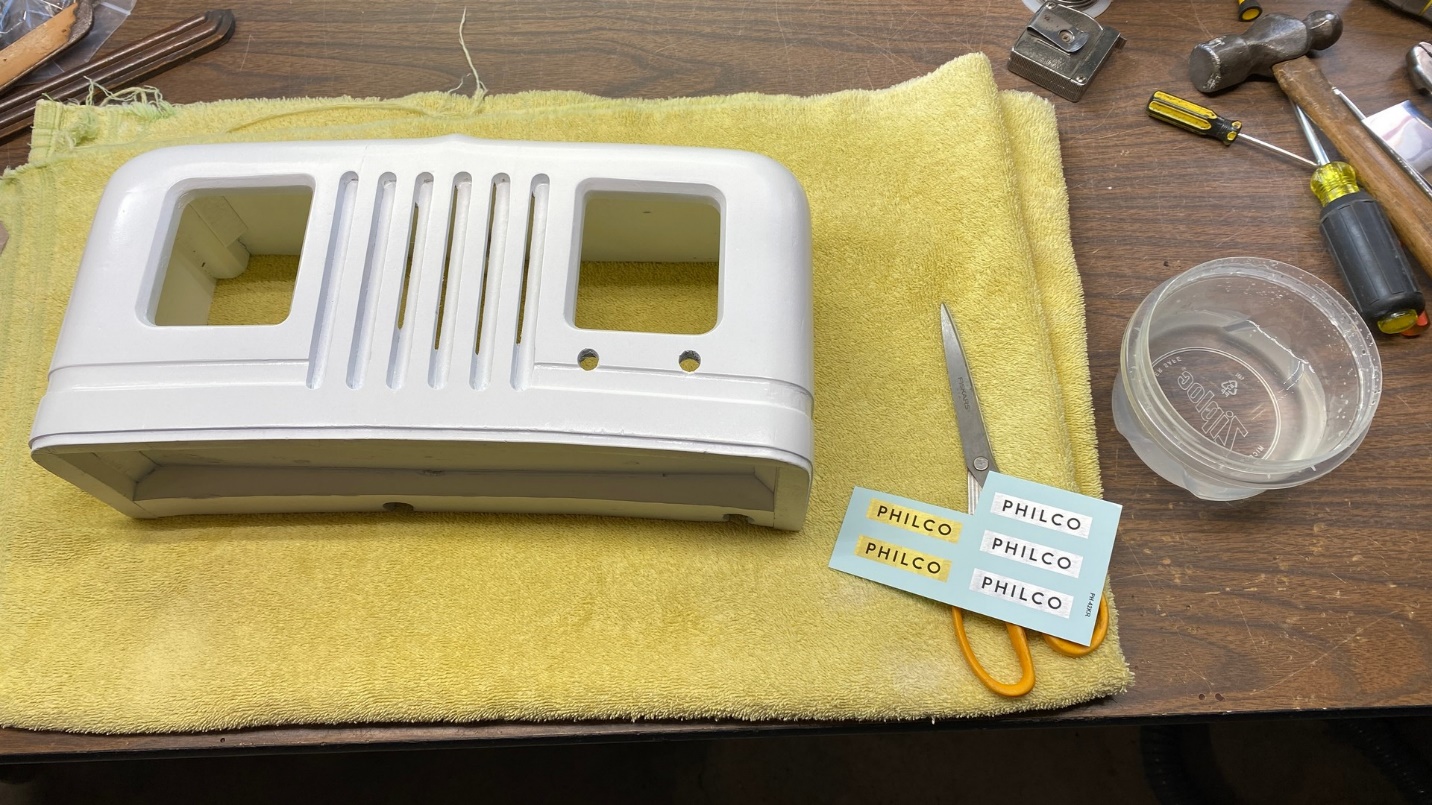
Preparing to add a PHILCO decal to the cabinet.
I allowed the cabinet to dry overnight inside my basement, and then began making preparations to add a PHILCO decal to the front of the cabinet. Radio Daze sells these, as well as many other decals for Philco and other radios.
I should note that all of Philco’s “refrigerator” radios – models 41-KR, 42-KR3 and 42-KR5 – used silver decals originally. I had used a gold decal on my 42-KR3 simply because its dial is gold, and I thought a gold decal would look better on that cabinet. However, for this 41-KR, I wanted to keep a stock appearance.
I carefully cut out one silver PHILCO decal, and then dropped it into a small container of water partially filled with water.
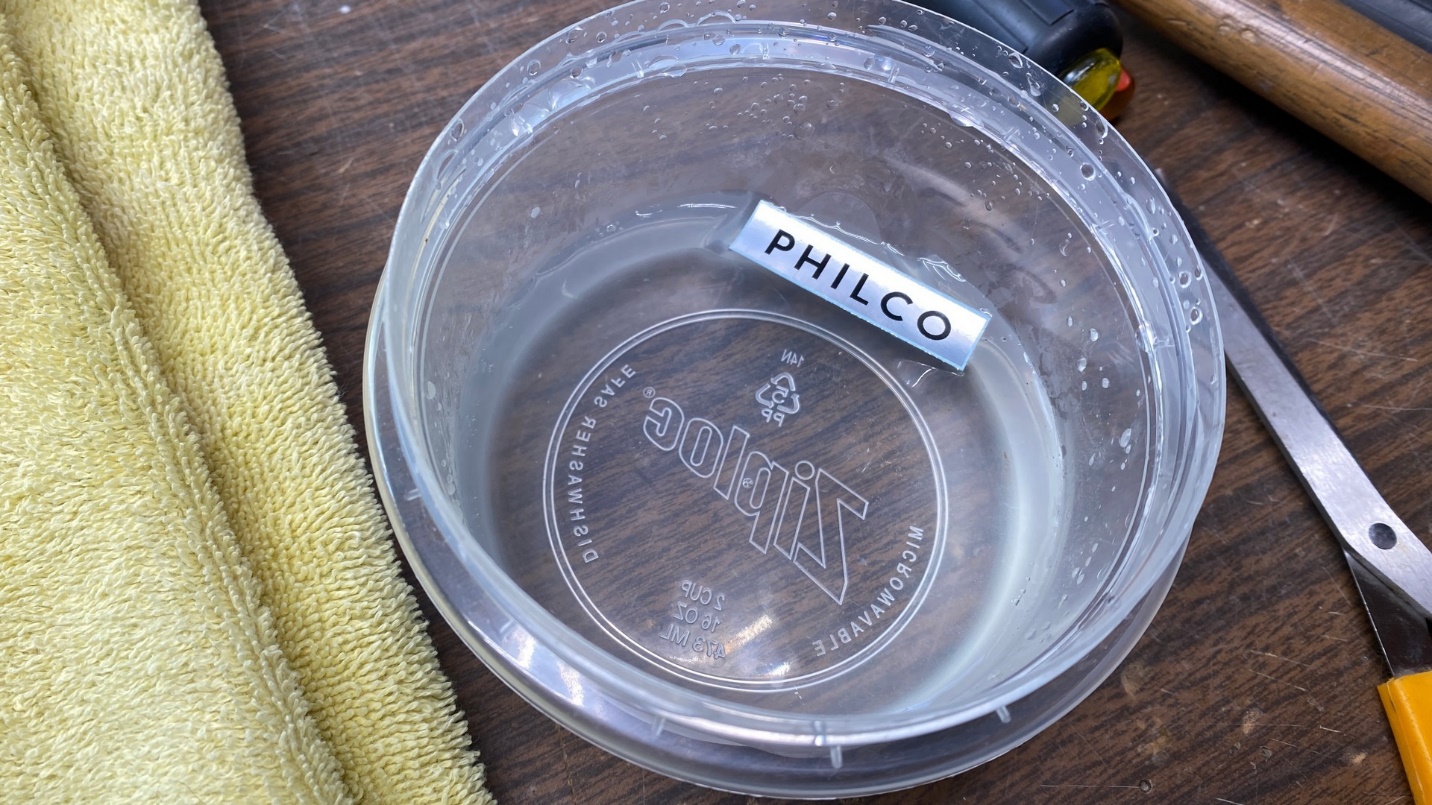
The decal is soaked briefly in water before being applied to the cabinet.
It only takes 10 to 15 seconds for the decal to soak in water before it is ready for application. Only seconds after I took the picture above, I removed the decal from the water and carefully placed it into position on the bottom center of the cabinet front, just under the speaker grille openings.
Once I had the decal straight and in the proper place, I began to carefully squeegee excess water from the decal with a Q-tip. Once this was done, I set the cabinet aside for a while to allow the decal to dry.
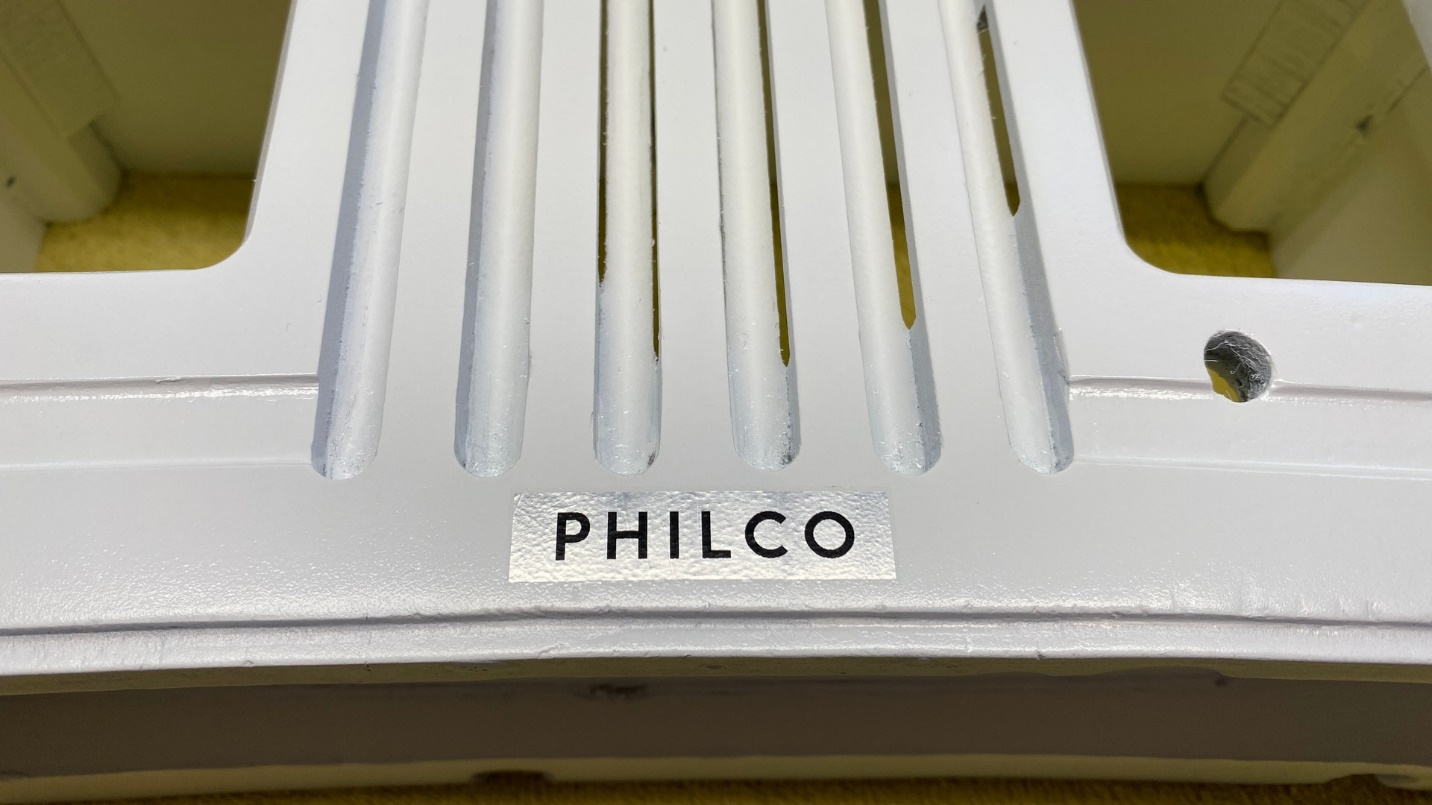
The decal as it appeared after it had dried.
Later that day, I applied Micro Sol to the new decal using a very small brush. This would allow the decal to completely mold itself to the cabinet. The Micro Sol initially made the decal wrinkle up a bit, which concerned me. However, my concern was unfounded, as the decal smoothed out and looked even better than it did in the picture above, once the Micro Sol had completely dried.
The next day – October 23 – I set up my folding table outside in the carport. I took the 41-KR cabinet outside and carefully sprayed one coat of Mohawk Ultra Flo Clear Gloss lacquer. One coat seemed to be sufficient, so I decided not to “press my luck.” The clear lacquer would help protect the decal.
The cabinet was finished! It was a wonderful feeling to know that this project was now complete. Of course, it still needed new dial covers for the clock and radio dial, and everything needed to be reinstalled in the cabinet. However, it would need no further outdoor work!
It seemed that this project took a while – and it did – but once things began moving on it, it all came together in a surprisingly short period of time. I am glad the cabinet is finally done. Now, I need to apply the finishing touches. I will try to get that done in the near future.