I left you last time with a problem concerning this Philco 21 cabinet. In the process of applying toner, I somehow managed to get a little sloppy and caused the lacquer to run on the upper left side of the cabinet.
At that time, I made the decision to continue applying toner. I then followed this up with three coats of clear gloss Mohawk Ultra Flo lacquer, using one of Mohawk’s special nozzles which can be adjusted for a vertical or a horizontal fan spray.
It was while doing this that I made yet another error. While spraying clear lacquer on the front panel, I managed to cause yet another run, on the upper right of the front arch.
After letting the lacquer dry for a day or two, I began to wet sand the cabinet with 800 grit wet/dry sandpaper, starting with the front of the cabinet. Very carefully, I went over the run in front, which had dried into a round drip. In spite of trying to be careful, however, I still managed to burn through the toner and even into bare wood at the point of the drip!
I proceeded to continue wet sanding the front of the cabinet, trying to be as careful as I could be. Once I had the front sanded smooth, I moved over to the left side of the cabinet and started with the first run area.
I managed to get the run on the left side mostly flattened out, although it was still visible as a dark line. I felt that this would be good enough, as I did not want to risk burning through into the layers of toner and ruining the finish. From here, I continued wet sanding until the entire cabinet had been done.
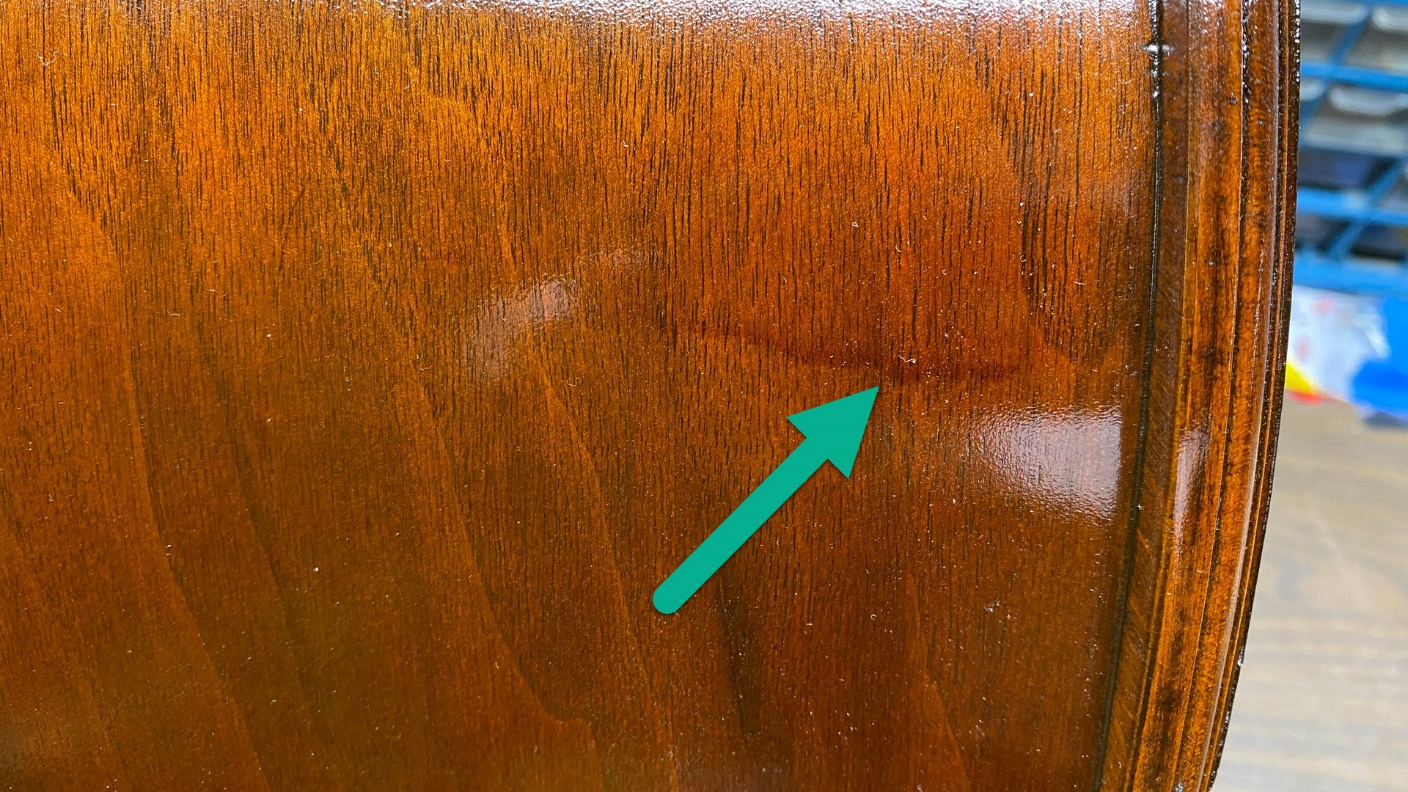
The run on the left side of the cabinet remains visible as a dark area. This area feels flat when I run my fingers across it, however.
I then decided to try a quick fix for the drip on the front arch. I sprayed a little Mohawk Ultra Classic Dark Walnut lacquer into a spray can lid and then, using a small brush, carefully touched up the area. The color matched the surrounding area well, and I felt the repair was successful.
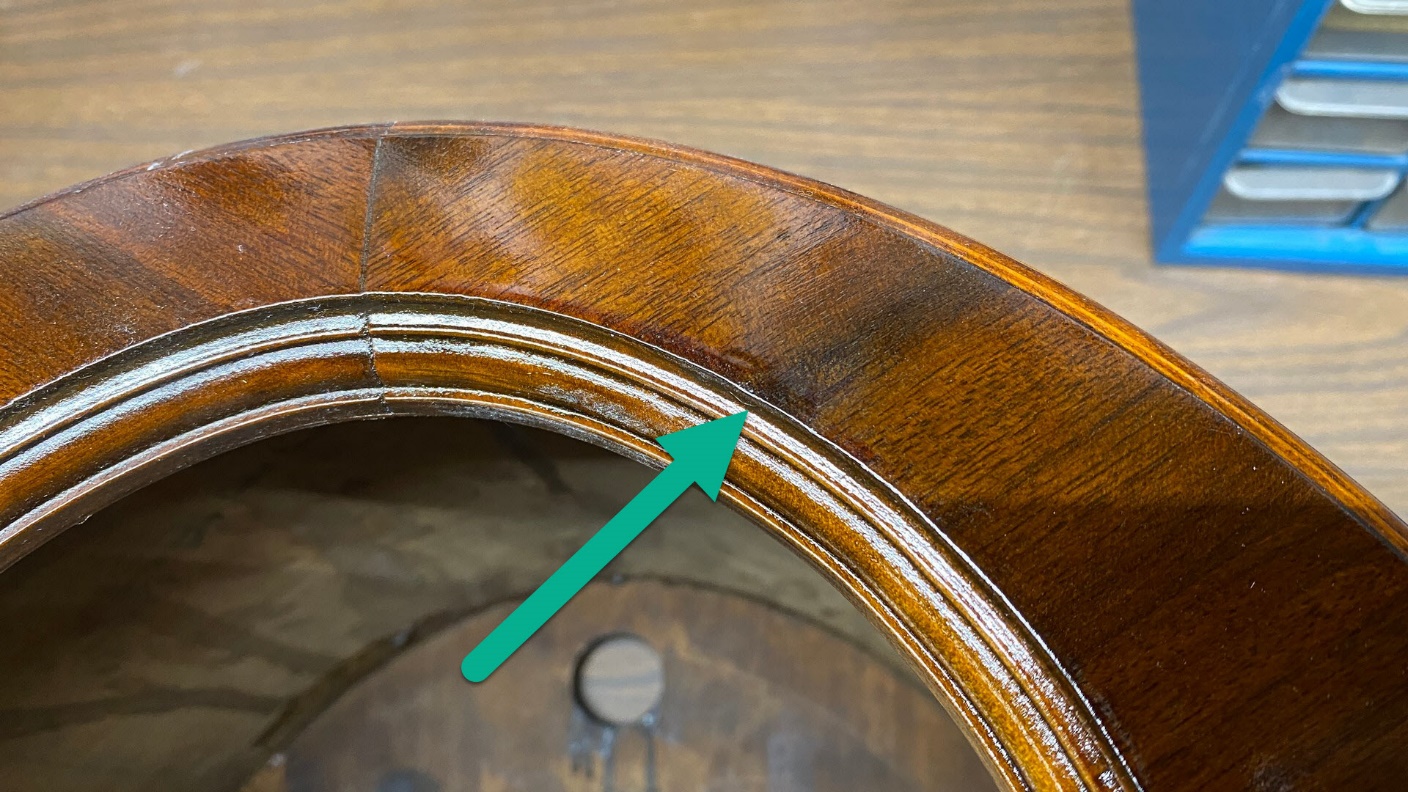
The drip on the front arch has been corrected and repaired, and is now nearly invisible.
Later, I took the cabinet outside and sprayed two more coats of clear gloss Mohawk Ultra Flo lacquer over the entire outer surface of the cabinet body. All went well, and no more runs or drips were caused by sloppy technique.
The cabinet body was then set aside while I finished up yet another radio cabinet.
Friday, October 13, 2023 was significant in that this appeared to be the final day of the year which would have high temperatures in the mid to upper 70s. A cold front was forecast to move through our area late that night, causing temperatures to plummet 20 degrees. When this happened, it would be too cool for outdoor lacquer spraying. And as badly as lacquer smells, I was not about to try spraying it indoors!
Preparing to spray sanding sealer on the trim pieces.
I started that morning by cutting the pieces of bottom molding for the Philco 21 cabinet. After a couple errors, I soon had a complete set of molding, properly cut, fitting the cabinet properly, and ready for lacquer.
I sprayed the trim pieces with two coats of sanding sealer, and then stopped for lunch.
After lunch, I moved my operations inside our garage as the light breeze was gradually getting stronger in advance of that cold front. I then began to tone the trim pieces. I was using Mohawk Ultra Classic Dark Walnut, the same toner I had used on the cabinet body. Trouble was, the toner was taking too long on that new white wood to build up to the proper color!
I decided then to cheat a little bit. I pulled out a can of Mohawk Medium Walnut Tone Finish, which is nearly the same color as Ultra Classic Dark Walnut, and began applying it to the trim. This, too, took three coats (on top of the three or four coats of Ultra Classic Dark Walnut which I had already applied to the trim), but finally, the trim was the proper color. The trim was then coated with three coats of clear lacquer, allowed to dry, and brought inside to finish drying for a few days.
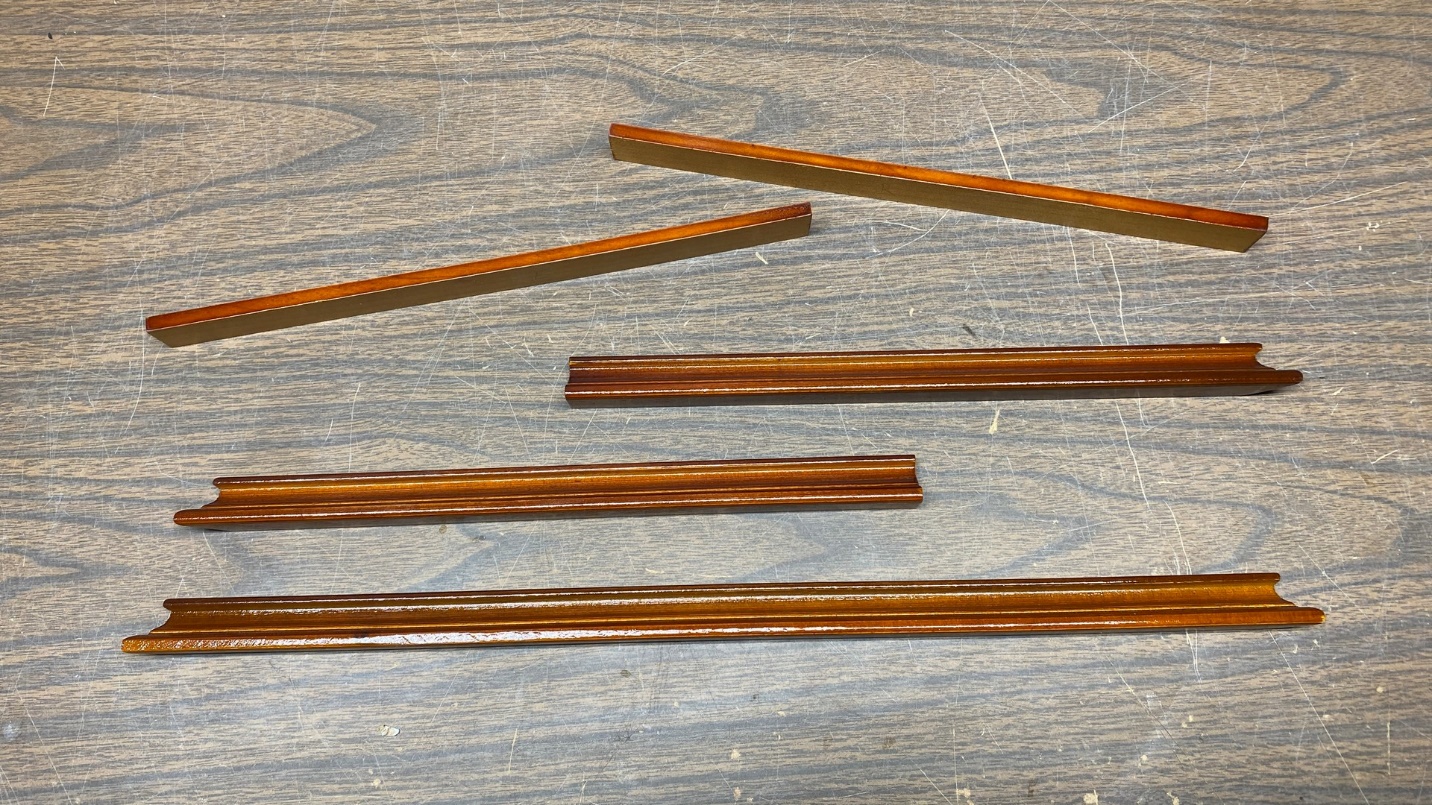
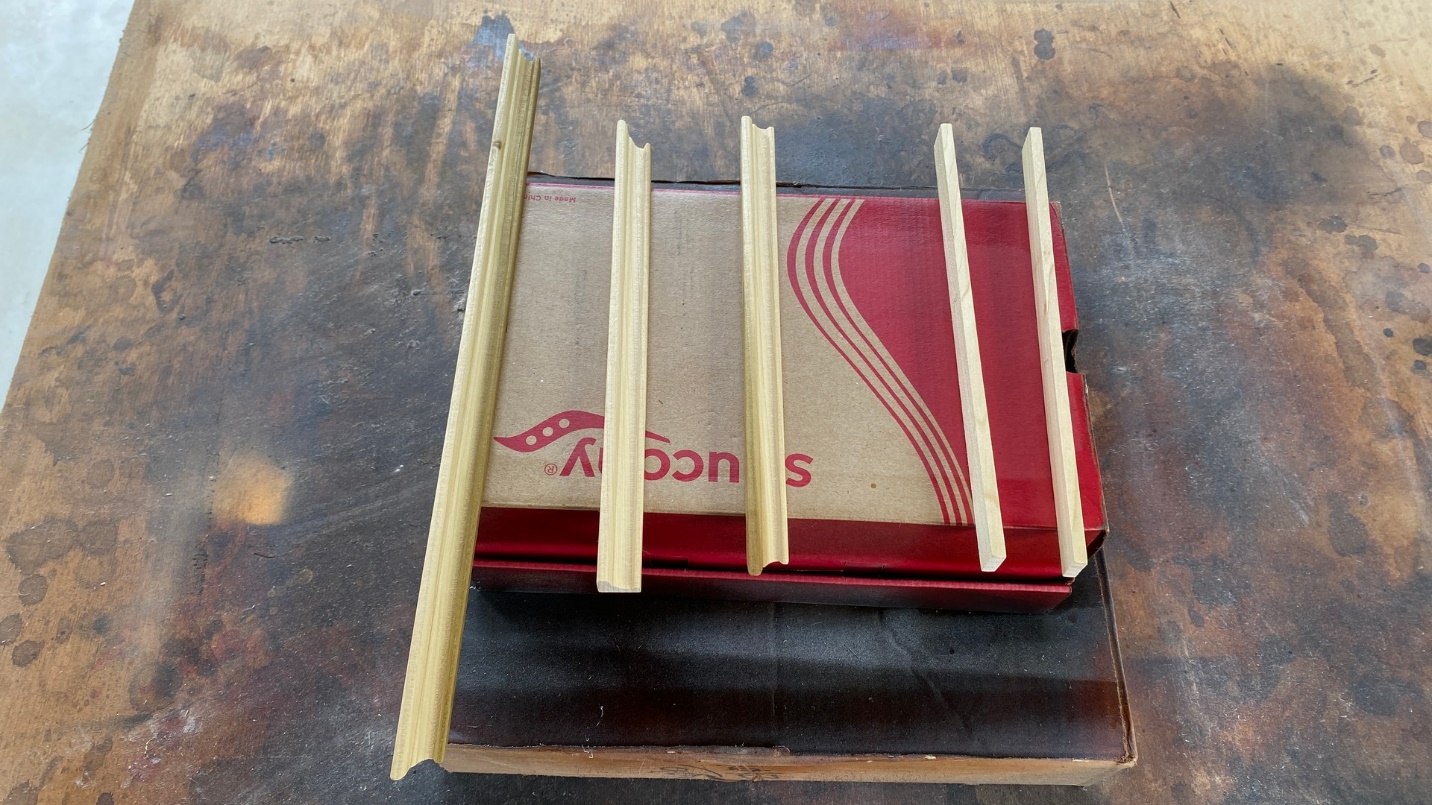
The trim pieces after toners and clear lacquer have been sprayed on them.
As you can see in the picture above, the Mohawk Medium Walnut Tone Finish is very similar in color to Mohawk’s Ultra Classic Dark Walnut; perhaps slightly darker, but not by much.
Unlike the trim of my Philco 46 cathedral cabinet, I did not bother to tone the bottoms of these trim pieces – only the bottom edges of the fancy trim. The bottom of the trim pieces will not normally be seen when the radio is on display.
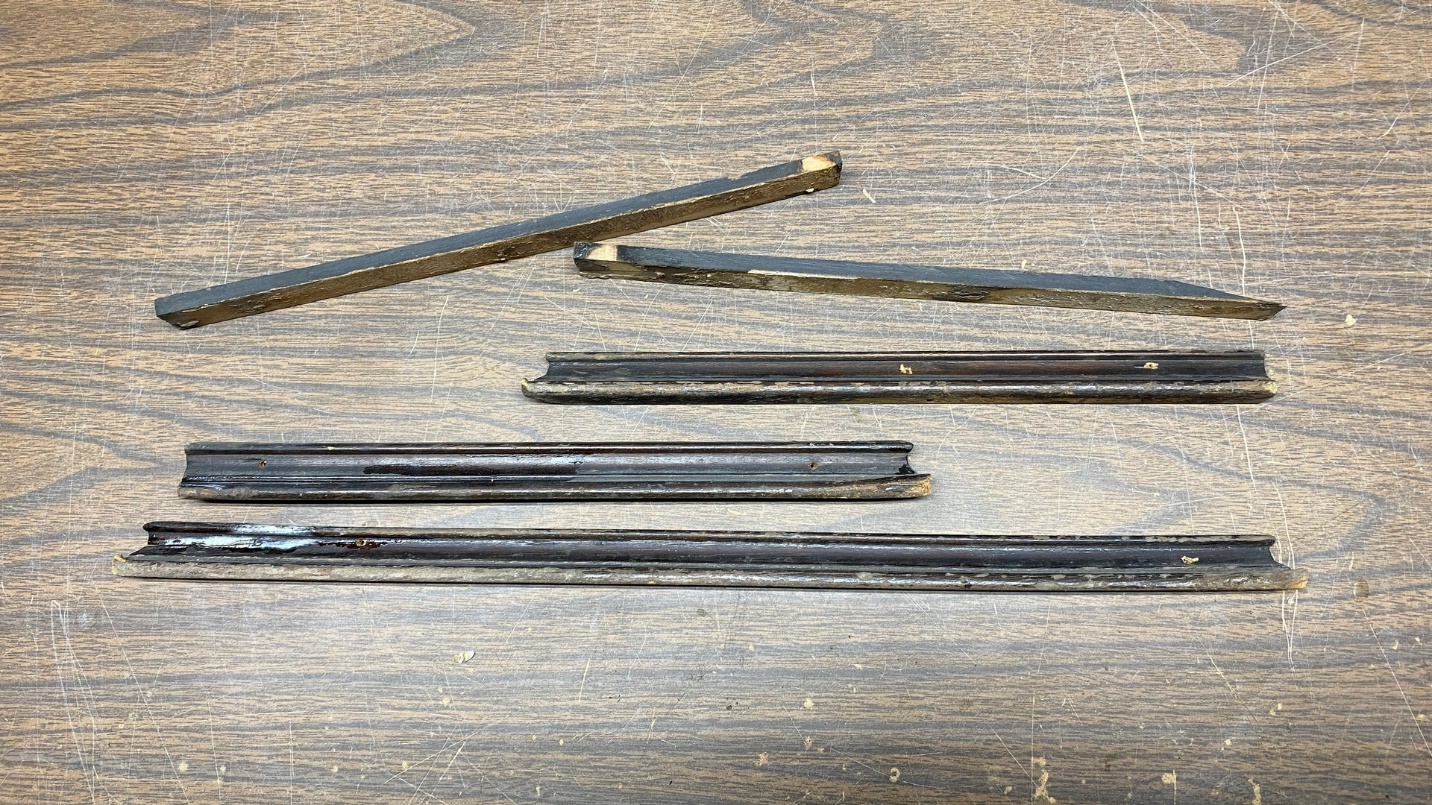
A final look at the model 21 cabinet’s original bottom trim pieces before they were disposed of.
In the photo above, you can see the original model 21 bottom trim pieces. They were not horrible, but they also were not in very good shape, hence my decision to replace them all with new trim. The trim was made by Steve Davis, who does amazing work with reproducing cabinet trim.
The USPS had told Steve Davis that they would deliver my new model 21 front panel on the 13th. However, as is typical of USPS, whenever you are hoping something will be delivered on time, they will be sure to deliver it late. The new panel finally arrived on Saturday, October 14, on a day when temperatures had dropped 20 degrees outside and light mist was falling. In other words, it was too cool and wet to even consider outdoor activities.
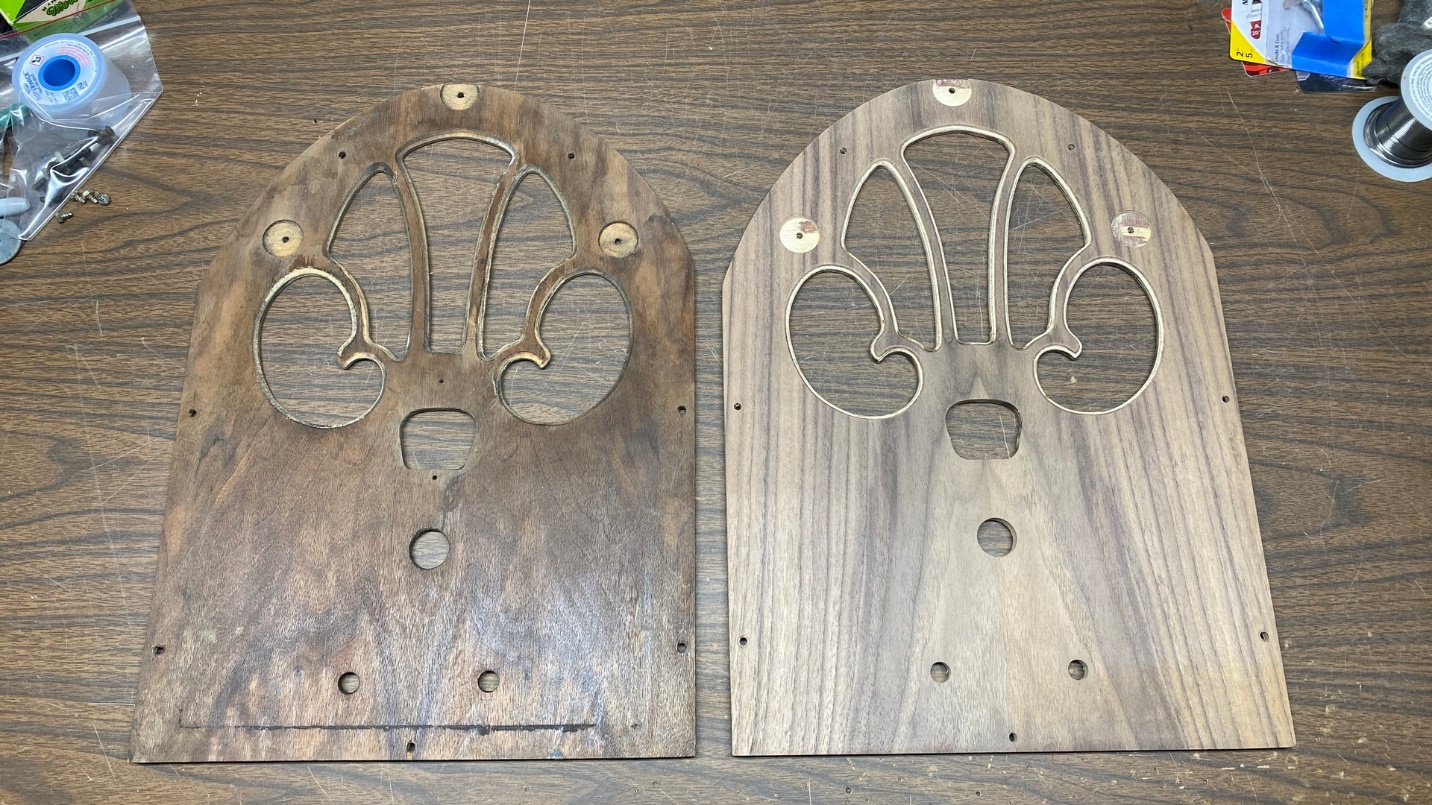
A comparison of the old front panel (left) with the new one (right), The new one is a perfect clone of the old one, except the grille openings are perfect instead of damaged.
Steve returned my old panel along with the new one, probably to help protect and stabilize the new panel in shipment. You can see the two in the picture above. Everything about the new panel is a perfect clone of the old one, except the grille of the new panel is perfect, without the flaws of the old one. The mounting holes, the escutcheon hole, and the control shaft holes are exactly the same and in the exact same places. In addition, Steve’s panel has perfectly book matched front veneer. If you notice the original panel, its front veneer is not perfectly book matched. Back when these cabinets were being made in early 1931, Philco did not take the time to make sure every panel was perfect – just “good enough” for volume production.
In order to complete the 21 cabinet, I would need to first spray sanding sealer on my new front panel, then apply grain filler. This would need to dry overnight, and then the excess would have to be sanded off. Toner, clear lacquer, wet sanding, and final clear lacquer spraying could then be done. This would then be followed by applying stain to the back of the panel. The staining could be done indoors, as the Mohawk wiping stain is not oil based, and dries fast with little odor.
I looked at the long-range weather outlook, and it appeared that there would be some opportunities to spray lacquer outdoors during the upcoming week. Therefore, I set everything aside for a few days.
So, since I have to wait for an opening in the weather before proceeding, allow me to take a break at this point. In my next installment, I hope to wrap up the work on this Philco 21 cathedral cabinet.