This is actually the story of two Philco model 54C cabinets. I let myself get so busy with the first 54C cabinet that I completely forgot to take any pictures of it until it was finished. I will show these to you later.
For now, though, let’s concentrate on this other 54C cabinet.
I had purchased a Philco model 54C two years ago. You may recall I converted the chassis of that set into what I call an “All American Five” 54C, using octal tubes instead of the original standard base tubes, and eliminating the large power resistors which originally mounted to the back of the chassis. You may read about that process here, here, here, here, here, here, here, and here (yes, eight parts in all).
I was never satisfied with the cabinet this radio had been in. The front panel was not only missing some veneer, but was also bulged out at the bottom. In short, it was in bad shape. The body of the cabinet seemed to be basically solid, however.
I ended up buying another 54C later on, and then a third, identical model which was missing its top but which had the elusive metal back – just to get the back, I thought.
As I looked at this damaged 54C, however, I began to wonder, Could I remove that front panel, repair it, and use it on my original cabinet?
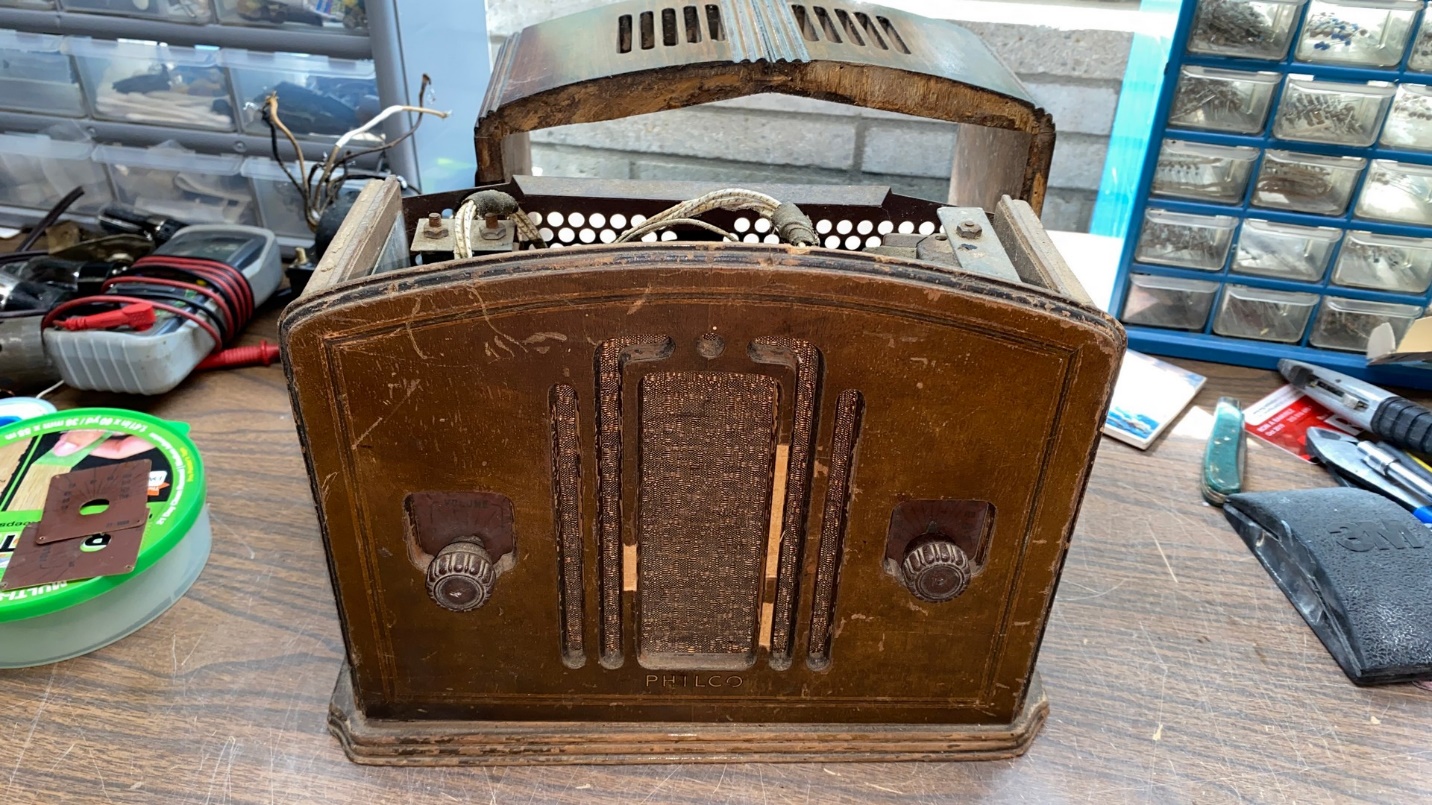
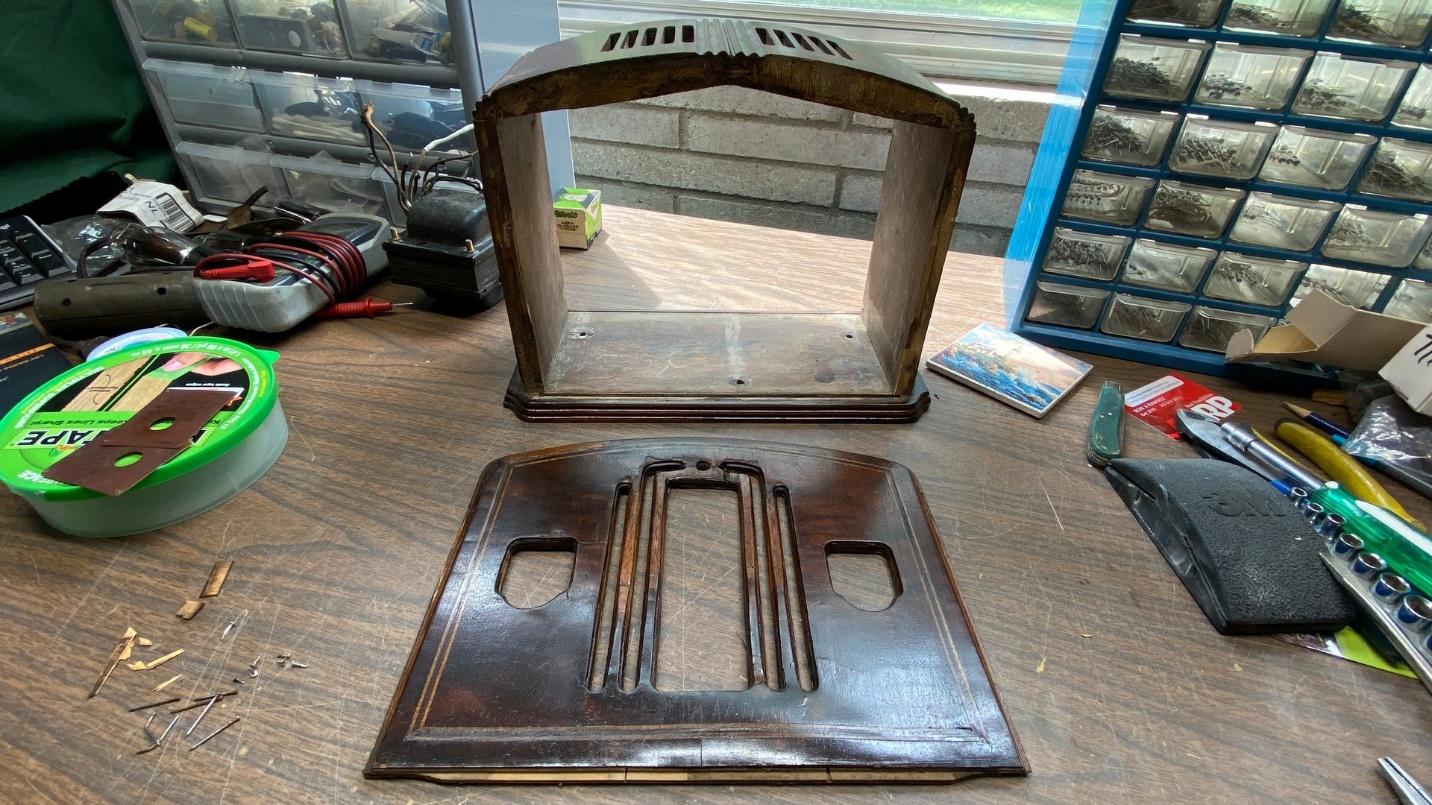
A Philco 54C with a repairable front panel but no top.
First, I tried removing the bad front panel from my original cabinet. As it turned out, it came off quite easily. Next, I tried removing the front panel from the 54C which had no top.
The front panel is removed from the third 54C.
It, too, came off easily!
I immediately did a test fit of what I will call 54C panel number 3 onto 54C cabinet number 1. It fit quite well without any problems.
In the meantime, I had pulled the chassis from 54C cabinet number 2, stripped, and refinished it.
This is the refinished Philco 54C cabinet number 2, without flash.

The same cabinet, with flash.
I removed the base of cabinet number 2 after I stripped the cabinet, as I felt I could not adequately strip the base while it was attached to the main body of the cabinet. This turned out to be a very wise choice, as it enabled me to attach the dial scales more easily. Once the cabinet was completely refinished, I attached the dial scales to the front, and only then did I reunite the now-refinished cabinet base with the cabinet body.
The base is held onto the body with four screws and some glue. The glue had given way long ago, so removing the base for further stripping (and then refinishing) was easy.
There was evidence on cabinet number 2 that it had originally been two-toned on parts of the top and sides. Photos of some 54C sets I found online confirmed this, so cabinet number 2 was likewise two-toned.
At this point, my plan was to get both cabinets refinished, pick the one I liked the best, and then let go of the other one.
But let us return to cabinet number 1.
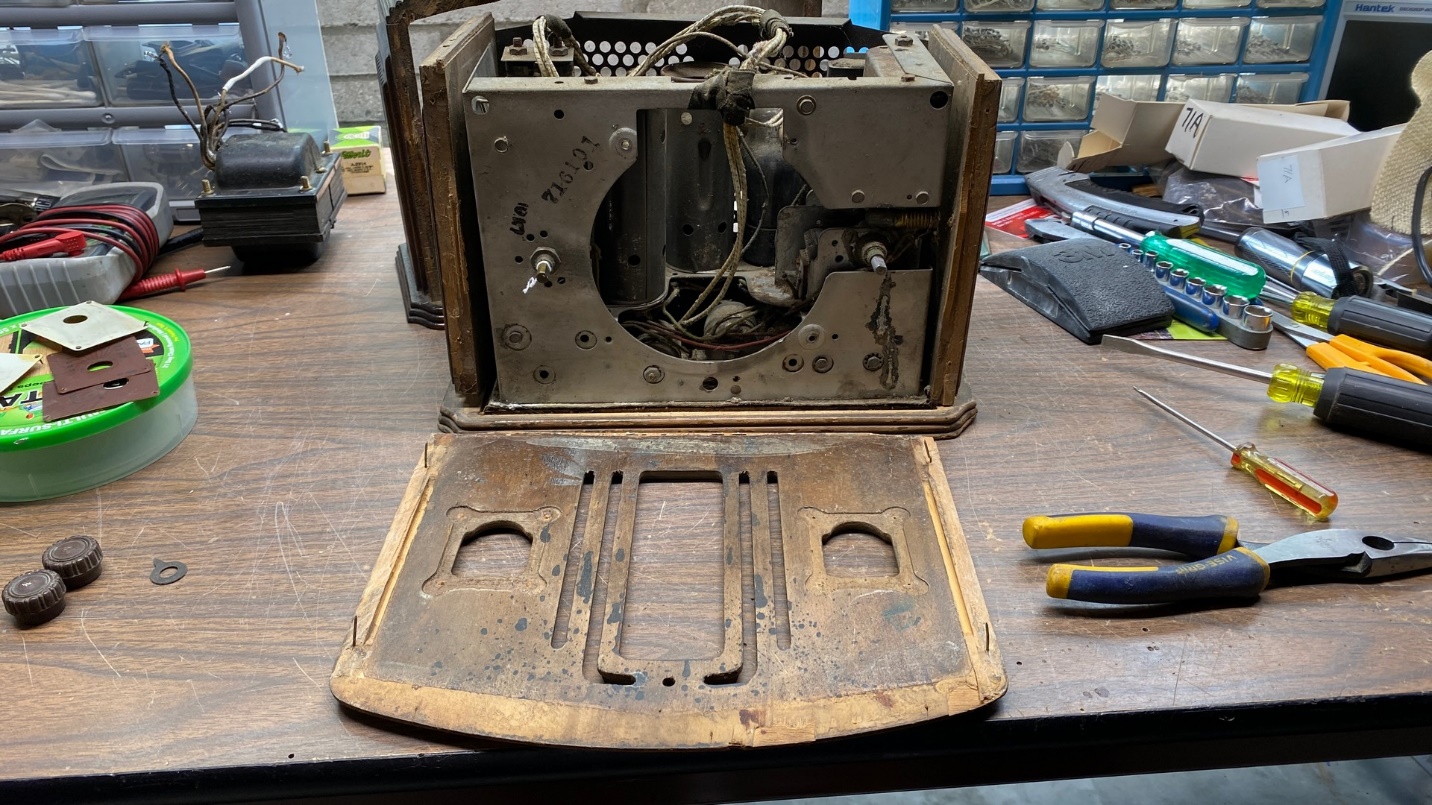
When I stripped this cabinet, it fell apart. The glue holding the top and sides together was much weaker than I realized. So now. I had a 54C “kit” on my hands.
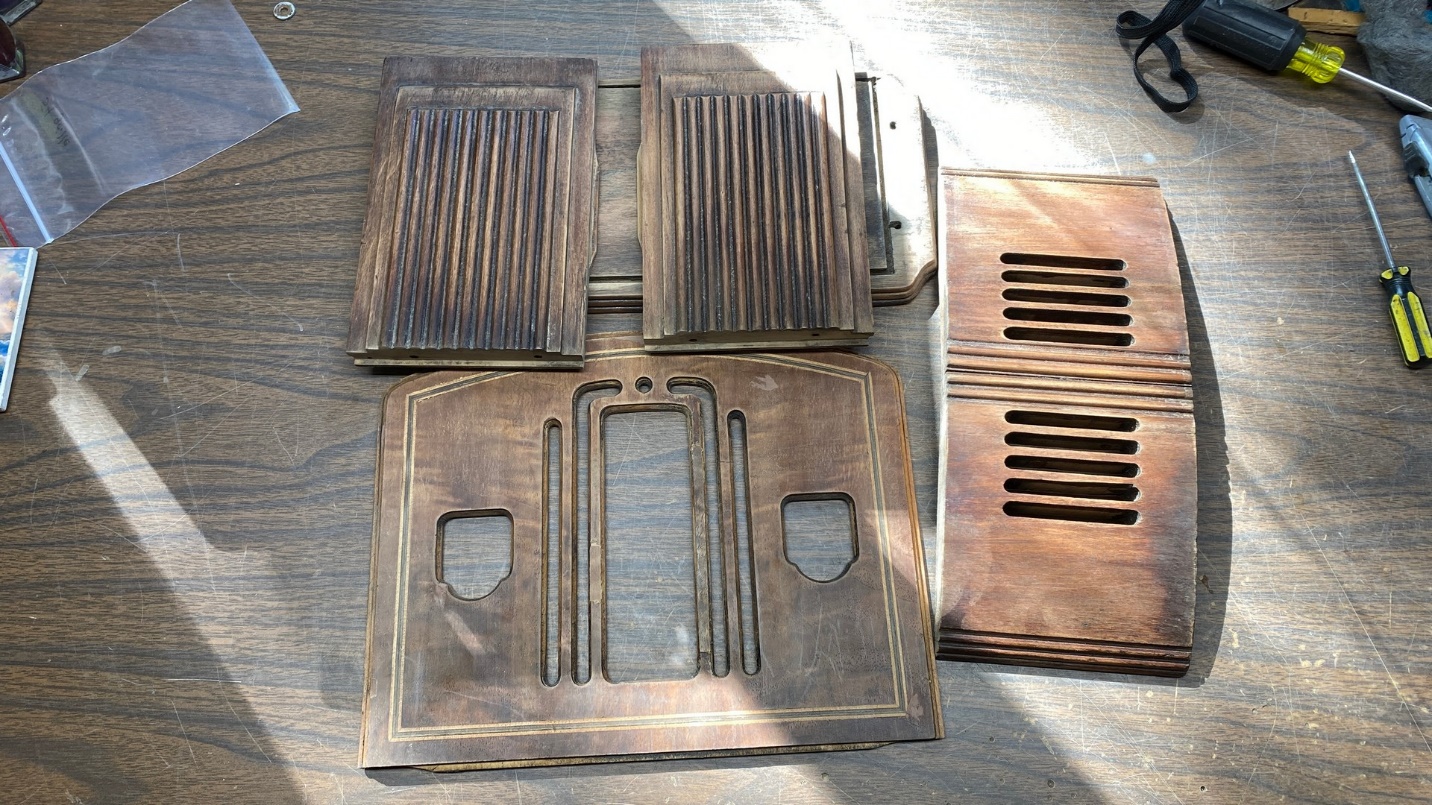
This 54C cabinet turned into a “kit” after stripping.
By the way, taking what I had learned from refinishing cabinet number 2, I removed the base of this 54C before I stripped it. This probably contributed to the cabinet falling apart, but no harm was done – the cabinet had let go at the seams, and so it could be easily reassembled.
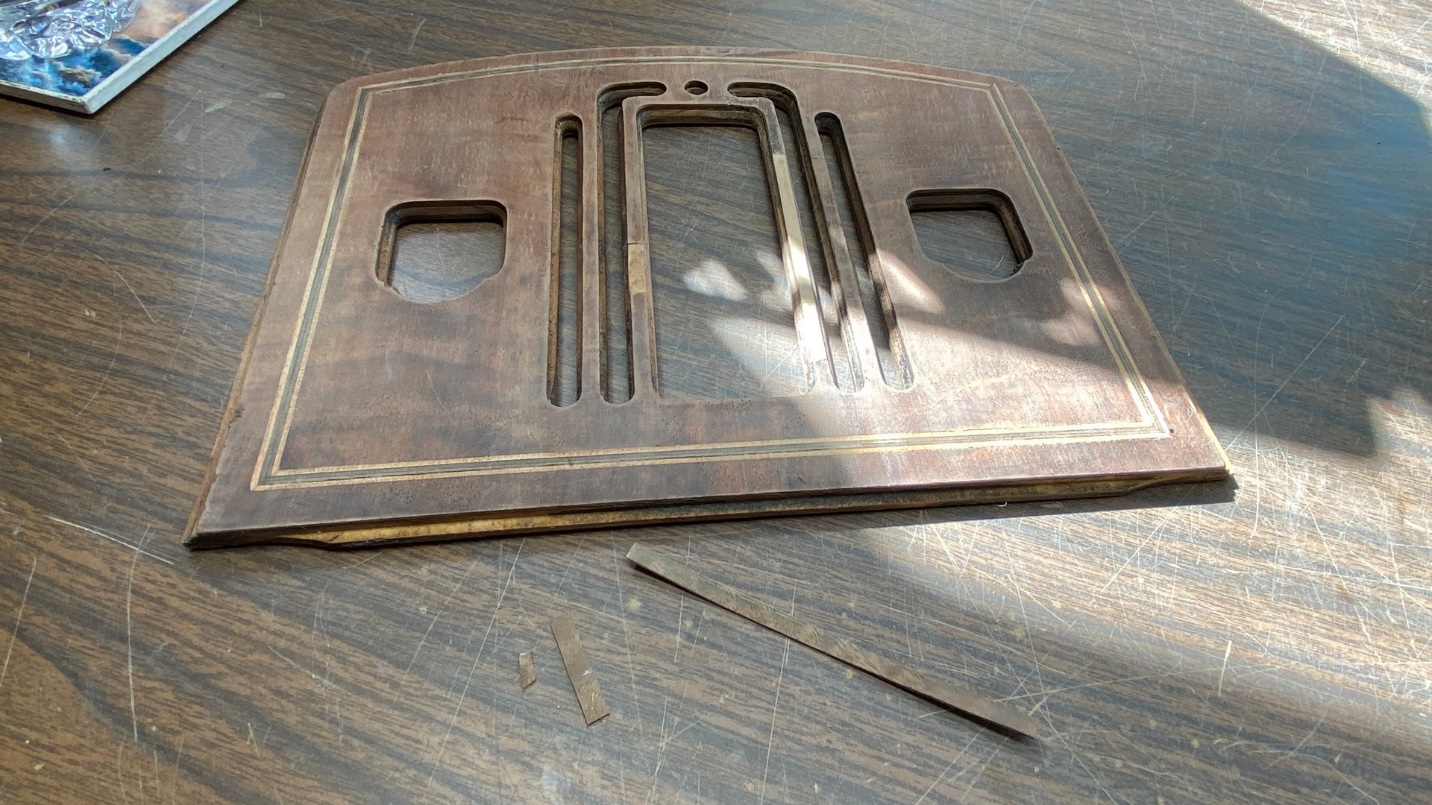
Cross-banding has been added where missing in this 54C grille, and veneer pieces have now been cut and are about to be glued on.
I began to repair this 54C’s front panel. It had two areas on the front panel where not only veneer was missing, but also the substrate or cross-banding below the veneer. I began repairing the panel by adding new cross-banding, and then, new veneer was cut to size and glued into place.
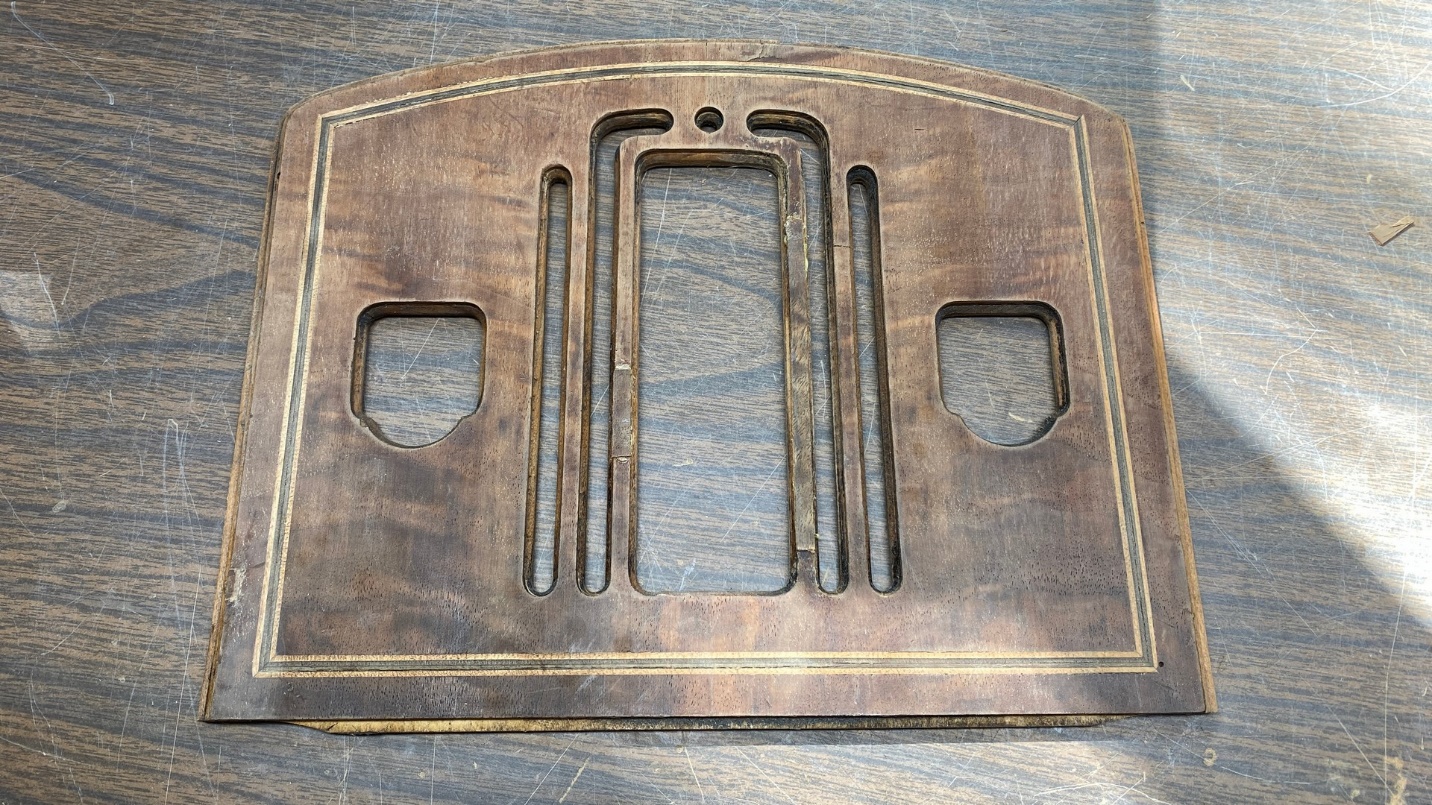
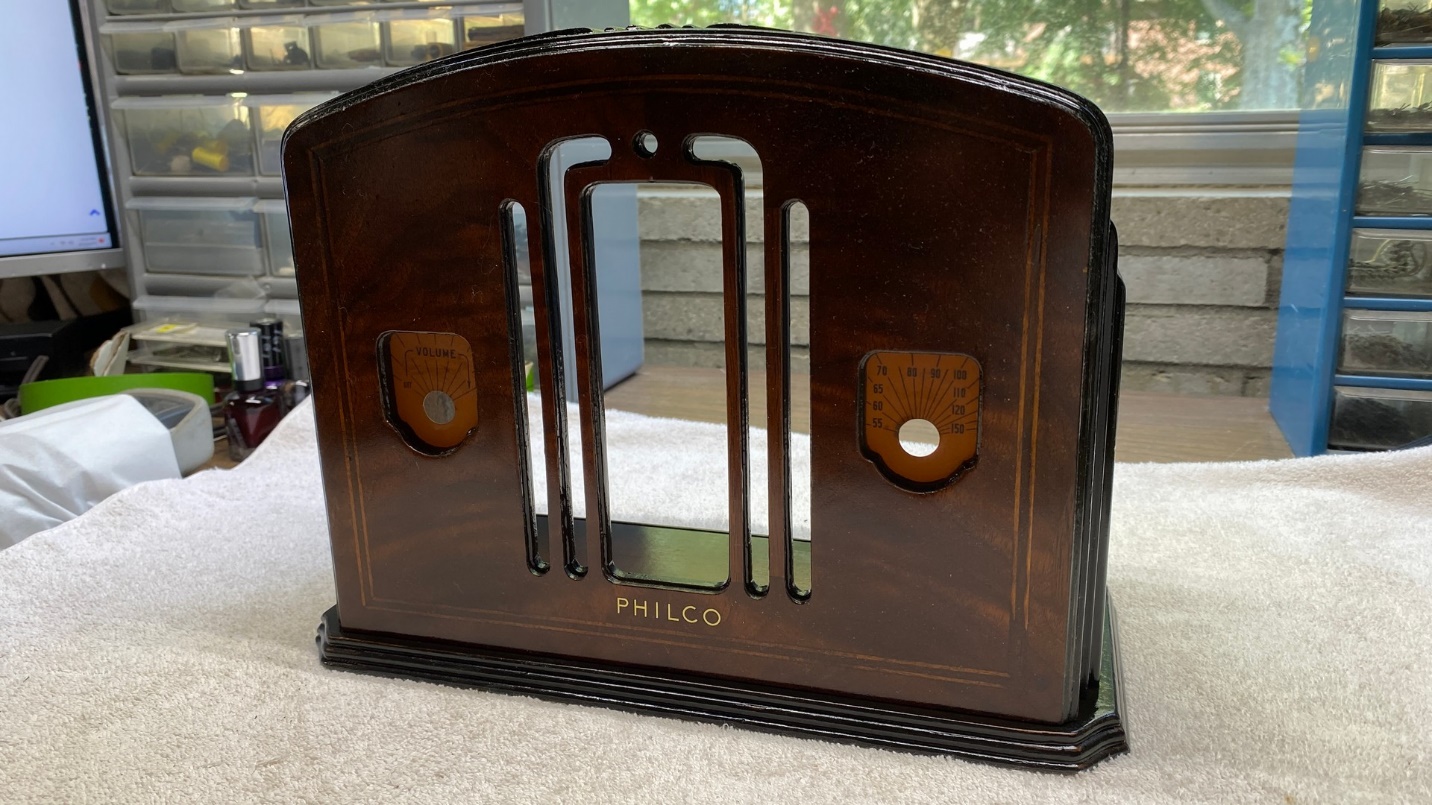
Veneer repair is now complete.
I then sanded the grille bars where veneer had been added, to remove any excess glue and to make sure the bars were straight.
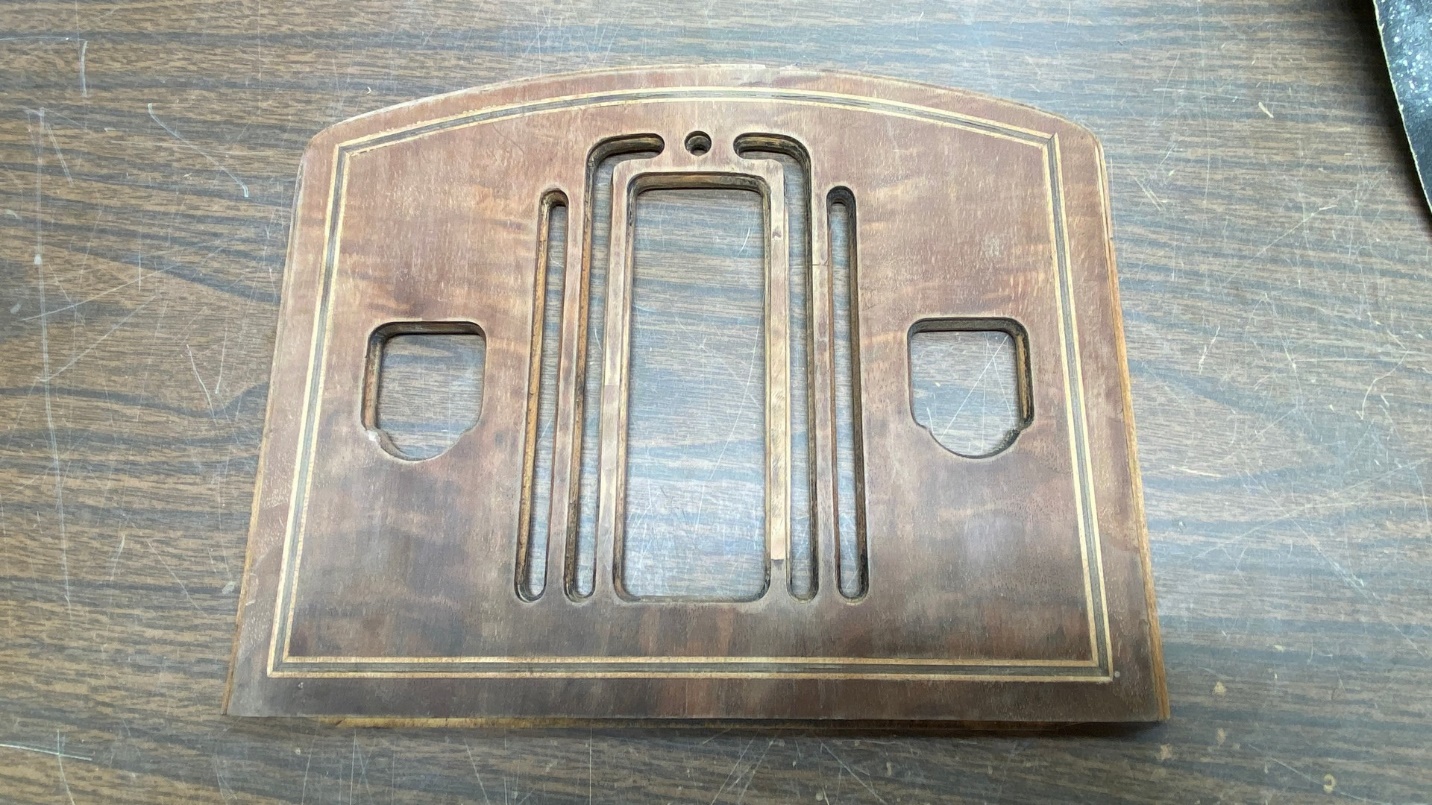
The front panel after sanding.
Some substrate was also missing from the back of the front panel. In addition, there were a few areas which had become delaminated. New cross-banding was added where needed, and the delaminated areas were reglued and clamped into place as shown below.
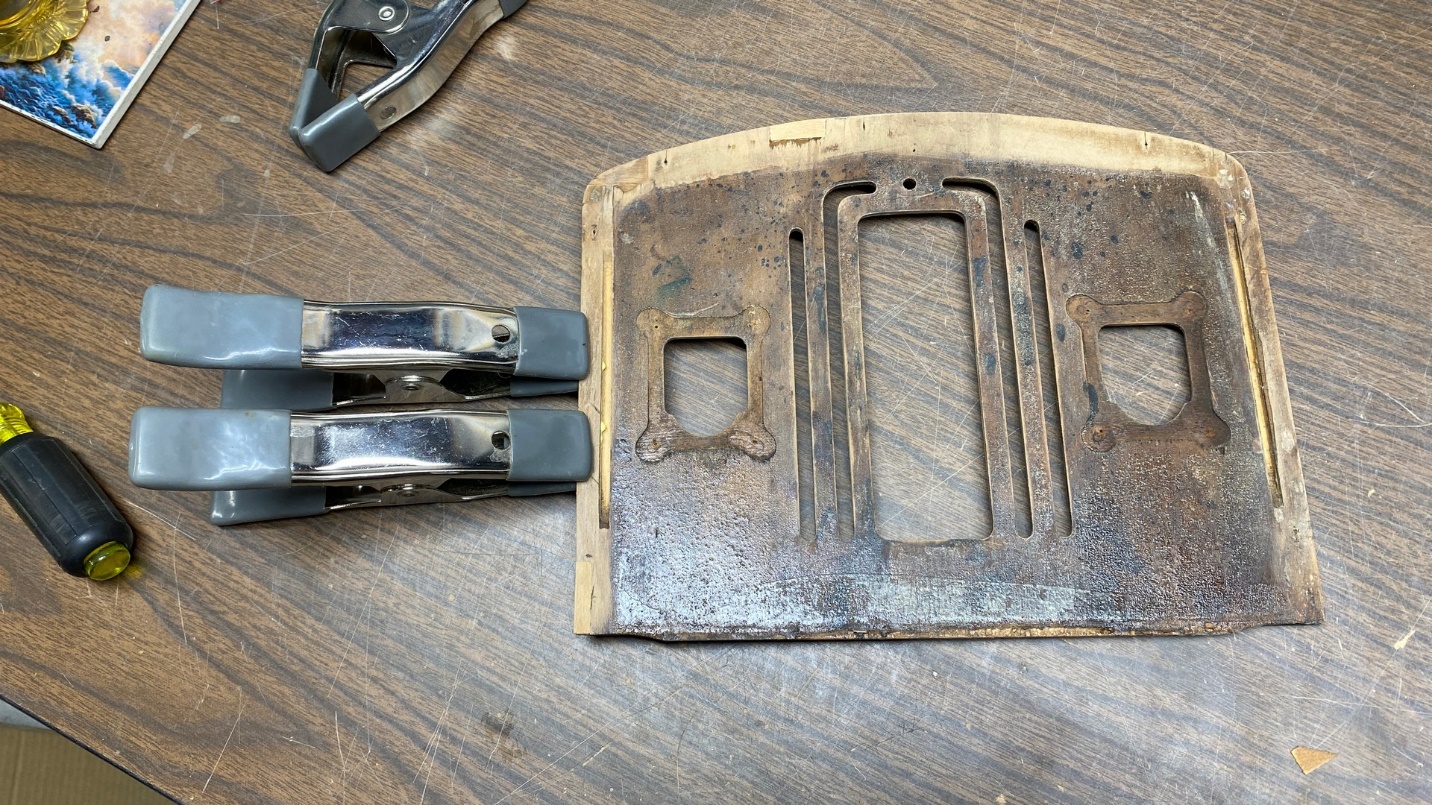
Clamping an area which had become delaminated.
At this point, I felt I had done all I could do to the front panel. And, likewise, this is a good point for us to take a break in the action as I have run out of room here once again. In the next installment, work will continue on this cabinet. Join me then.