In Part 3 of this series, I reassembled the speaker with a new field coil and new audio output transformer. I then tested it with the Model 65 radio and it sounded fine.
Now it was time to put that rebuilt speaker into one of the two F-10 speaker cabinets I had on hand.
I wanted to use the original grille cloth from one of the F-10 cabinets. The cloth was old (92 years old in fact), torn in several places, and generally in very bad shape.
This cloth pattern was never reproduced, and likely never will. So, I needed to find a way to attempt to repair the original cloth.
The obvious answer was stitch witchery.
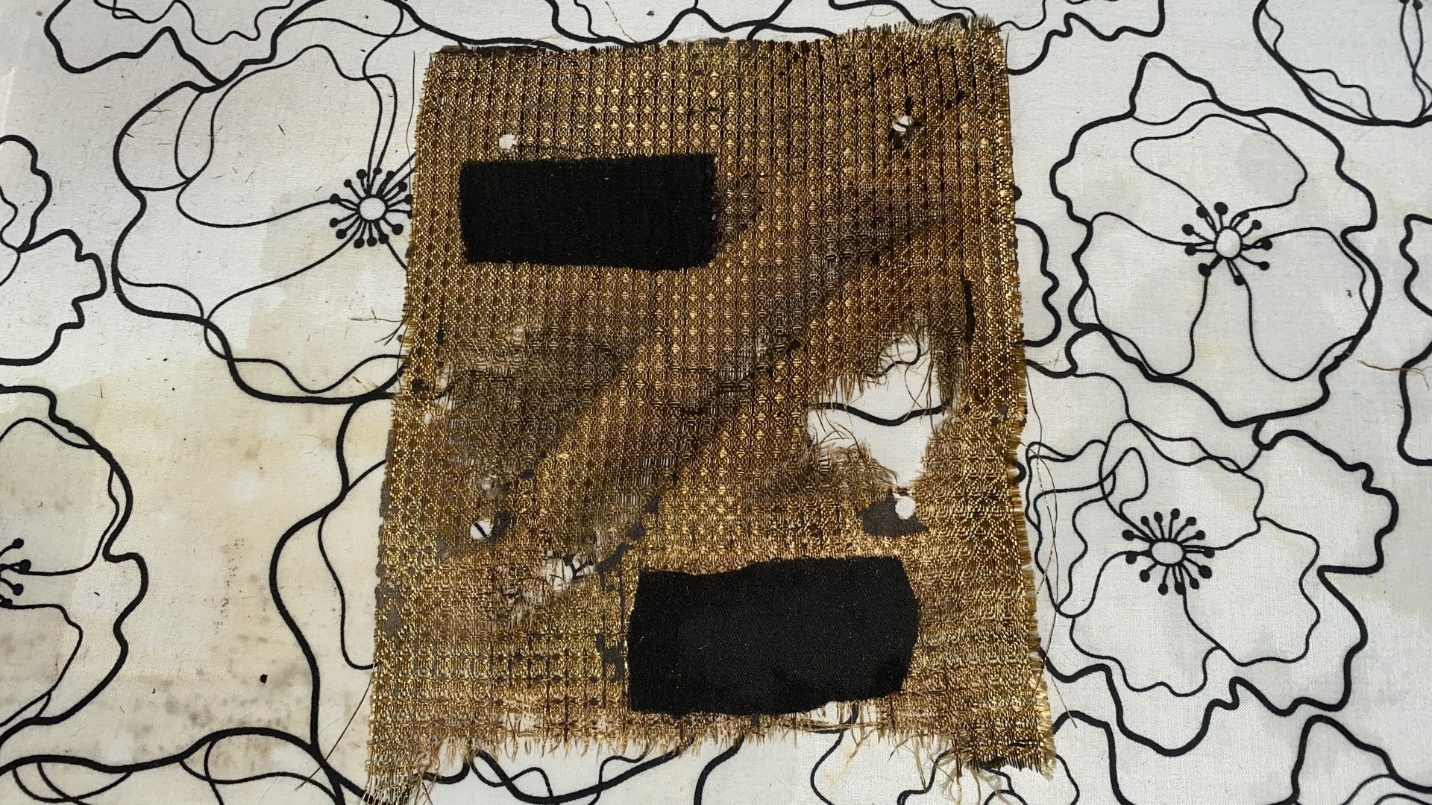
Stitch witchery is holding the black pieces of cloth to the back of the old grille cloth.
What is stitch witchery? It is a thin material which is placed between layers of fabric. When heated to a high temperature with an iron, the stitch witchery melts and bonds the layers of fabric together.
I had never used it before, so this was going to be a new experience.
I decided to practice on a piece of 1940 Philco grille cloth which was even in worse shape than the F-10 cloth.
I needed some sort of dark material to be placed behind the tears in the cloth. Debbie graciously gave me some thin black fabric. I cut two pieces of the cloth in preparation to use it on the 1940 Philco cloth.
As you see in the photo above, the stitch witchery easily held to the old cloth. The photo below shows how the cloth looked from the front after the application of stitch witchery.
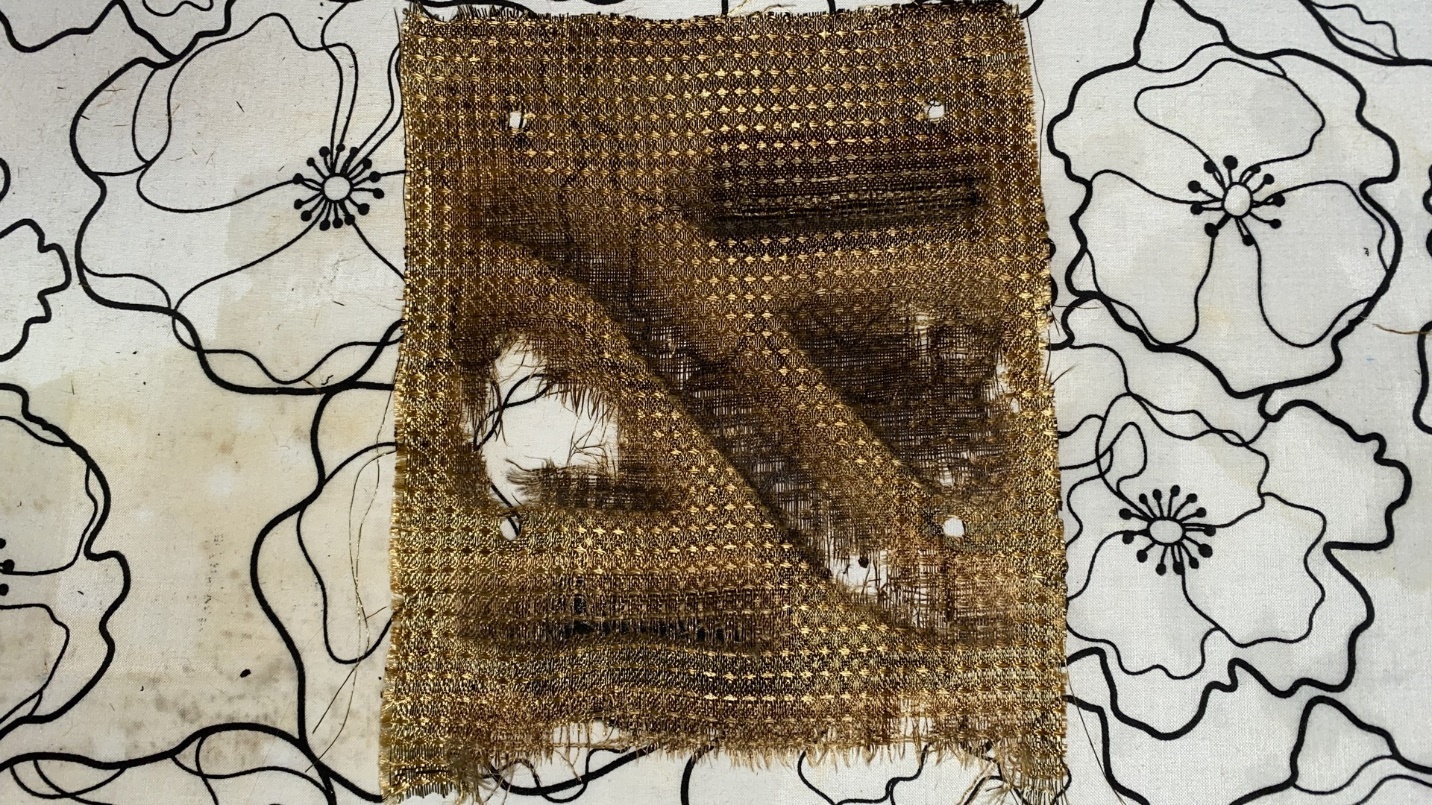
1940 Philco cloth which has been repaired at top right and bottom left with stitch witchery.
The cloth was already badly discolored, but you can tell that the horizontal lines at upper right and lower left have been repaired with stitch witchery.
I felt that the product was fairly easy to use and decided to proceed to repair the F-10 speaker cloth. I knew this was going to be a challenge, but I had nothing to lose by trying.
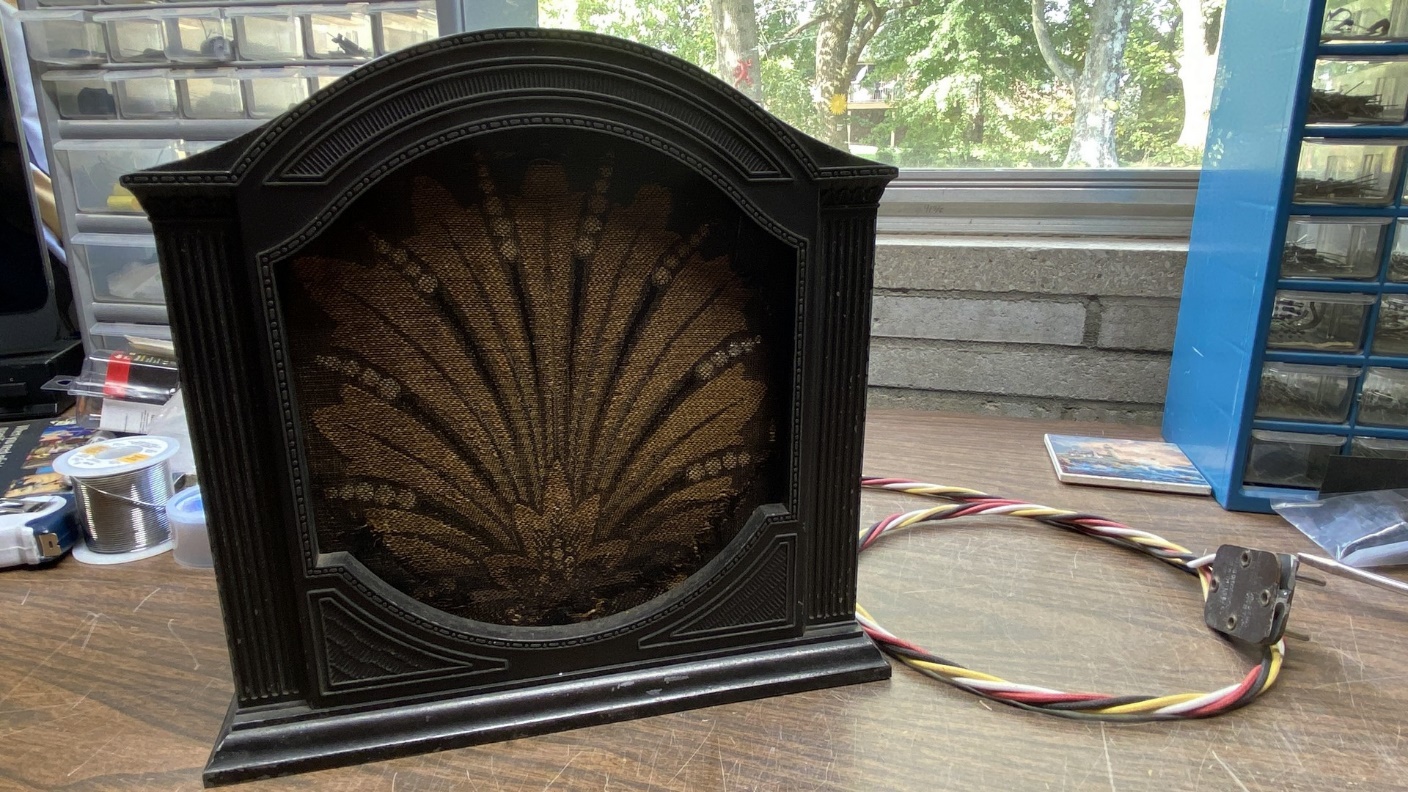
The challenge – attempting to salvage the original F-10 speaker cloth.
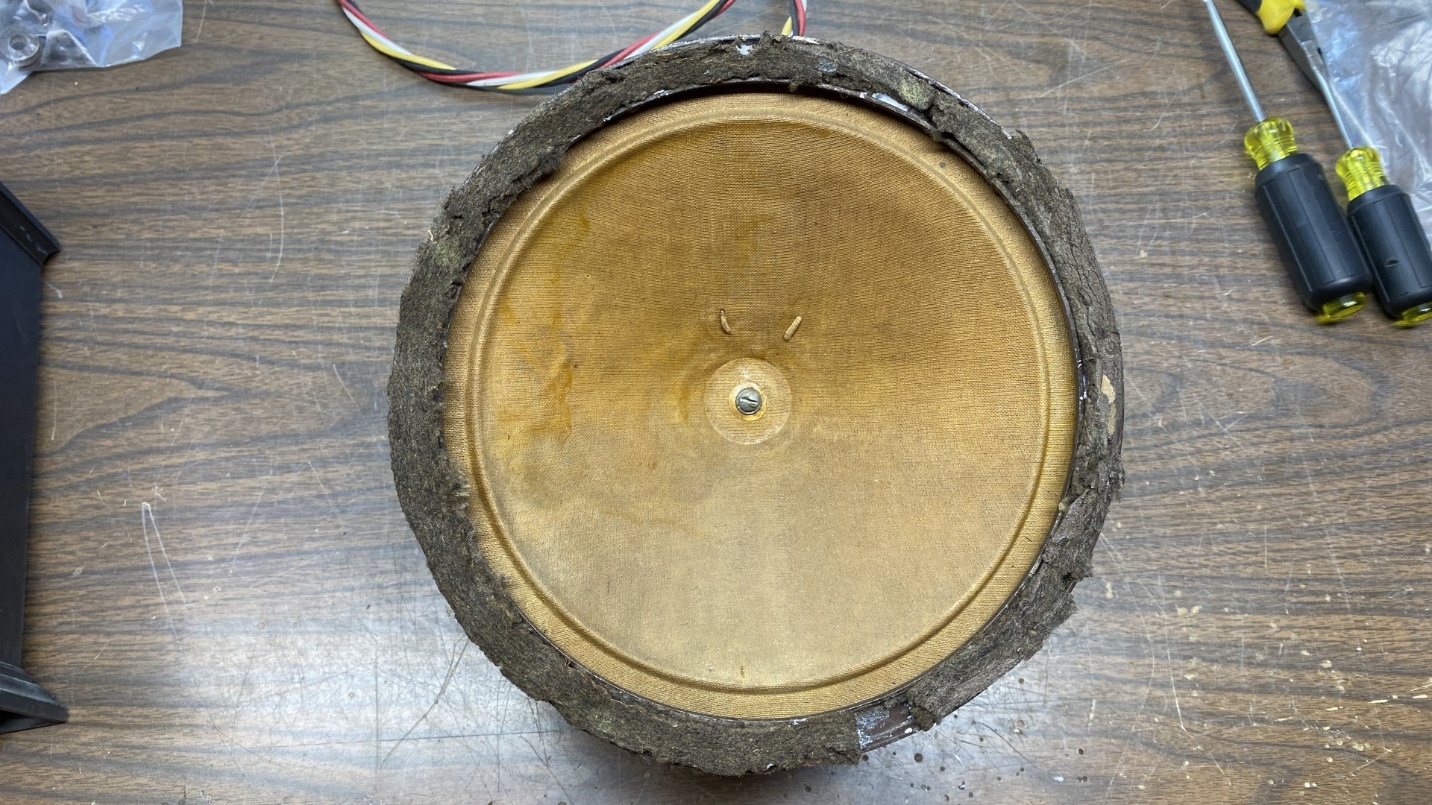
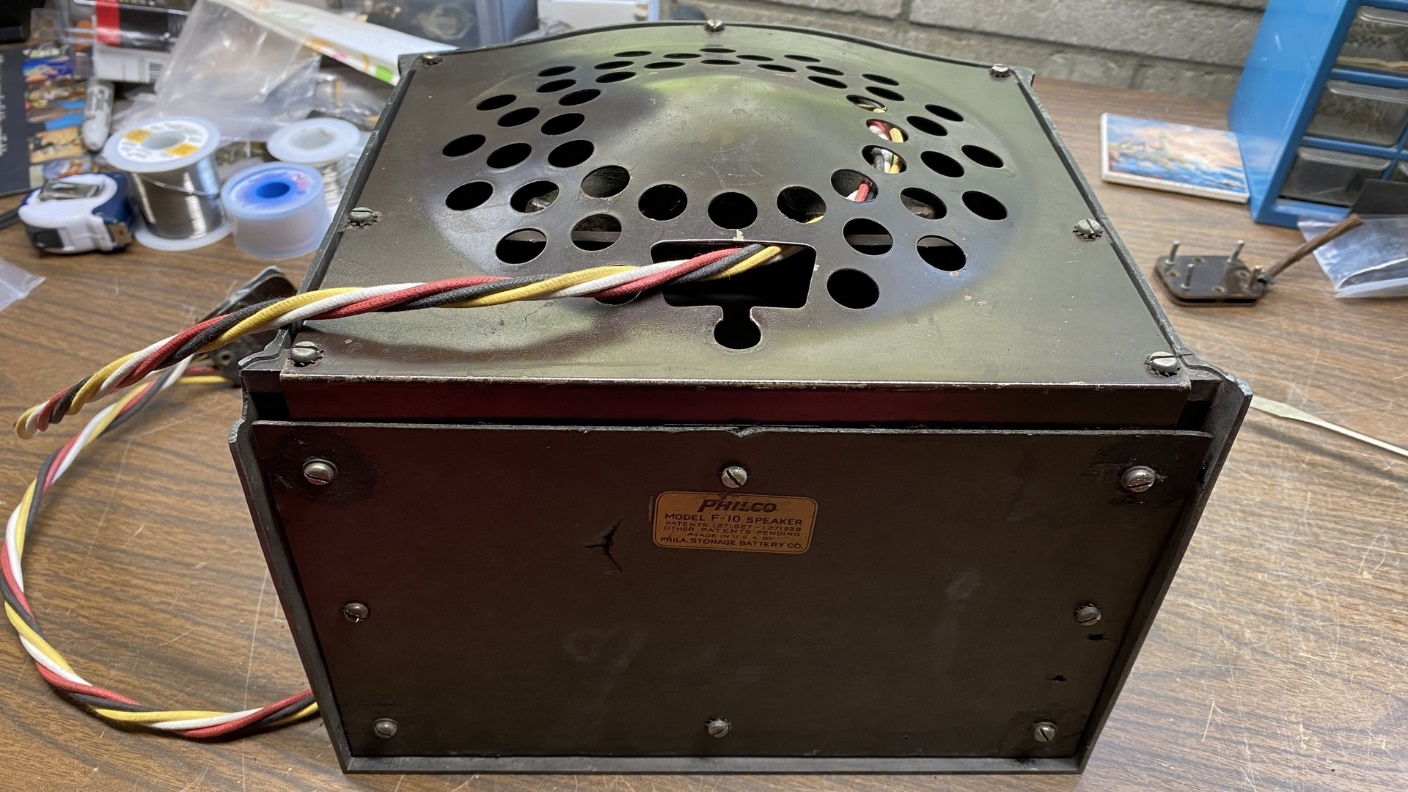
I began to disassemble the speaker cabinet. First the fiber speaker bottom was removed, followed by the metal back.
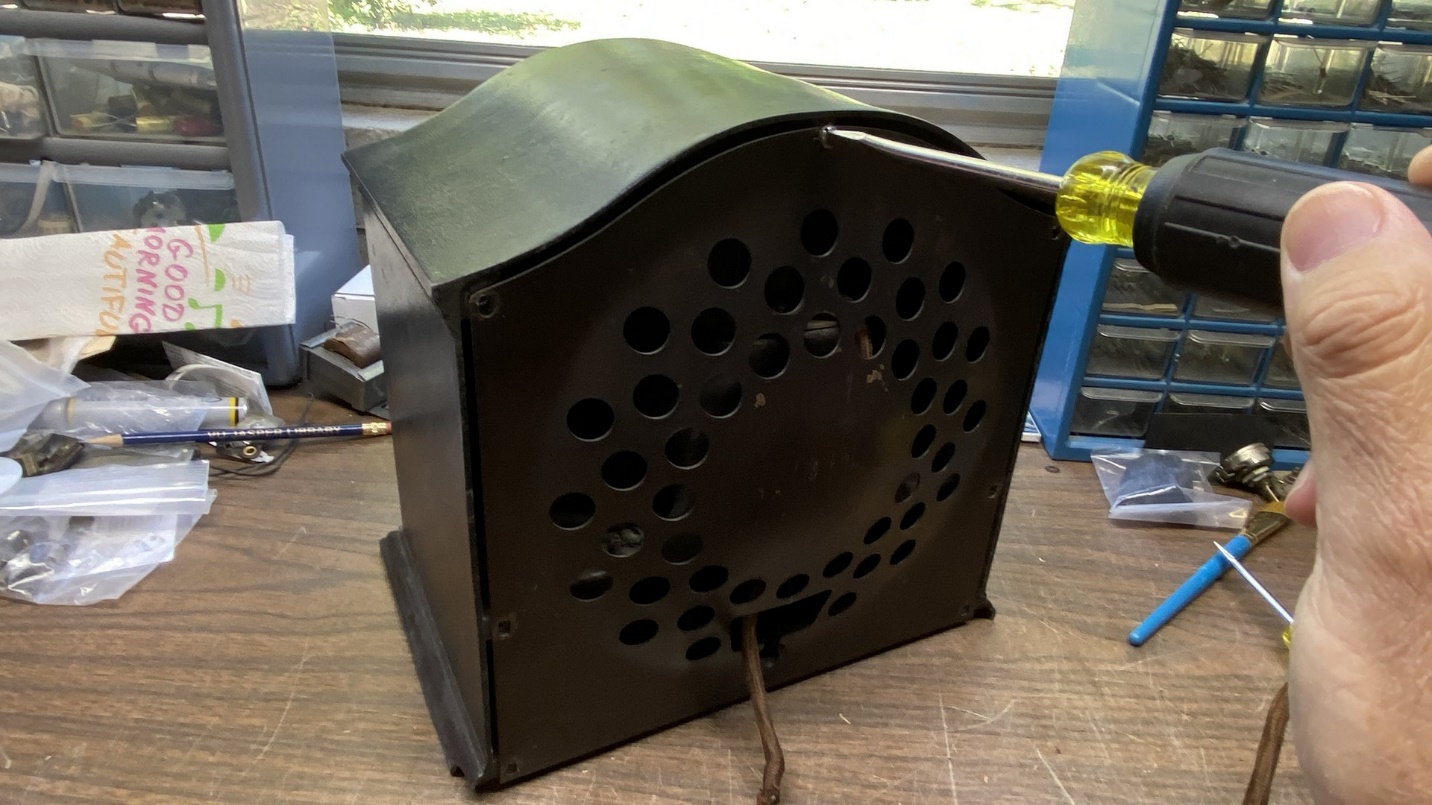
I began to disassemble the F-10 speaker.
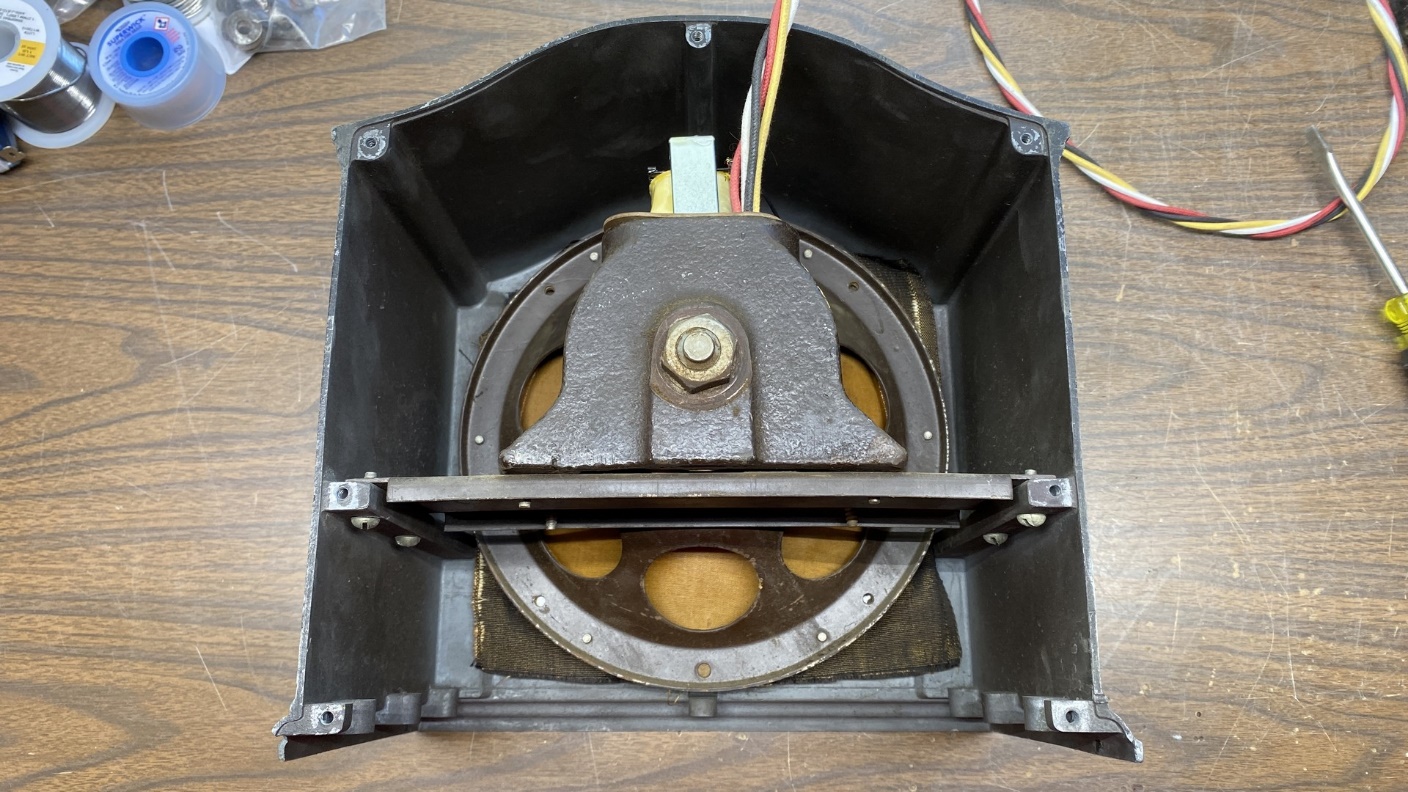
After doing this, the speaker may be accessed. Now, this is the other speaker which also had an open field coil and bad audio transformer, and which I did not repair – the repair of the other speaker was expensive enough! Anyway, the speaker was held in the cabinet with four screws which were soon removed, allowing me to remove the speaker from the cabinet.
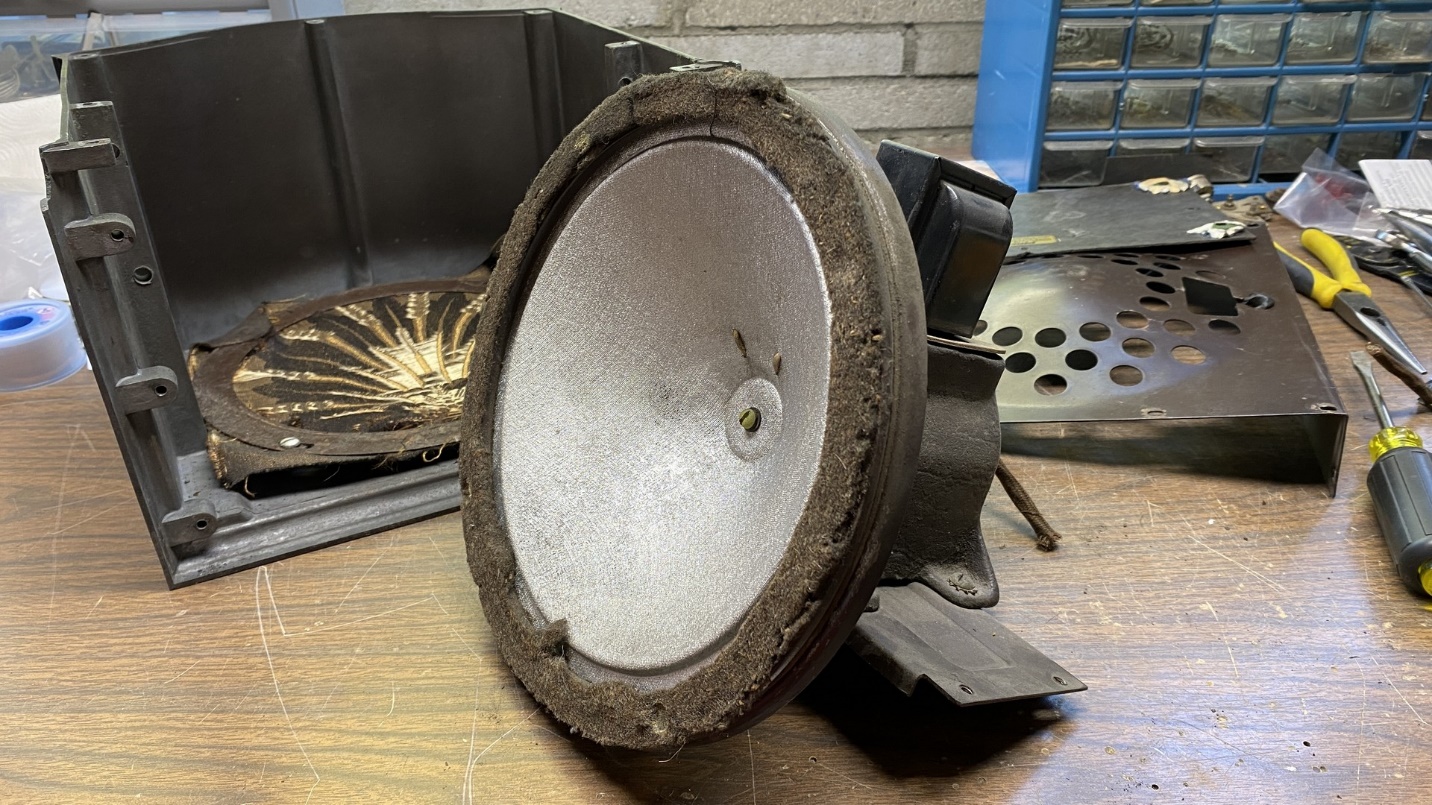
After the bottom and back have been removed, the speaker was removed.
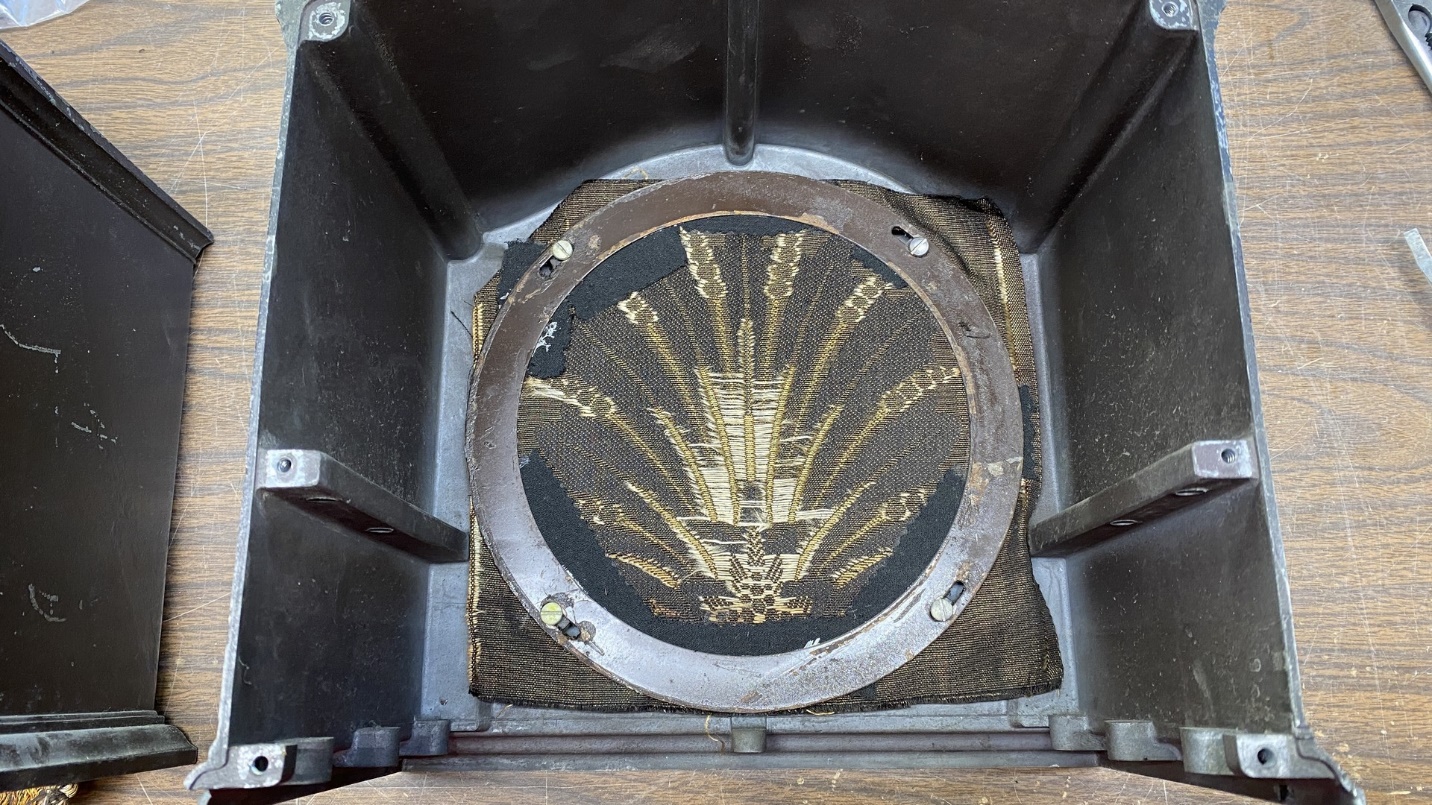
Now the original grille cloth could be accessed. It was glued to a metal ring, and this assembly was held inside the cabinet with four screws.
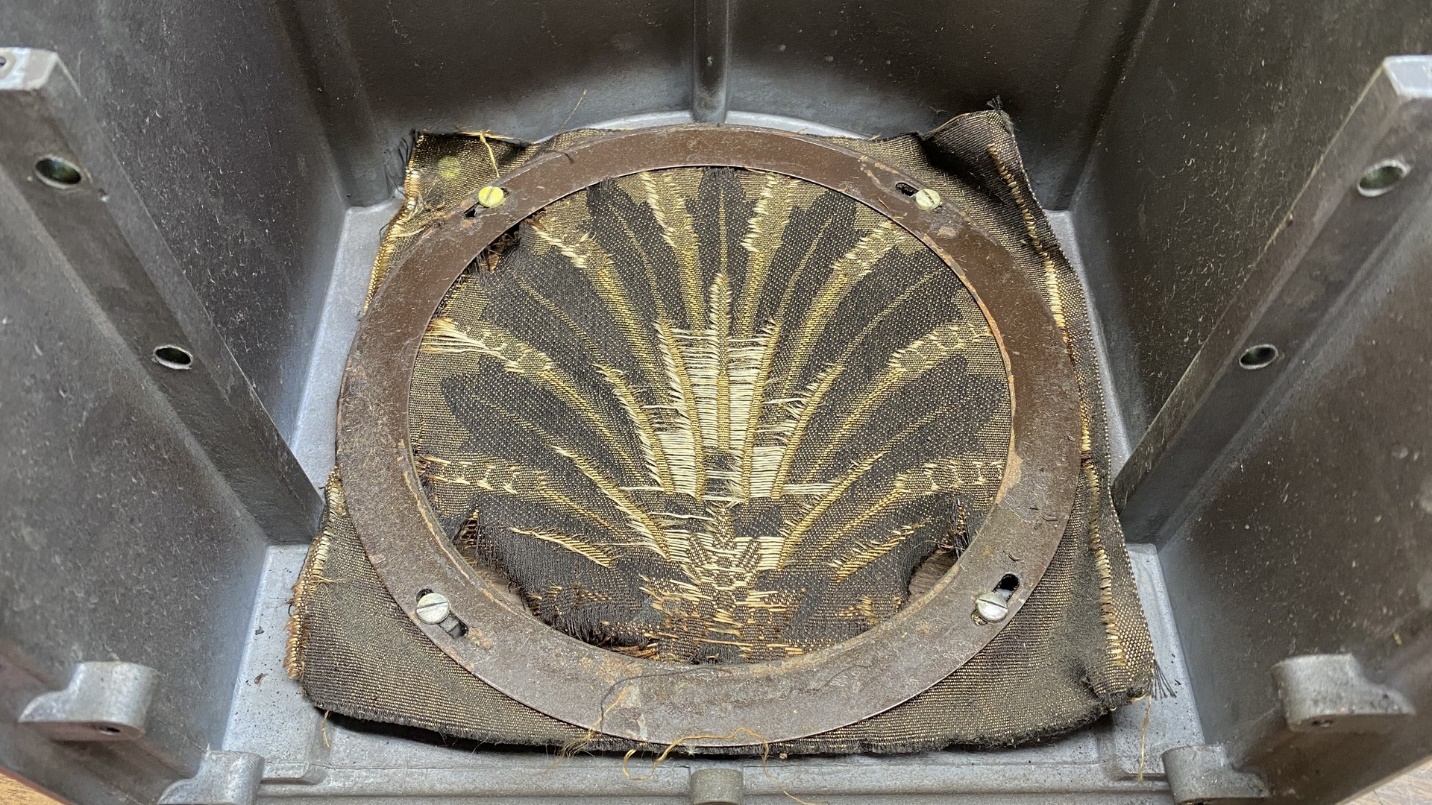
Four screws hold the grille cloth in the cabinet. The cloth is glued to the metal ring.
Once the four screws were removed, I carefully removed the assembly of cloth and trim ring.
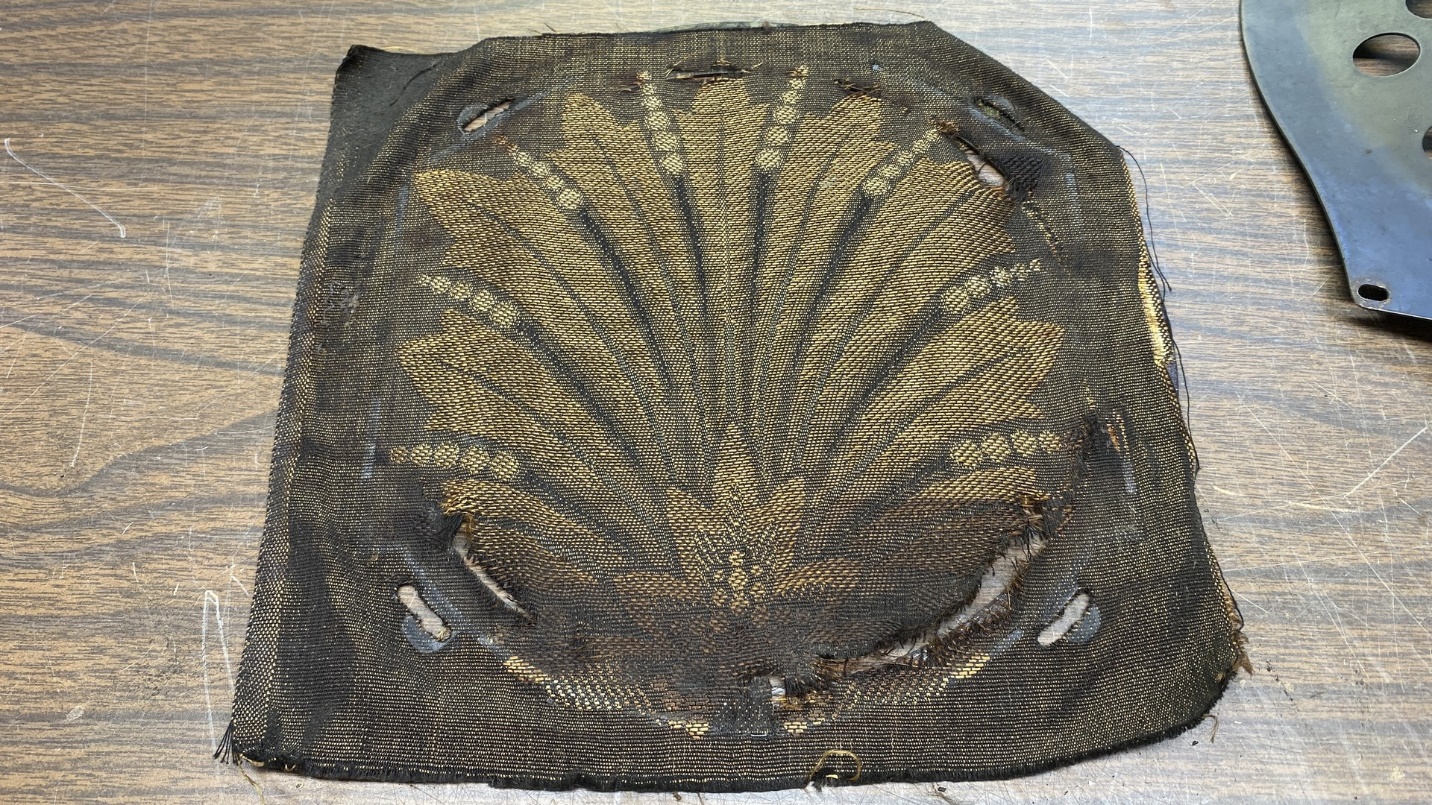
The cloth was carefully removed from the cabinet. As you can see, it was in pretty rough shape.
In order to try and repair the cloth, I needed to separate the cloth and metal ring. At first I tried to carefully pull the cloth away from the ring, but when the cloth began to tear even more, I knew I would have to try something different.
Acetone to the rescue!
Acetone is great for loosening old glue, among other things. It is also very toxic and must be handled with care. Working outdoors and using an eyedropper, I gradually applied acetone to the cloth around the ring, a little at a time. Acetone loosens the glue within seconds, and then I could gradually pull the cloth away from the ring.
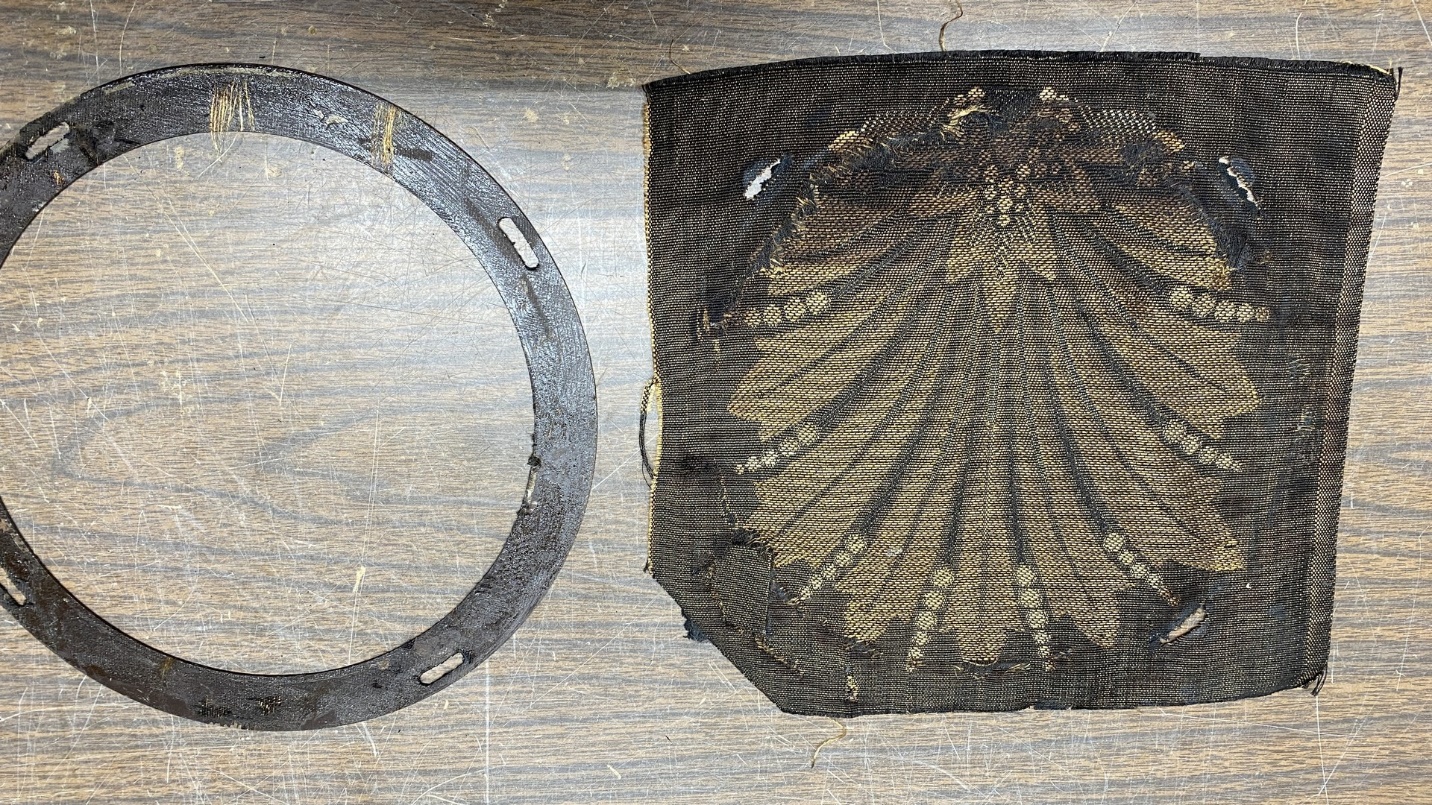
After working with the acetone for several minutes, eventually I was able to free the cloth from the ring.
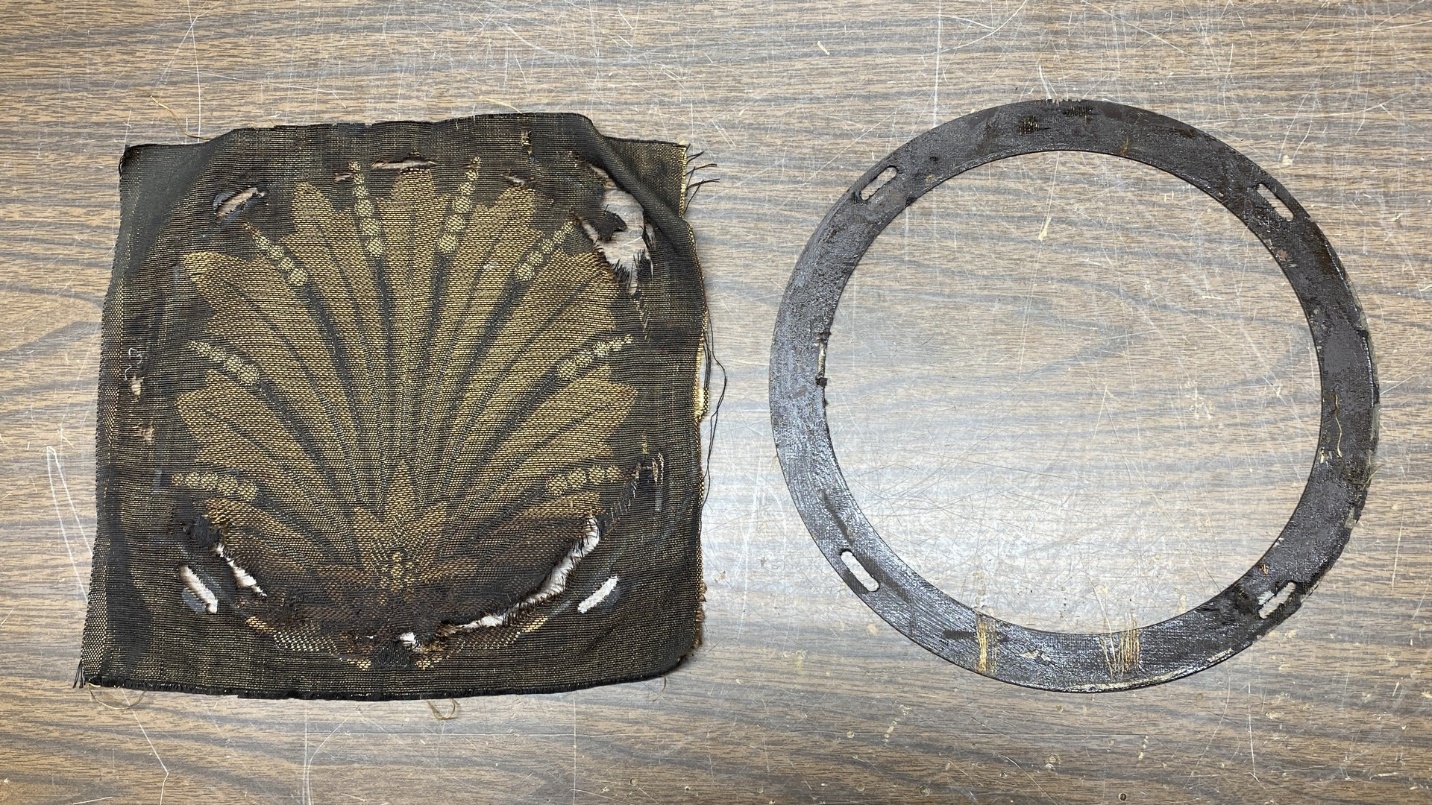
With the help of acetone, the cloth was carefully removed from the trim ring.
Once the cloth was free, I then evaluated the condition of the cloth. It was, as I knew, in very bad shape. The cloth had torn in several places around the inner circumference of the ring where prying fingers had accidentally pressed against the cloth over the decades. In addition, there was a jagged hole in the upper right of the cloth!
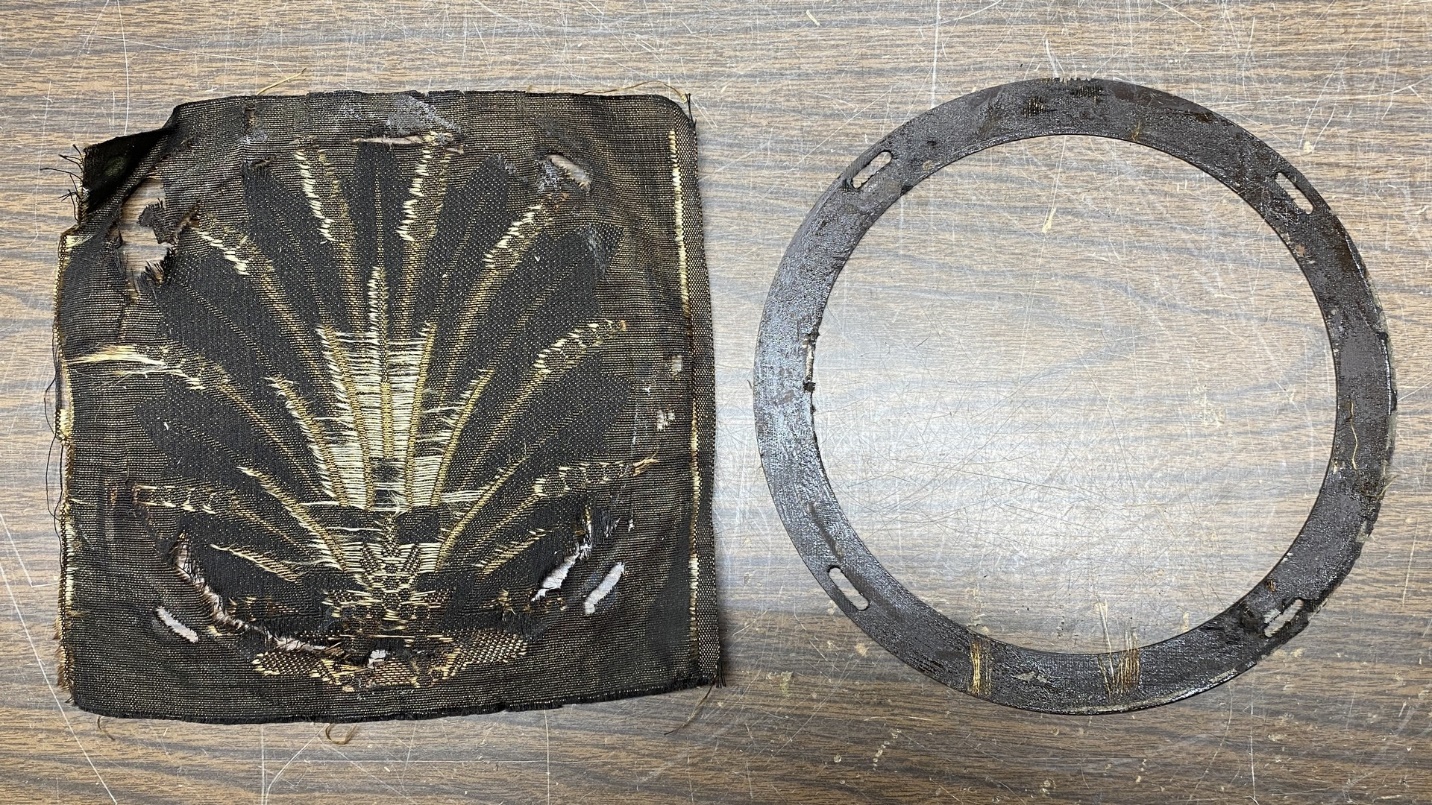
The back side of the original cloth.
Oh my! This was going to be even more of a challenge than I thought. But I pressed ahead anyway. Literally.
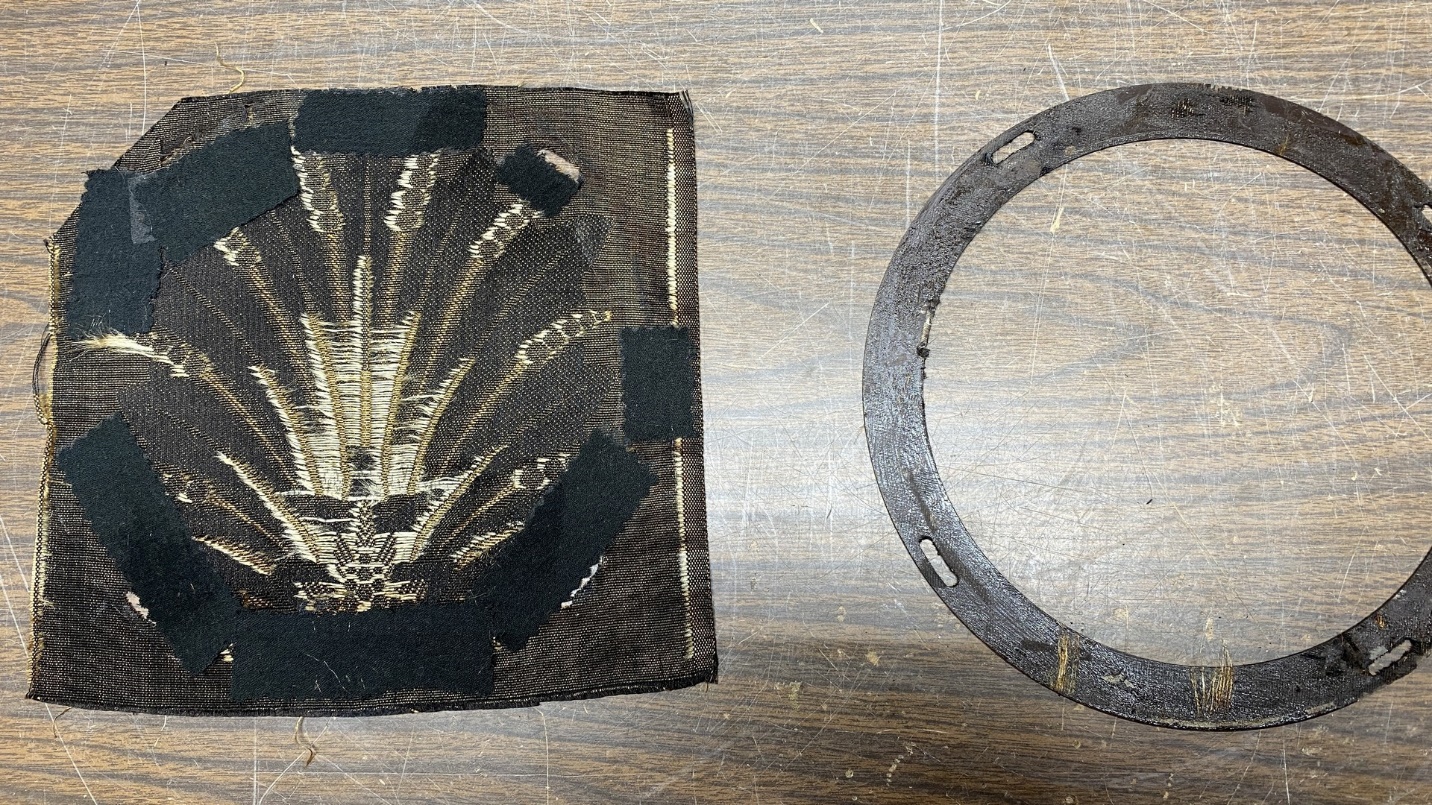
Stitch witchery and pieces of black cloth now hold the original grille cloth together.
Slowly, I cut pieces of black cloth and matching pieces of stitch witchery, and worked my way around the back of the cloth. For the hole, I added a piece of cloth which I cut from an unused corner of the cloth.
Eventually, I had a patchwork of black fabric pieces around most of the original cloth as you can see in the photo above.
The cloth is ready to reinstall on the trim ring.
I looked at the front of the repaired cloth. Of course, it was obvious that it had been repaired. I knew it would be. I also noticed that the piece of original cloth I had added to cover the hole was not straight in relation to the rest of the cloth. Oh, my! Well, at this point, there was nothing I could do about that.
I scraped off the ring where the cloth had been originally glued. Then, I took the ring outside and sprayed the surface with 3M Super 77 adhesive. Soon, I had the original cloth glued back to the ring. I had to work extremely carefully in fear that I might tear the cloth even more. In fact, the cloth did tear slightly as I was trying to pull the cloth as tightly as I dared on the ring.
With the cloth reattached to the ring, I set the assembly aside temporarily.
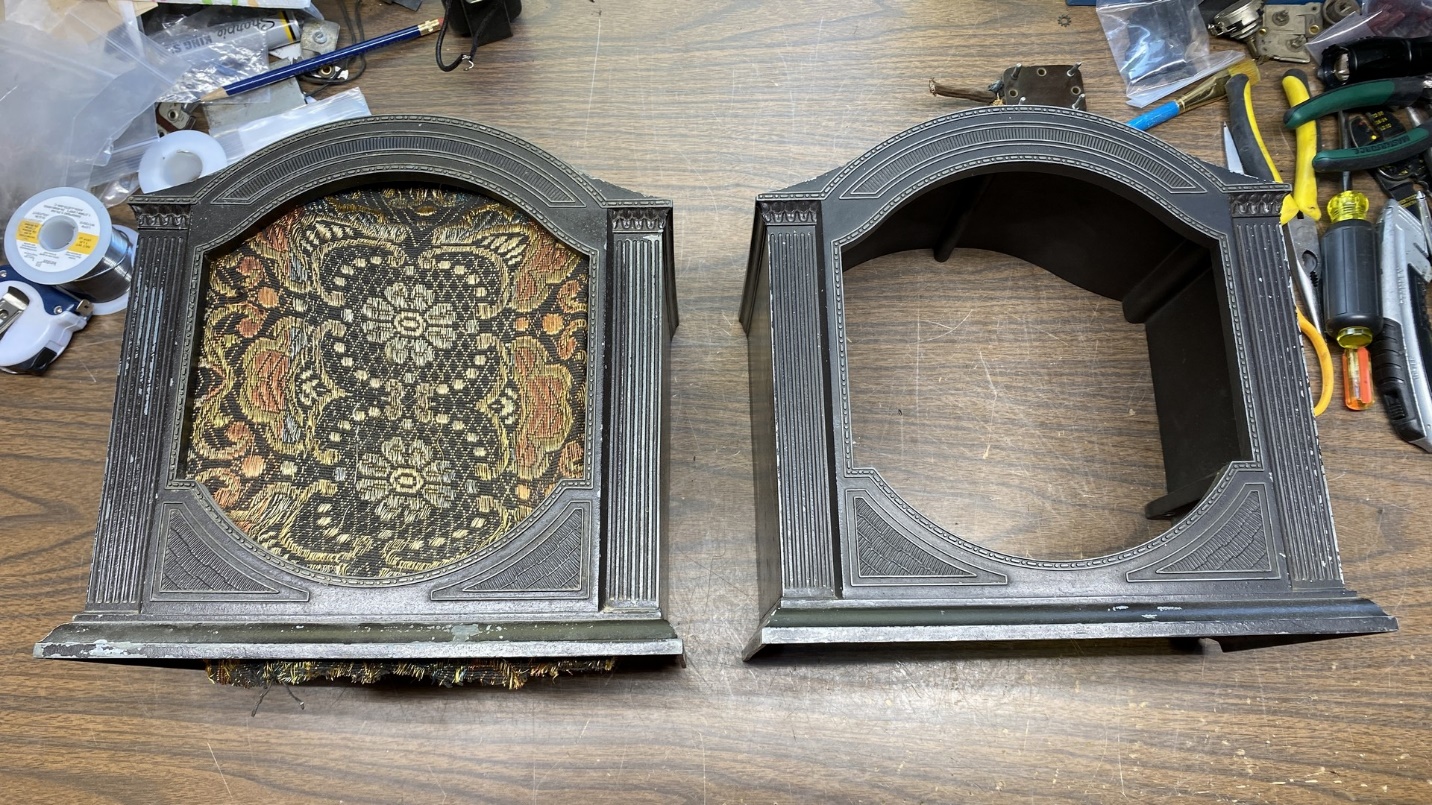
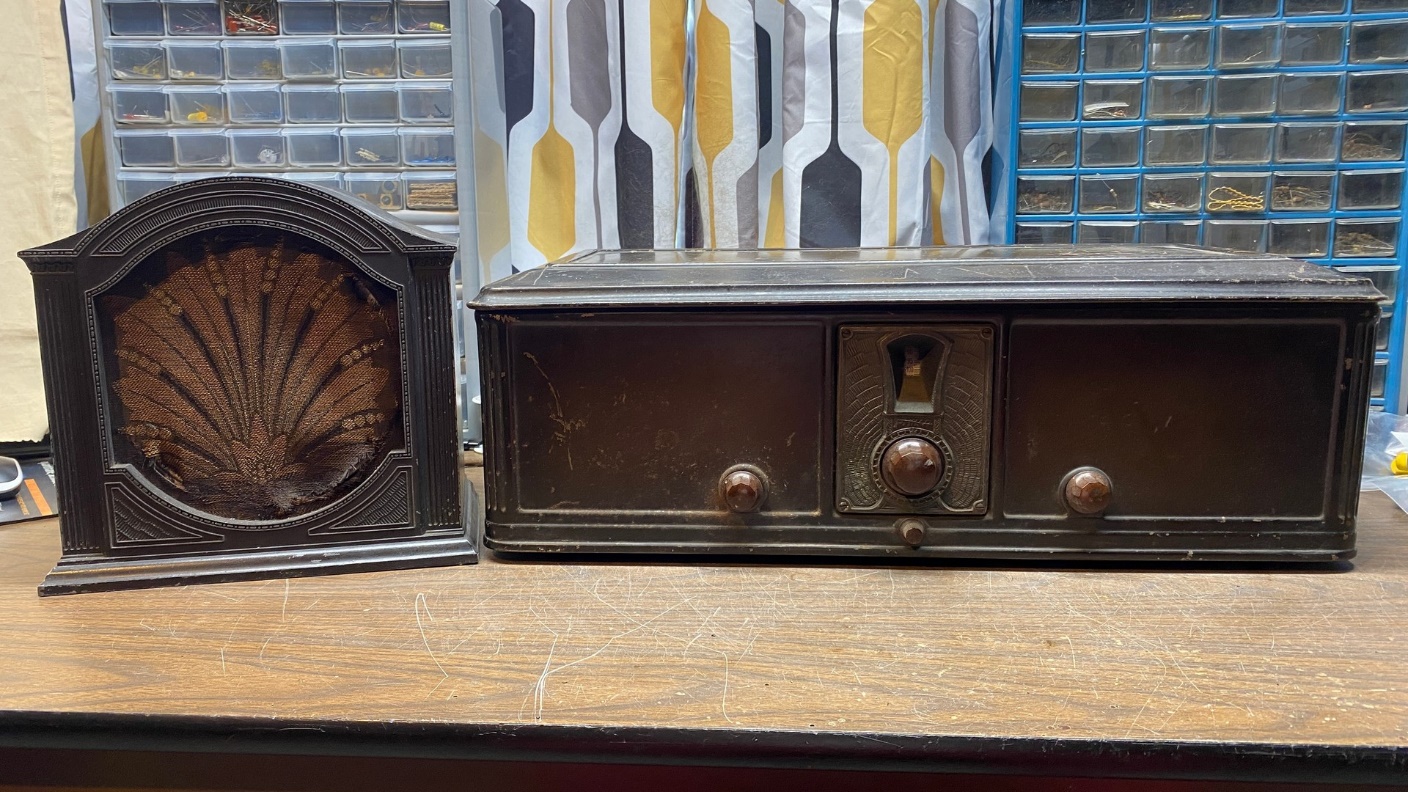
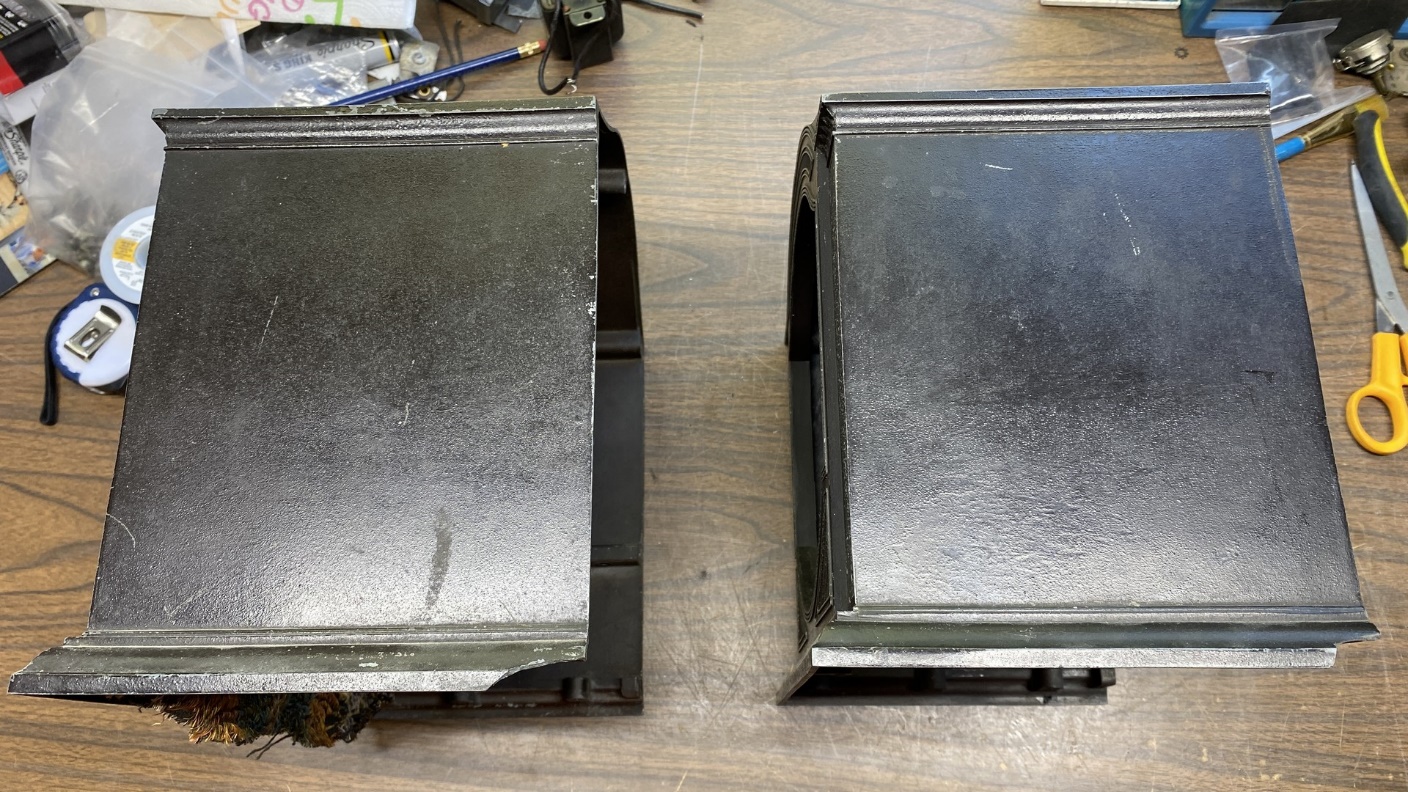
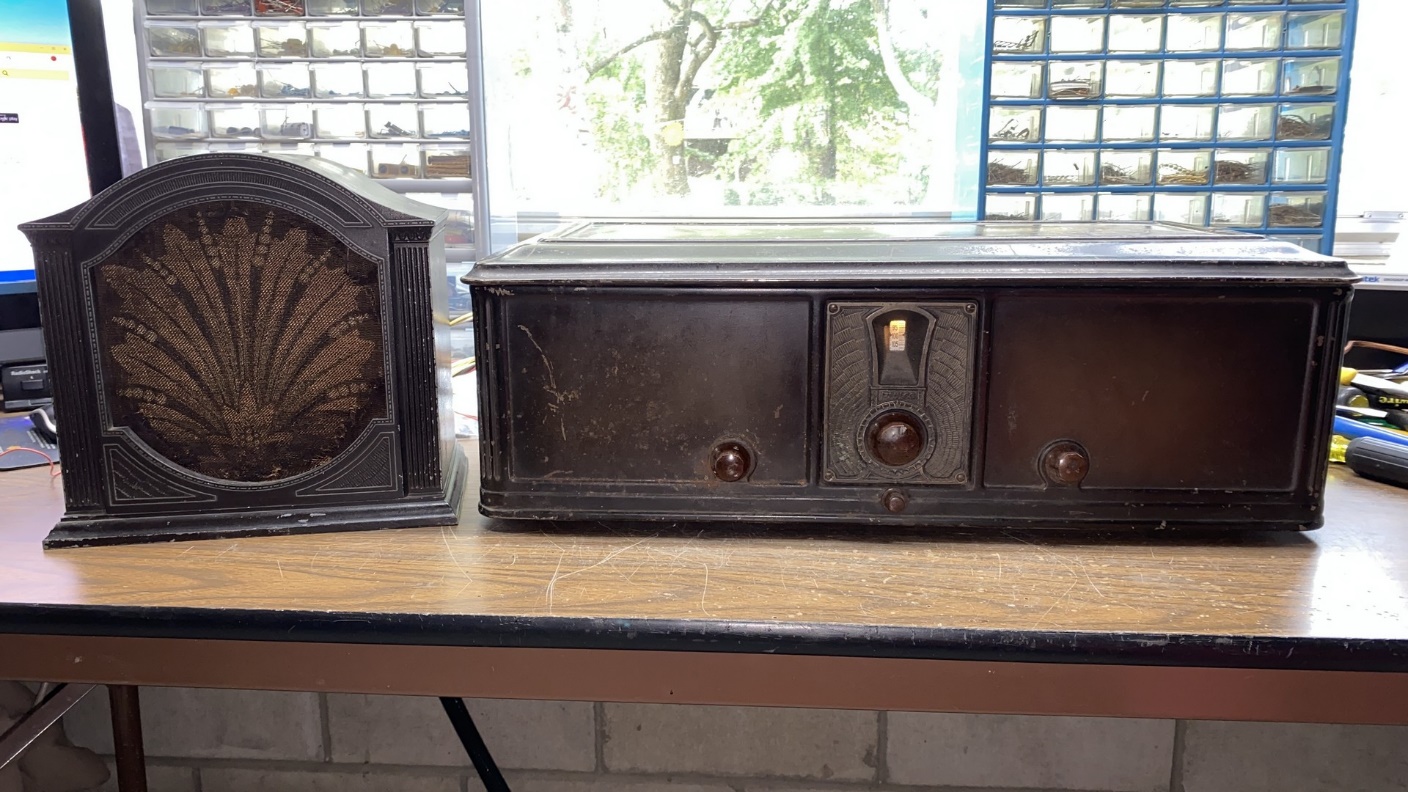
Comparing the two F-10 speaker cabinets.
I decided that I would compare the two F-10 cabinets I had, and use the best looking of the two with the repaired cloth and rebuilt speaker.
Nearly every F-10 I have ever seen has had a piece of the cabinet broken at lower rear right.
The cabinets were made of pot metal, and so many of them seem to have a piece broken from the lower right rear. This was the case with both my cabinets. I ended up choosing the cabinet from which the cloth had come, because the other cabinet had lots of scratches. The badly scratched cabinet was the one which had come with the Philco 65 I have, but I felt I had made the correct decision in using the other cabinet.
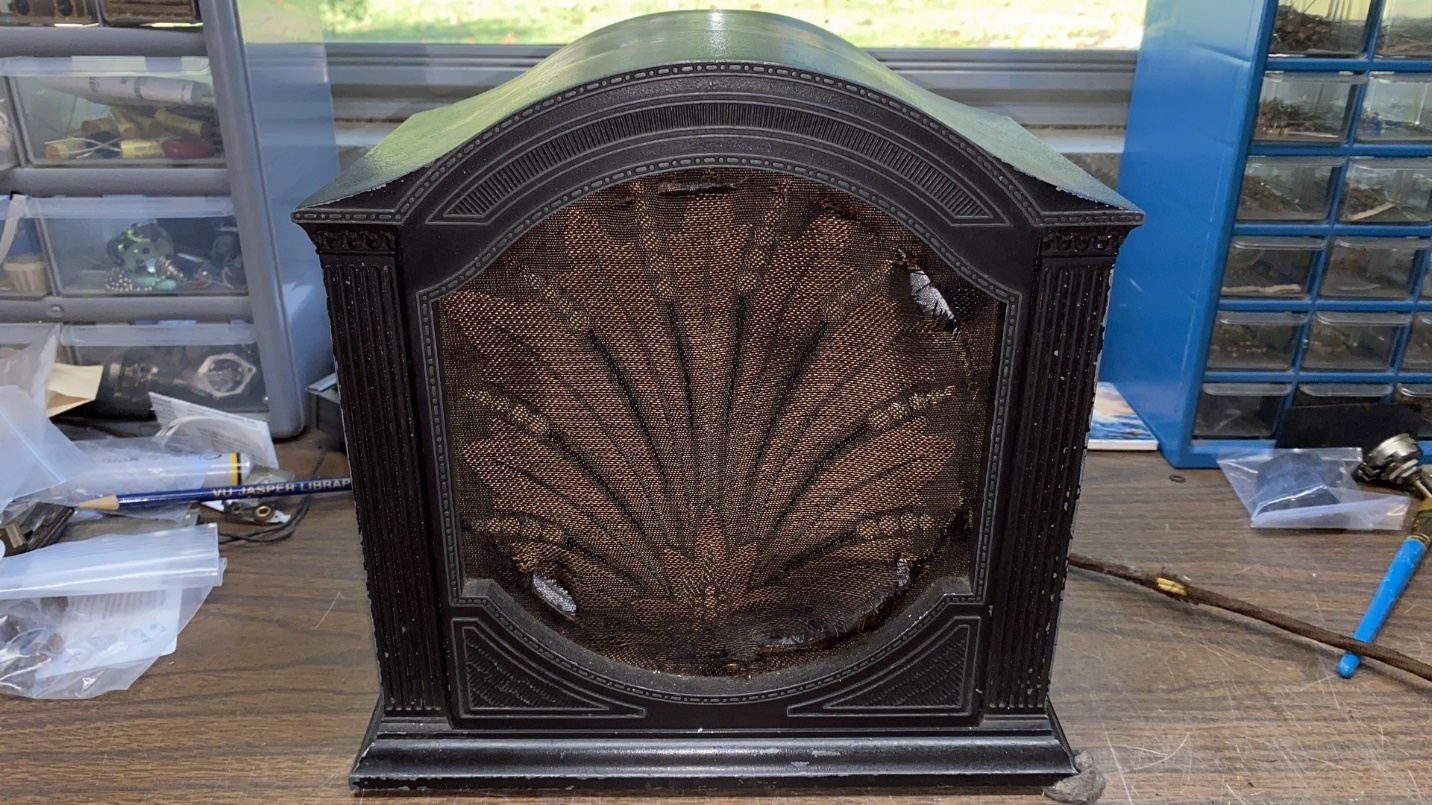
Having chosen a cabinet, the repaired cloth is remounted inside.
Using the four mounting screws, I soon had the repaired cloth mounted back inside the cabinet.
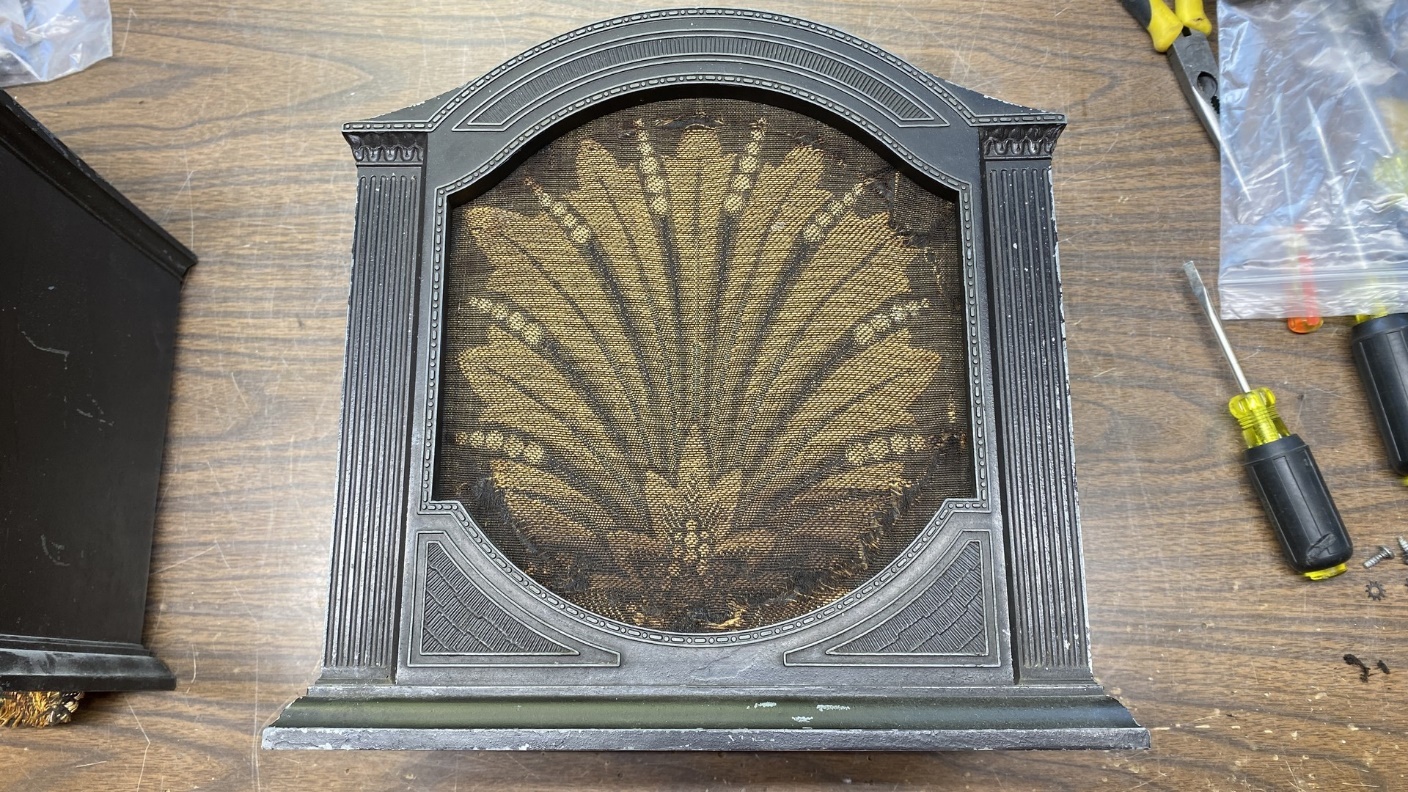
The cloth will never look like new again, but the stitch witchery should hold it together for quite some time.
Now it was time to put the repaired speaker inside the cabinet. Before I could do that, I needed to glue the gasket back to the trim ring around the front of the speaker. This was soon accomplished with the help of craft glue.
The gasket has been glued back on the front edge of the repaired speaker.
Once the gasket was back in place, the speaker was installed inside the cabinet as seen below.
The repaired speaker is now inside the cabinet.
The back of the speaker cabinet was soon reattached, followed by the fiber cabinet bottom.
The cabinet back and bottom have been reinstalled.
I will need to acquire four plastic feet and attach them to the cabinet.
I noticed that I had forgotten to add a rubber grommet to the new speaker cable before soldering it in place at both ends. I solved that problem by cutting a grommet so that I could slip it over the cable and then pushed it into place on the metal speaker back.
The completed F-10 speaker.
The speaker was all done!
As a final test, I brought the heavy model 65 radio over to the workbench and connected the speaker to the radio, along with my longwire antenna.
The speaker looks as well as a 92 year old speaker can with repaired grille cloth. It sounds excellent with its new field coil and audio output transformer.
Before long, the radio was up and running, and the rebuilt speaker sounded great. It looks okay – at least, the cloth no longer has any gaping holes. Am I satisfied with how it looks? No, not really. But I also realize that this is likely the best it can be, and it still looks better with rough original cloth than it would with a non-original cloth pattern.
I noticed I was barely picking up only a few stations on my longwire. I shall have to look into that and find out what the problem is before the really cold weather sets in.
But for now, that is it for the Philco model F-10 speaker repair. As always, thank you for reading.