I needed to get the old paper capacitors and tar sealant out of the filter condenser can, so I would have room to put the can back over the new capacitors I had installed on the filter condenser can’s base.
I attempted to heat the can with my heat gun. That proved to be completely ineffective. Oh, a little bit of tar did drip out, but not enough to have any real effect. I would have had to run the heat gun for hours to even hope to get the tar-filled assembly out of the can.
So, off to the hardware store I went to purchase a new propane torch and a cylinder of propane. As I suspected, the torch was readily available. Unfortunately, they were out of the usual Bernz-O-Matic propane cylinders. The young lady at the store suggested I use a cylinder of Coleman propane instead since the threads were the same size.
I bought the Coleman propane cylinder and the Bernz-O-Matic torch.
With my new propane torch, I am ready to get the insides out of this metal can.
Now I was ready to get serious about getting the tar-filled assembly out of that can.
It only took five minutes or so of applying heat, mostly just to one side of the can, before the entire assembly fell right out of the can as seen below.
After a few minutes of heating, the insides of the can fell right out.
Using a screwdriver and a large pair of needle nose pliers, I carefully pulled the now-empty can up and away from the rectangular brick of tar and old paper capacitors, setting the can aside to cool off.
The now-empty can is set aside to cool off. You can see the condenser assembly which was once inside the can between the two bricks.
After an hour or so, I went back outside and picked up the now-cool metal can. Applying heat to the can with a torch ruins the paint where the can had been heated, so the can now needed to be repainted. I rubbed the outside of the can down with some 4/0 steel wool, brushed off the excess dirt and fibers, and sprayed it with Krylon Satin Black spray paint.
I did not bother to clean out the inside of the can. If you do this and want a very clean can, you may clean the inside with some lacquer thinner.
I gave the can two coats of paint and waited a while before bringing it back into the basement.
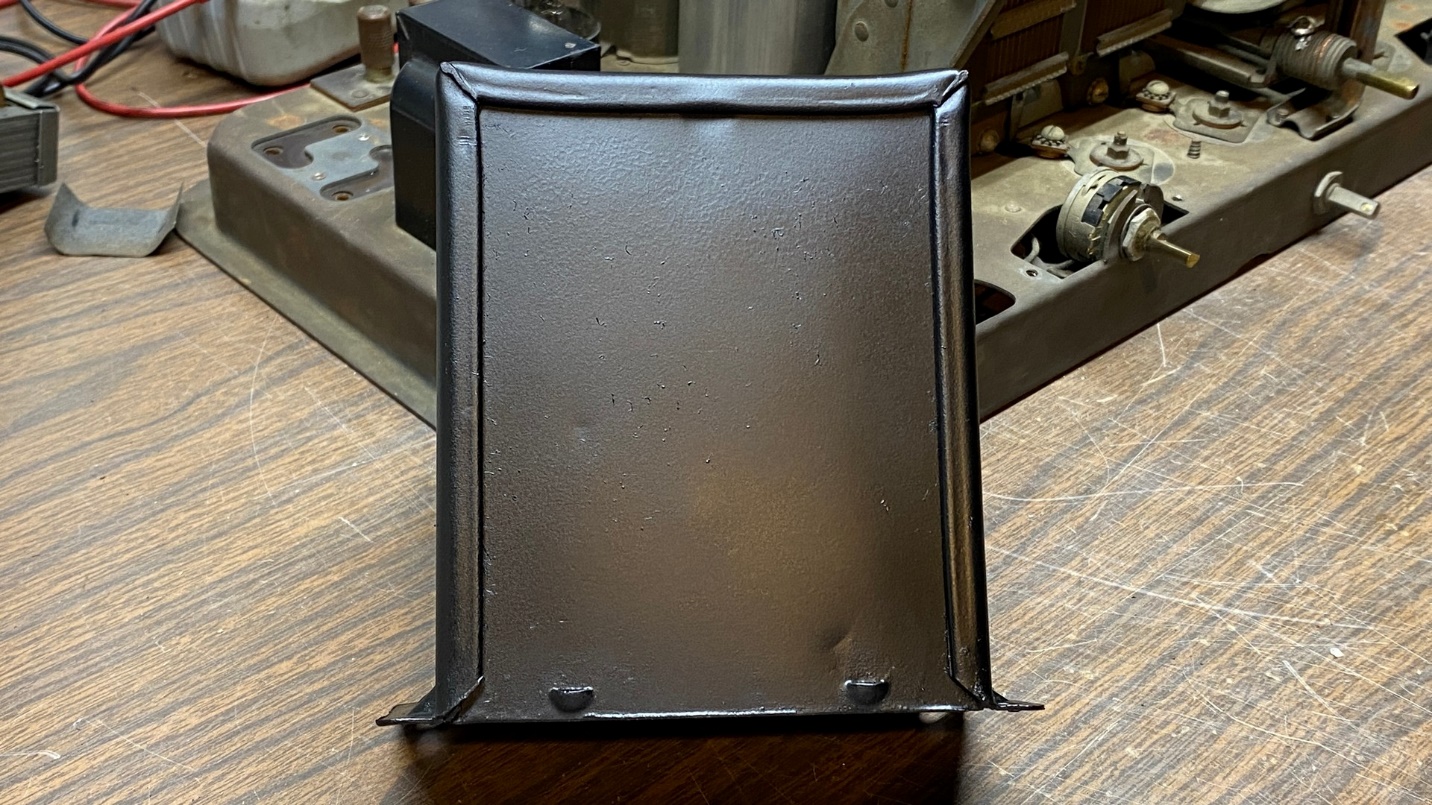
The freshly painted filter condenser can.
It is not a perfect paint job, but it will do quite well. The important thing is, you cannot tell that this is the side which had been heated with the torch, and which suffered paint damage as a result.
Now the can was ready to reinstall over the new capacitors and to be fastened to the can base.
It was a fairly simple matter to set the can in place and snap its four “bumps” into the slots provided for this purpose in the base of the can.
Finally, the four mounting screws were reinstalled, which hold the entire can assembly to the chassis.
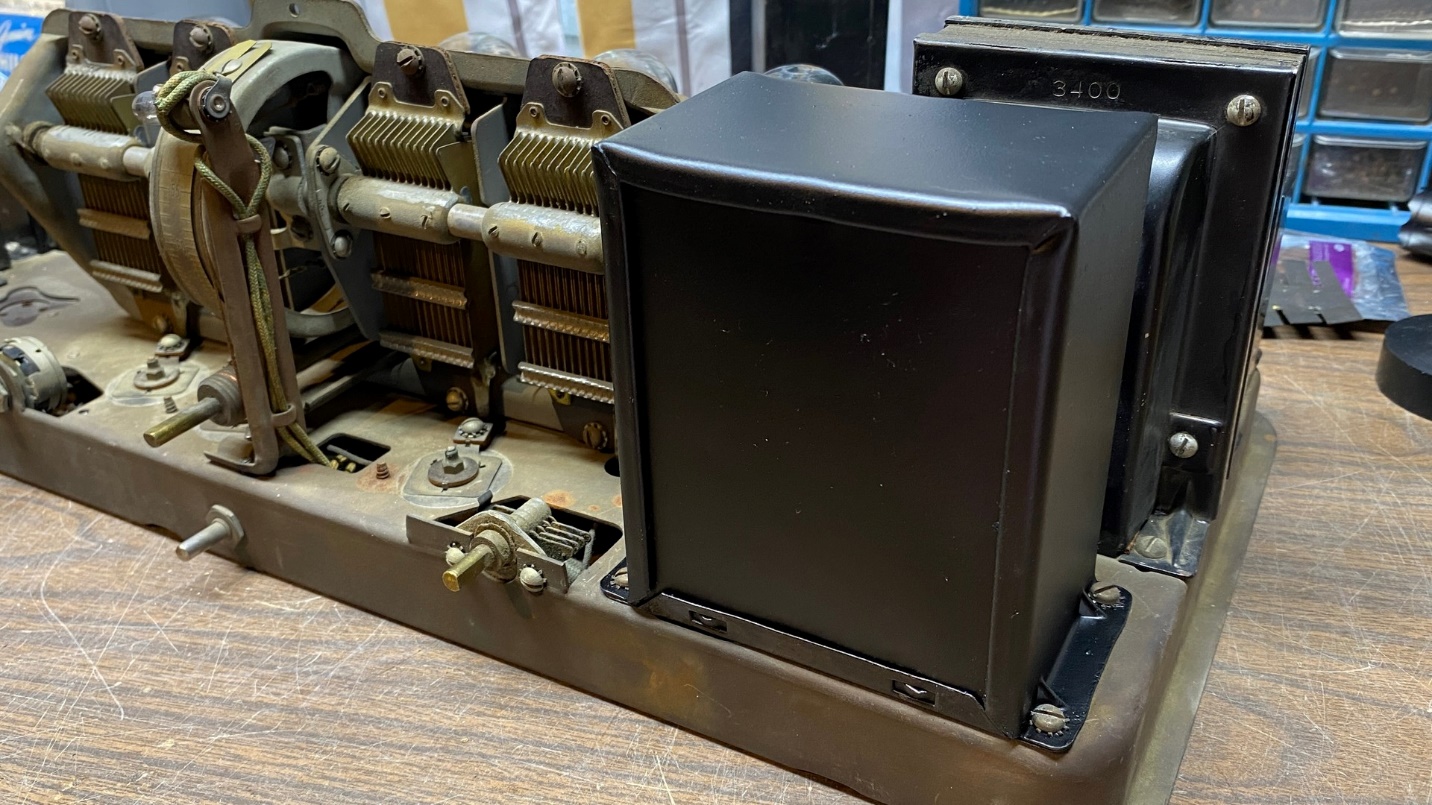
The filter condenser can assembly is now back together and looks like new.
From the outside, other than the fresh paint, it looks as if it had never been touched – which was just the look I was after.
Next time, I will turn my attention to the two open audio interstage transformers, and show you how I decided to deal with them.