If you’ll recall from last time, I was waiting for a shipment of lacquer which was supposed to be delivered on Friday, October 6. Naturally, it was not delivered until the next day, Saturday, October 7 – which was a poor day for spraying lacquer due to rainy weather.
I think I am going to switch to UPS for future shipments.
But I digress. On the next good day for spraying, I took the 16B cabinet outside to the garage and gave it three coats of Deft clear gloss lacquer. I then brought the cabinet back inside and let it dry for a few days.
Looking the cabinet over after waiting a few days, I was pleased to find there were no signs of damage on the front of the cabinet.
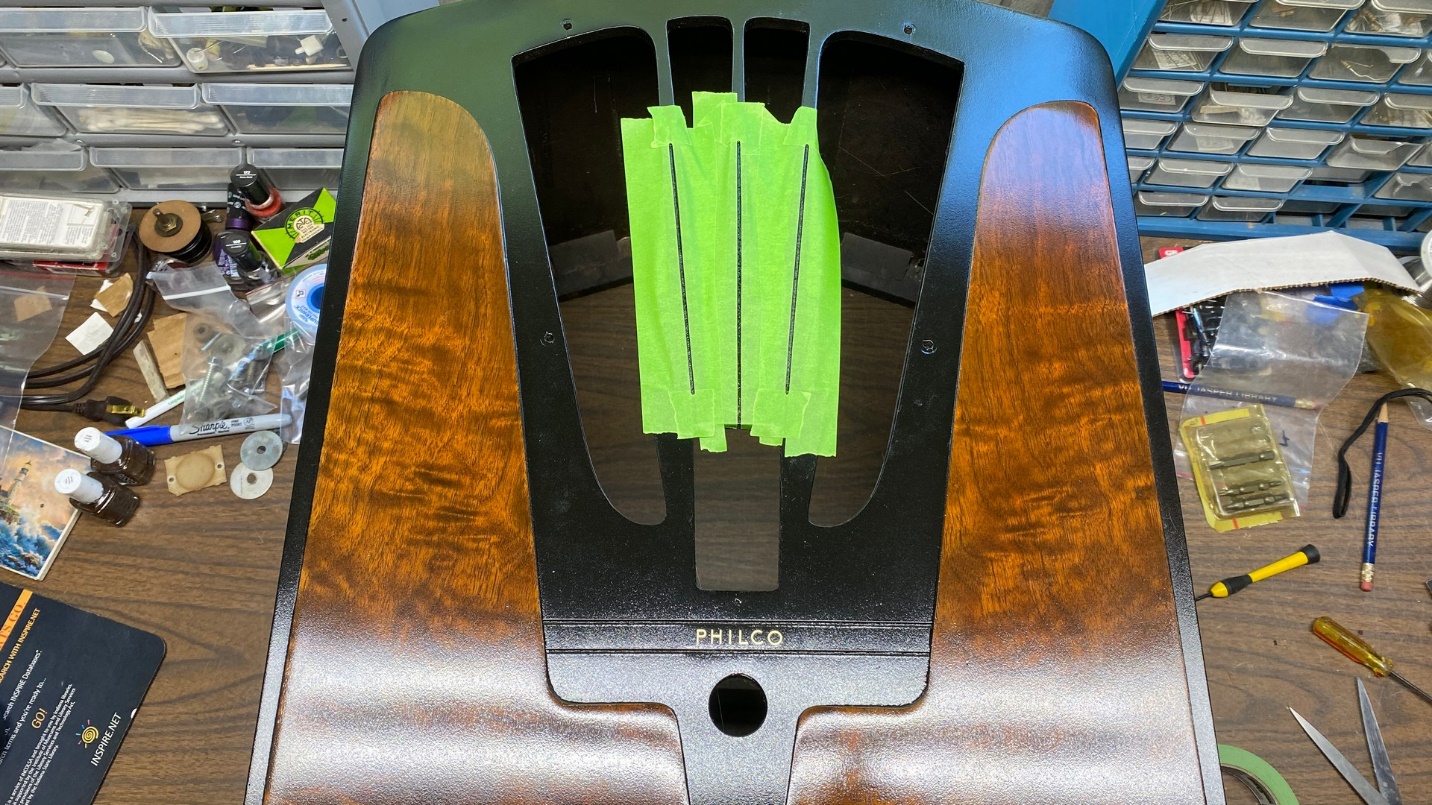
It was now time to begin carefully masking off the cabinet around each of the grooves in the front panel, in preparation for applying ivory nail polish in those grooves to replicate the original look.
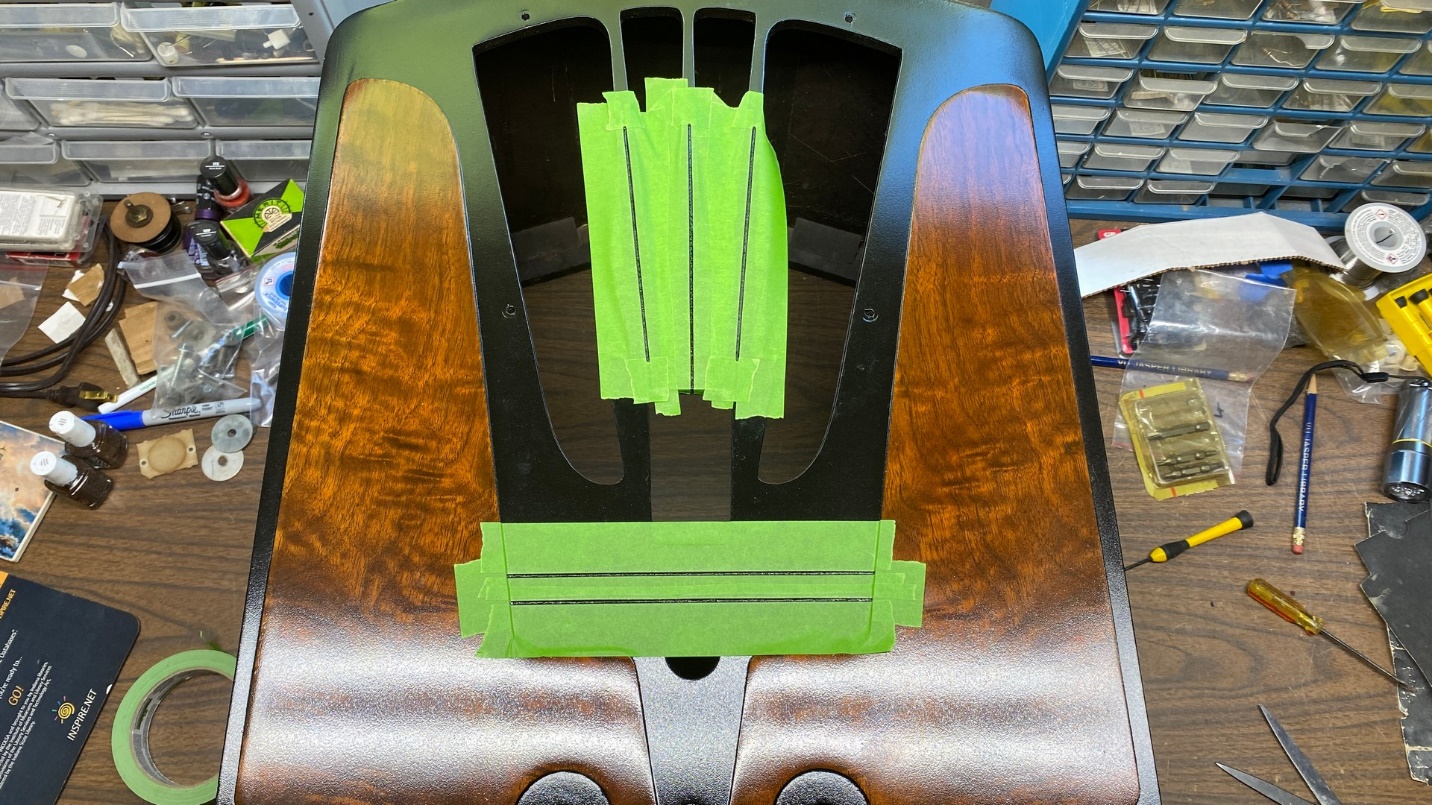
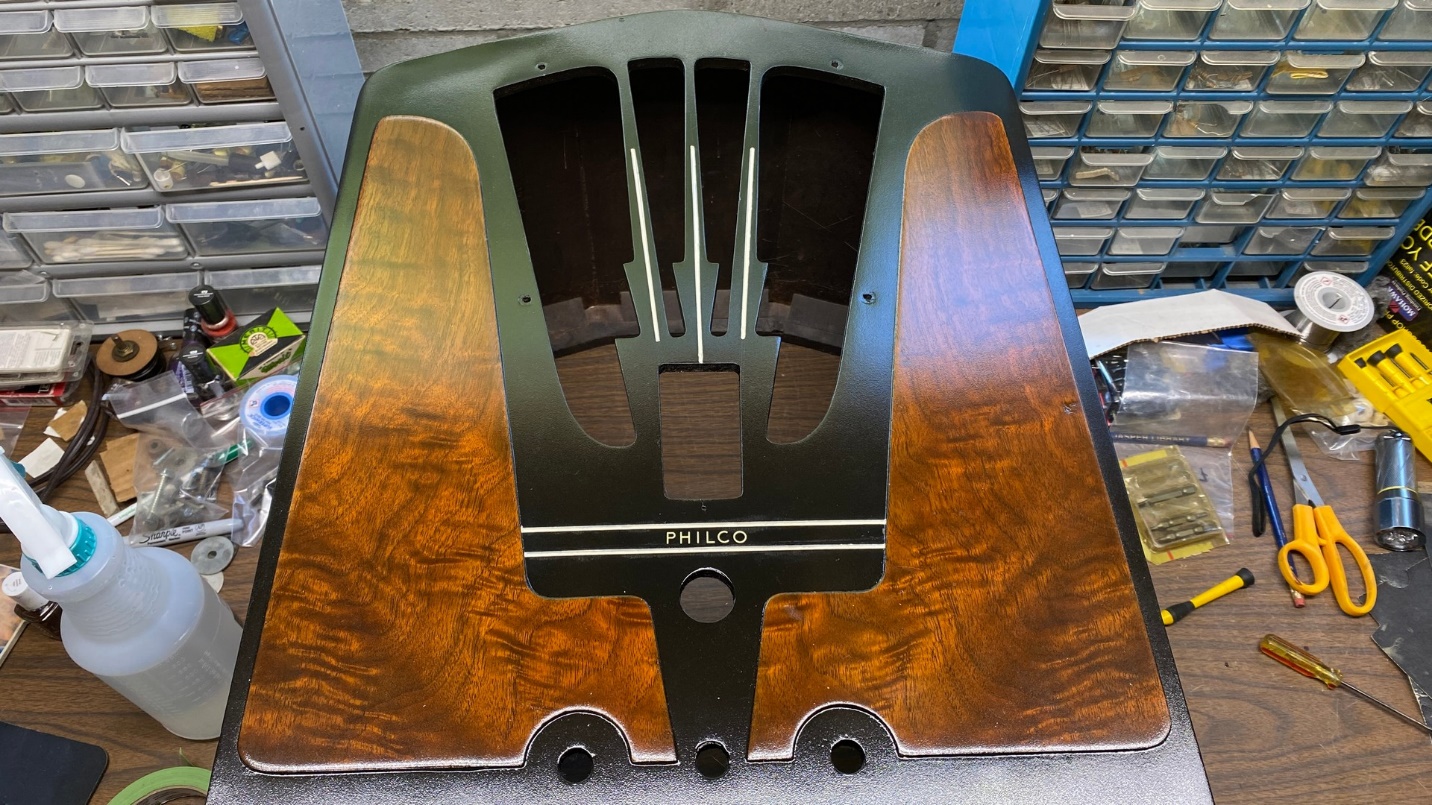
The grooves were now masked off and ready for the ivory nail polish.
Applying the masking tape took a couple hours. Once it was done, I painted the ivory nail polish into the grooves.
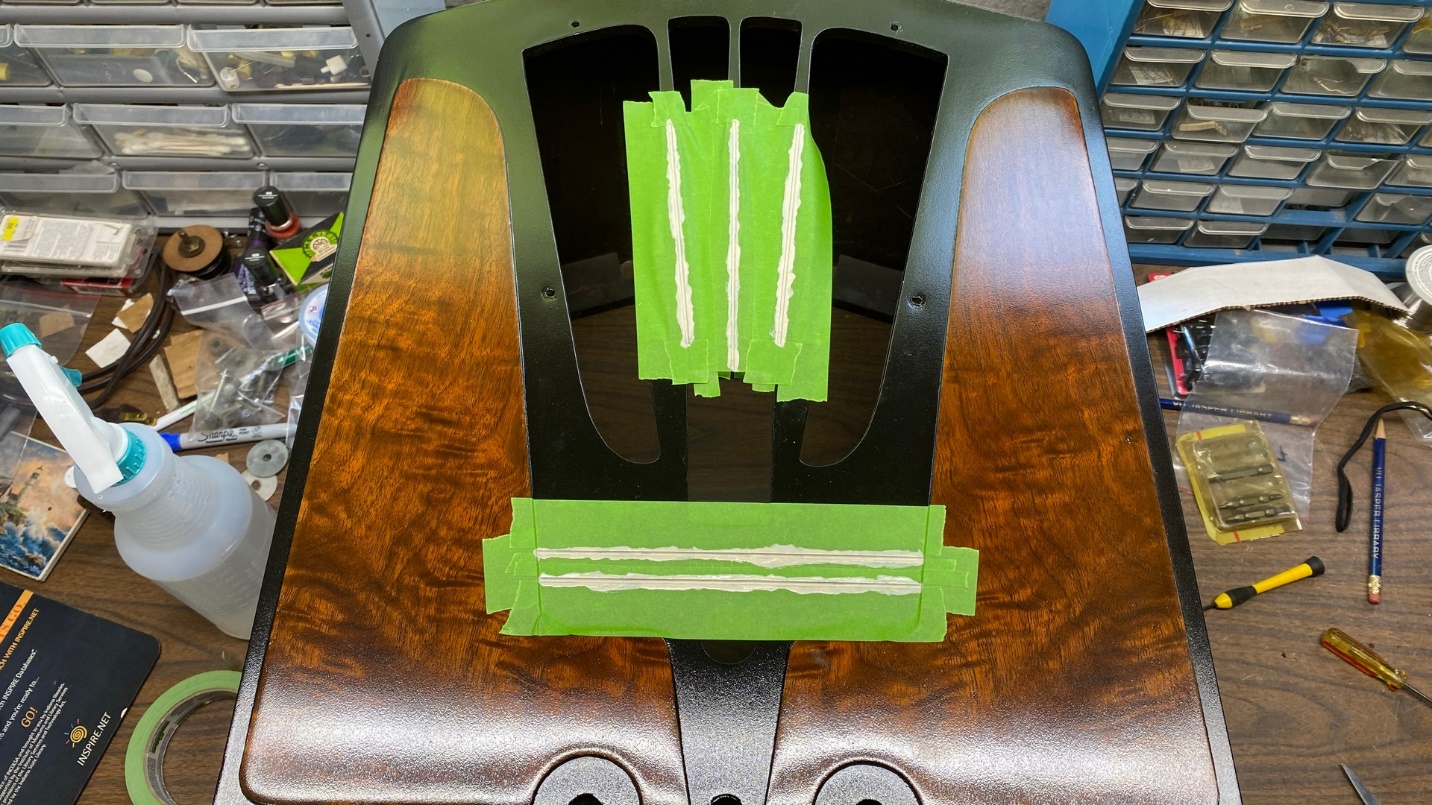
After the nail polish had been applied.
I let the nail polish dry for several hours, after which I began to carefully remove the masking tape from the front of the cabinet.
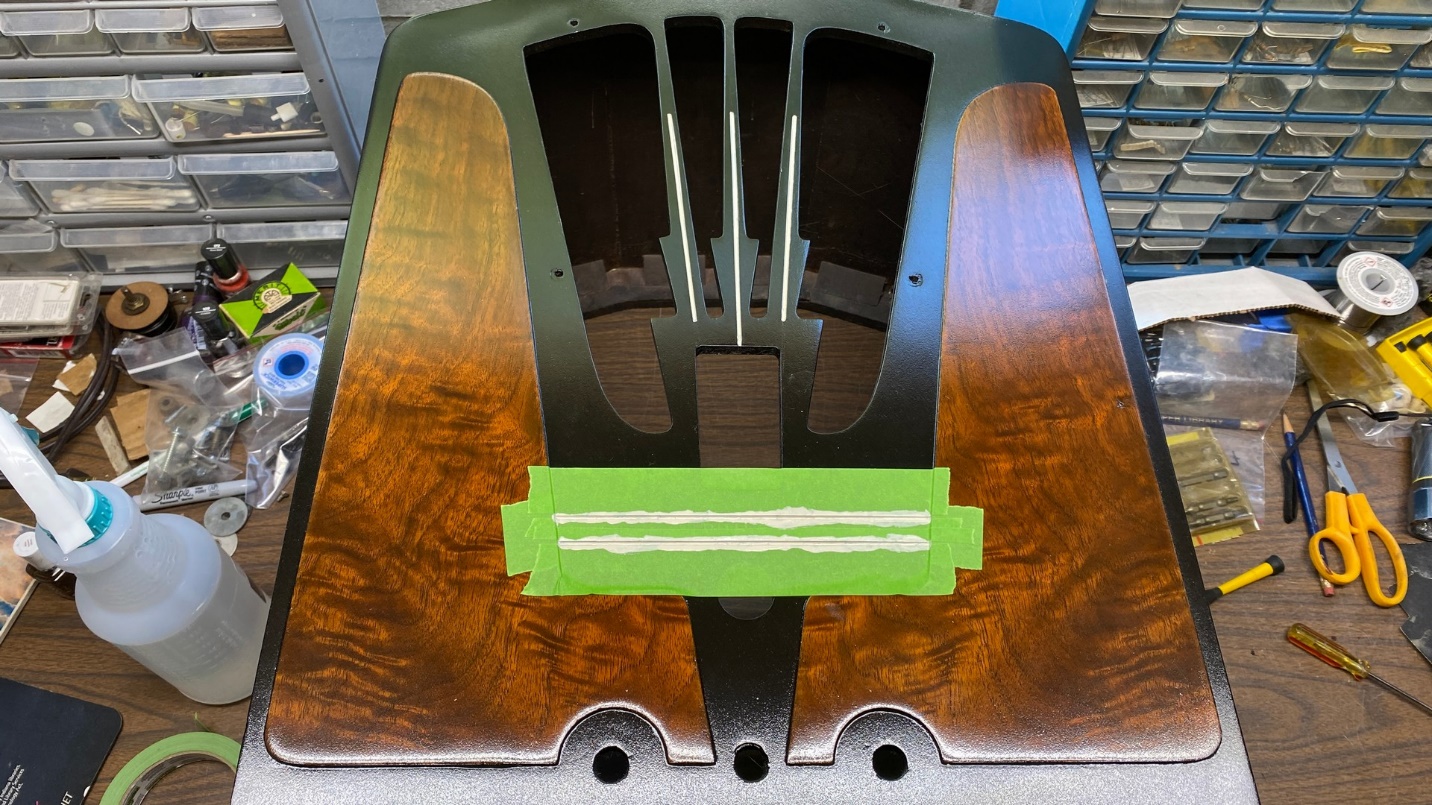
Slowly, the masking tape is removed.
The masking tape is now completely removed from the cabinet.
The cabinet looked pretty good at this point. My next job was to wet sand the entire cabinet with 800 grit wet/dry sandpaper, dipping the sandpaper into a small container of water periodically to clear the accumulated lacquer from the paper and to lubricate the surface for sanding.
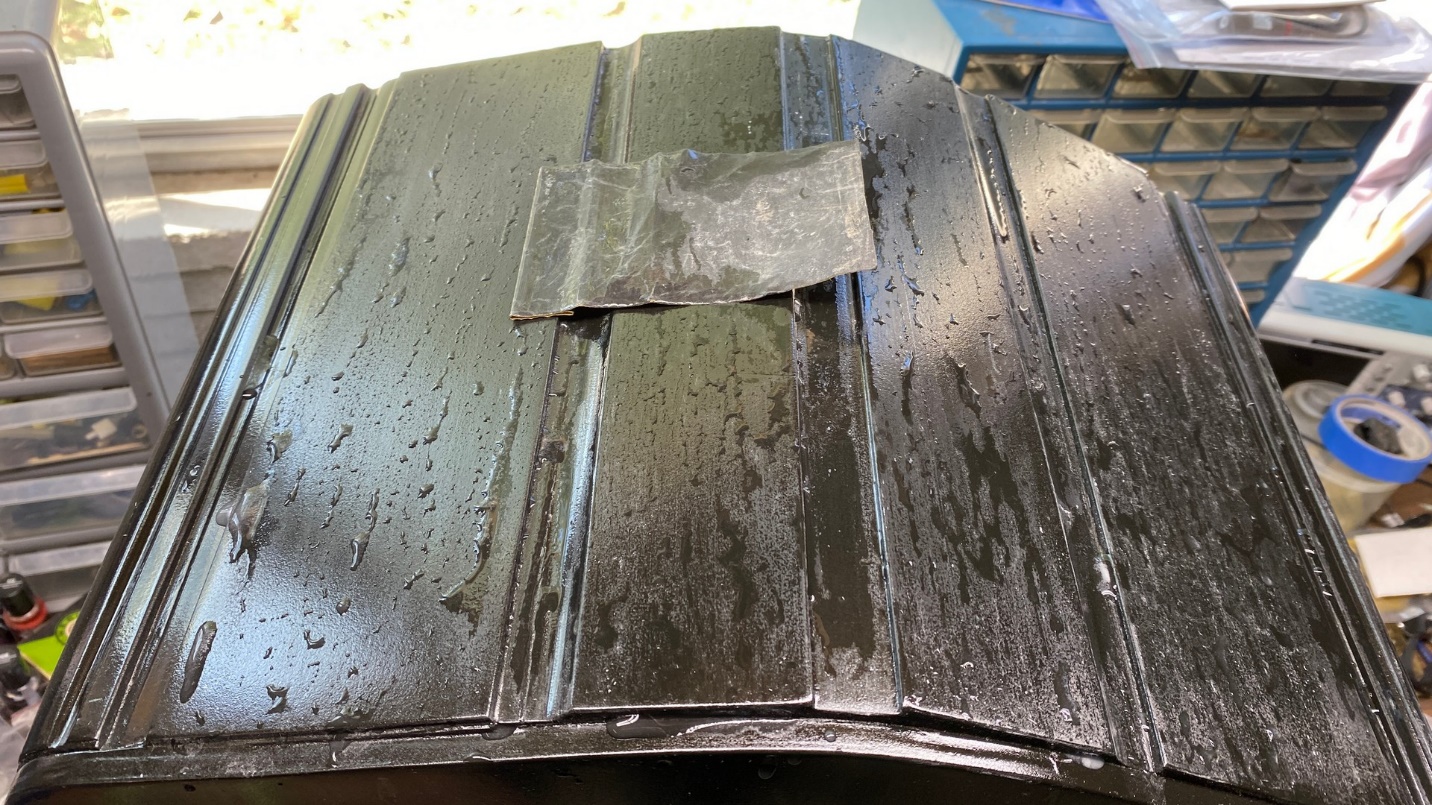
The cabinet is in the process of wet sanding.
After wet sanding the cabinet, I dried the surfaces off.
The next day, the weather was nice enough to allow me to spray outside again. Therefore, I took the cabinet outside, sprayed two more coats of Deft clear gloss lacquer, and then let it sit for a while before taking it back inside.
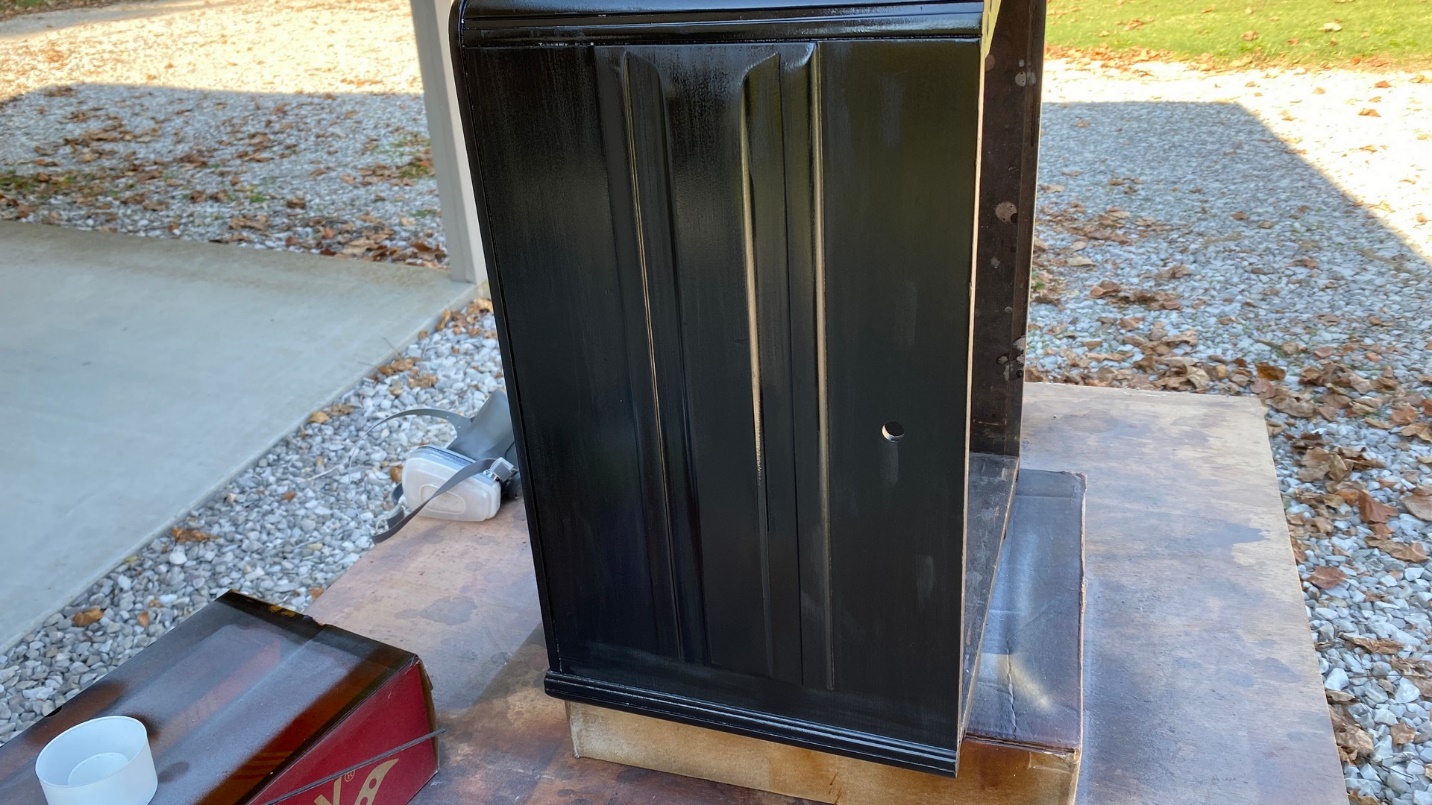
The 16B cabinet had now received its final coats of clear lacquer.
Unfortunately, from here I forgot to take very many more pictures of the cabinet as I became involved in finishing up other cabinet projects I had going on at the time.
The final product on my workbench.
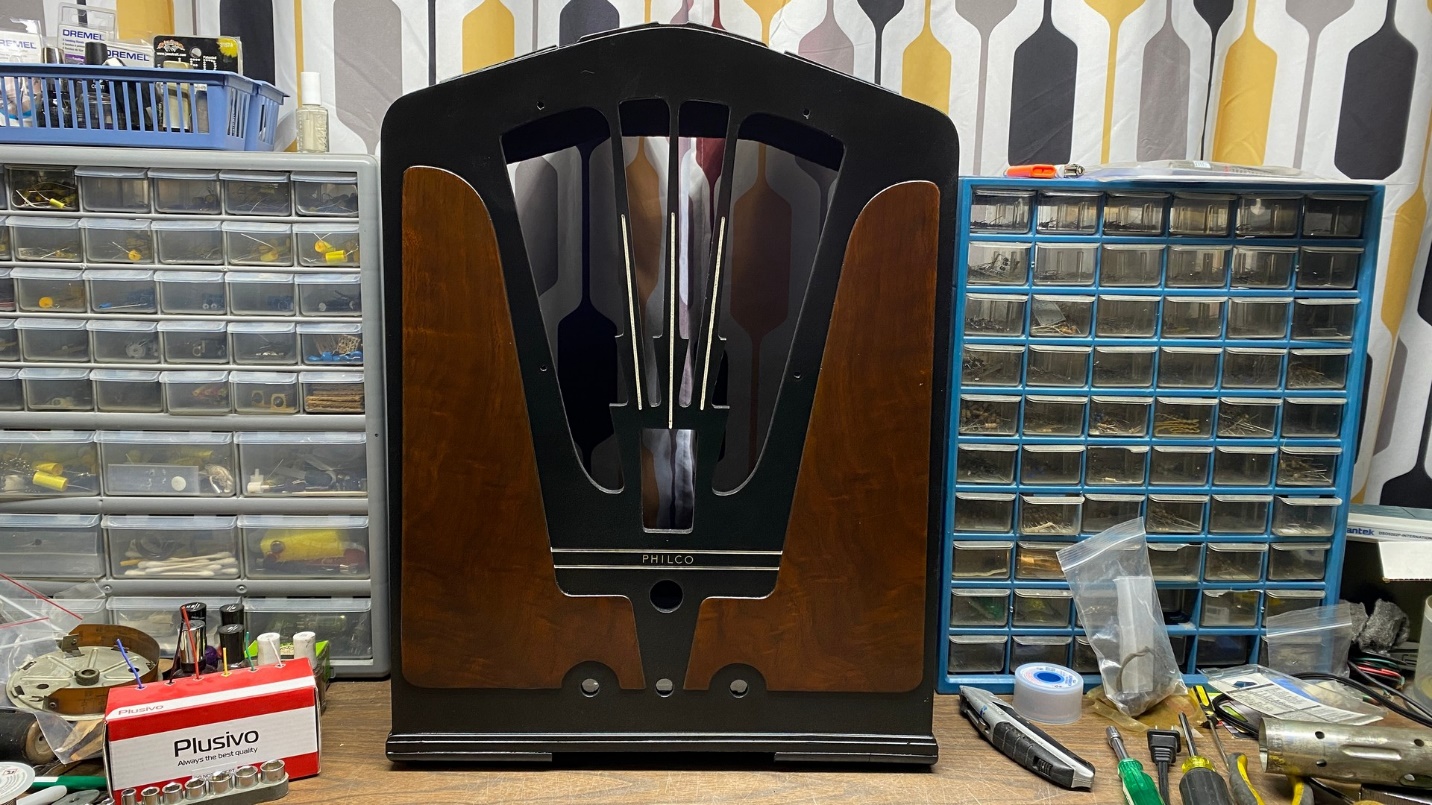
After I finished spraying this cabinet, I brought it back inside and left it alone for a few weeks. I then decided that I should, at least, put the (original) grille cloth back into the cabinet before something happened to the cloth.
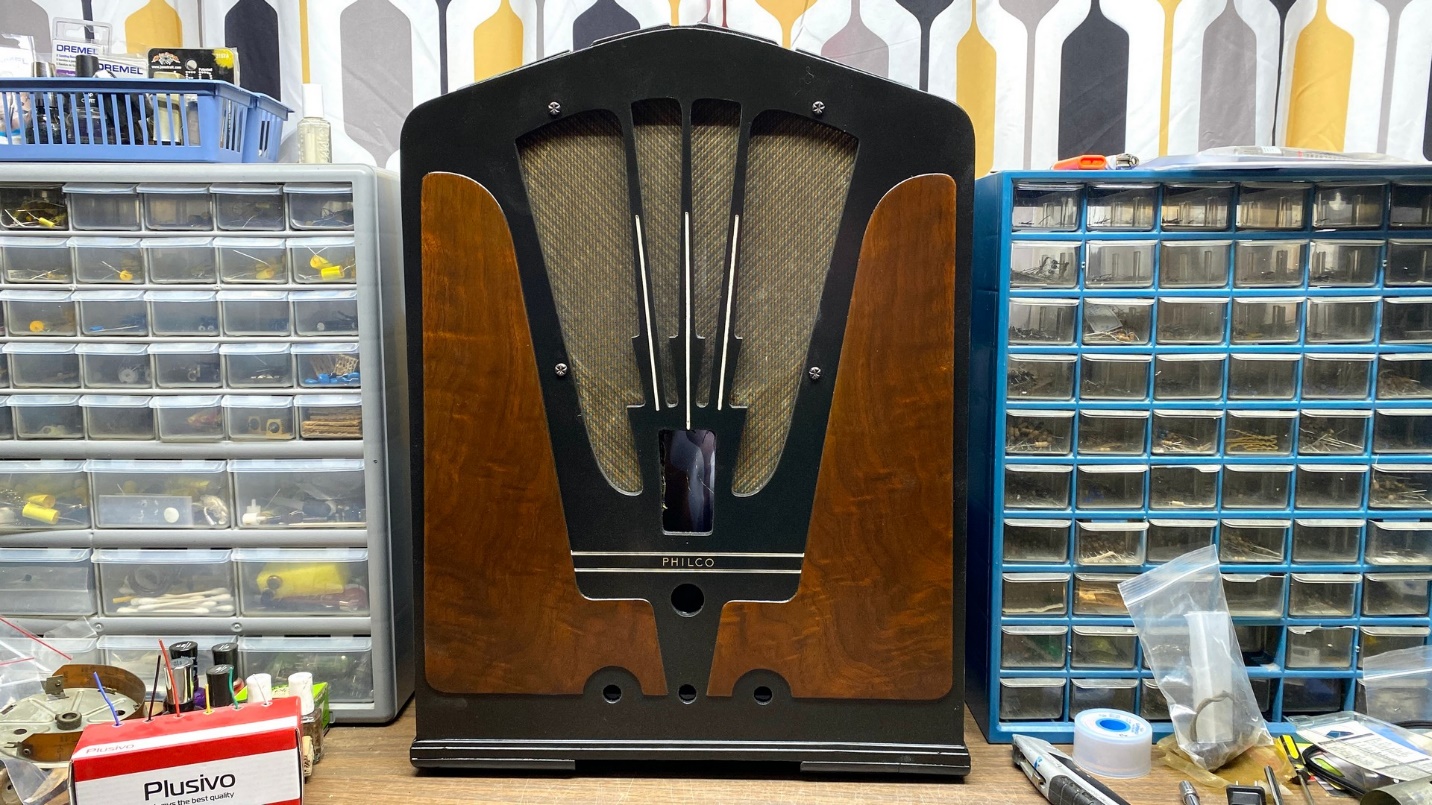
The completed cabinet with its original grille cloth.
This cabinet really needs to be rubbed down and then polished. The surface, for some strange reason, feels a bit rough. But that is something that can be done at any time, even inside during cold weather.
And that is it for this cabinet restorations of a 1935 Philco model 16B tombstone radio.