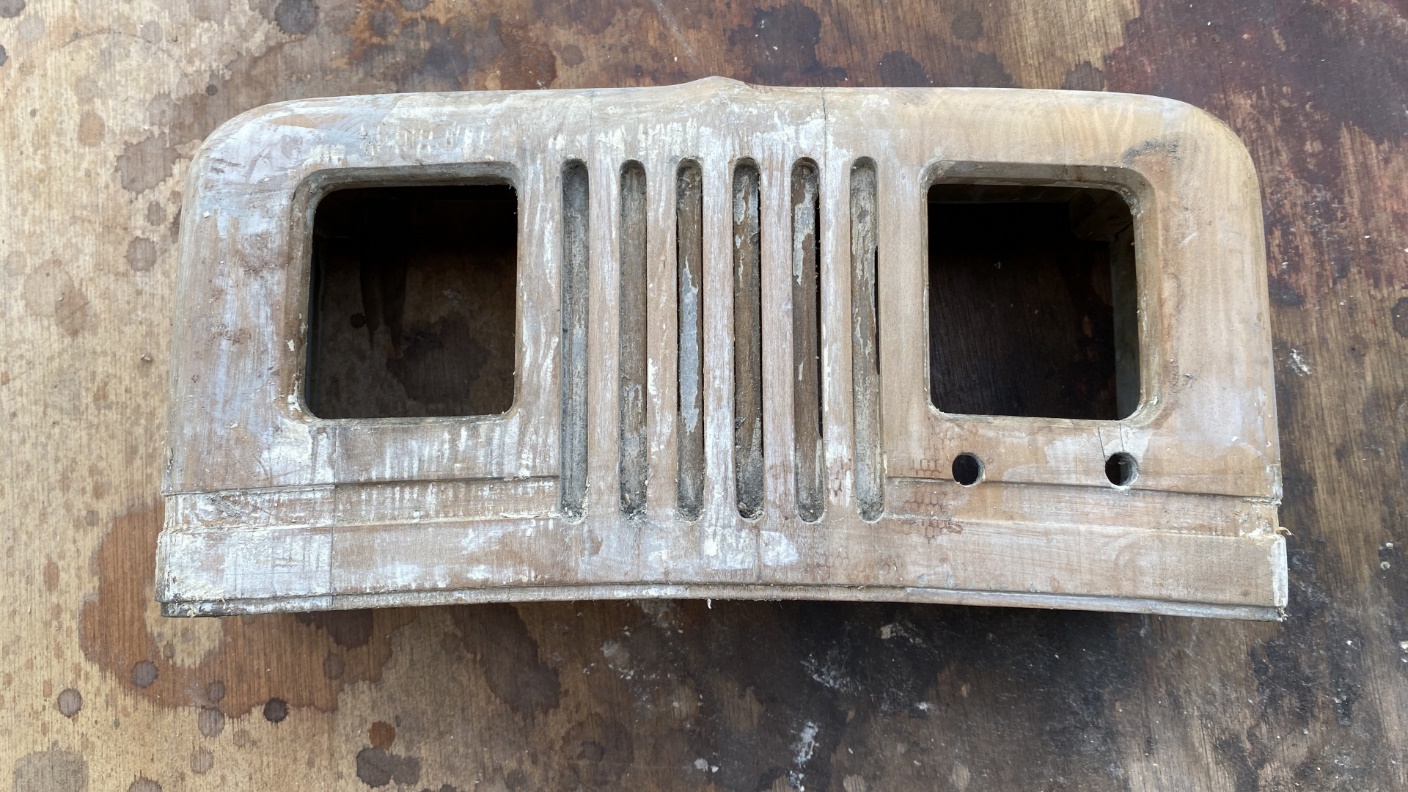
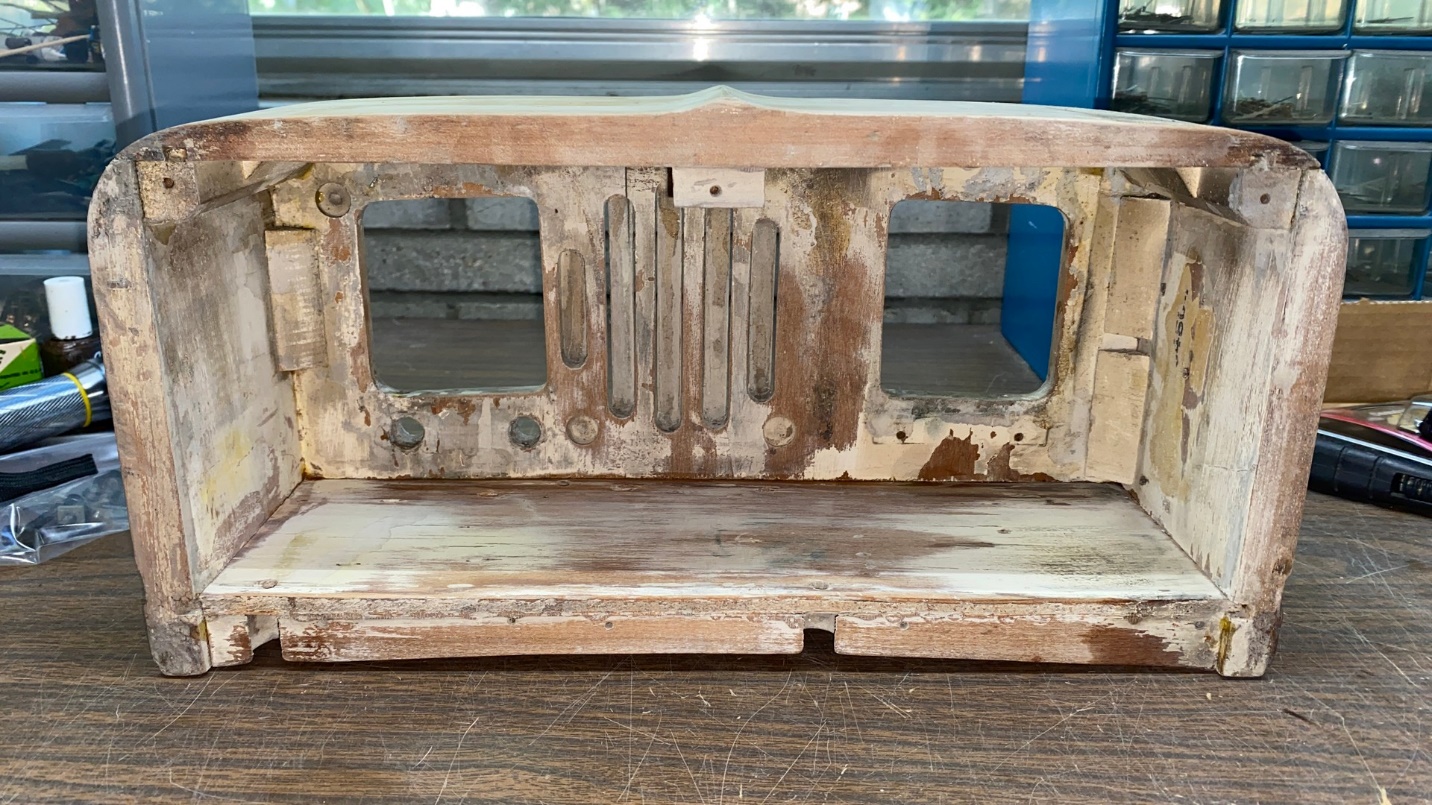
Debbie had been given this Philco 41-KR kitchen clock radio many years ago at a nearby swap meet by a fellow collector. Soon after she acquired the set (which was in very poor condition), I attempted to strip the cabinet in order to repair and refinish it. However, I found that acetone, which I typically use to strip wooden radio cabinets, would not remove most of whatever kind of paint that was on this cabinet! Knowing I needed heavy duty methylene chloride stripper (which I did not have at the time), I set the cabinet aside.
The cabinet ended up waiting patiently for several years.
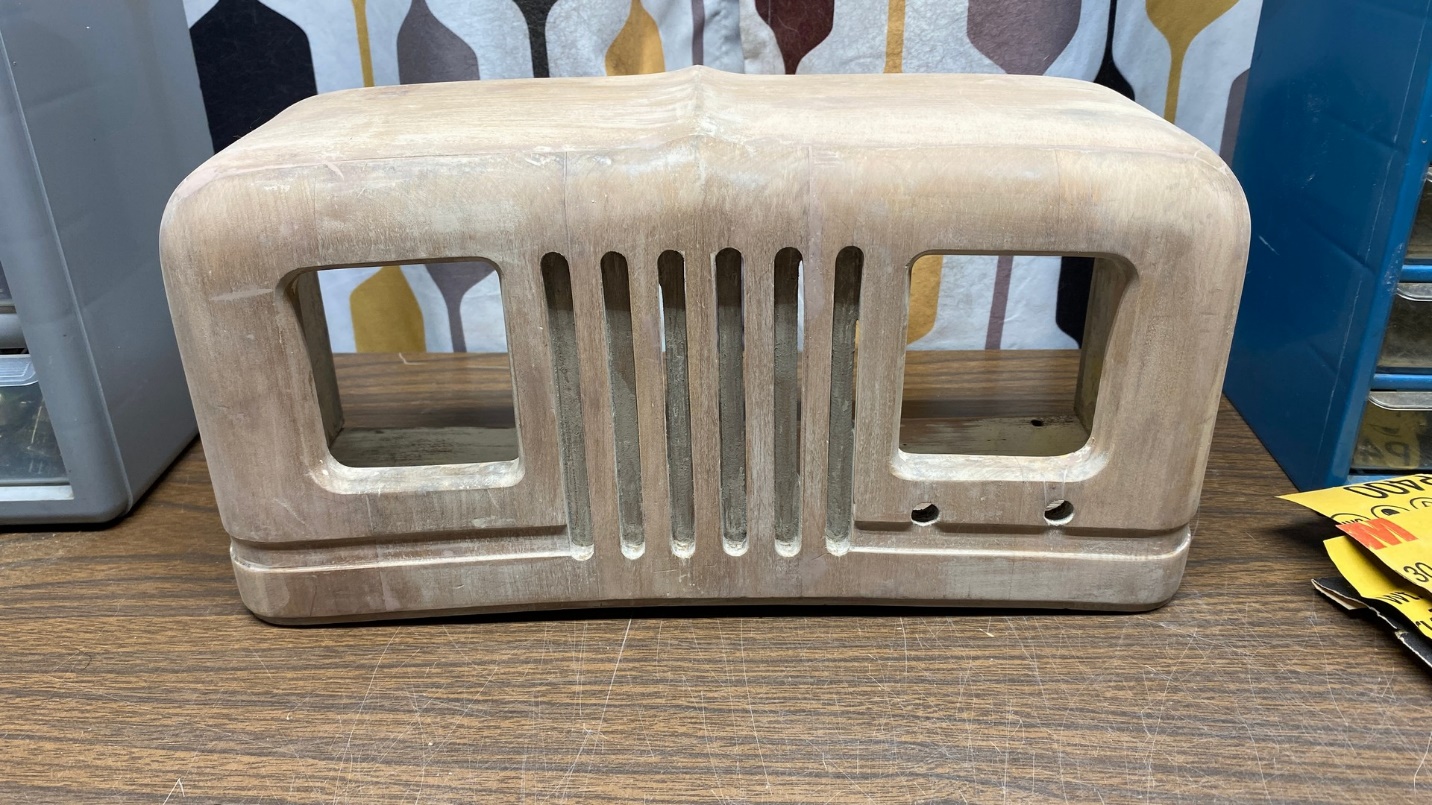
In the summer of 2023, I finally pulled that cabinet out. I had purchased a gallon of paint stripper in the interim, and luckily had bought it before methylene chloride was banned from sale to the public.
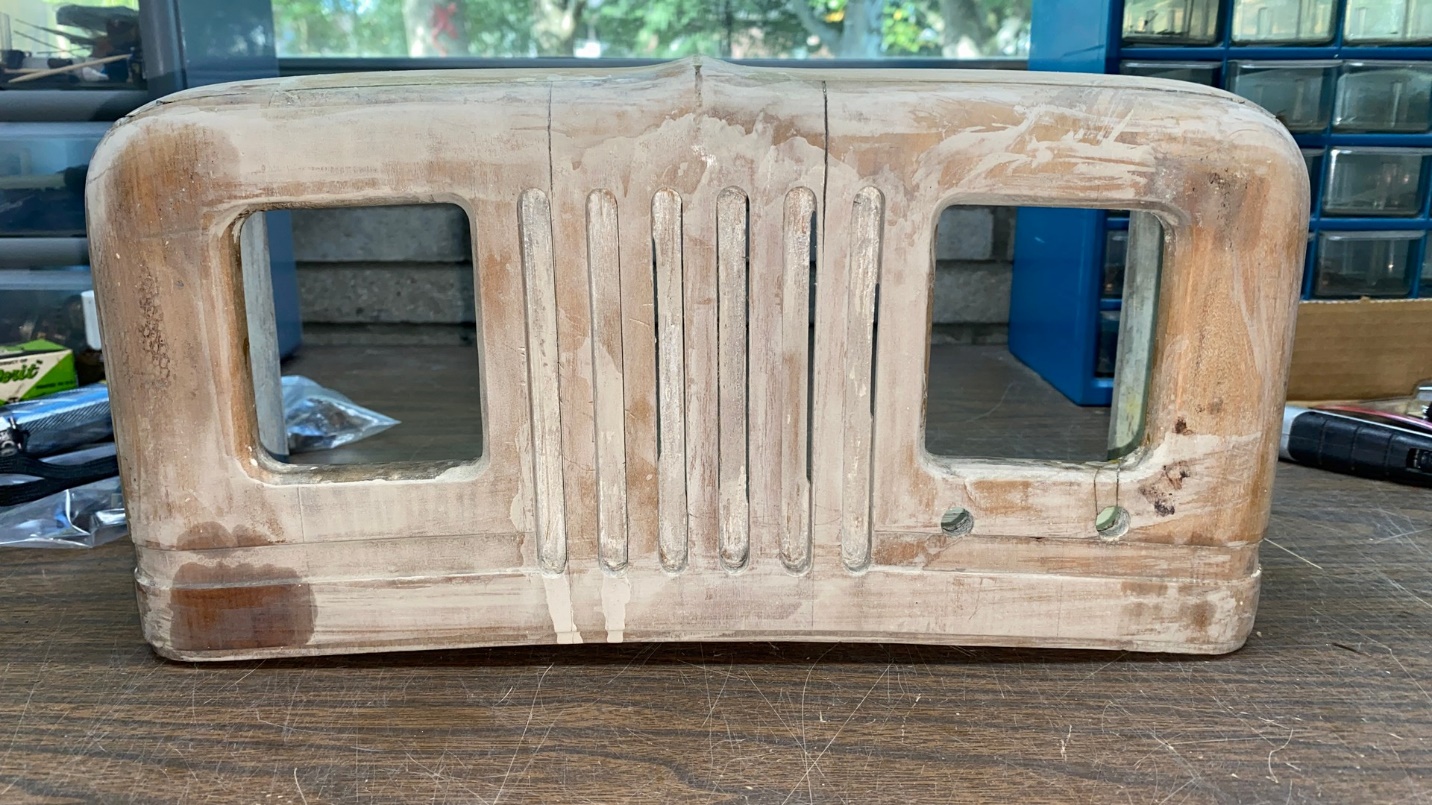
I took the cabinet outside and, using the heavy duty stripper, was finally able to remove most of the old, stubborn paint as shown above. I followed this up with an acetone wash, which removed nearly all of any remaining residue.
So now, finally, this cabinet was ready for repairs, regluing, and (eventually) repainting.
To being with, nearly all of the cabinet’s glued joints had come loose, and these needed to be reglued.
I started by gluing the top back down on each side – first one side, and then the other. I apologize, but I did not take any pictures of this process.
Next, the base of the cabinet was also loose. This time, I decided to remove the cabinet base in order to clean the old hide glue off the joints to the best of my ability.
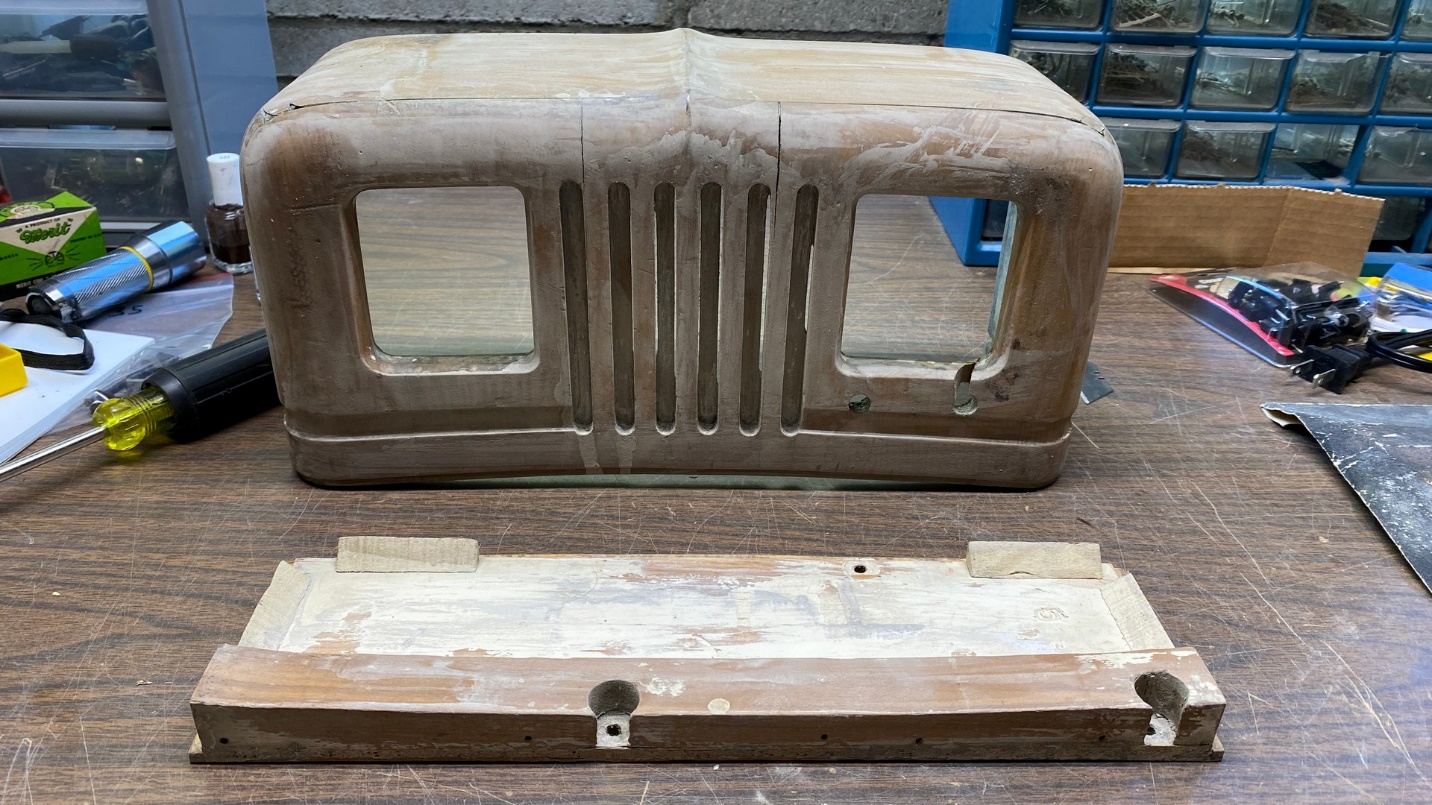
The vase of the cabinet has been removed from the main body.
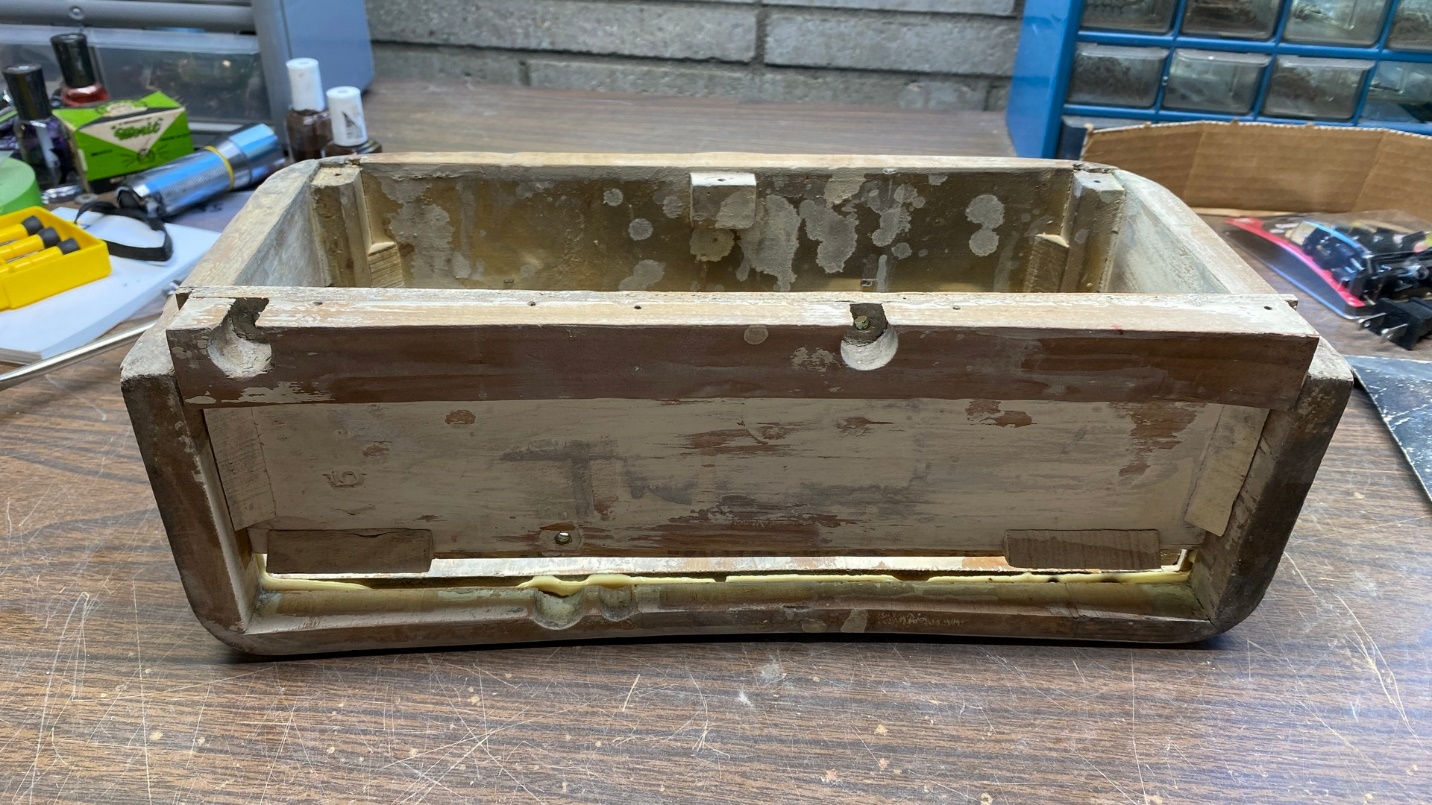
The base, while loose, did not want to come off the cabinet. I had to hit the outer bottom edge of the base multiple times with a hammer. Finally, when the base began to pull free, I used the handle of the hammer as a makeshift crowbar to push the base the rest of the way off the cabinet.
I used very coarse sandpaper (100 grit) to go over the areas of the base which fit into the grooves in the main body of the cabinet. For the grooves themselves, I performed a combination of sanding with the same 100 grit paper, and scraping with both a knife and a small screwdriver, to get as much of the old glue off as possible.
While I had the base off, I sanded down both the lower and upper surfaces of the base, then sanded inside the main body of the cabinet as well as I could.
Putting the base back into the main body of the cabinet.
I carefully applied Titebond II wood glue to the grooves in the main body of the cabinet, and also to the surfaces of the ends of the base and the supports.
The base was then slid into position. It went back in much easier than it had come out.
Once the base was fully in position, I clamped it in place. Excess glue was then wiped away once the clamps had been tightened.
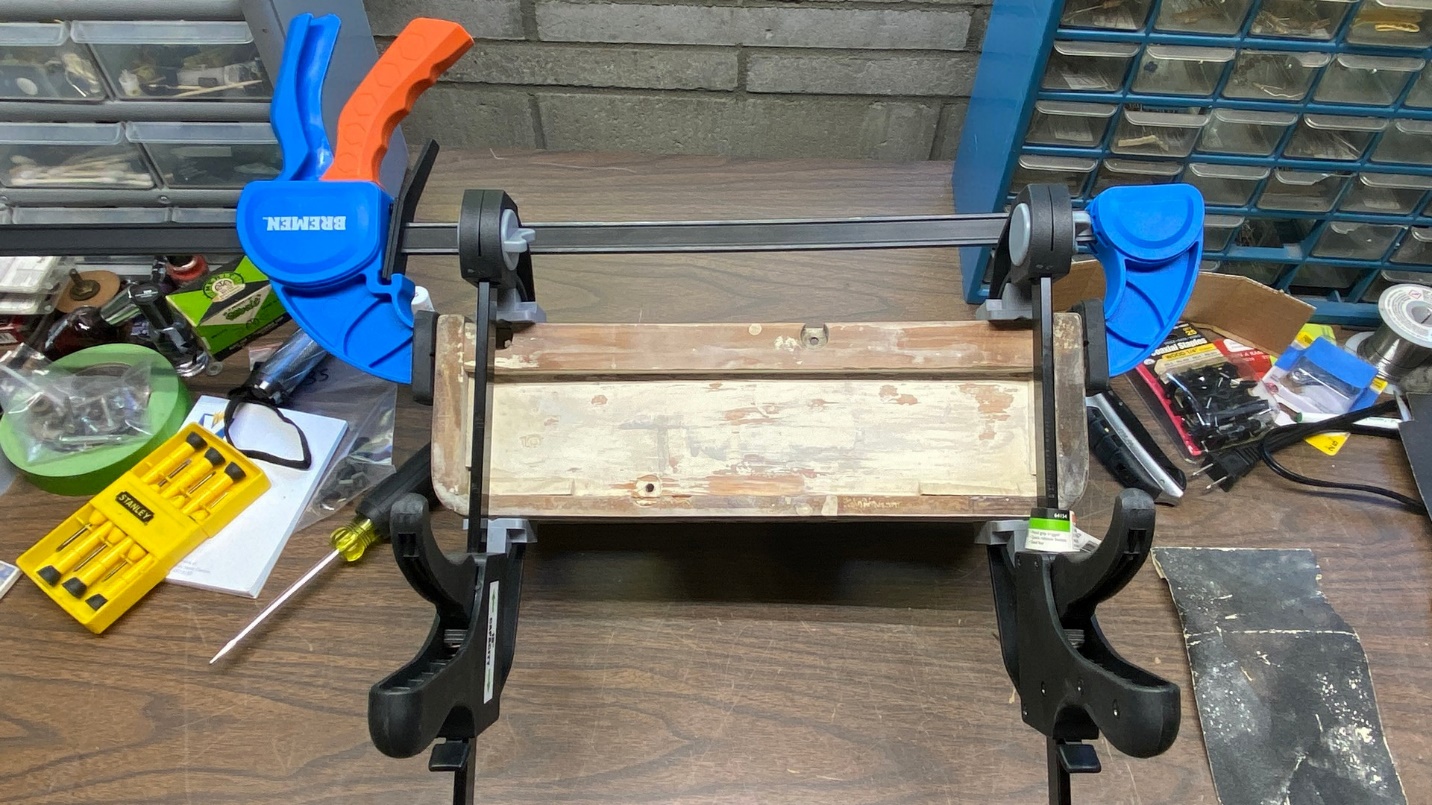
The base of the cabinet is clamped into place so the glue can dry properly.
After clamping, the entire unit (cabinet and clamps) were set aside until the next day to dry.
When I returned to this cabinet, I removed the clamps and took it into the basement. Now, the cabinet was glued back together and was stable.
The base is glued back into the main cabinet.
A small piece of wood had come out of the front of the cabinet, above the tuning shaft hole. This was glued back in place, and the cabinet was once again set aside while I continued to work on other cabinet projects.
The cabinet is now ready for wood filler to fill in the cracks and flaws.
Friday, October 13, 2023 came and went. So, what was significant about that date? Well, it just happened to be a day when high temperatures were in the mid to upper 70s allowing me to spray lacquer on bottom trim pieces of another cabinet. However, this 41-KR was not yet ready for any sort of lacquer, so it waited.
A cold front passed through our area that night, causing the high temperature the next day to be 20 degrees cooler than it had been the day before. This was too cool for spraying lacquer. Lacquer works best when sprayed when the temperature is between 60 and 80 degrees. In my experience, it is actually better when it is 70 or above. As I was not able to do any outdoor work, I decided to take the day off.
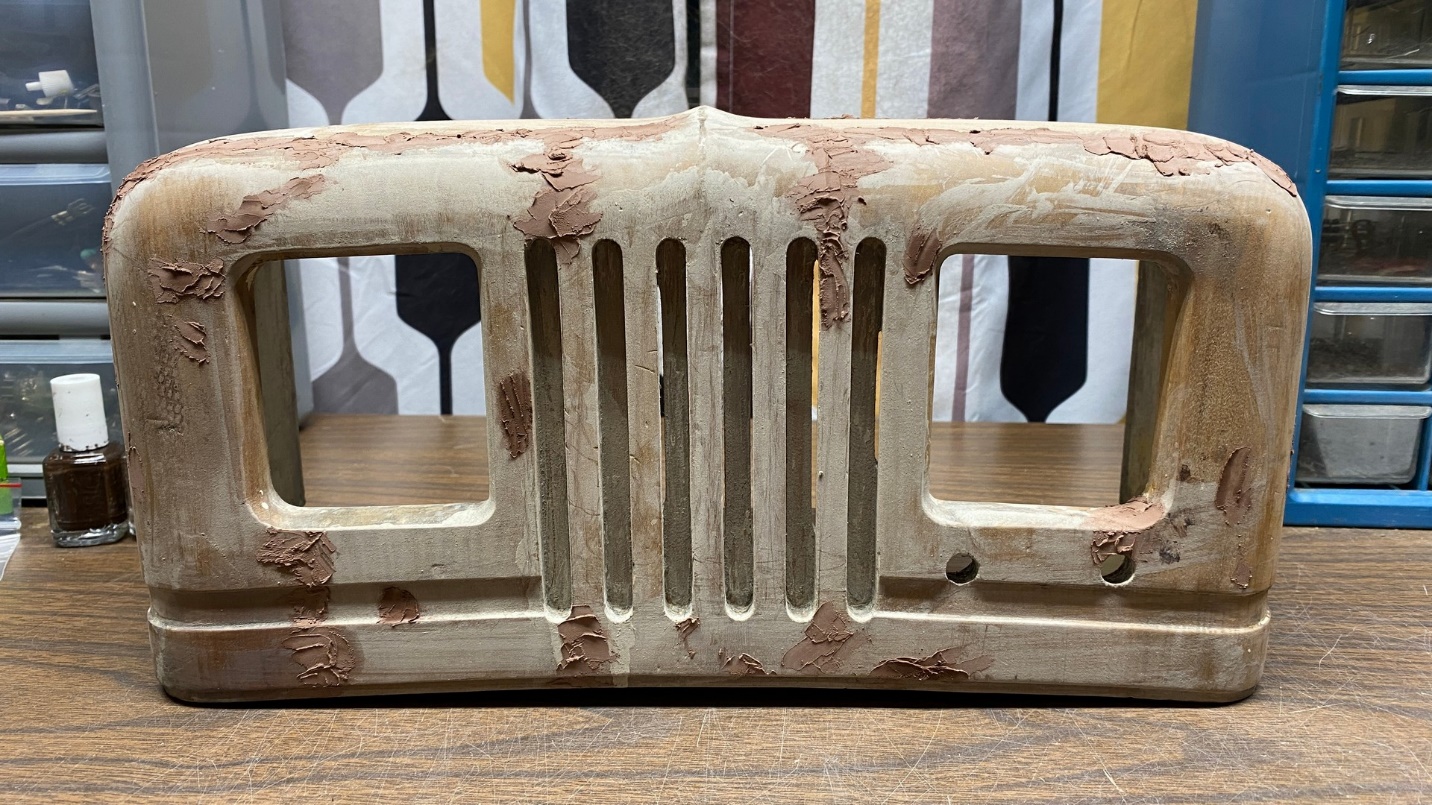
Numerous flaws in this cabinet have now been filled with Timber Mate.
On Sunday evening, I pulled out this 41-KR cabinet and began to apply Timber Mate wood filler to many areas of the cabinet where flaws needed to be filled. I considered using the “Plastic Wood” brand of wood filler, but its odor is quite strong (it contains acetone), so I decided against trying to use that indoors. This is why I settled on the Timber Mate, which is water based and has little odor.
After sanding the cabinet the next day, I found a few flaws I had missed. These spots were then filled, and the cabinet was then left to dry overnight once again.
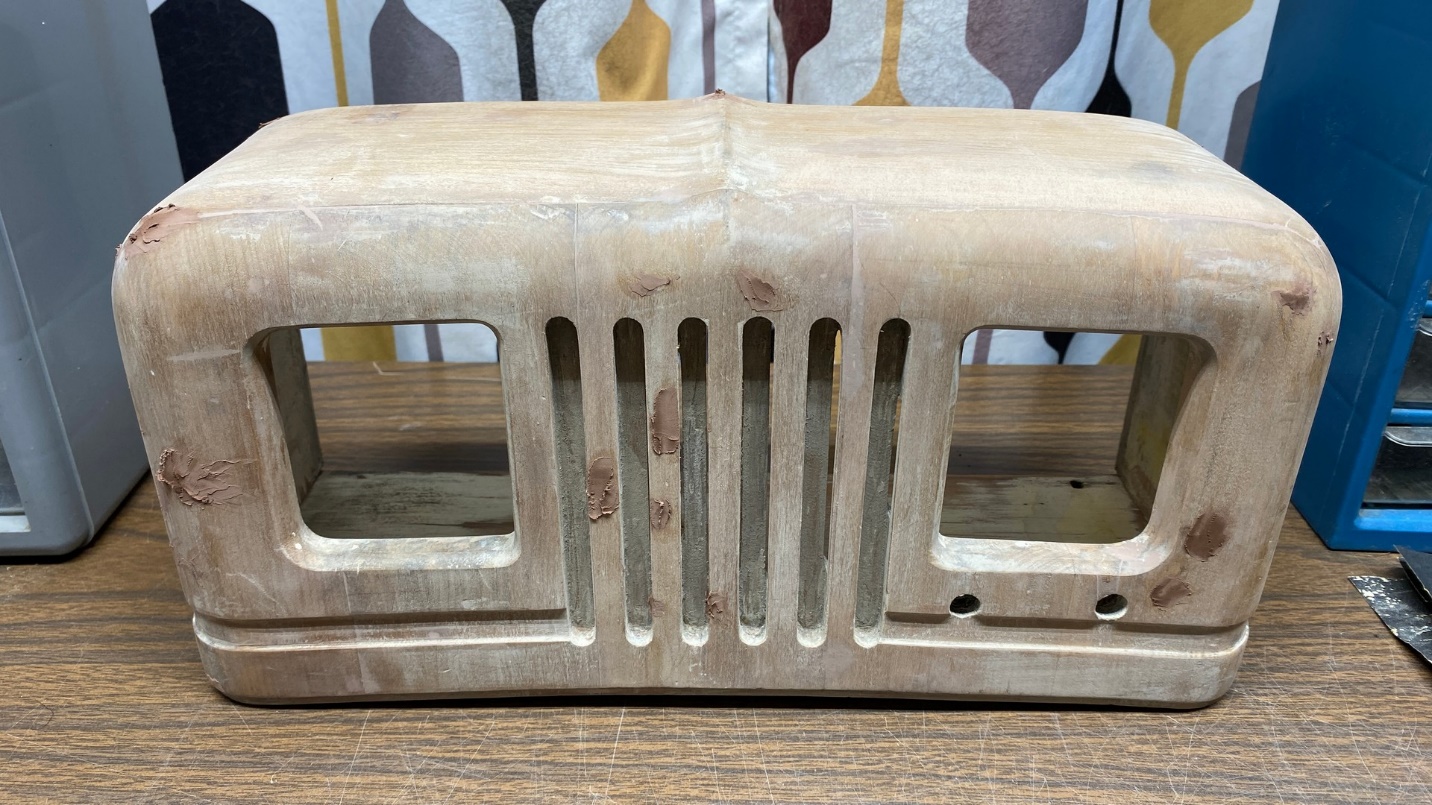
The cabinet as it looked after initial sanding of the areas which had been filled with Timber Mate, and after new flaws had been discovered, and filled.
Here is how the cabinet looked at this point:
The 41-KR cabinet after sanding away excess Timber Mate once again.
This cabinet seemed to be coming together better than my 42-KR3 cabinet. At least this time around, I did not have to keep repeatedly adding filler, sanding, adding filler again, sanding again, ad nauseum. Indeed, it appeared that it would soon be ready for spraying.
My plan was to sand the cabinet again with a finer grade sandpaper, then spray the cabinet with sanding sealer. I would then wet sand the cabinet with very fine wet/dry sandpaper, after which I would apply Mohawk white lacquer. If all went well, I would follow that up with the PHILCO decal, and then finish with some clear lacquer.
The highs were expected to reach 69 degrees at midweek, with some more 70 degree days on the following week. I set the cabinet aside for the time being, waiting for that warmer day.
This is a good point to pause my story for now. Next time, I will share with you how the progress went from here on the Philco 41-KR cabinet.