
Last time, as you recall, I had inadvertently damaged my original front panel by going a bit overboard with my router, in an attempt to remove excess veneer from the grille bars.
Not knowing what else to do about the problem, I contacted Steve Davis. He told me he could make another front panel. I sent this panel to him to use as a guide, so the mounting holes would be in the same places and so the new one would literally be a drop-in replacement.
So, in the meantime, I resumed working on the main cabinet.
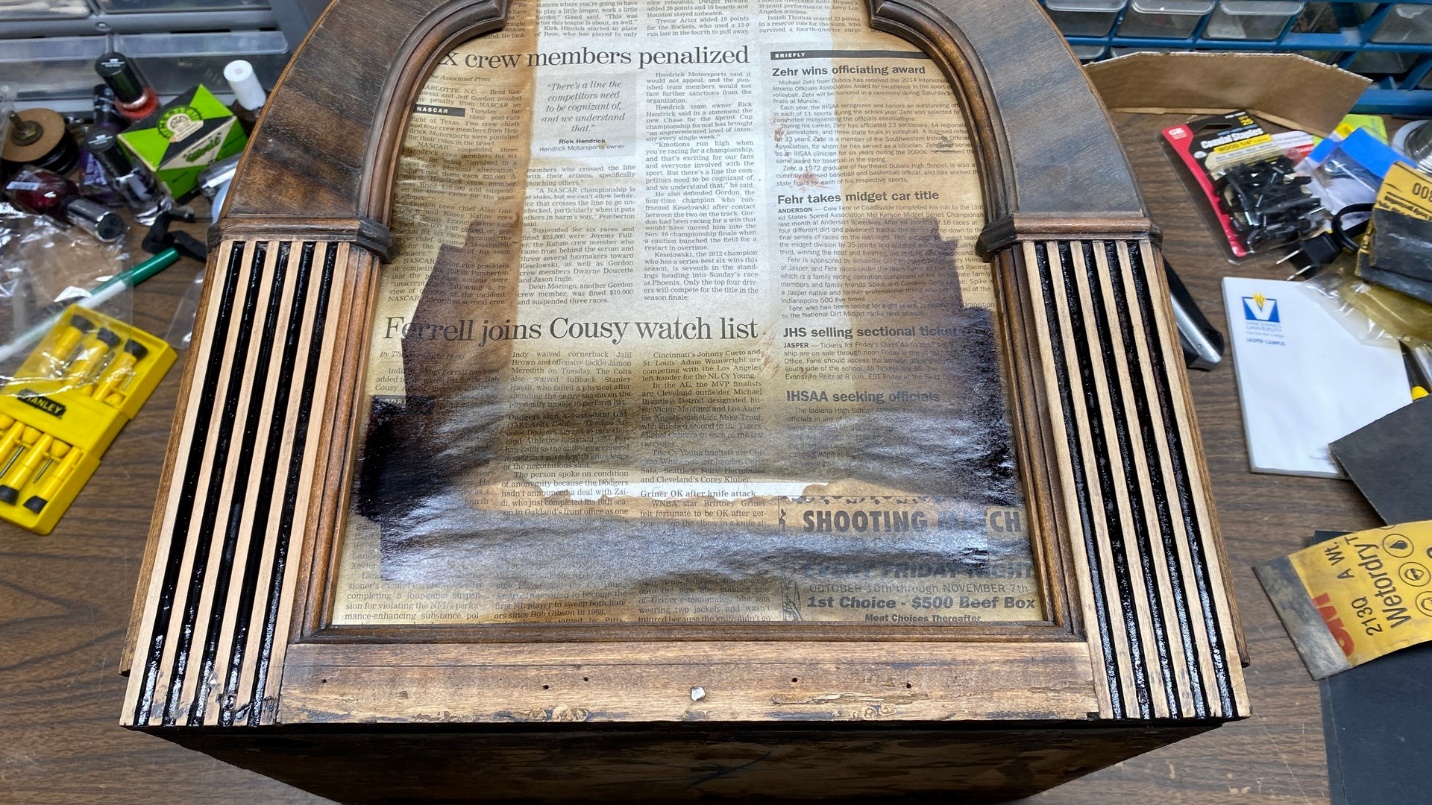
I stripped the old finish using acetone. I ended up having to go over it a second time with acetone in order to remove all the old finish.
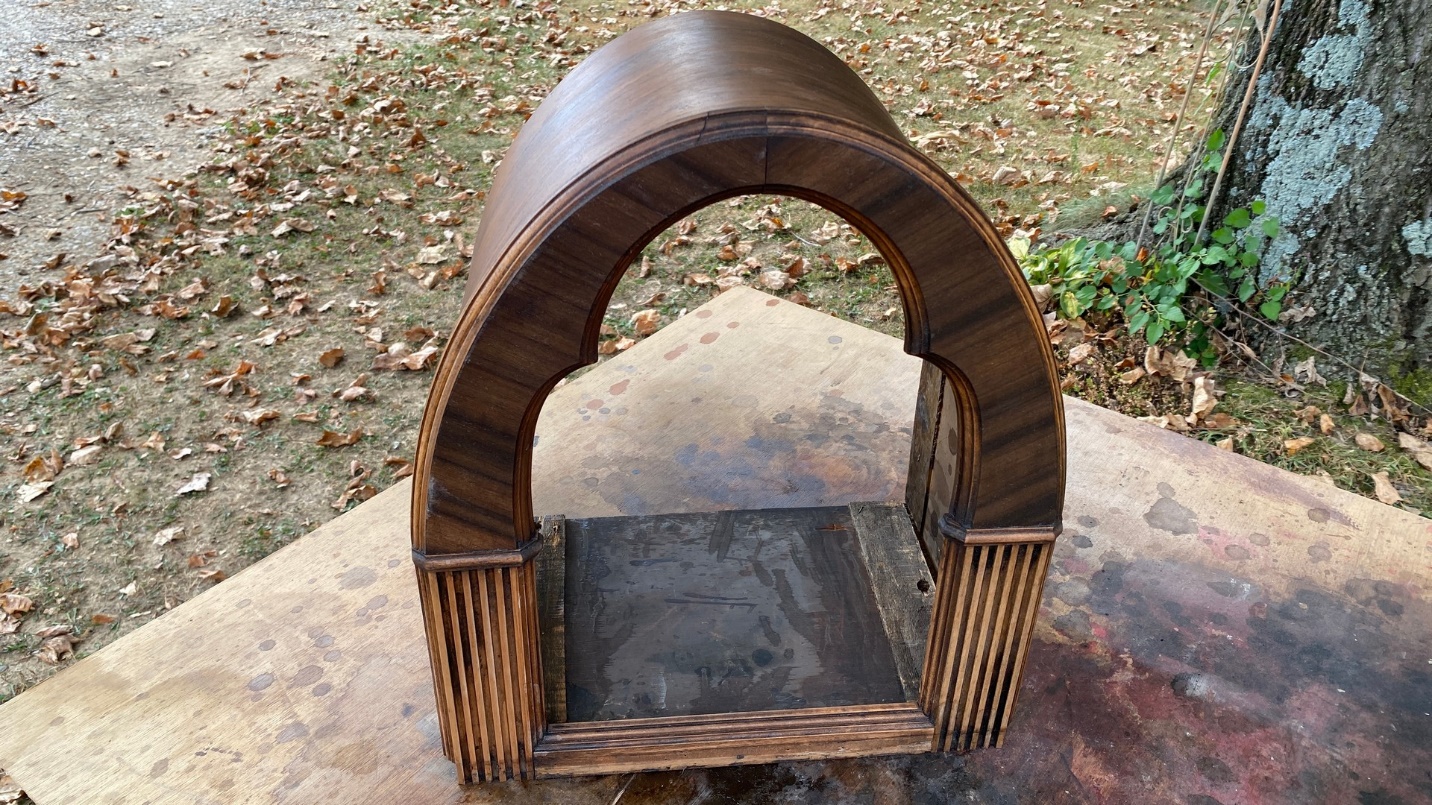
The cabinet after its double stripping.
The next day was supposed to be rainy, and indeed it was (although we did not receive a lot of rain). It was now September 27, autumn was here, and time for outdoor work such as refinishing was drawing to a close. However, temperatures were expected to remain above average for a while, so I kept working.
On that day when we received a little rain, I applied grain filler to the cabinet’s surround, and the front arch.
Grain filler is applied to the cabinet’s surround (top and sides).
I applied grain filler to the top and sides first, waited 15 minutes, then rubbed out the excess with a piece of material cut from an old T-shirt. I then applied grain filler to the front arch, waited again, then rubbed this area out as well.
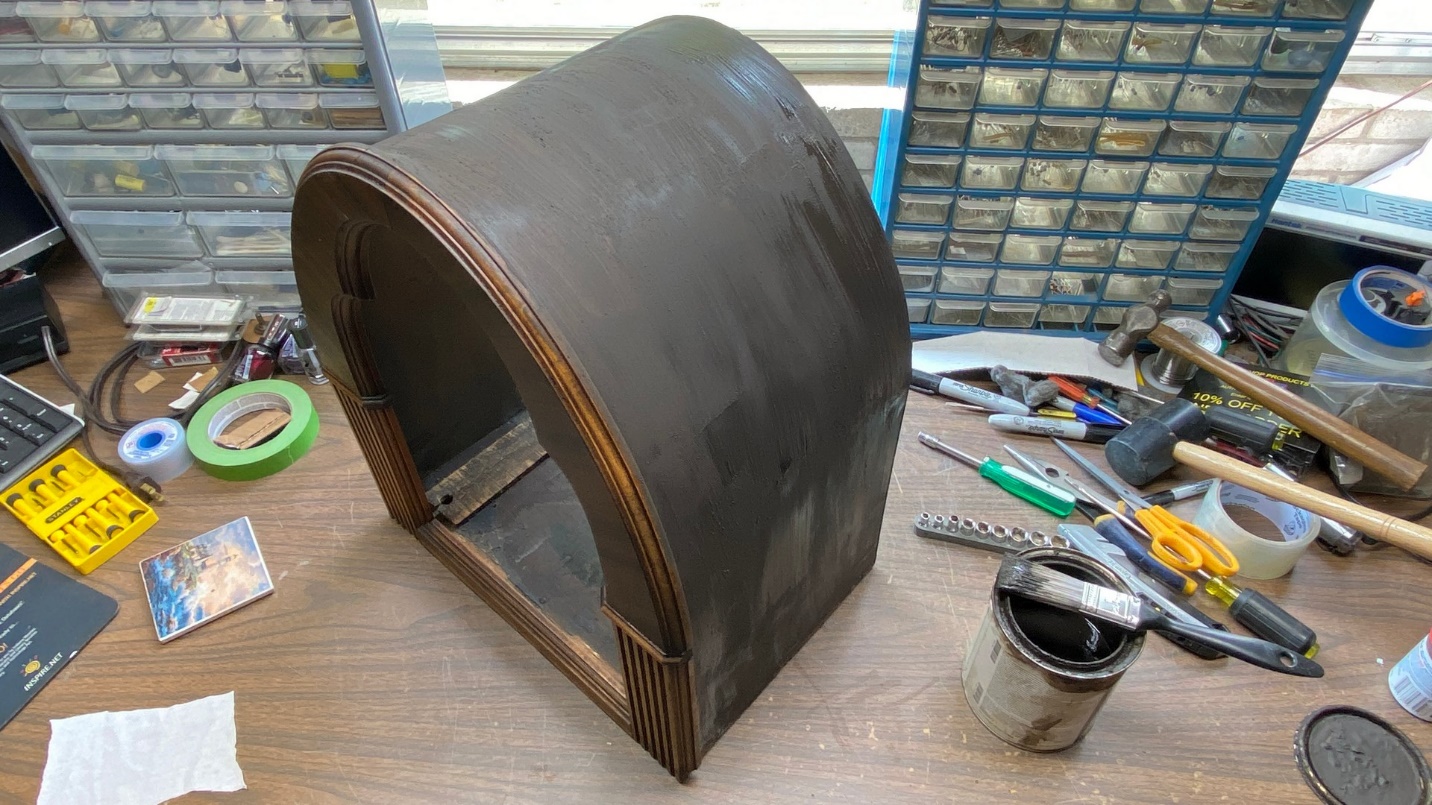
The cabinet after rubbing out excess grain filler.
I then set the cabinet aside to dry overnight. “Overnight” actually turned into three days. Finally, I returned to this cabinet and sanded off the excess grain filler.
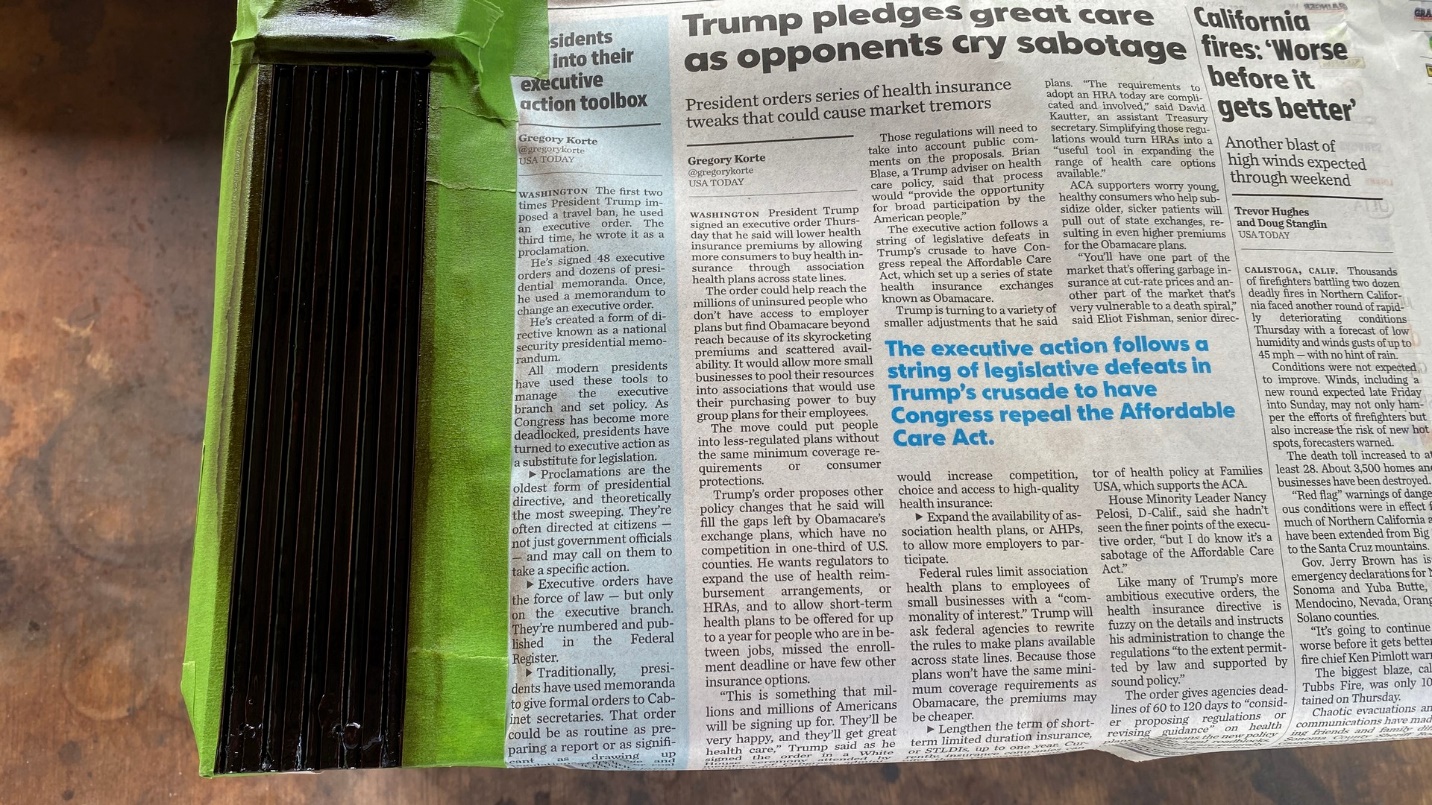
Now, before I began applying the Mohawk Ultra Classic Dark Walnut toner (which isn’t dark) to this cabinet, I needed to darken the grooves of the lower front pilasters. So, as I had done with the Philco 46 cathedral cabinet previously, I carefully masked the cabinet off so only the front surfaces of the pilasters would be exposed. I then took the cabinet outside, and sprayed these areas with Mohawk Extra Dark Walnut Tone Finish (which actually is very dark).
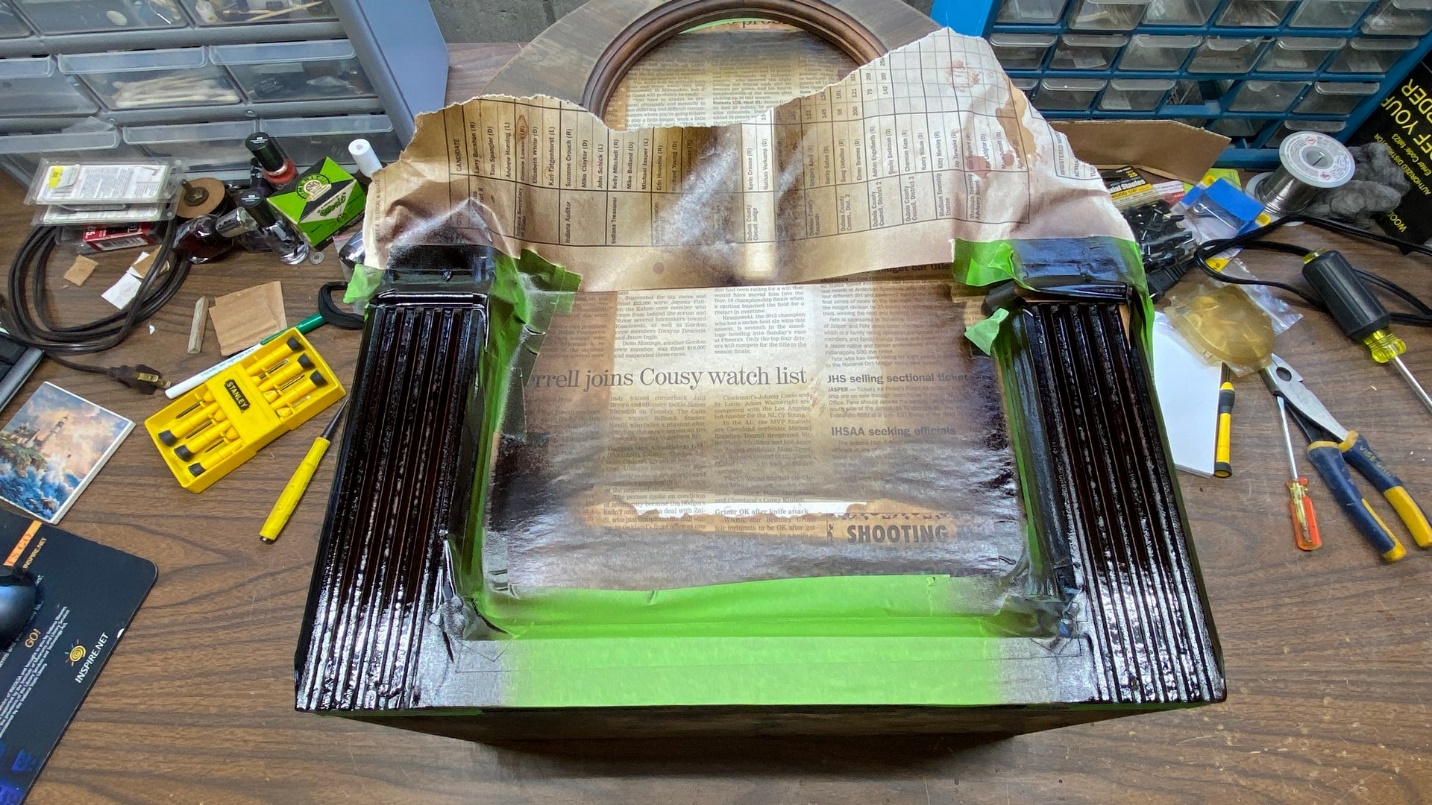
The front pilasters have been toned with Extra Dark Walnut toner.
After bringing the cabinet back inside to my workbench, I began to remove the masking tape and newspaper. I then noticed that the Extra Dark Walnut had not covered the grooves of the left pilaster very well. I thought about simply spraying some of the dark toner into a plastic lacquer can lid and using a small brush to apply more toner to the grooves. Instead, however, I masked the cabinet off again, this time leaving only the flat surface of only the left pilaster exposed.
The cabinet was taken back outside, and I sprayed some heavy coats of Extra Dark Walnut on this pilaster. I then allowed the cabinet to dry for a while.
After spraying a lot more Extra Dark Walnut on the left pilaster.
Now, the cabinet was returned inside to the workbench, and the masking tape and newspaper were removed once again.
Finally, after lots of work, the excess dark toner has been removed from the flat surface of the pilasters.
As things turned out, the Extra Dark Walnut had not wanted to stick to the grooves of the pilasters very well before I ended up spraying more (a lot more in the case of the left pilaster). But of course, the lacquer stuck to the flat surfaces of the pilasters very well! Too well, actually. I then worked for about 45 minutes, scraping and sanding, and finally succeeding in removing the toning lacquer from the flat surfaces of the pilasters.
Once this was done, the cabinet went outside once again, and received no less than four coats of Dark Walnut toner.
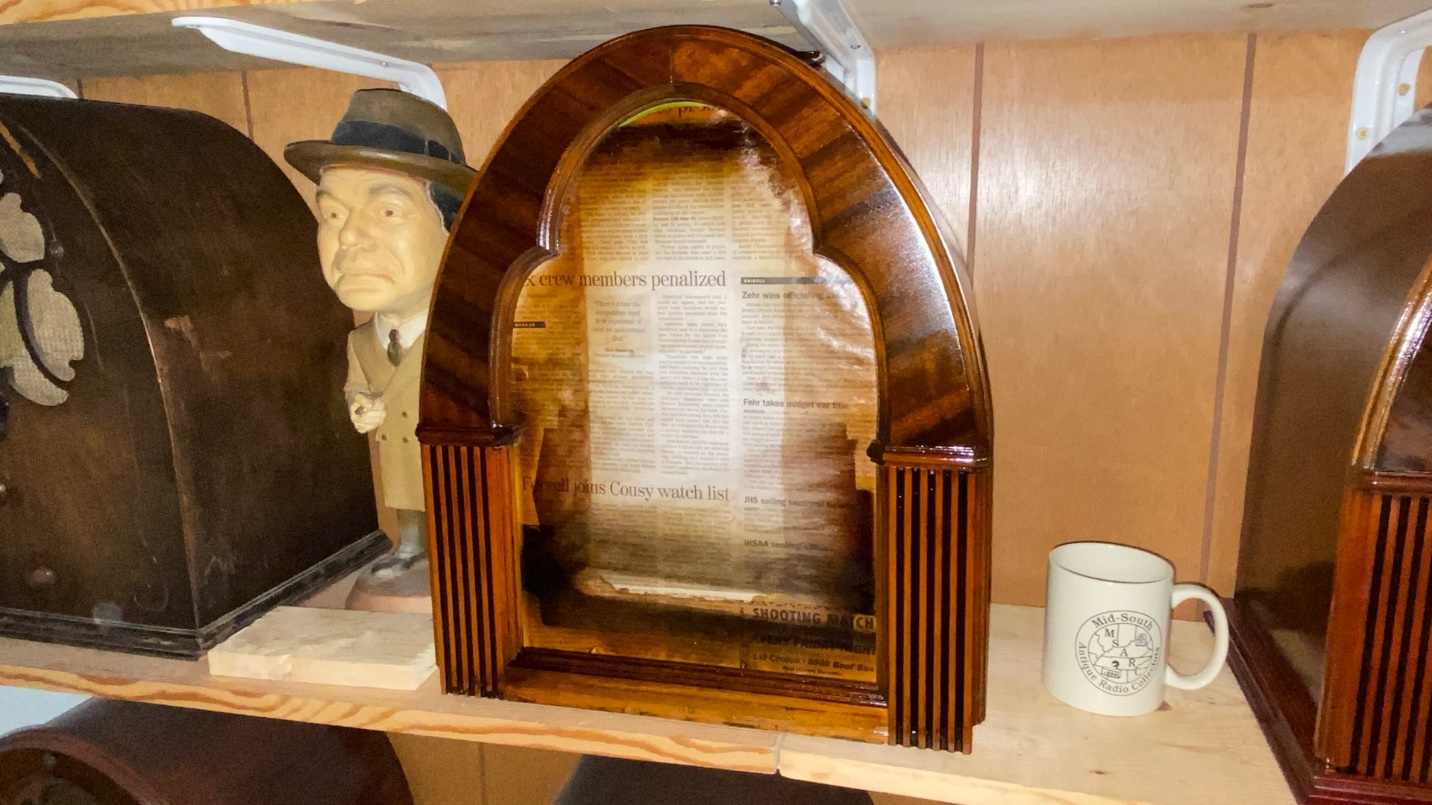
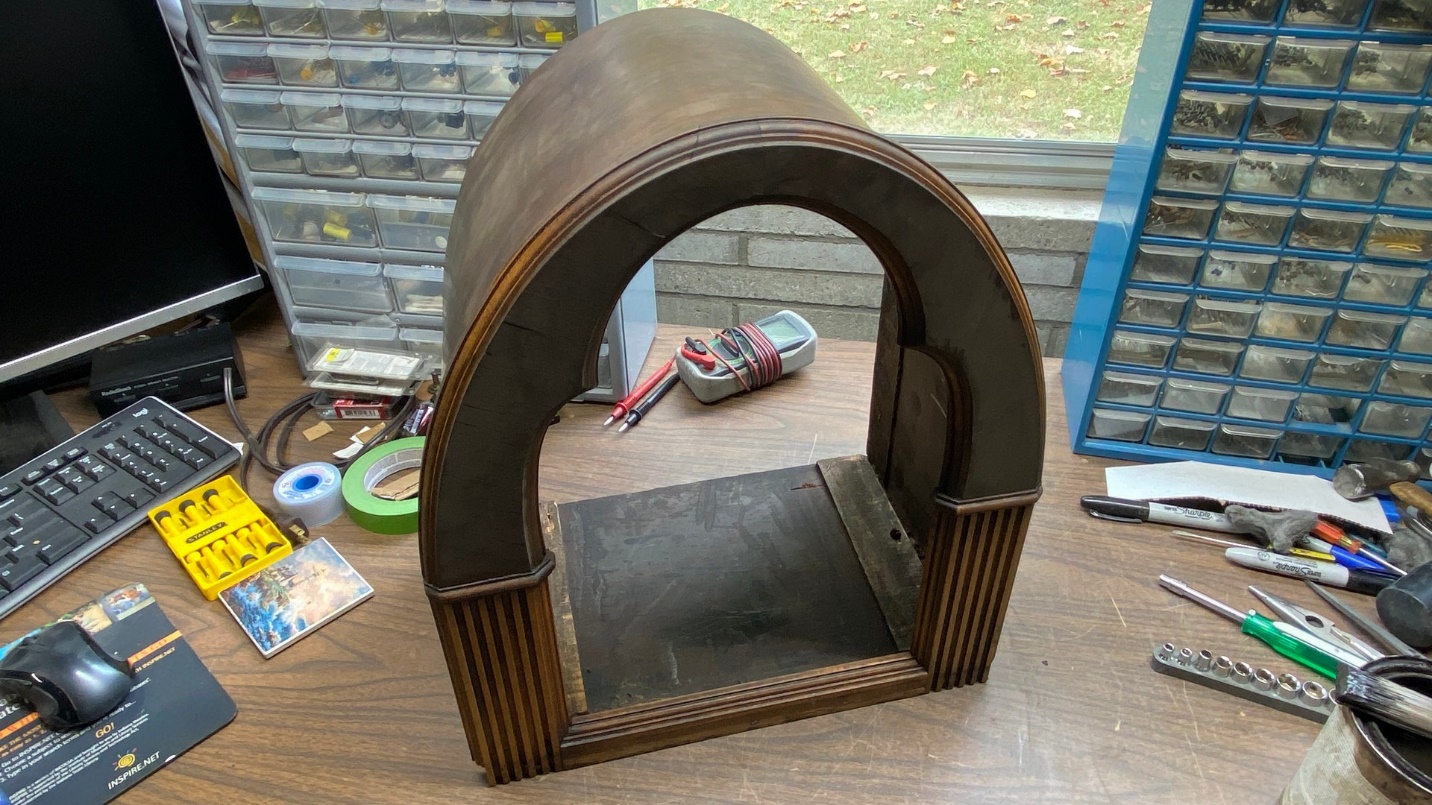
How the cabinet looked after toning.
I let the cabinet dry for a while outside, but the afternoon had become evening by then, and I needed to bring the cabinet back inside. I brought it in and placed it on the shelf where it will sit among other radios in my collection once it is finished. It actually looks pretty good next to my Philco 46 cathedral radio, a small portion of which may be seen on the extreme right in the photo above.
As I was applying the first coat of toner on the left side of the cabinet, somehow I managed to make the lacquer run! Ugh! What should I do now?
I decided to simply keep applying coats of toner. I was hoping that perhaps I would be able to carefully wet sand the area later, and if I could not eliminate the run completely, perhaps I would at least be able to reduce it somewhat.
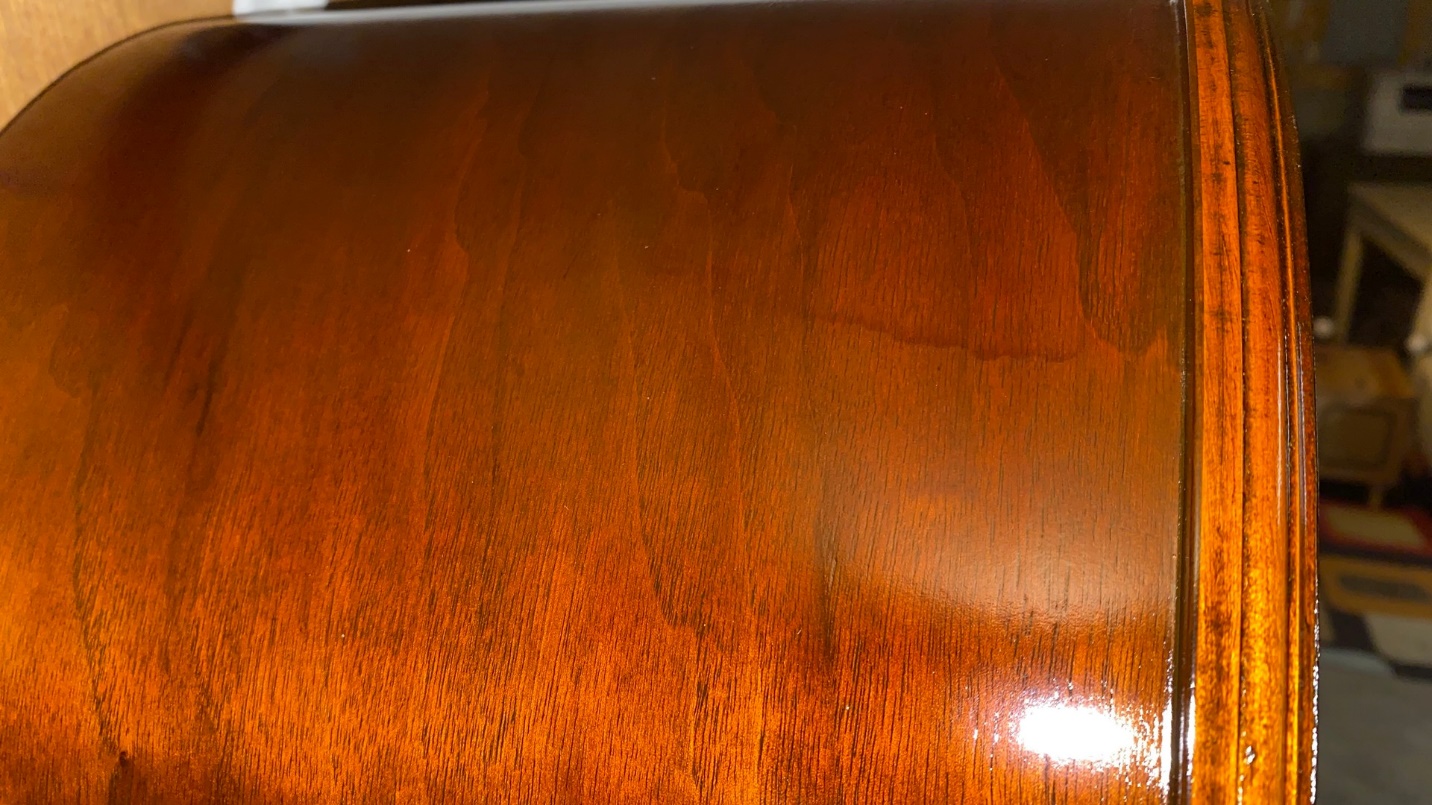
Oops! A run has formed on the left side!
If it were earlier in the season, I could have stopped, stripped the cabinet, and started over. But it was October 4th by now. In addition, I had looked at the weather forecast for the coming week, and there were going to be some days when it was going to be too cool for lacquer spraying. This is the main reason why I decided to just keep going.
Well, once again, I find that we have run out of space for this installment of the Philco 21 cabinet saga. Next time, I will decide whether to wet sand that run area before I start applying clear lacquer, or wait until after I have applied a few coats of clear. After all, I would be wet sanding the entire cabinet after three coats of clear lacquer had been applied. Join us next time to find out which course I decided to take.