Last time, I had begun preliminary work in disassembling my Philco Model F-10 speaker so that I could remove its field coil for rewinding. The audio transformer has been removed and I know I will need to replace it. I have repaired the speaker connector and made a new speaker cable using four cloth-covered wires. Now it is time to continue the work.
So, what are we waiting for? Let’s go!
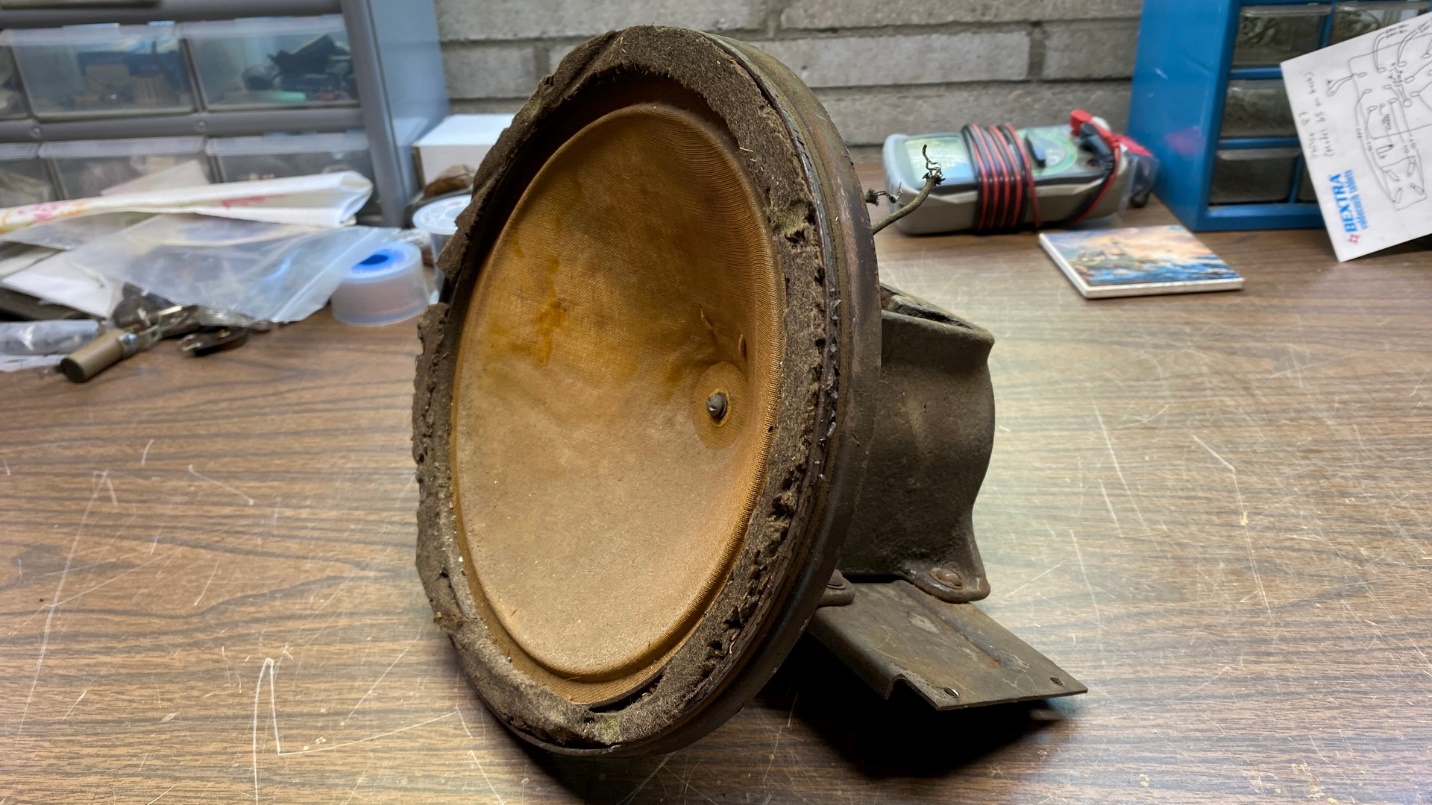
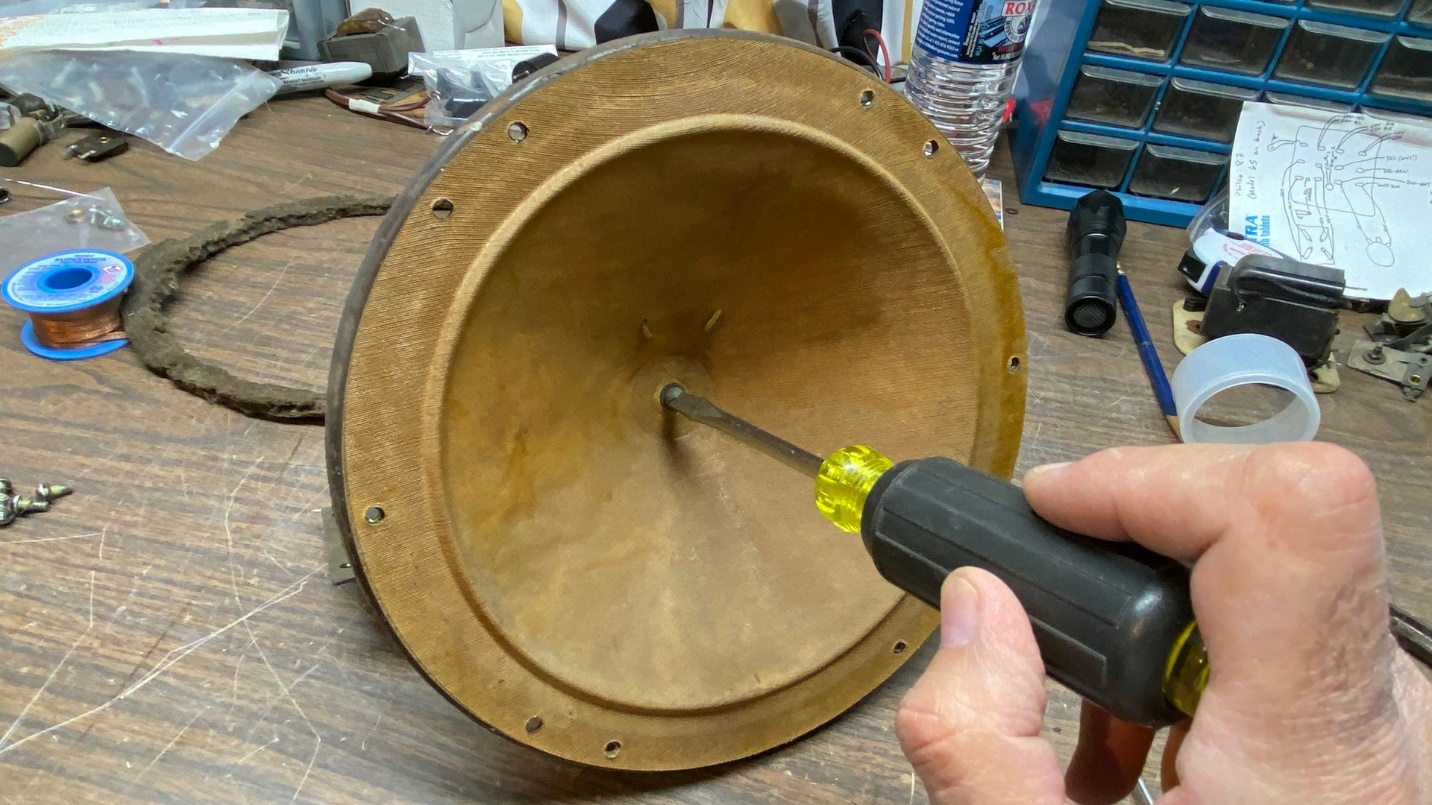
Removing the speaker gasket from the driver.
I unsoldered the two voice coil wires from the terminal strip on the back of the driver, and removed each wire from their respective terminals, leaving them free.
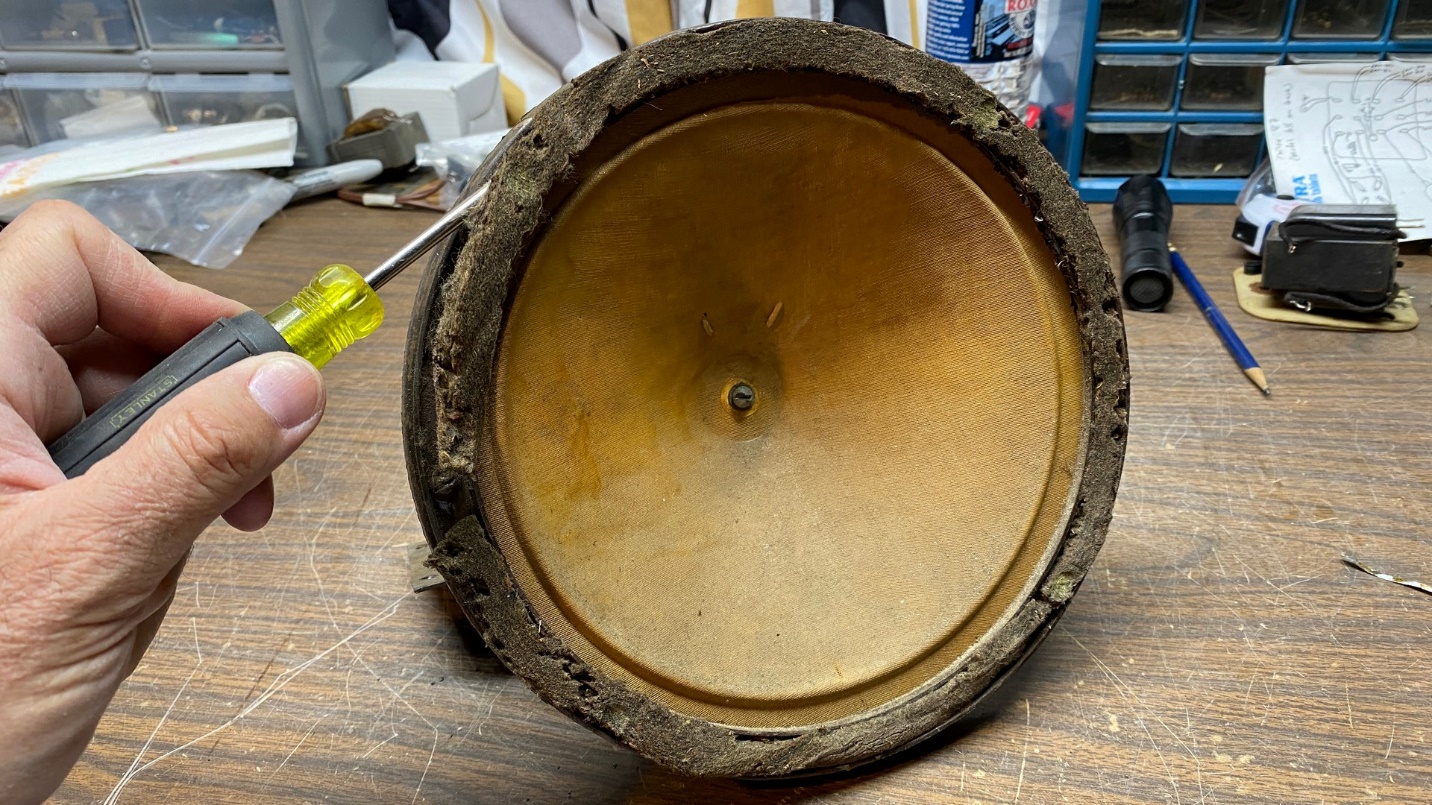
It will be necessary to remove the metal trim ring from the front of the driver. This holds the speaker cone in place, as does the screw in the center of the cone. The trim ring is held in place by six screws. Those screws are hidden behind a felt gasket.
Using a flat-blade screwdriver, I carefully scraped off the old gasket. I will reuse this gasket once the driver is reassembled.
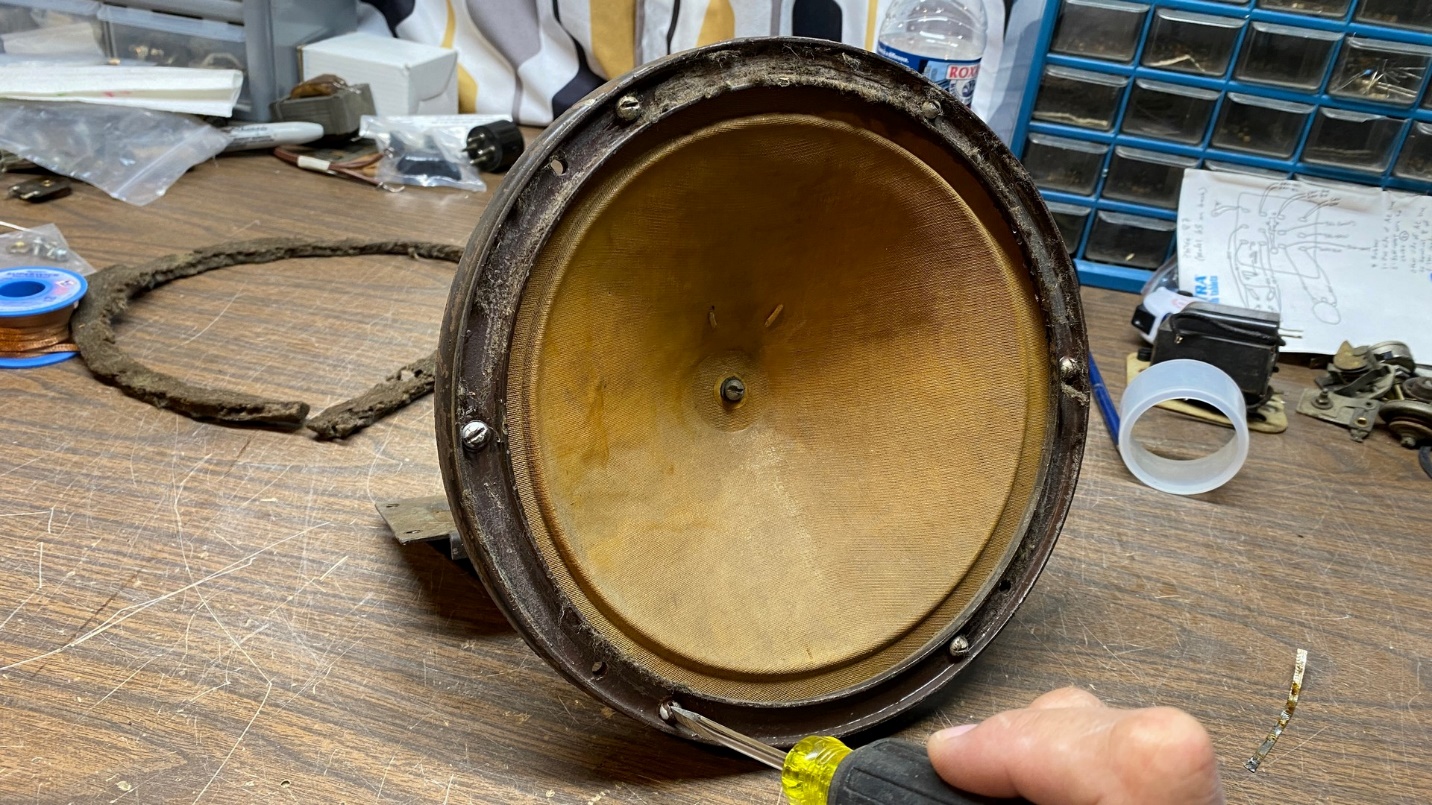
Removing the trim ring.
Once the gasket is removed, the six screw heads could now be seen and accessed. I carefully removed these screws, doing my best to not let the blade of the screwdriver slip. In this case, only one of the six screws was very tight; the others were basically “finger tight” and were easily removed.
After the six screws and lockwashers were removed, the trim ring was removed and set aside.
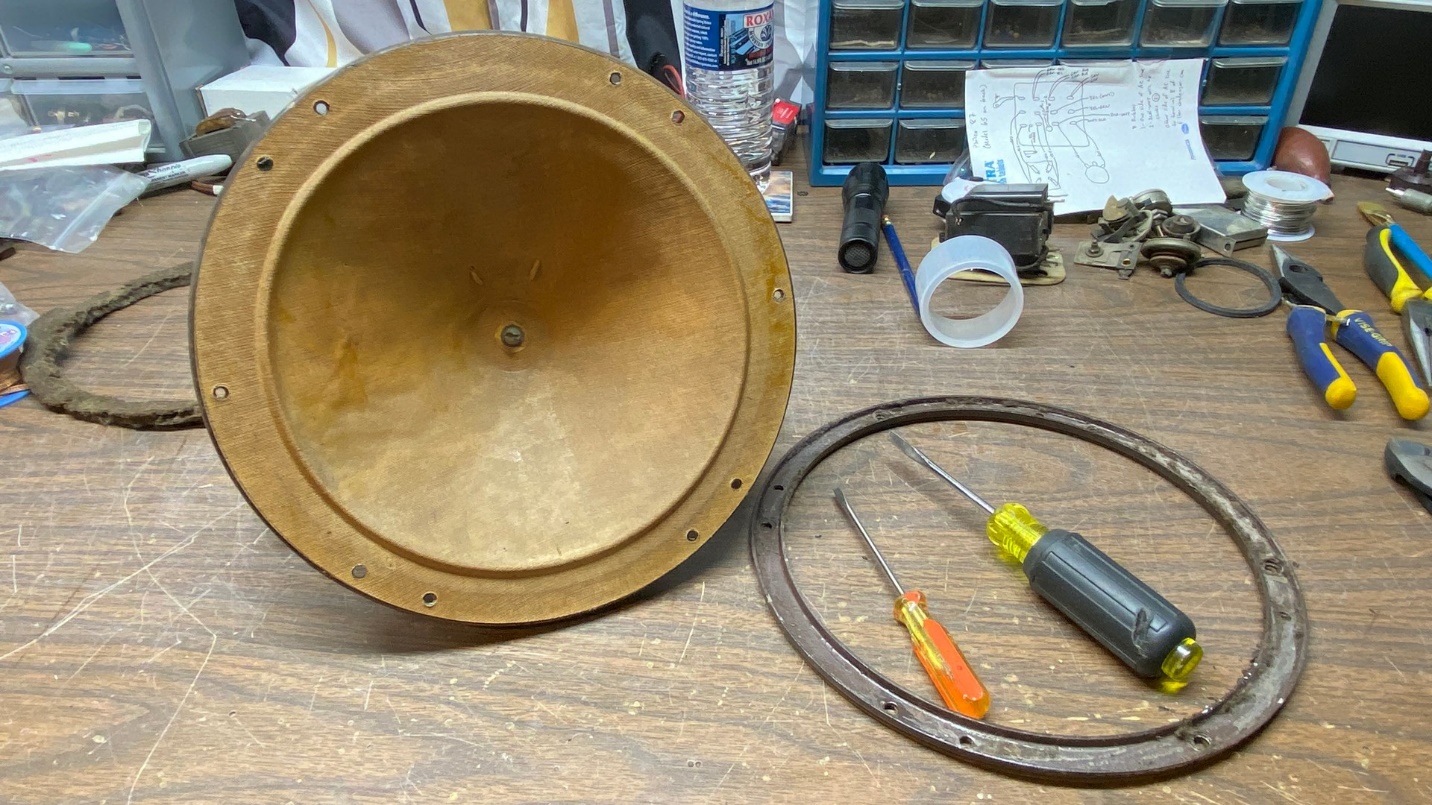
The trim ring removed from the driver.
There is one screw that held the cone to the pole piece in the center which needed to be removed. If you do this, be very careful here. One slip with the screwdriver and you could ruin the cone!
Fortunately, this screw was also not very tight and soon, the screw, lockwasher and flatwasher were removed.
The screw at the center of the cone must also be removed.
Now it was time to remove the speaker cone. If you are lucky, the cone will not be glued to the frame around the perimeter. I was lucky. The edge of the cone was free, having been held down only by the trim ring. I carefully grabbed the edge of the cone at opposite sides and gently twisted it free from the driver. The cone was then put in a safe place.
Speaker cone now free from the driver.
There was a metal piece mounted to the bottom of the driver. This metal piece holds the driver in place inside the speaker cabinet. It needed to be removed to get the field coil out of the “pot”.
It was easy to remove; I simply removed four screws, and then removed the metal piece.
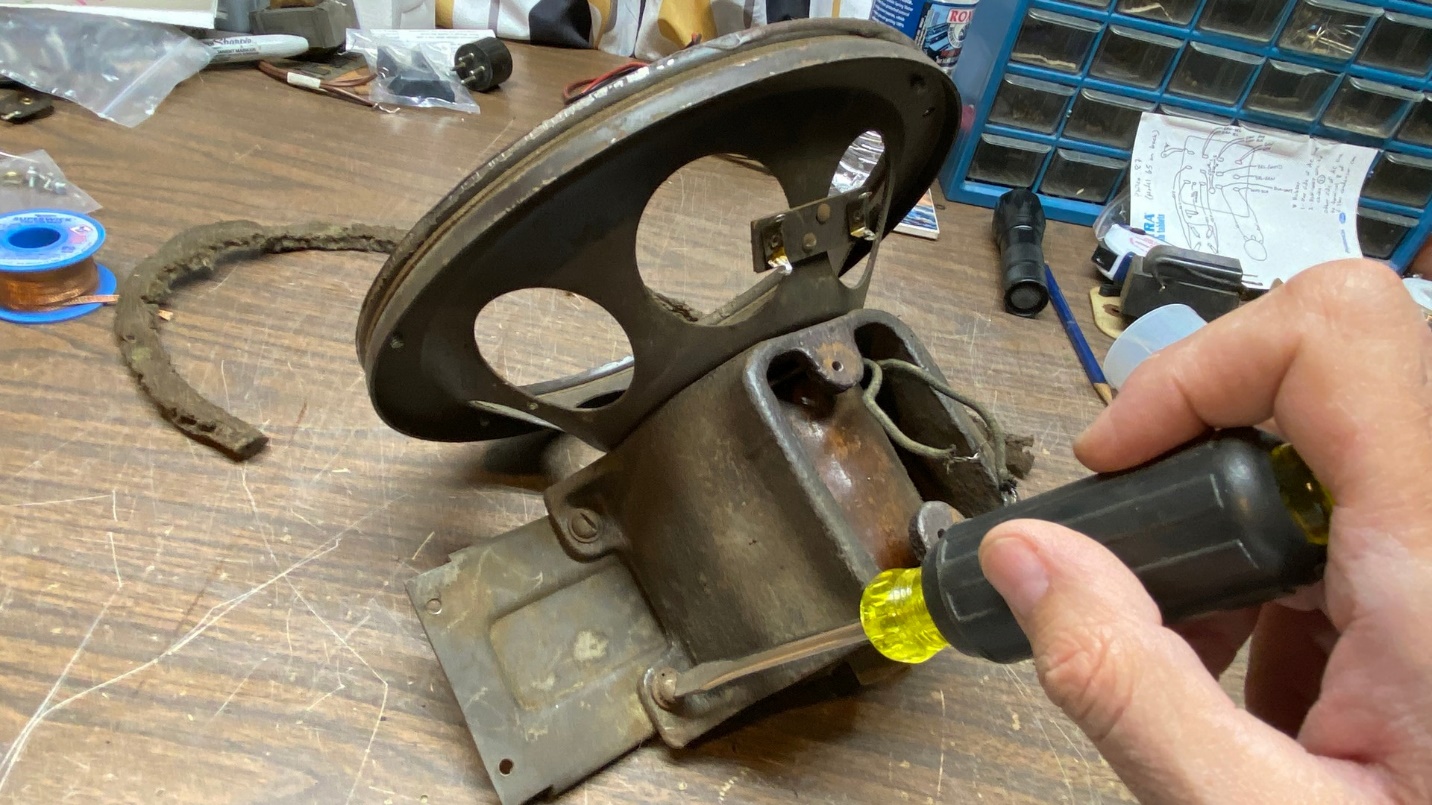
Removing the metal piece which holds the driver inside the speaker cabinet.
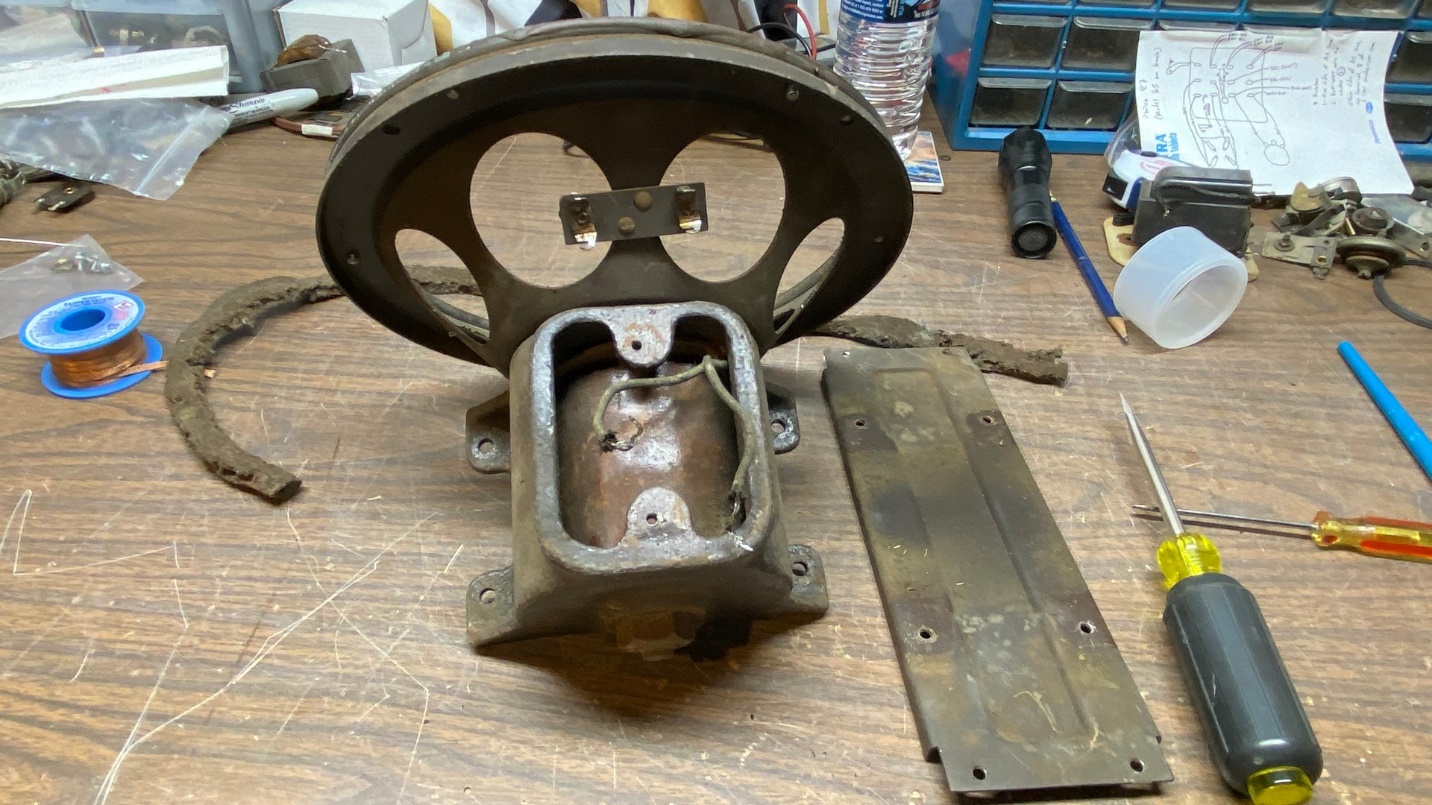
The metal piece now removed from the driver.
There is one more thing that needs to be done, and that is to remove the large nut from the back of the speaker. This is going to be the hardest part of the disassembly, as that nut is tight!
Now I knew why AHRS wanted me to send just the field coil. Oy vey.
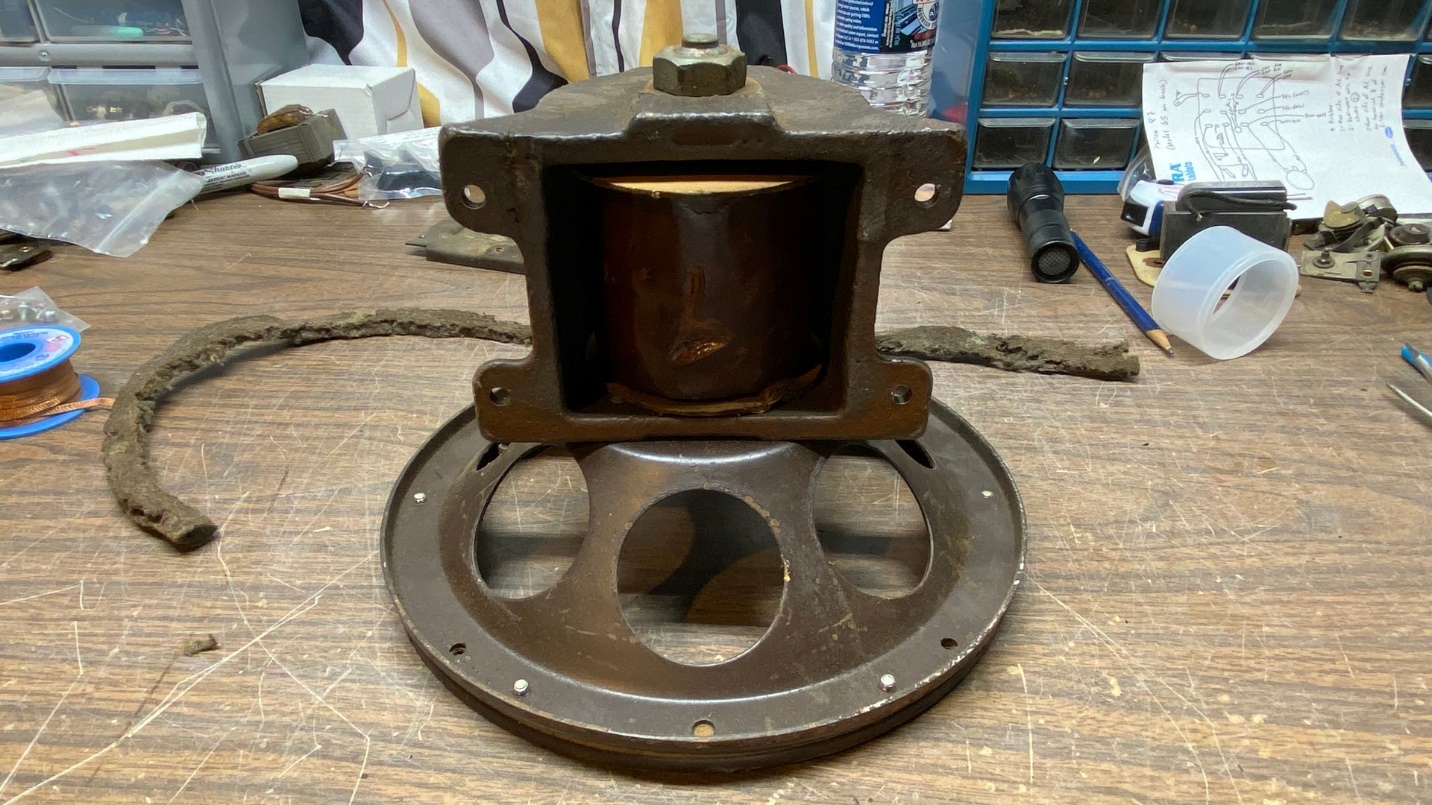
The partially disassembled driver. You can see the 15/16” nut at the back of the driver.
The nut requires a 15/16” socket. I decided to use a ¾” drive socket and the longest breaker bar I could find. I sprayed the threads inside the nut with PB Blaster and let it sit overnight.
The next morning, I tried to break the nut free, but it would not budge. Then I had an idea…
I decided to reattach the metal piece which holds the driver inside the speaker cabinet. Once this metal piece was reattached to the driver, I clamped each side of the metal piece to a table with large C clamps as seen below.
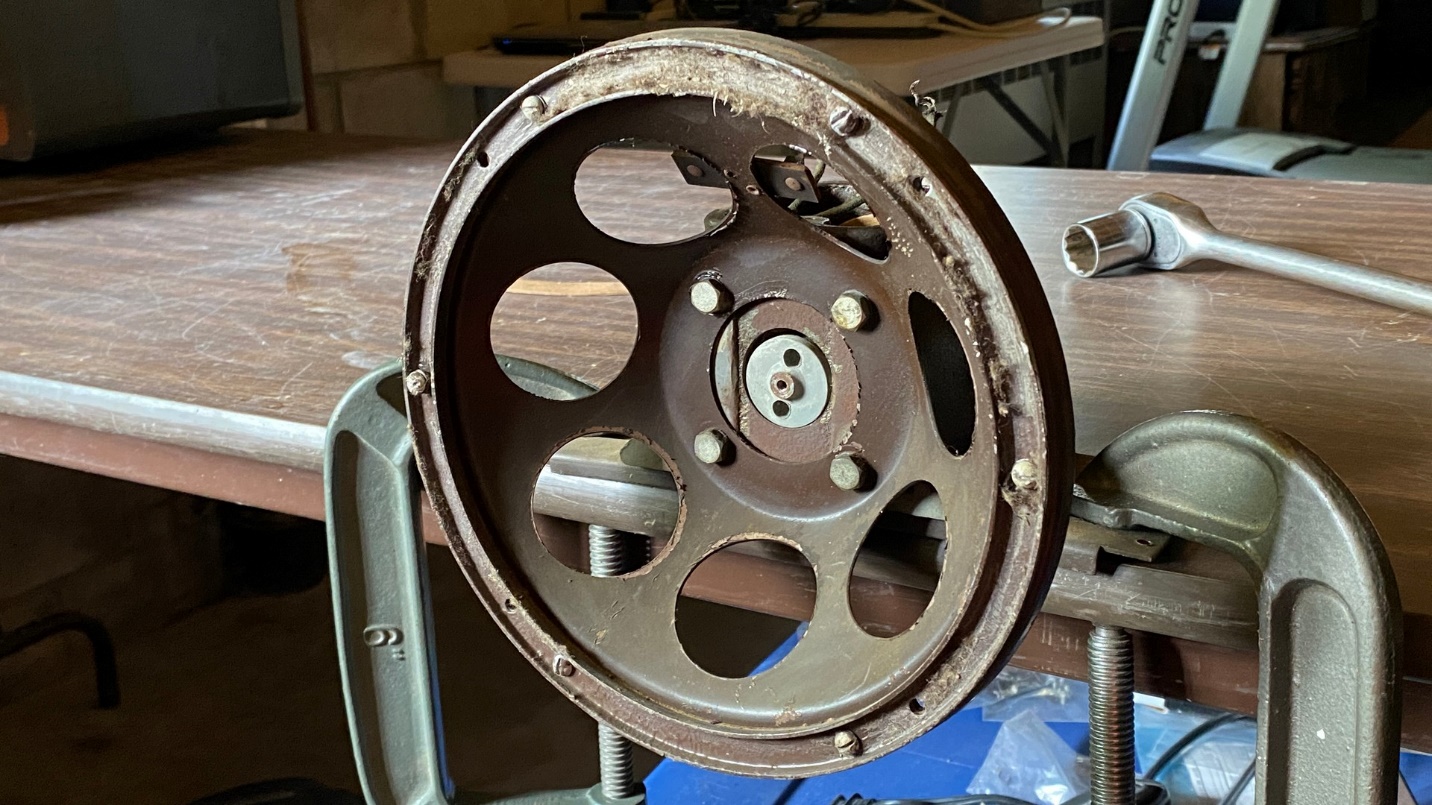
After clamping the driver to a table, I was able to finally remove the nut at back.
With the driver securely clamped to the table, I placed the breaker bar with 15/16” socket onto the nut in back of the driver and pushed down on the breaker bar with all my might.
The nut then broke free fairly easily.
Soon, I had the nut off, the pole piece out, and the field coil removed from the driver.
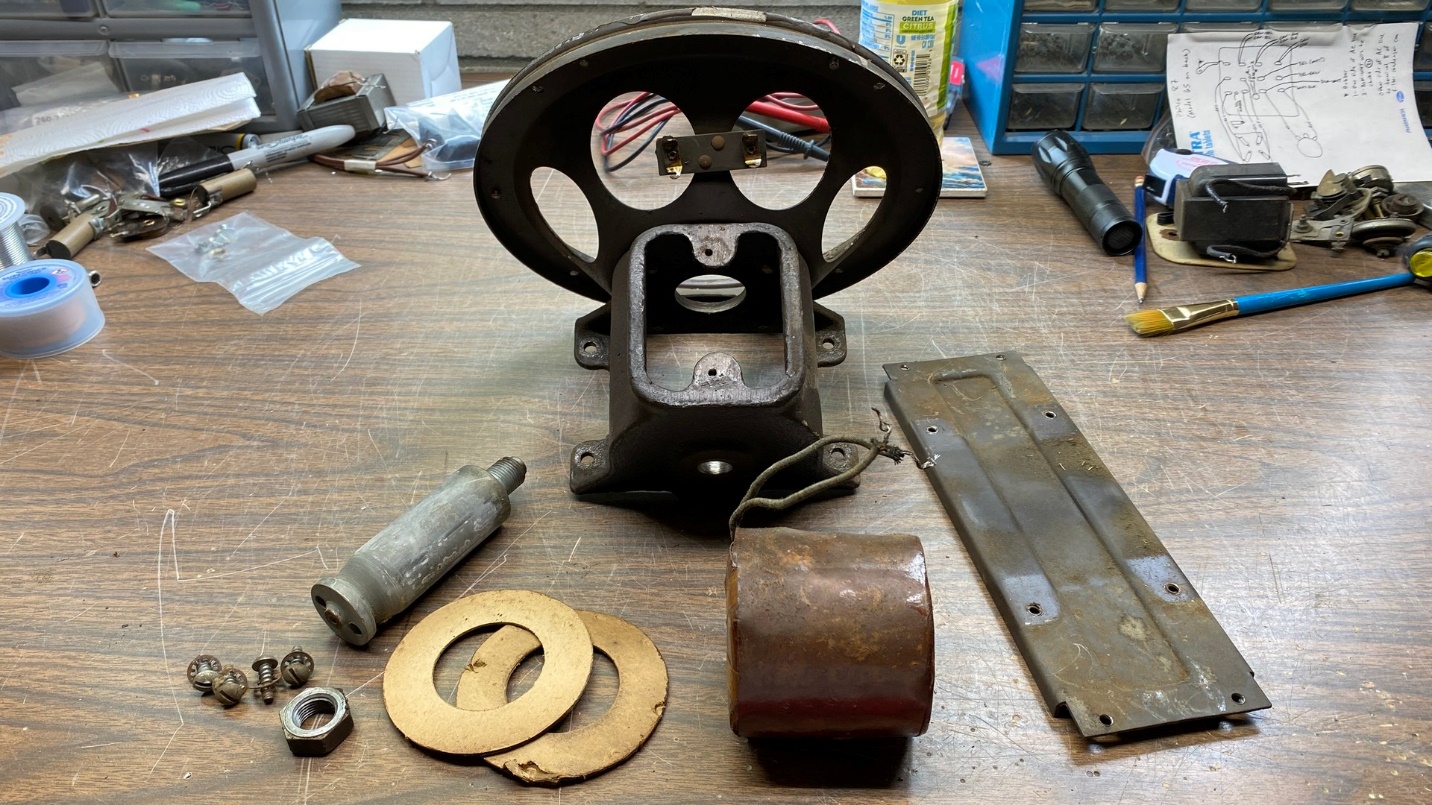
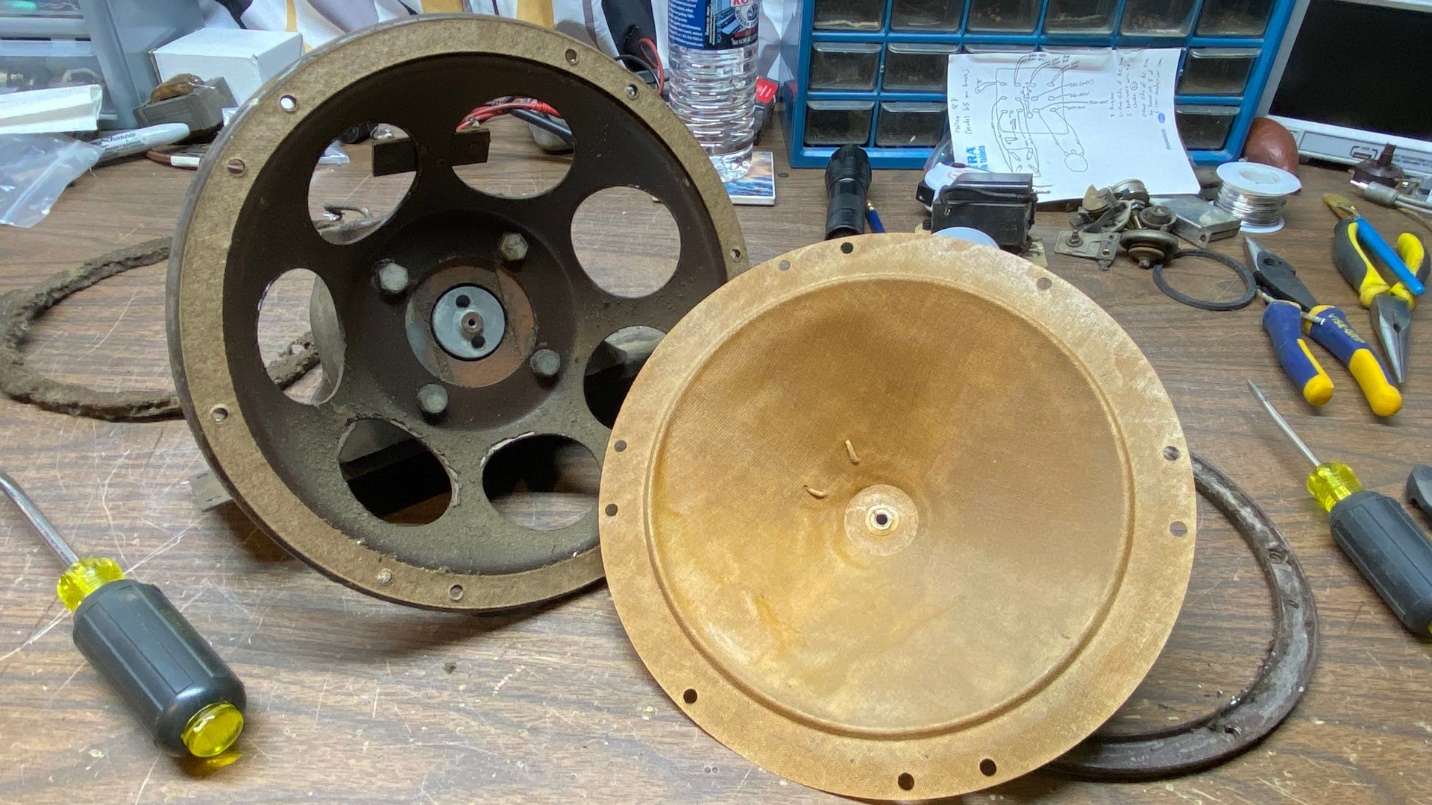
The pole piece and field coil have been removed from the driver.
There was no evidence of rust or corrosion on the threads of the pole piece or on the nut. I can only assume that the nut was installed very tightly when the speaker was originally built in 1929.
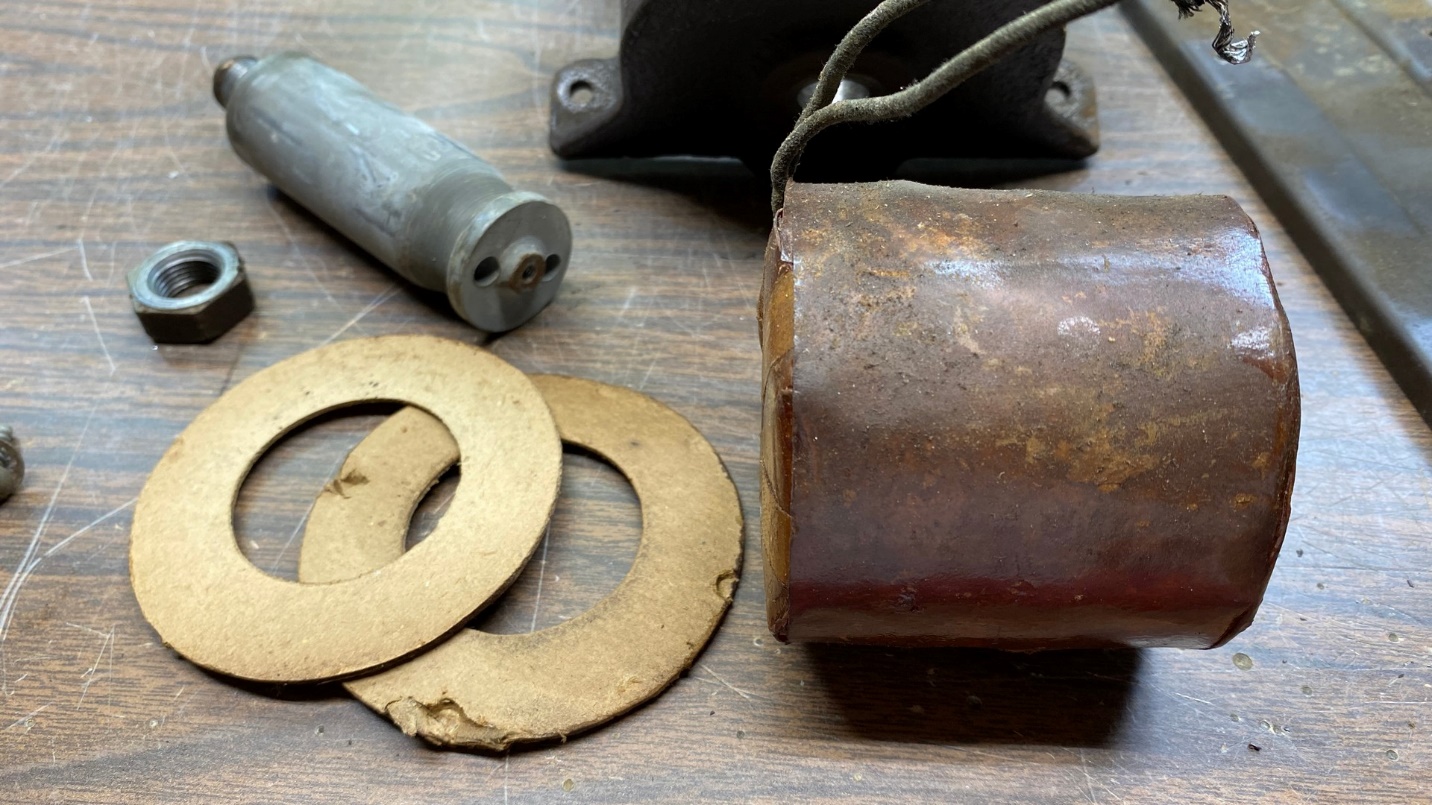
The field coil (right) will soon be rewound.
I placed the two round gaskets and the pole piece back into place and threaded the nut back into place on the back of the driver. I left the nut “finger tight” as it will have to be taken apart again once the rewound field coil is sent to me.
Once I find a suitable box, this 92-year-old field coil will be on its way to Alabama.
And that is going to do it for now. I will return with a final chapter (Part 3) once the field coil has been rewound and sent back.