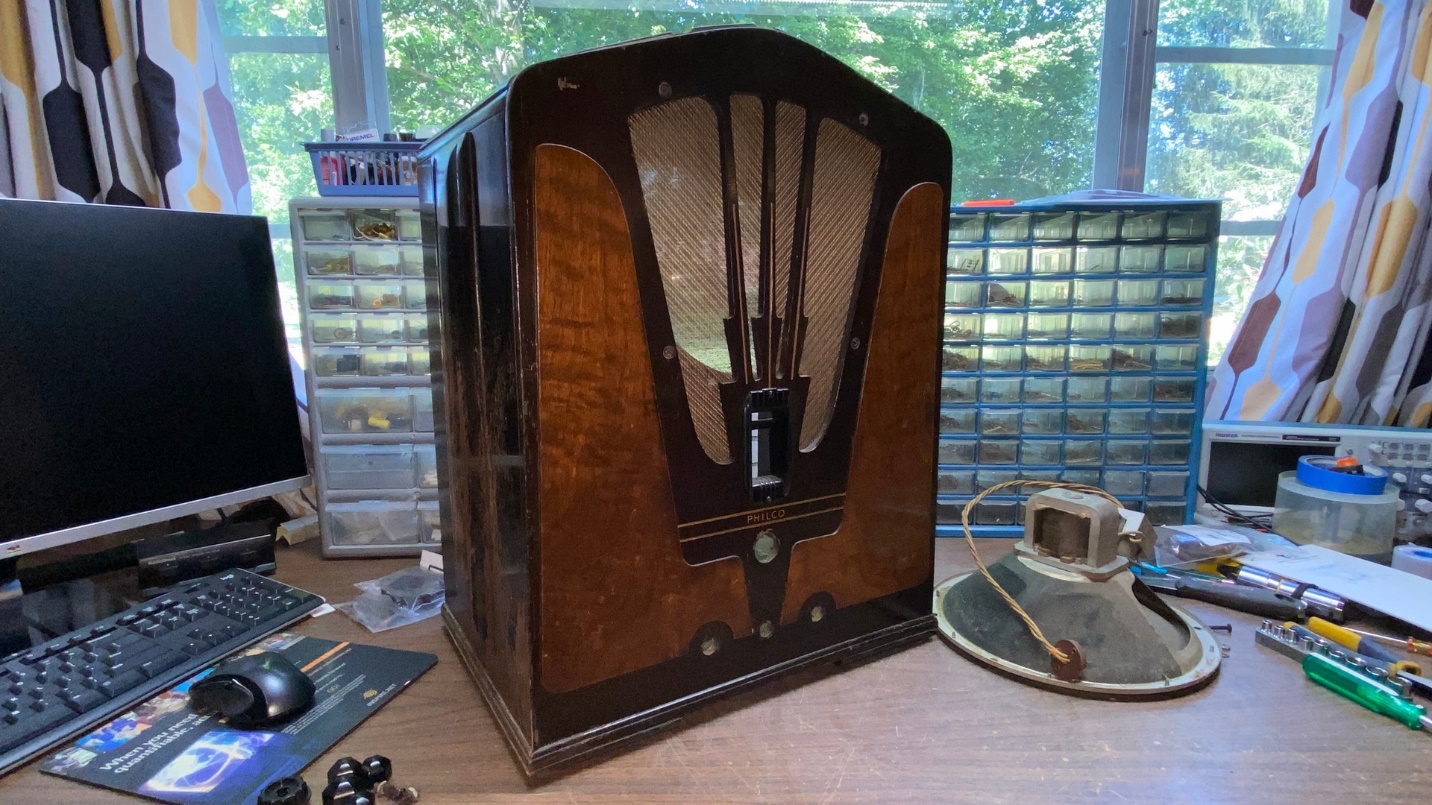
A friend and fellow collector had brought this Philco 16B to me a year or two earlier. The radio chassis was very clean, and the original grille cloth was in excellent condition. The front of the cabinet looked decent – not perfect by any means, but decent. However, the cabinet had finish issues on the top and sides. This made me decide to include this radio cabinet in my list of cabinets I wanted to refinish in the summer of 2023.
I started working on this cabinet on July 12. Little did I know at the time that I would still be working on this cabinet in early October, as the days which were warm enough for spraying lacquer were drawing to a close.
I stripped the cabinet with acetone. I was frankly surprised to find the very dark toner which the factory had used had been applied very thickly to the cabinet. In fact, due to this, it took two sessions of stripping the cabinet to get all the old lacquer off the cabinet.
Once the cabinet had been stripped, I allowed the cabinet to sit for several days before I began to apply new lacquer.
I began by spraying the raised walnut panels on the cabinet front with Mohawk Ultra Classic Dark Walnut toning lacquer. This is nearly identical in color to Mohawk’s Medium Walnut Tone Finish, with the added advantage that it is a dye-based toner instead of a pigment-based toner, allowing for a clearer, much better finish.
After spraying the walnut front panels – yes, I did get overspray onto the areas of the cabinet which would eventually receive darker toner – I let the cabinet dry for a day or two, then I carefully masked off those walnut panels.
I then sprayed Mohawk Extra Dark Walnut Tone Finish on the cabinet’s front panel. This quickly covered up the areas of the front panel which had been oversprayed with Dark Walnut.
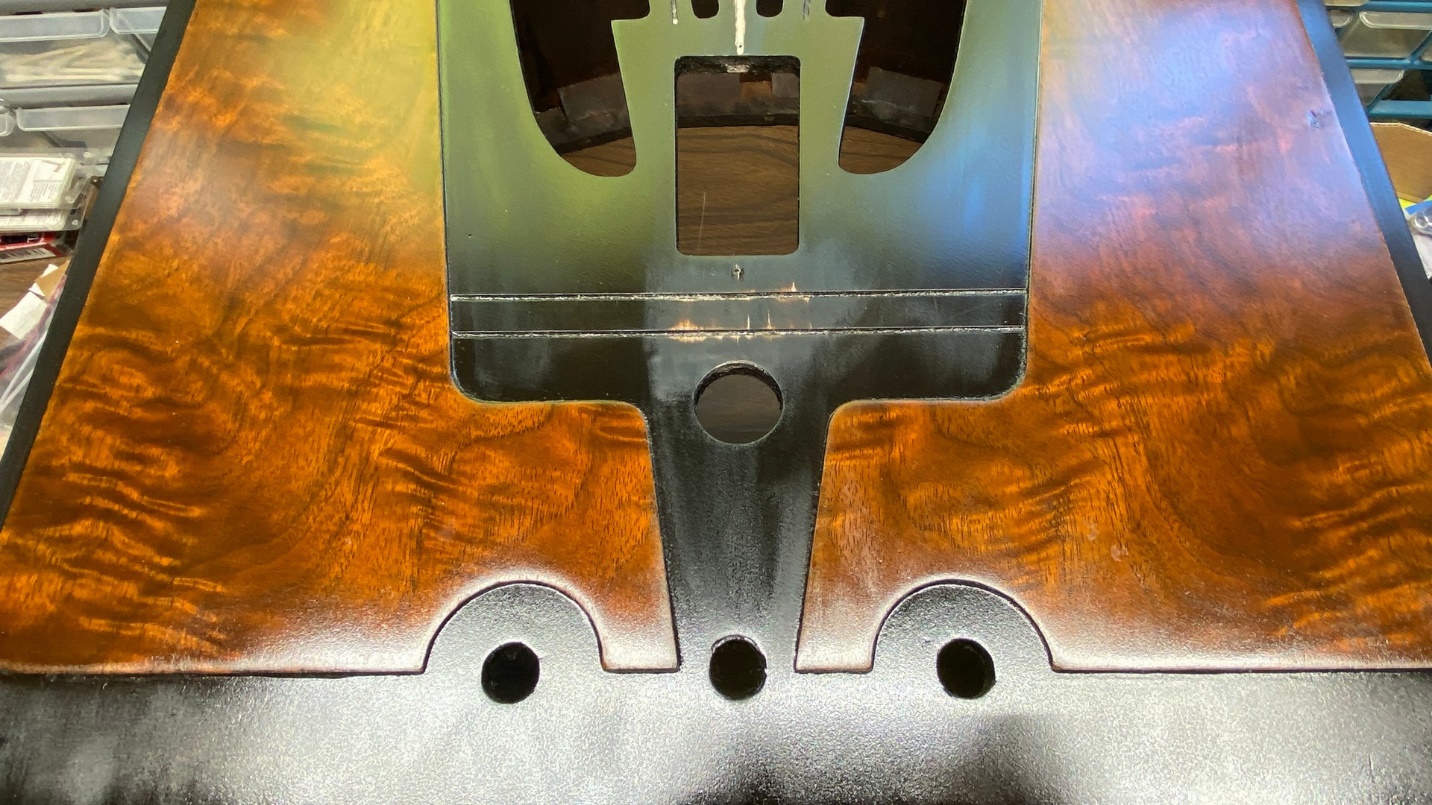
Once this was done, I removed the masked areas, revealing the walnut panels once again and a very nice contrast between the lighter and darker areas of the front panel.
After a few more days had passed, I masked off the entire front panel of the cabinet, and sprayed the top and sides of the cabinet with Extra Dark Walnut.
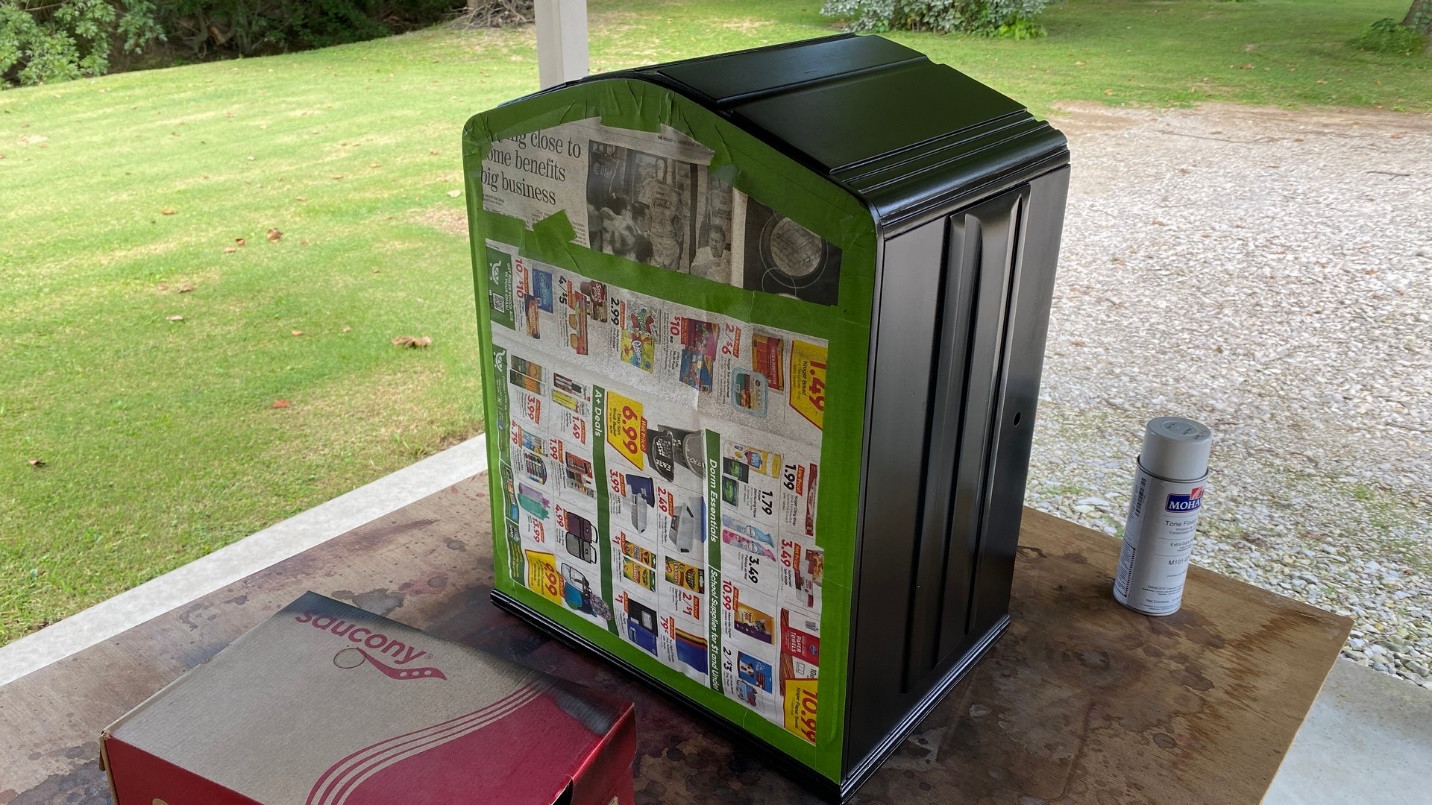
The 16B cabinet after the top and sides had been sprayed with Extra Dark Walnut toner.
I removed the masking tape and newspaper front the cabinet’s front panel, and set the cabinet aside until the next day.
After another day or two, I applied the PHILCO decal as may be seen below.
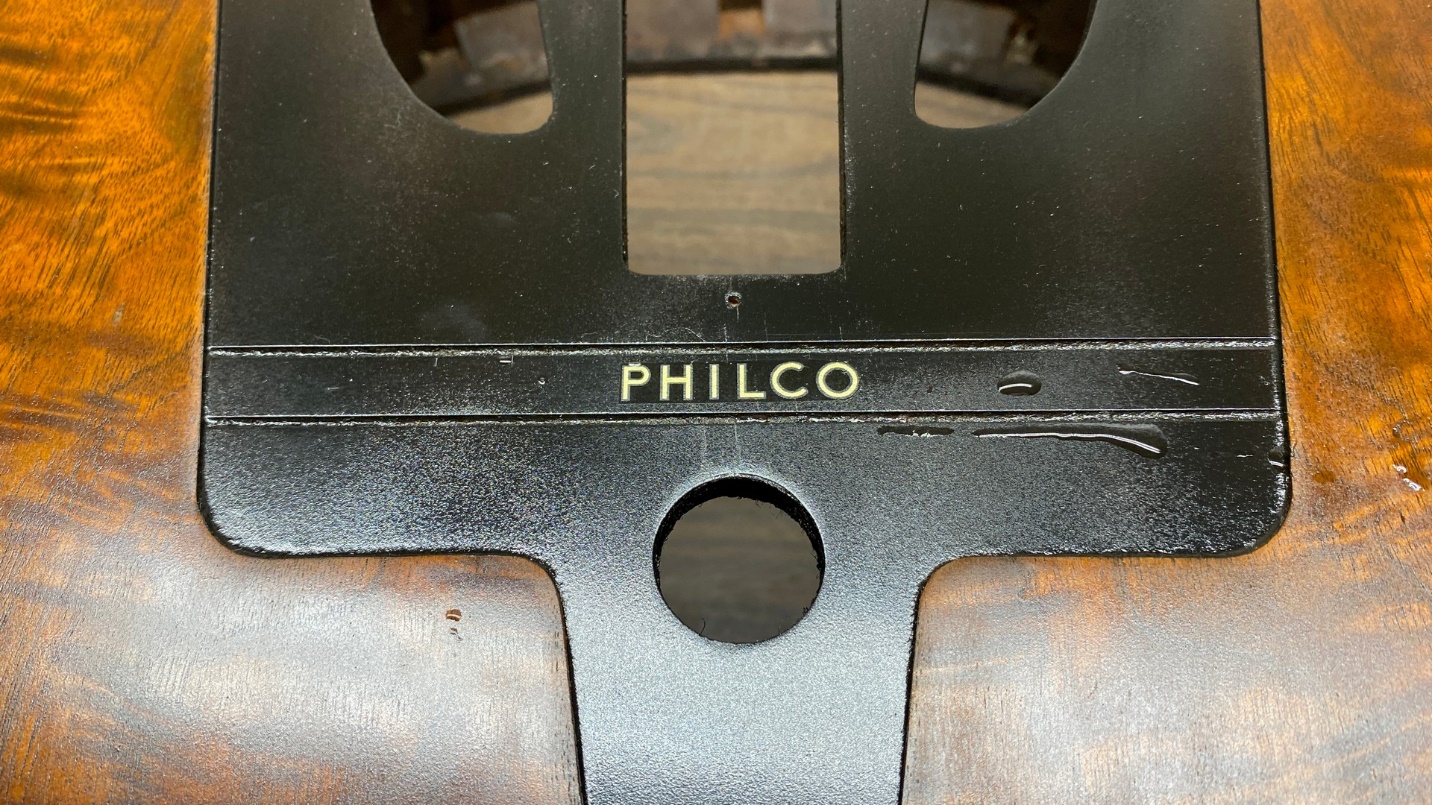
The PHILCO decal is applied to the front of the cabinet.
After this was done, I attempted to spray three coats of clear lacquer over the entire cabinet. This did not turn out very well, as the clear lacquer I was using had a nozzle which produced a conical spray. A conical spray is not very good, or very efficient, when trying to cover a large cabinet such as this one.
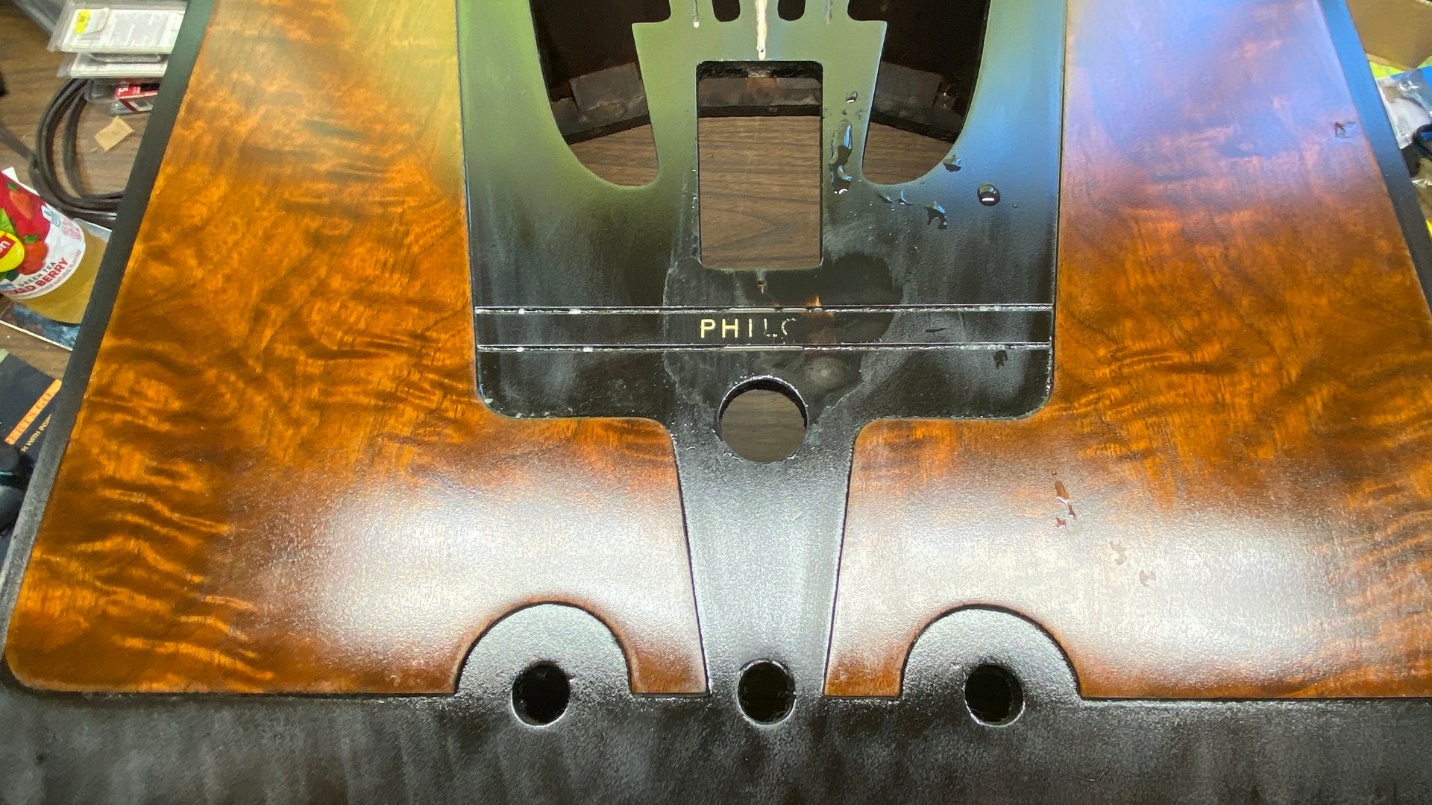
My next move was to try and paint the routed grooves in the front panel with the light ivory nail polish I had purchased for the purpose. Here is where the troubles began.
I failed to mask off the grooves as I had done when I used this nail polishin the grooves of my Philco 45C cabinet. You can guess what happened – the nail polish went in one groove, outside the groove and smeared all over the center grillebar of the front panel. To make matters worse, the nail polish had actually melted the Extra Dark Walnut lacquer, creating a big mess.
Disgusted, I simply set the cabinet aside for what I thought would be a week or so. However, I did not resume work on this cabinet until early October, as I got busy with other cabinet projects and kept putting this one off.
I had previously noticed that the front panel of this cabinet was not as dark as were the cabinet’s top and sides. Seeing this, I knew what I needed to do. I would have to respray Extra Dark Walnut on the front panel. This would also take care of the flaw I had made on the center grillebar of the front panel.
I removed the nail polish from the center grillebar by wet sanding. This process burned through the toner, which I expected to happen.
I knew that if I attempted to mask off the section of the cabinet where the decal was, that this section would probably turn out lighter than the rest of the front panel. Reluctantly, therefore, I wet sanded the decal off. This, too, burned through some of the toner. But, again, I expected that to happen.
Wet sanding the cabinet to remove the decal.
The decal is now gone.
Now, it was time for me to mask off those large raised walnut panels so they would not be covered in Extra Dark Walnut toner. This process took about 90 minutes.
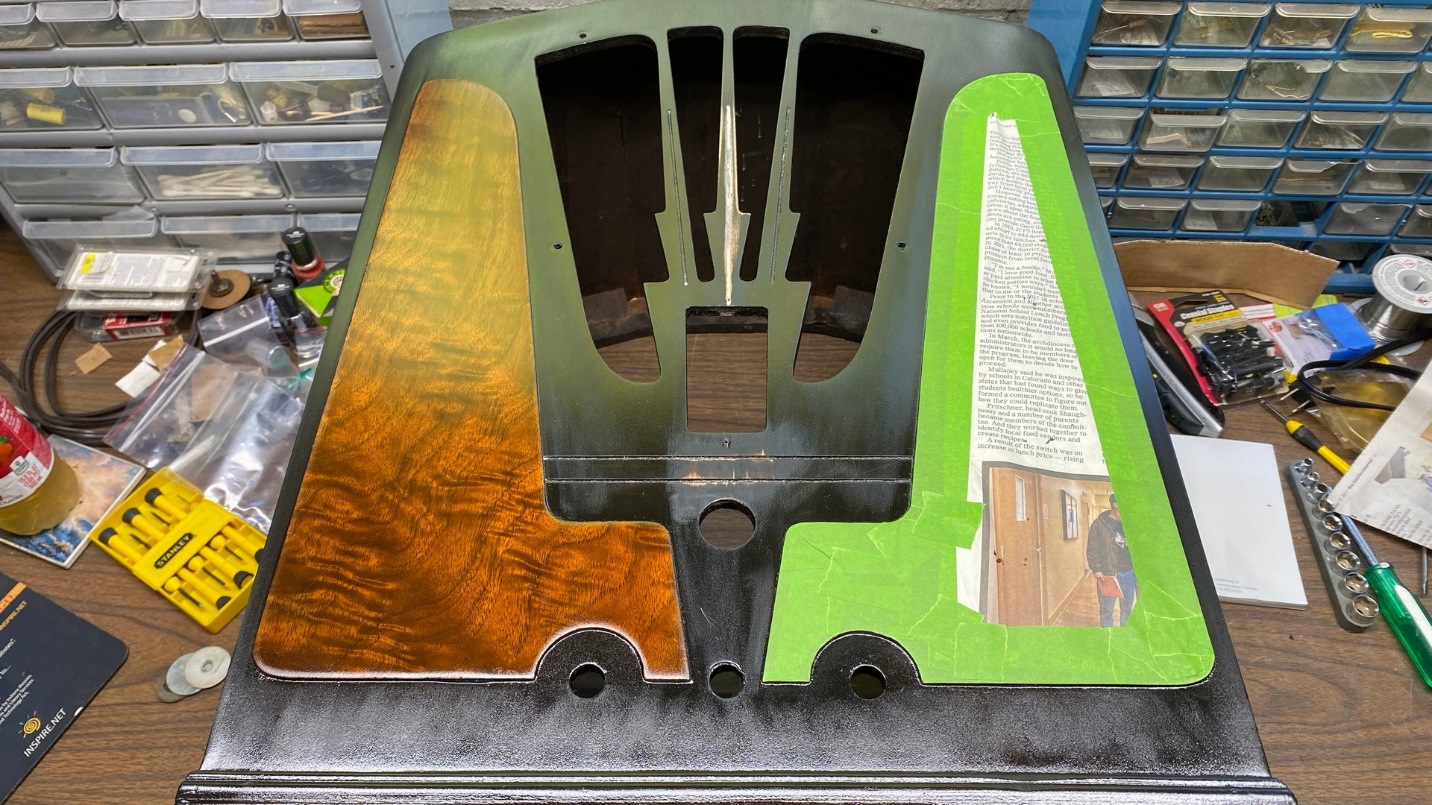
Masking off the walnut panels on the front of the cabinet.
After breaking for lunch, I took the 16B cabinet outside. I discovered that, although the temperature was about 72 degrees by then, it felt cooler. A breeze did not help things.
I stepped into the garage, and noticed it was warmer in there. So, I pulled my truck out, and set up my folding table in the garage.
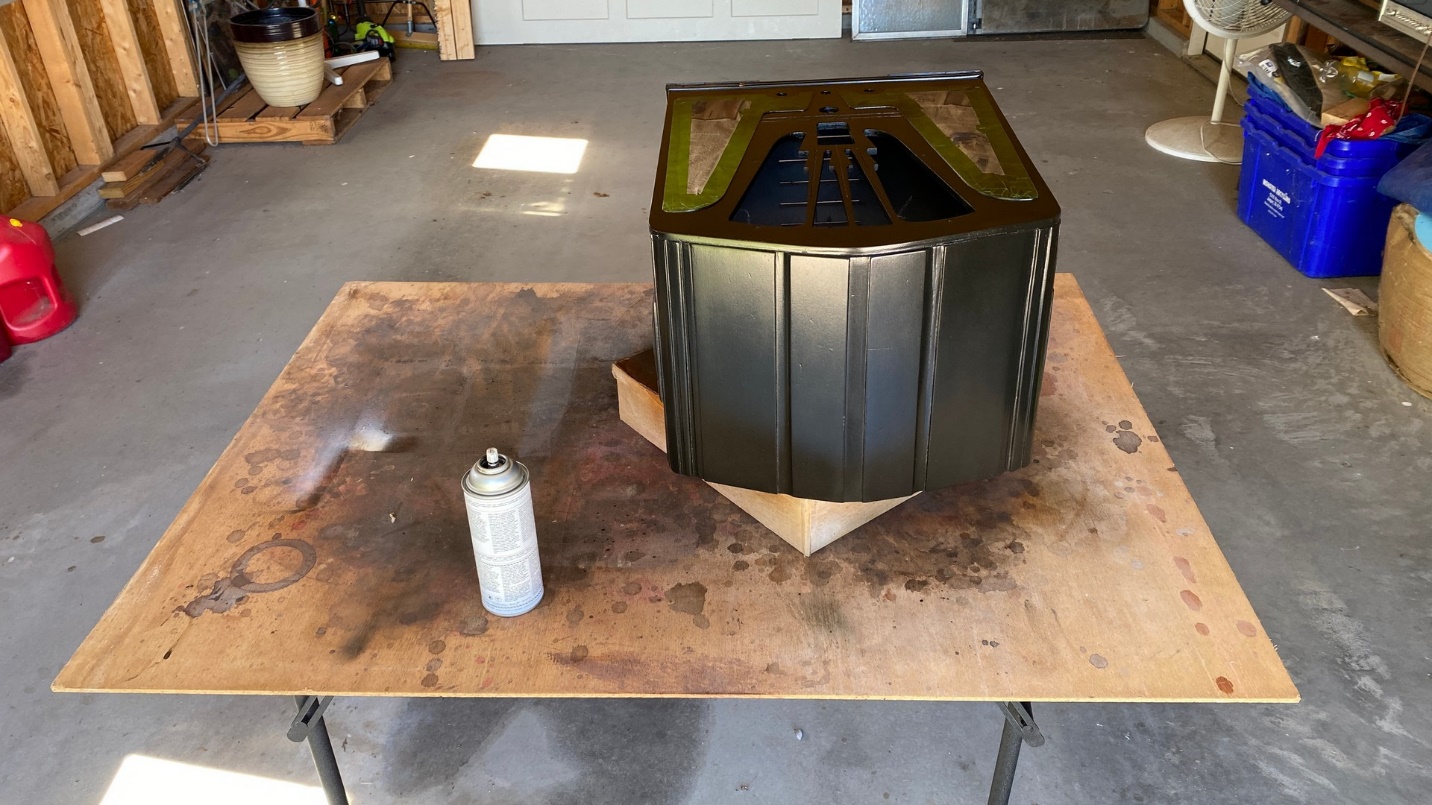
Spraying the 16B cabinet in the garage.
I applied two coats of Extra Dark Walnut to the cabinet’s front panel. I also applied one coat of this same toner to the top of the cabinet, as it appeared to need it.
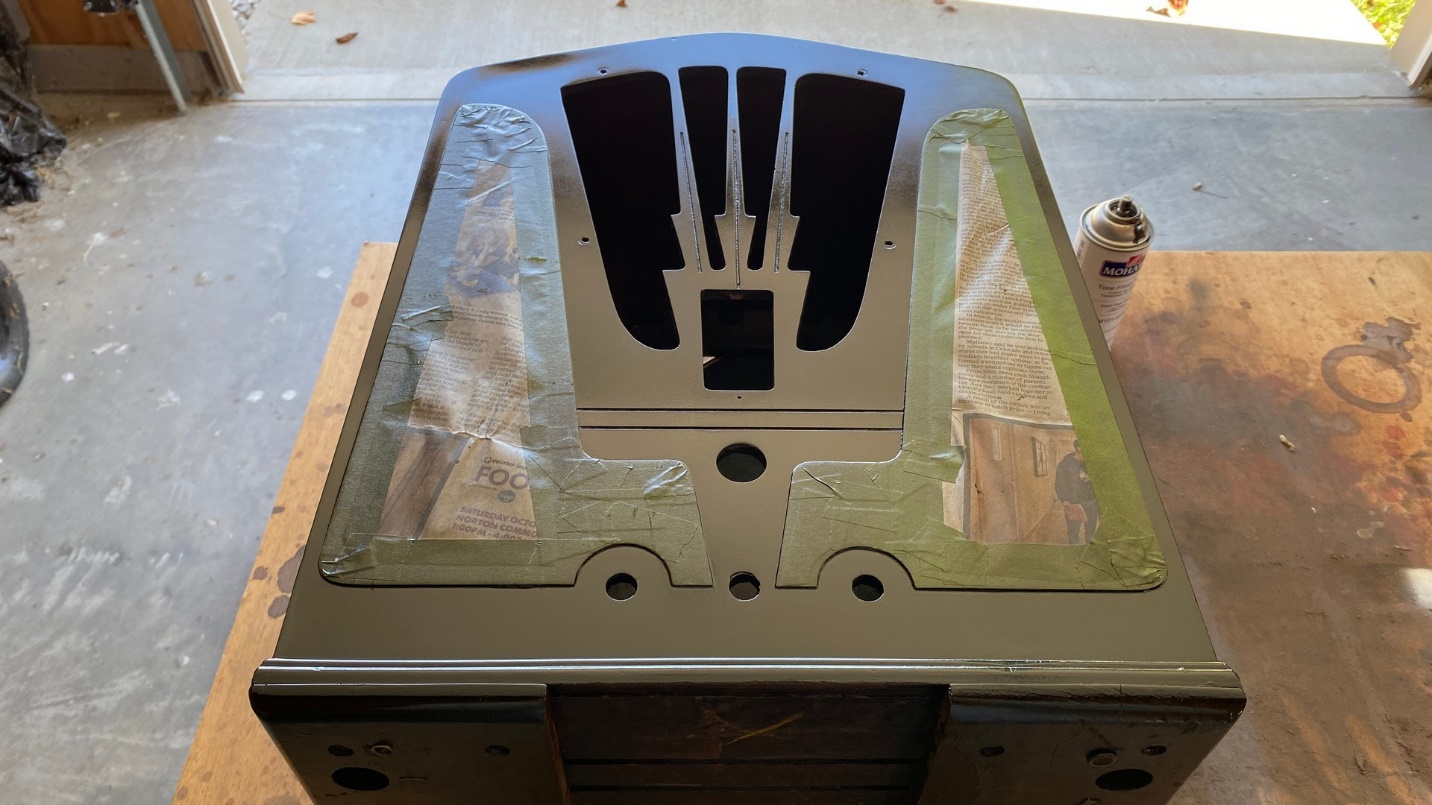
Once again, the cabinet’s front panel has been sprayed with Extra Dark Walnut toner.
After letting the cabinet sit in the garage for a few hours, I took it back inside to the basement and began to remove the green FrogTape and newspaper.

Removing the masking from the walnut panels.
Here, I discovered my next major mistake. I had read recently that one should not use newspaper to mask off cabinets for lacquer spraying, but to only use plain craft paper. When I removed the newspaper and masking tape from the right panel, I discovered that the newspaper had stuck to the panel in three small places!
Thinking quickly, I decided to try careful wet sanding of the areas in an attempt to remove the flaws yet preserve the color of the Dark Walnut toner. Fortunately, this turned out very well. It helped that I had previously sprayed some clear lacquer on this cabinet – this allowed me to accomplish my goal of not burning through the toner.
I used the following technique: Using 800 grit wet/dry sandpaper and a small container of water, I lightly sanded one area, only a very few times, then wiped off the water to see how it looked. I repeated this process until I was satisfied with the result. I then did the same for the other two problem spots.
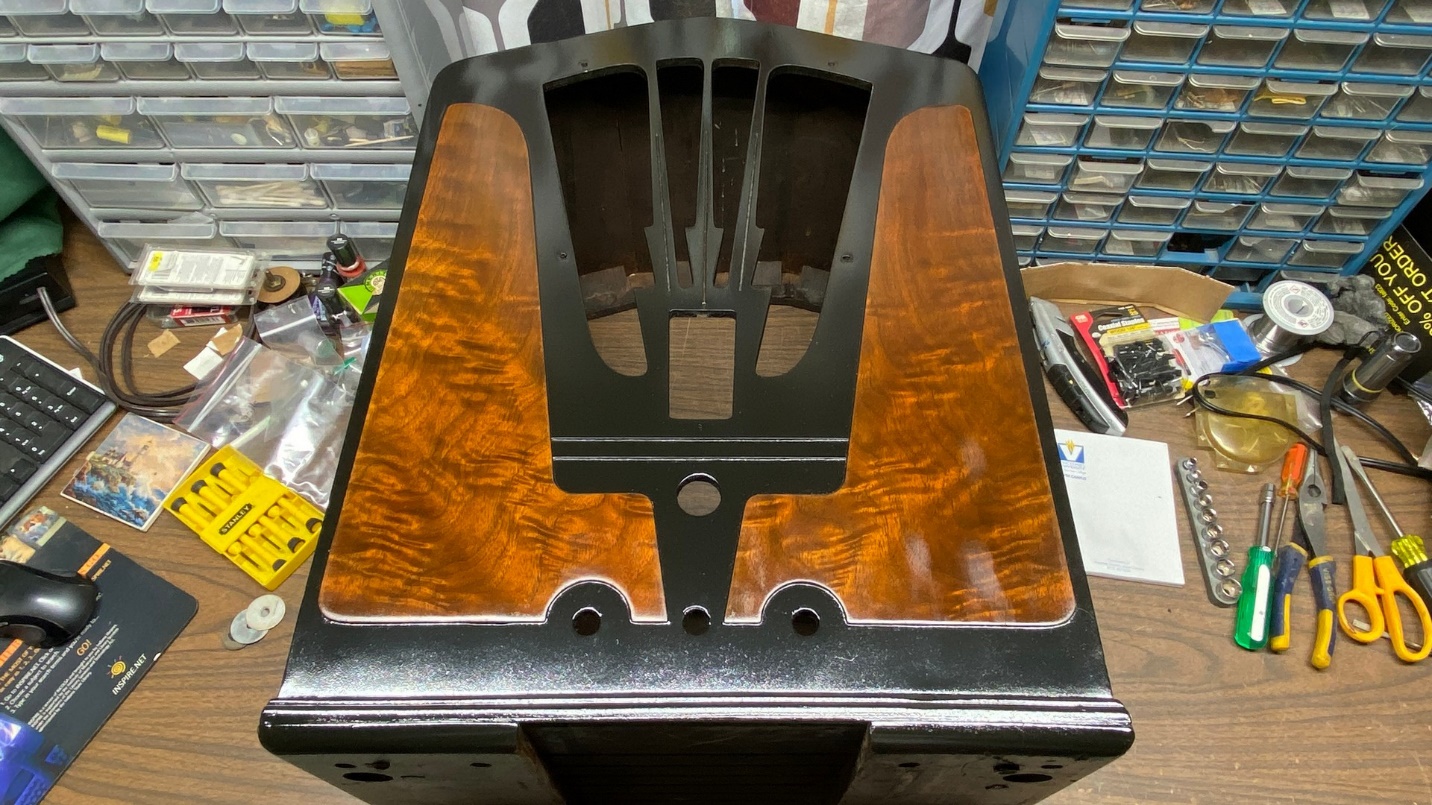
The 16B as it appeared after the three spots on the front panel had been carefully wet sanded.
I had mentioned earlier that a conical spray is not desirable for large cabinets such as the 16B. You see, I planned to spray the entire cabinet again with three coats of clear lacquer, and then wet sand the entire cabinet. I knew that once these sanded areas get sprayed with new clear lacquer, that the sanded areas would disappear.
But I digress. I needed lacquer cans with nozzles that can be adjusted between a horizontal fan pattern and a vertical fan pattern. This would result in more efficient application of product, as well as in a more professional looking finish.
I had ordered some Deft and Mohawk clear lacquer earlier in the week. (I have some special nozzles for the Mohawk product, while Deft comes with adjustable nozzles.) I made the mistake of specifying FedEx Ground for shipping, and paying extra for it. You see, folks, ever since COVID, FedEx is simply not the company they used to be – in my opinion. Packages which would always arrive on time, or sometimes even early, were now arriving late as often as they arrived on time, if not more so. Such was the case with my lacquer shipment. It was supposed to arrive the very day I sprayed this cabinet. However, when I checked package tracking, it was obvious the package was sitting on a truck someplace, not moving.
Okay. Enough of my little rant. We are out of space for this portion of my 16B cabinet story, so I will be back next time to let you know how long it did take to receive that lacquer, and how this 16B cabinet turned out.