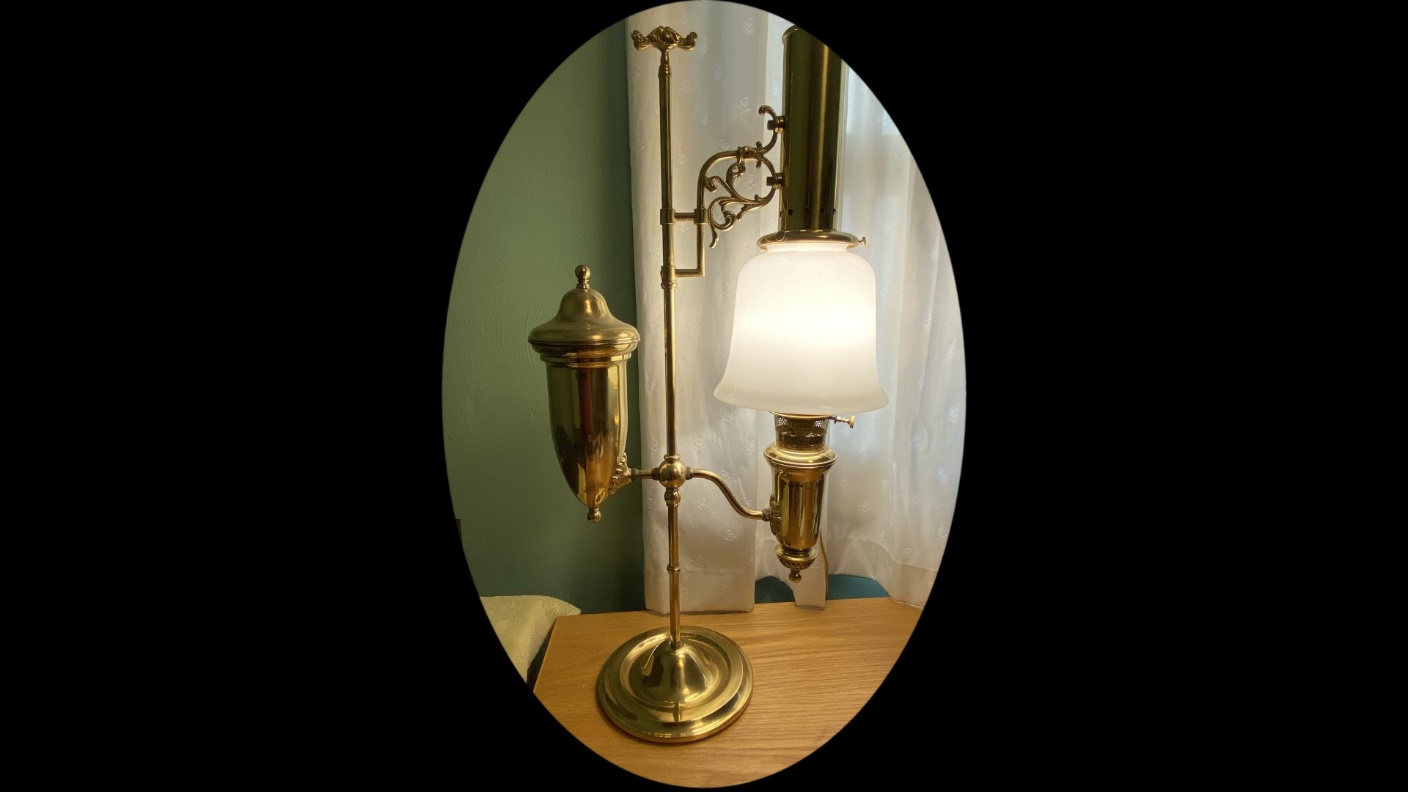
In 1915, the Mantle Lamp Company of America departed from their usual offerings of Aladdin brand table and hanging lamps, and produced a very large and fancy student lamp. It used a model 4 burner. Original model 4 student lamps are now hard to find, and very expensive when available.
In 1983, on the occasion of the 75th anniversary of what was now called Aladdin Industries, the company produced a special replica of their student lamp. Very similar in appearance to the original, its production was limited to 7,500 lamps. The replica could be purchased with either a model 23 kerosene burner or a screw-on burner fitted with an electric switch and cord.
About four years ago, I was in an antique mall when I discovered one of these 75th anniversary replica student lamps. The price was $150. At the time I did not yet own a copy of J.W. Courter’s Aladdin Collectors Manual and Price Guide #23 which was published around the time I bought this lamp. I still had the 22nd edition of this price guide, and as I recall, the value of this lamp was listed in the 22nd edition as being around $350 or so. Feeling that I had stumbled onto a real bargain, I bought the lamp. I had long admired these student lamps, but I never thought I would actually own one. It became the desk lamp in my home office, where it remains to this day.
I later bought price guide #23 and found that the value of many Aladdin lamps had actually gone down, including my student lamp which was now valued at $150-200.
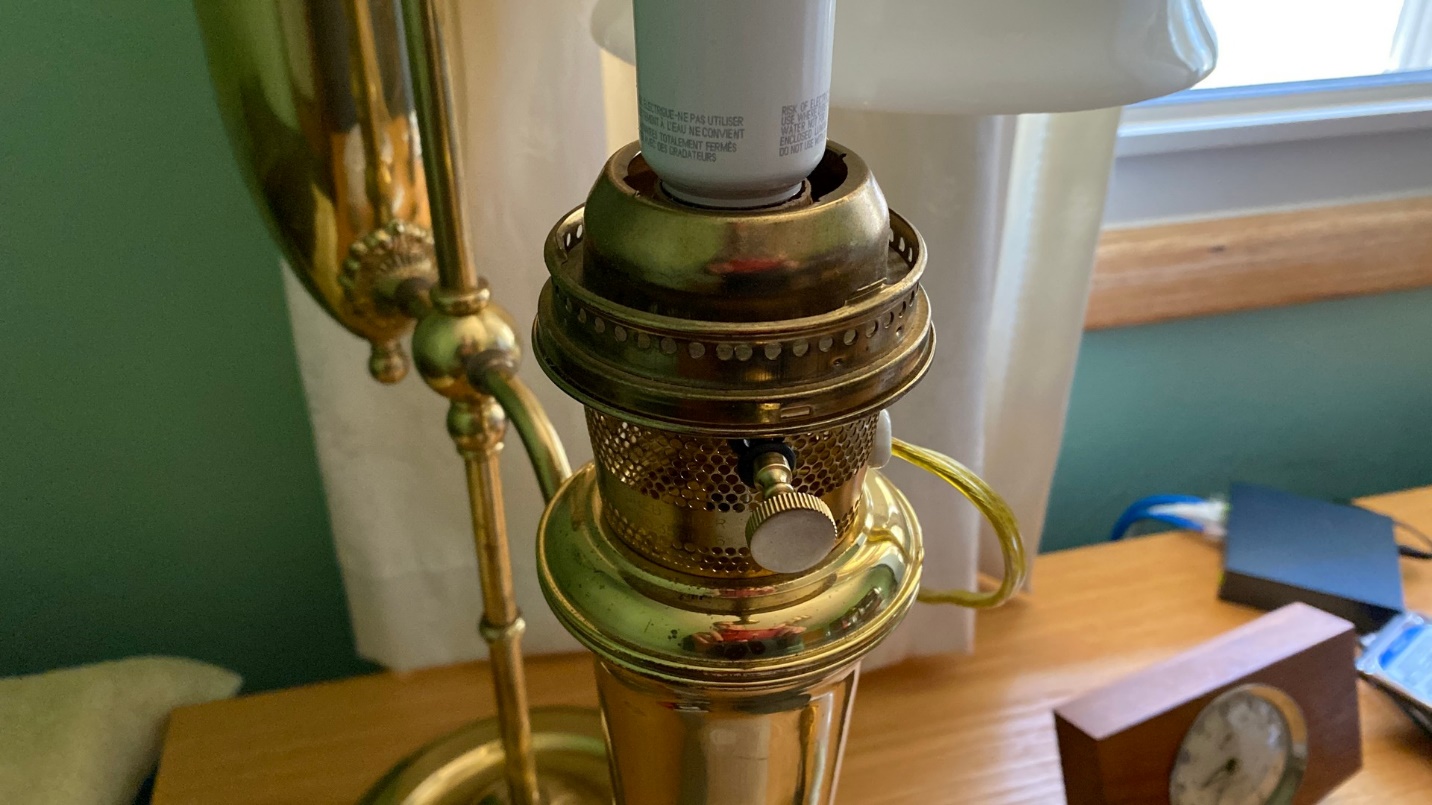
My lamp had obviously been used, as the vertical brass rod which holds everything had a fair amount of wear on it. Still, it was (and is) a beautiful lamp. It came with an electric burner which makes it quite convenient for everyday use in my home office.
Recently, the lamp’s switch became erratic in operation, reaching the point that the on-off “key” had to be carefully turned into one position before the lamp would remain on. It was time to replace its switch.
I had two choices: replace the electric burner with a new one for around $45, or open up the burner and just replace the switch for a few dollars. Naturally, I chose the latter. After all, if an antique radio hobbyist cannot repair a lamp, he or she has no business working on an old radio!
I purchased a replacement switch for the lamp from a local hardware store.
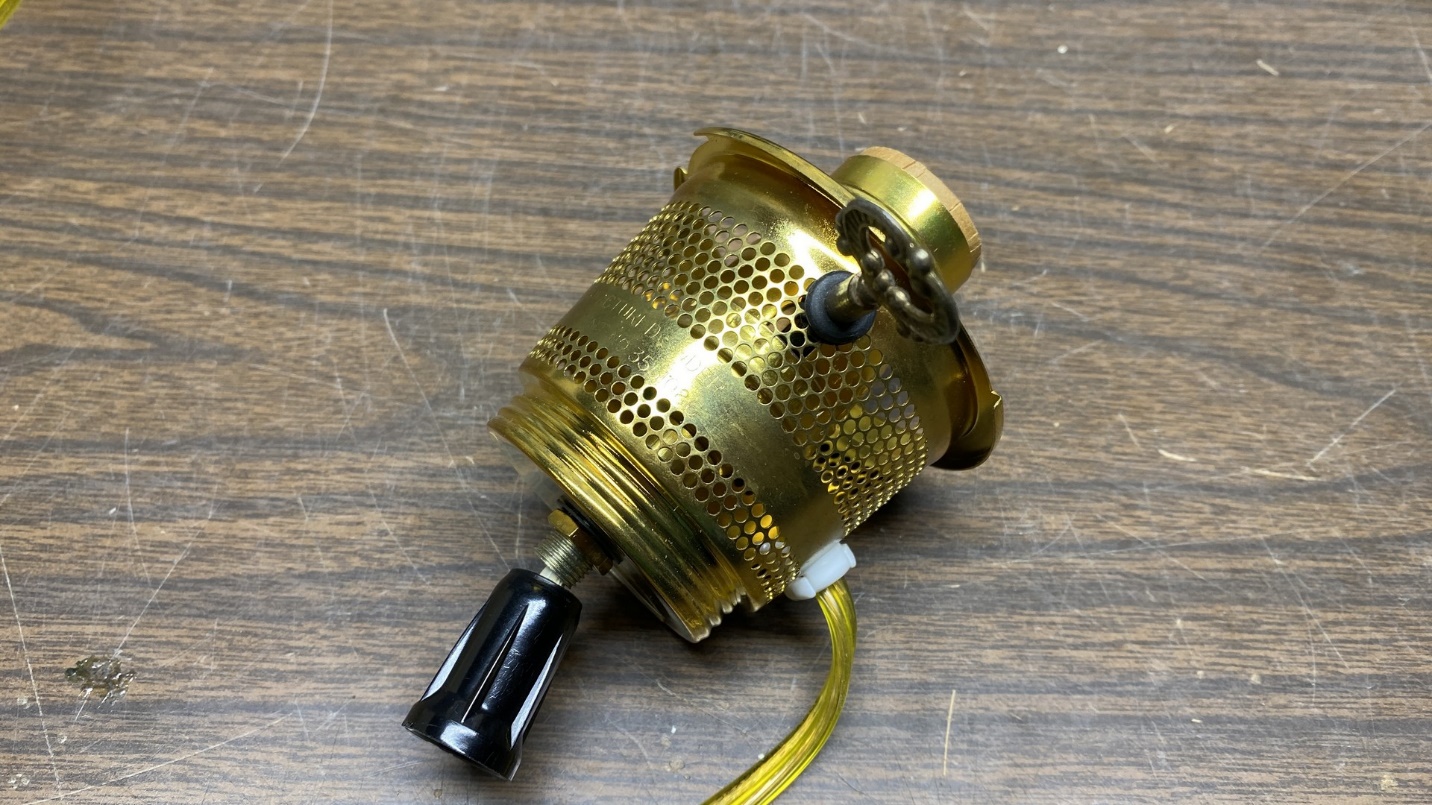
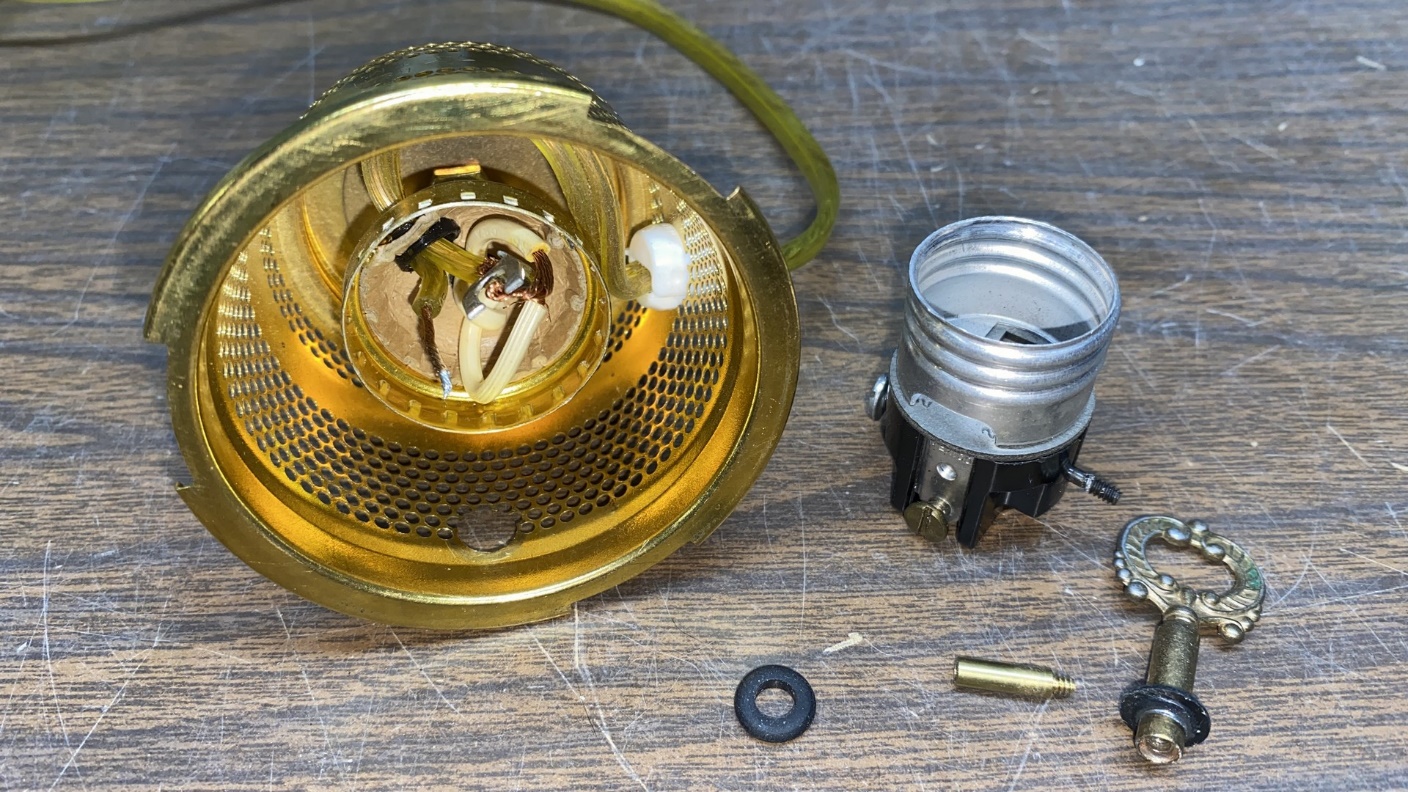
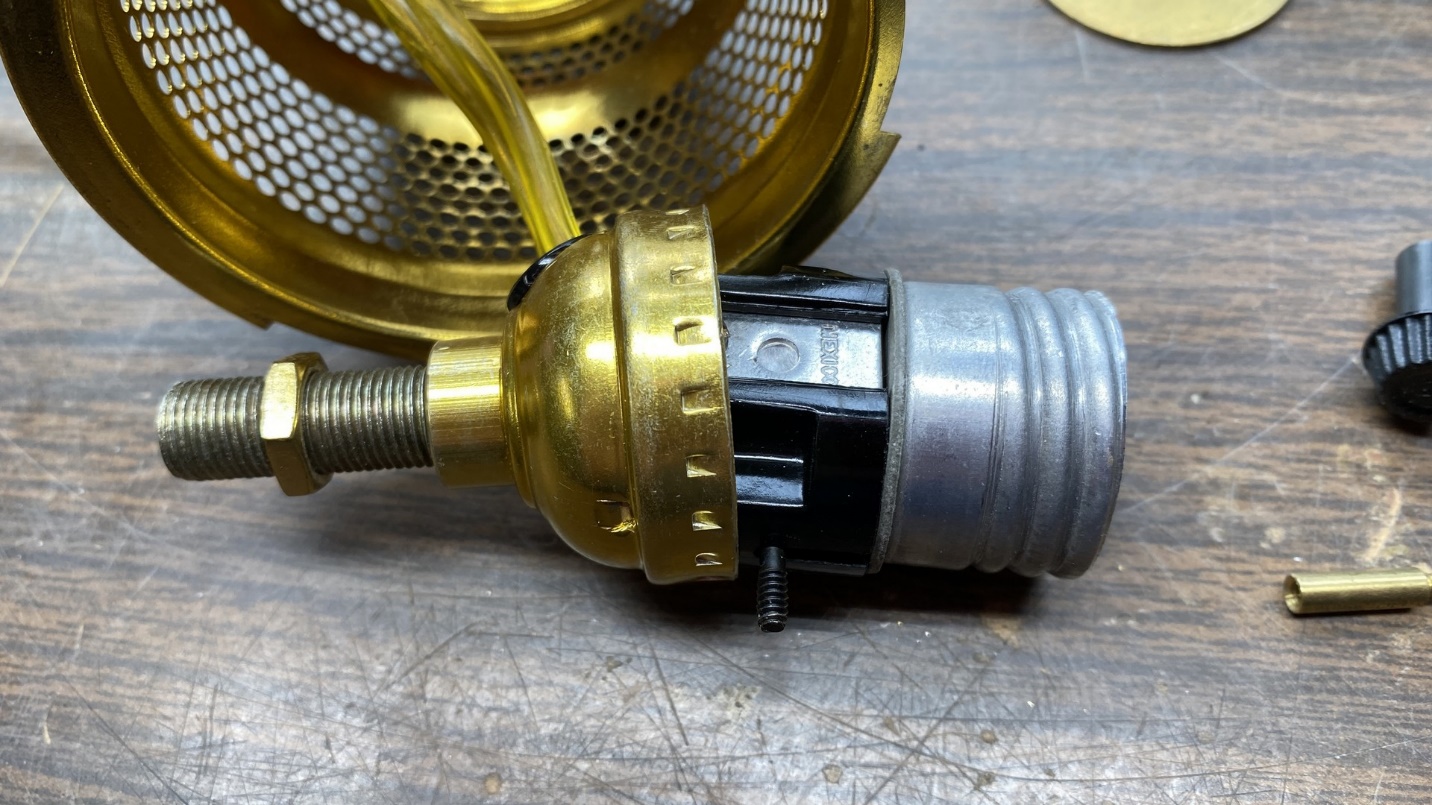
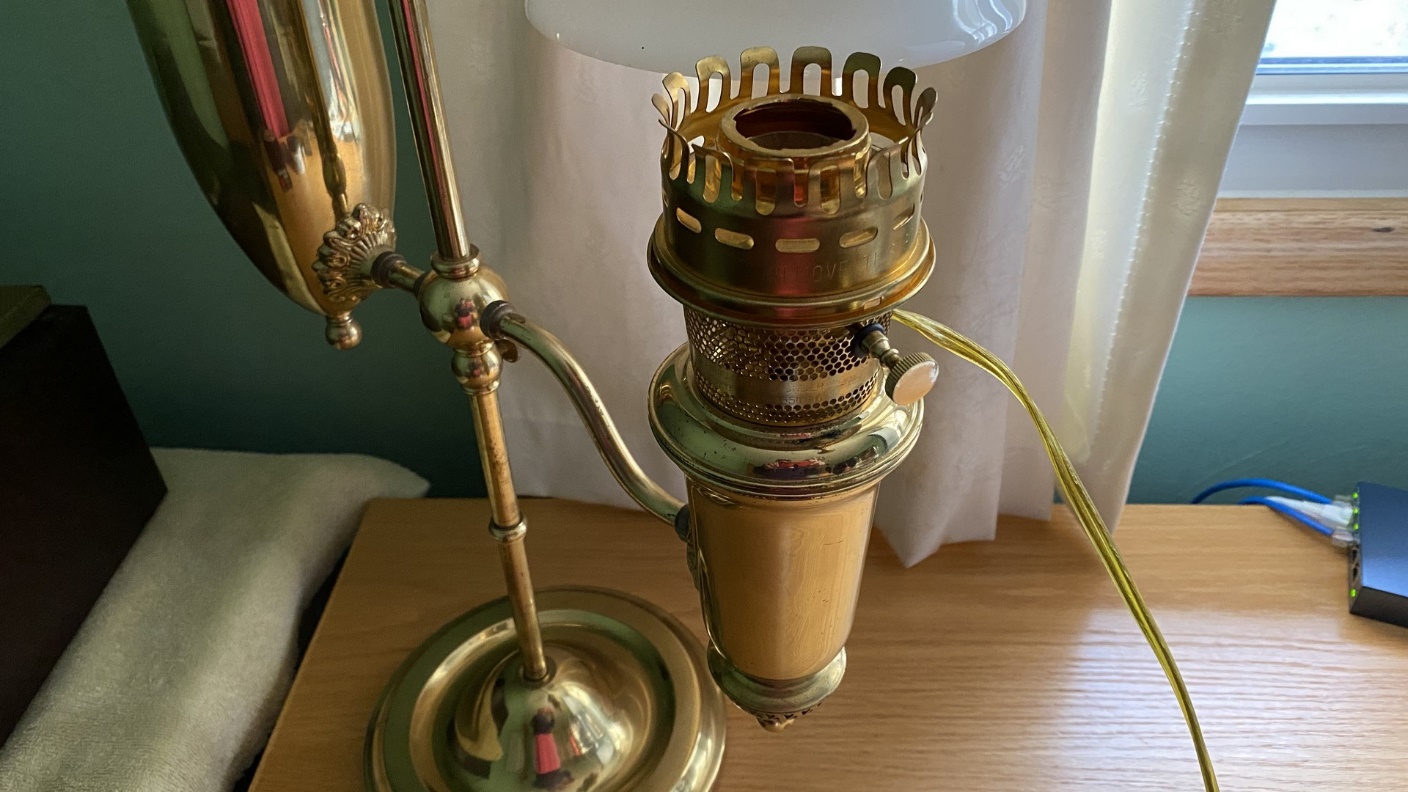
The first thing to do was to remove the burner from the lamp. It simply unscrewed from its base. I then took the burner to my basement workbench in order to make the needed repairs.
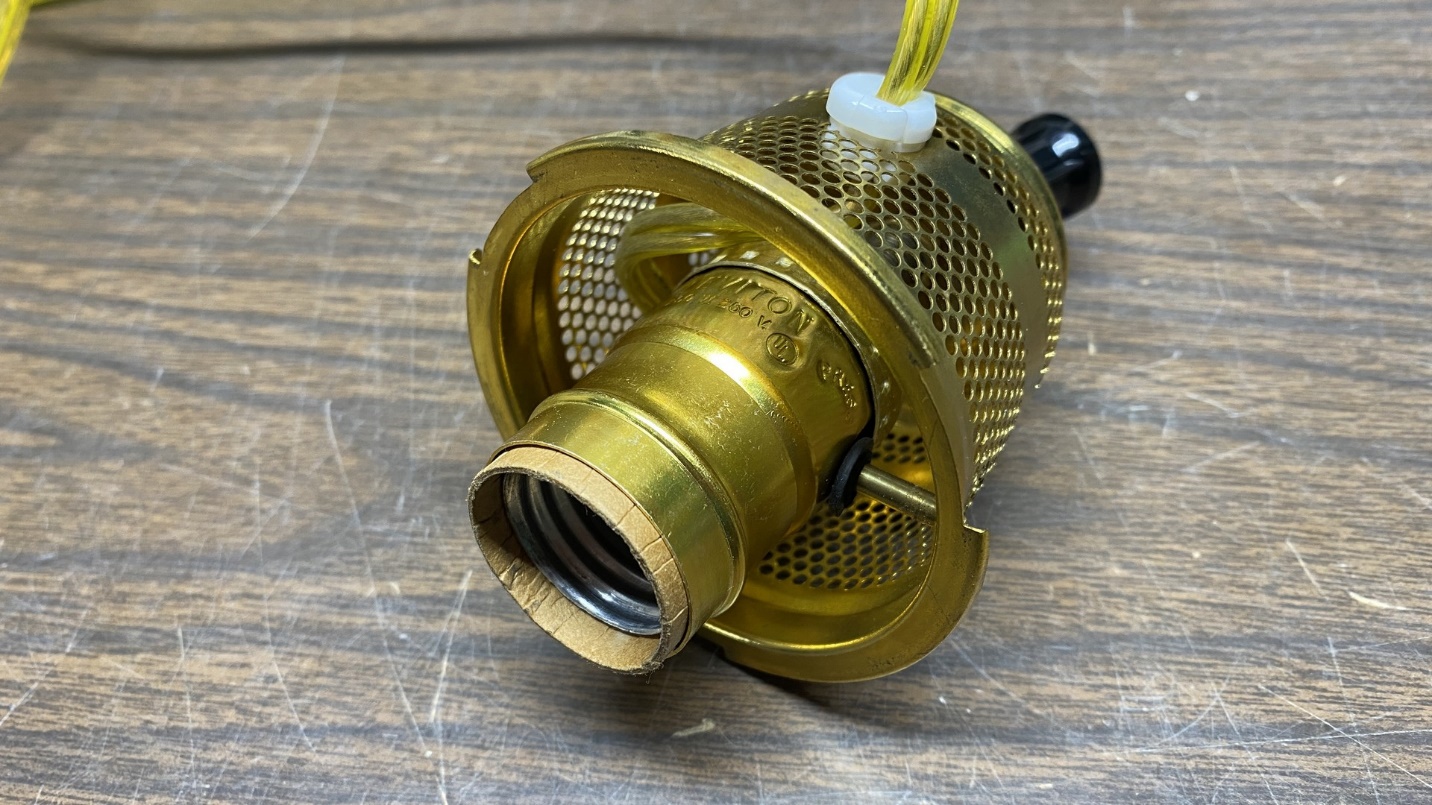
This burner is very interesting. It was made (or, most likely, converted by someone) for use in a glass lamp since it included this small candelabra socket at the bottom. This would be totally useless in the student lamp as it would never be seen.
I resolved to remove and discard that socket as part of my repairs.
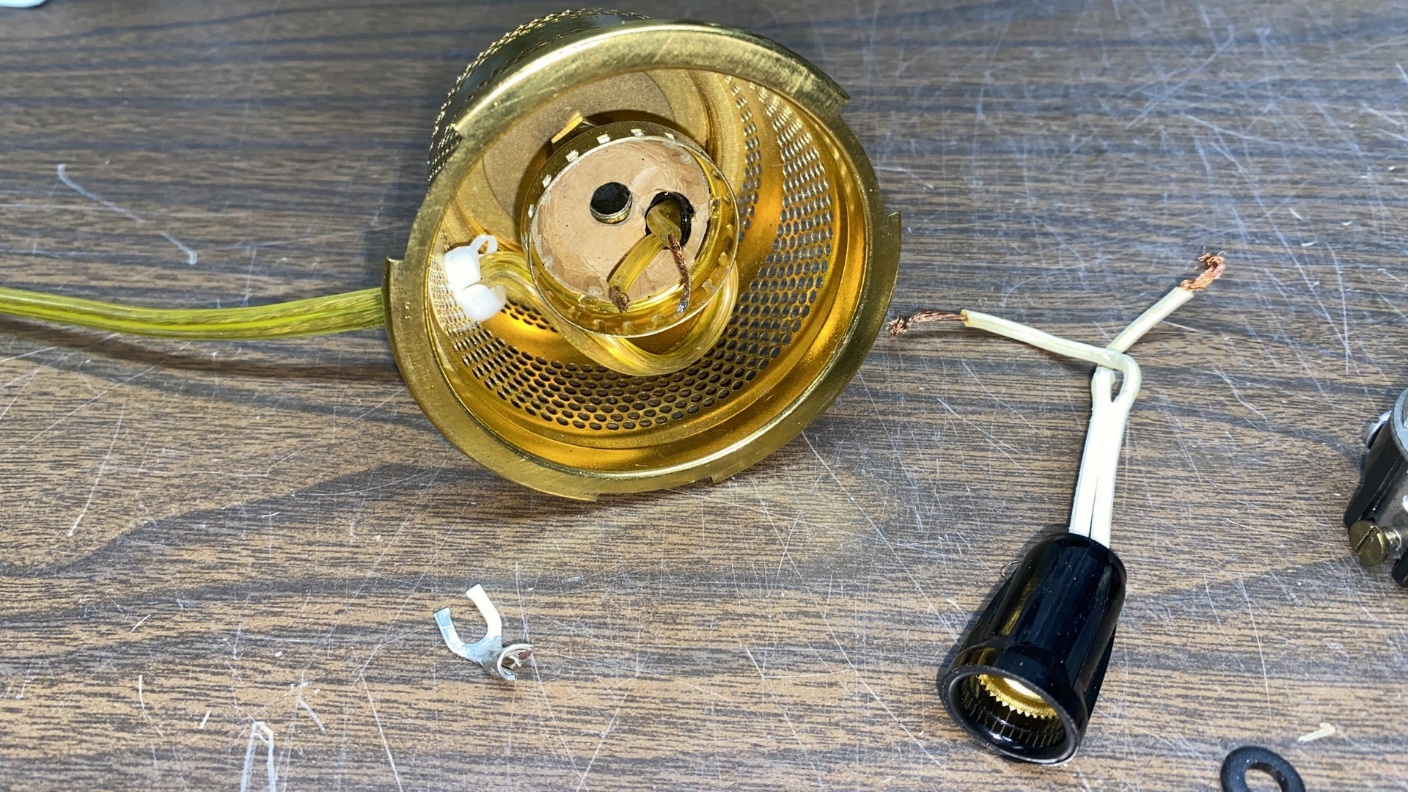
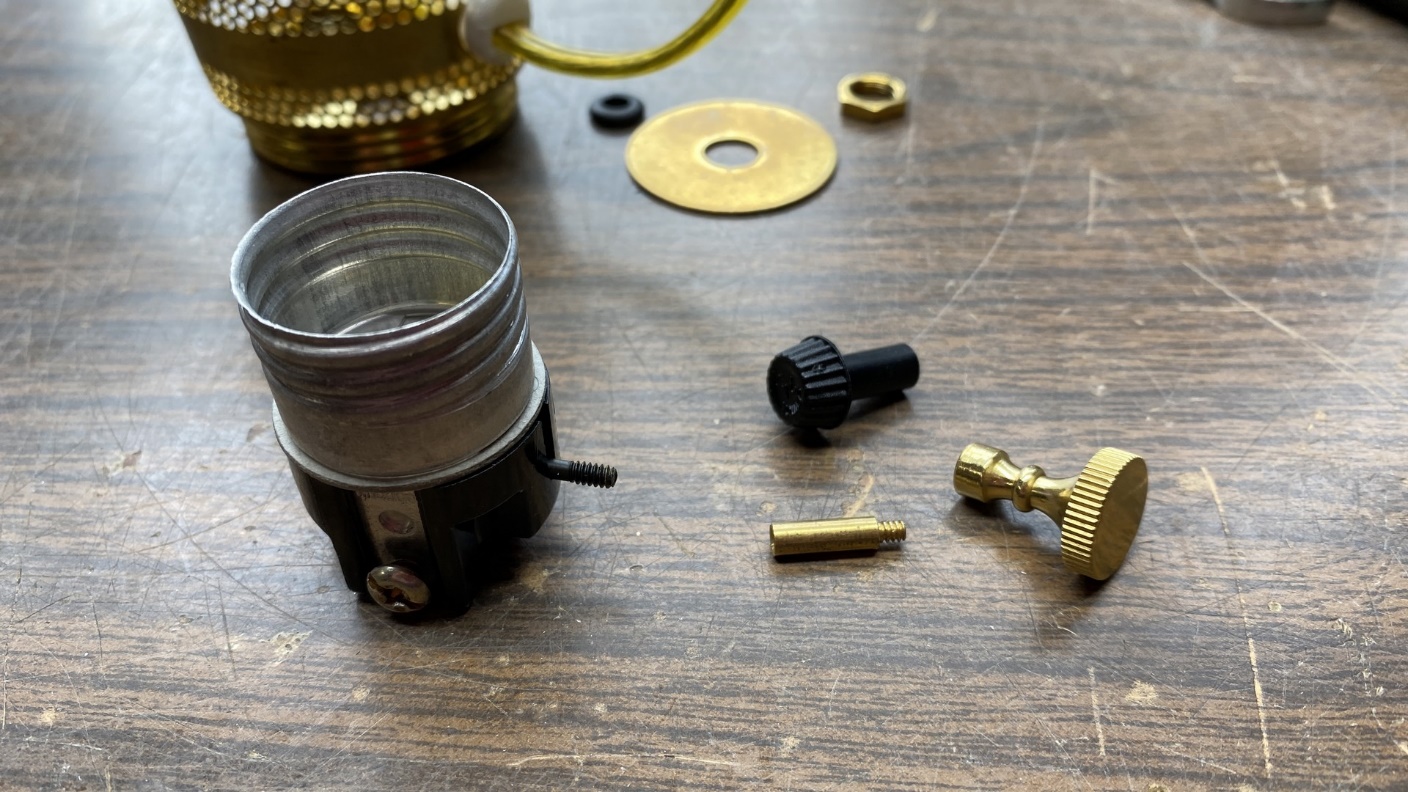
It was not easy due to how the switch was mounted within the burner, but I managed to remove the top cover from the switch.
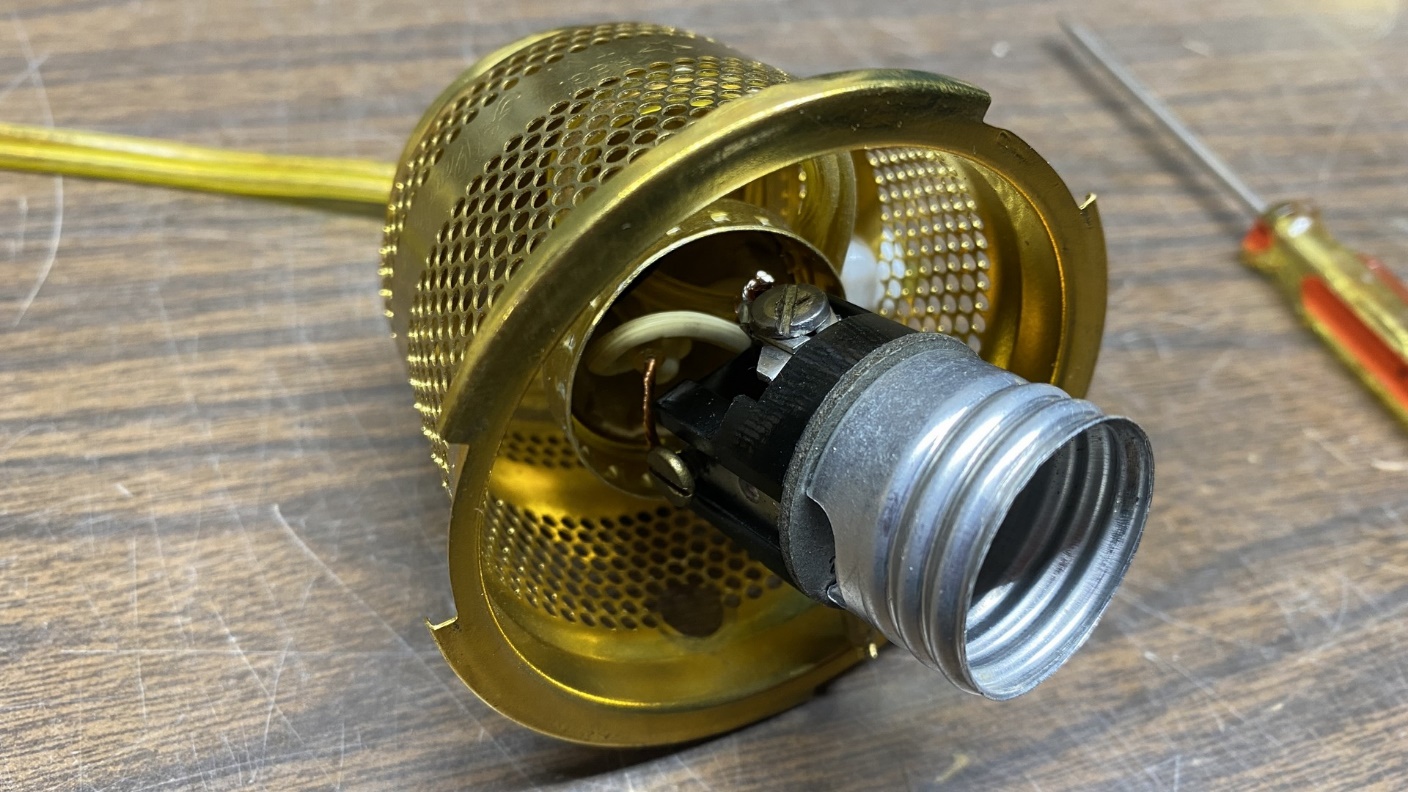
I removed the switch by loosening the screws which held the wiring in place.
Pay careful attention to the very fine pitch of the threads on the switch stem above, compared to the short extension below the switch.
It appeared that the bottom candelabra socket had been added after the fact. Sloppy wiring within the switch assembly also seemed to point to this possibility. No matter – the candelabra socket was also removed from the burner.
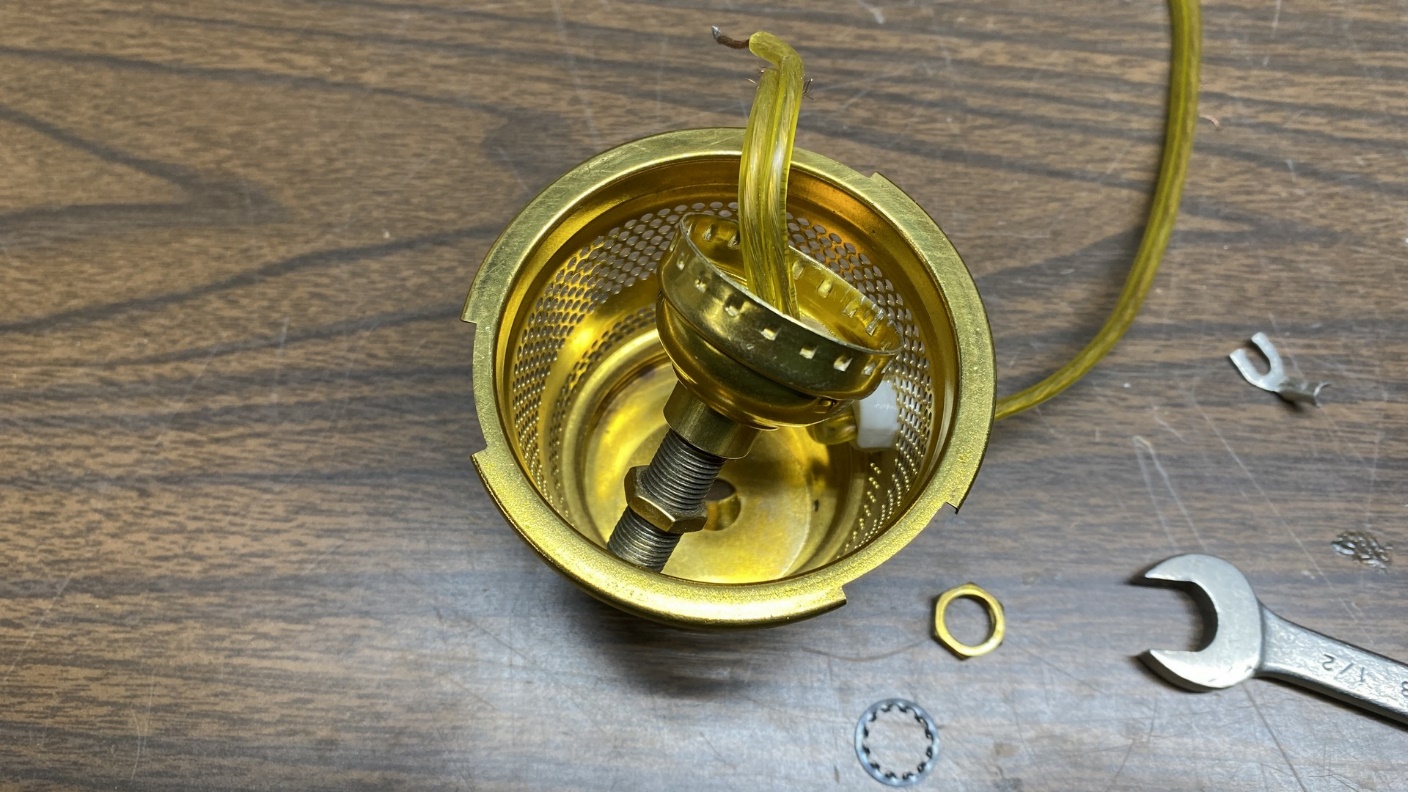
I found it would be easier to work on the switch if I removed its base from the burner. Yes, I should have done this to begin with. This would make it easier to reattach the wires to the new switch, and to put it all back together later on.
Remember how I had mentioned the thread pitch of the replacement switch stem? As it turned out, the thread pitch of the new switch did not match that of the short extension, and of the “key” used to turn the switch on and off!
I had no idea that these switches were made with different threads; I thought they were all the same.
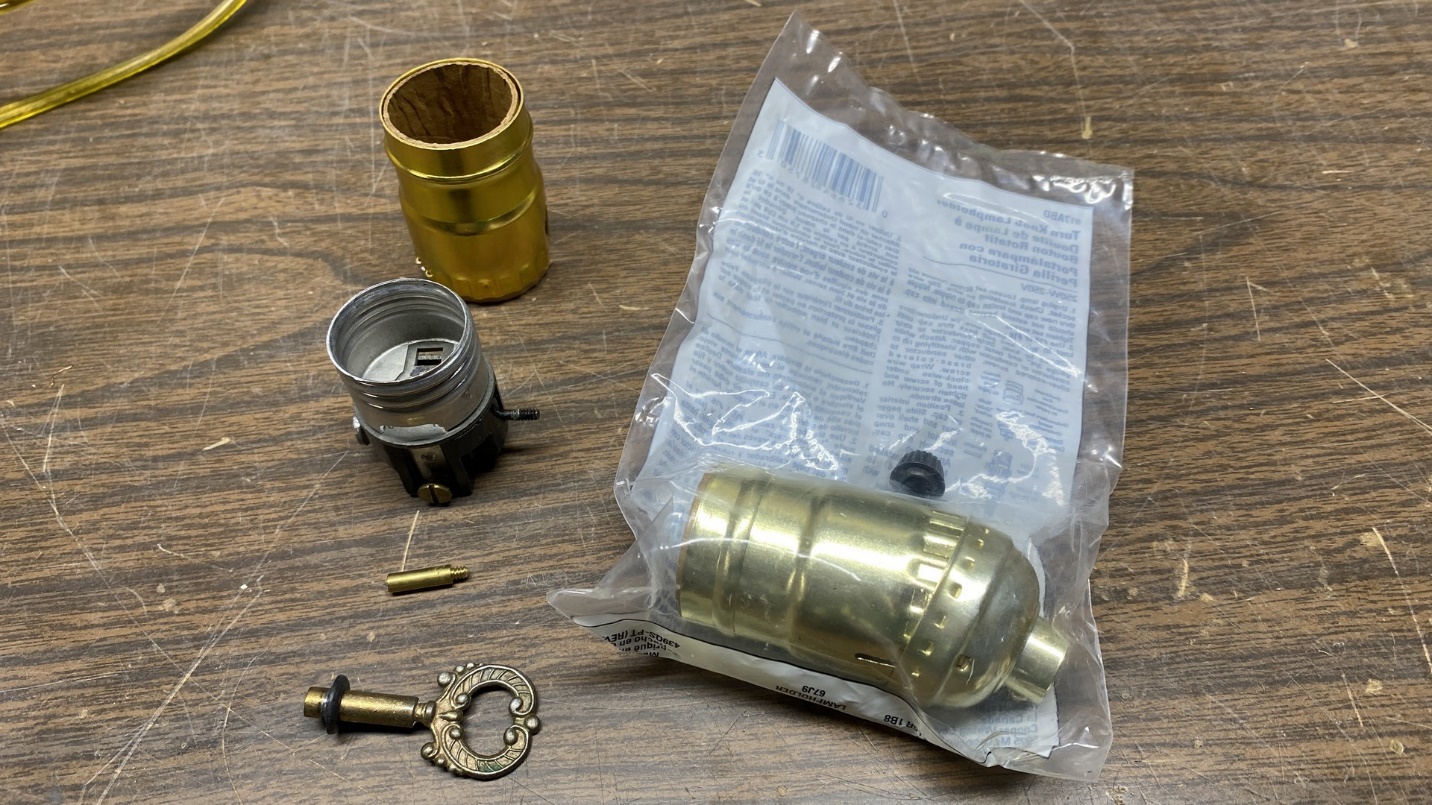
After doing some online research, I ordered two switches – Leviton brand this time – from Grand Brass Lamp Parts. Having purchased items from them previously, I knew they were a good, reputable business. I also ordered a brass switch knob, as I never did really like that on-off “key”.
I kept the Chinese-made Cooper switch for future use, as it would still be a good replacement for a conventional lamp not requiring a fancy knob.
When the parts from Grand Brass arrived, I carefully checked to make sure the extension and the new brass knob would fit. This time, everything fit perfectly. Leviton switch stems have a 4-36 thread pitch, as do the brass knobs, keys, and extensions.
I tinned the ends of the wires with solder – something the previous repair person had failed to do. This ensures that no stray wire strands will make contact with the metal cover of the switch or otherwise short anything out.
In a matter of minutes, I had the wiring attached to the new switch and it was ready for reassembly.
Once the switch was back inside the burner, I attached an extension and then, the new brass knob instead of the old key.
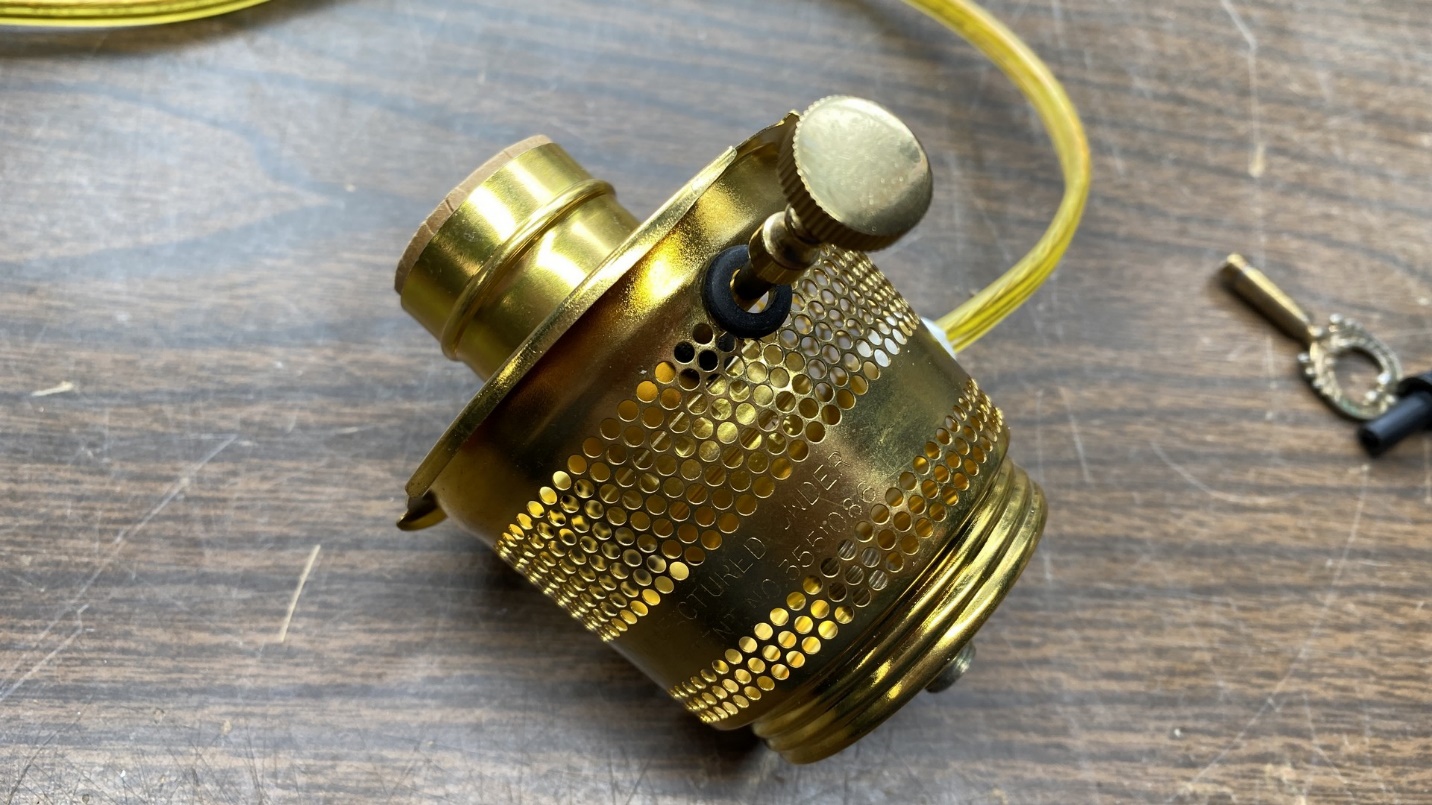
That new brass knob will give this burner more of the appearance of an actual Aladdin kerosene burner, I think.
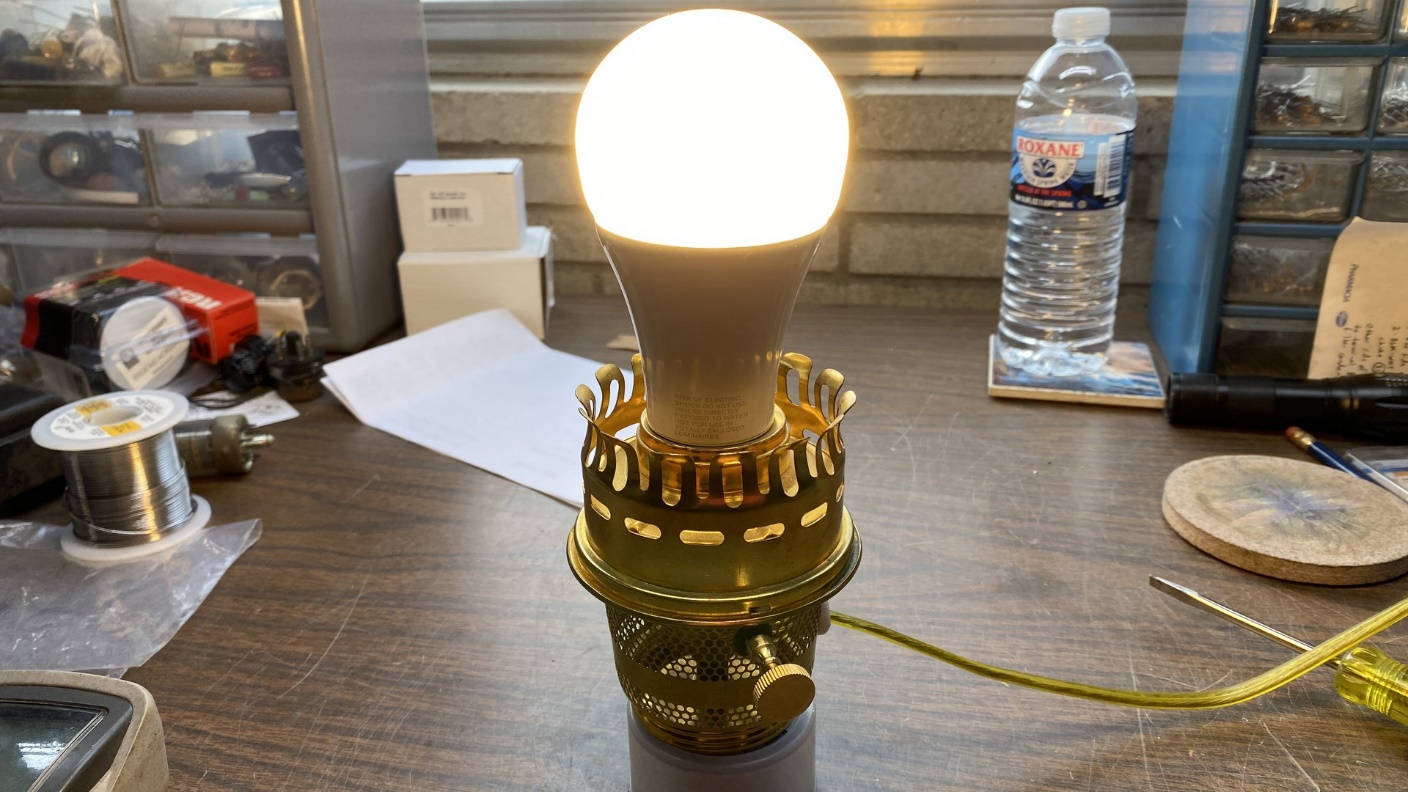
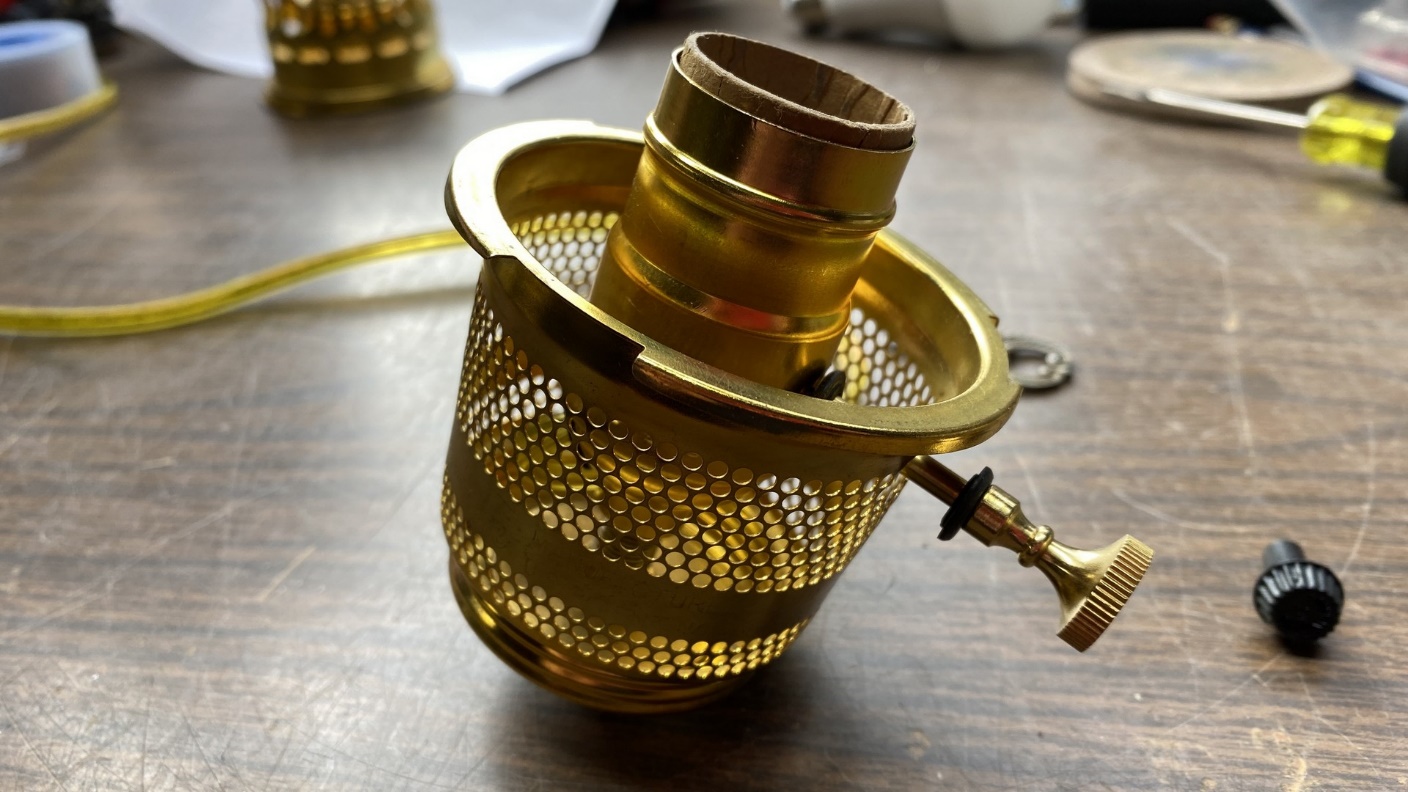
I tested the new assembly at my workbench. It worked – but because of the small hole in the center of the gallery, the bulb could not be screwed in all the way.
I went ahead and attached the repaired burner to the lamp while I began searching for a brass Aladdin model C gallery; the type which formerly came with Aladdin electric burners.
Fortunately, it did not take long to find one, and it arrived only a couple days after I bought it online. Notice how the center hole of this gallery is much larger, allowing plenty of room for the bulb to be properly inserted into the socket of the switch.
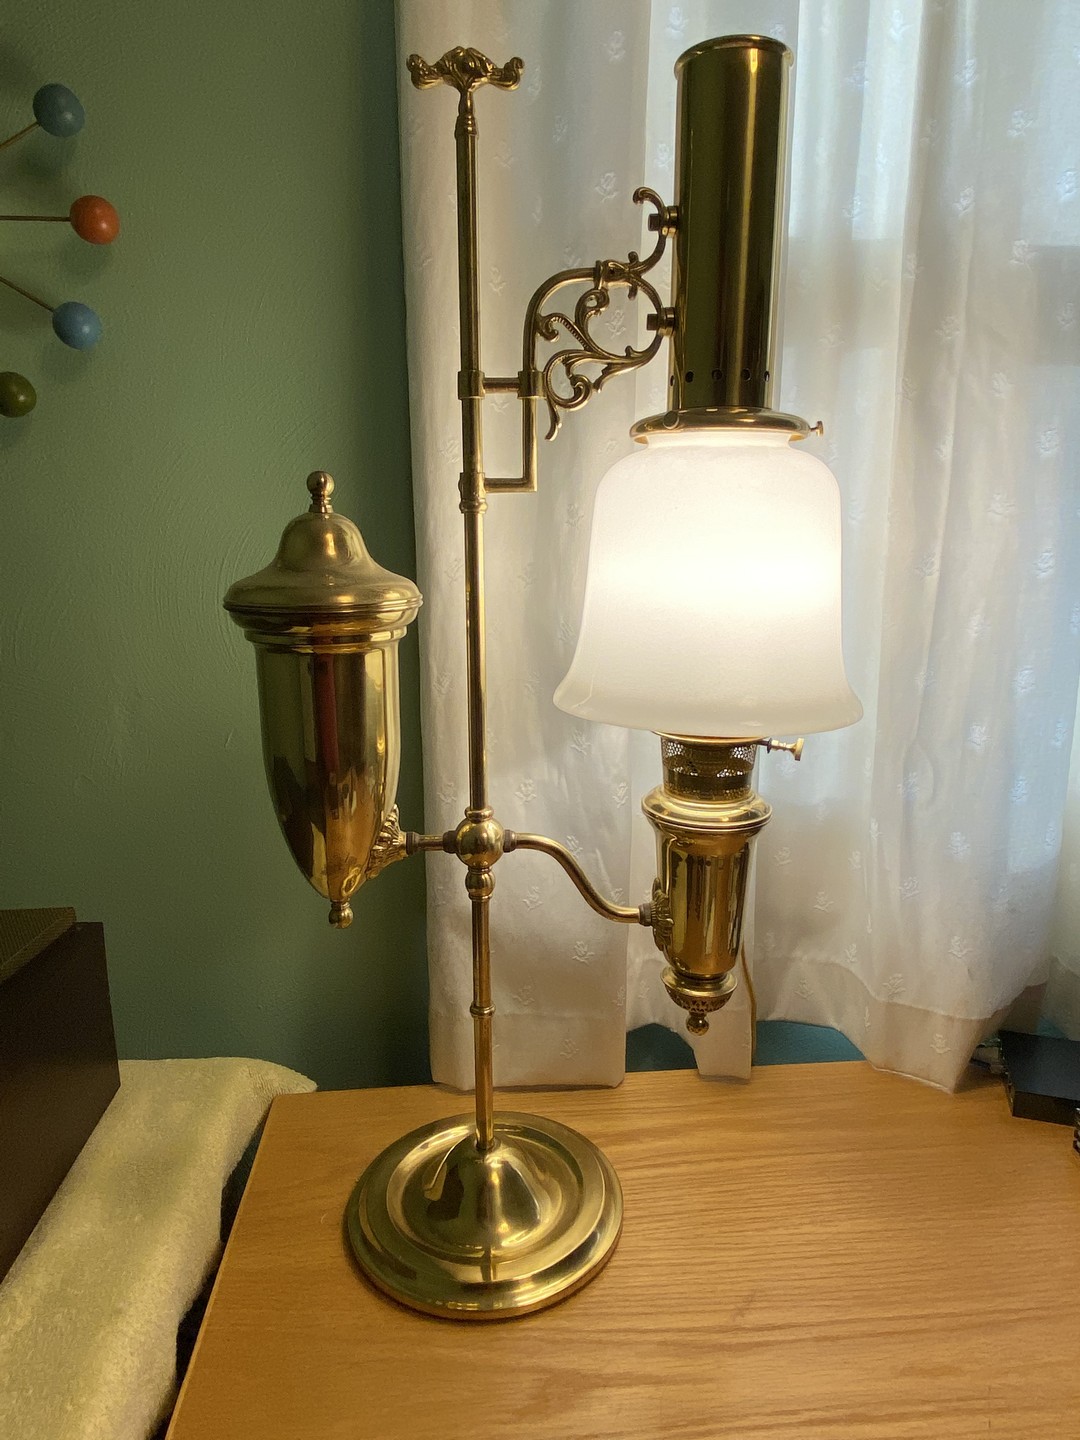
This lamp did not have a glass chimney when I bought it, and it does not have one now. A chimney cannot be seen when the lamp is in operation, so I felt there was no need for one. Of course, if this were a kerosene-burning lamp, it would require a glass chimney inside the shade and metal cover.
The lamp is complete and properly working once again, and it should continue to properly function for several more years. And should it fail again within my lifetime, I actually have another, spare Leviton switch upon which the brass knob and extension will fit.