I decided to tackle this little cabinet first, as June was nearly half over. I had rebuilt the chassis back in February of 2022, and I wanted the now-working chassis to have a nice, new, restored home.
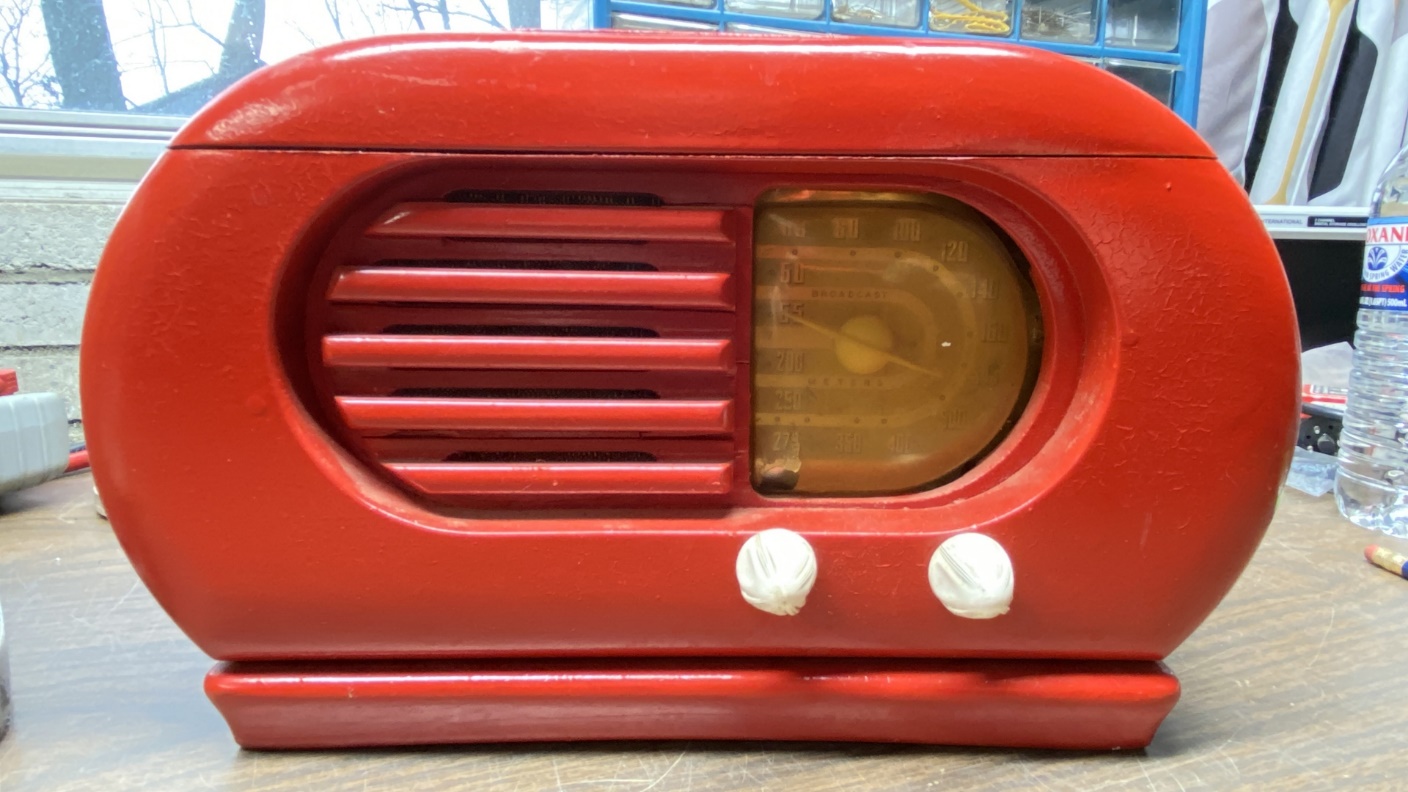
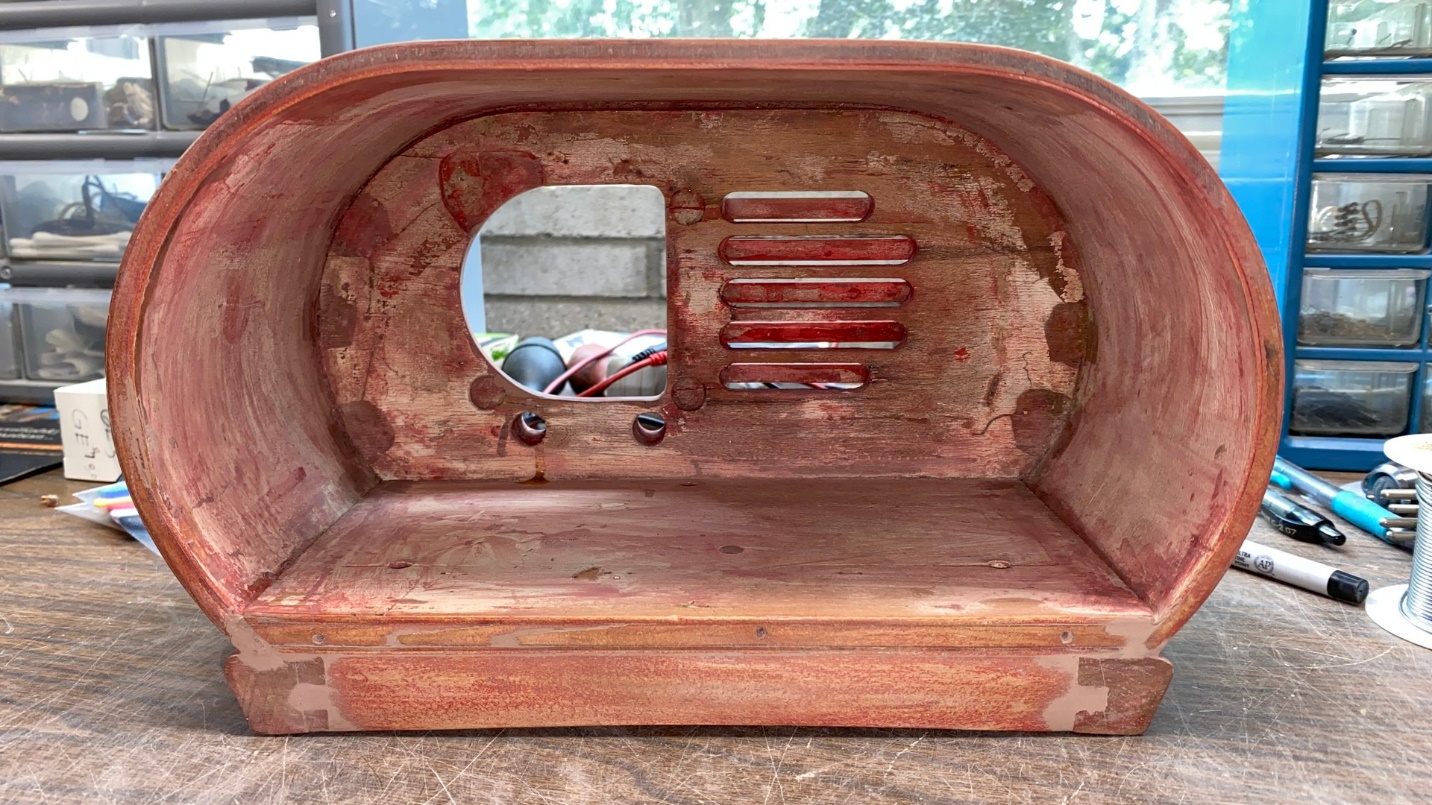
As you may remember, someone had painted the cabinet of this radio a bright red. I was concerned that the red paint would be extremely difficult to remove. The cabinet is supposed to be white, after all, to match Philco refrigerators of the time. In addition, I also have a Philco 41-KR, which I started to strip several years ago but then gave up on because I soon discovered that it would require what I refer to as the “serious, heavy duty” stripper – that is, the now-banned methylene chloride stripper.
Fortunately, once I took it outside and tried using acetone on the cabinet, I discovered that the acetone melted the red paint right off. What a relief!
As it turned out, stripping the cabinet was the easy part. What followed was a few weeks of gluing, filling flaws and cracks in the cabinet with Timber Mate filler, sanding, more filling, more sanding, over and over.
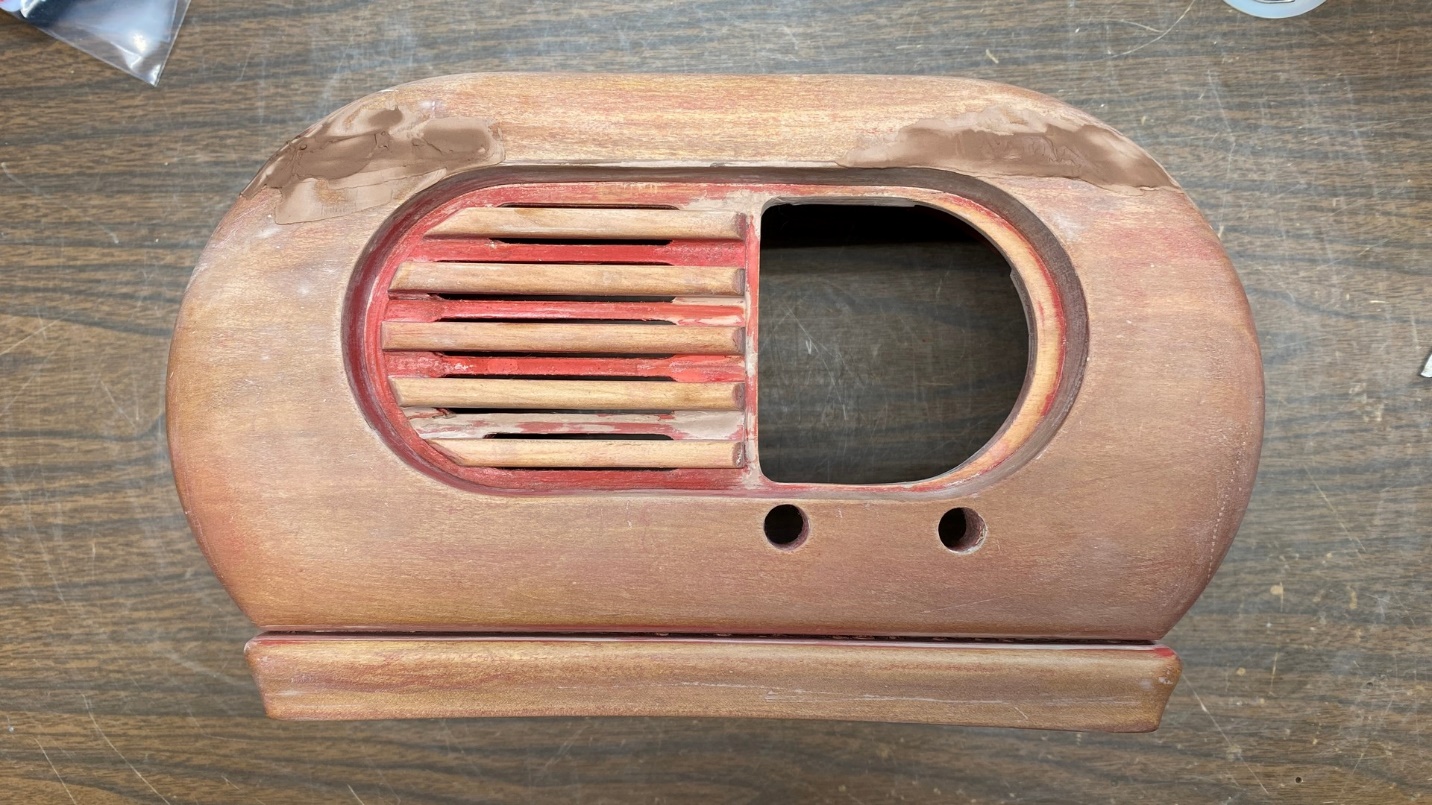
Following much gluing of the cabinet, the crack in the front is filled with Timber Mate wood filler.
Through all the clamping and gluing, I had managed to make about 99% of the crack in the top front of the cabinet, above the grille and dial openings, finally disappear. I had hoped that careful application of Timber Mate would take care of the rest.
Another view of the stripped 42-KR3 cabinet with Timber Mate applied to the front.
Unfortunately, as many times as I repeated this process, I soon discovered that I could not completely fill that now-tiny crack!
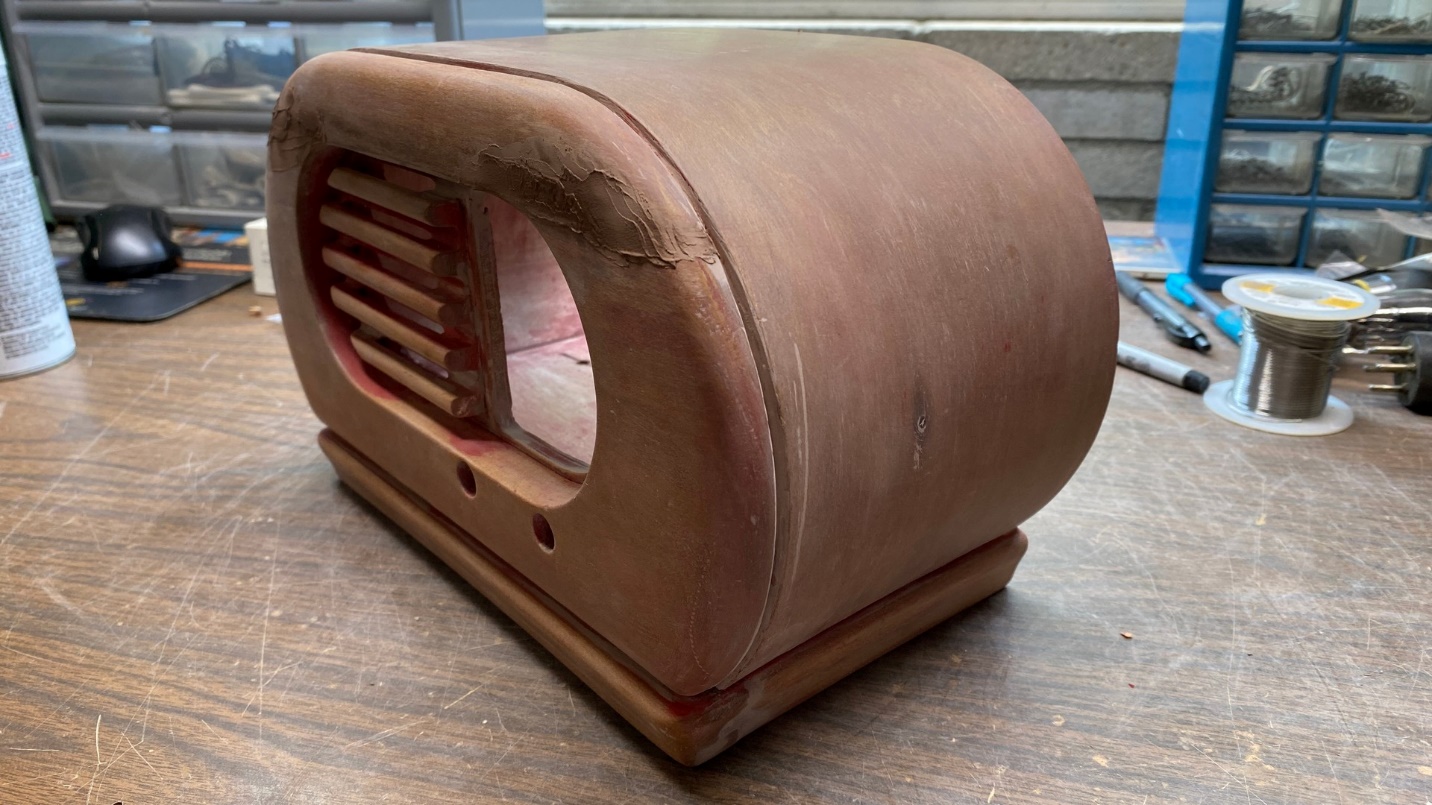
Yet another view of the stripped and filled cabinet, waiting to be sanded.
Back view of the 42-KR3 cabinet, after gluing and filling. It was ready for new paint at this point.
Eventually, though, I felt I finally had the cabinet to the point where it was as good as it was going to be. No, it was not perfect, but by now it was in much better shape than it had been before I began to work on it.
You may see in the photo above that a lot of red residue was left inside the cabinet. I did not really try to strip inside the cabinet – only the outside. For this reason, I resolved to not only paint the outside of the cabinet white, but the inside and bottom as well.
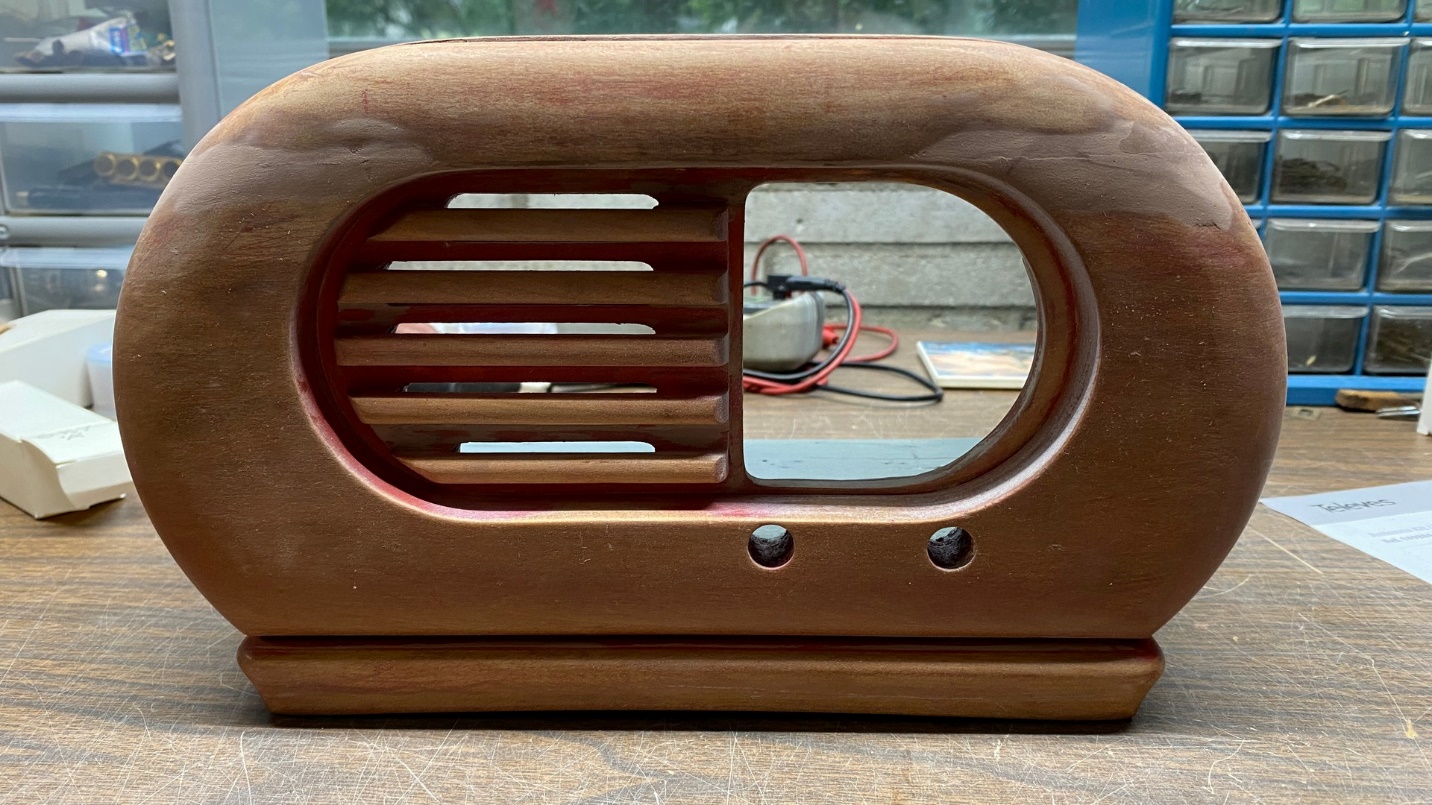
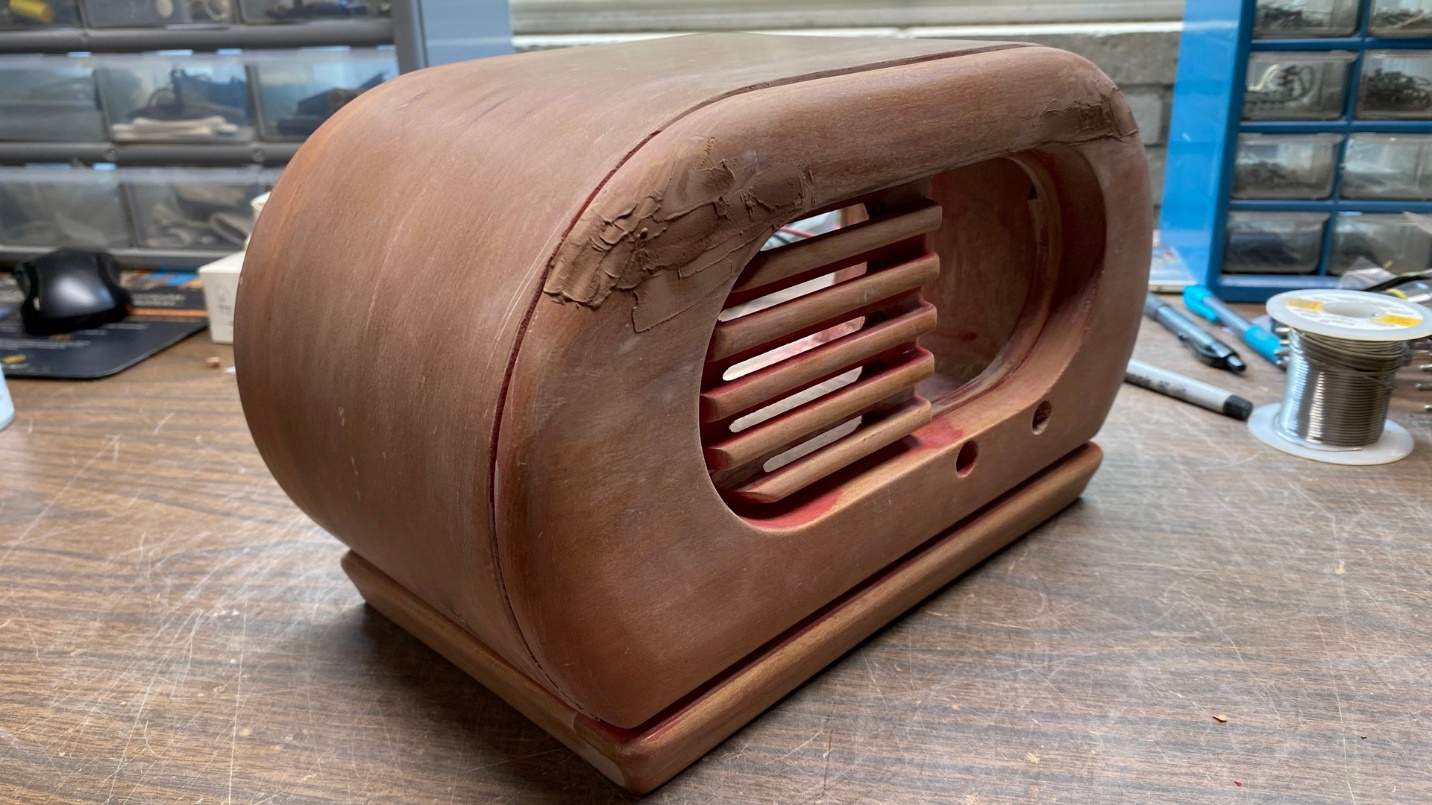
The cabinet is repaired, filled, and ready for new white paint.
While at a local hardware store looking for something else, I was pleased to find some Krylon spray paint! In my experience, Krylon is much easier to use than Rustoleum as it goes on smoother and with less chance of runs or drips.
I purchased two cans of Krylon white paint & primer (yes, the product was supposed to be a combination paint and primer). I thought this might be advantageous in trying to hide the traces of the old red paint.
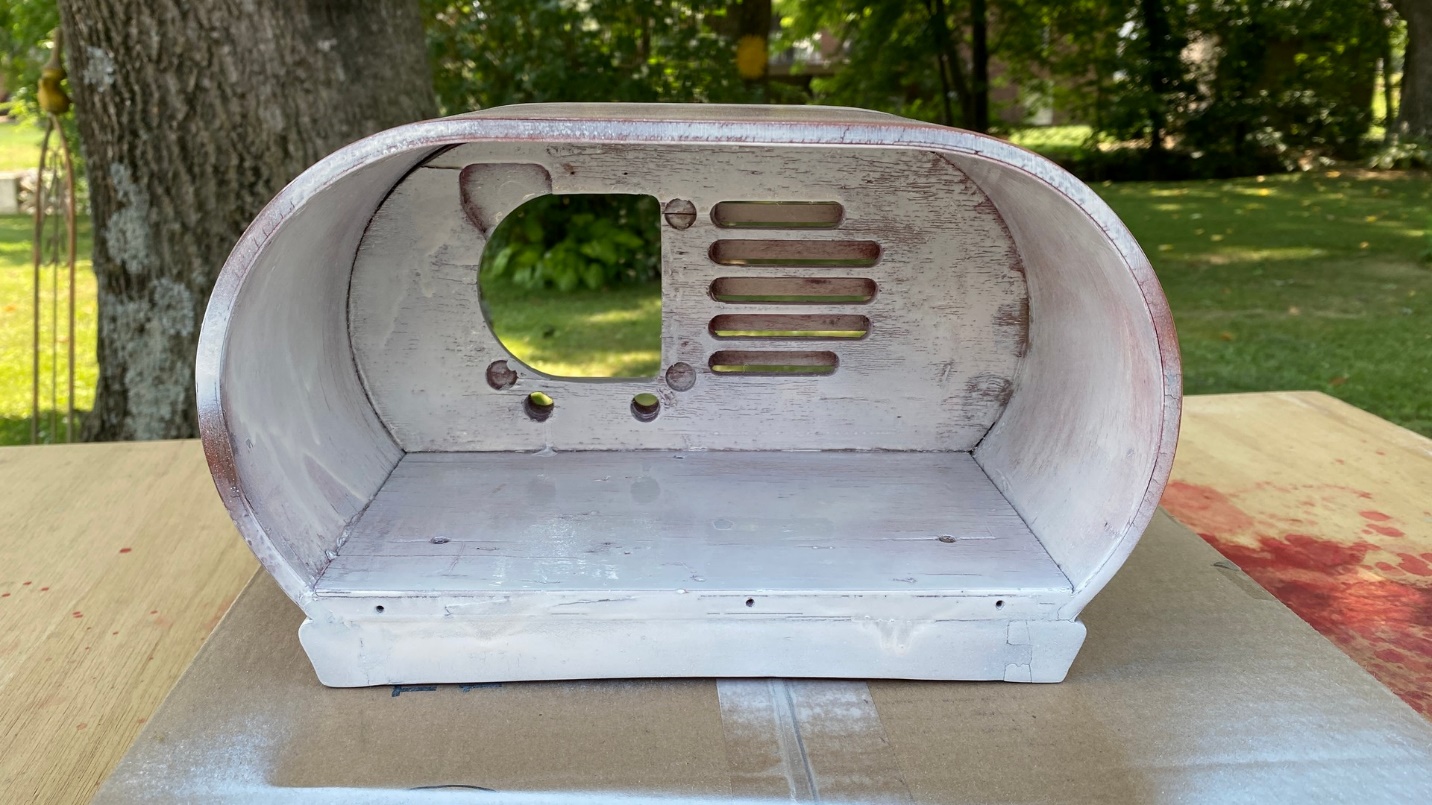
Painting of the cabinet interior begins. It would eventually take three coats to completely hide all traces of the red residue.
The Krylon did not apply the same as I remembered, but it turned out fine. I applied multiple coats to the cabinet interior, the cabinet bottom, and eventually, the main (outside) body of the cabinet.
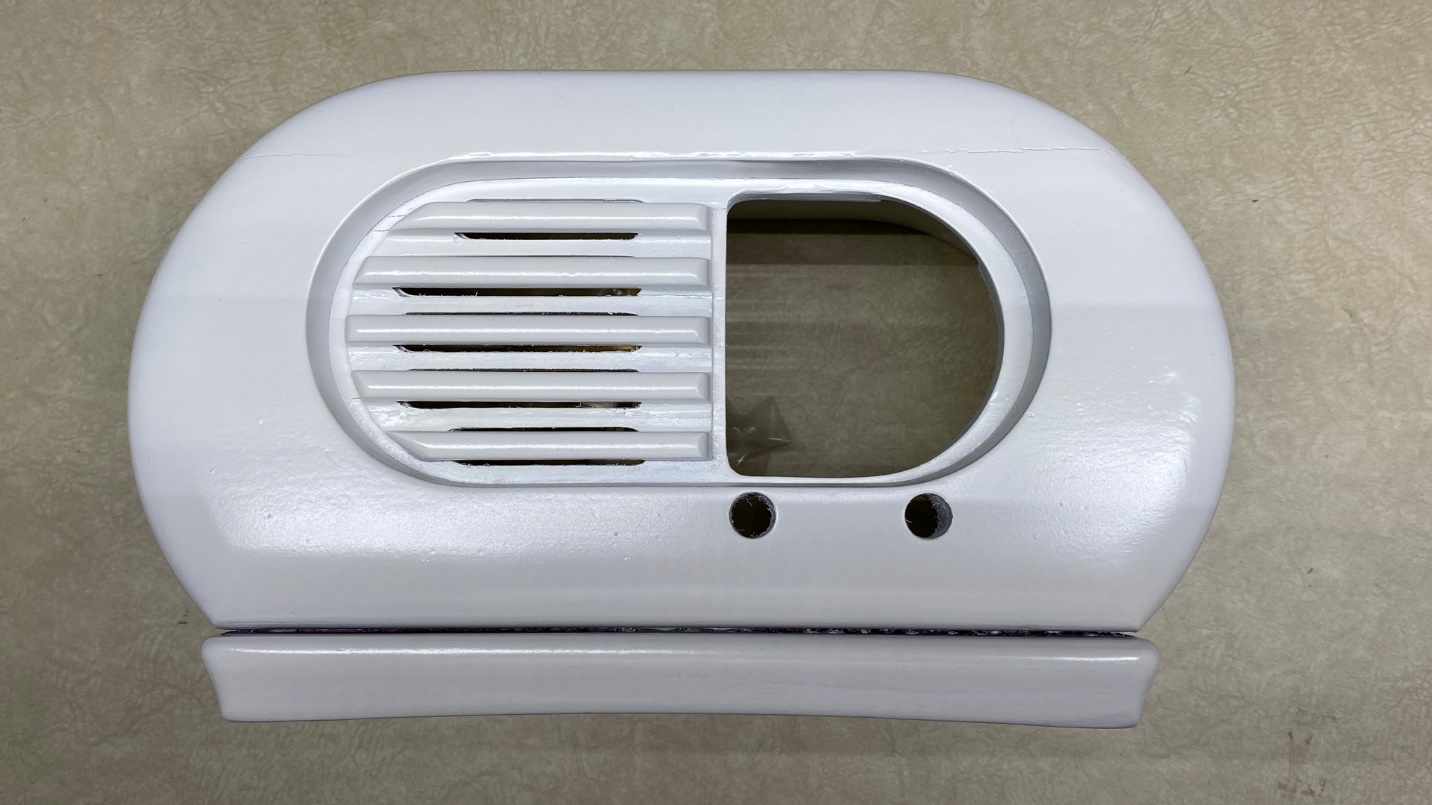
How the cabinet looked after painting.
Unfortunately, after the painting was all finished and the cabinet had dried, I discovered that the crack was still visible! It is hard to see in the photo above, but it is there nonetheless. At least it is not nearly as wide as it was to begin with.
I decided to leave well enough alone. After all, the cabinet had been in very bad shape, and I was frankly surprised it turned out as well as it did, even if it was not factory “perfect”.
Now, all it needs is a dial cover and a loop antenna for the chassis, and this radio will be complete!