[Contributed by Kirk (OldRestorer)]
You asked for it so here is how I do veneering.
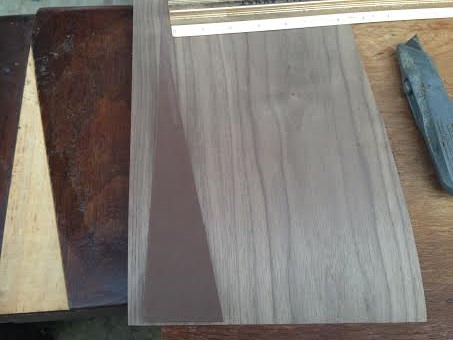
This is my Sparton 668. It is in need of veneer repairs so I will do the veneer tutorial on this one.
All veneering should be done before any other work. IE: stripping and sanding, etc.
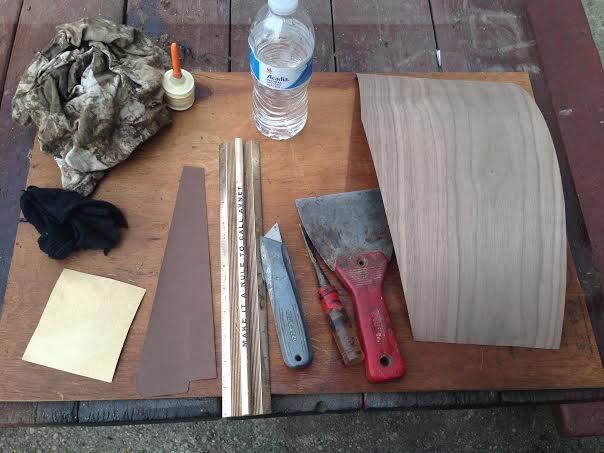
Tools/supplies
1. Wood glue (I use Elmers wood glue and never had a problem)
2. Veneer with similar grain pattern of same wood type. IE: Walnut
3. Metal ruler or T square (Use anything flat and strait)
4. NEW blade for your razor
5. hand held razor
6. Roller or spreader for glue applications.
7. chisel
8. Scraper
9. water
10. rag
11. construction paper
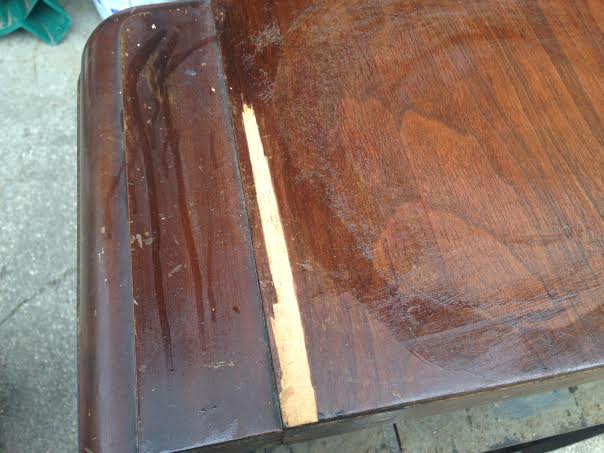
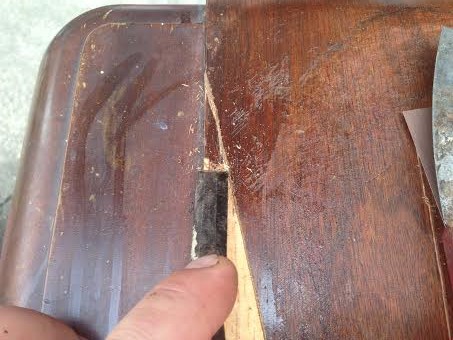
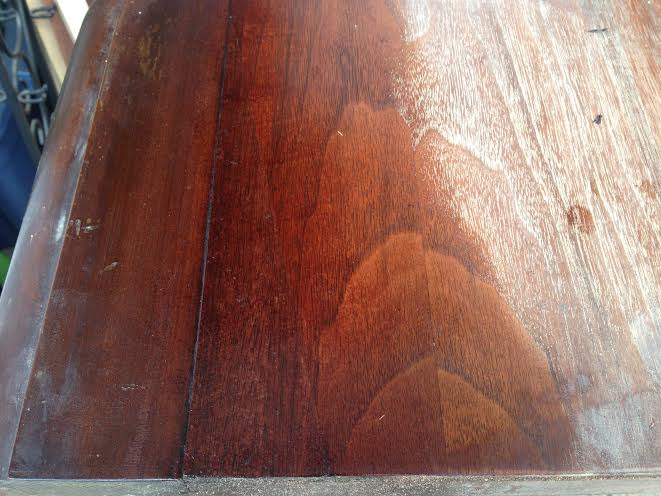
Here is the area we will be patching in this tutorial:
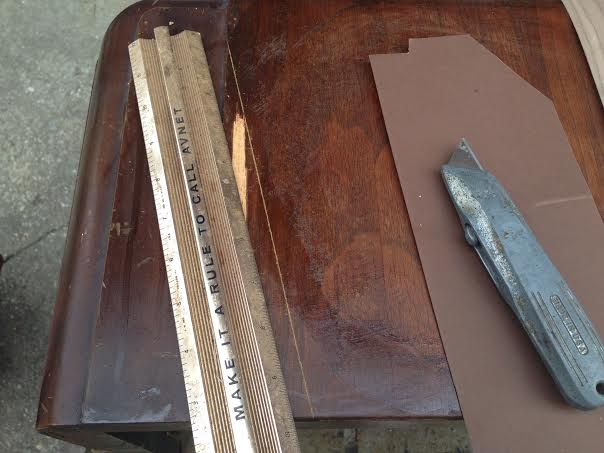
Step 1
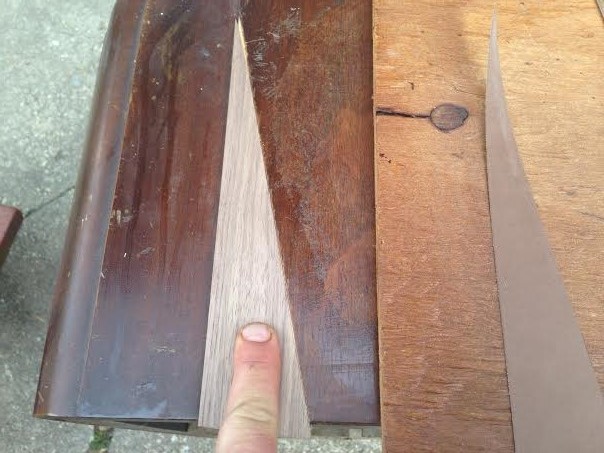
Start by cutting the veneer issue area out using an angled cut with the razor and the metal ruler. The more of an angle you cut off, the easier it will blend.
Cut out a square and you better have a long history of veneering behind you. (Do not throw away the cut veneer. It is the best match to the original veneer you are going to find) Use the bigger pieces to fill the smaller veneer repair areas.
When cutting out the old veneer always use light strides with the razor. It will take more time but the cut will be strait.
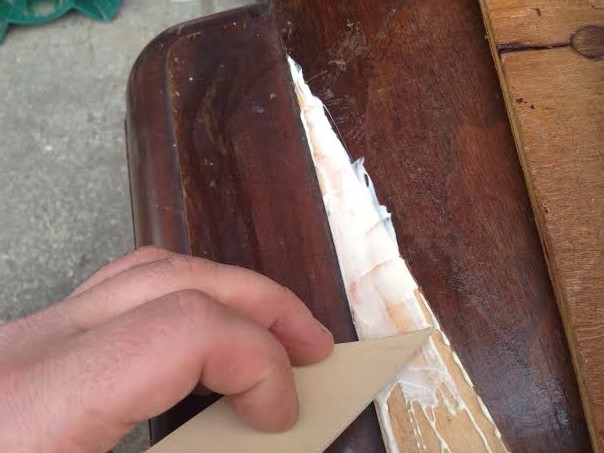
After cutting the veneer from the attached veneer, use a thin scraper or even a fine chisel to lift away the cut veneer.

If it does not come up easily you can use a moist cloth and a heat gun. Slowly…. go slowly. If while removing the cut veneer, it begins to lift the surrounding veneer, STOP. You did not cut through the veneer all the way to detach it from the secure veneer.
If while removing the veneer you hit a spot where the veneer leaves remnants that make the underwood unlevel, use the chisel to gently to lift the remnants.
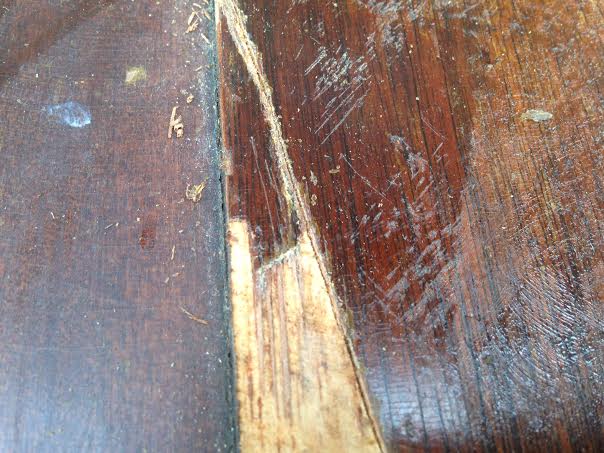
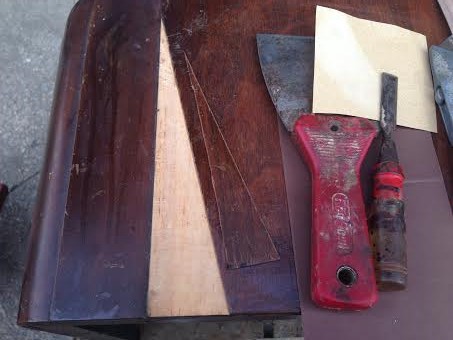
 Step 2
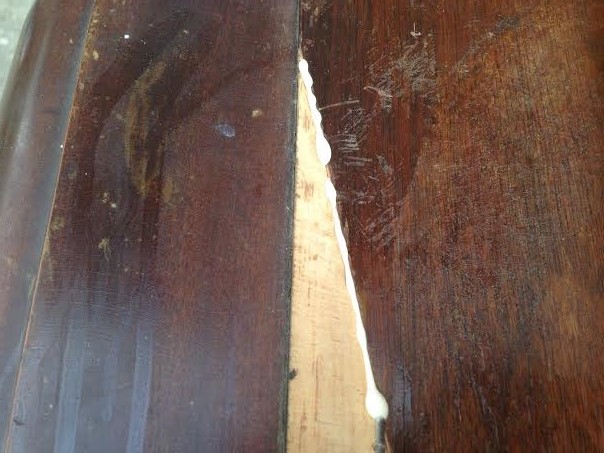
 All cut out, level and straight
Now that all the veneer has been removed it is time to start cutting the new veneer. It is very important to make sure that you have similar grain patterns in the old and new veneer. Using any old veneer will make it visible worse that it may be already.
Take construction paper and begin fitting it to the cut outs. Cut the paper so it fits right into place where the new veneer will go. This will save you the waste of many pieces of veneer that are cut wrong.
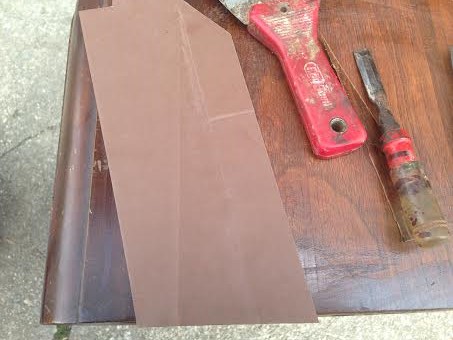
Line up the new veneer grain pattern and using the paper template trace it or carefully cut it to the needed size. This will be a long step usually. Fit the veneer into place, mark the issue spot, cut again, fit it, mark it, cut it, fit it mark it, cut it. Still using slow light strides when cutting the veneer or it will split! (having trouble with the raw veneer splitting all the time? Use paper backed veneer. I have never had a problem)
When it finally has the perfect fit, you can move on.
Step 3
This is an easier step. Take your veneer and dry fit it. Is it level with the old veneer? Many times older veneer will be double the thickness of today’s veneer. In the past I have used 2 pieces of veneer stacked together and had good results. With paper backed veneer it is possible to sand through the wood and then the paper shows through. NO GOOD
Once these issues are addressed you can move on to gluing.
Step 4
Make sure every edge and edge of the cabinet is covered in glue. More glue is fine, it will squeeze out and can be wiped with water and a rag. Less makes the veneer not stick
Spread the glue evenly and apply the new veneer. You can start to squeegee the veneer flat and press out the excess glue.
After a few minutes of pressing and fitting and the veneer does not slide you can take the rag and wet it (lightly) to wipe off the excess glue. Do not clamp wet veneer, it can mold. If you wet it too much let it dry or hair dryer it a bit.
Clamping is very important. You may need to use 12 clamps on one patch so have them available and know what you will need before gluing. Try a dry run before adding the glue. Ok glue is on, spread out. All edges and corners are filled with glue and we popped in the patch!
Step 5
Sometimes clamping a radio can be hard so you may have to improvise.
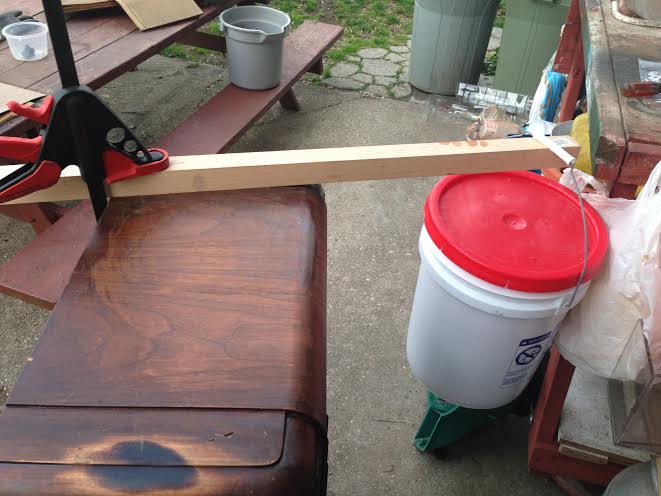 Once the glue is dry (24 hours) you can remove the clamps.
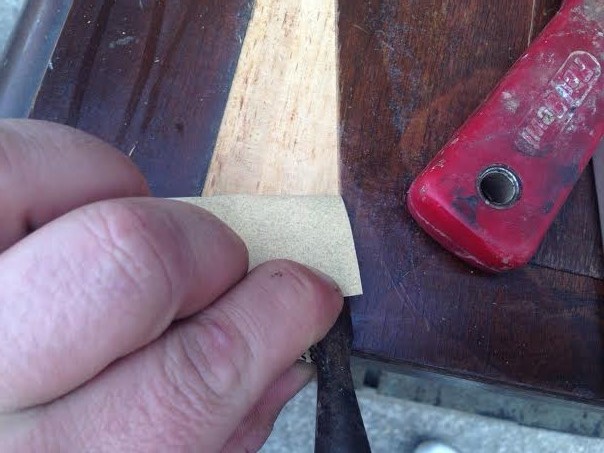
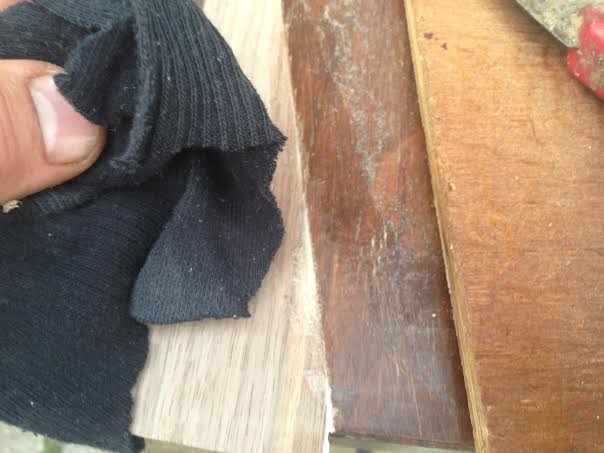
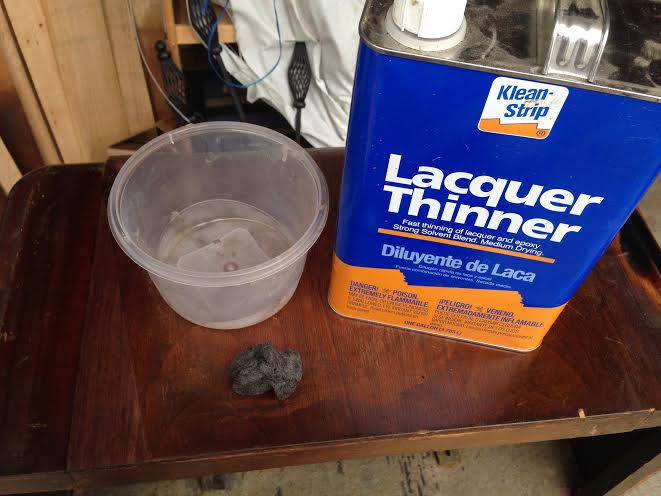
It is time to strip the cabinet. use stripper or lacquer thinner and steel wool:
Once this is done and dry about a 1/2 hour you can move on
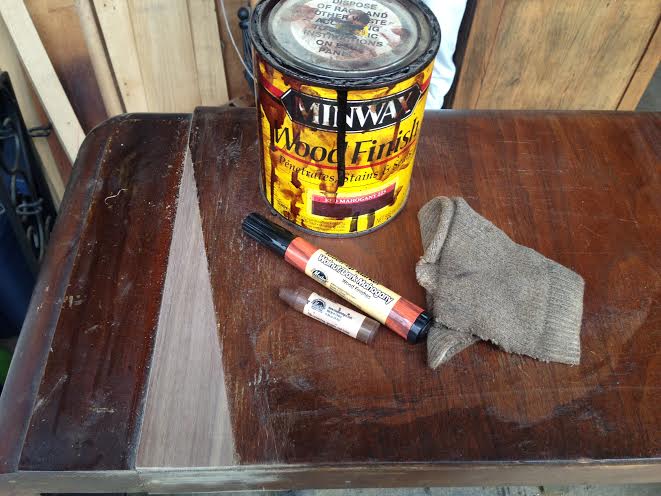
Now it is time to match the veneer. The old veneer has 70 years of light, dirt, stains, and crud in it so matching it is tough (unless you re-used the veneer you cut off and kept like I said to do)
Toning will not! Not! make the 2 pieces match. Toner will just darken the darker piece and make the lighter piece as dark as the original was.
You must match the color as best you can before toning.
You can tape off the patch and stain to match, you can rub dirt into it, anything that will match the original.
I used a stain pen, filler stick and red mahogany stain. Filler stick is just in case you have any imperfections where the veneer meets.
Once that is done and you wait 24 hours or until it is completely dry, then you can grain fill wait a day or so, tone the cabinet and the veneer joints will fade into one another.
Any Questions?
Ask Ron